A Step-by-Step Guide for How to Paint a Door
Painting a door may seem like a straightforward task, but when done correctly, it can significantly enhance the aesthetics of your home. A well-painted door not only adds curb appeal but also protects it from the elements. In this step-by-step guide, we’ll walk you through the process of painting a door with loads of helpful tips and techniques.
Gather Your Materials

Before you embark on this DIY project, you’ll need to gather the necessary tools and materials. Here’s a list to get you started:
- Paintbrushes (a 2-inch angled brush is ideal)
- Sandpaper (medium and fine grit)
- Paint (enamel or semi-gloss for a durable finish; make sure to calculate how much you need)
- Primer
- Drop cloths or plastic sheeting
- Painter’s tape
- Screwdriver (for removing hardware)
Preparation
Proper preparation is key to achieving a professional-looking paint job. Follow these steps:
- Remove Hardware and Accessories: Begin by removing any hardware or accessories attached to the door, such as knobs, locks, and hinges. This will make the painting process smoother and help you avoid accidentally painting these items.
- Clean the Door Thoroughly: Use a mild detergent and water to clean the door’s surface. This will remove dirt, grime, and any residues, ensuring a clean canvas for your paint.
- Sand the Surface: Sand the door’s surface using medium-grit sandpaper to smooth out any imperfections or old paint. Follow up with fine-grit sandpaper to create a smooth, paint-ready surface.
- Apply Painter’s Tape: Protect adjacent areas, such as the door frame and glass, by applying painter’s tape. This will help you maintain clean, sharp lines during the painting process.
Choose the Right Paint

Selecting the right paint is crucial for a successful door-painting project. Here’s what you need to consider:
- Types of Paint: Enamel or semi-gloss paints are excellent choices for doors. They are durable and easy to clean, making them ideal for high-traffic areas like front and interior doors.
- Color Selection: Pick a color that complements your home’s decor. Consider the overall theme and style of your space to make a well-informed choice.
Prime the Door
Priming the door is an essential step to ensure proper adhesion and a consistent finish. Here’s how to do it:
- Apply Primer Evenly: Use a high-quality primer and apply it evenly to the entire door. This will help the paint adhere better and create a smoother finish.
- Allow It to Dry Thoroughly: Follow the manufacturer’s recommendations for drying times. It’s crucial to ensure the primer is completely dry before moving on to the painting stage.
Painting the Door
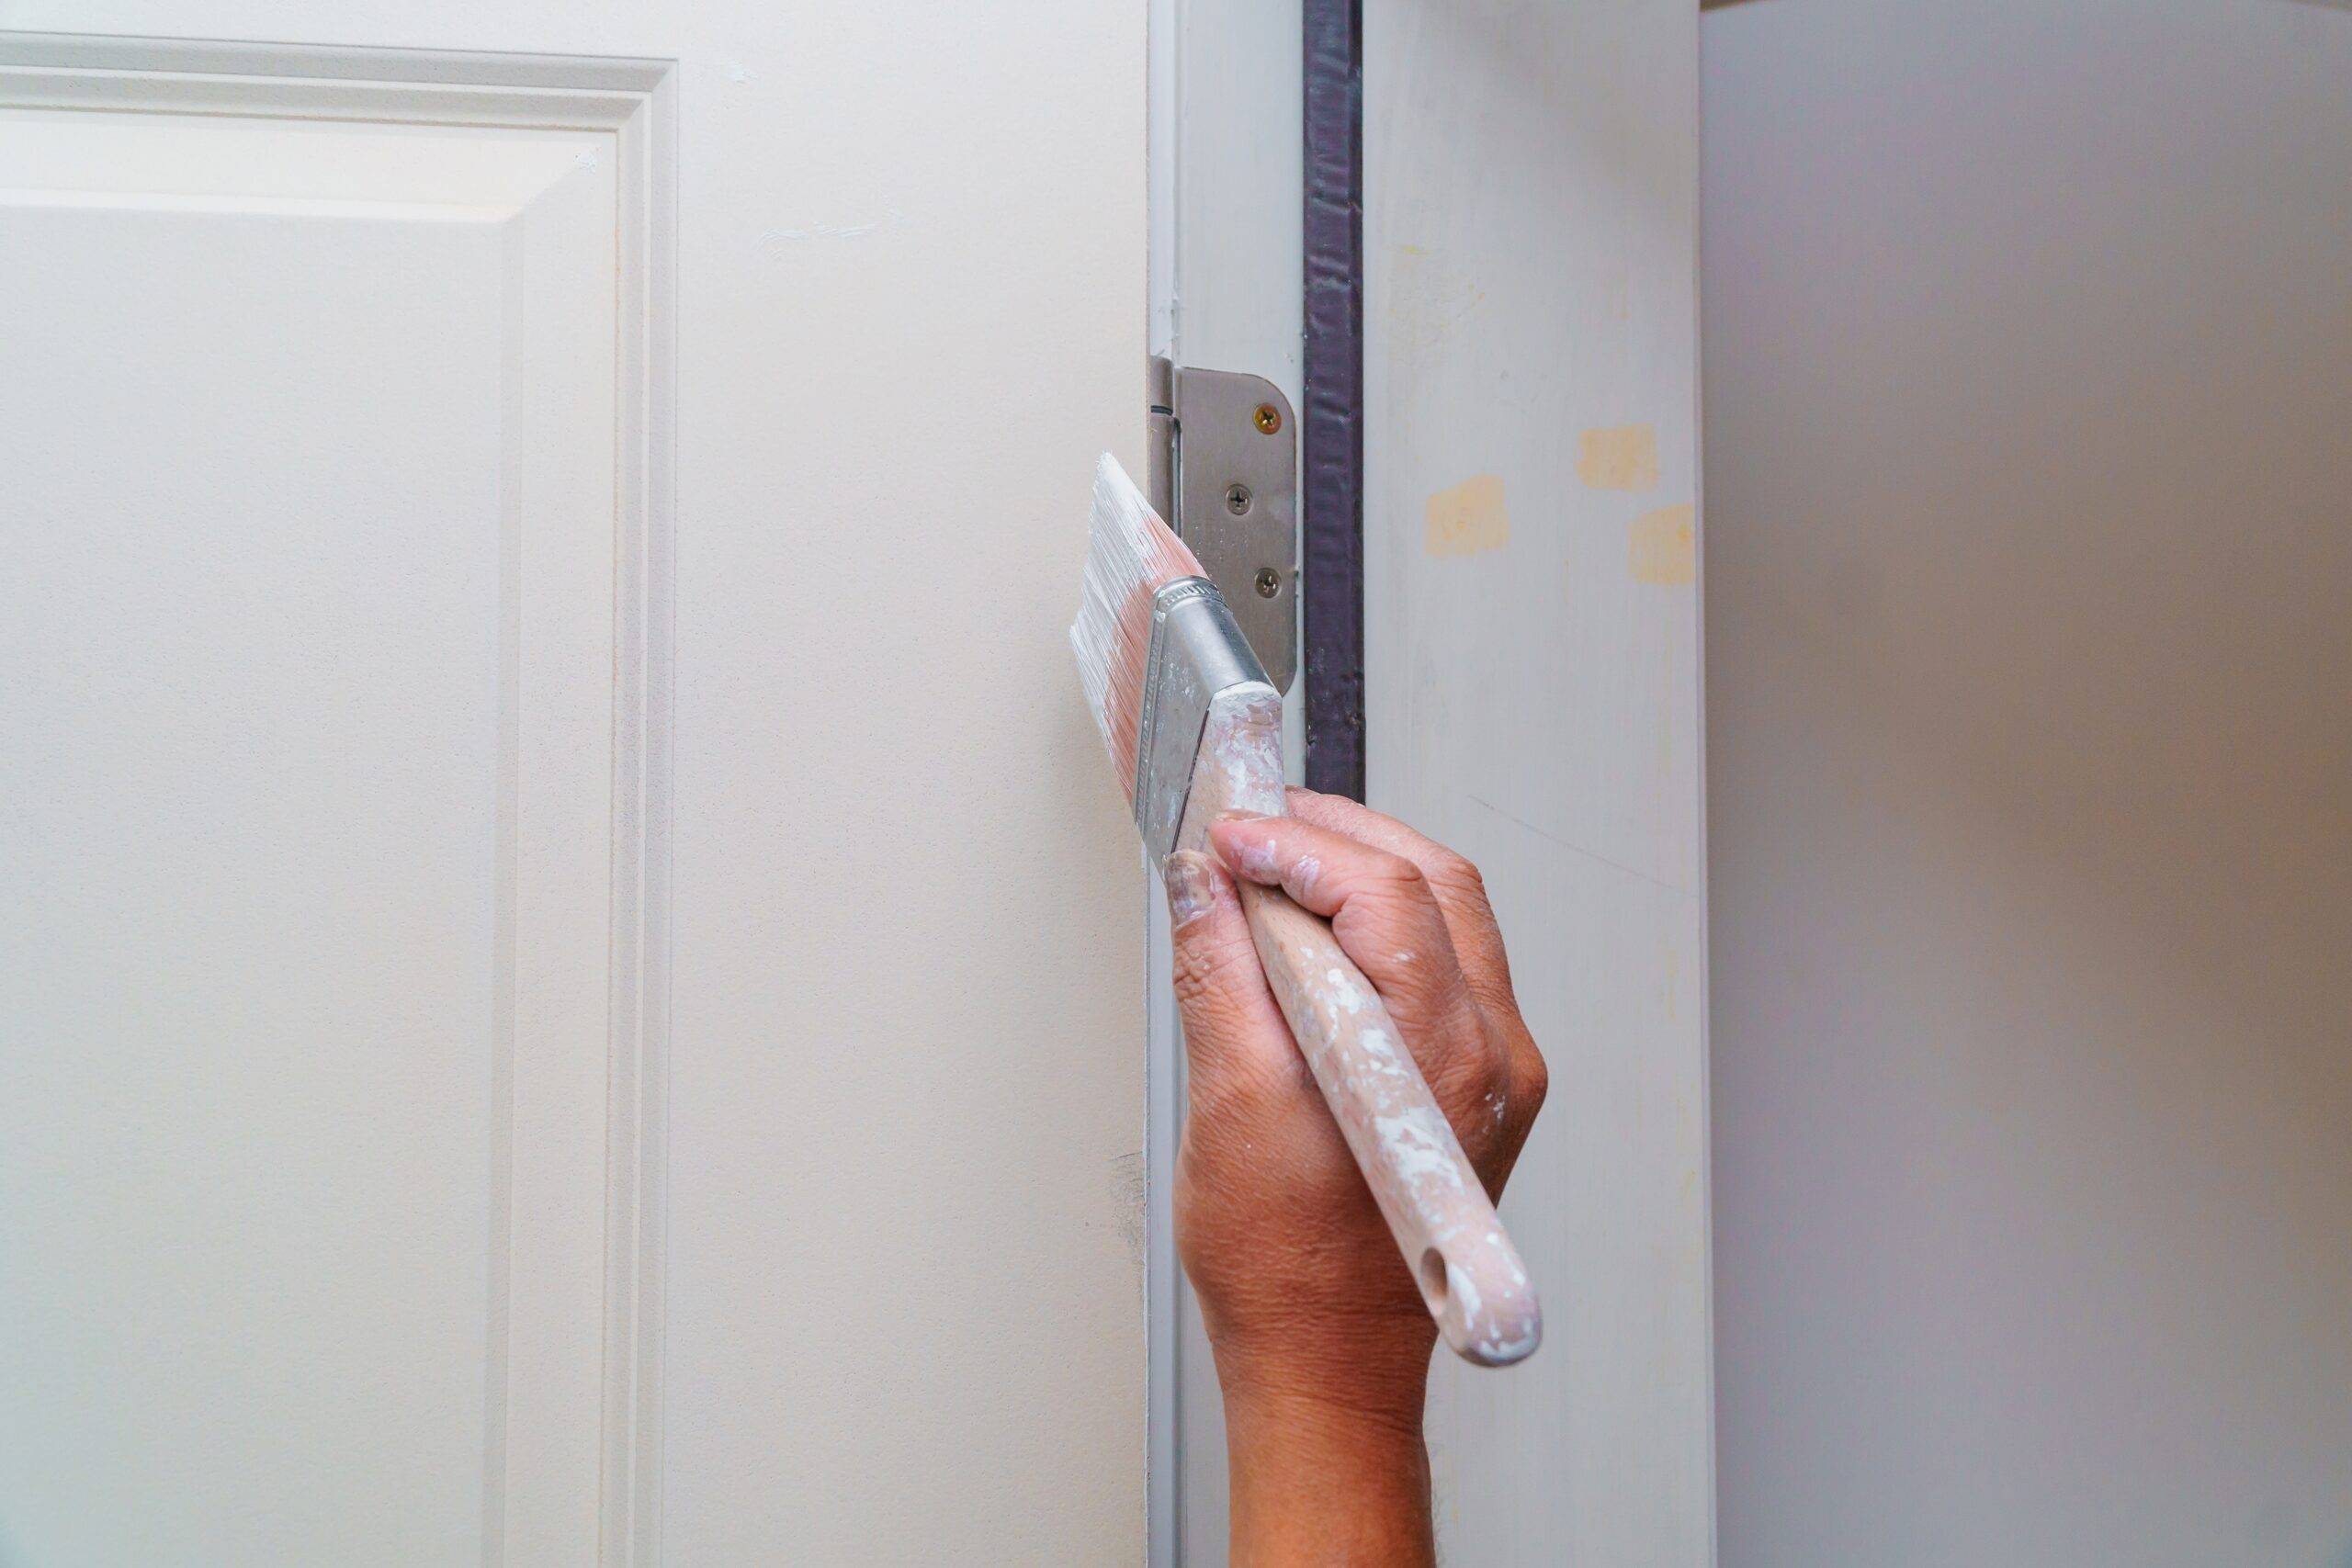
Now, it’s time to paint your door with precision:
- Start from the Top: Begin painting from the top of the door and work your way down. This will help prevent drips and ensure an even coat.
- Use Long, Even Strokes: Apply the paint with long, even strokes in the direction of the grain if your door is made of wood. This will create a uniform finish.
- Apply a Second Coat: Depending on the coverage, you may need to apply a second coat. Allow the first coat to dry before applying the second one.
Drying and Curing
After you’ve painted the door, it’s crucial to allow it to dry and cure properly:
- Follow the paint manufacturer’s recommendations for drying times and ideal weather conditions. Usually, a few hours between coats and 24 hours for full curing are needed.
Reinstalling Hardware

Once the paint has dried and cured, it’s time to reinstall the hardware and accessories:
- Be sure to reattach knobs, locks, and hinges with precision and ensure they are aligned correctly.
Clean-Up
Proper clean-up is essential to maintain the longevity of your painting tools and dispose of paint waste responsibly:
- Clean your brushes and other tools according to the paint manufacturer’s recommendations.
- Dispose of any paint waste in an environmentally friendly manner, following local regulations.
Final Touches

Before you consider your door-painting project complete, inspect the painted door for any touch-ups or imperfections. If needed, add a coat of clear sealer for added protection and shine.
Congratulations, you’ve successfully painted your door like a pro! Taking the time to prepare, choose the right materials, and follow these steps will result in a beautifully painted door that adds charm and elegance to your home


