How Does a Stud Finder Work & How to Master Its Use
Are you tired of the trial-and-error method when it comes to hanging objects on your walls? Knowing how a stud finder works can save you time, effort, and frustration.
In this article, we will delve into the world of stud finders, exploring their functionality, different types, and how to use them effectively.
What is a Stud Finder?
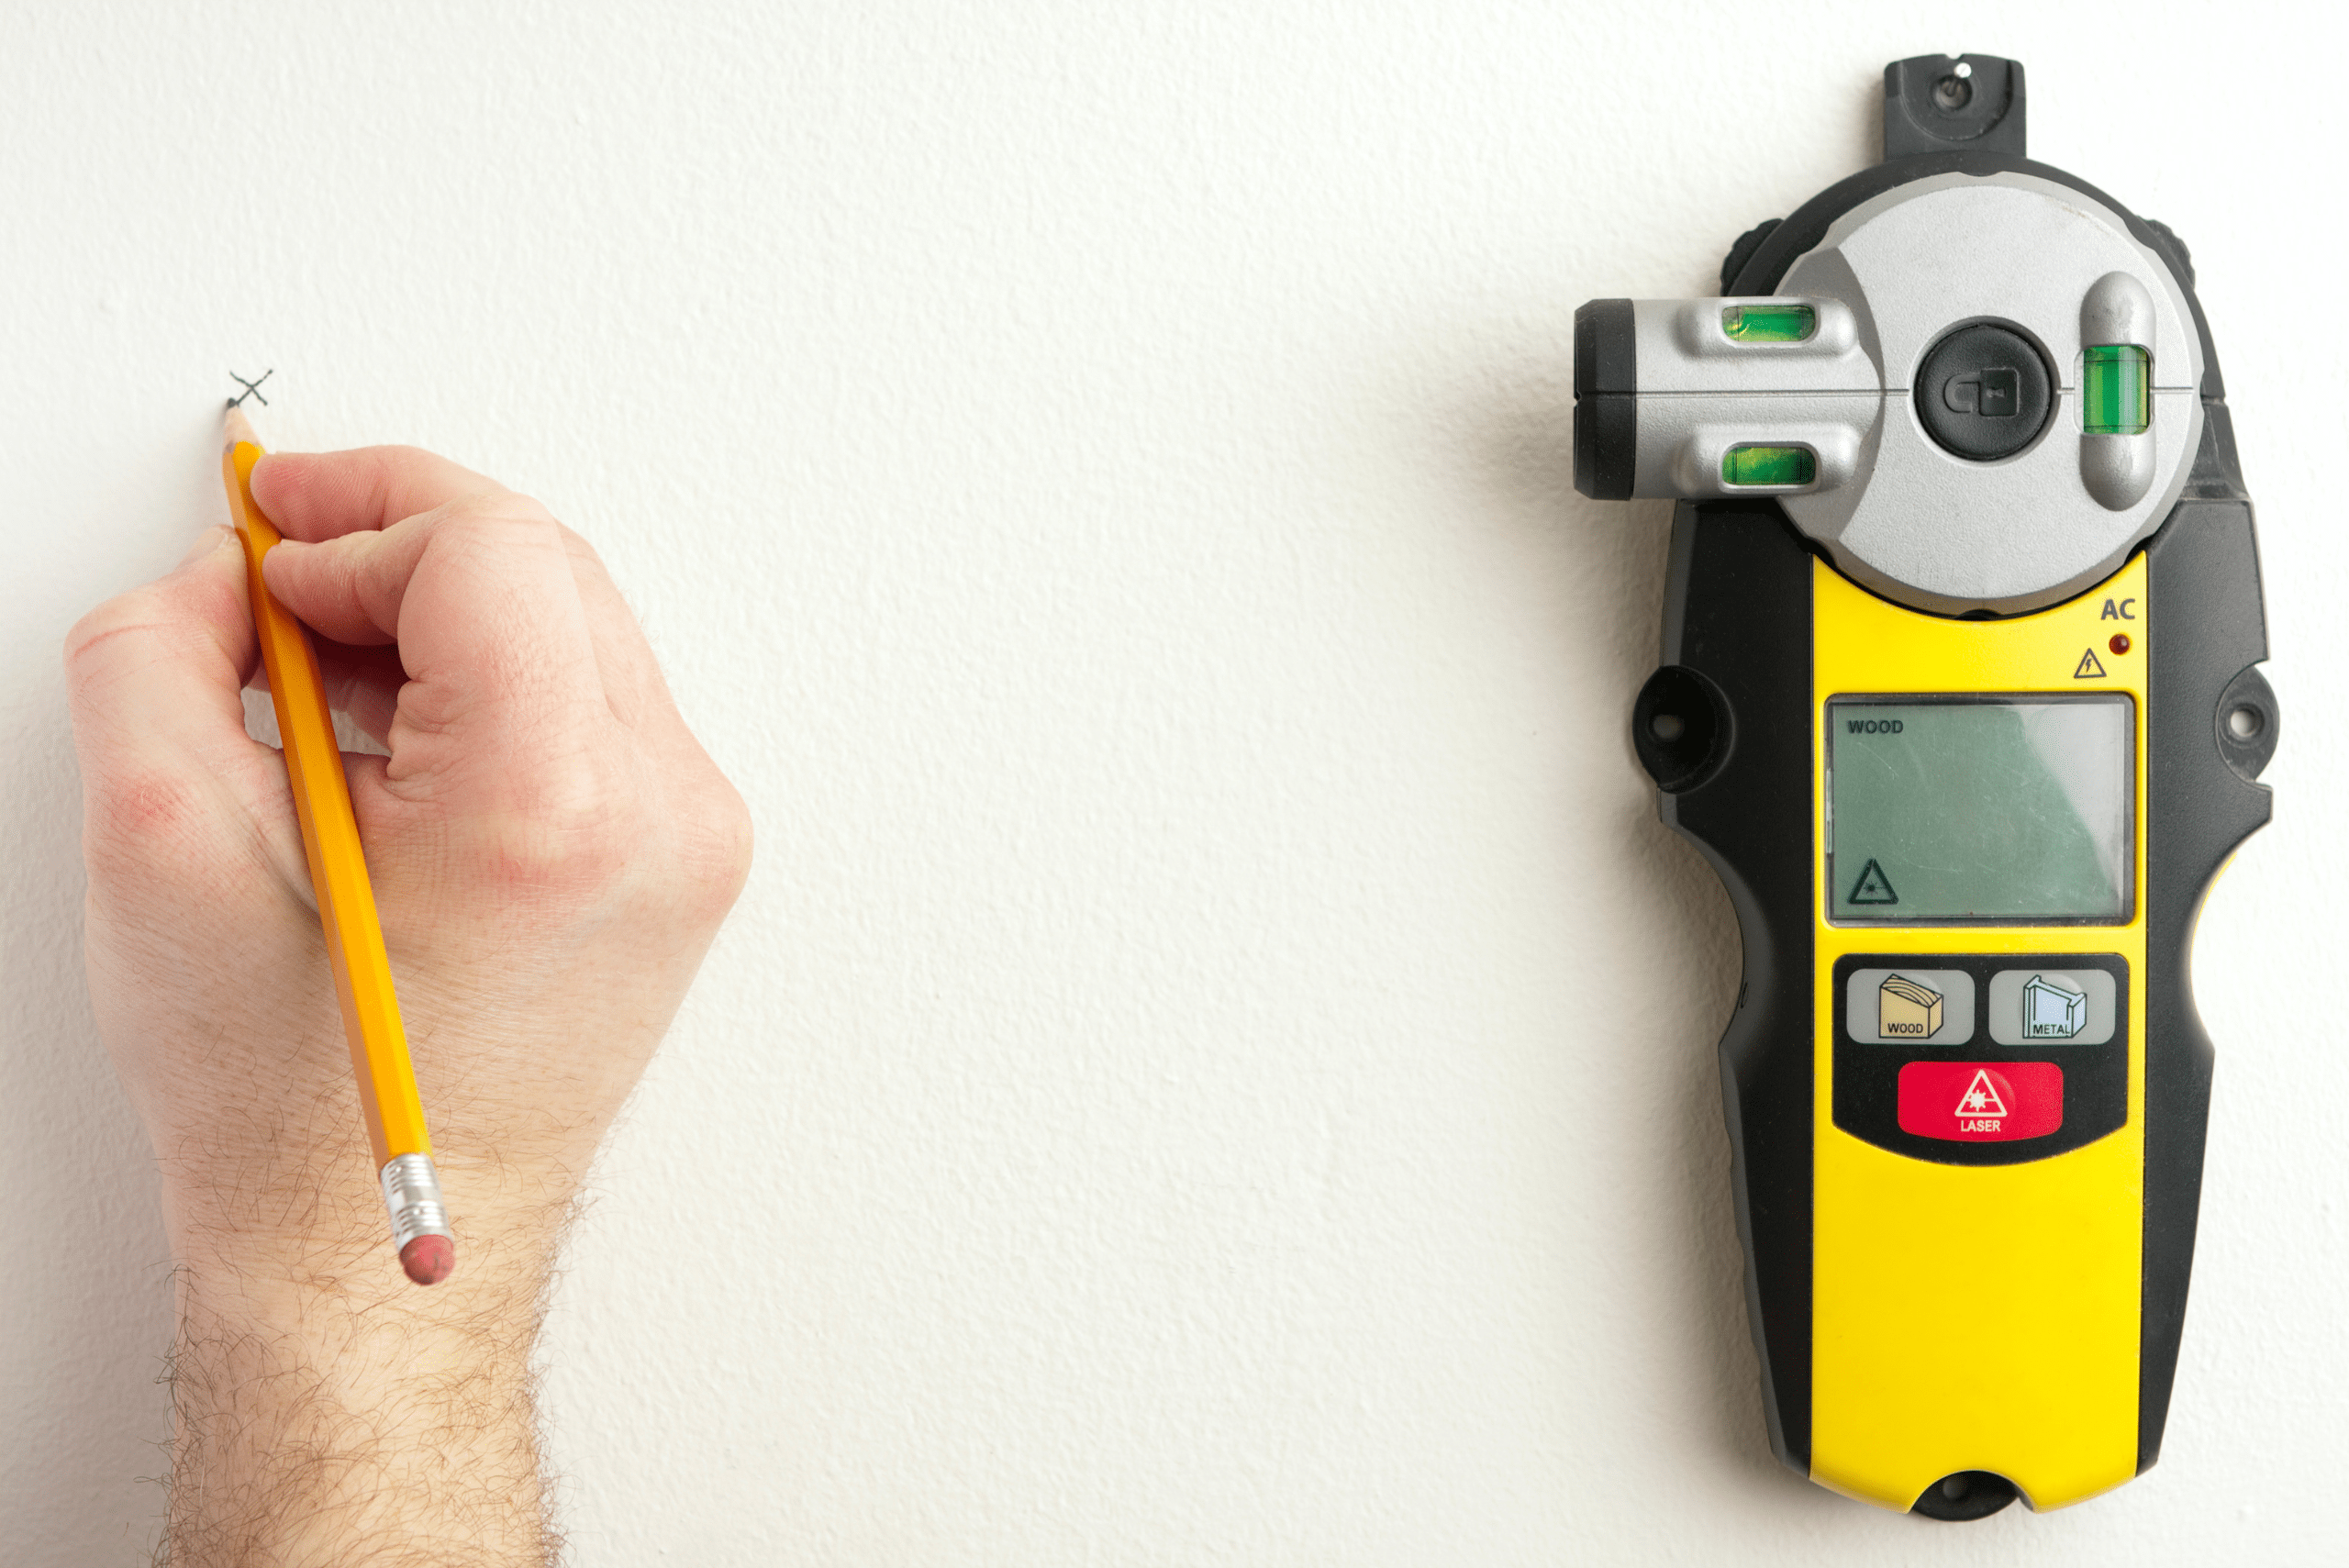
A stud finder is a handy tool used to locate the studs or wooden frames behind your walls. It helps you find a secure spot to hang heavy objects like shelves, televisions, or artwork. There are different types of stud finders available, including electronic, magnetic, and ultrasonic.
How Does a Stud Finder Work?
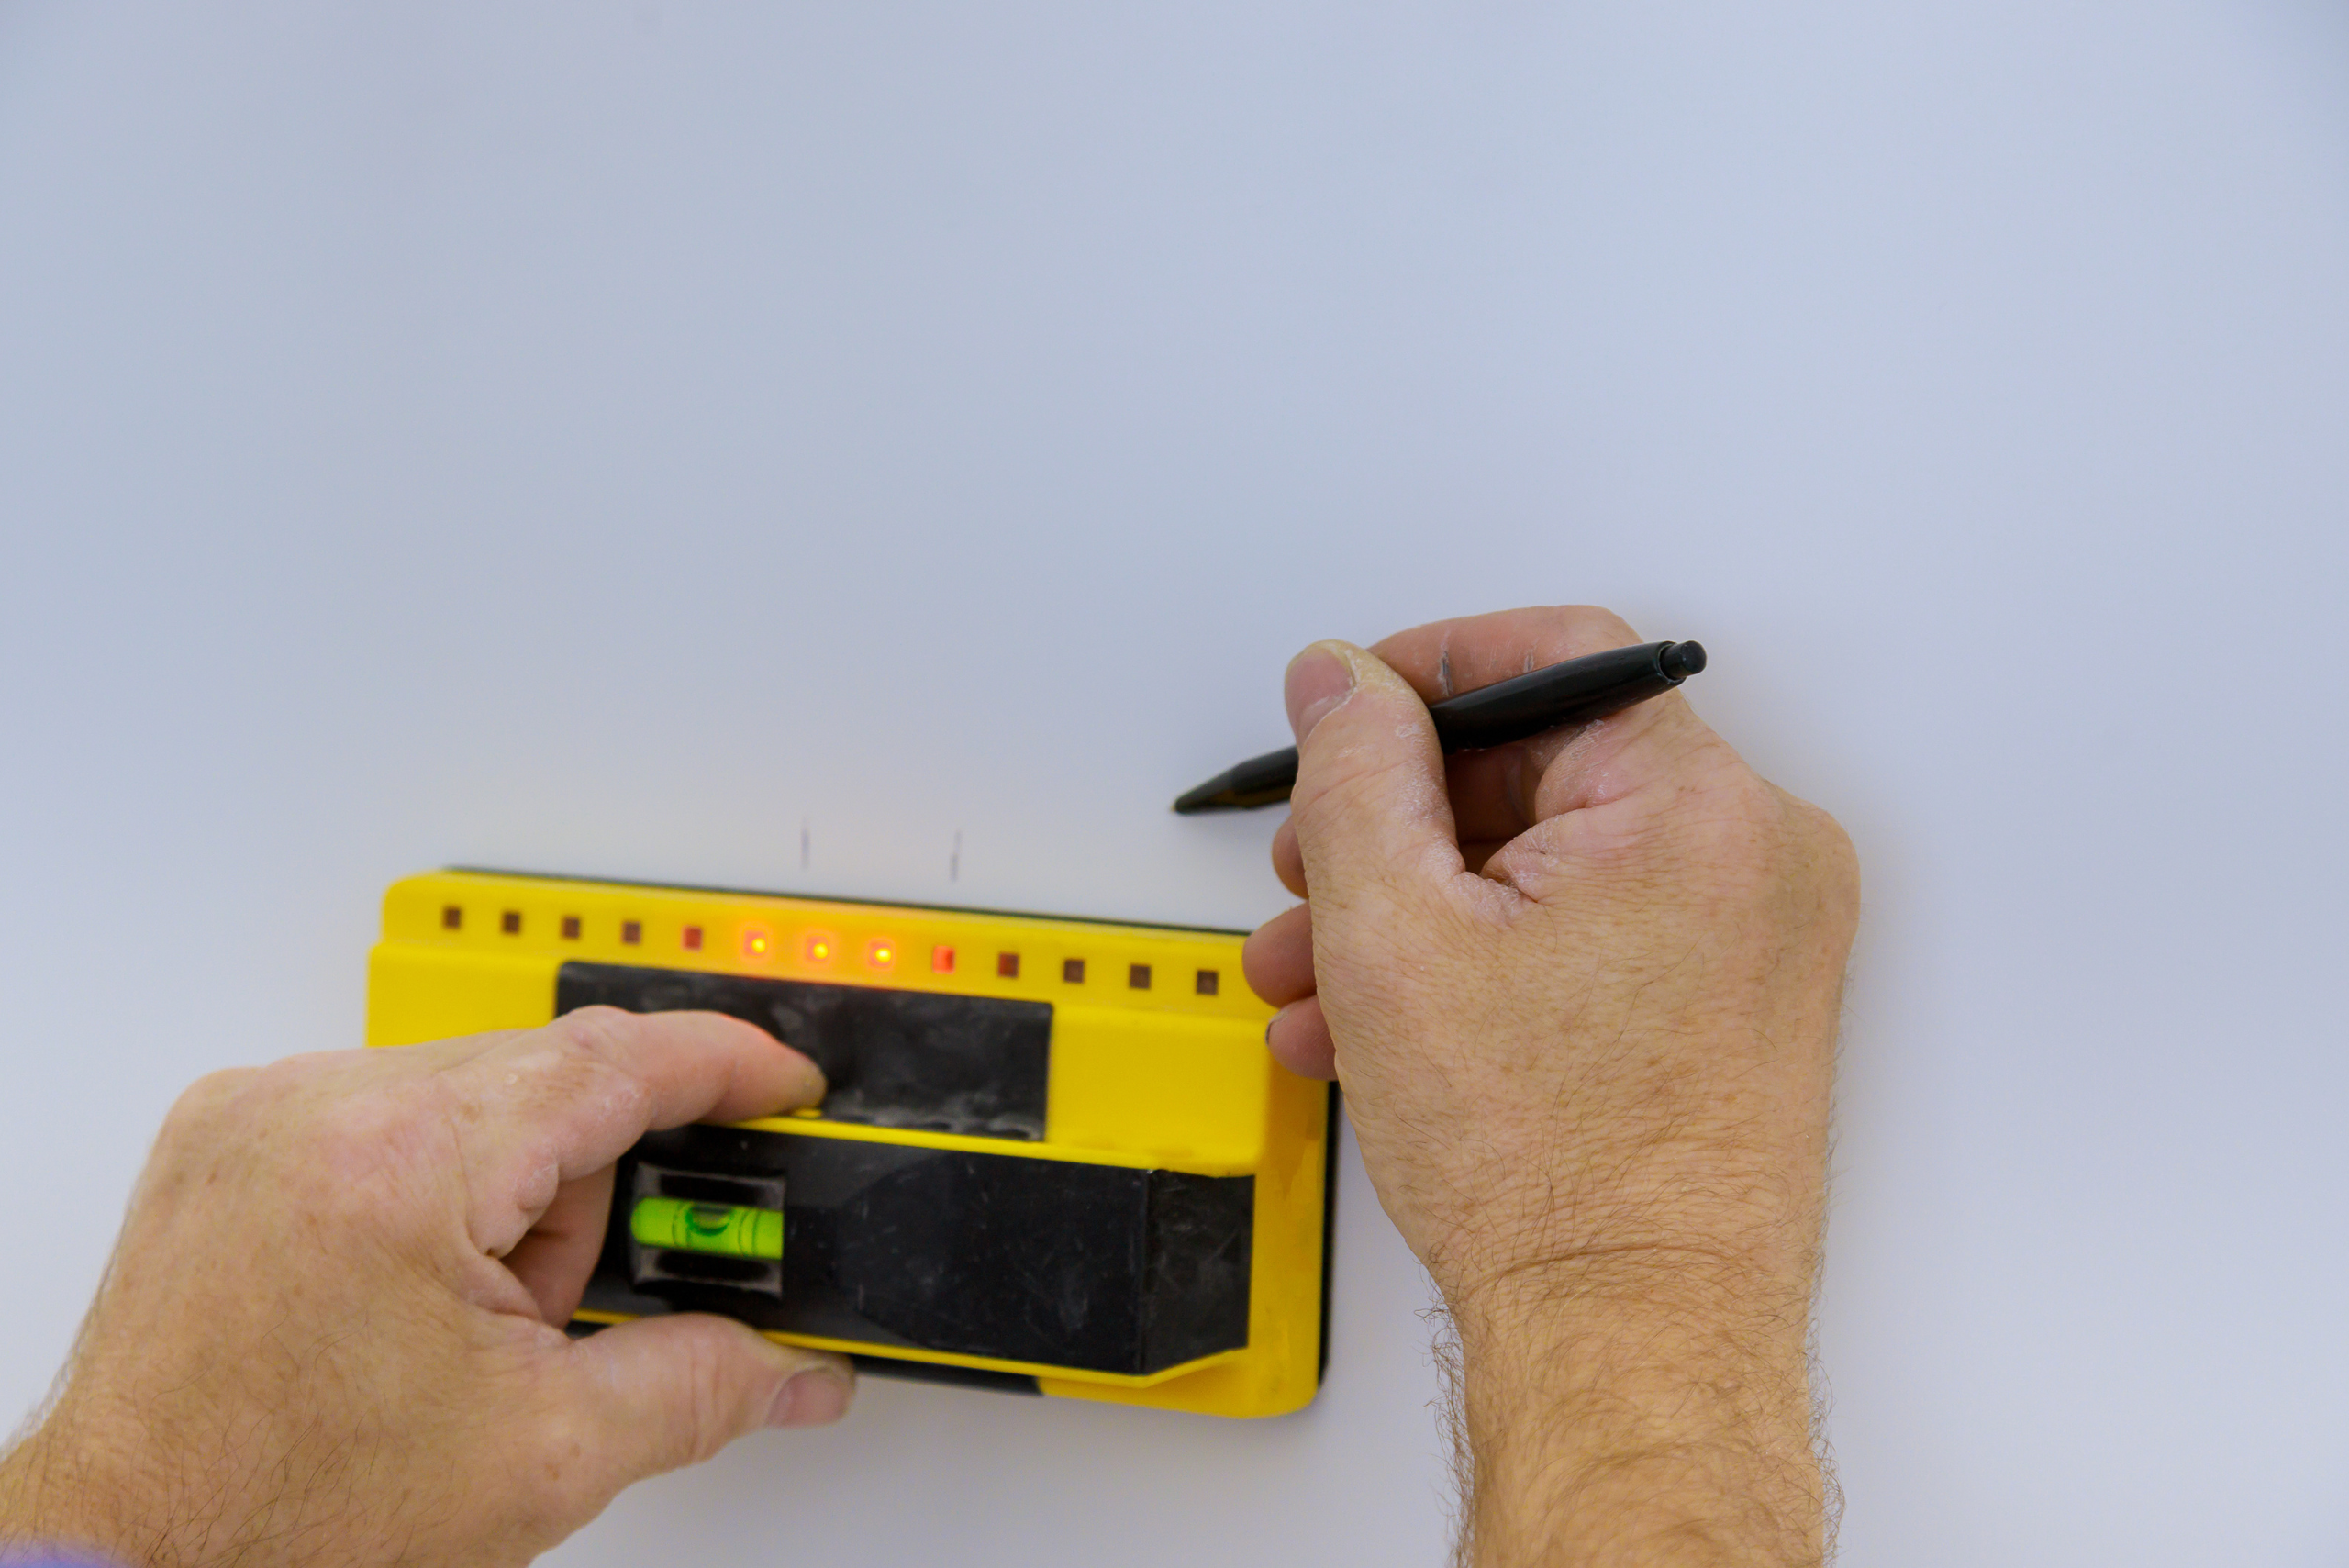
Stud finders provide a non-invasive means of locating studs behind walls by measuring density changes, responding to magnetic properties, or utilizing sound waves to identify the hidden support structures. There are three types of stud finders that you’d typically be choosing between:
- Using Electronic Stud Finders:
-
- Sensors and Density Measurement: Electronic stud finders utilize sensors that measure changes in density behind the wall. When the device passes over a stud, the density changes, and the sensor registers this variation. This technology enables accurate detection of the wooden studs within the wall.
To use an electronic stud finder, start by calibrating the device according to the manufacturer’s instructions. Place the stud finder against the wall and slowly move it horizontally until it detects a stud. Mark the location and repeat the process to find additional studs. Remember to follow any additional guidelines provided by the specific model you are using for optimal accuracy.
- Using Magnetic Stud Finders:
- Magnetic Attraction Principle: Magnetic stud finders operate on the principle of magnetic attraction. The tool contains a magnet that interacts with the metal fasteners, such as nails or screws, used to secure the drywall to the wooden studs. As the magnet aligns with these metal elements, the tool signals the presence of a stud.
If you prefer a simpler approach, a magnetic stud finder might be the right choice for you. Hold the magnetic stud finder against the wall and move it slowly until you feel the magnet pull toward a nail or screw. This indicates the presence of a stud. Mark the location and repeat the process to locate other studs. Keep in mind that magnetic stud finders are most effective when used on walls with drywall or other non-metallic surfaces.
- Using Ultrasonic Stud Finders:
- Sound Wave Emission and Detection: Ultrasonic stud finders take a different approach by emitting sound waves. These waves travel through the wall and bounce back upon encountering a stud. The device’s sensors then detect the returning waves, signaling the presence of a stud. This technology is particularly useful for identifying the exact location of studs.
Ultrasonic stud finders utilize sound waves to detect studs. To use one, hold the device against the wall and press the button to emit the sound waves. Move the device across the wall, listening for changes in pitch or beeping sounds. These indicate the presence of a stud. Mark the location and continue scanning for other studs. Ultrasonic stud finders are great for detecting studs behind different wall materials, but they may require more practice to use accurately.
Common Mistakes to Avoid When Using a Stud Finder: Ensuring Accurate Readings

Achieving precise results with a stud finder hinges on steering clear of common mistakes that can compromise accuracy. Understanding these pitfalls and adopting corrective measures is crucial for successful stud detection.
- Improper Calibration:
- The Mistake: Neglecting to calibrate the electronic stud finder properly is a primary error. Calibration ensures the tool adapts to the specific wall conditions, and skipping this step can lead to inaccurate readings.
- The Fix: Always take the time to calibrate the stud finder according to the manufacturer’s instructions before each use. This simple yet critical step sets the foundation for accurate stud detection.
- Inadequate Movement and Pressure:
- The Mistake: Applying too much pressure or moving the stud finder too quickly across the wall can result in missed studs. The tool requires a deliberate and unhurried approach to register accurate readings.
- The Fix: Maintain a steady pace and exert consistent, moderate pressure as you move the stud finder along the wall. This ensures the device has sufficient time to detect changes in the wall density.
- Magnetic Stud Finder on Metal Surfaces:
- The Mistake: Utilizing a magnetic stud finder on walls with metal surfaces can yield false readings. The magnetic field reacts to the metal, creating misleading signals that may not represent the actual location of the studs.
- The Fix: Be mindful of the wall composition and switch to an electronic stud finder if you’re working with walls that have metal elements. Electronic stud finders are designed to provide accurate readings despite the presence of metal.
- Neglecting Tool Familiarization:
- The Mistake: Not taking the time to familiarize yourself with the specific features and instructions of the stud finder can lead to user errors and misinterpretation of readings.
- The Fix: Before use, thoroughly read the user manual and familiarize yourself with the functions of the stud finder. Understanding its limitations and capabilities enhances your ability to use it effectively.
- Disregarding Wall Material:
- The Mistake: Overlooking the type of wall material can impact the accuracy of stud finder readings. Different wall materials may require adjustments to the stud finder settings.
- The Fix: Adjust the stud finder settings based on the wall composition, whether it’s drywall, plaster, or another material. This customization ensures optimal performance and reliable results.
Alternative Methods for Finding Studs: Resourceful Solutions
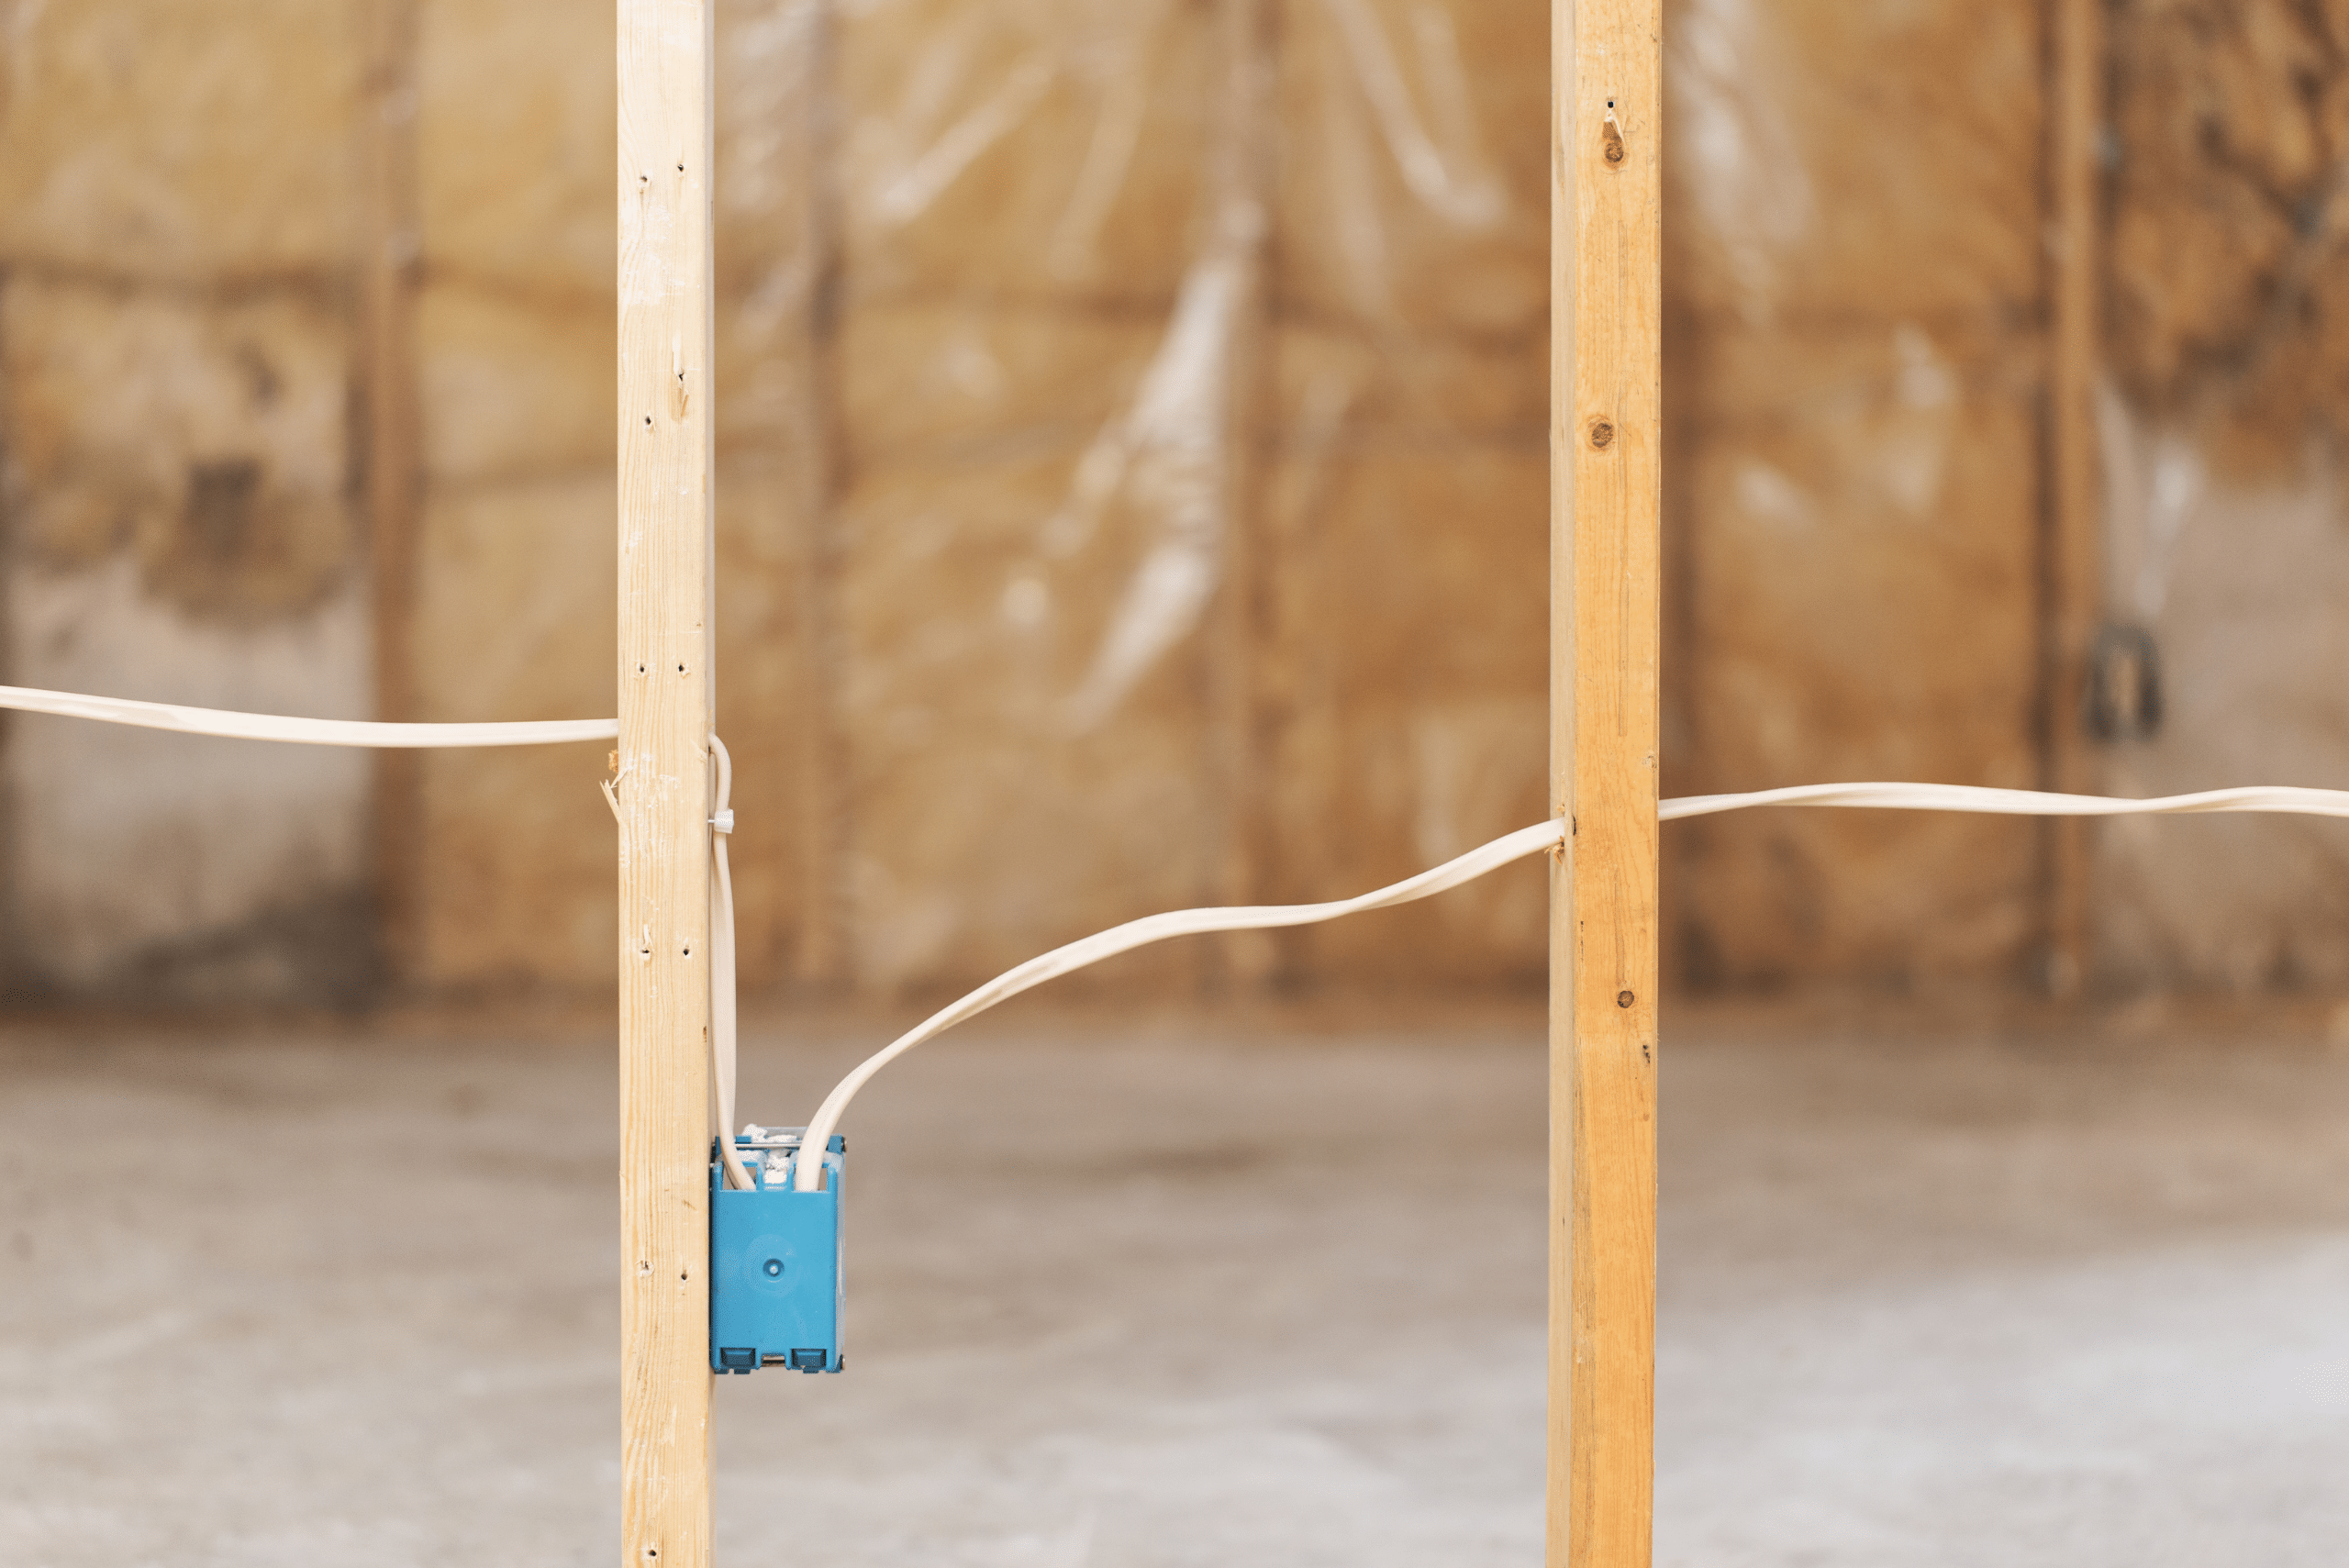
When a stud finder is out of reach, resourcefulness becomes key in locating studs for your project. Here are alternative methods that rely on simple yet effective techniques:
- Tapping for Solidity:
- The Method: Lightly tap on the wall and listen for the sound. A solid, rather than hollow, sound indicates the presence of a stud.
- Why It Works: The studs behind the drywall create a denser, more solid sound when tapped. This method allows you to detect changes in wall density without the need for a stud finder.
- Measuring from Electrical Outlets:
- The Method: Measure from electrical outlets, as they are often anchored to studs. Standard stud placement guidelines are typically followed during construction.
- Why It Works: Electrical outlets are commonly attached to the sides of studs, offering a reliable reference point. Measuring from these points increases the likelihood of pinpointing stud locations accurately.
- Visual Clues:
- The Method: Look for visual clues on the wall, such as baseboards, molding, or switch plates. Studs are typically located near these elements.
- Why It Works: Construction practices often involve attaching elements like baseboards or molding directly to studs. Identifying these features provides hints about stud placement.
- Previous Project Knowledge:
- The Method: Recall knowledge from previous projects or construction plans that indicate stud placement. This is especially useful in homes with consistent construction patterns.
- Why It Works: Homes often follow standardized construction practices. Knowledge of past projects or plans can guide you in estimating where wall studs are likely located.
- Visible Fasteners:
- The Method: Inspect the wall for visible fasteners, such as screws or nails. Studs are commonly used as anchoring points for these fasteners.
- Why It Works: Builders often secure items to studs for stability. Spotting fasteners provides visual cues about potential stud locations.
Frequently Asked Questions About Stud Finders
Are stud finders only used for locating studs?
While locating studs is their primary function, some stud finders have additional features like detecting live electrical wires or metal pipes.
Can stud finders be used on all types of walls?
Stud finders can be used on most walls, but some types may require specific stud finders. For example, magnetic stud finders are not suitable for walls with metal surfaces.
Other articles you might enjoy:
- Your Guide to Different Types of Drywall Anchors
- 10 Ways to Find a Stud in the Wall
- How To Properly Mount A TV On The Wall
Understanding how a stud finder works is a valuable skill for any DIY enthusiast. Whether you opt for an electronic, magnetic, or ultrasonic stud finder, these tools can make hanging objects a breeze. By following the proper steps and avoiding common mistakes, you’ll be able to locate studs accurately and confidently. So, grab your stud finder and start utilizing your walls with ease!

