8 Tips for Installing a New Sink Yourself
Installing a new sink can be a transformative update to any kitchen or bathroom, enhancing both functionality and aesthetics. Whether you’re a seasoned DIY enthusiast or a beginner looking to take on a new project, understanding the intricacies of sink installation is crucial. From selecting the right sink and tools to ensuring a secure and leak-proof fit, each step requires careful planning and attention to detail. This guide will walk you through the essential tips and tricks for a successful sink installation, helping you avoid common pitfalls and achieve a professional-looking result.
Ready to take on life with unshakable confidence? Whether you’re aiming to excel in your career, improve your relationships, or conquer DIY projects, NLP Hero’s Confidence Course is your key to success. Click here to start transforming your confidence and be better at everything you do!
By following these detailed instructions, you can ensure your new sink not only fits perfectly but also stands the test of time, providing years of reliable service. Let’s dive into the comprehensive steps and expert advice that will make your sink installation process smooth and stress-free.
Choosing the Right Sink for Your Space
The first step in any sink installation project is selecting the appropriate sink for your space. Consider the size and shape of your countertop, as well as the overall design of your kitchen or bathroom. Under-mount sinks offer a sleek, modern look and make countertop cleaning easier, while drop-in sinks are simpler to install and often more budget-friendly.
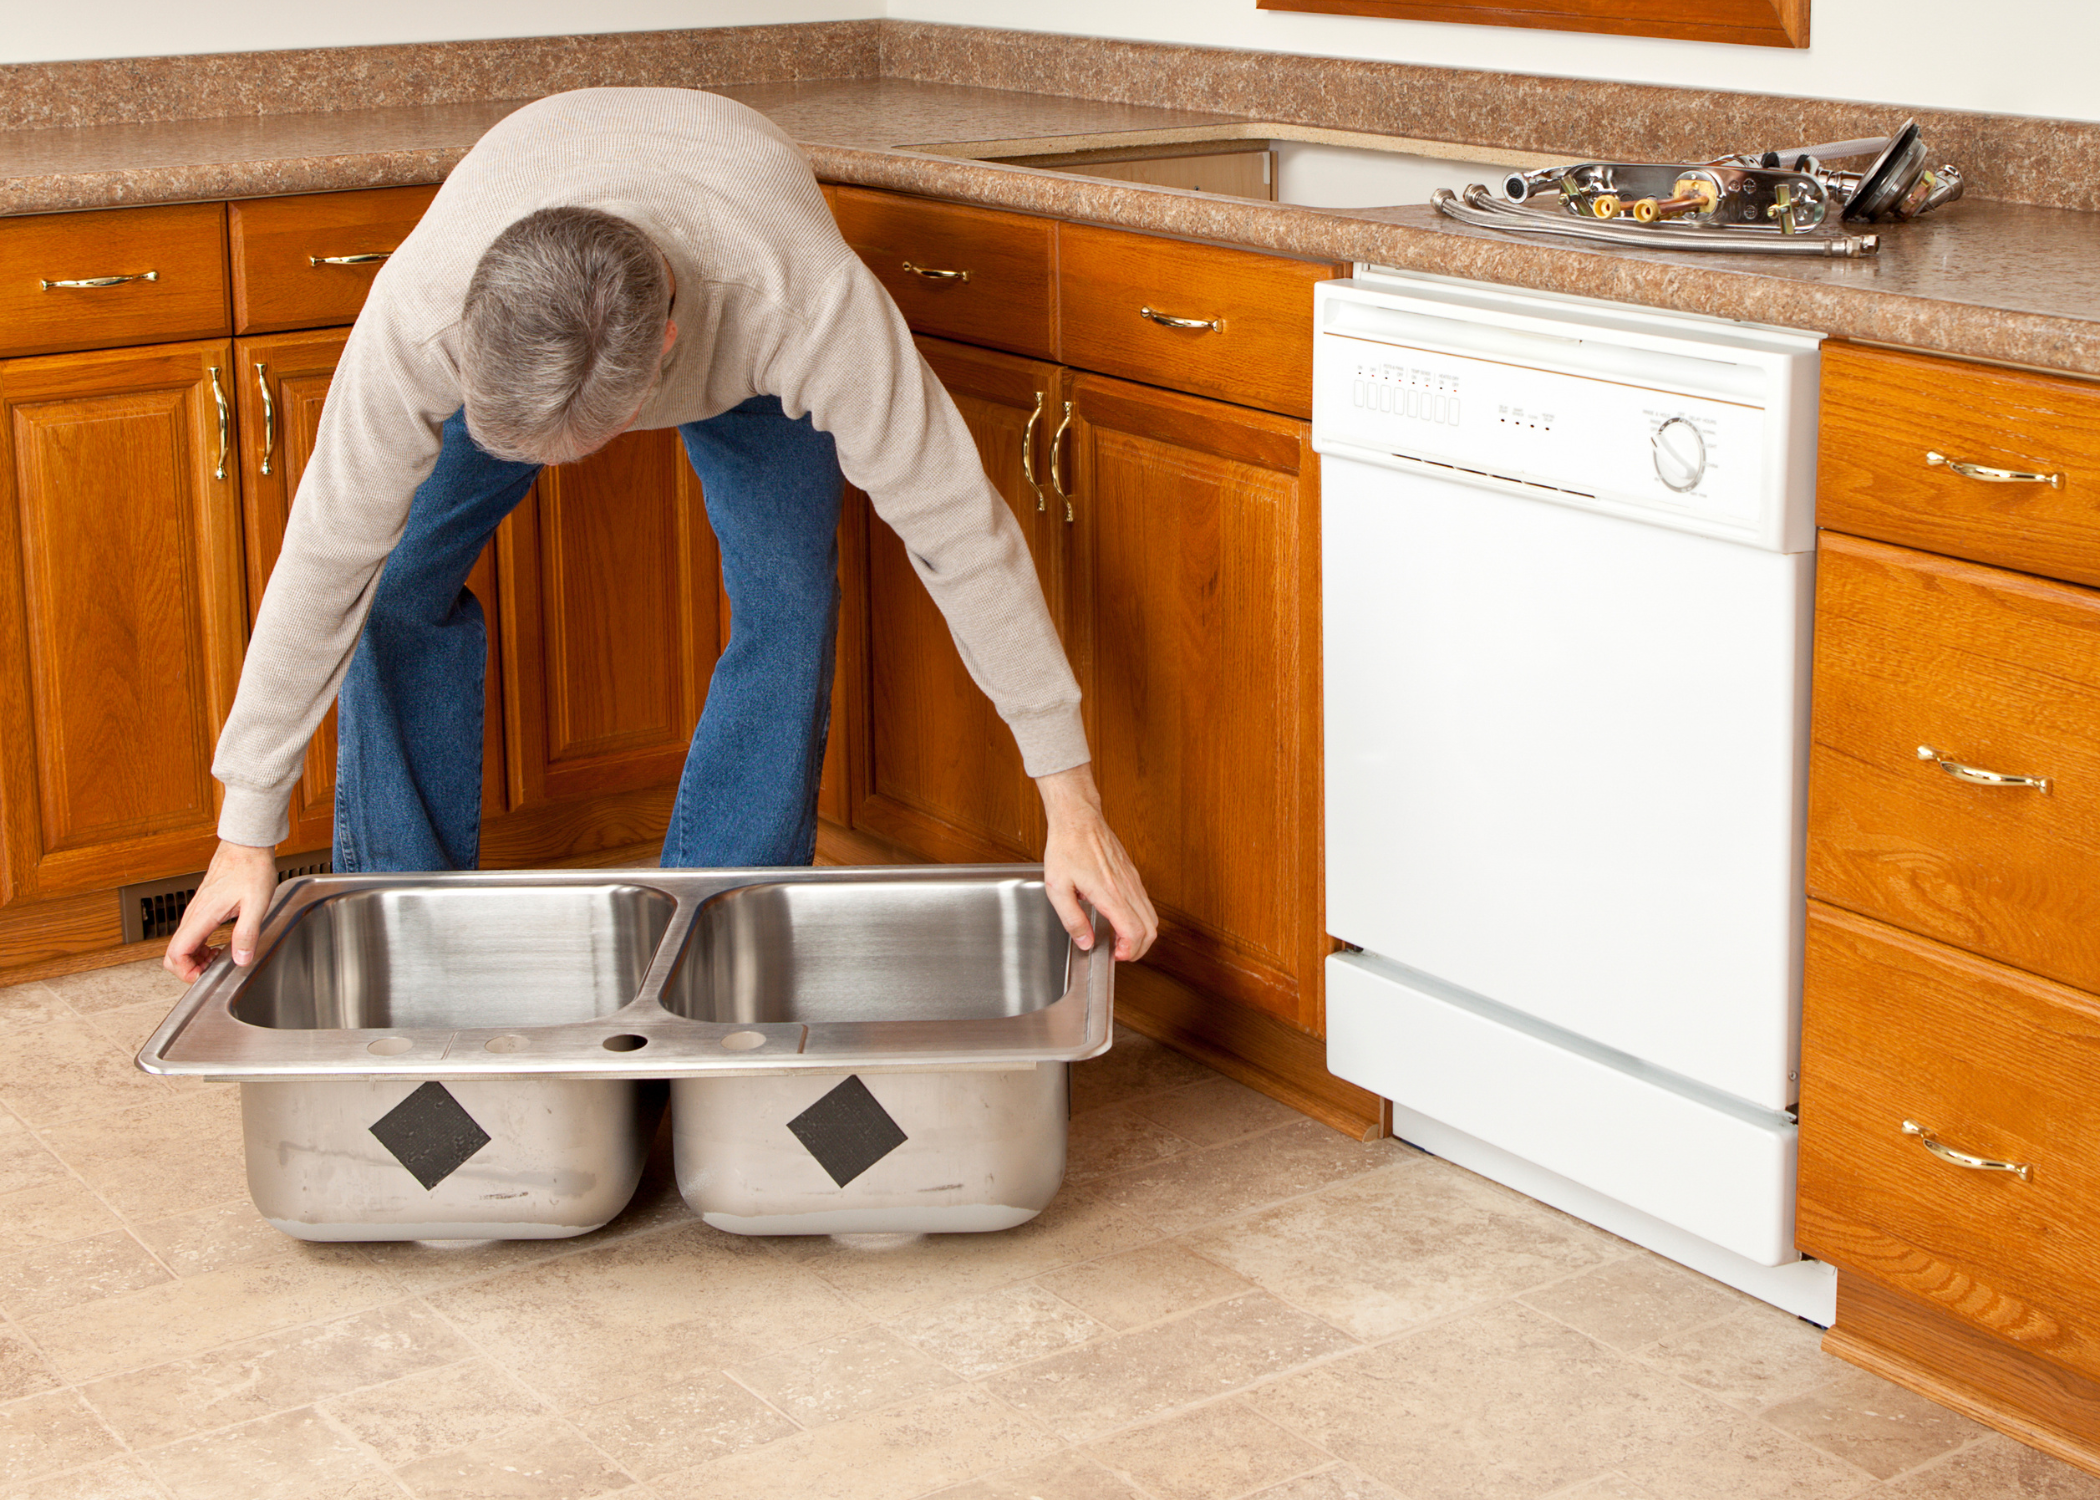
Materials are another key factor; stainless steel is durable and easy to clean, porcelain offers a classic look, and composite materials provide a blend of resilience and style. Be sure to measure your existing sink or countertop cutout accurately to ensure a perfect fit for your new sink.
Gathering the Necessary Tools and Supplies
Before you begin the installation process, gather all necessary tools and supplies. Essential tools include a basin wrench, adjustable wrench, plumber’s putty, silicone sealant, and a tape measure.
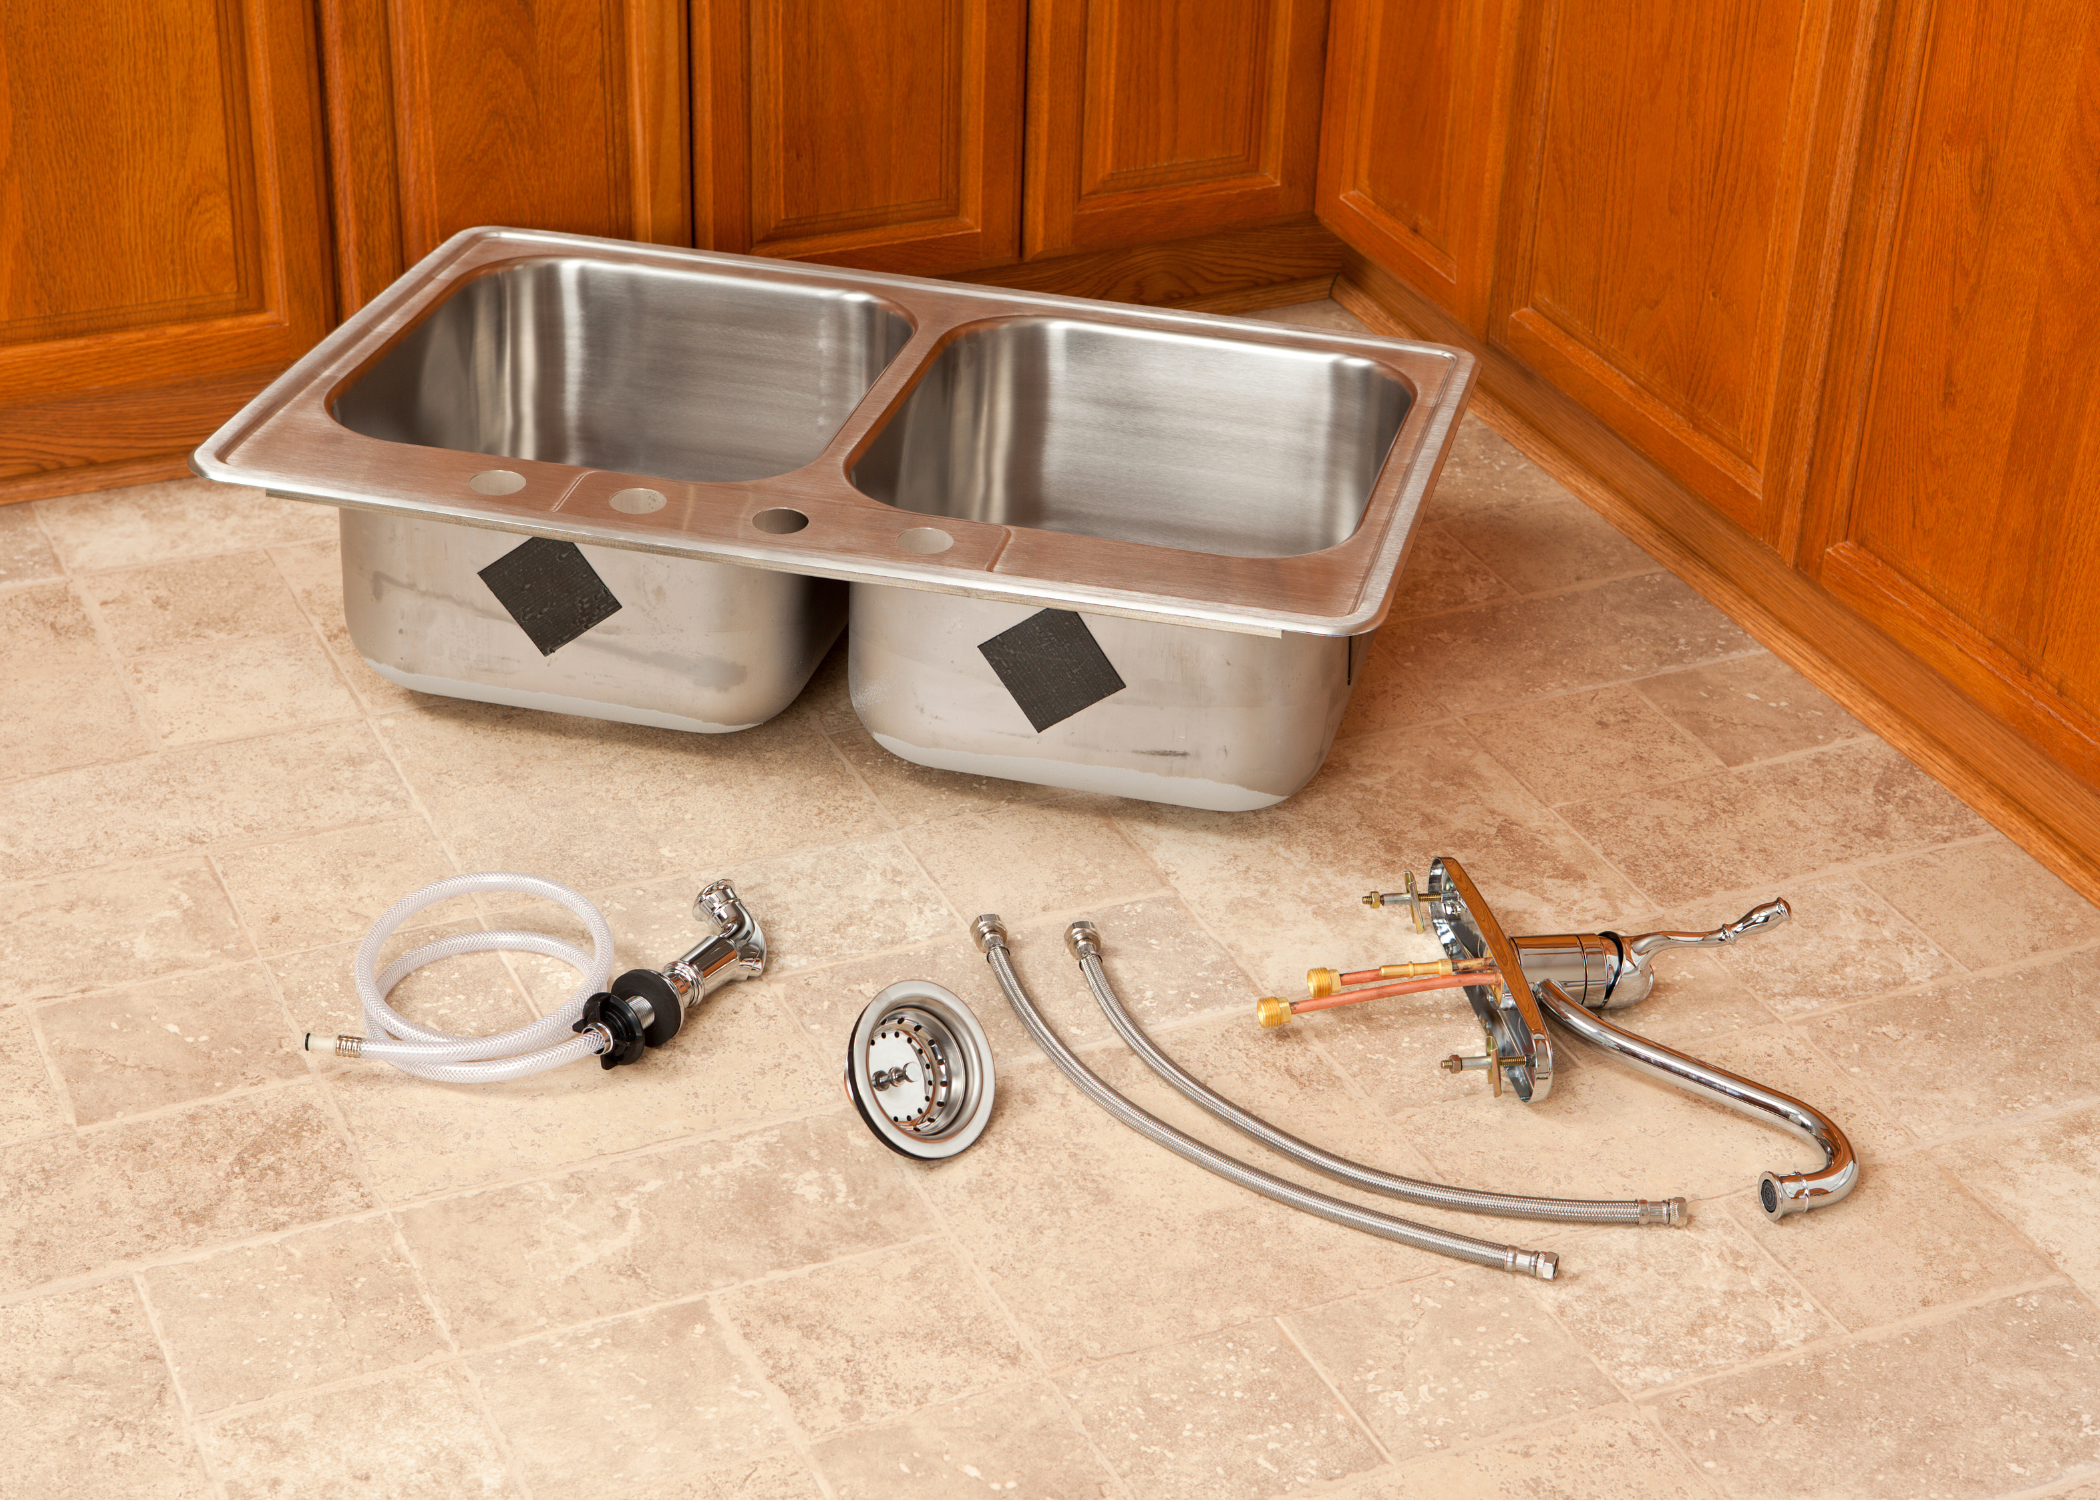
You may also need a jigsaw if you’re cutting a new hole in the countertop. Having these tools on hand will streamline the installation process and help you avoid unnecessary trips to the hardware store. It’s also wise to have a bucket and some towels ready to catch any water that might spill when disconnecting the old sink.
Shutting Off Water Supply
A crucial step in sink installation is shutting off the water supply to prevent any accidental flooding. Locate the water shut-off valves under your sink and turn them clockwise to close them. If your home does not have individual shut-off valves for the sink, you may need to shut off the main water supply.
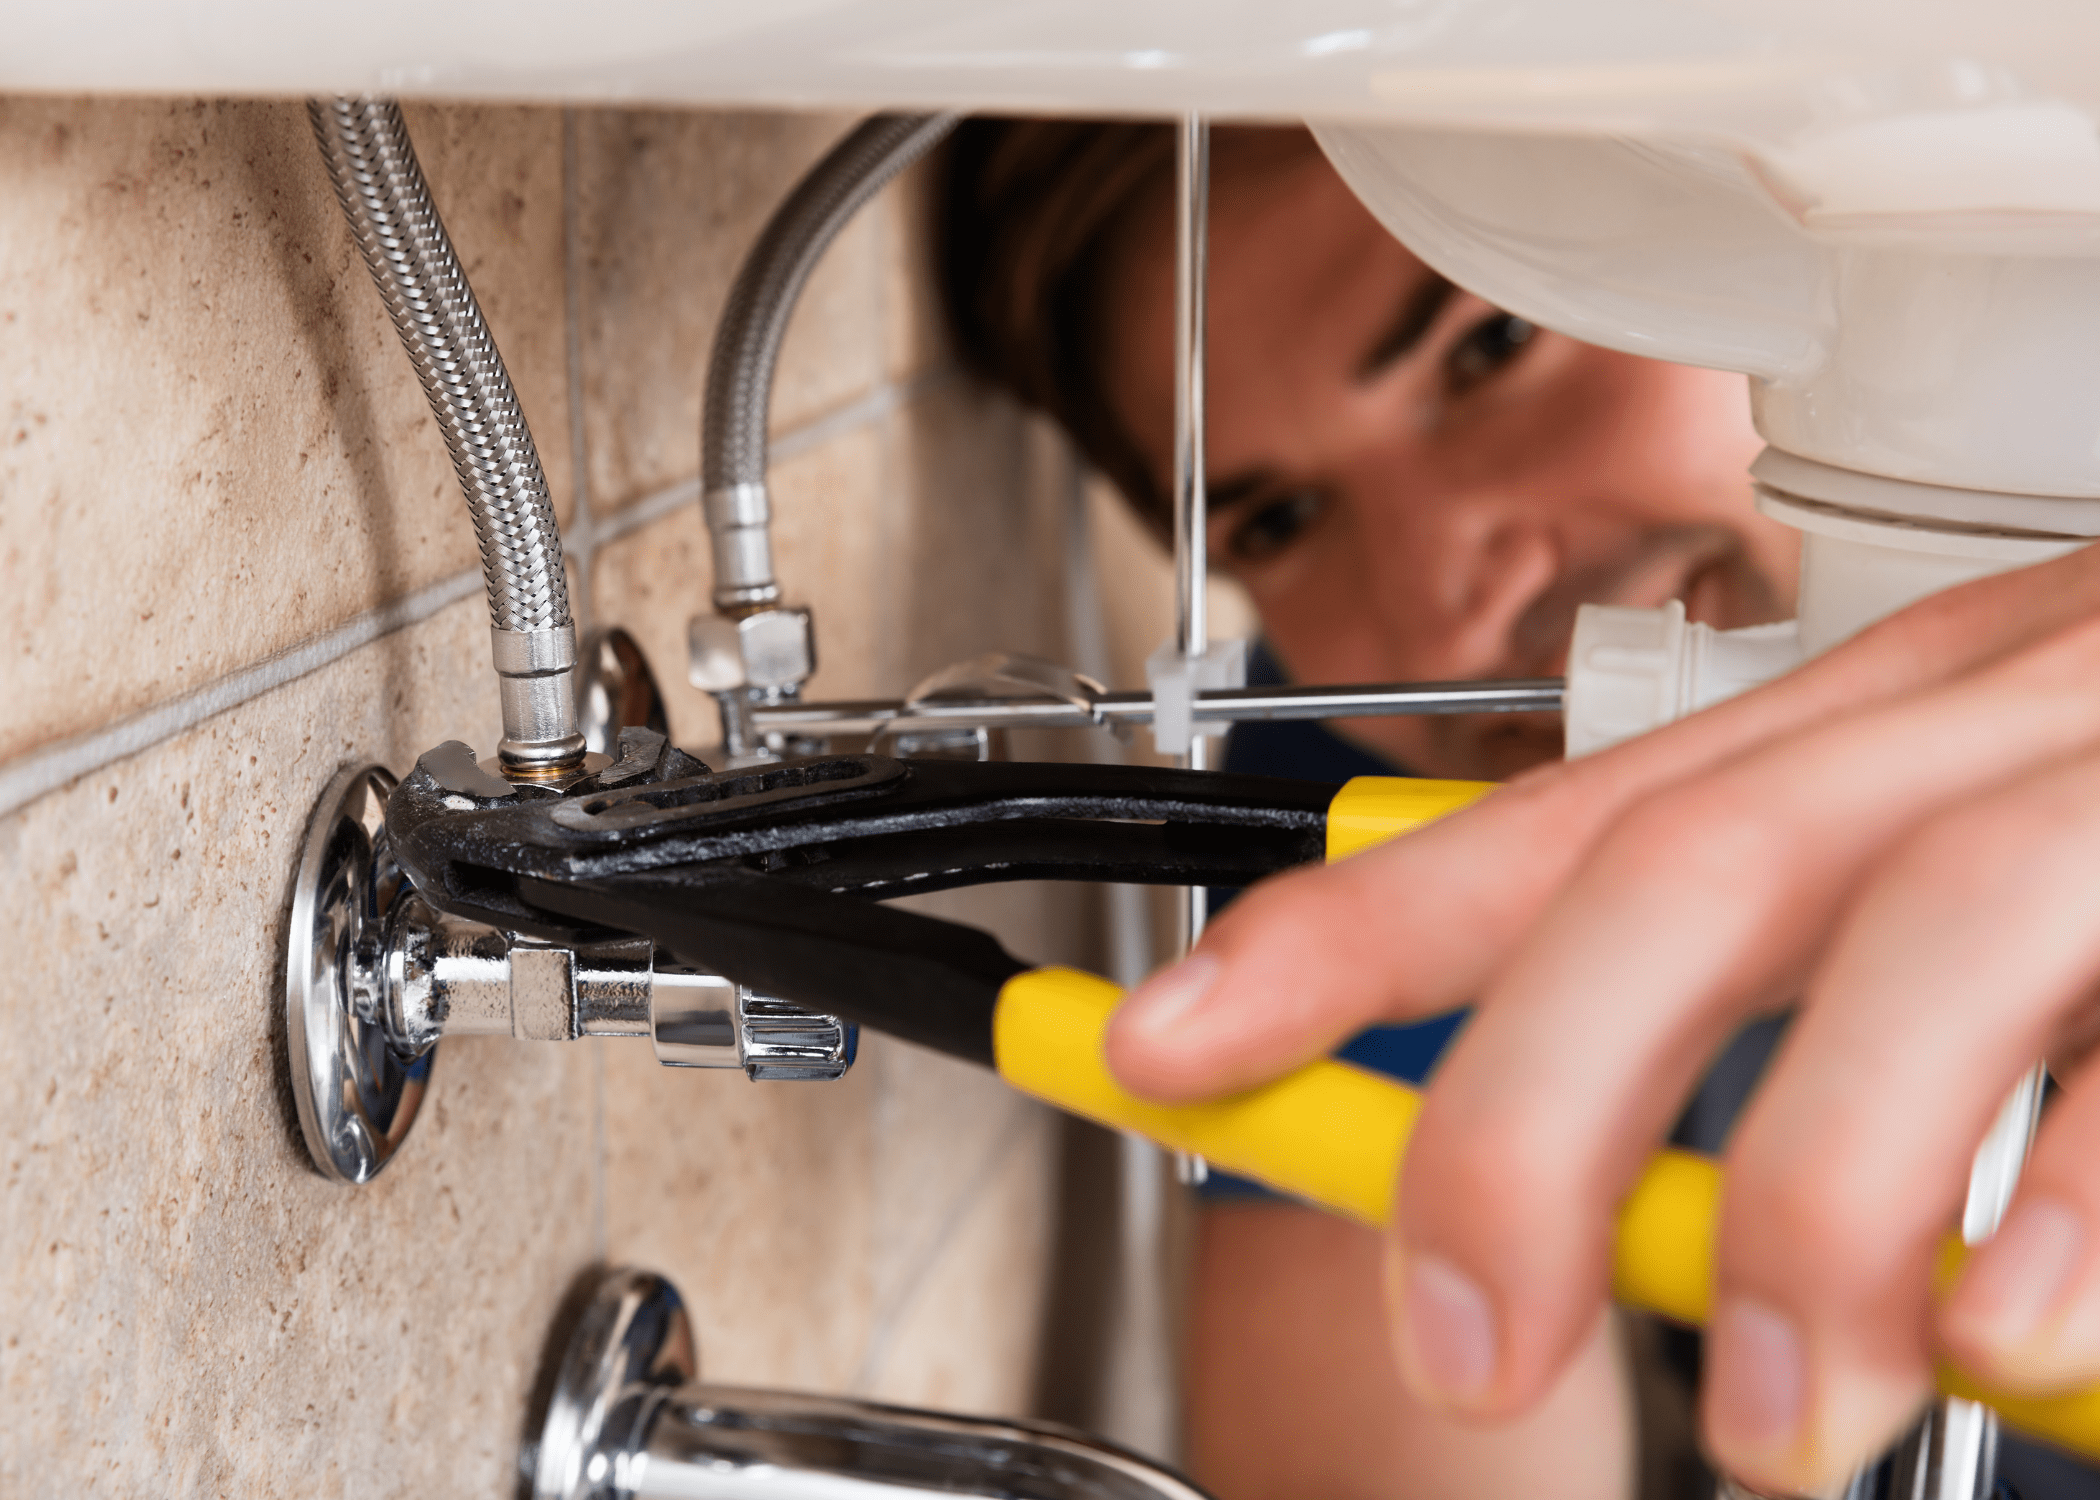
After turning off the water, open the faucet to drain any remaining water from the pipes. This step ensures a dry and safe working environment, prevents water damage, and smoothens the installation process.
Removing the Old Sink
Once the water supply is turned off, you can begin removing the old sink. Start by disconnecting the plumbing connections, including the supply lines and drain pipe. Use a basin wrench to loosen and remove the nuts securing the sink to the countertop.
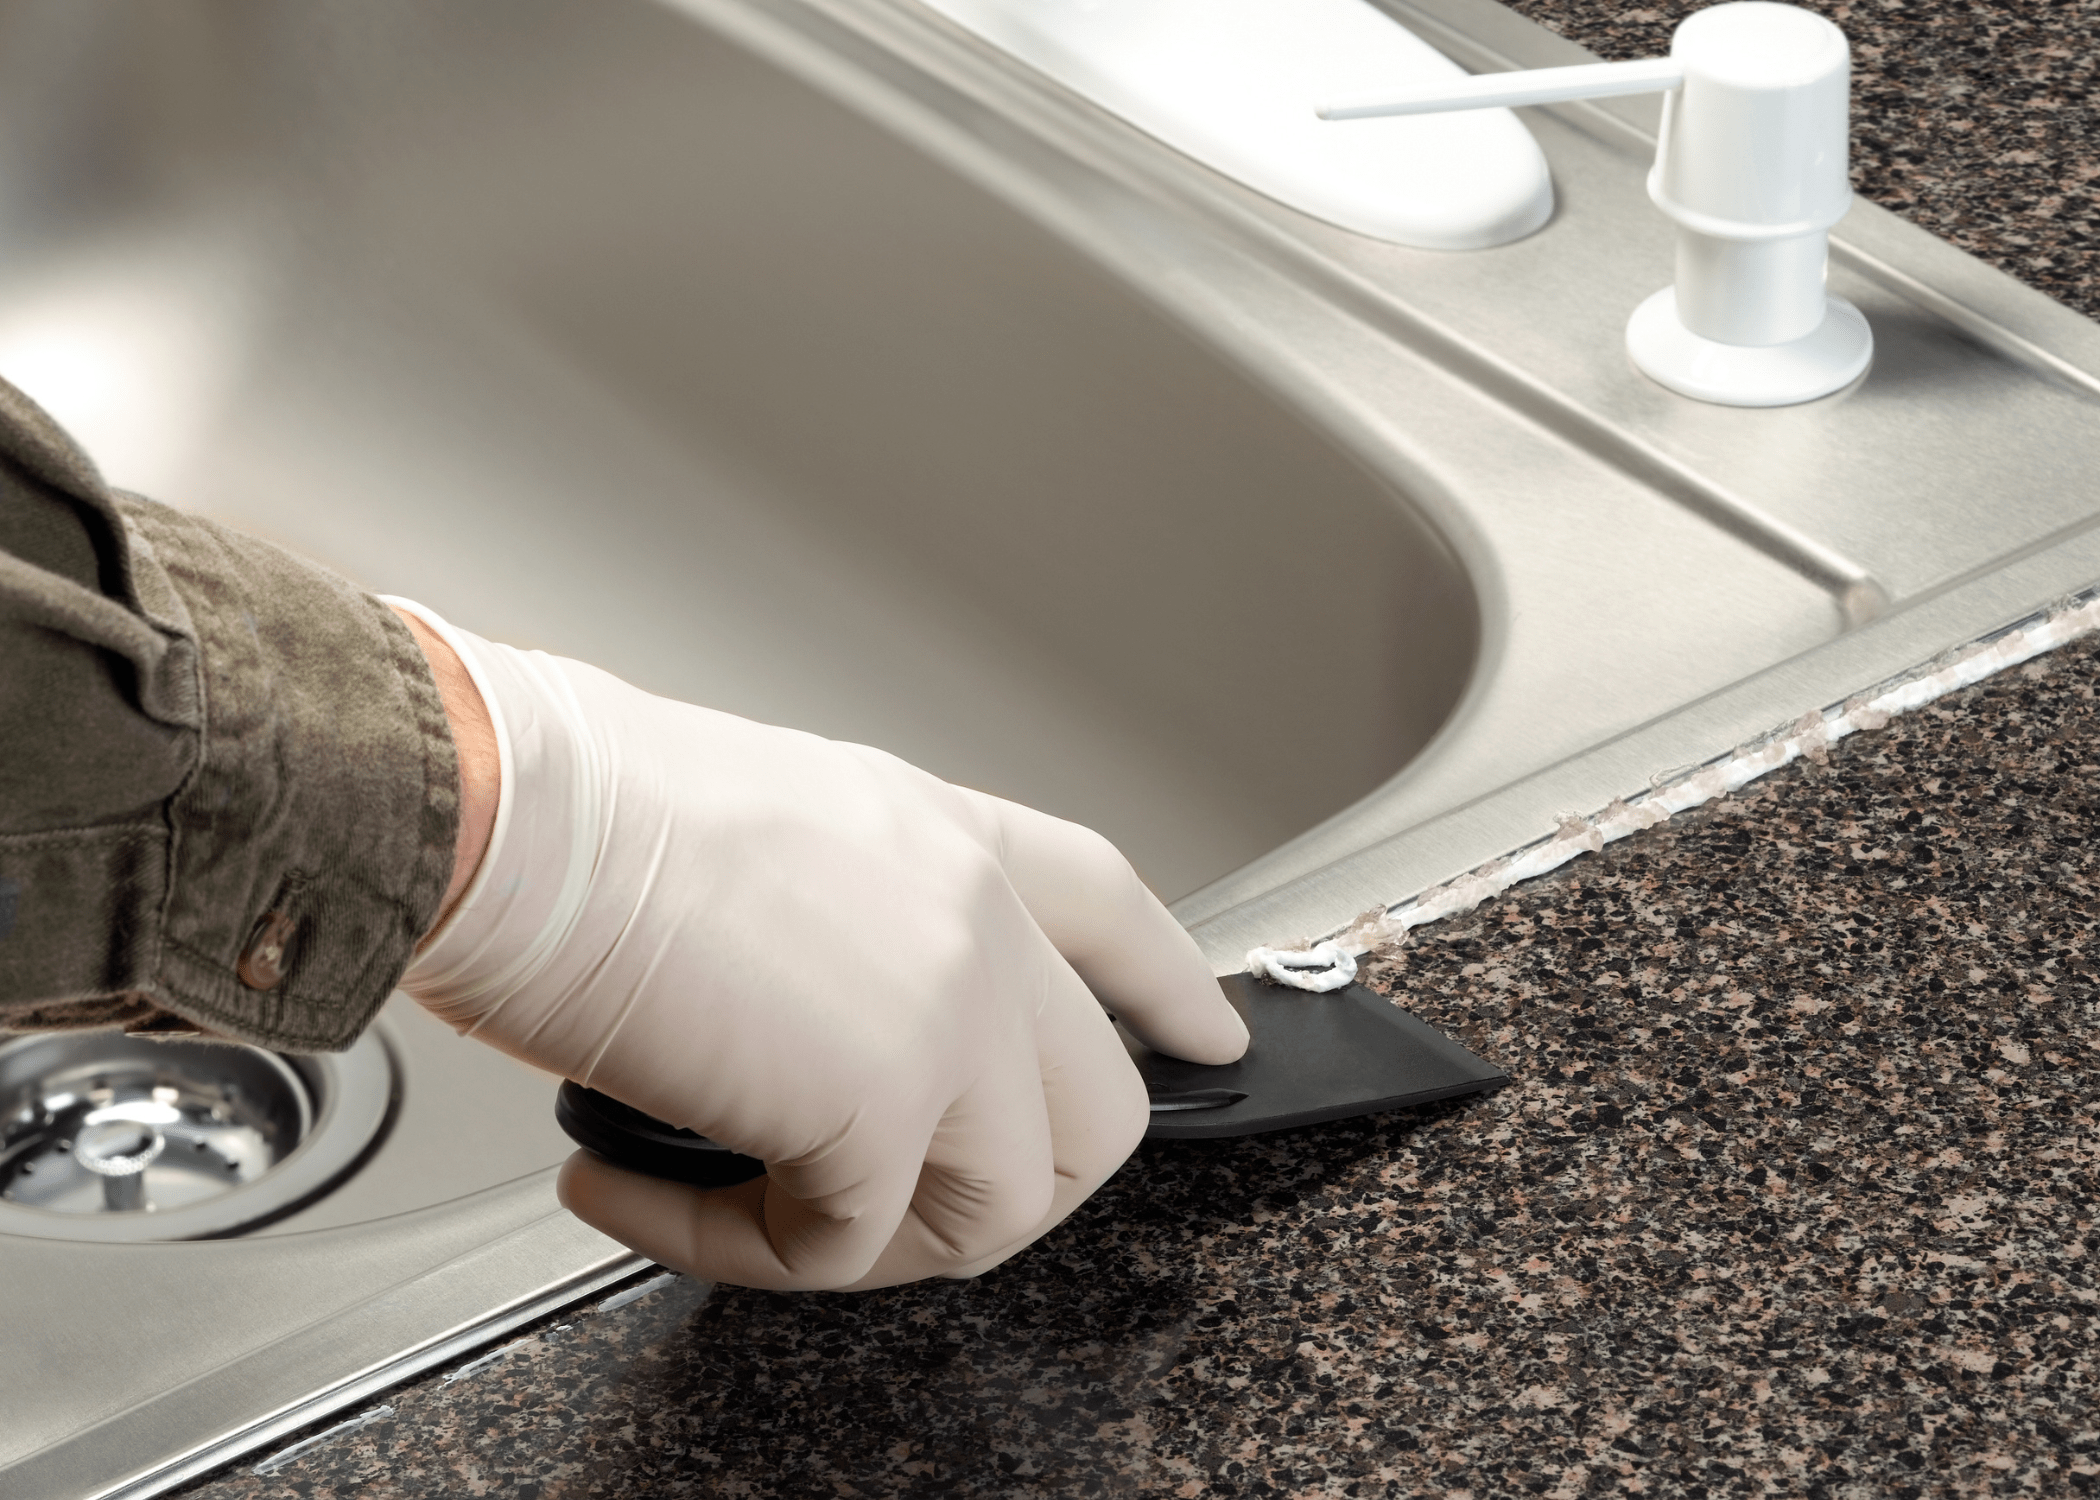
Gently lift the sink out of the countertop cutout; you may need to use a putty knife to break any sealant holding the sink in place. Clean the area thoroughly, removing any old putty or sealant to ensure a smooth surface for the new sink installation.
Preparing the Countertop
Preparing the countertop is an essential step to ensure a proper fit and secure installation of your new sink. If you’re replacing an old sink, verify that the cutout matches the dimensions of your new sink. If adjustments are needed, use a jigsaw to enlarge or modify the cutout carefully. Ensure the edges are smooth and free of debris.
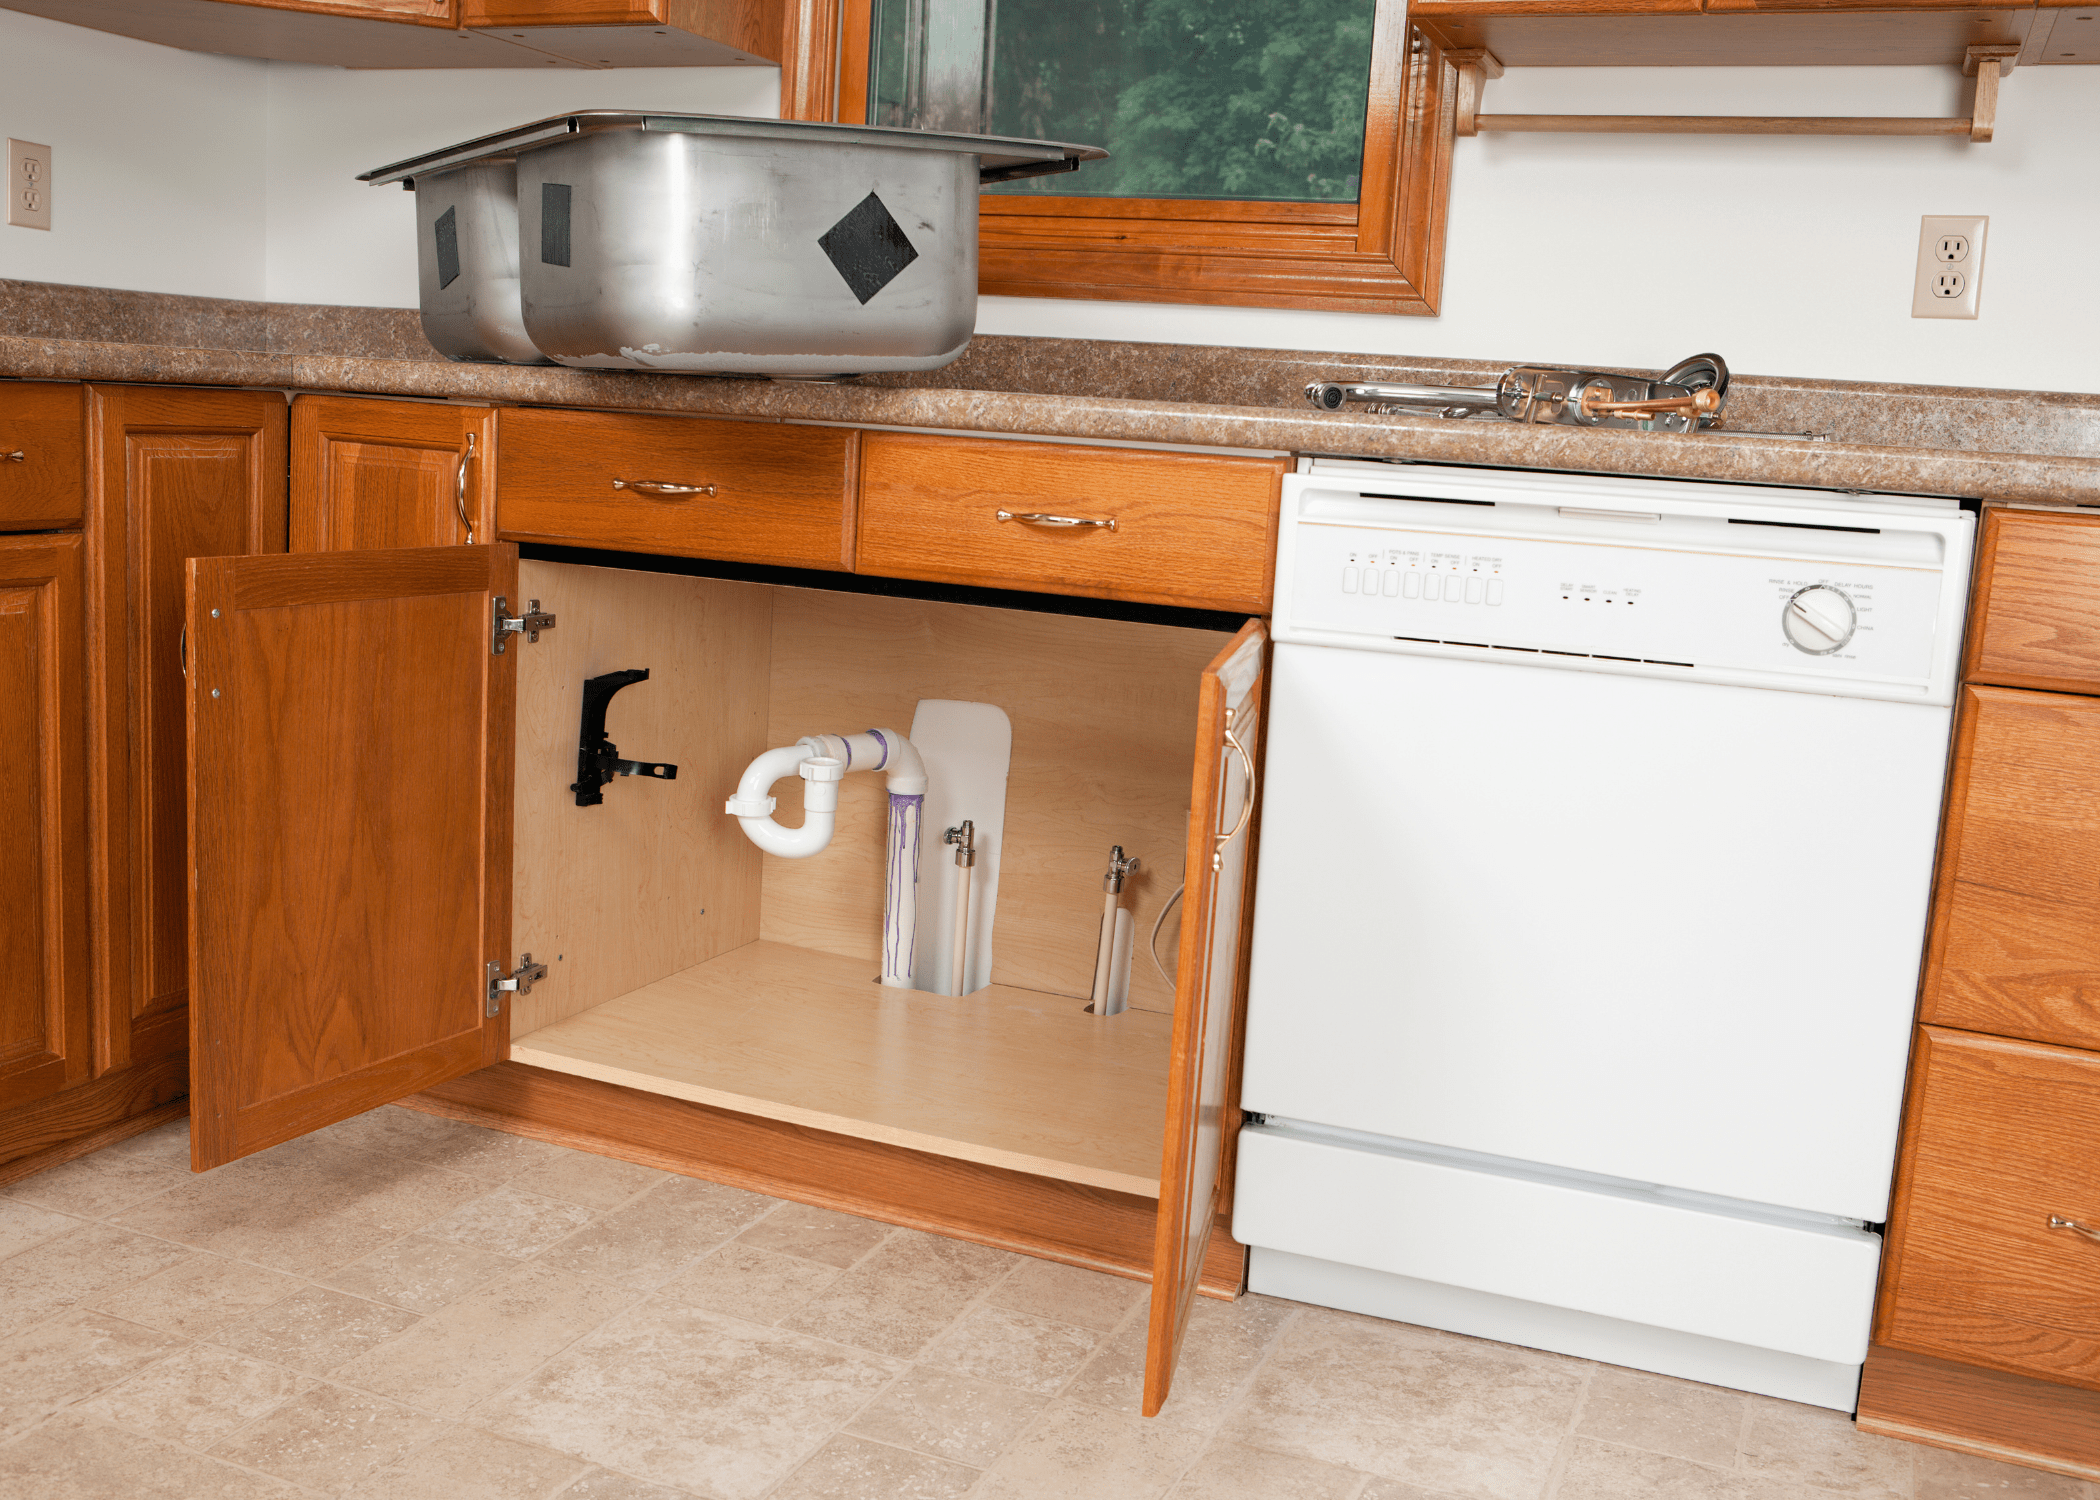
For new installations, trace the sink template onto the countertop and cut accordingly. A precise cutout is vital for a snug fit and to prevent any gaps that could lead to leaks.
Installing the New Sink
With the countertop prepared, you can now install the new sink. Begin by applying a bead of silicone sealant around the edge of the sink cutout. Carefully lower the sink into the cutout, ensuring it is properly aligned. If you’re installing an under-mount sink, place it from underneath the countertop and secure it with mounting brackets.
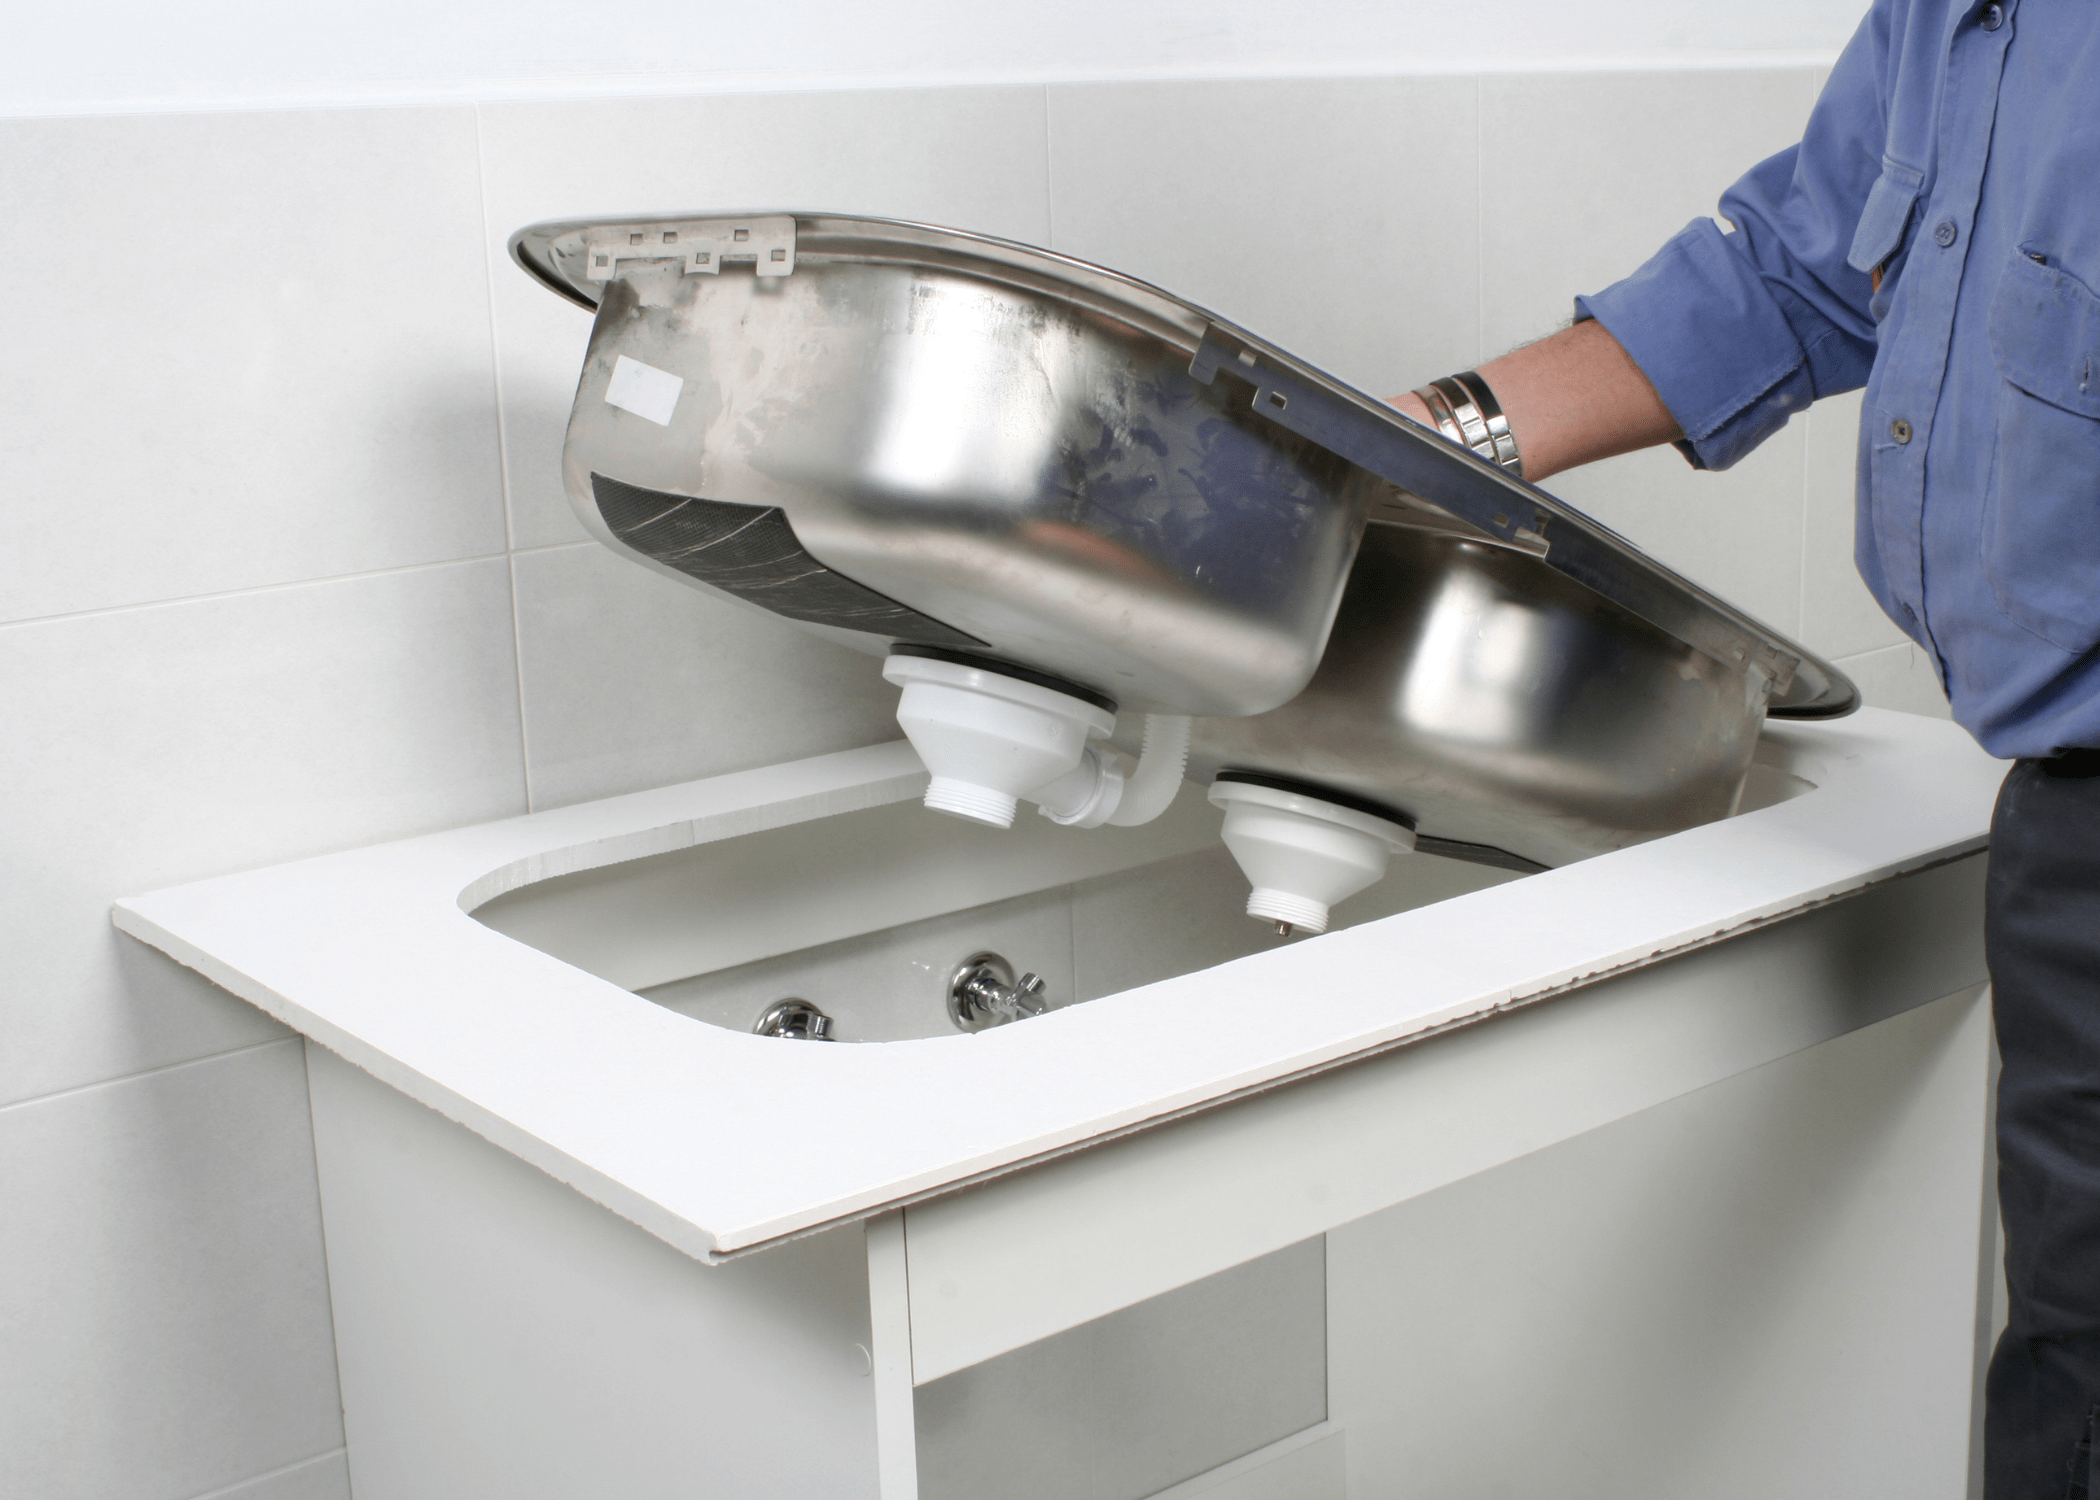
For drop-in sinks, press down firmly to create a watertight seal. Wipe away any excess sealant with a damp cloth. Allow the sealant to cure according to the manufacturer’s instructions before proceeding.
Connecting the Plumbing
After the sink is securely in place, reconnect the plumbing. Attach the supply lines to the faucet and the shut-off valves, ensuring the connections are tight but not over-tightened to avoid damaging the threads. Connect the drain pipe, using the plumber’s putty, to create a seal between the sink and the drain flange.

Tighten the connections using a basin wrench. Once all connections are secured, turn on the water supply and check for leaks. If you notice any leaks, tighten the connections as needed.
Testing and Final Adjustments
The final step in your sink installation is thorough testing and making any necessary adjustments. Turn on the faucet and check for proper water flow and drainage. Inspect all connections for leaks, paying close attention to the supply lines and drain pipe.
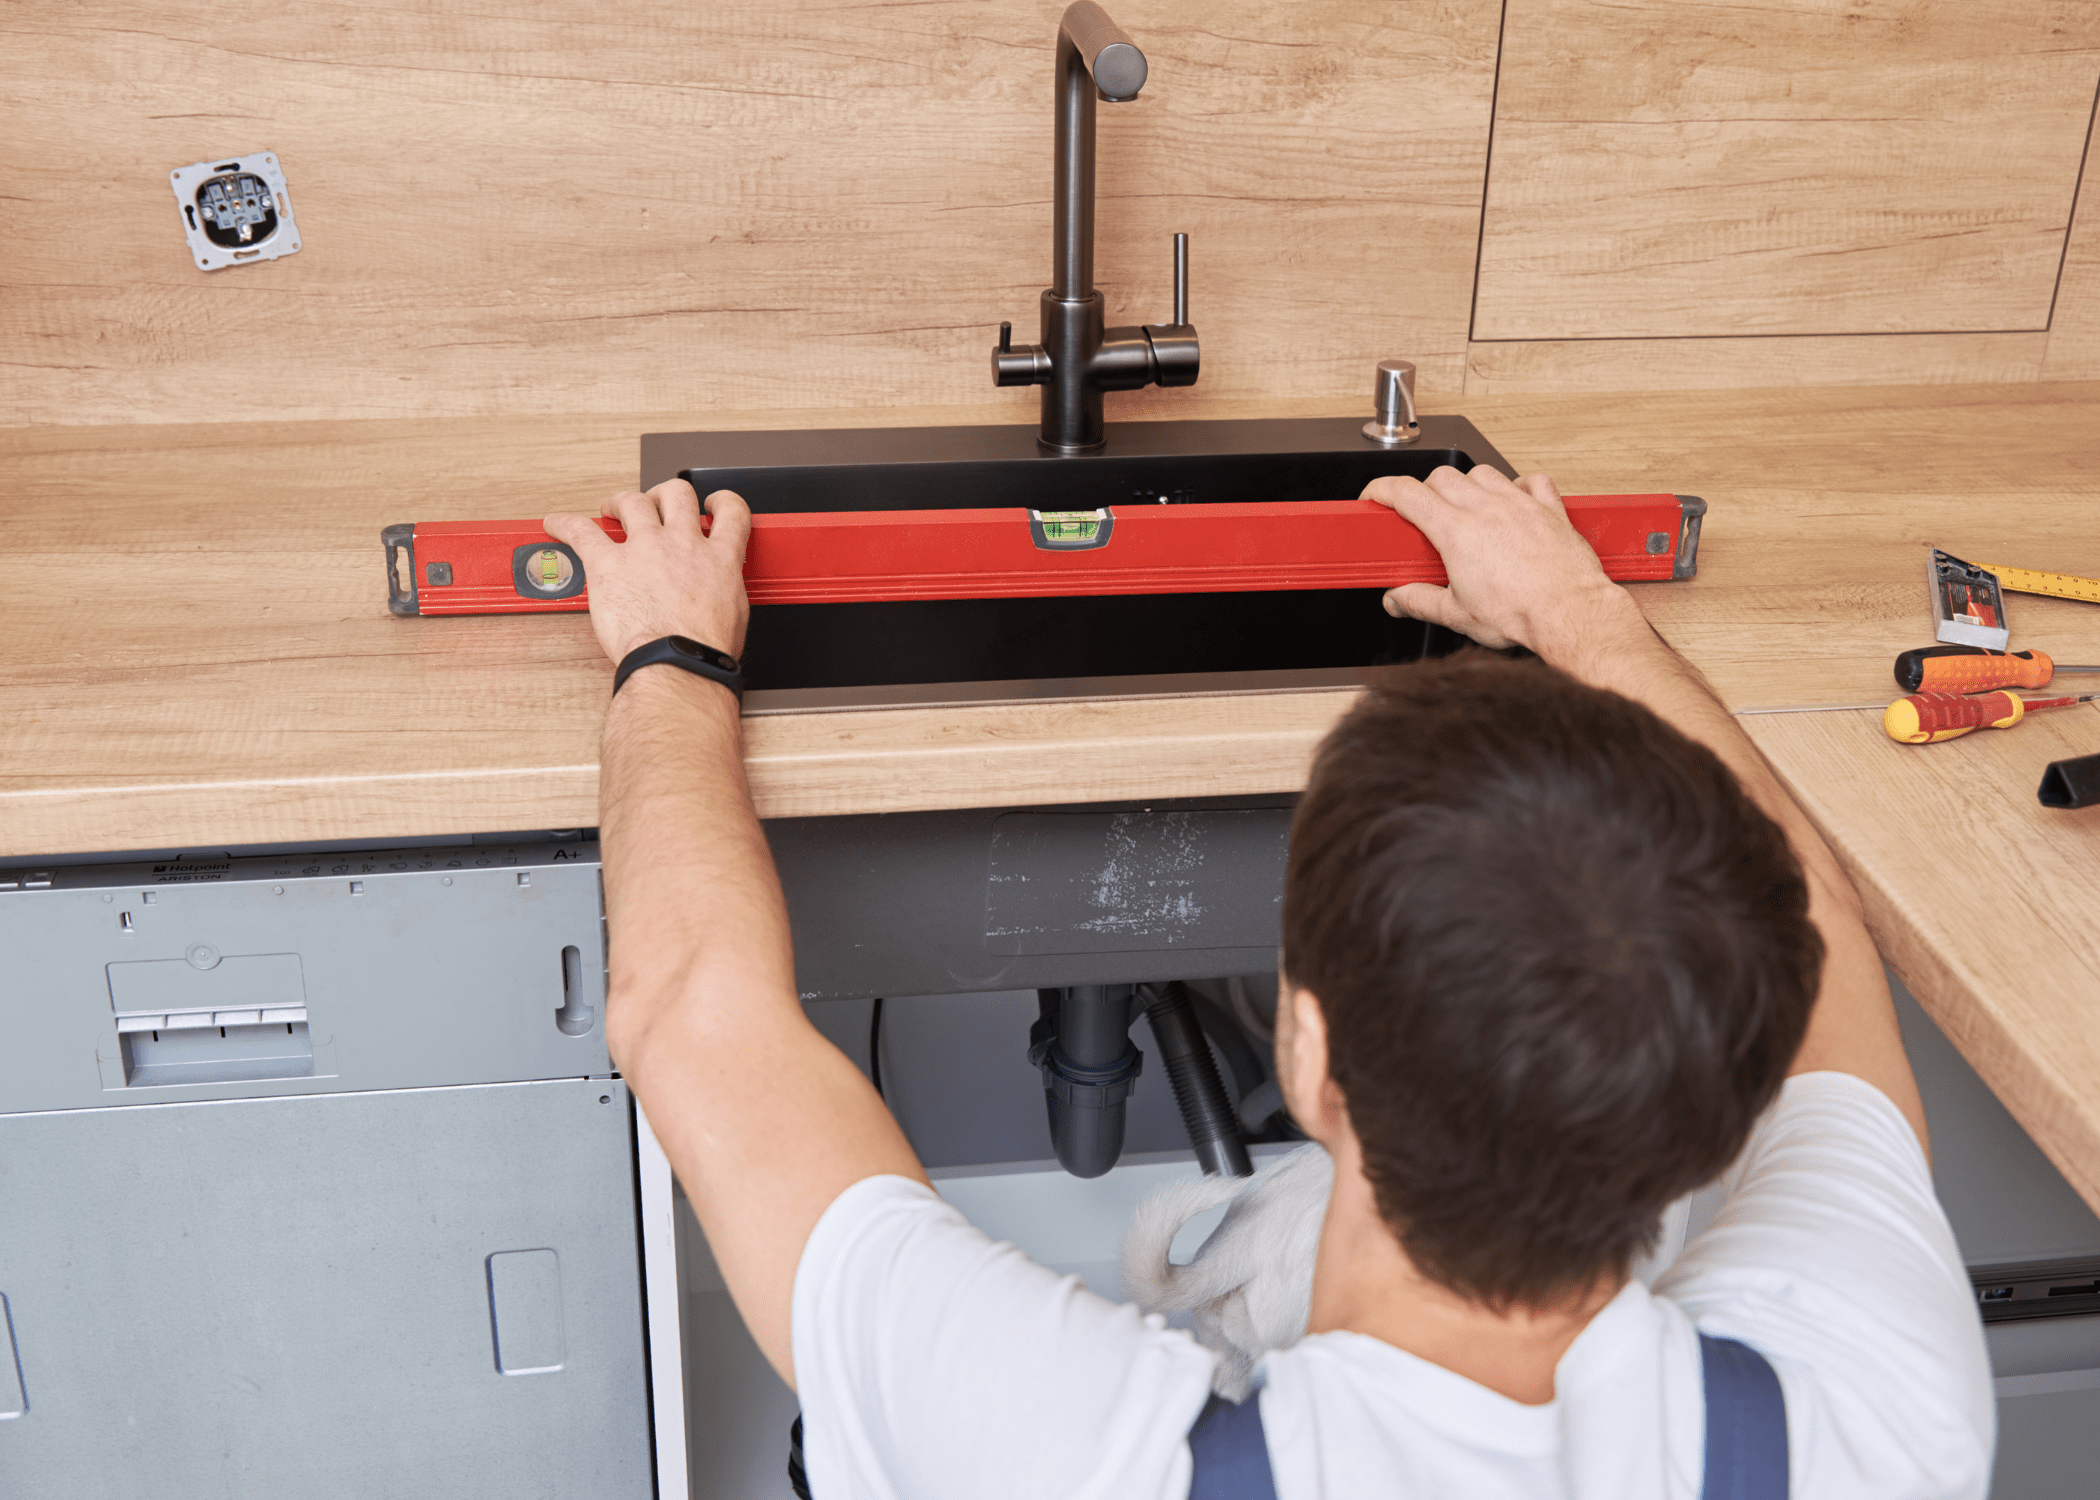
If everything is functioning correctly, clean the area and remove any remaining debris or excess sealant. Your new sink should now be ready for use, providing an aesthetic and functional upgrade to your kitchen or bathroom.
Related Articles
By following these detailed tips and taking your time with each step, you can ensure a successful sink installation. Whether you’re updating your kitchen or bathroom, a properly installed sink will enhance both the look and functionality of your space, providing years of reliable service.
Ready to start your next project? Join our DIY community to receive tool tips, how-to guides, and exclusive creative insights. Subscribe to the ManMadeDIY newsletter now! Click here to unlock a world of hands-on inspiration.

