Getting Started: Everything You Need to Create Your Own High-Quality Pens and Writing Instruments
I got a lathe last year, and soon, the addiction hit hard. There's something incredible about the hands-on approach to shaping wood that makes you lose track of time fast. Like all skills, you need practice. But turning is immensely satisfying work; you can go from a straight block of wood to a finished project in just an hour or two. And crafting heirloom writing instruments is a great way to get started.
The Lathe
One of the best parts about starting with pen making, is that the lathe and tooling can be pretty simple. To start, I picked up a super simple used lathe from the classifieds for about $40. The smaller lathes use a Morse Taper 1, also called the #1MT. This means the tapered opening that the attachments wedge into is a size 1. The #2MT is also pretty common so just pay attention to what size you have when ordering attachments. Another important detail is the threading, commonly 1″ x 8 tpi or 5/8″x16tpi. This is important when ordering a chuck.
Hit up your local Craigslist or flea market and see what's out there. If you'd like to buy new, the entry-level tools from Penn State Industries are very well reviewed and plenty affordable.
The Turning Tools
You can go super cheap with a set of high speed steel (HSS) tools, or spring for a bit more expensive but easier to handle carbide replacement tipped chisels.
For pens, we suggest:
The Rest of the Bits
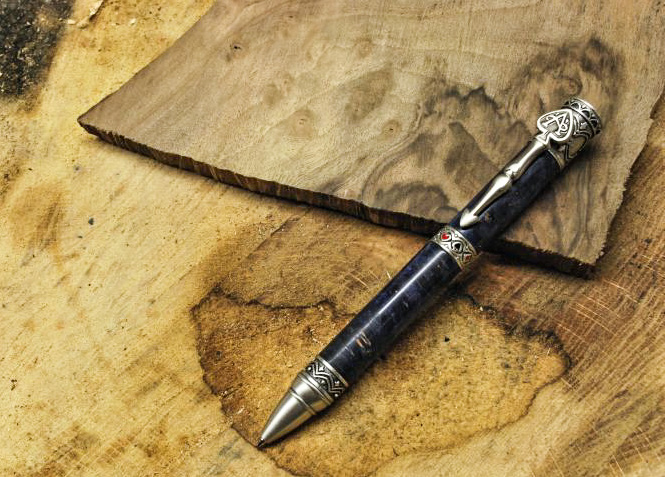
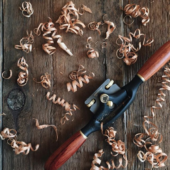
It's likely you have the tools in your shop to make pen blanks, which are about 6″, 1.5″ square strips of wood. Even so, I recommend springing for a few pre-made blanks for a few dollars each so you can see how they're done right. As a bonus you can get some interesting exotic wood (I'm a fan of bubinga and Zebrawood).
As far as essential tools:
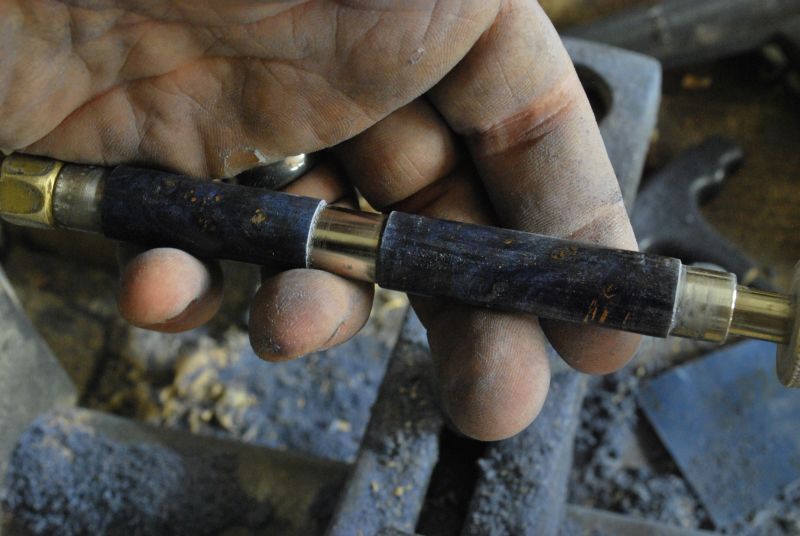
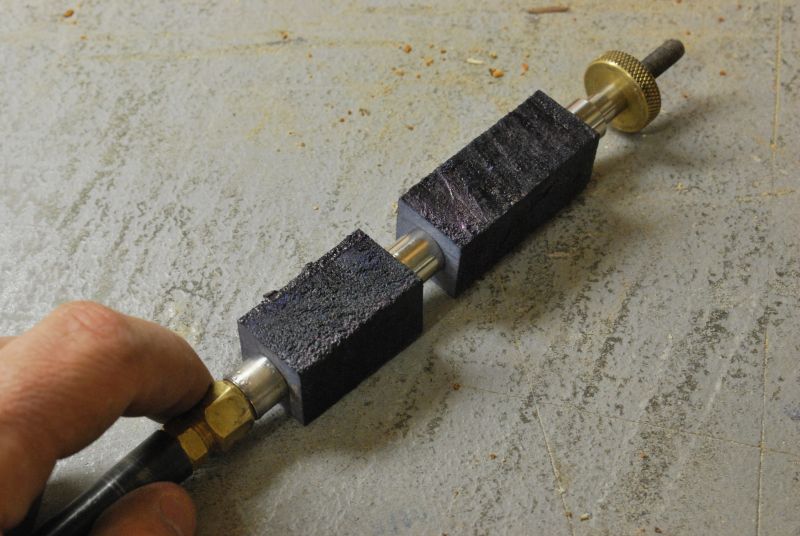
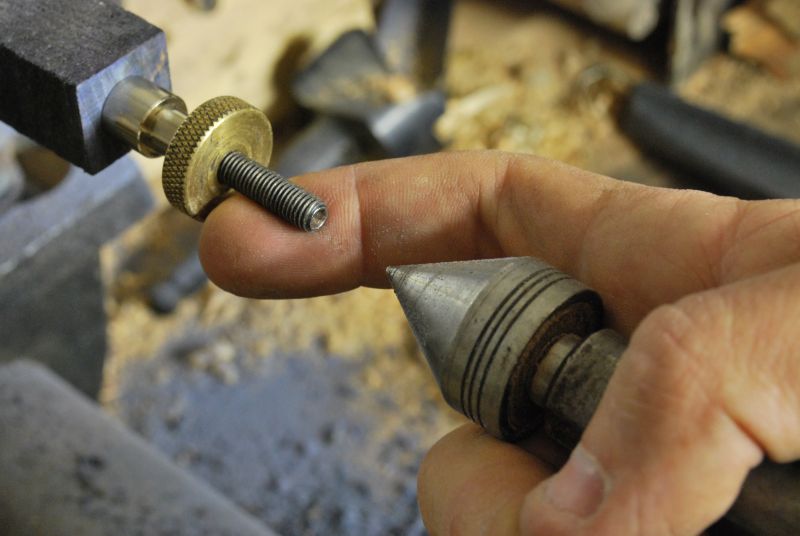
1. Pen Mandrel – This is the rod that secures the drilled pen blanks so they can be mounted on the lathe. Pay attention to the MT size so that it matches your lathe.
2. Live Center – This small point secures in the tail stock to support the mandrel. It spins on a bearing to keep friction to a minimum. Again, pay attention to the MT size.
3. Clamp – You most likely have this in the shop already, a simple clamp that will keep the blank straight under a drill press will work.
4. Pen Press – This is the assembly tool to press the pen pieces together. I highly recommend getting one to keep from ruining your spendy kits (like I did).
ManMade Recommended
- #1 MT Pen Mandrel ($20)
- Grizzley #1 MT Live Center ($25)
- 4″ Drill Press Clamp ($30)
- PSI Woodworking Pen Press ($40)
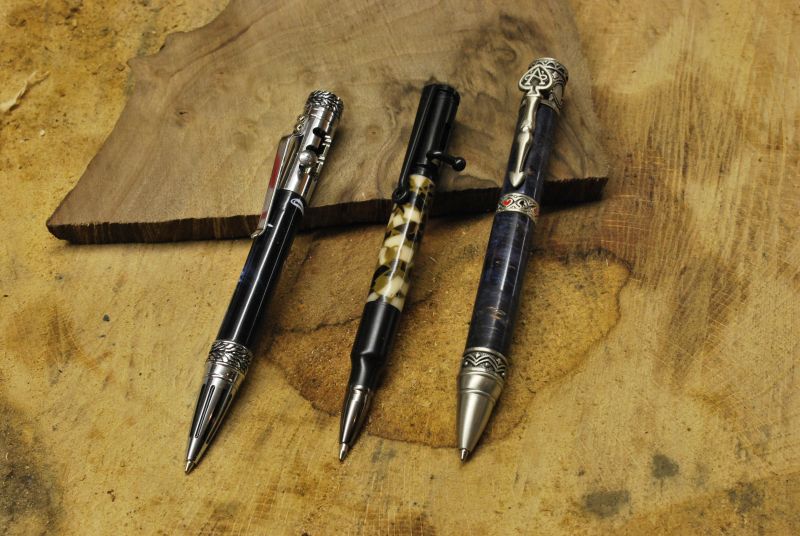
The Pen Kits
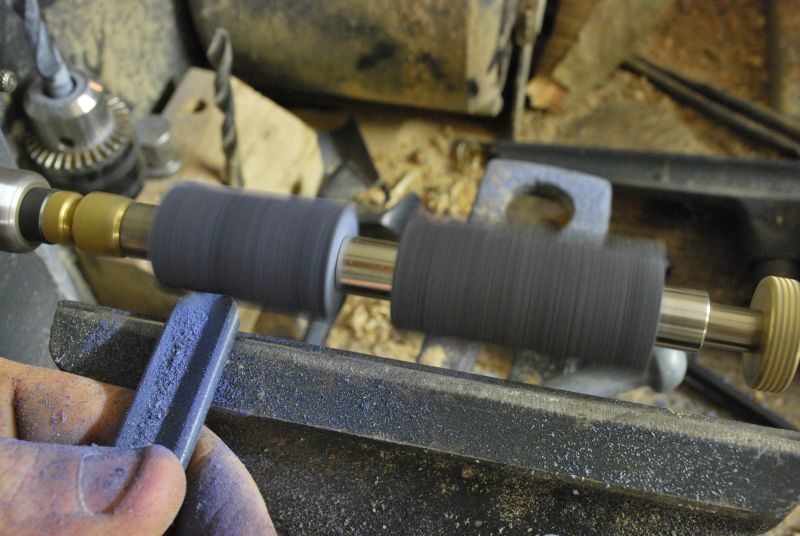
There are so many pen kits available, it's really hard to recommend a single one. I'm a fan of the kits from PSI woodworking, they have great components and are priced right. Start with a few cheap slimline kits, then upgrade to a fly fishing or bullet kit. Remember to get the right size drill bits and bearing set to make it all come together. The bearing set centers the blank on the mandrel and serves as the guide for final dimensions of the barrels.
ManMade Recommended
- PSI Woodworking Pen Kits
- Slimline 10 Pack Pen Kit ($35)
- Fly Fishing 3 Pack Pen Kit ($50)
- 30 Caliber 3 Pack Pen Kit ($45)
Finishes
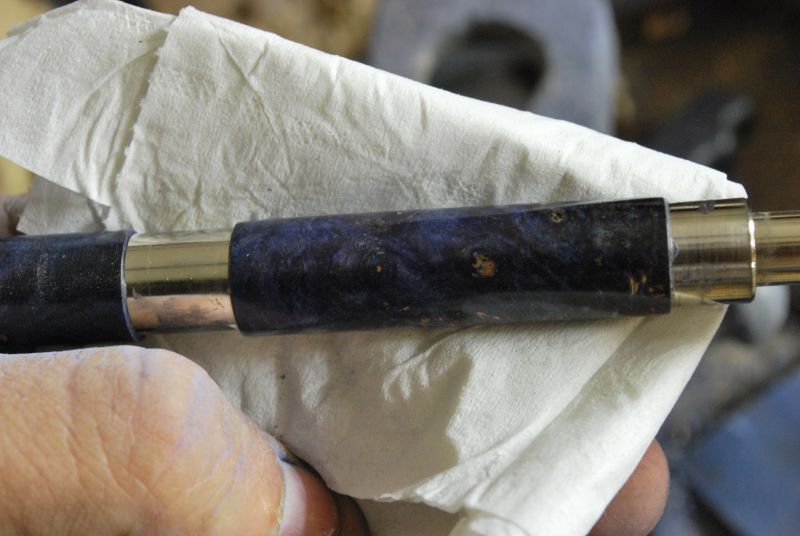
To finish off the pens, I use a sandpaper range from 120 to 1000 grit, then polish from there with a simple pen sealant. There are so many options and opinions of how to do it, so start off easy and progress as you get comfortable with the process. A good alternative to polish is shellac or CA glue, they're both a bit feisty to get it on there right, but the finish is clean and polishes up to a shine once you get past the learning curve.
ManMade Recommended:
Once you get a few pens under your belt, these make exceptional gifts and can even be sold for up to about $50 each during the holiday months. I paid for my tools selling an afternoon's worth of pens last Christmas.