How to: Simple DIY Brick and Mortar Repair
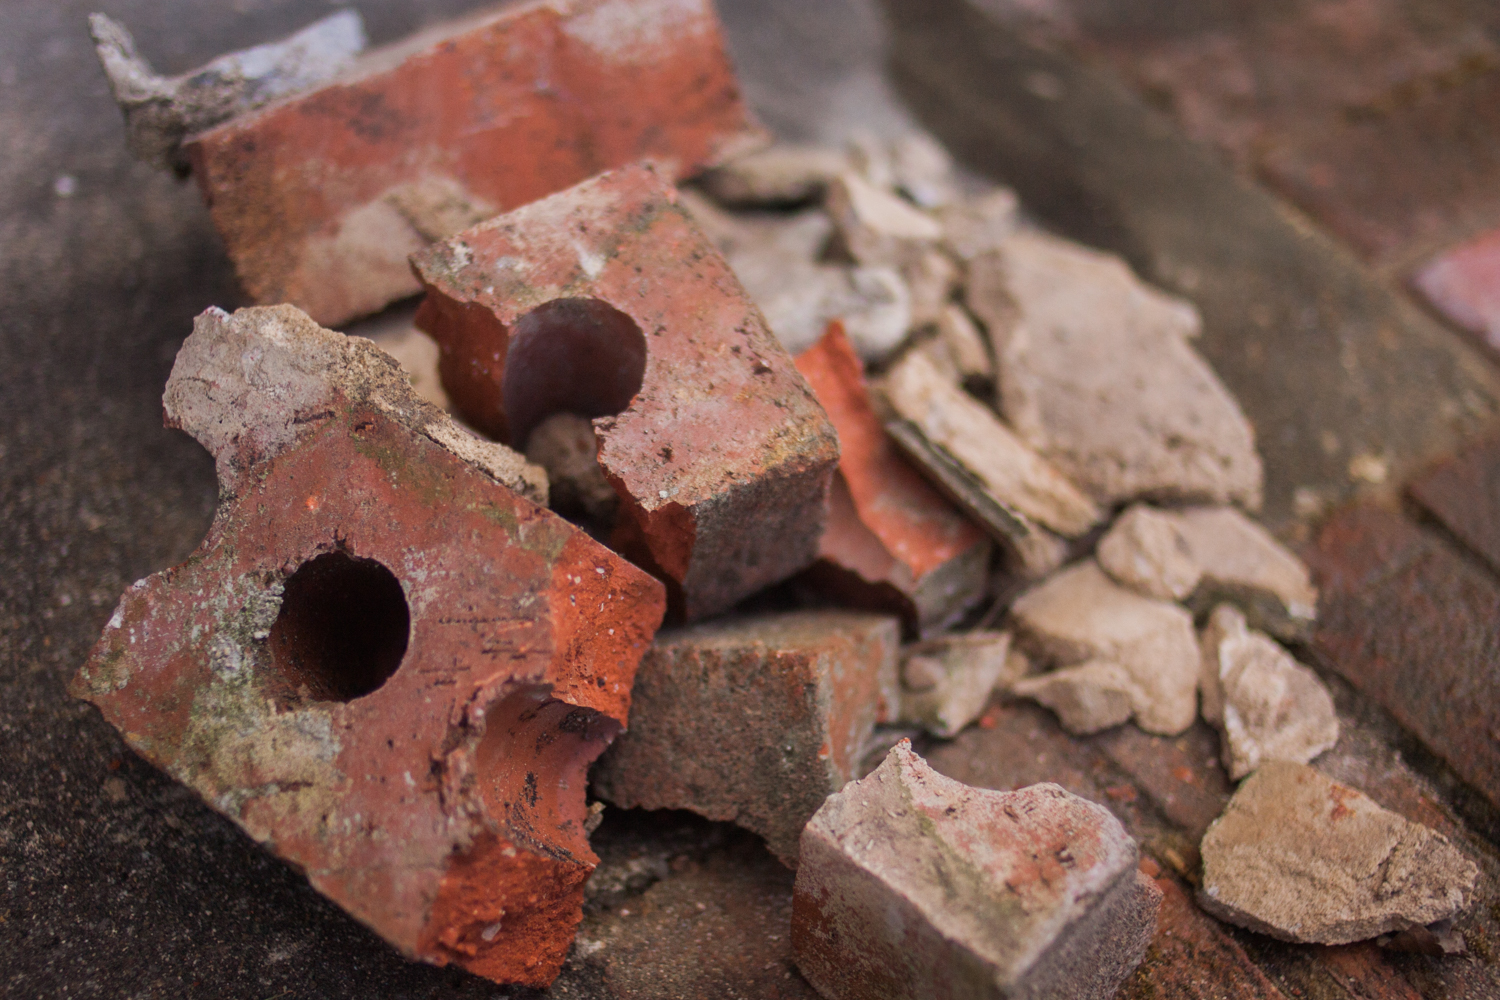
Some home improvement projects you can DIY, and some you should definitely consult a professional. When I tore out the ailing metal railing on the brick entry steps to my fixer-upper 1970’s ranch house, it became clear that it was time to replace some of the crumbled and broken bricks. It seemed like way too small a project to hire a bricklayer, and what can I say? I really like bricks.
Read on for the process to do your own simple brick patch and masonry repair!
Here’s what you’ll need:
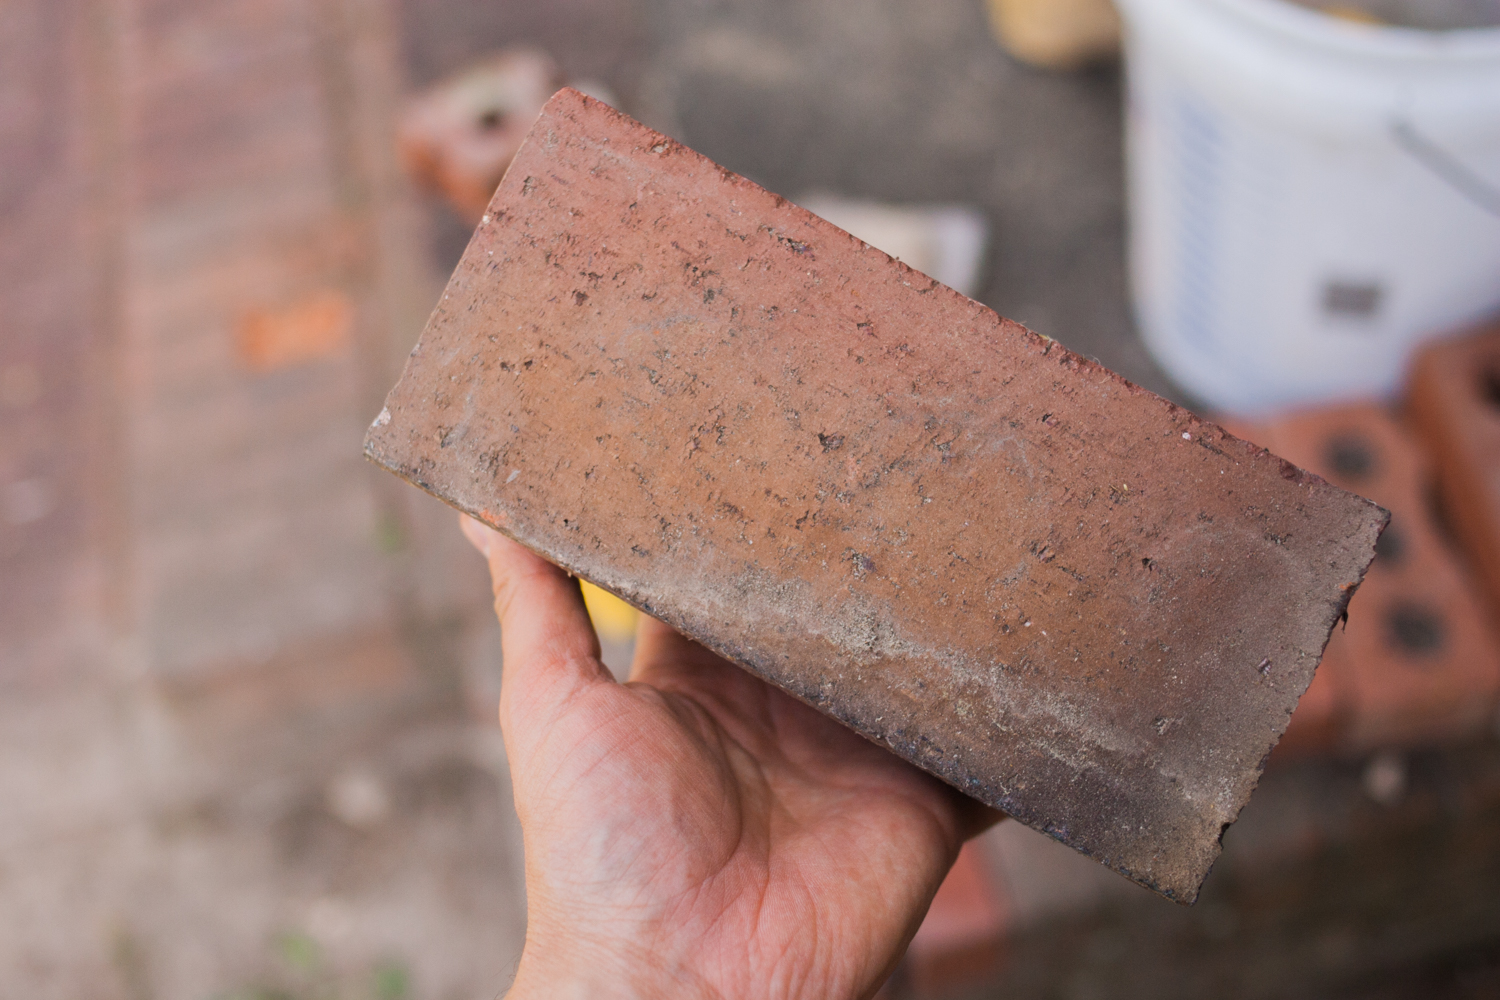
- Matching bricks
- Hammer
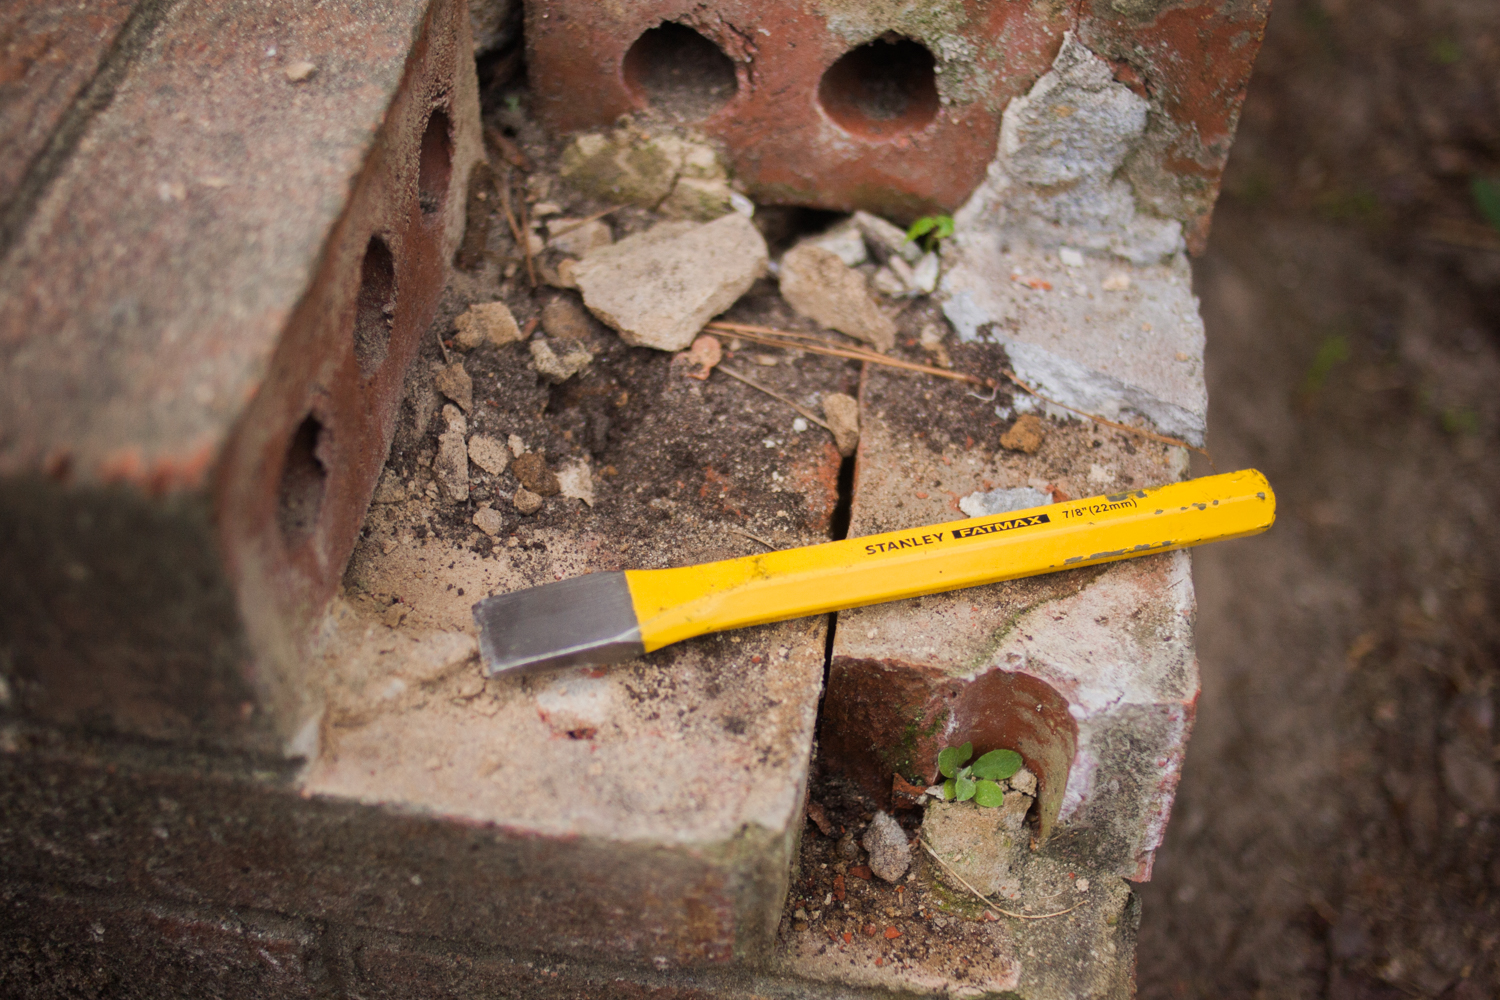
- Cold chisel
- Buckets or scrap containers — one for mixing mortar, one for water
- Mortar mix*
- Grout sponge
- Masonry trowel
- Tuck pointer
- Nitrile gloves (I didn’t use these but will next time)
*Note on mortar mix: you can get it in a bunch of different colors. I didn’t worry too much about it since I’m planning to stain all the brick with watered-down paint.

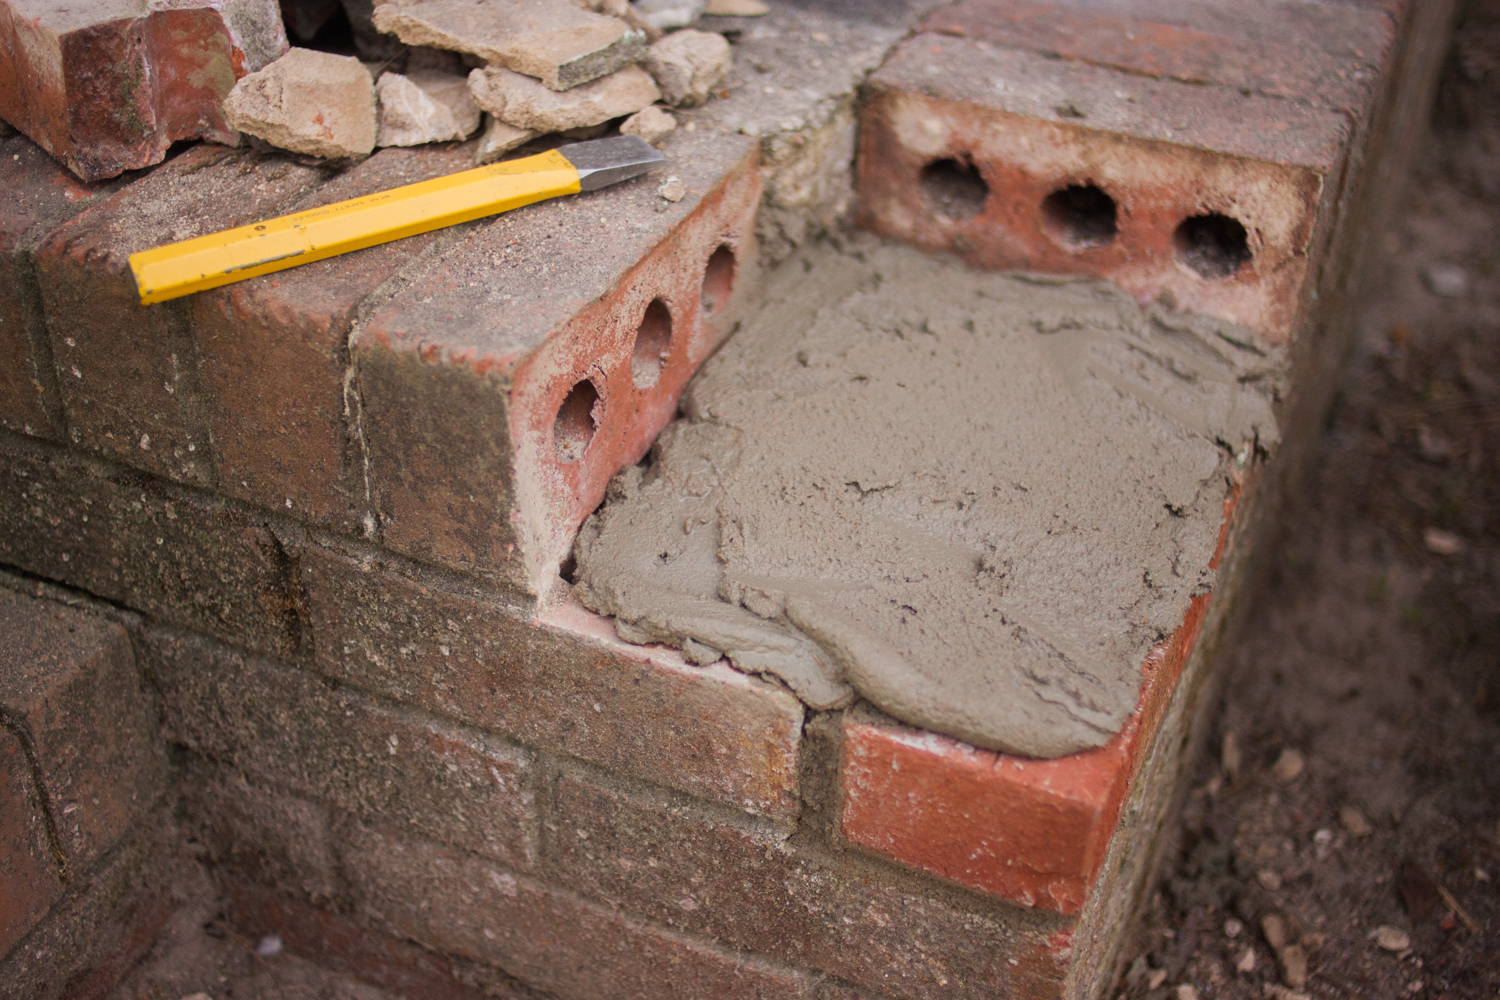
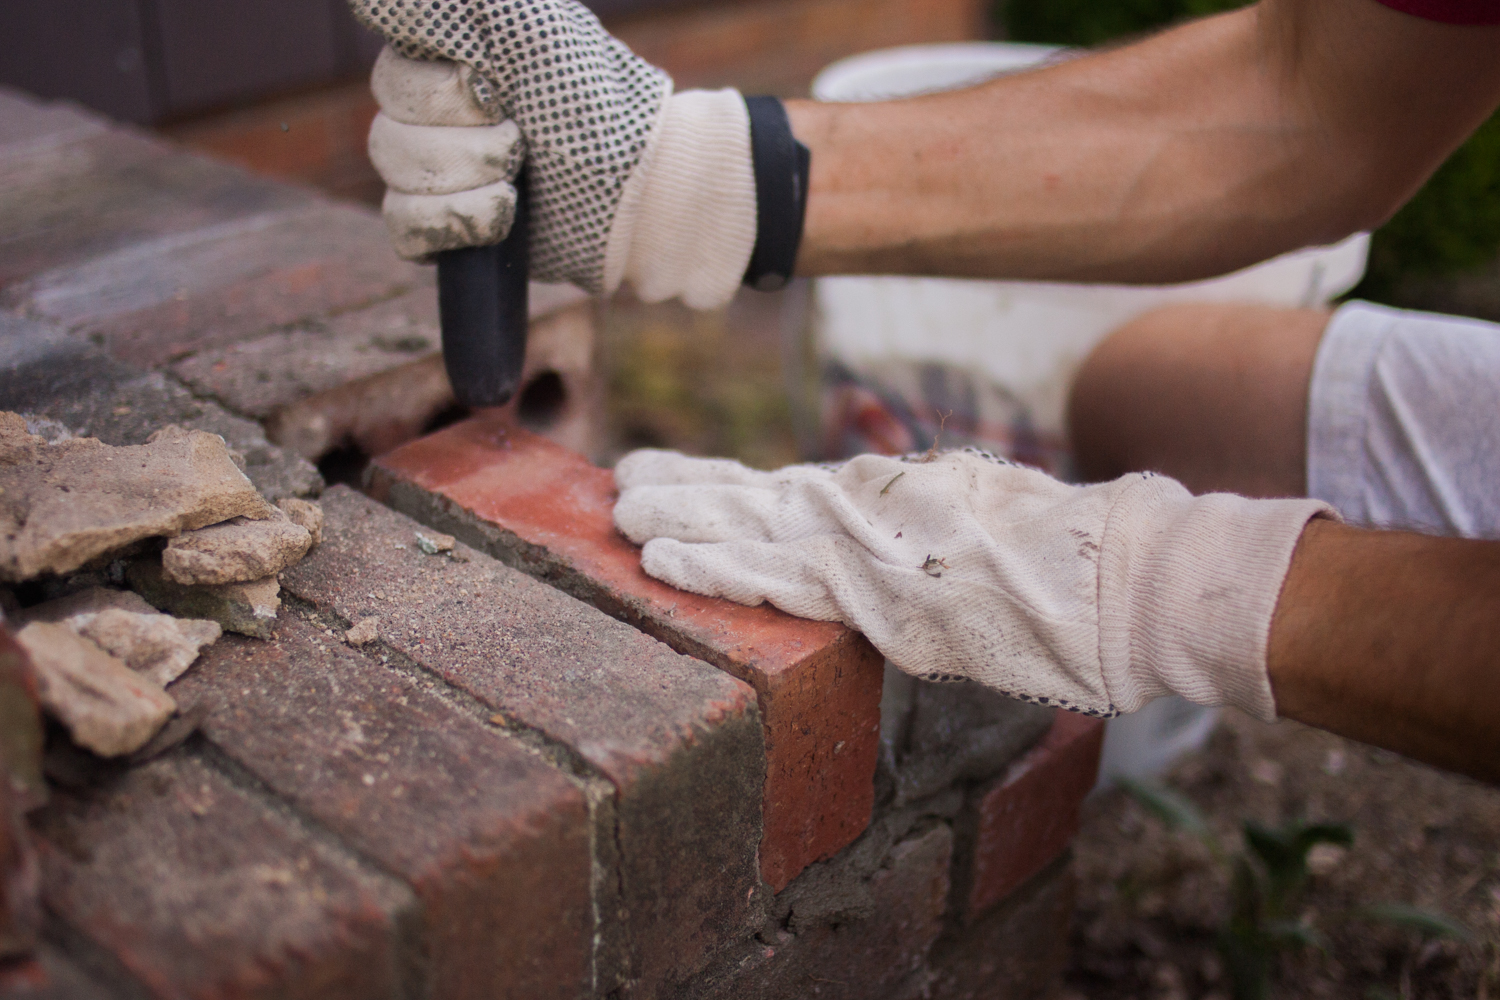
First, you’ll need to clear away all the old mortar with your chisel and hammer. Break it off in small sections and be careful not to damage the existing bricks.
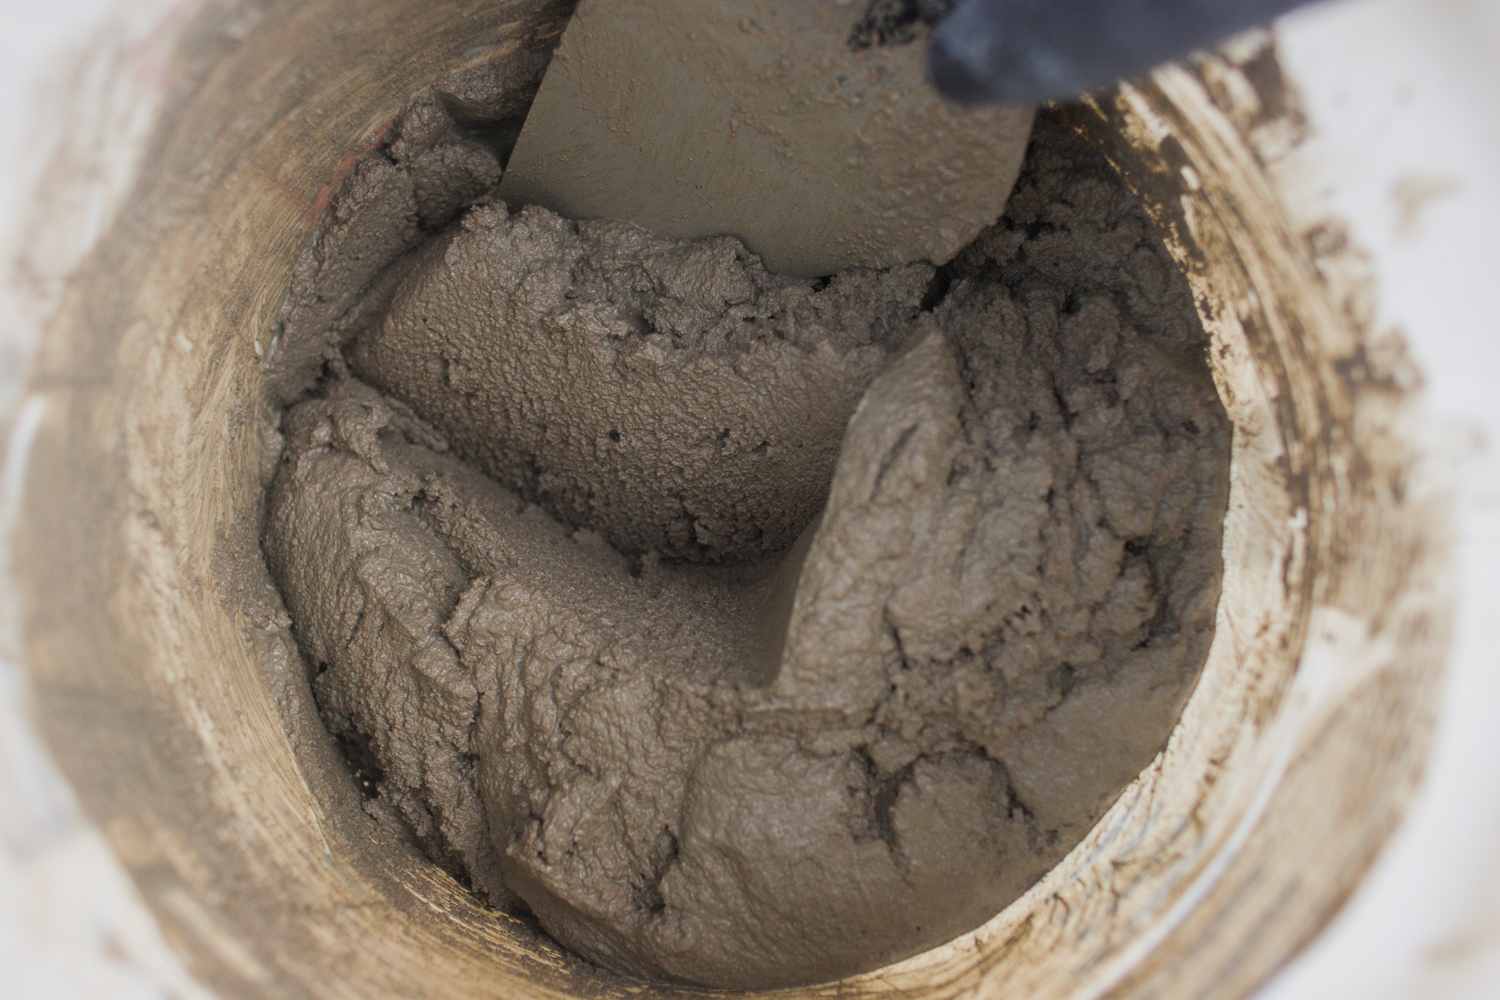
Mix the mortar with water in one of the buckets, adding in a little water at a time as you stir. It needs to be the consistency of oatmeal or, in the words of This Old House‘s Tom Silva, “peanut buttah.” (Alternatively, a hoe and a mixing tub work great—I just didn’t have a tub available.)
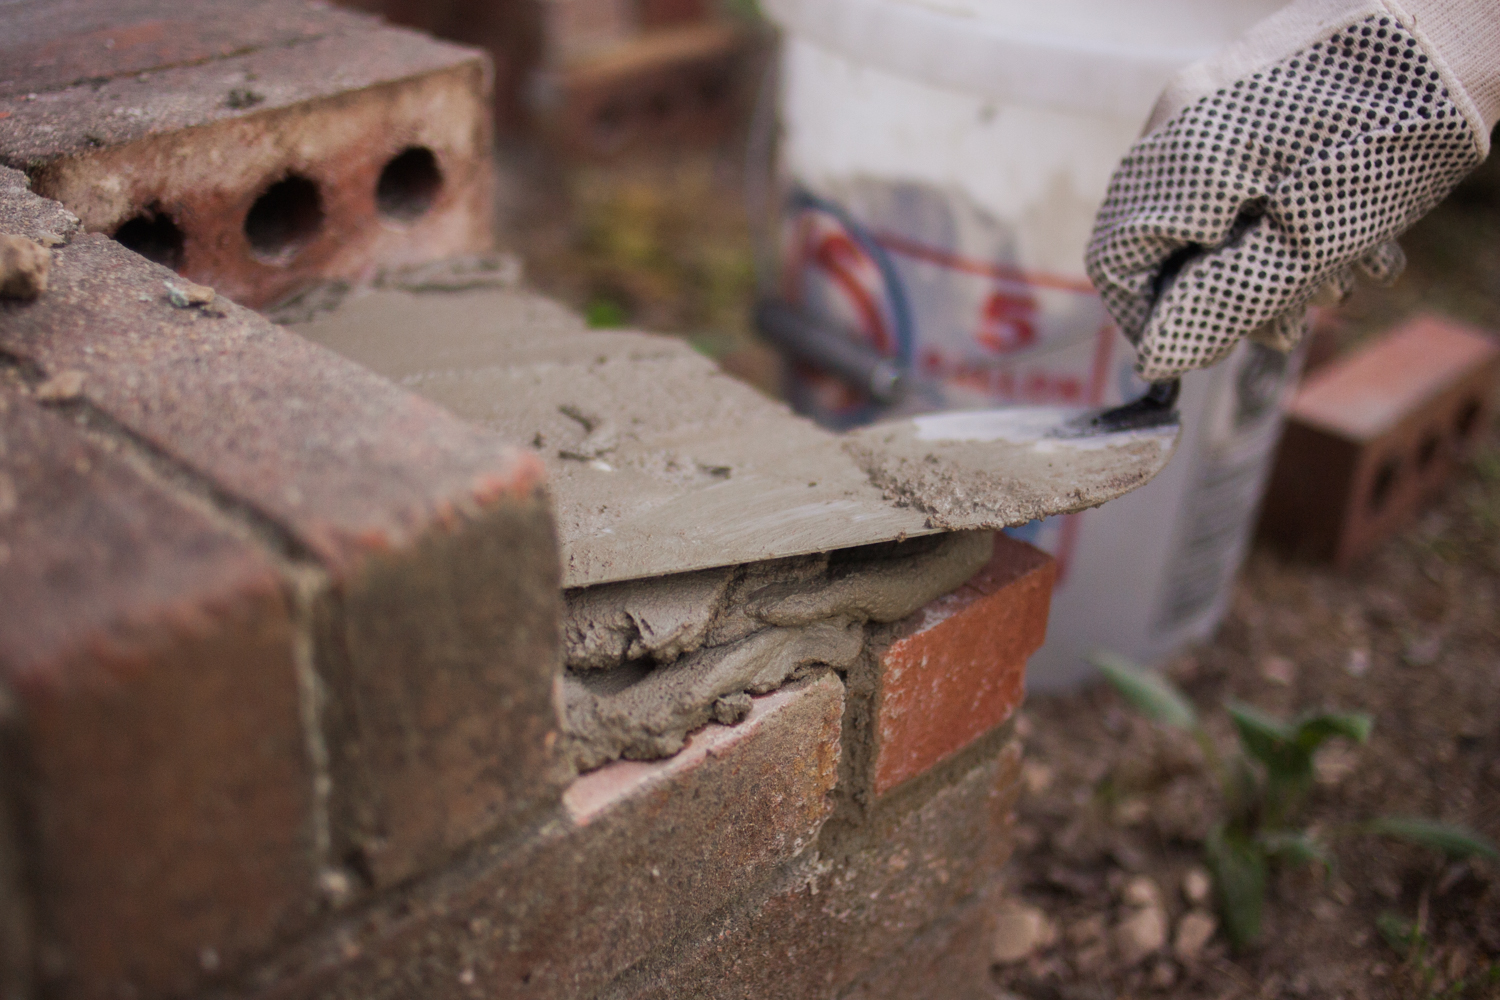
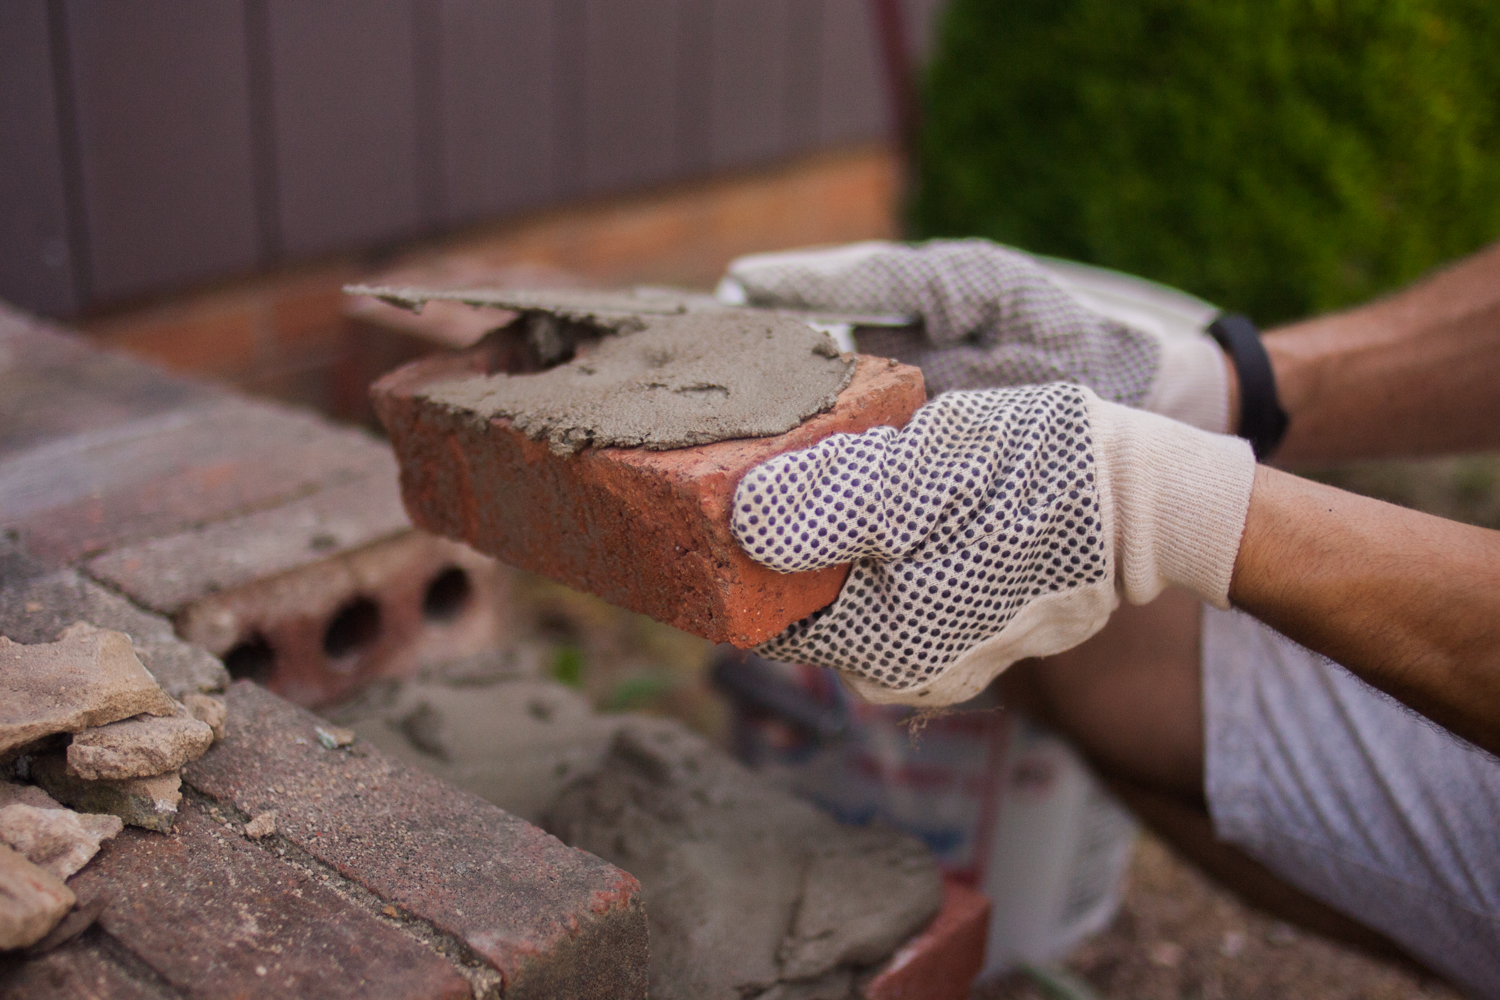
Lay out your bricks without mortar to make sure you’ve got everything spaced right. Then remove ’em and slap a bunch of mud down with your trowel—you’ll want about a half-inch of mortar or so. Slap a little on the side of the brick you’re placing as well.
(I actually found this big pile of bricks in the storage shed in my backyard, which I’m assuming were leftovers from when the house was originally built.)
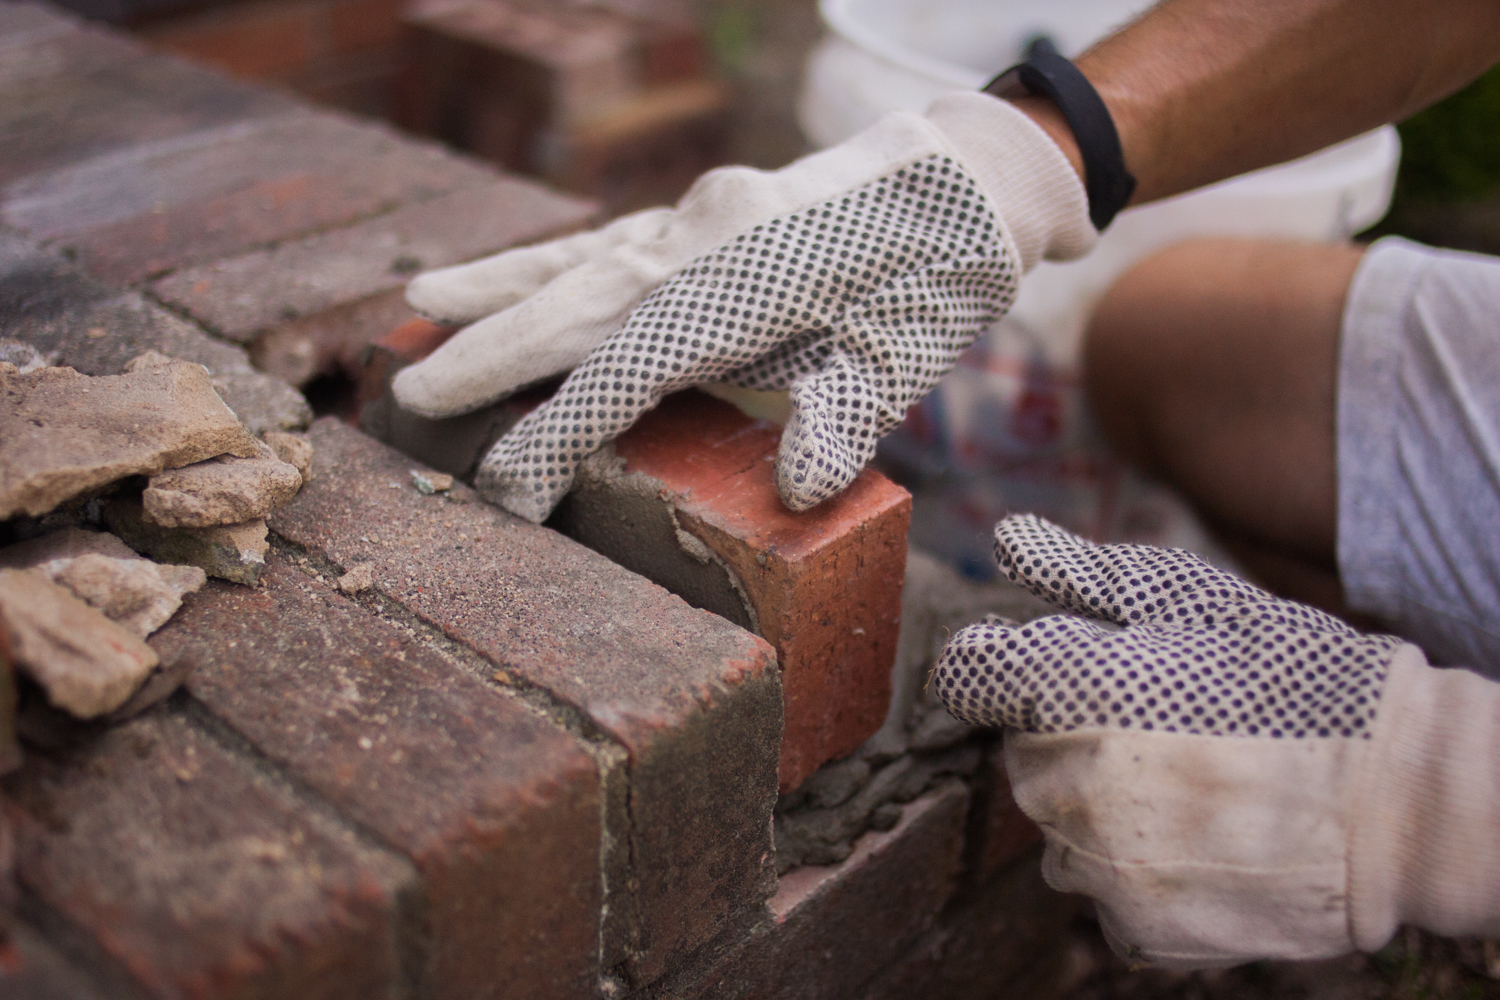
Lay your brick down and tap it into place. Use a level to make sure it’s lined up.
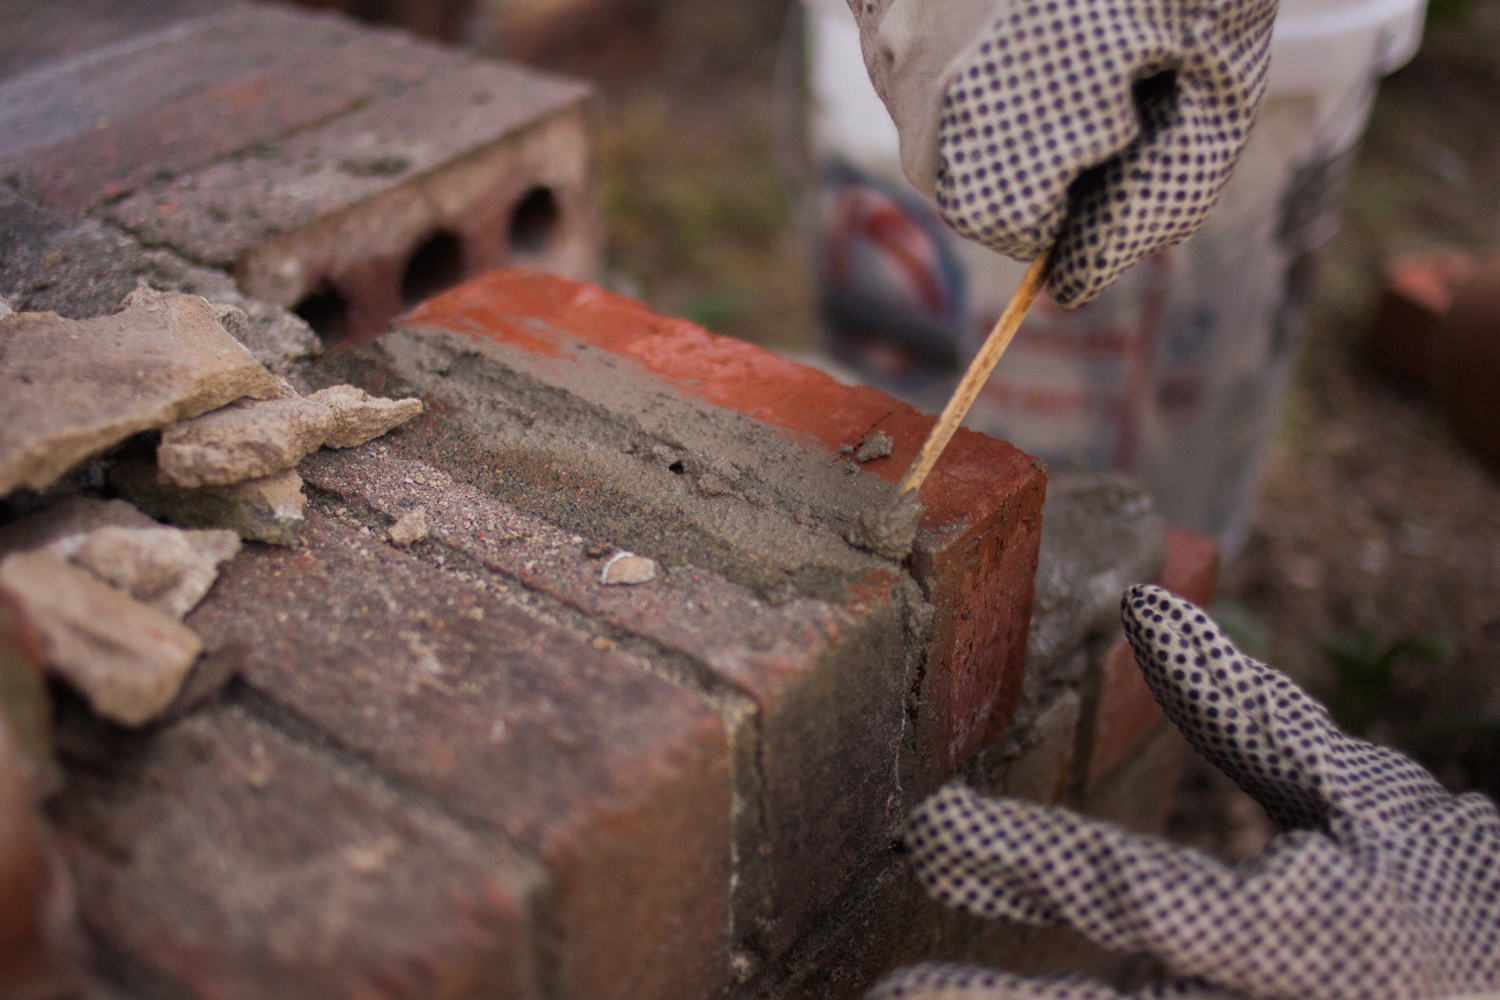
Spread some of the mortar between the cracks and smooth it down with the tuck pointer. (I’ll admit, I didn’t have one for this tutorial, so I used a popsicle stick… they’re pretty easy to come by around my house these days.) Try not to spread too much mortar on the brick, since it can stain.
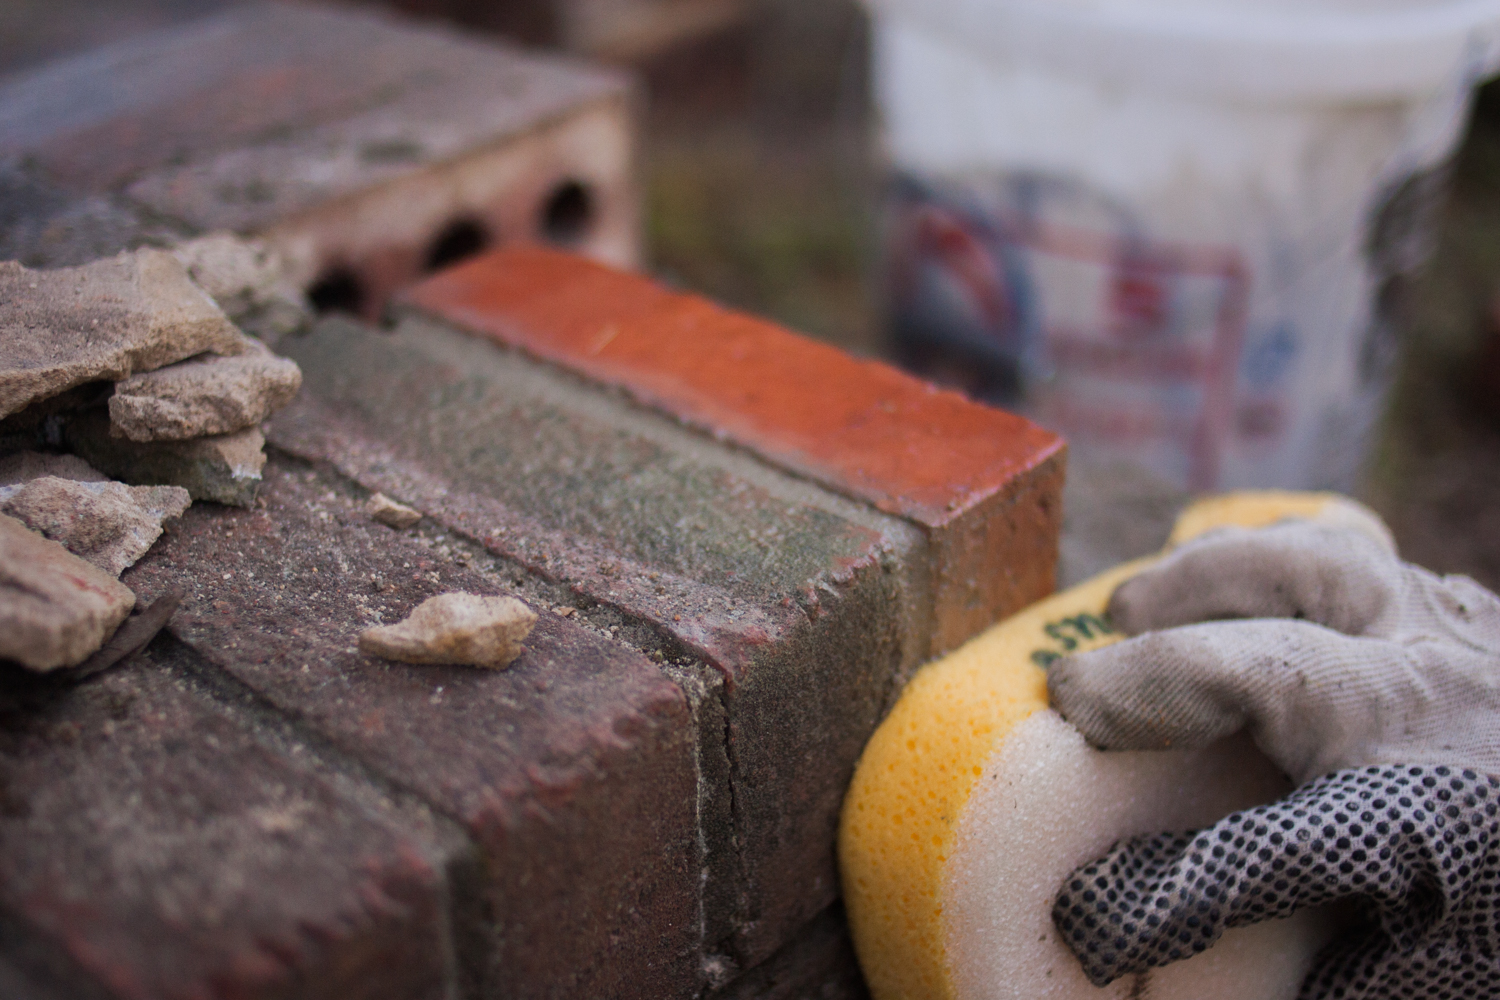
Since this front step is uncovered and we get a lot of rain here in central North Carolina, I chose the concave joint because of its ability to resist the weather. (Again, I’m no pro mason, so I went with my best approximation.)

Use your grout sponge to wipe down excess mortar from the brick face.
Repeat for the remainder of your bricks.
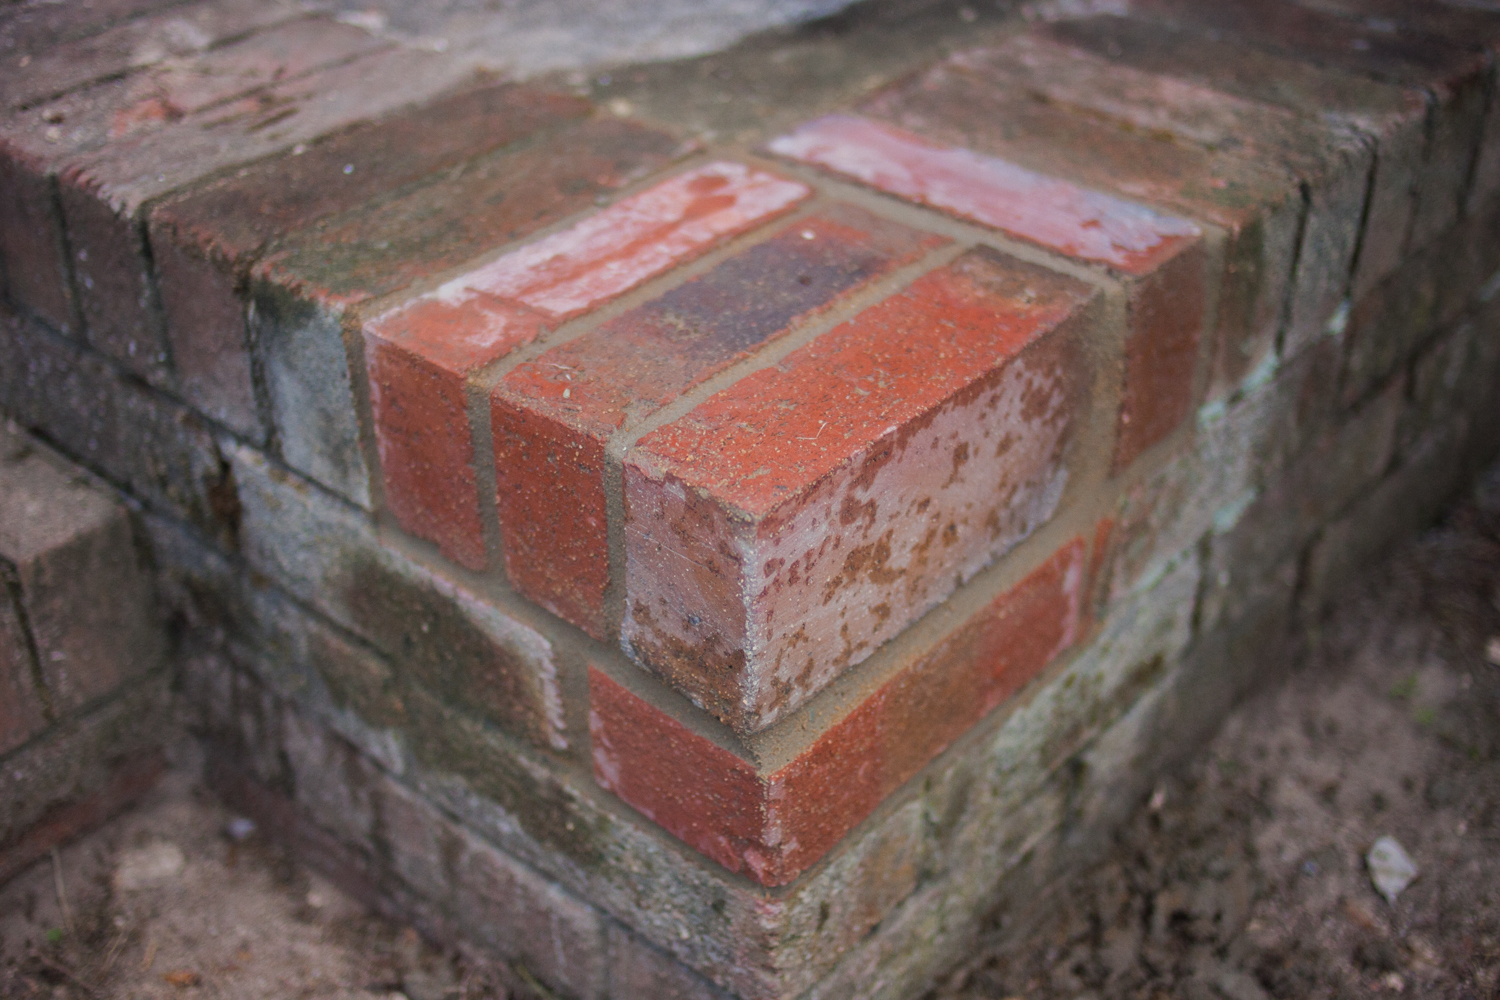
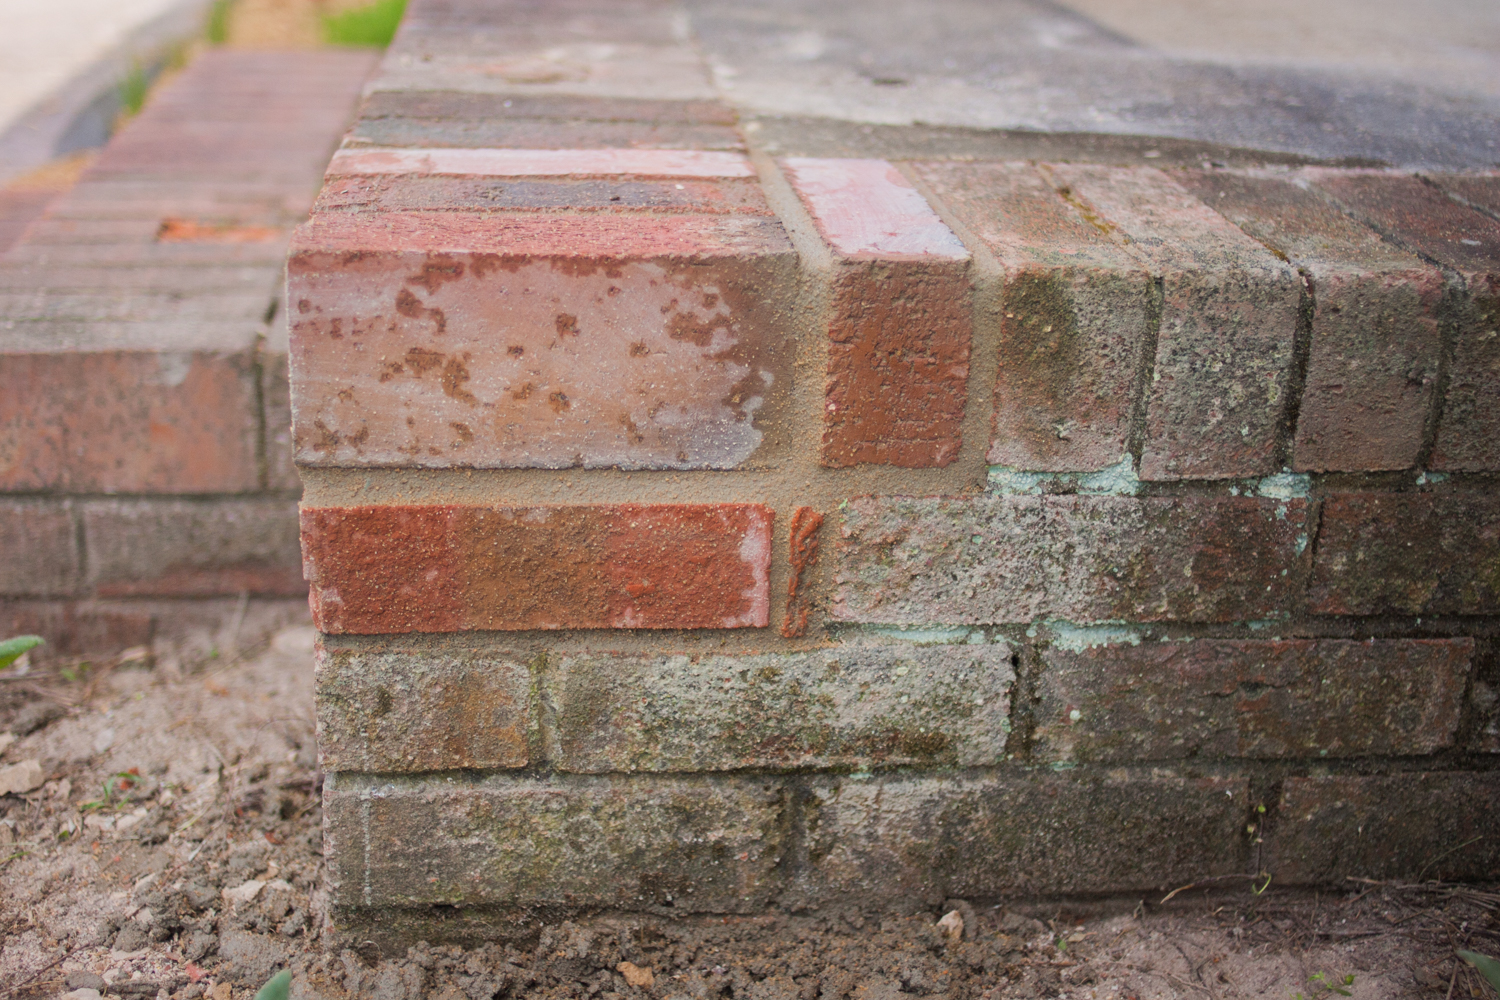
Thankfully, brick and mortar are very forgiving materials, so my newbie mistakes aren’t super noticeable to anyone but the experts.
The only warning I will impart for this kind of project: it’ll raise the bar on the rest of your surroundings, which in this case means I now have to fix up the rest of the entry stairs because they look like total junk now. Live and learn.


