How to Fix Frayed Shoelaces With Heat and Tubing (or a Lighter and Straw)

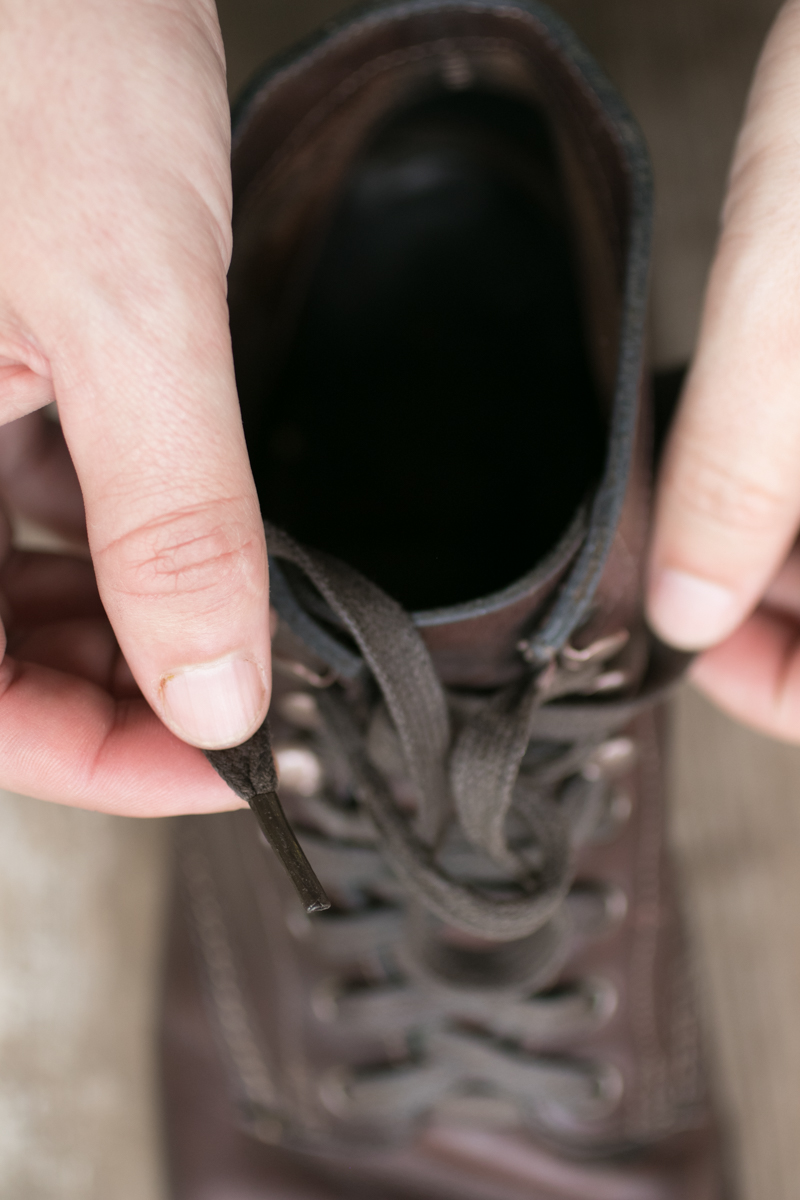
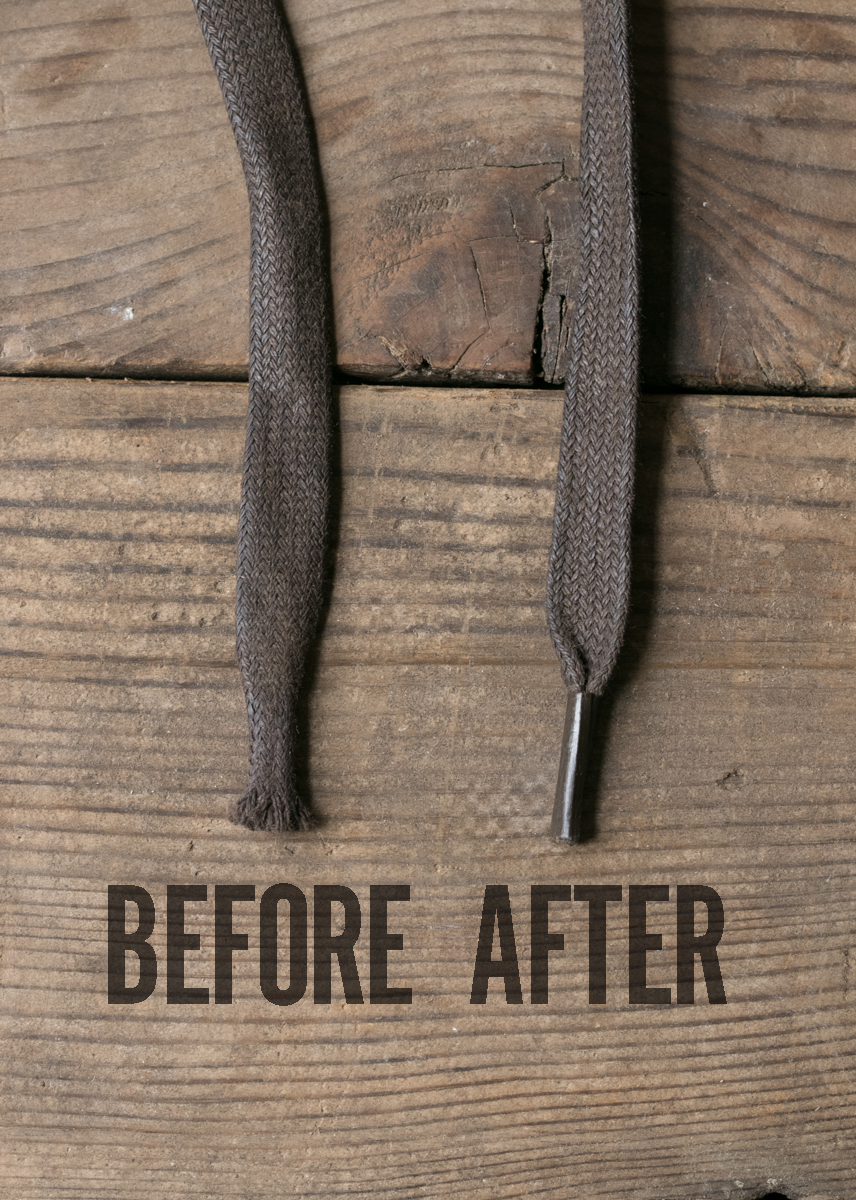
You know the phenomenon. No matter how hard your try, eventually, the little plastic tip on the end of your shoelaces (the official term is “aglet”) will get crunched up, and slowly, you find yourself with a set of frayed laces. You could do the classic trick of burning the ends with a match to seize the fibers, but that’s a temporary solution, and eventually, you’ll end up exactly where you started.
Shoelaces are, of course, replaceable, and if you simply need a white or black pair for sneakers, or perhaps the classic golden variegated laces often found in leather workboots, you can switch them out if you like. But, so many pairs of shoes rely on the complement and/or contrast of the laces as a design element, and so often, you can’t find a replacement.
So, instead, let’s figure out how to fix shoelaces so they stay compact, useable, and fray-free.
How to Repair Frayed Shoe Lace Tips
The good news is: the materials required for this project cost about 4¢ to execute. The bad news is: no one will sell you a single unit to fix it.
Instead, you need to get your hands on some clear heat shrink tubing. This is a material used in electronics work, for collecting and coding wire, sealing splices, etc. It looks like a drinking straw, but is designed to shrink down to half its original size when heat is applied. So, basically a shrinky dink tube.
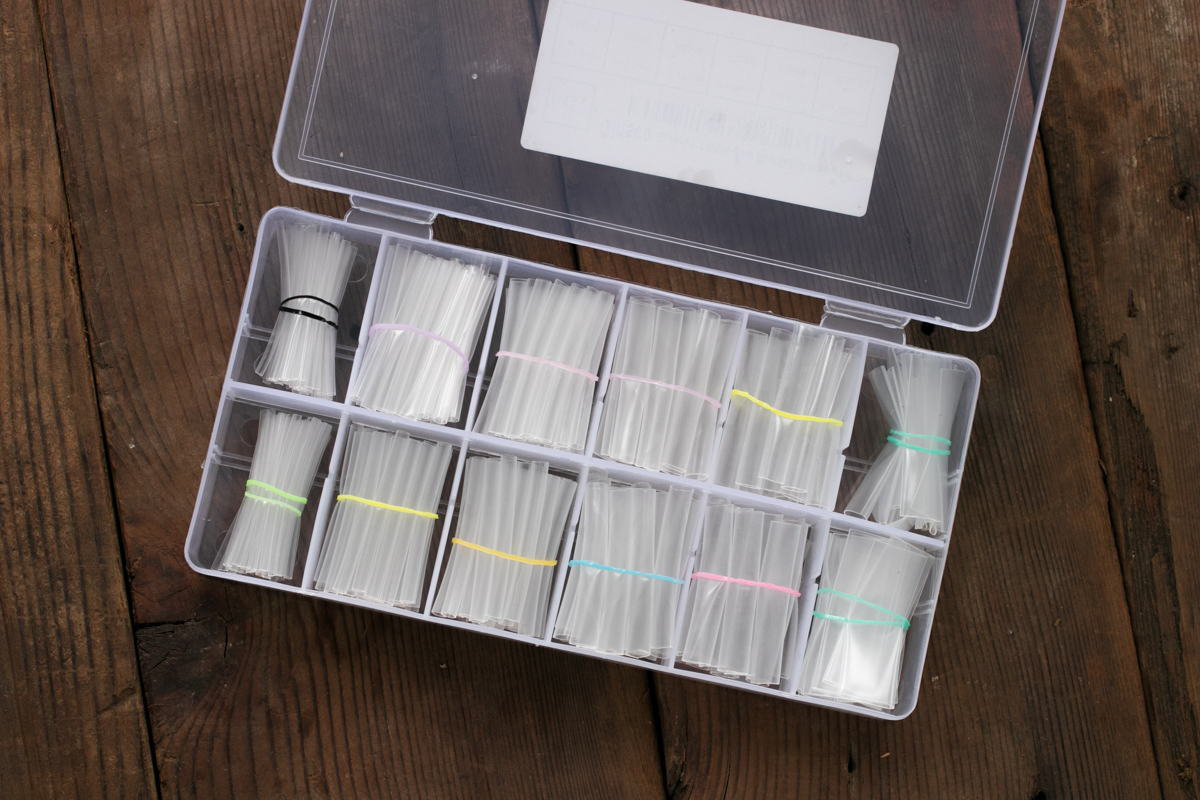
You can find this at home centers but I’d recommend the route I took: you can buy this assorted set with Amazon Prime for less than $10. It comes with six sizes, two of which work well for shoe laces, hoodie strings, etc: there are forty units of the 5mm and thirty-two of the 6mm. You can fix two shoelace tips with each unit, so a total of 144 lace tips in the box for $8…or about 5¢ each. Plus, you’ll have the other sizes for different projects.
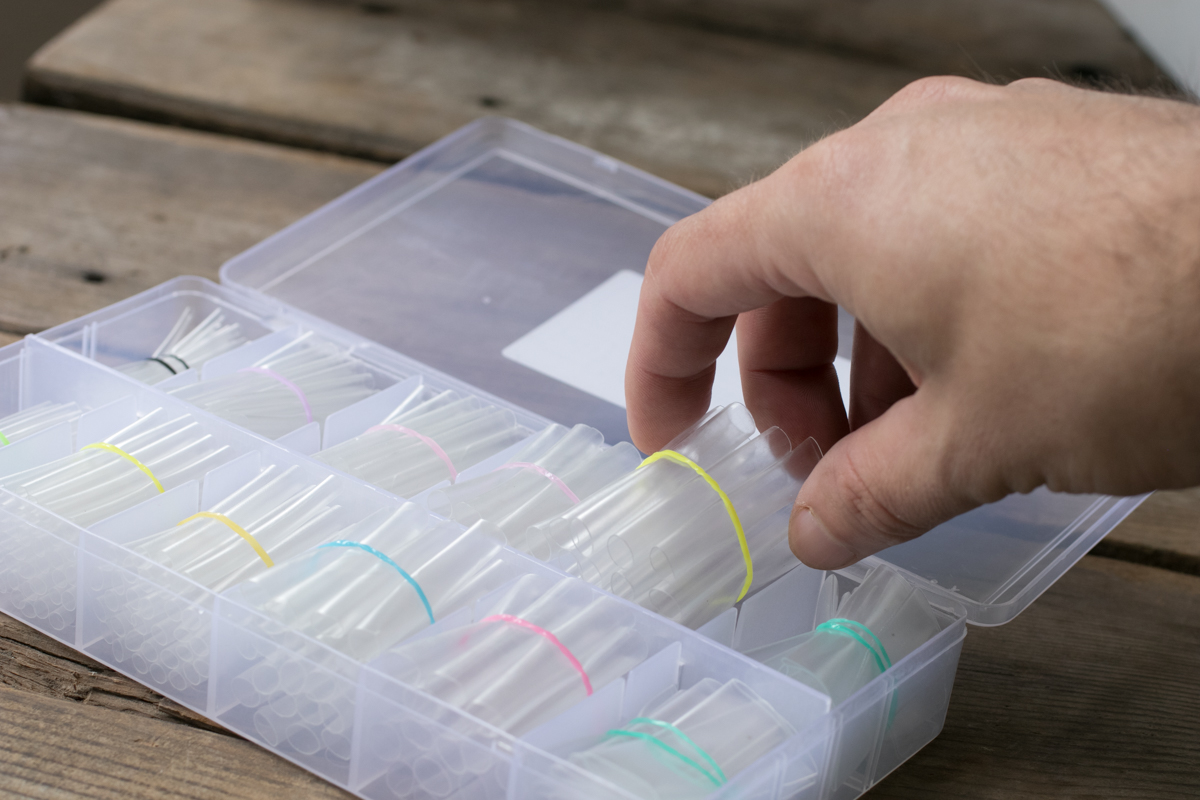
Okay! Let’s do it. Begin by selecting the right size for the job.
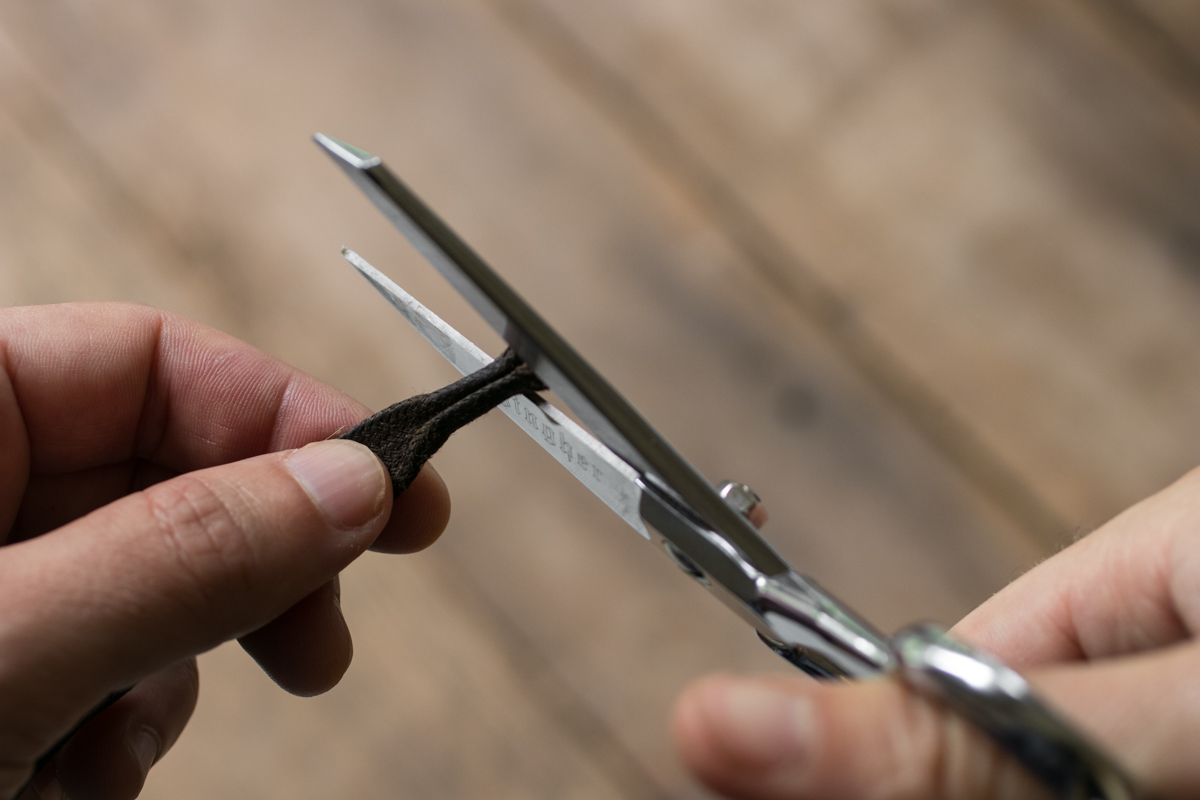
Then, clean up the ends of the laces by removing any and all frayed thread, torn pieces, and the like. Don’t get too carried away here, as you can clean it up again at the end. You just want to make a nice, clean edge that you can slip inside the tubing.
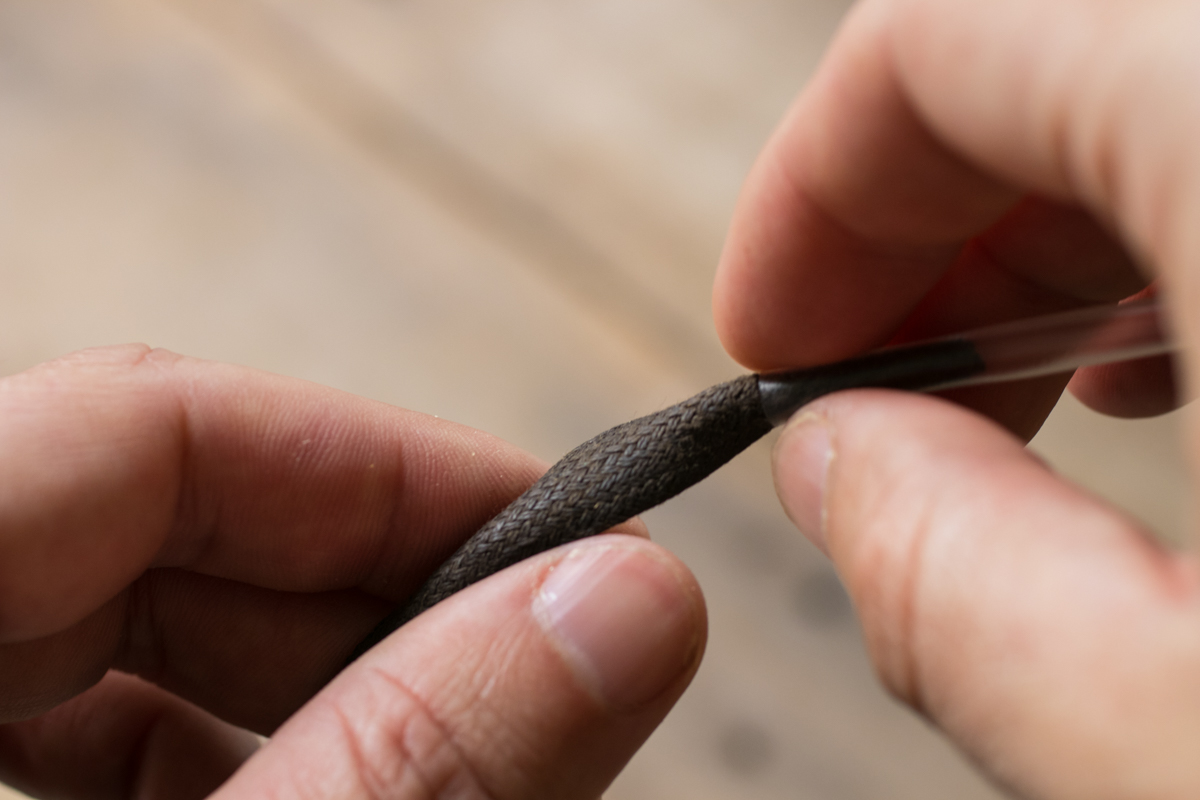
Insert the lace into the tubing about halfway.

Then, check the overall length against an intact lace tip. If you don’t have one for reference, 3/4″ or so is plenty. Trim the tubing to length.
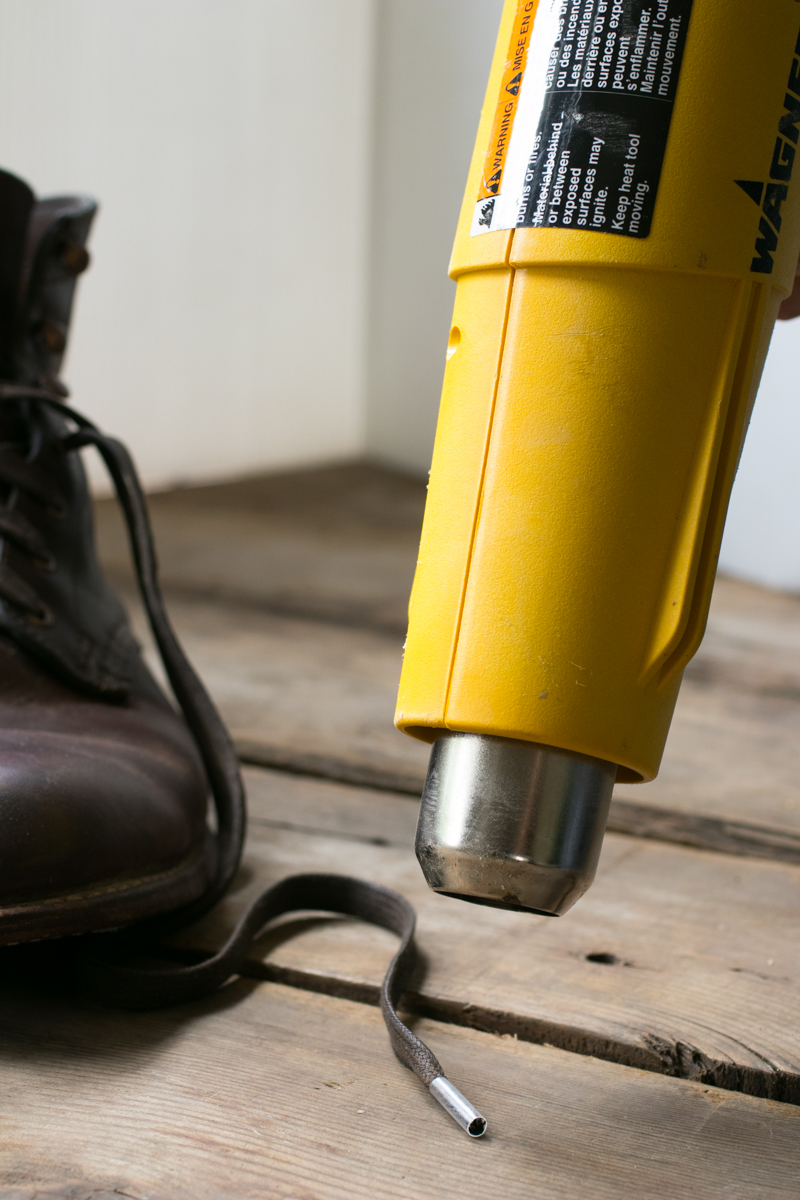
Now, you need to heat the tubing. The easiest way is with a heat gun. The tubing needs to get to around boiling water temperature to full shrink, about 200-225° F or 100°C. Not all hair dryers can get this hot, but it’s worth a shot. Also, a heat gun is a super useful tool for all kinds of DIY projects. If you don’t have one, now’s a perfectly good time to pick one up for $20.
Of course, if you don’t want to pick up a heat gun you can use any high-powered blow dryer. Heat is their default setting, and even though it will take a bit longer, it will work just as well.
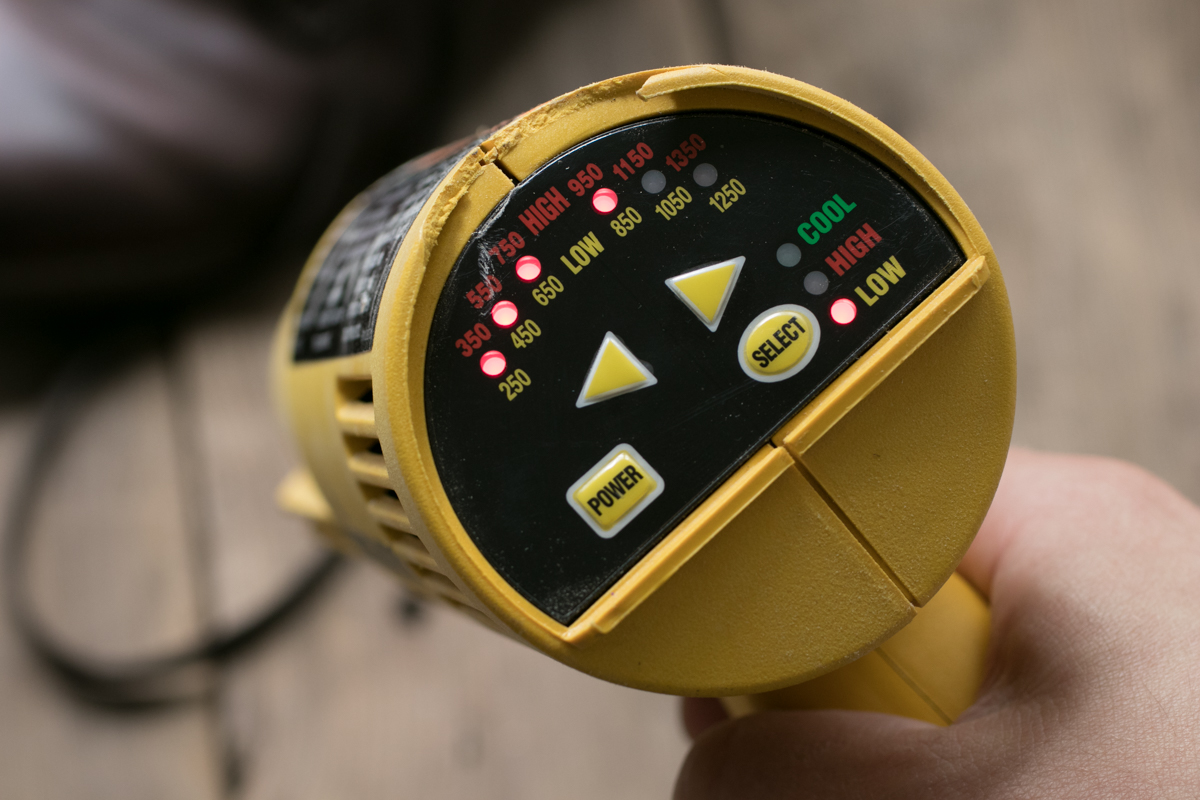
What temp to use? Anything over 200°F will shrink the tubing. But if you can select it, I got the best results setting the gun to around 600-800°. This allowed me to shrink things fast, producing a cleaner, more even surface, and meant I could hold the gun a little further away for even distribution.
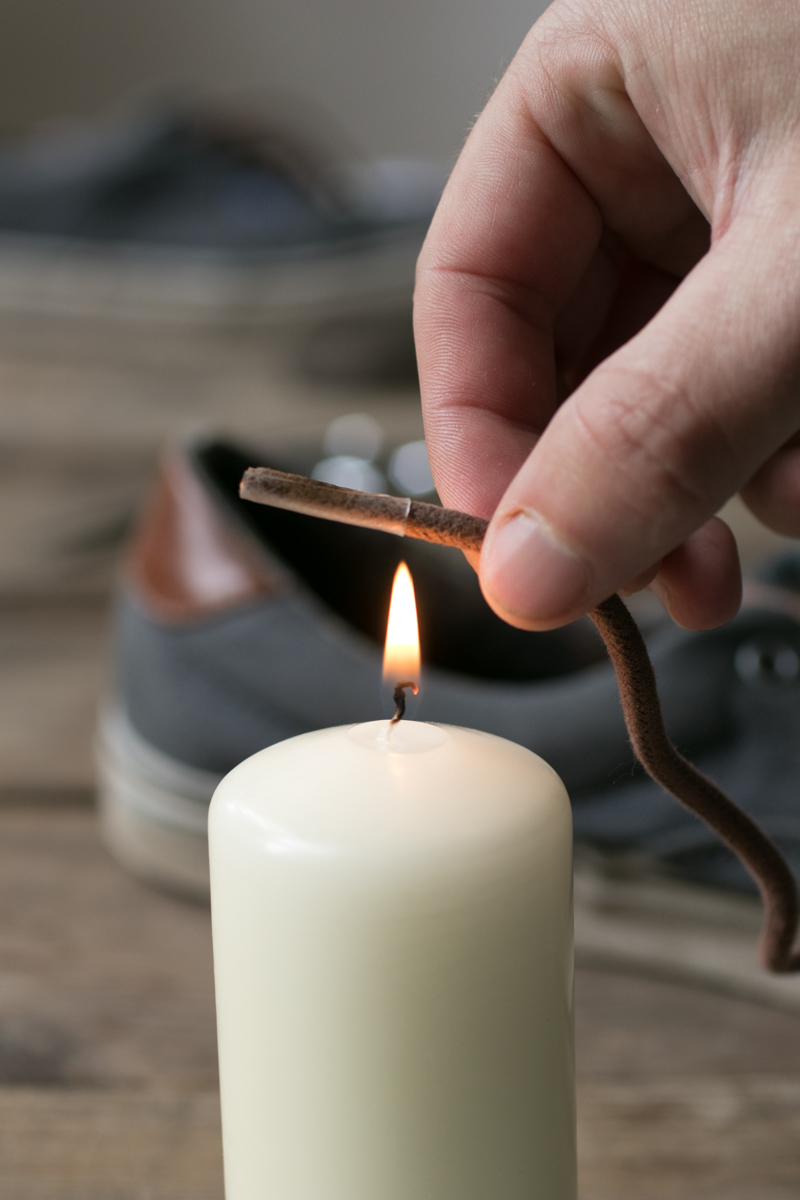
If you don’t have a heat gun, no worries! Just use a candle, lighter, or even a match to heat the tubing. Just take even passes over the flame, and rotate things regularly to shrink evenly on all sides.

Once it’s cooled for about 15 seconds, you can then trim the tip flush. And if you’re unhappy with the results, you can easily cut the new aglet off by slicing up its length with a craft knife, and start fresh.
That’s it! Once you know how it works and you have the right materials on hand, you can fix a lace in under five minutes.