Make This: Sweet Zucchini Relish
Grilling season is in full swing. You're slinging burgers and dogs off the fire into the waiting hands of hungry family and friends. ManMade has been, and will continue, to keep your grilling skills sharp, so let's focus on what's going on your food. I'd take a bet you have some store-bought relish sitting next to that plate of hotdogs, right? It's time to ditch that generic stuff, get your hands dirty, and let your guests relish in the best relish they will ever have! (forgive me).
For real though, those of you who are looking for a fantastic gift, a chance to create something from scratch, and, in my honest opinion, the best relish to grace your taste buds, take this summer to make this sweet zucchini relish…
We're going back a few generations on this one. Below is a recipe handed down my wife's family for decades and now I'm sharing it with you. This recipe asks us to do some canning, which if you've never done, can sound intimidating. However, if this gives you any encouragement, this recipe was my first experience canning and it was way easier than I expected. So much so that I'm going to be pickling all sorts of food from this point on.
The recipe is easy as far as labor goes, but is going to take a couple days to finish. You'll be shredding, cooking with stinky vinegar, and boiling glass jars – things you might not be used to. “But Ted,” you say, “this surely can't be worth the time and effort.” First, if you're looking for easy and mediocre, you've already got a jar of store-bought stuff in the fridge. Second, yes, it is worth it. For my DIY friends who complete this recipe, I expect comments below to back me up.
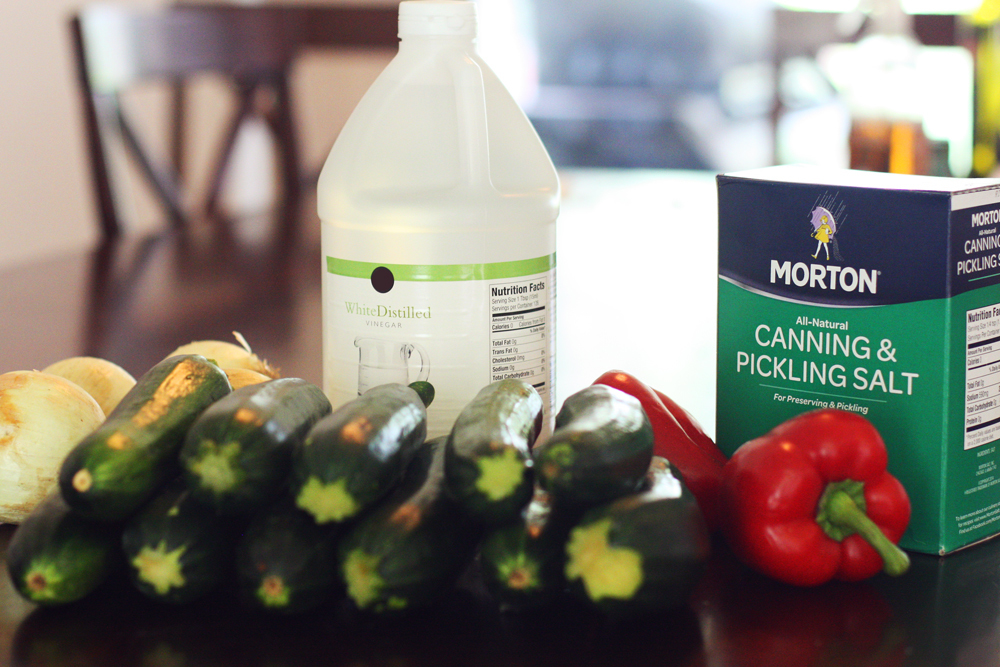
Ingredients
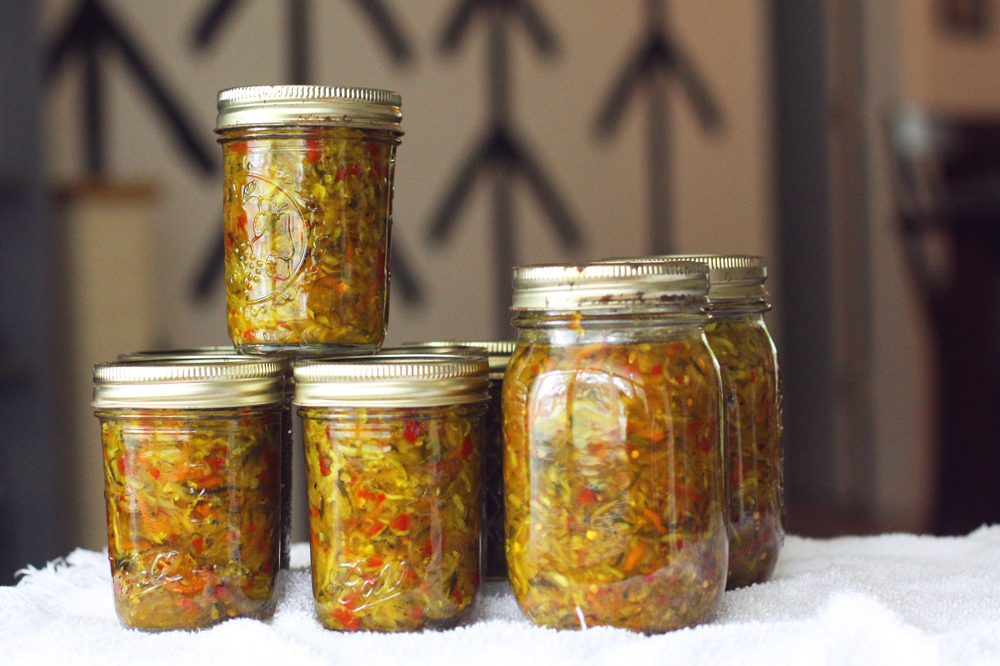
Zucchini is in season for most of us, so summer is a great time to make this zucchini relish. After the canning process, these have a shelf-life of years, so they make great holiday gifts. Plus, this recipe will make ~10 cups of zucchini relish, separated into some 1 cup and 2 cup jars means less chance of having them go bad once opened.
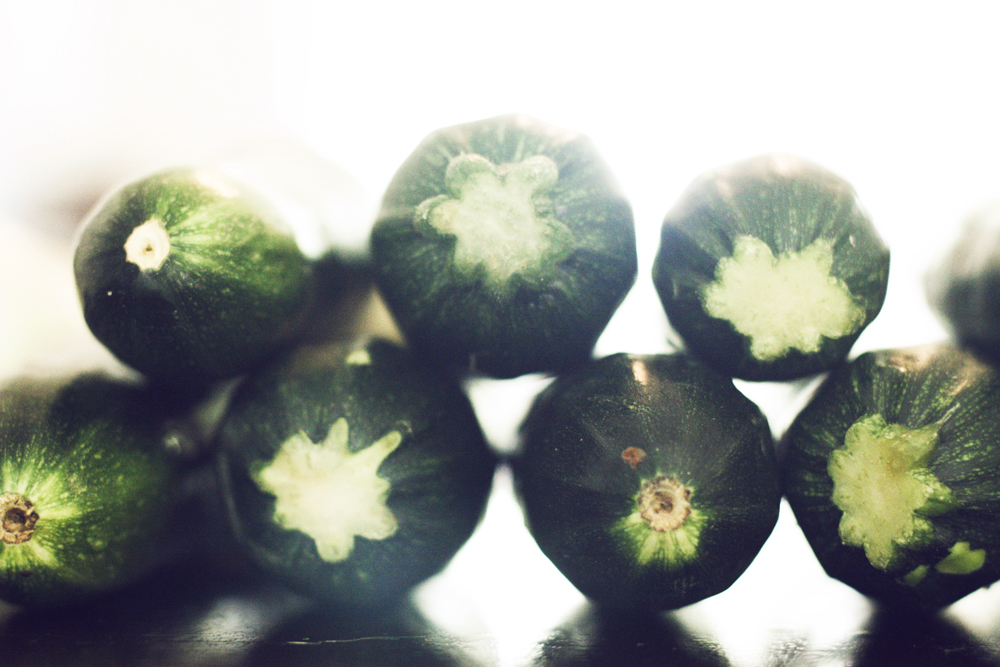
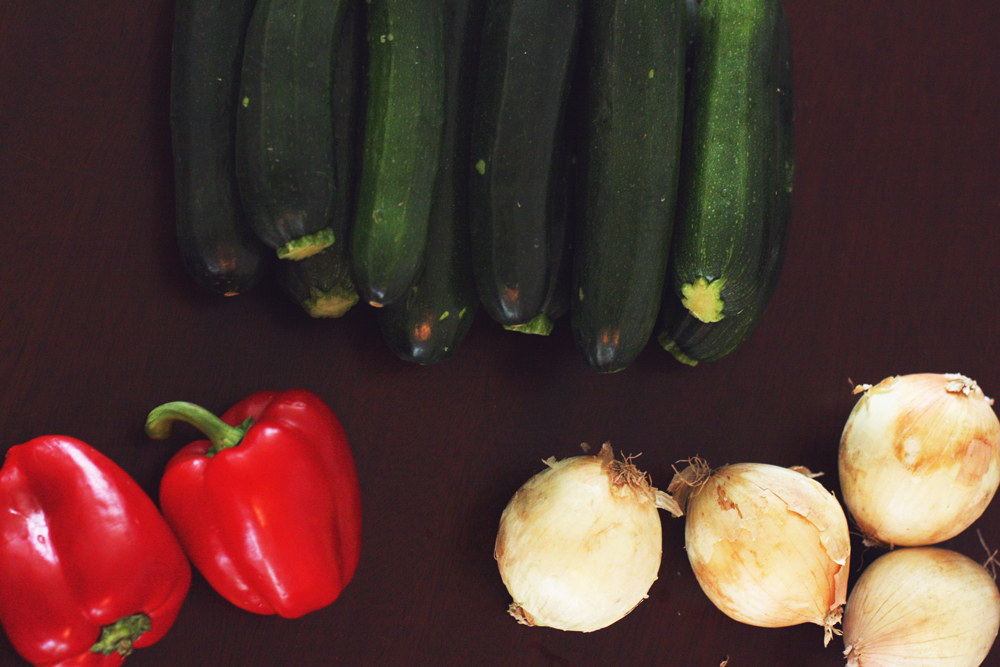
- 10-12 zucchini (~12 cups)
- 2 large onion (white or Vadalia) (~4 cups)
- 2 bell peppers – the type/color depends on your aesthetic more than taste. 1 green + 1 red make are great if you're giving these for Christmas gifts. I used 2 red this time.
- 1 carrot (optional) – again, this is for color. It won't add or subtract from the flavor.
- 5 Tbsp pickling salt – you might not find this in the salt section of a grocery store. If your store sells glass Mason jars, it could be there instead.
Note: Pickling salt isn't a special kind of salt. It just doesn't have any of the additives some other salts have (anti-caking agents, for example), plus the grains a finer. We want the salt to dissolve and not settle in the jars. Pickling salt just takes the guess-work out of all this.
Those are your veggies + salt. You'll see that we're spending less than $10. The rest of the ingredients you may already have, but even if you don't, we're talking months worth of zucchini relish for only $10-20.
- 5 cups of sugar
- 2 1/2 cups vinegar
- 1 Tbsp dry mustard
- 1 Tbsp corn starch
- 3/4 ssp tumeric
- 1/2 tsp celery seed
- 1/2 tsp celery seed (can also use a stalk of fresh celery finely diced)
- 1/2 tsp black pepper
- Red pepper flakes [optional]; grandma grew her own red peppers and diced a half of a pepper for her original recipe.
Materials & Equipment
- Food processor [optional] – This makes the entire thing go much quicker. If you have a food processor that can shred, than I suggest using it. It's not required, however. You can thinly slice and cut the zucchini. The onions and bell peppers are better off being cut by hand anyway (the skins don't always shred easily).
- 2 large bowls
- Cutting board + knives
- Colander
- Measuring cups + spoons
- 2 large cooking pots
- Clean dish towel
- 10 cups /80 ounces of jars – I used x2 16oz and x6 8oz glass jars
- Enough lids/bands for each jar
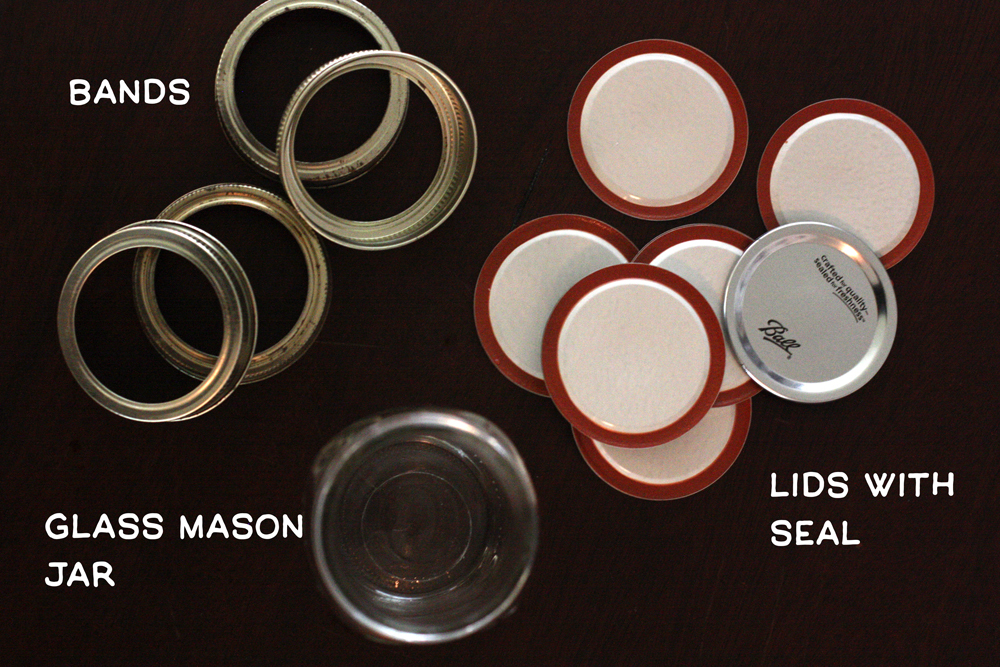
For the canning process, most grocery stores sell mason jars in various sizes. The size you choose is up to you. We prefer a couple of the 16oz jars for our own home use and half a dozen of the 8oz jars to give away. Just make sure you pick up lids – you'll need lids that have seals and bands (the ring that screws onto the actual glass jar).
Note: the lids with seals aren't supposed to be used again, but the bands can be used over and over – you can see our bands are many years old and have the wear to show it.
Veggie Prep
Wash your veggies
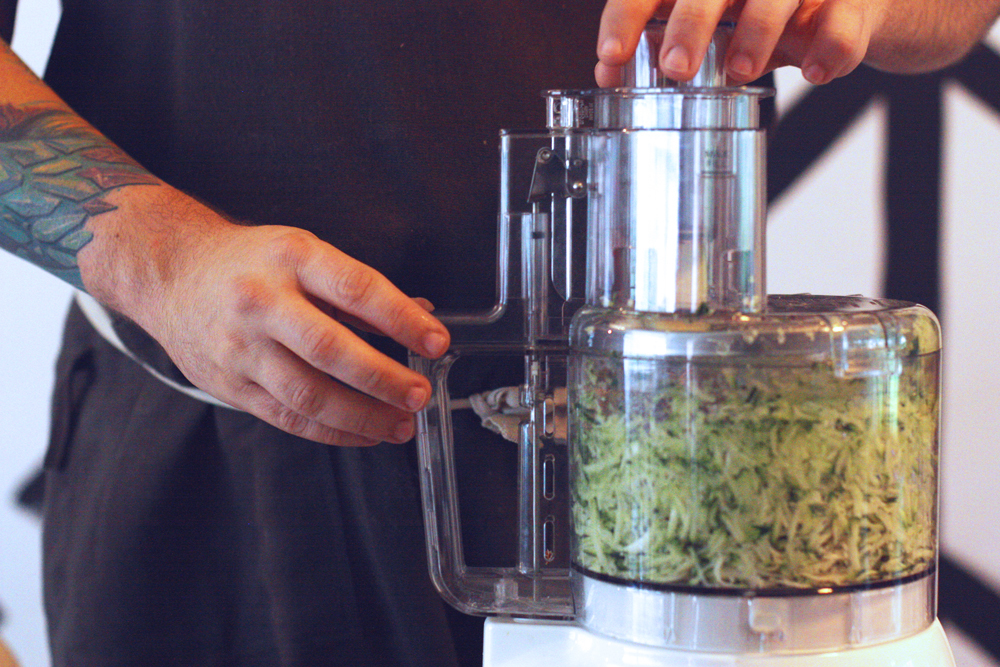
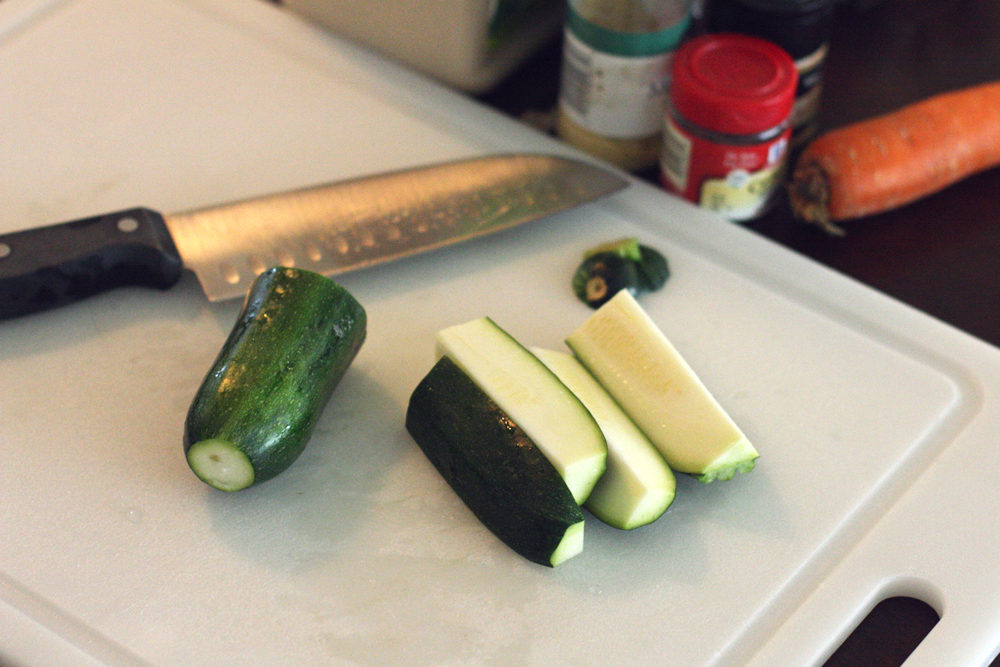
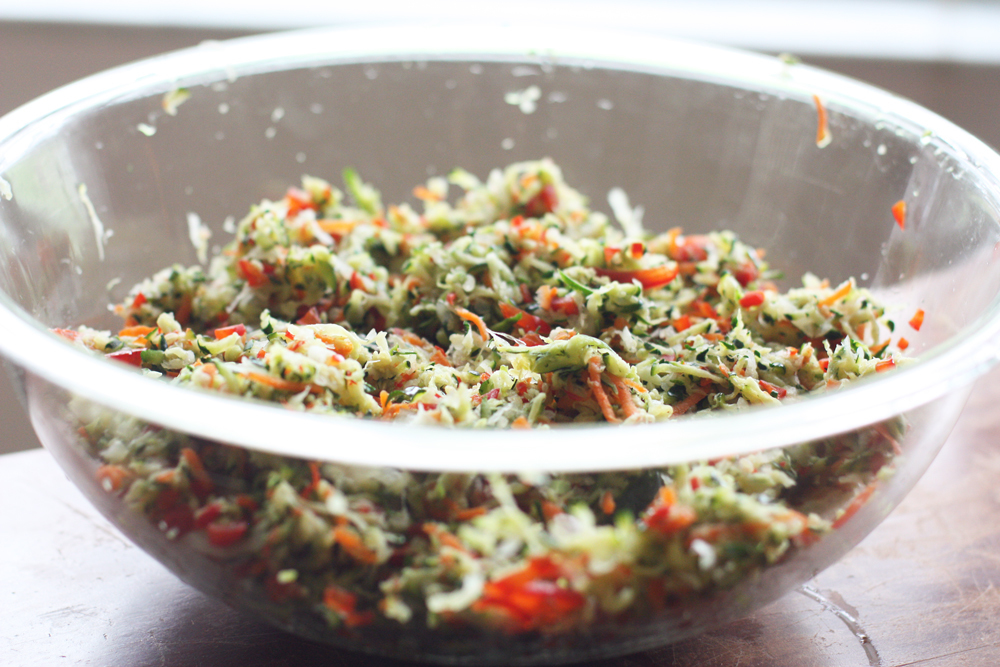
Shred your veggies
Use either the food processor or cut by hand. Depending on the food processor, you may have to cut the zucchini in half or even quarters to fit it in the feeder.
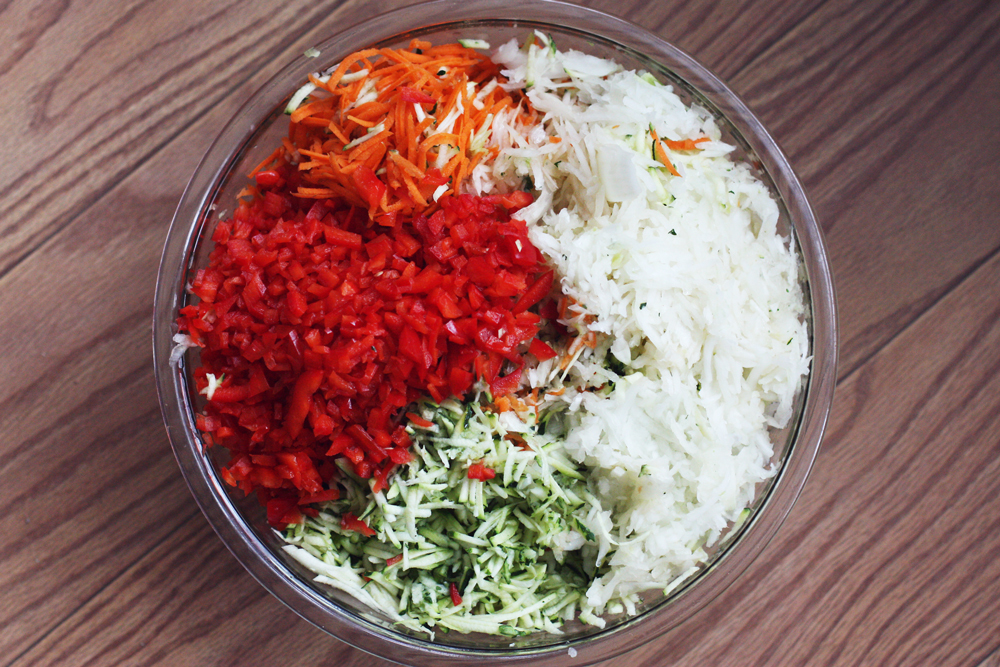
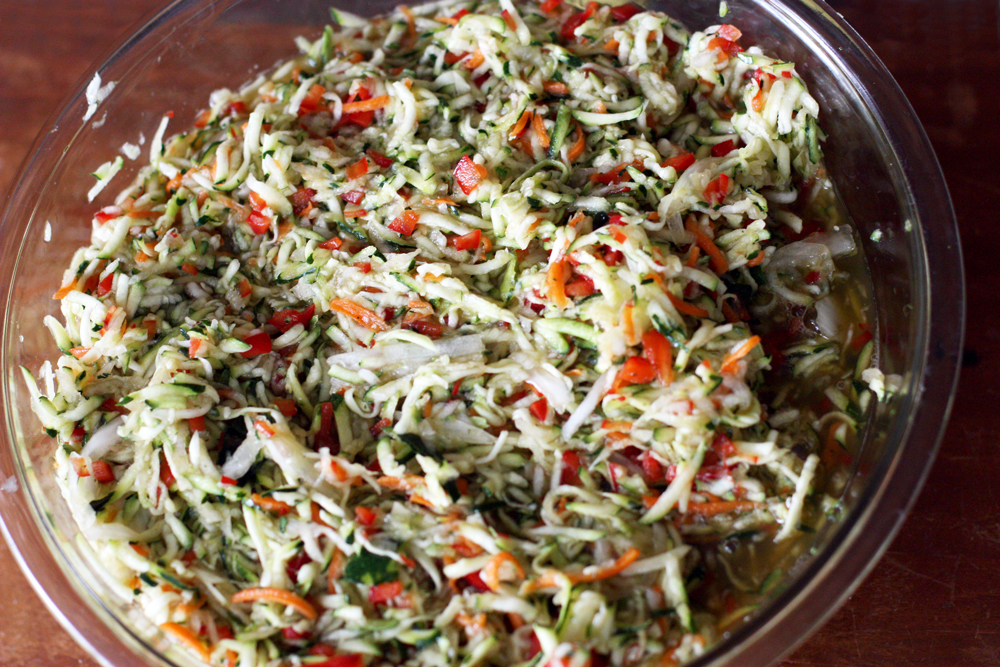
Add canning/pickling salt and mix
Refrigerate for 12-24 hours
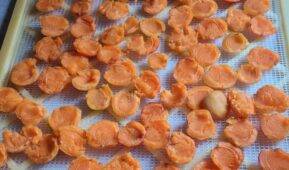
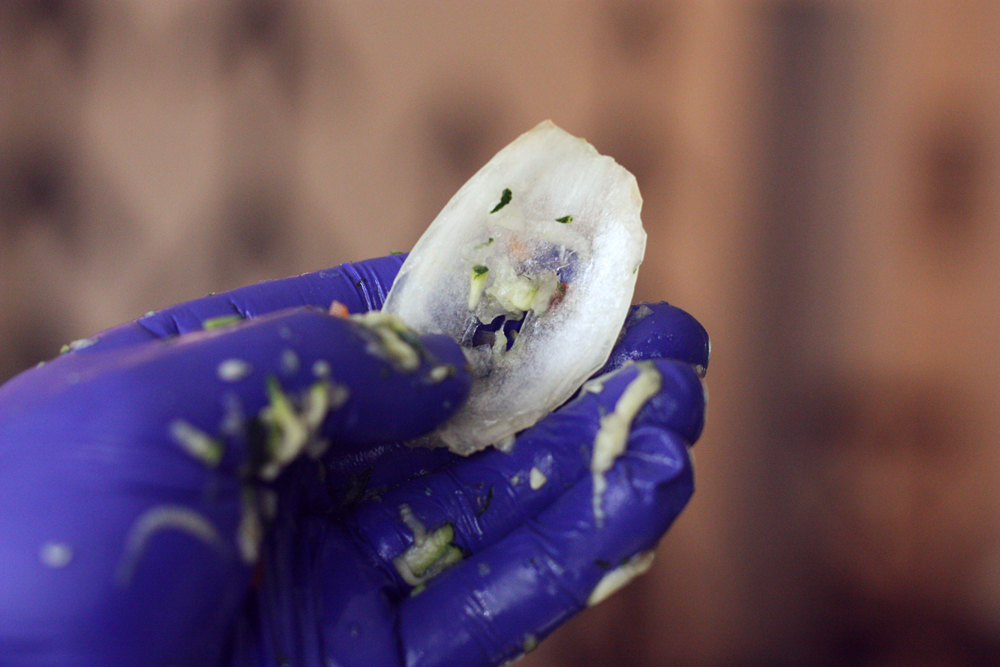
Drain and rinse
Rinse the veggies under cool water. Take a handful, squeeze out the water, and put the mix in a bowl. Then do it again – rinse and squeeze out the water.
The mixture of veggies is reduced by almost half. Put that aside and start on the sauce.
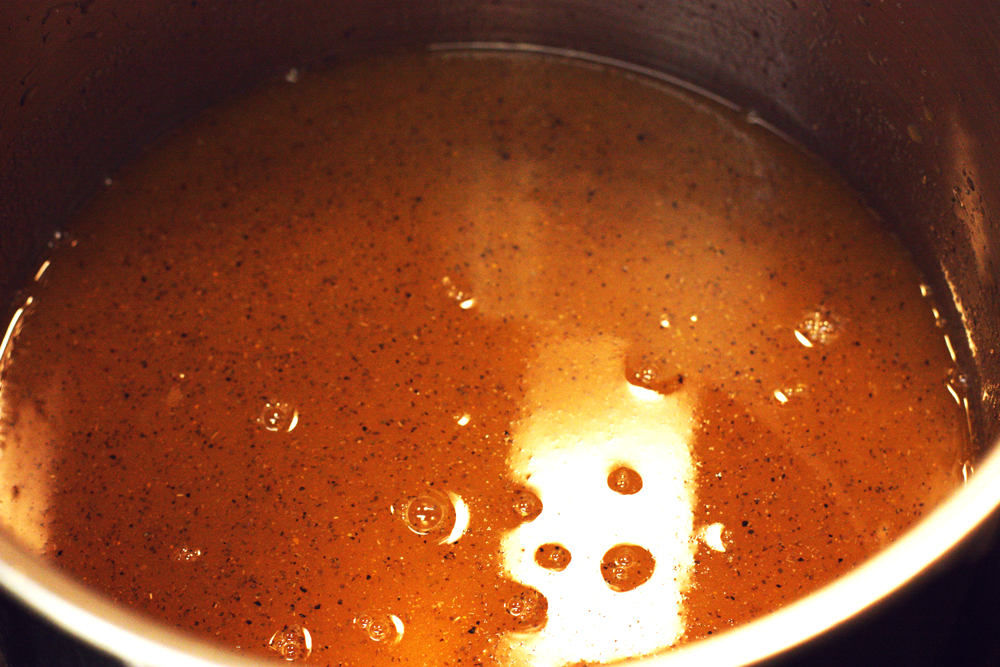
Prepare the vinegar sauce
This is an easy step – just adding the ingredients and simmering – but it stinks. Careful not to inhale too deeply!
Add the vinegar and spices to a large pot; simmer for about 20 minutes. It'll thicken slightly
Note: we're adding all the veggies to this pot, so make sure it's big enough!
Add veggies
Add the drained/rinsed veggies to the sauce and simmer for 25-30 minutes.
*This is also when we add red pepper flakes. One tablespoon is enough for us because we have a youngin' who doesn't like anything spicy. If you prefer a little kick, try this recipe with about 2 Tbsp of red pepper flakes and go from there.
Prep Jars
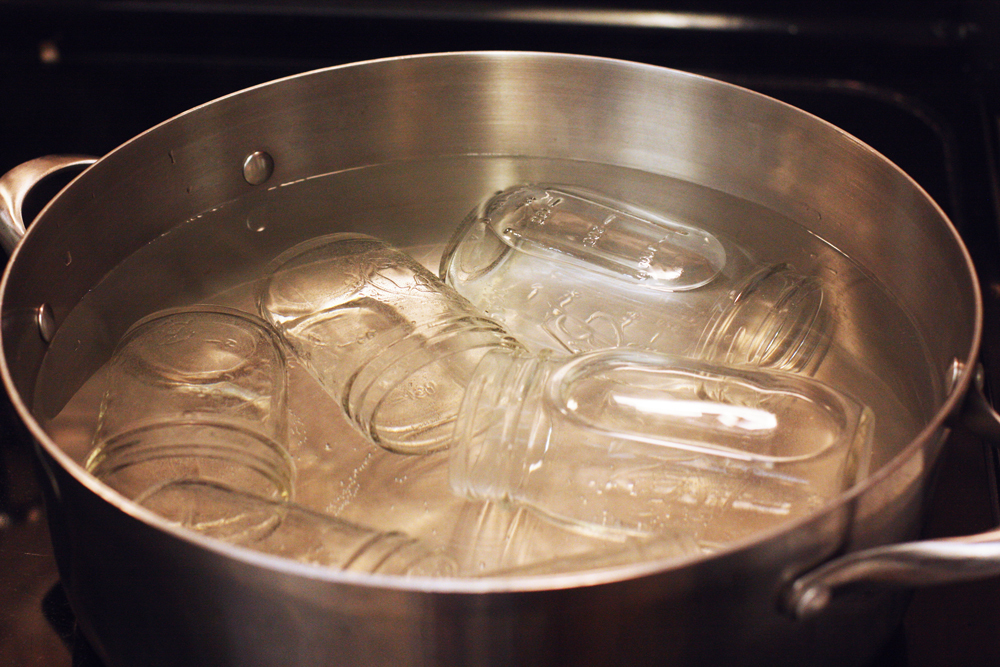
Wash and sanitize
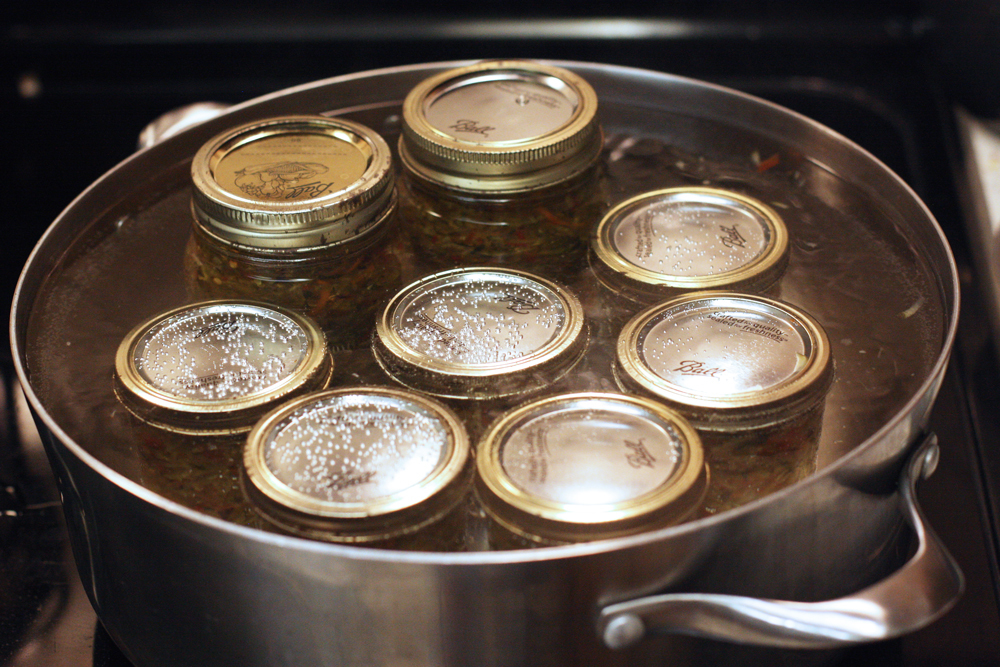
Fill another large pot with water and heat on medium/high heat. We don't want to boil – we're looking for ~180°. Place the glass jars, lids, and bands in the water and leave them in until you're ready to fill.
Carefully remove one jar/lid/band at a time with tongs.
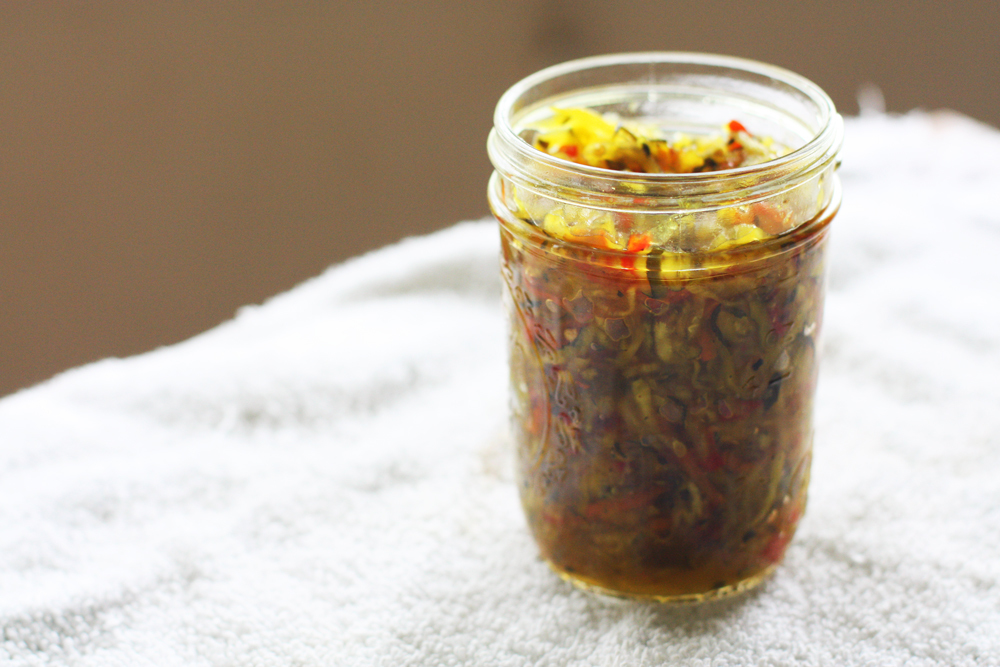
Fill
Fill jars with zucchini relish. Make sure to leave 1/4 – 1/2 inch of space at the top!
Process Relish
Processing jars: the box that the lids come in should have instructions on how to safely and properly seal the filled jars. Make sure you follow those directions.
Once a jar is filled with zucchini relish, use a non-metallic utensil to remove the air bubbles. I also gently tap the filled jars on a cloth. Don't overfill or stuff the jars with zucchini relish.
After you fill a jar:
- clean the rim with a clean, damp cloth
- place a lid on top of the jar
- screw the band on top of the lid
- place the closed jar back into your 180° water
Once each jar is filled and placed back into the water, boil for 10 minutes
Carefully remove each jar and let rest for about 12 hours. During this time, the seal on the lid will… seal.
Once cool: check for a good seal – push the top of the lid. There should be no 'give' to it. If the lid pops up and down, it is not sealed properly!
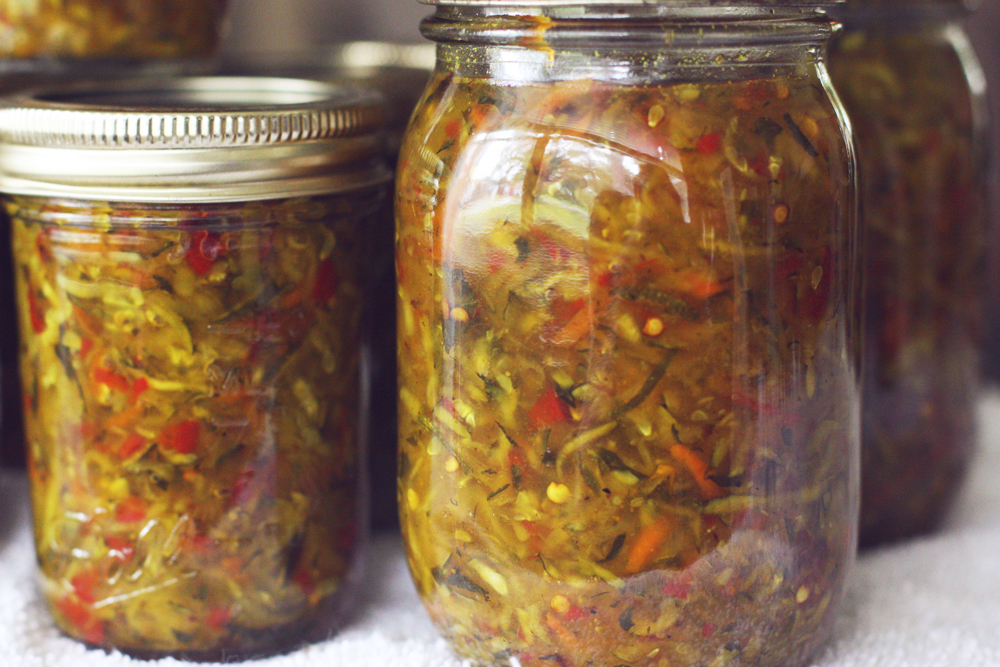
Otherwise, these are ready for the shelf and your food! The first time you open a jar, it'll pop. After you open, they're just like all perishable food – the shelf life is limited. These need to be refrigerated. They'll last a few weeks once opened and a few years unopened.
Enjoy
As soon as this was cooled, my wife opened the first jar and made a tuna fish sandwich. She gave me the seal of approval, which is a big deal! Generously scoop this zucchini relish onto your hotdogs and burger, eat it with crackers, or, my absolute favorite use is to make deviled eggs. Deviled eggs with this zucchini relish is the only kind I'll eat now. That's not even hyperbole. I just pass over other deviled eggs at barbeques and pot lucks.
I'd love to know what else I could put relish on. I never really liked relish until my wife made this for the first time, so I'm playing a little catch-up.
What are your favorite relish-based dishes? Lemme know in the comments!
Wrap these up with a piece of ribbon and little cardstock for a great, DIY gift. You. Will. Thank. Me.
Or, horde them for yourself – years of relish for only you! Relish in your creation! (no apologies for that one)
Zucchini Relish
12 cups zucchini [coarsely shredded]
4 cups white onions [shredded]
1 red bell pepper [diced]
1 green bell pepper [diced]
5 TBSP pure pickling salt
1 carrot
Sauce
5 cups sugar
2 1/2 cups vinegar
1TBSP dry mustard
1 TBSP corn starch
3/4 tsp tumeric
1/2 tsp celery seed
1/2 tsp black pepper
1 TBSP red pepper flakes [optional]
Instructions
Either use a food processor to shred or a knife to finely dice vegetables. Mix the veggies and pickling salt in a large container. Let sit at least 12 hours (or overnight).
Drain the veggies in a colander; wash under cold water, then drain again thoroughly.
Prepare the sauce: Add sauce ingredients into large cooking pot and simmer until slightly thickened – about 20 minutes.
Add veggies to sauce and cook over low/medium heat for 25-30 minutes.
Prepare jars: Heat water to ~180'; hot but not boiling. Clean your jars well with warm, soapy water; rinse and place the jars, lids, and bands (the ring that actually screws around the top) in the hot water. Leave these in the hot water until you're ready to fill the jars.
Fill each jar with the relish. Leave 1/4 – 1/2″ of space at the top. Use a clean, damp cloth and wipe the rim of the jar. Place the lid on top, screw the band around, and set aside the filled jars. Boil water (just increase the heat in the jar-prep-water), and place the filled jars, right-side-up in the pot. Boil for ~10 minutes.
Carefully remove each jar and set aside for 12-24 hours to cool. Check the jars once cooled. The lid should be 'sucked' in and not pop up and down. When these are opened, the lid will 'pop', breaking the seal. Enjoy!