A Helpful Guide for How to Use a Post Hole Digger
Are you planning to build a fence, deck, or install a mailbox? Using a post-hole digger is an essential skill for any DIY enthusiast. If you are unsure of how to dig a post hole, don’t worry since we’ll walk you through the entire process, from choosing the right tool to effectively digging holes for your project.
Understanding What Post-Hole Diggers Are
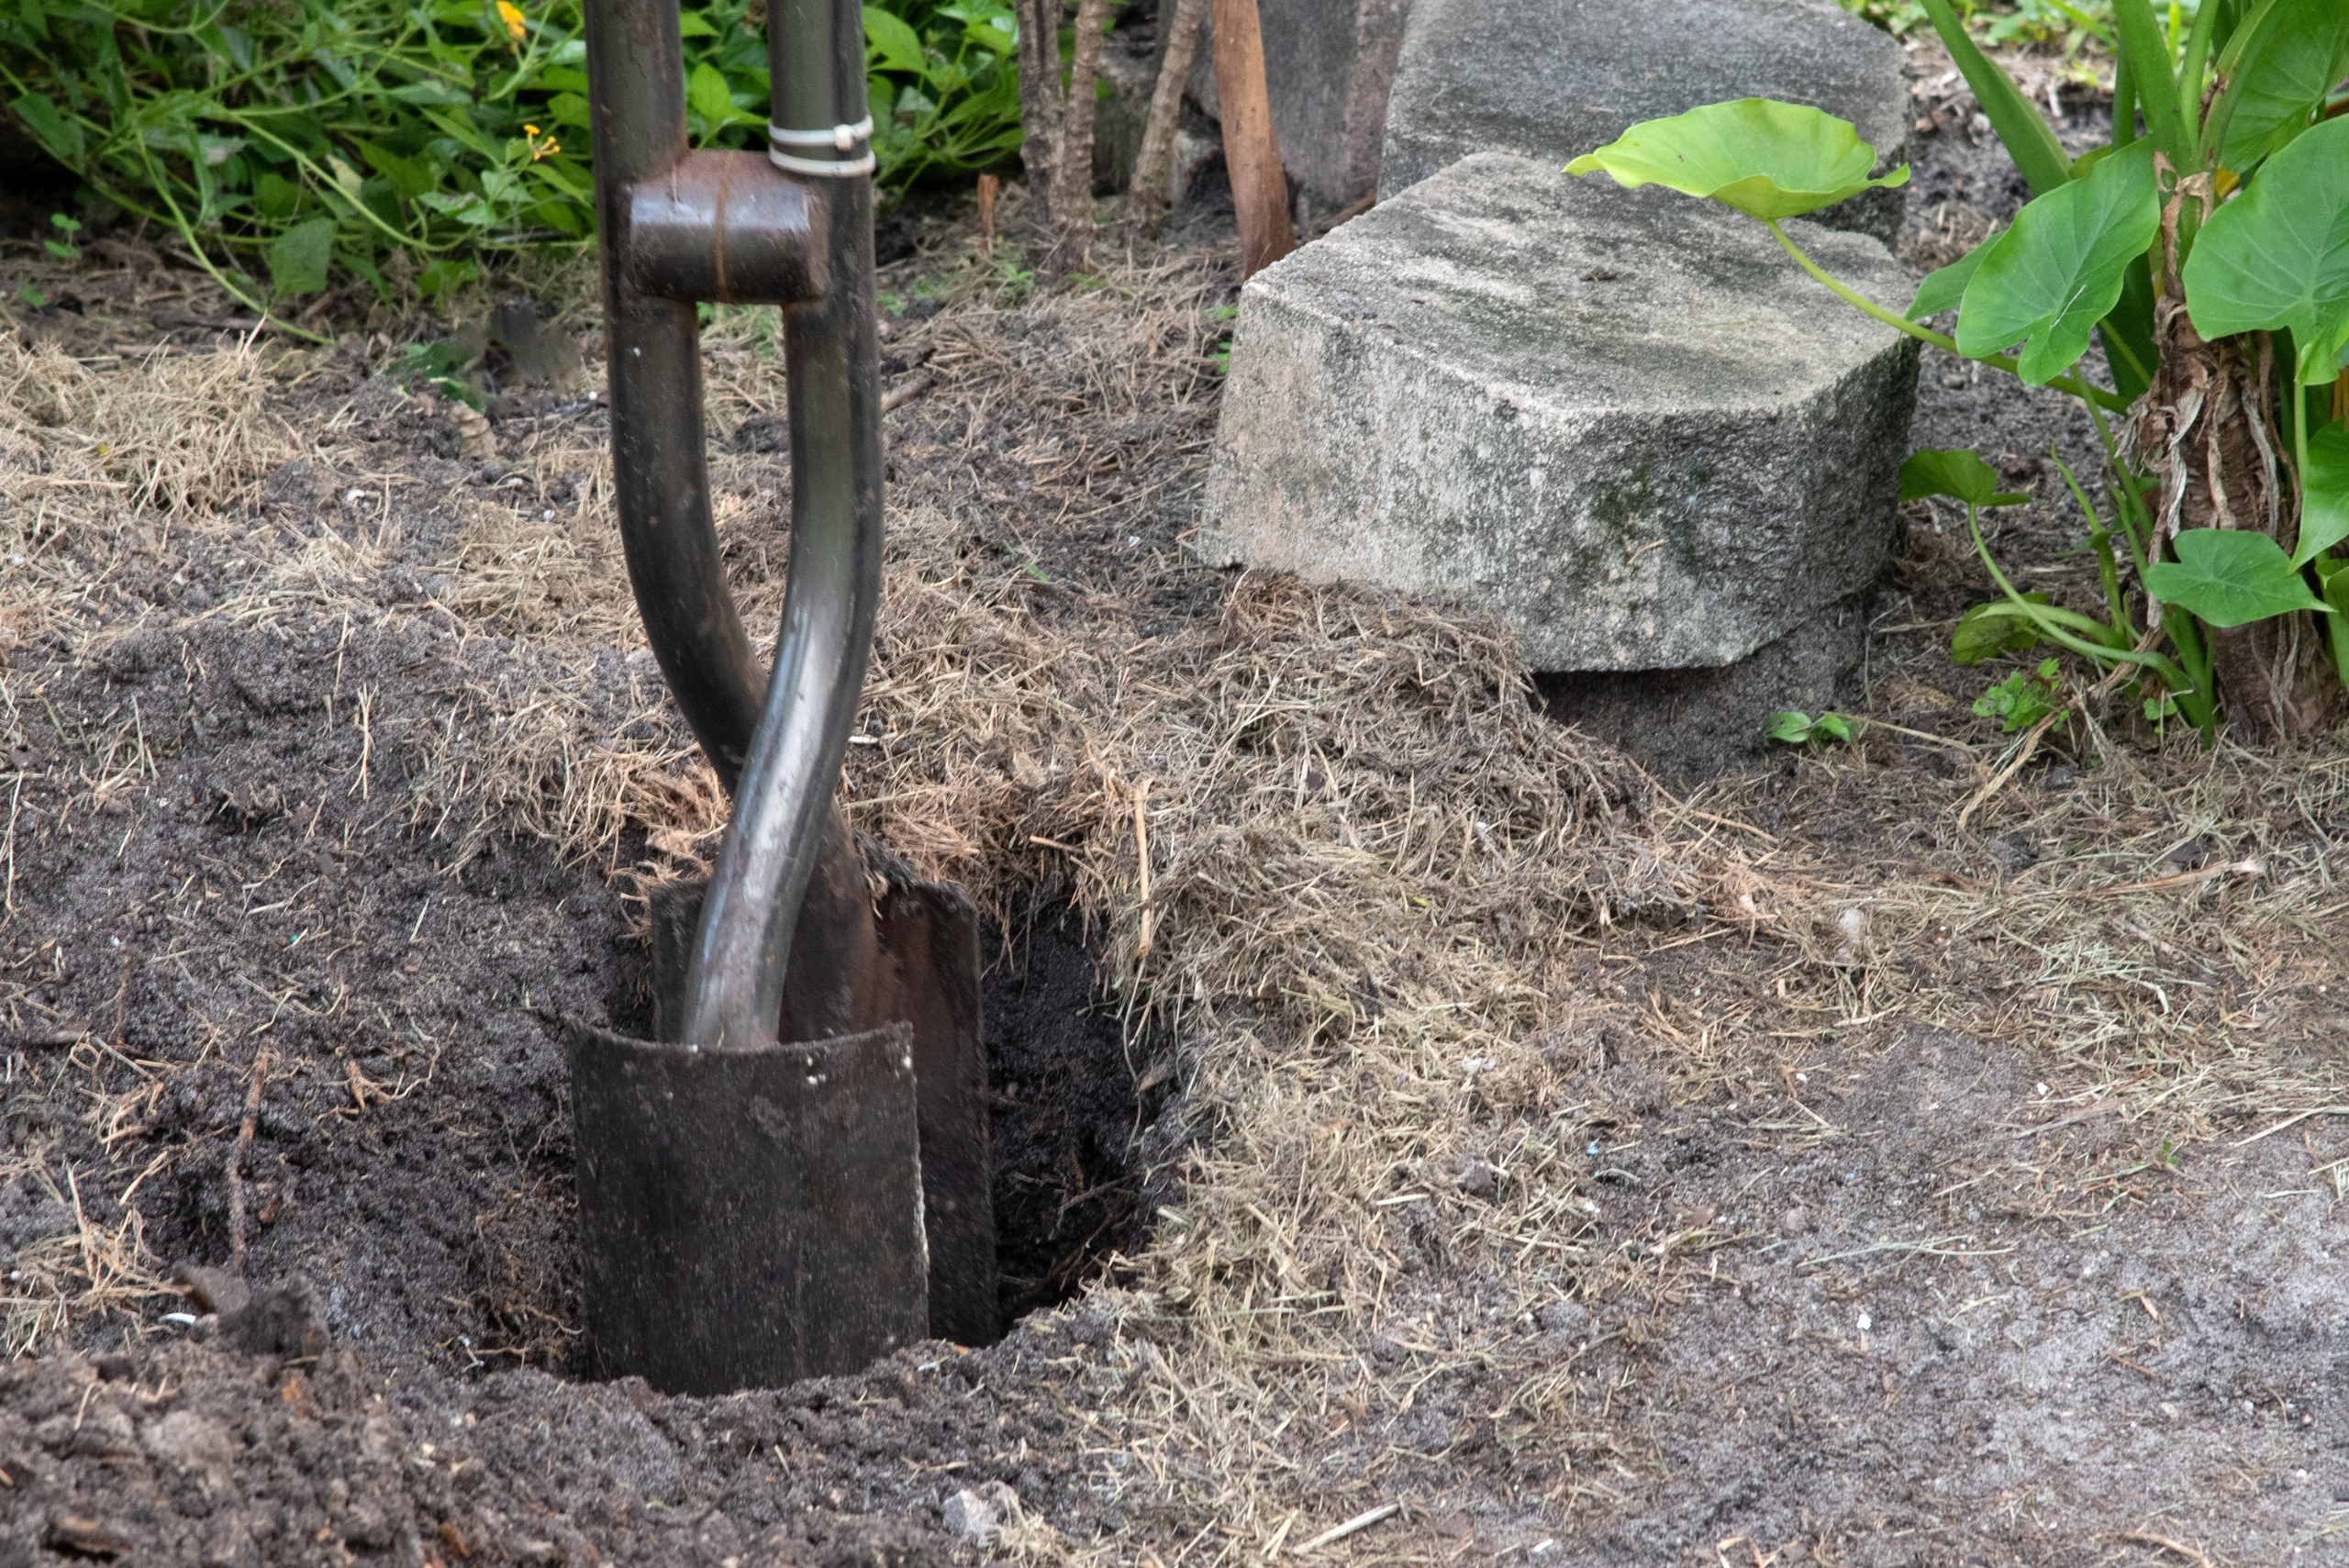
Post-hole diggers come in manual and mechanical varieties. Manual diggers require physical effort, while mechanical ones are powered by engines. Both types are designed to make the digging process easier and more efficient. When choosing a post-hole digger, consider the type of soil in your area and the size of the project. For small projects or softer soil, a manual digger may suffice. For larger projects or harder soil, a mechanical digger with an engine may be more suitable.
Preparing for the Task
Before using a post-hole digger, it’s essential to mark the locations of the holes accurately. Use stakes and string to outline the area where the posts will be installed. This will ensure that the holes are dug in the right spots.
Using a Manual Post Hole Digger
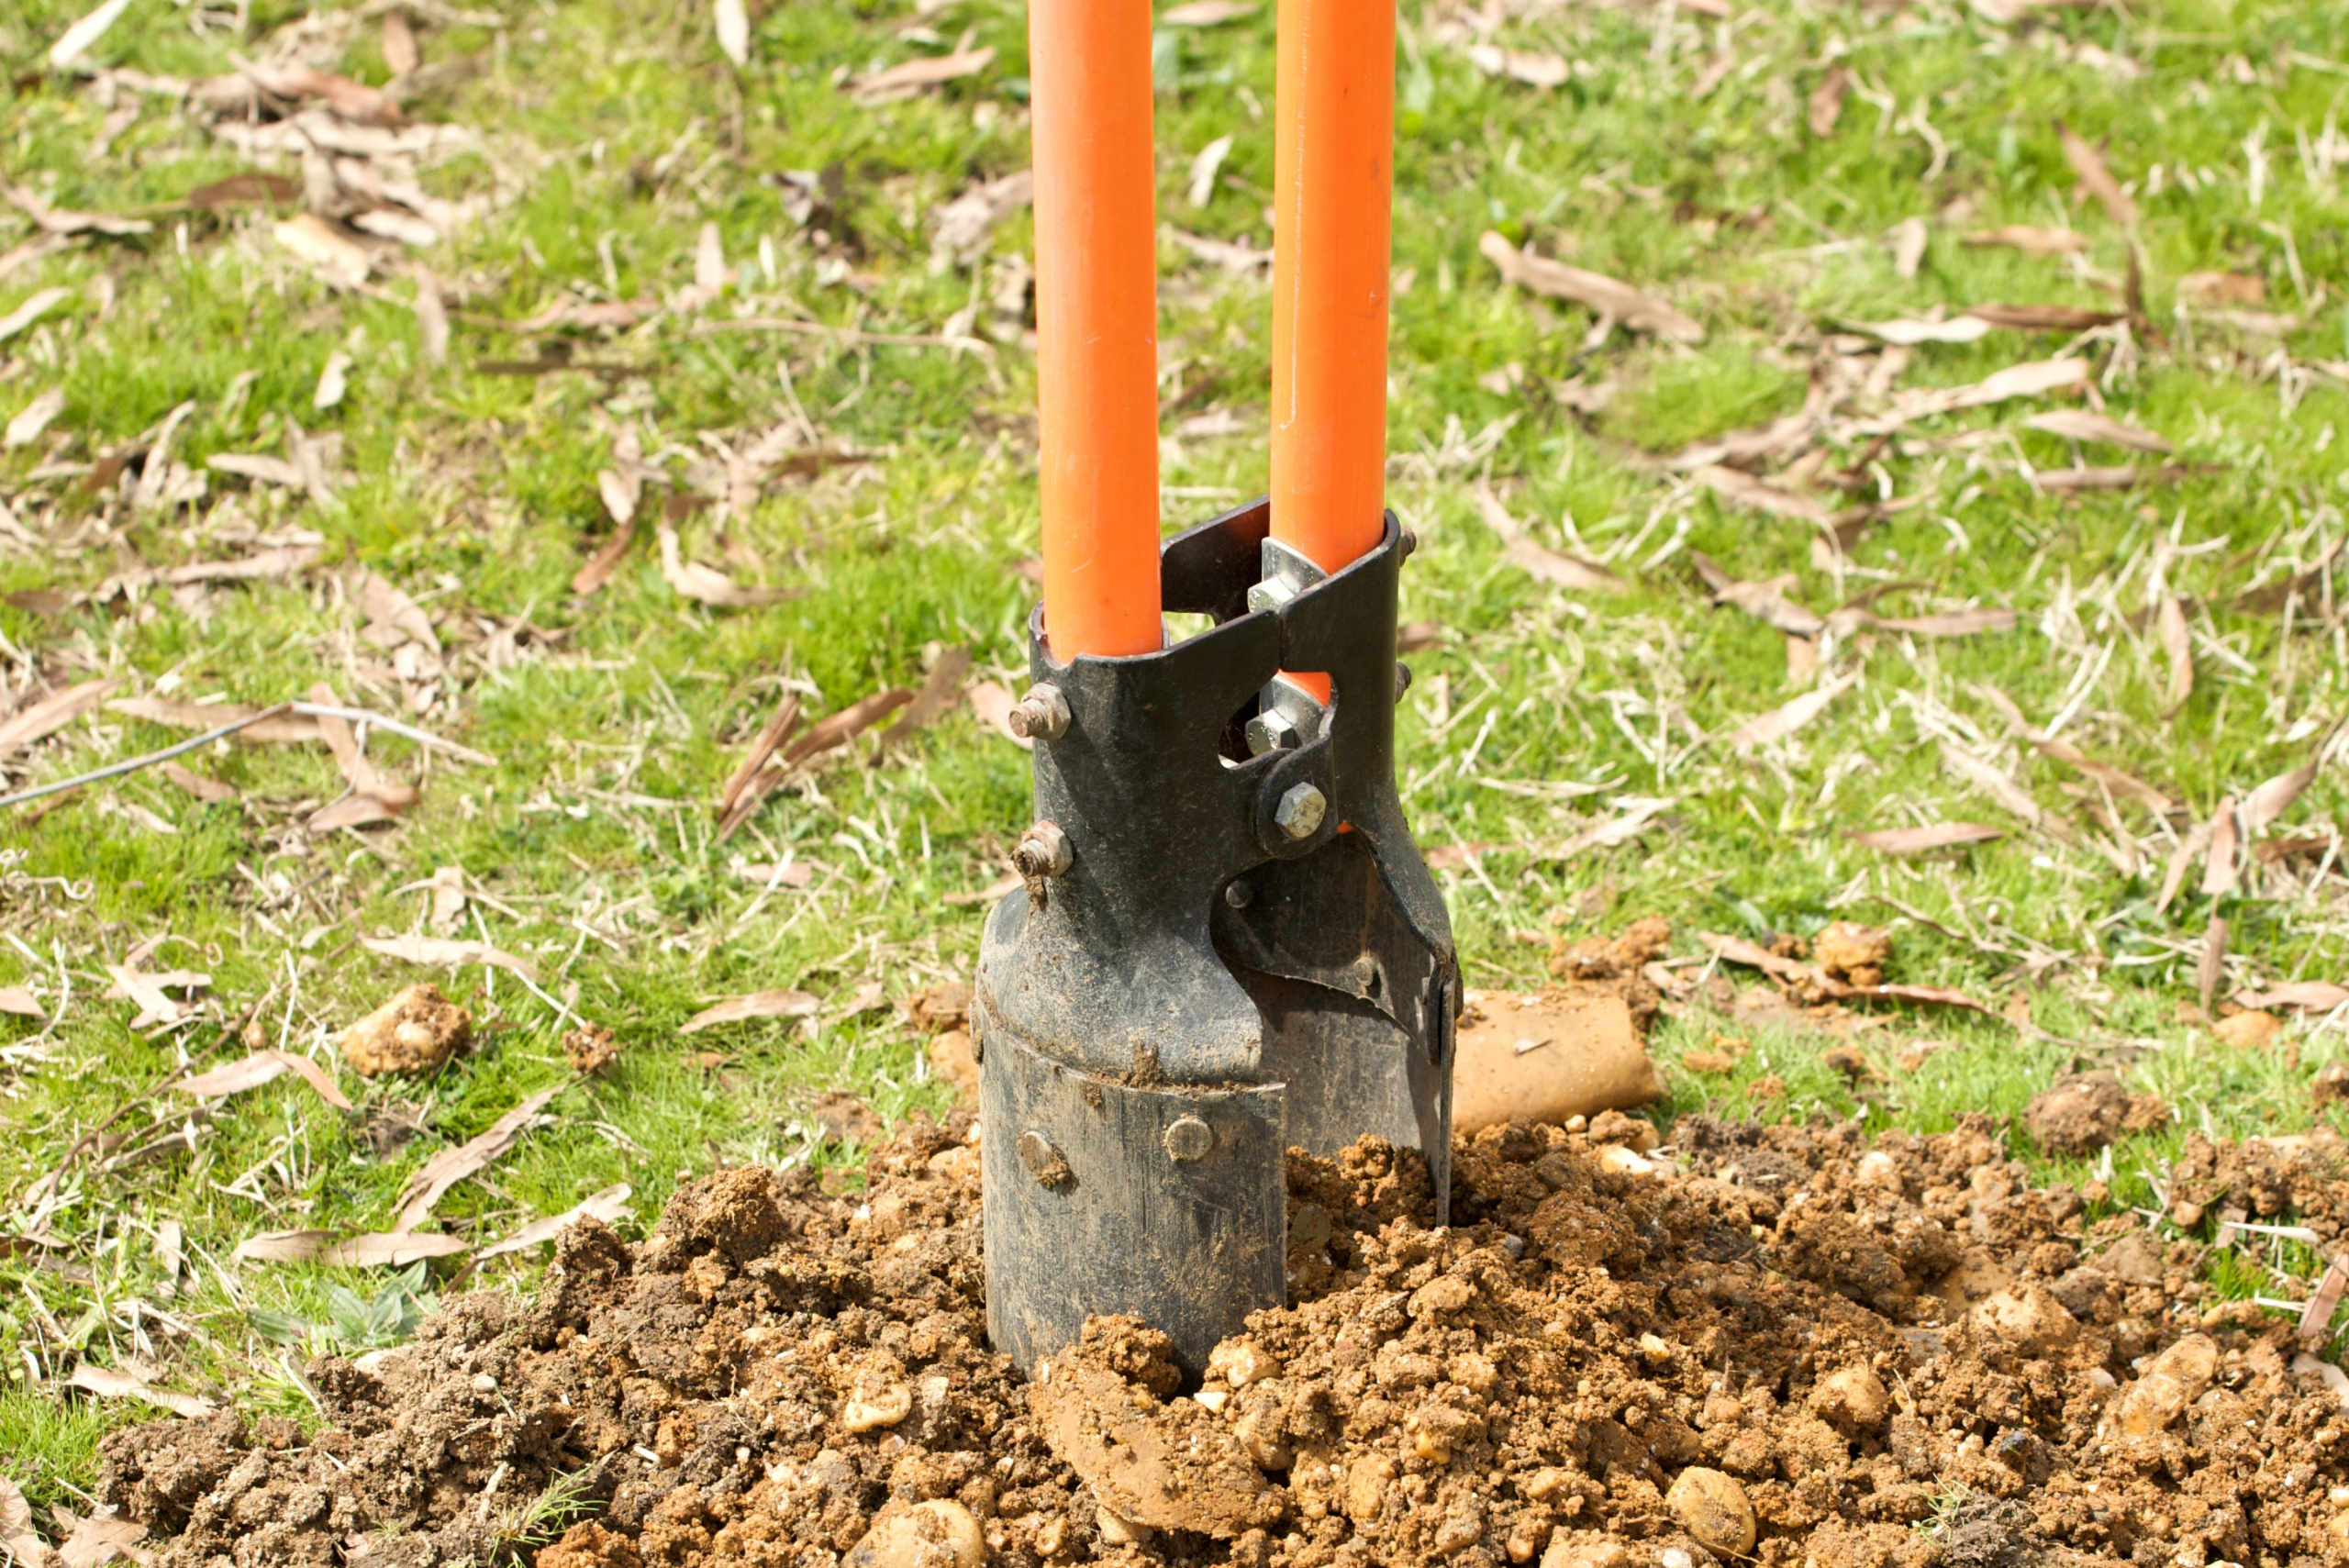
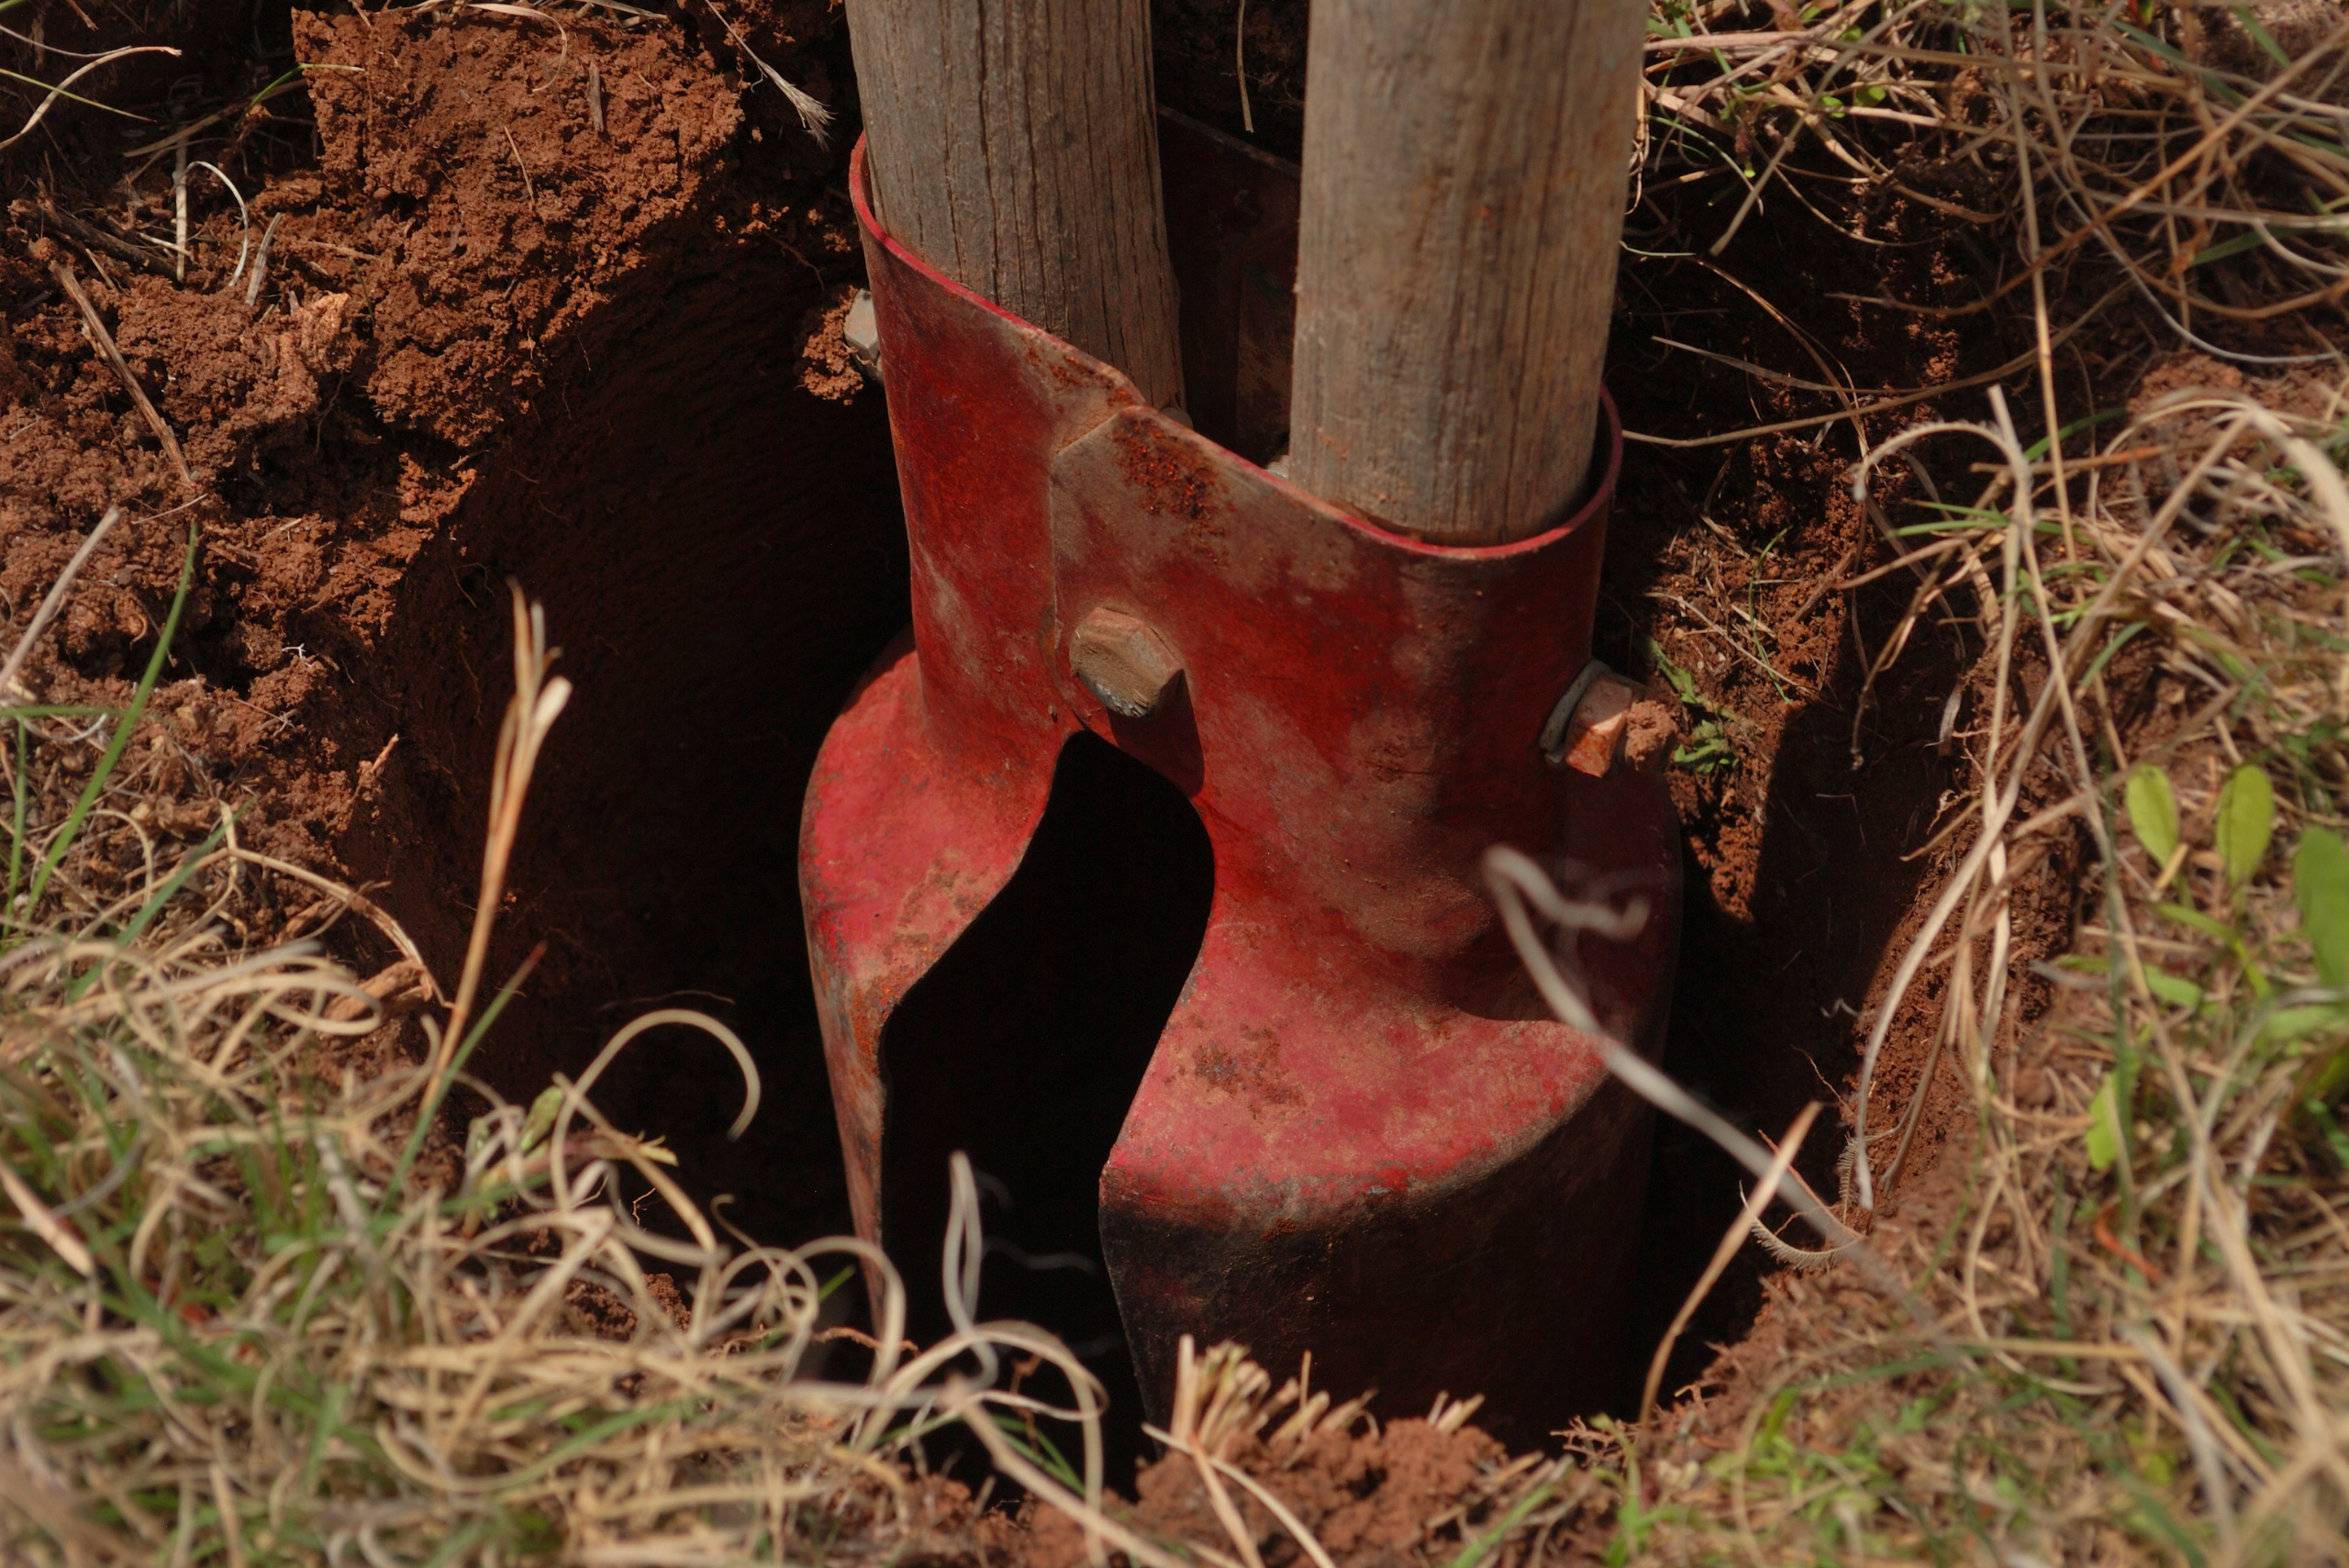
To use a manual post-hole digger, position the blades at the desired location and drive them into the ground using your foot. Once the blades are in the ground, use the handles to pry out the soil. Repeat this process until the desired depth is reached.
Using a Mechanical Post-Hole Digger
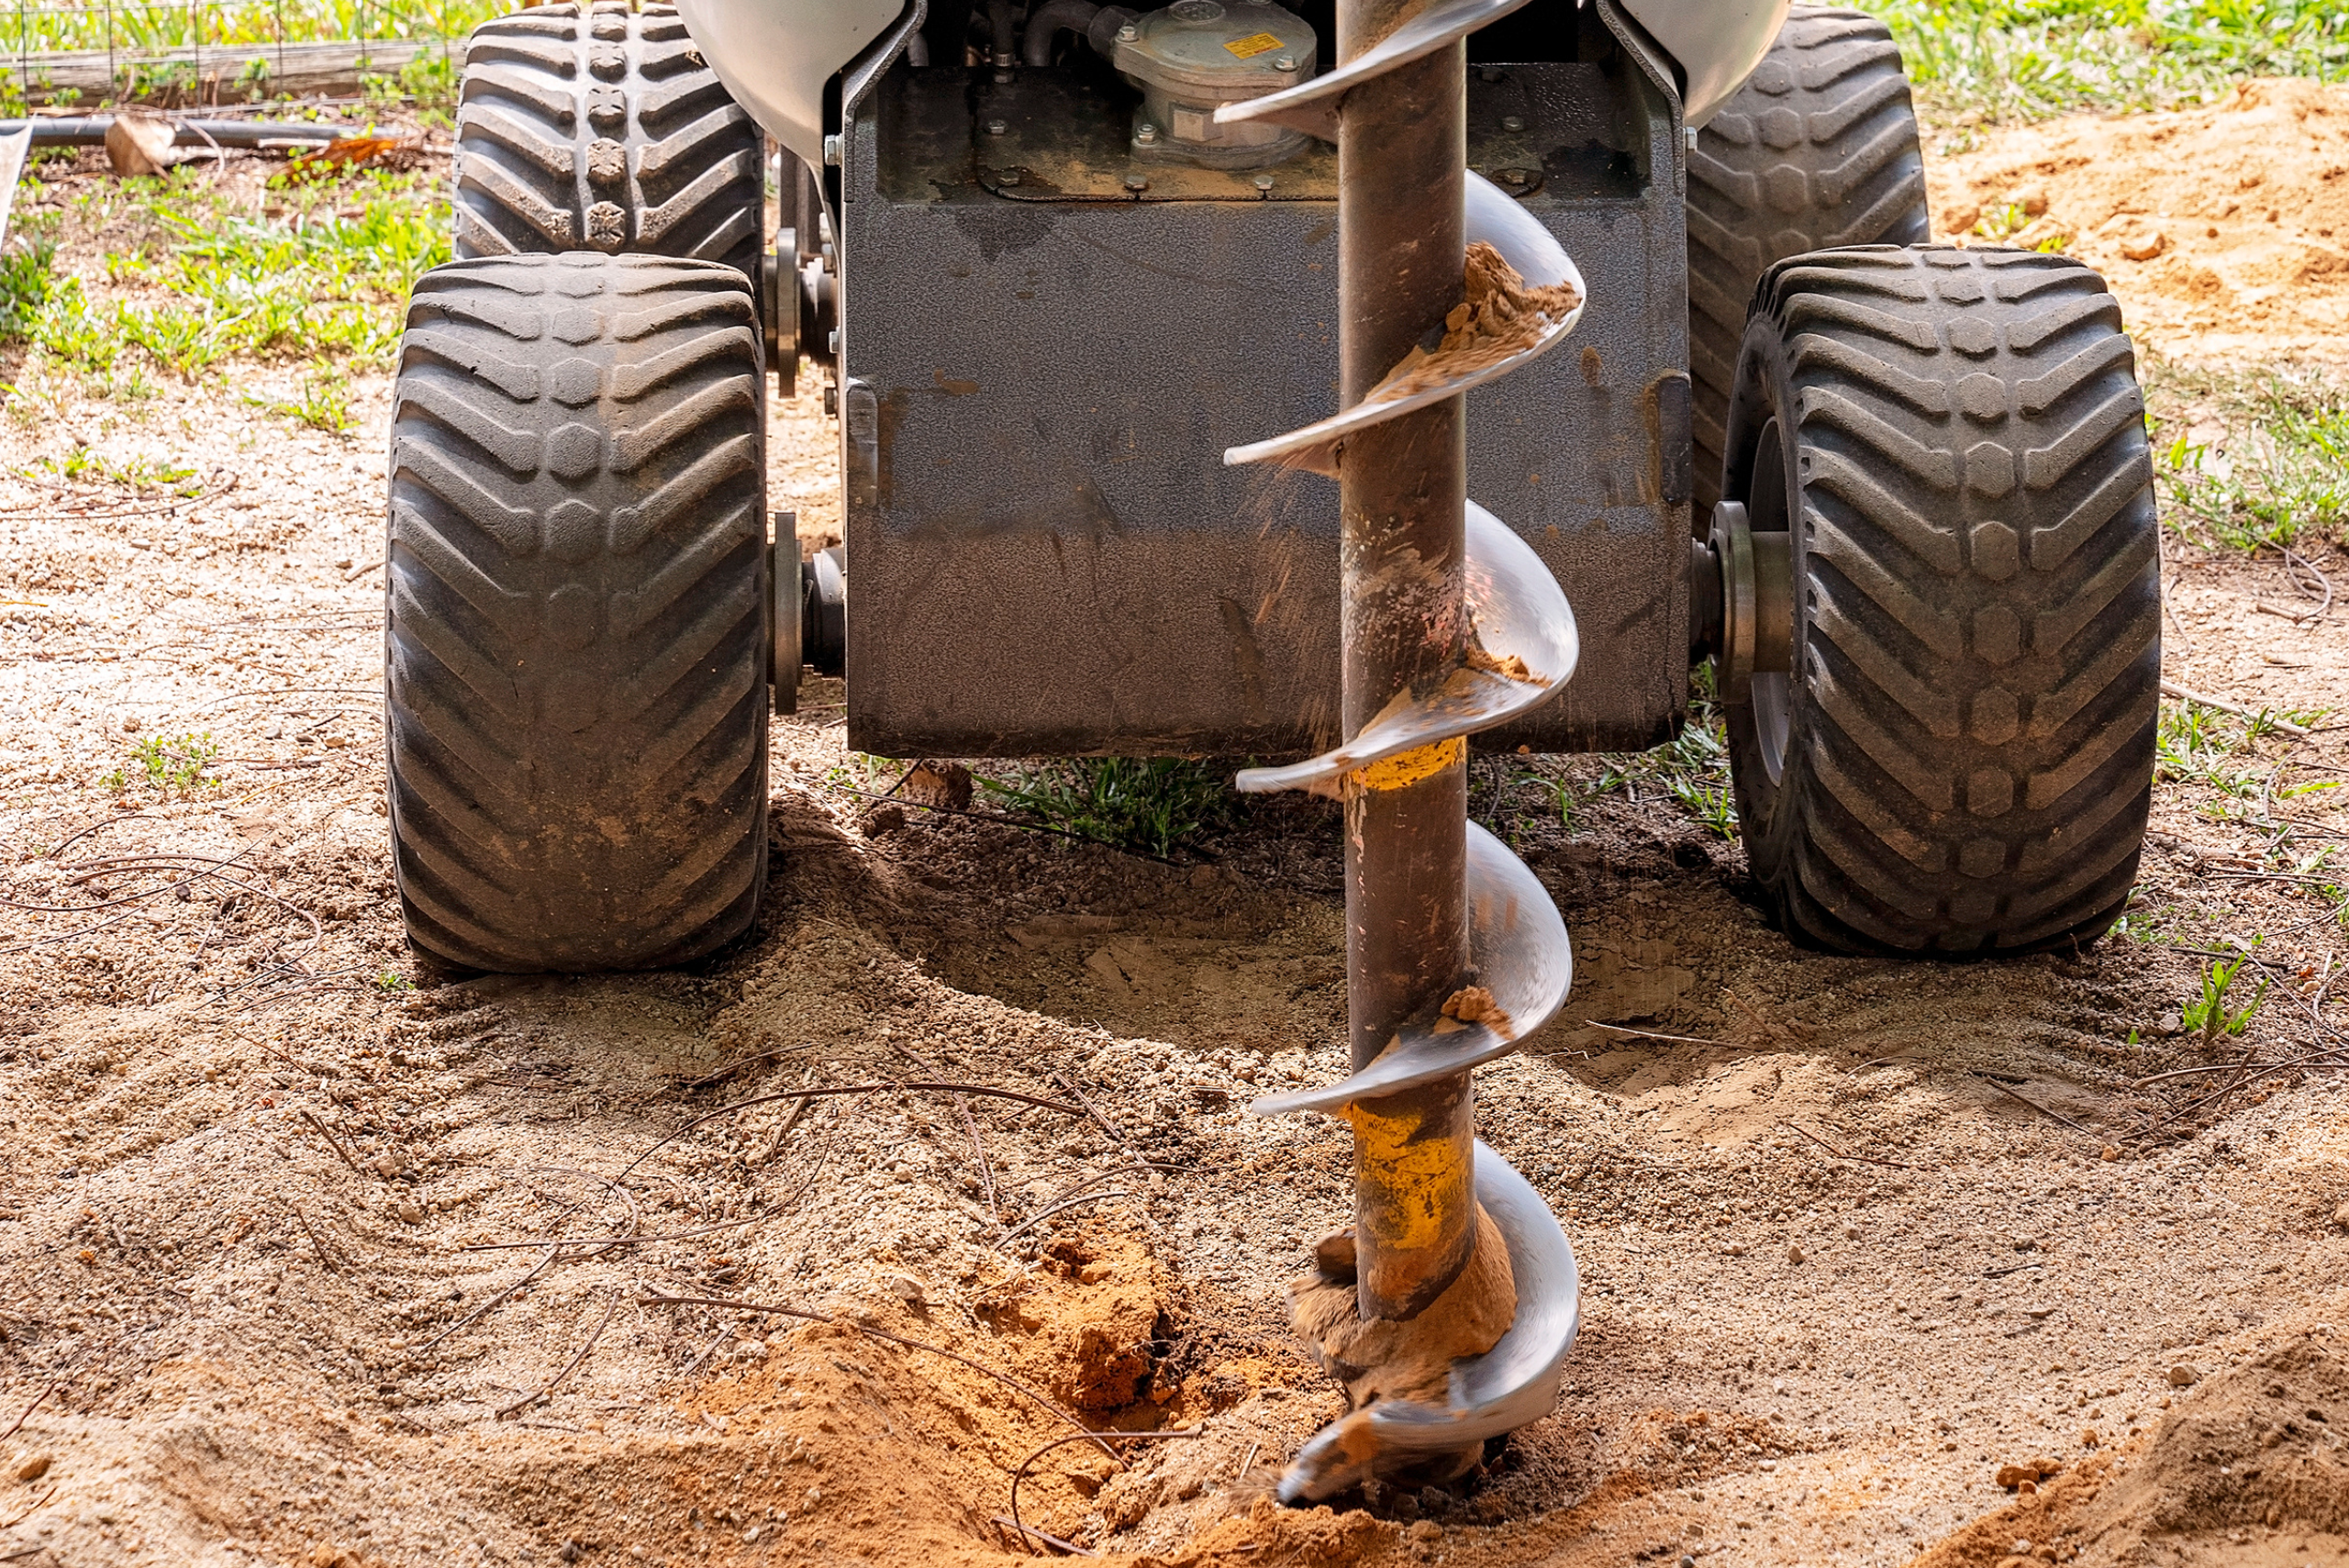
For a mechanical post-hole digger, start the engine and position the auger at the designated spot. Lower the auger into the ground and allow it to do the digging. Be sure to follow the manufacturer’s instructions for safe and effective operation. (Note: You might need a certification to operate heavy machinery, so make sure to do your research.)
Things to Consider When Using a Post-Hole Digger
Digging to the Proper Depth
The depth of the hole will depend on the specific project requirements. Use a tape measure to ensure that each hole is dug to the correct depth. This will provide stability and support for the posts.
Removing Soil from the Hole
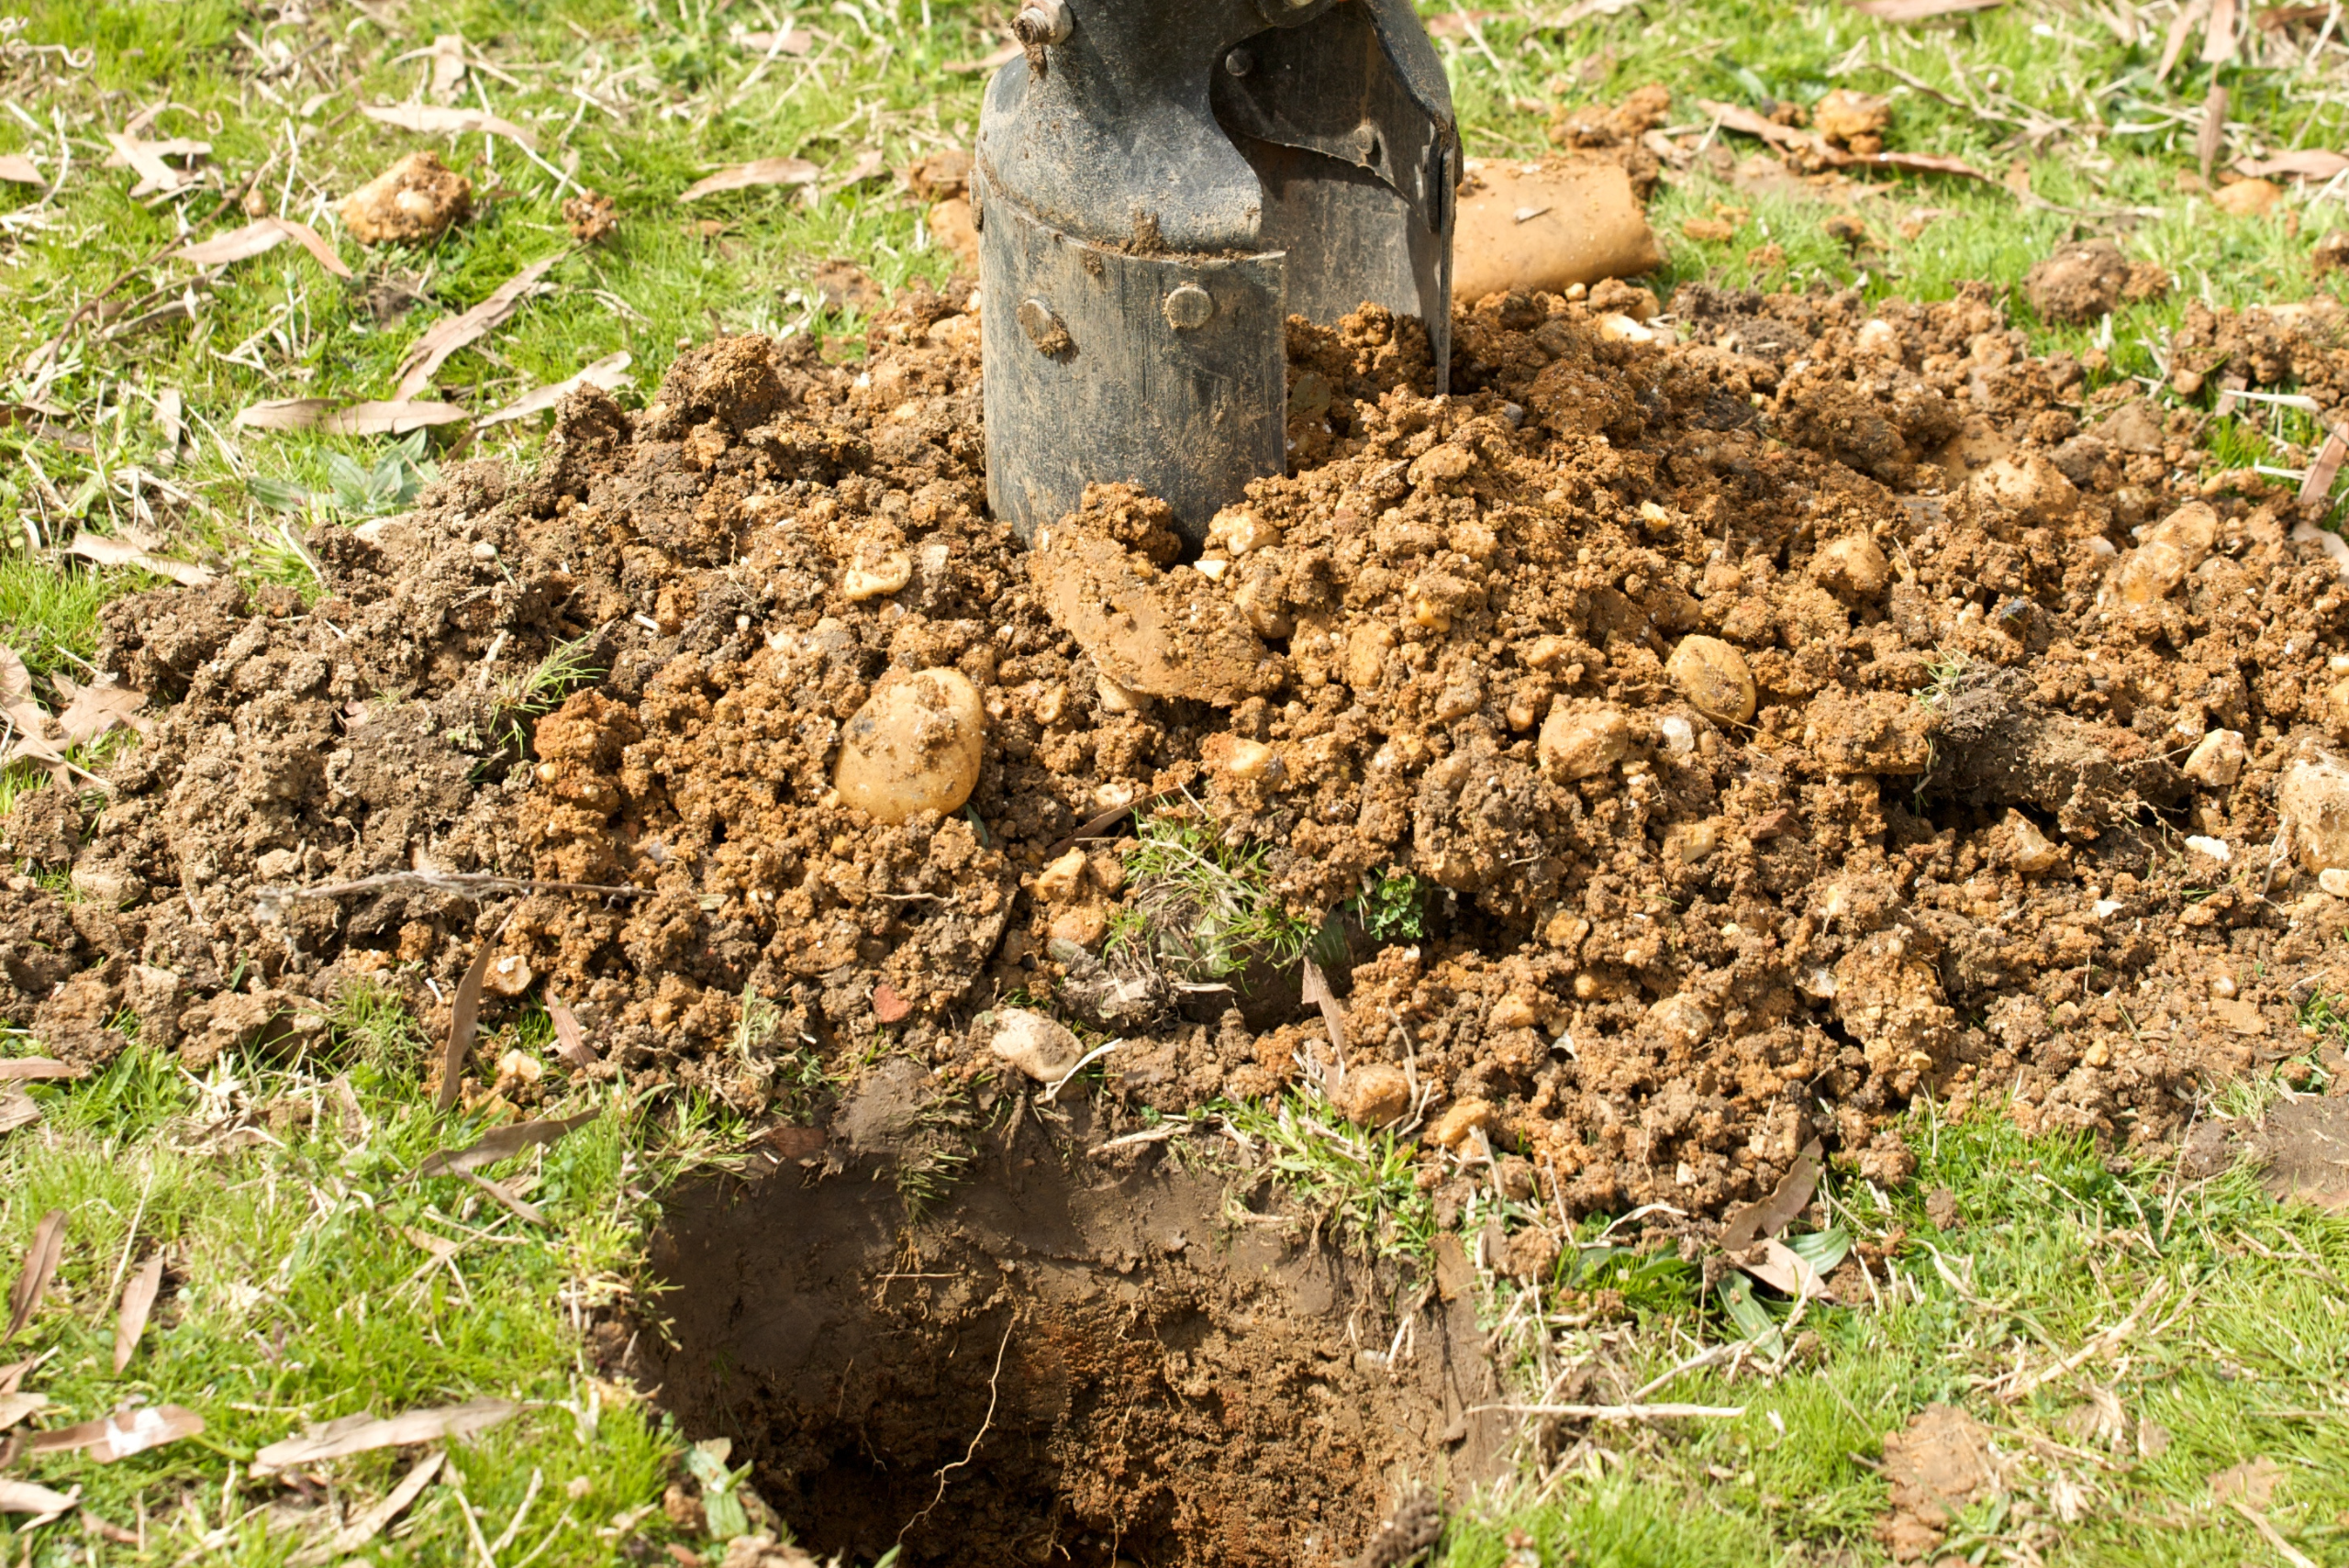
As you dig, use the post-hole digger to remove the soil from the hole. You can dump the soil nearby or into a wheelbarrow for easy disposal. Keep the area around the hole clear to prevent accidents and ensure a clean work environment.
Checking Hole Diameter
Verify that the diameter of each hole is sufficient for the size of the posts. Measure the diameter using a tape measure or the post itself. Adjust the hole as needed to accommodate the post.
Safety Precautions For Using A Post-Hole Digger
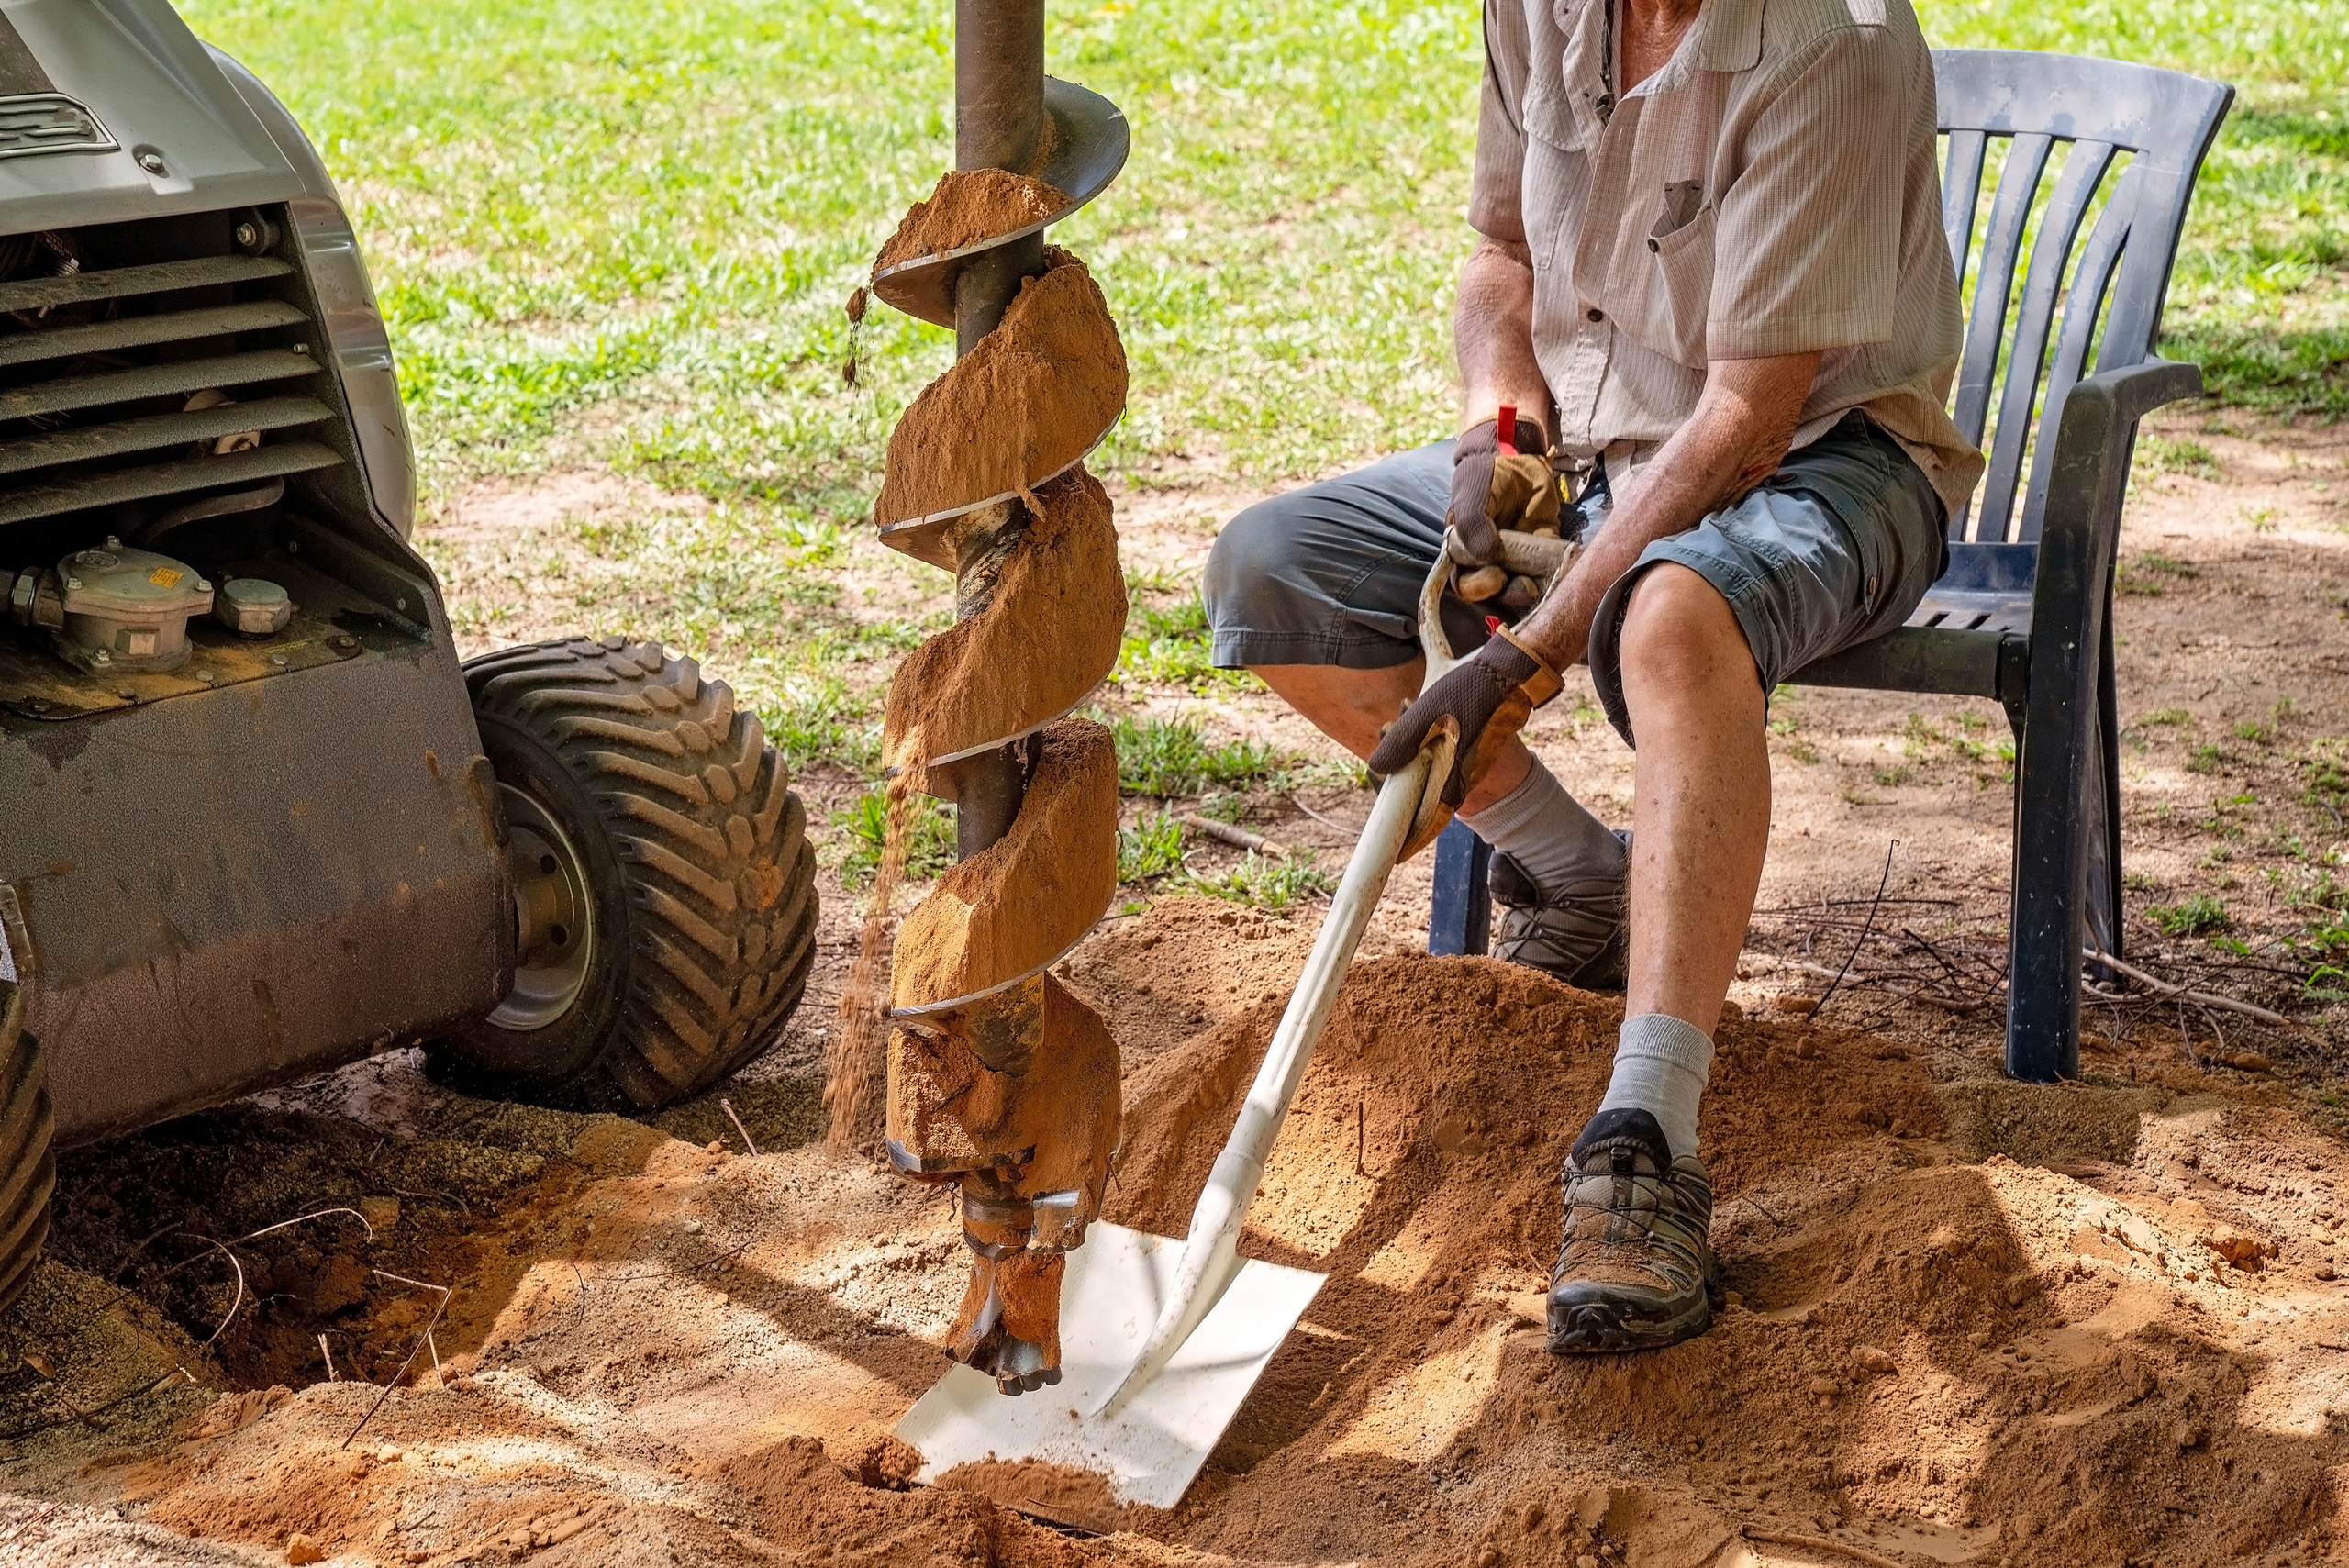
When using a post-hole digger, it’s important to wear appropriate safety gear, including gloves, eye protection, and sturdy footwear. Be mindful of underground utilities and other potential hazards while digging, especially if you are operating a mechanical post-hole digger.
Other articles you might enjoy:
- How To: Digging Fenceposts That Will Last
- How To Make a Simple DIY Clothesline in Your Backyard
- Types of Wood Fences: How to Choose The Right One
Using a post-hole digger is a fundamental skill for any DIY project involving posts. By understanding the different types of diggers, preparing properly, and following safety precautions, you can efficiently and effectively dig holes for your next project.


