DIY Clothes Line: How to Make a Clothesline Post out of Wood
This just in: there’s a giant ball of fire up in the sky, and it’s really hot.
When it’s 80 degrees and sunny, I have a hard time finding a good reason not to harness that free energy, instead of pulling in electricity from the burning fuel at my local power station (in my case, I think it’s the nuclear plant just south of Raleigh) all to just dry some clothes.
This ball of energy even once inspired a conman. Steve Comisar sold a “solar-powered clothes dryer” for $49.95…but when customers received their order it was just a clothesline (don’t worry, he spent a lot of years in jail for numerous frauds).
A clothesline is a fantastic supplement to your laundry routine, so if you’re like me and you’ve been putting off building one, here’s a simple plan you can follow on a single Saturday—a shopping trip in the morning, a building session the afternoon.
DIY Clothesline Supplies
• Lumber
Get treated lumber if possible—I’m using scrap wood for my 2 x 4’s, so I’ll probably coat it with sealant.
— 4′ x 4′ x 8′: 3 qty.
— 2′ x 4′ x 8′: 1 qty.
• 1/2″ x 6″ lag screw with 3/4″ washer: 2 qty.
• 3″ screws: 16 qty.
I used decking screws with a T25 star drive bit so I wouldn’t have to drill a bunch of pilot holes.
• Clothesline
• Circular saw
• Drill
• 3/4″ combination wrench or socket wrench with 3/4″ driver bit
• Level
• Shovel or post hole digger
Assembly Instructions
1. We’re going to sink our 8-foot 4 x 4′ posts 2 feet into the ground, and we’re only going to want 5 feet of the post extending upward (otherwise your clothesline will be too high up). So let’s cut a foot off of one end of the post to make it 7′ long, then measure a guideline around the post two feet from the end. Repeat on a second 4 x 4.
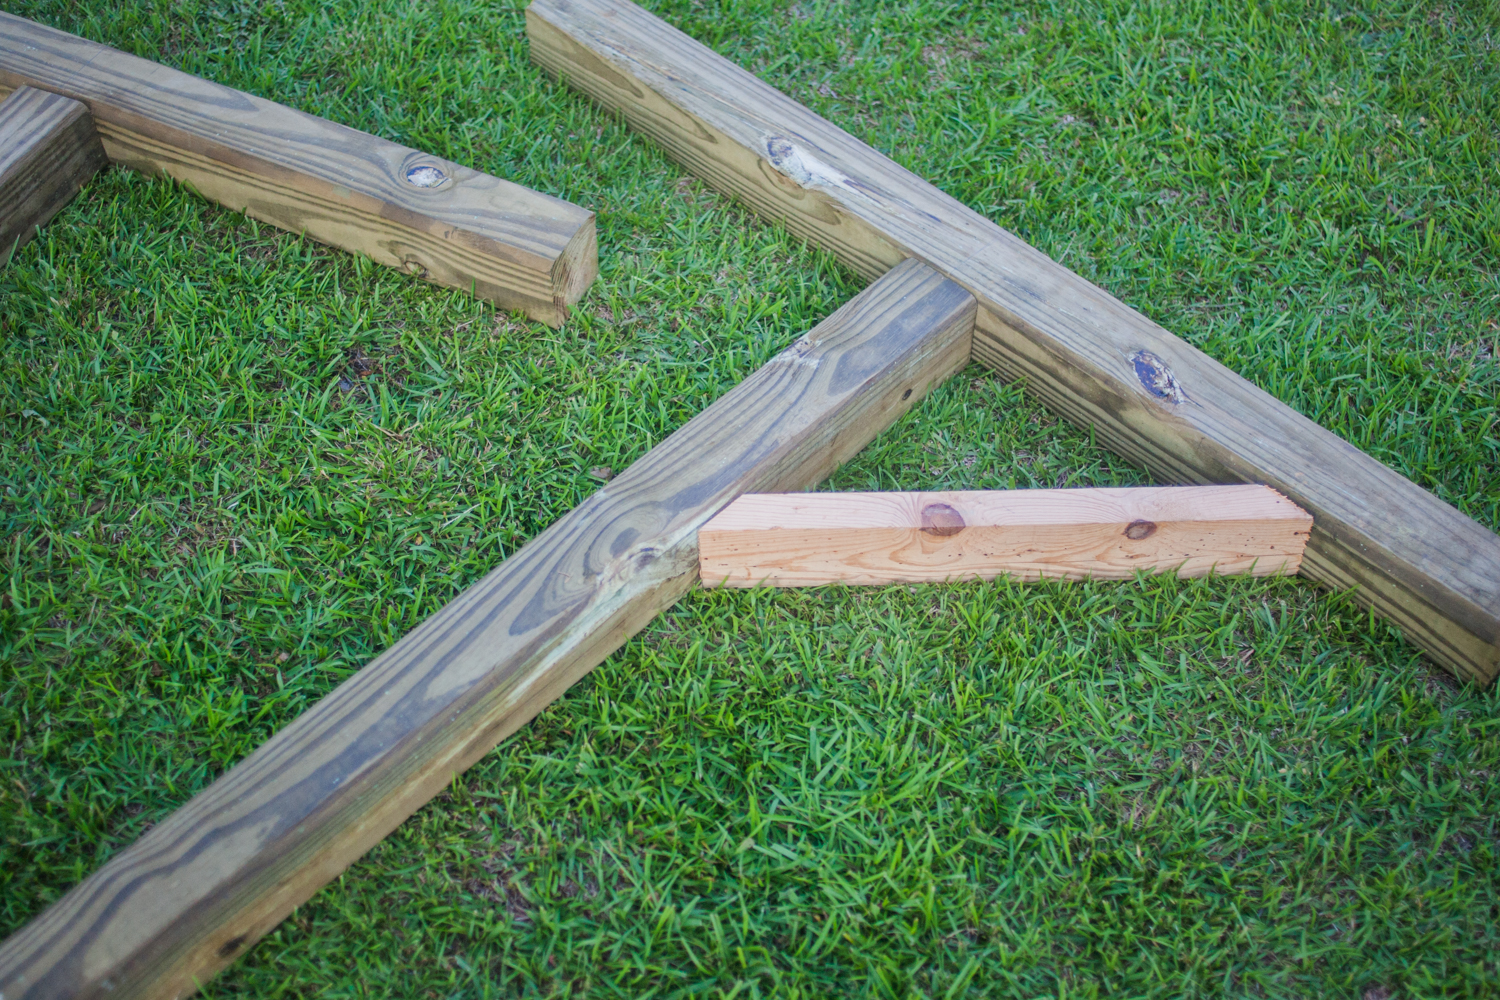
2. Cut your third 4 x 4′ post in half for your two crossbars.
Note: a 2 x 4′ would totally work for your crossbar as well—I chose thicker lumber for aesthetics.
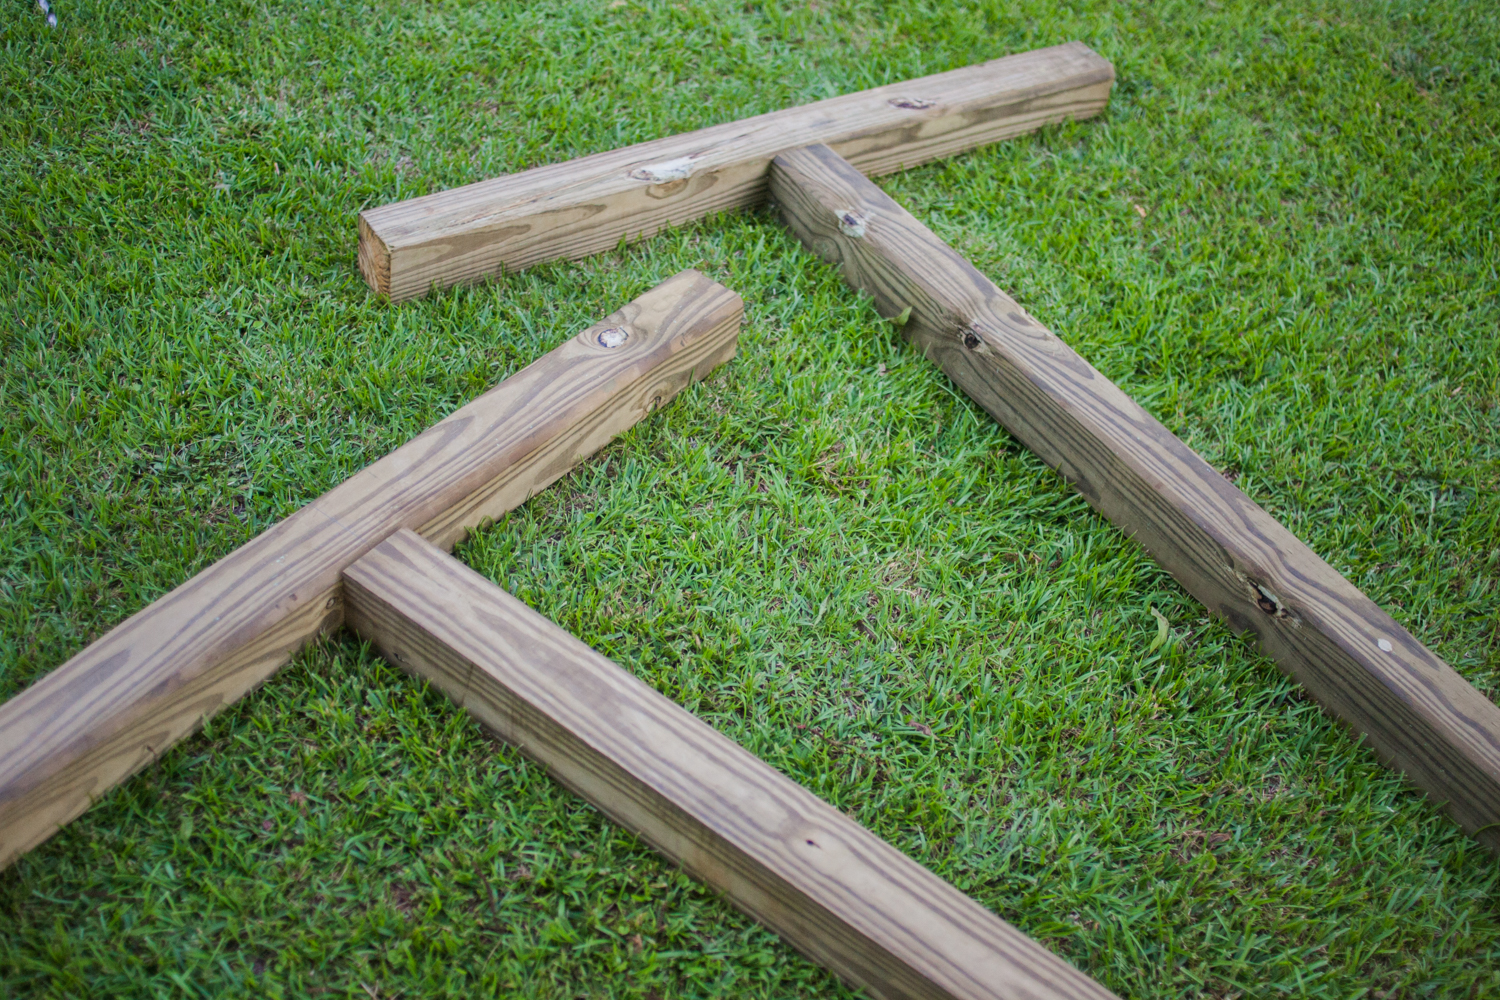
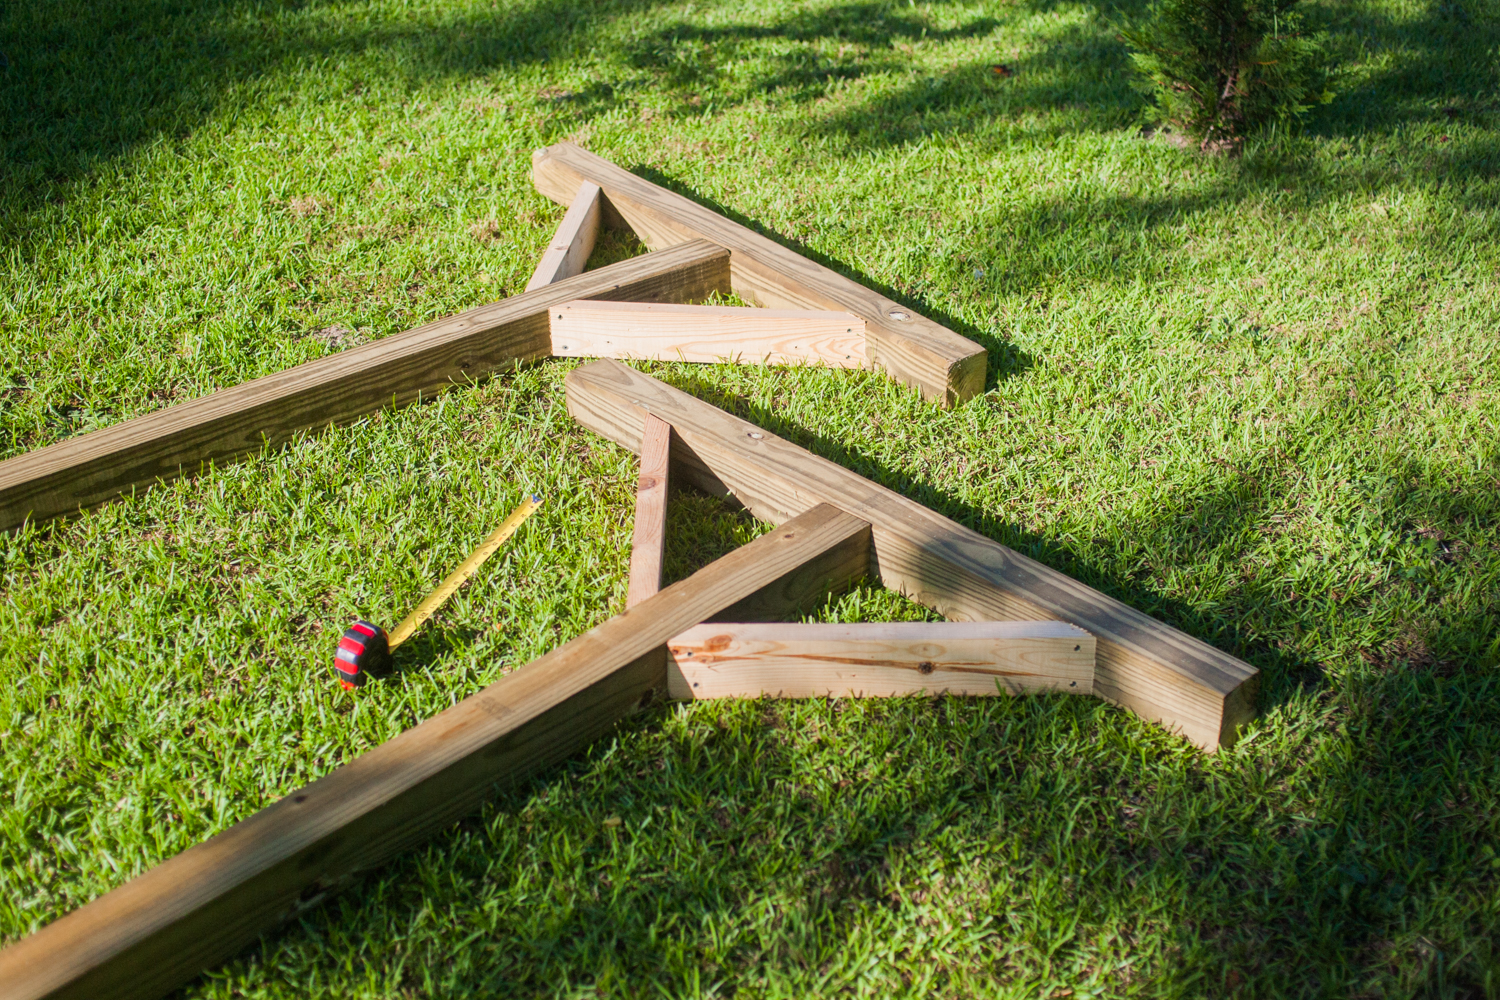
3. Drill a pilot hole in the middle of your crossbar and the top of your post, then connect the two with the lag screw. Repeat.
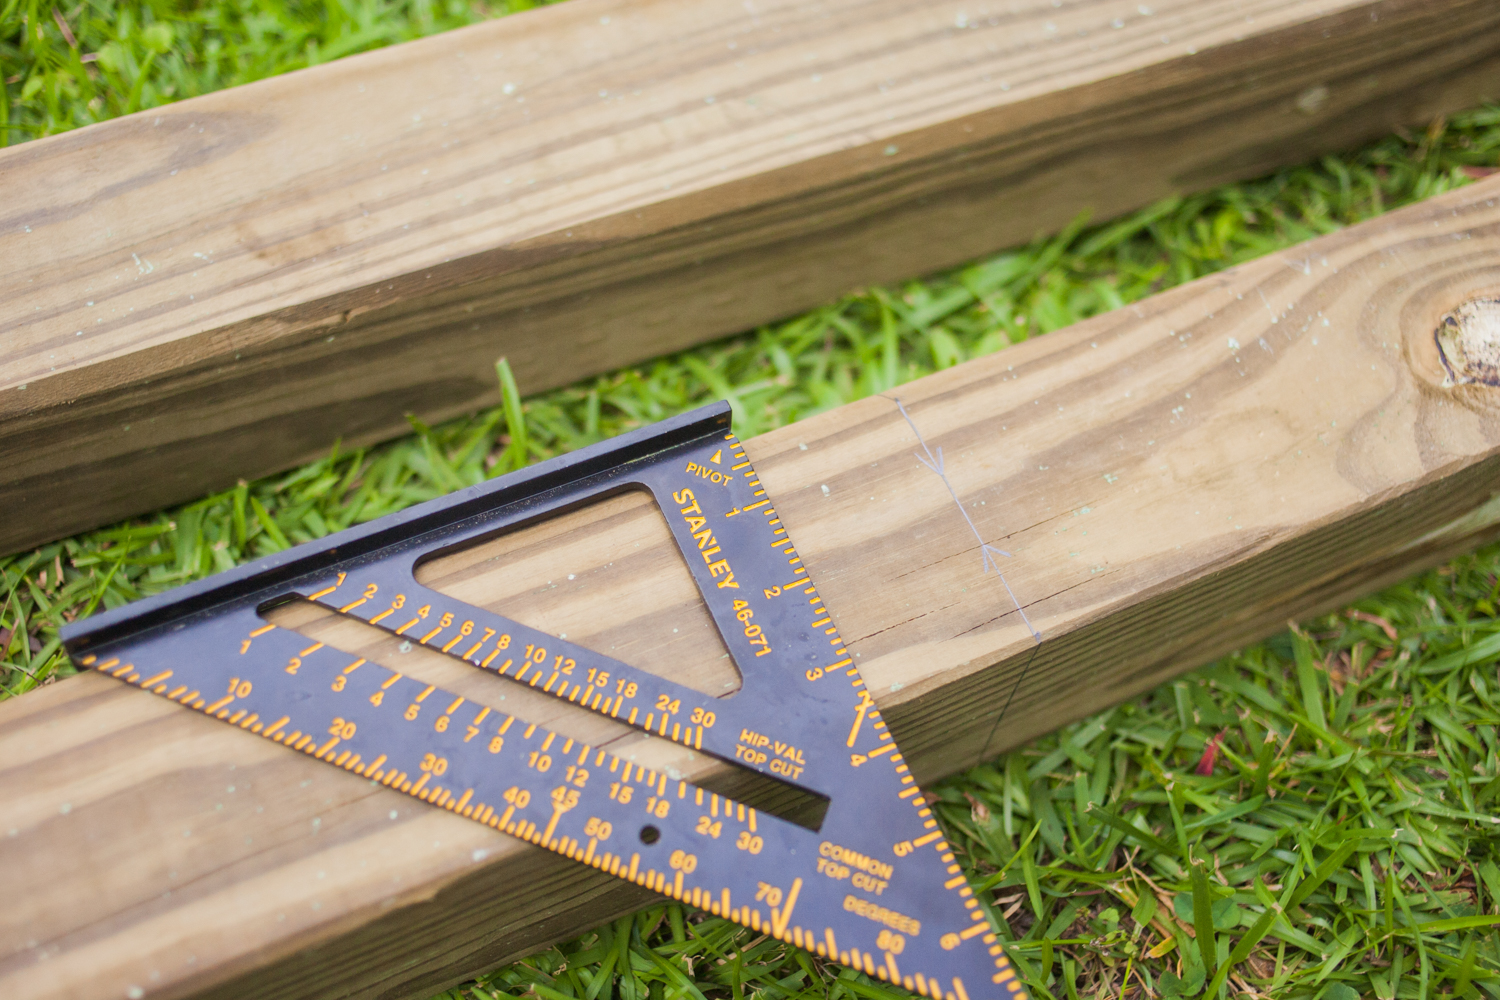
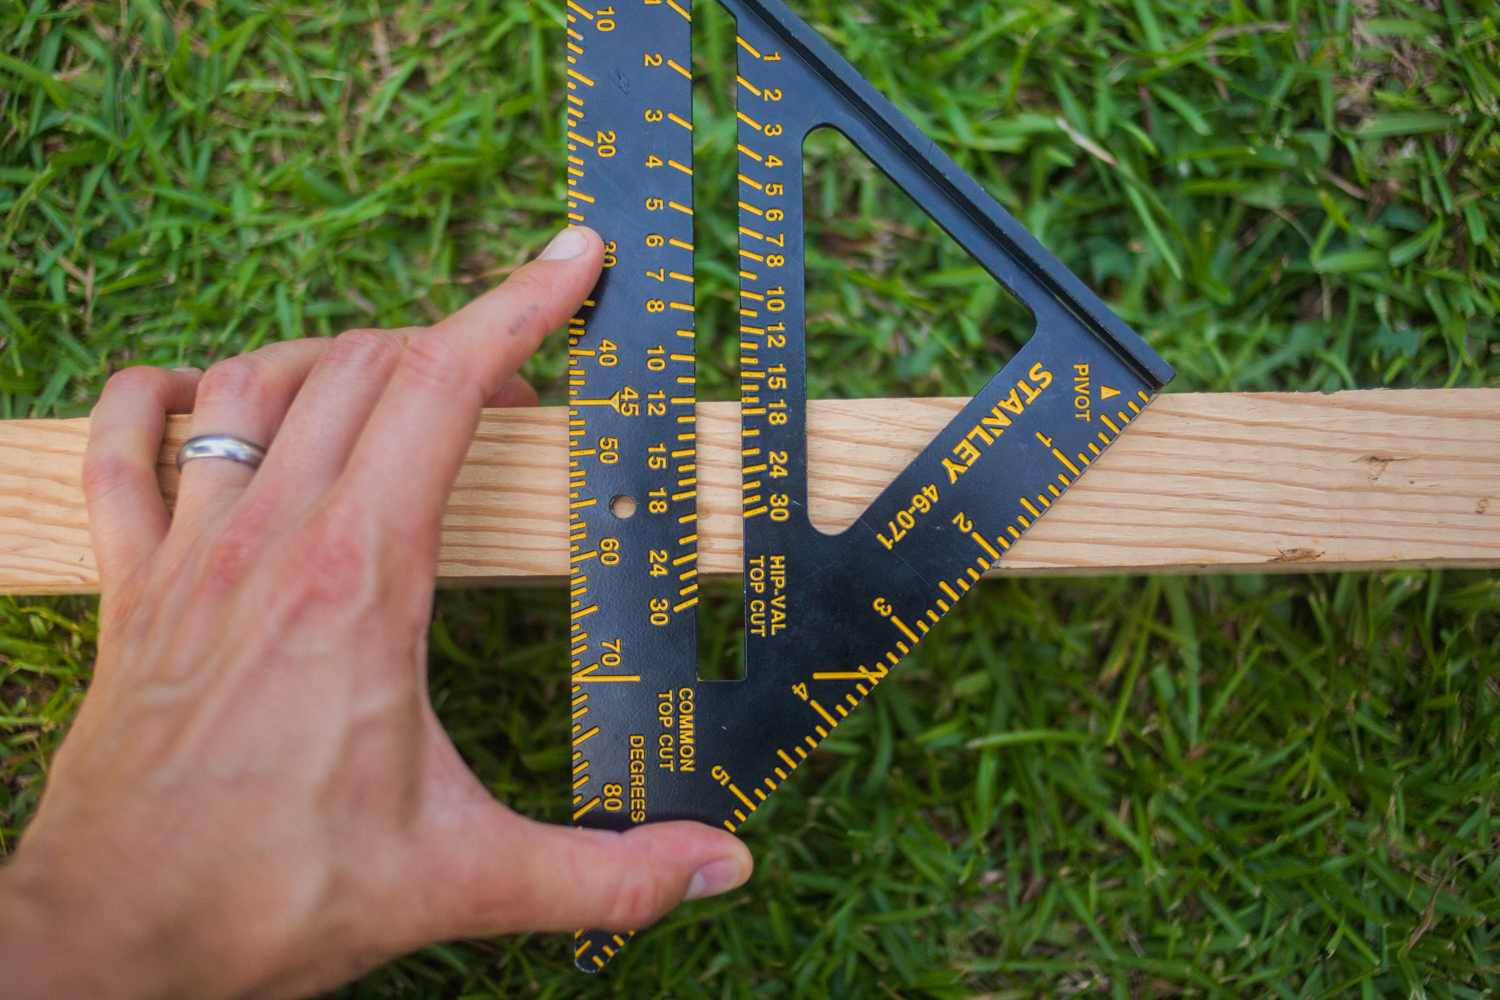
4. Using your speed square, measure two 45-degree angles on your 2 x 4′ (Make sure the lines are intersecting, not parallel). I measured with my longest edge at 21″.
(For a 5-minute primer on speed squares, Tom Silva will set you straight.)
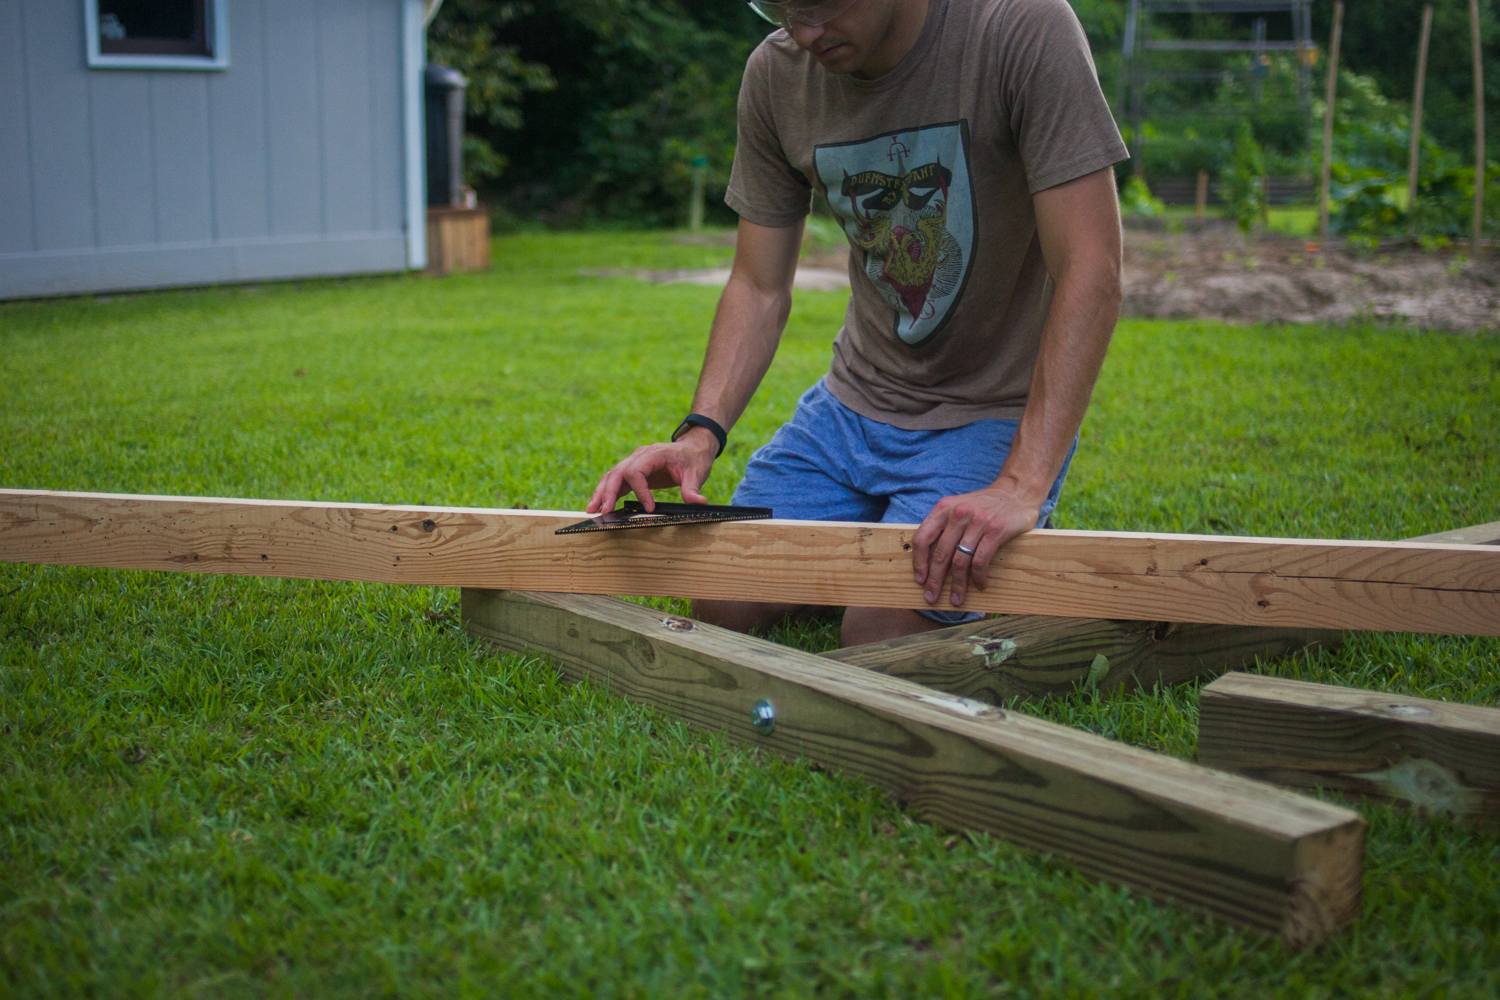
5. Cut your 2 x 4′, repeat for the remaining supporting beams, and secure with screws.
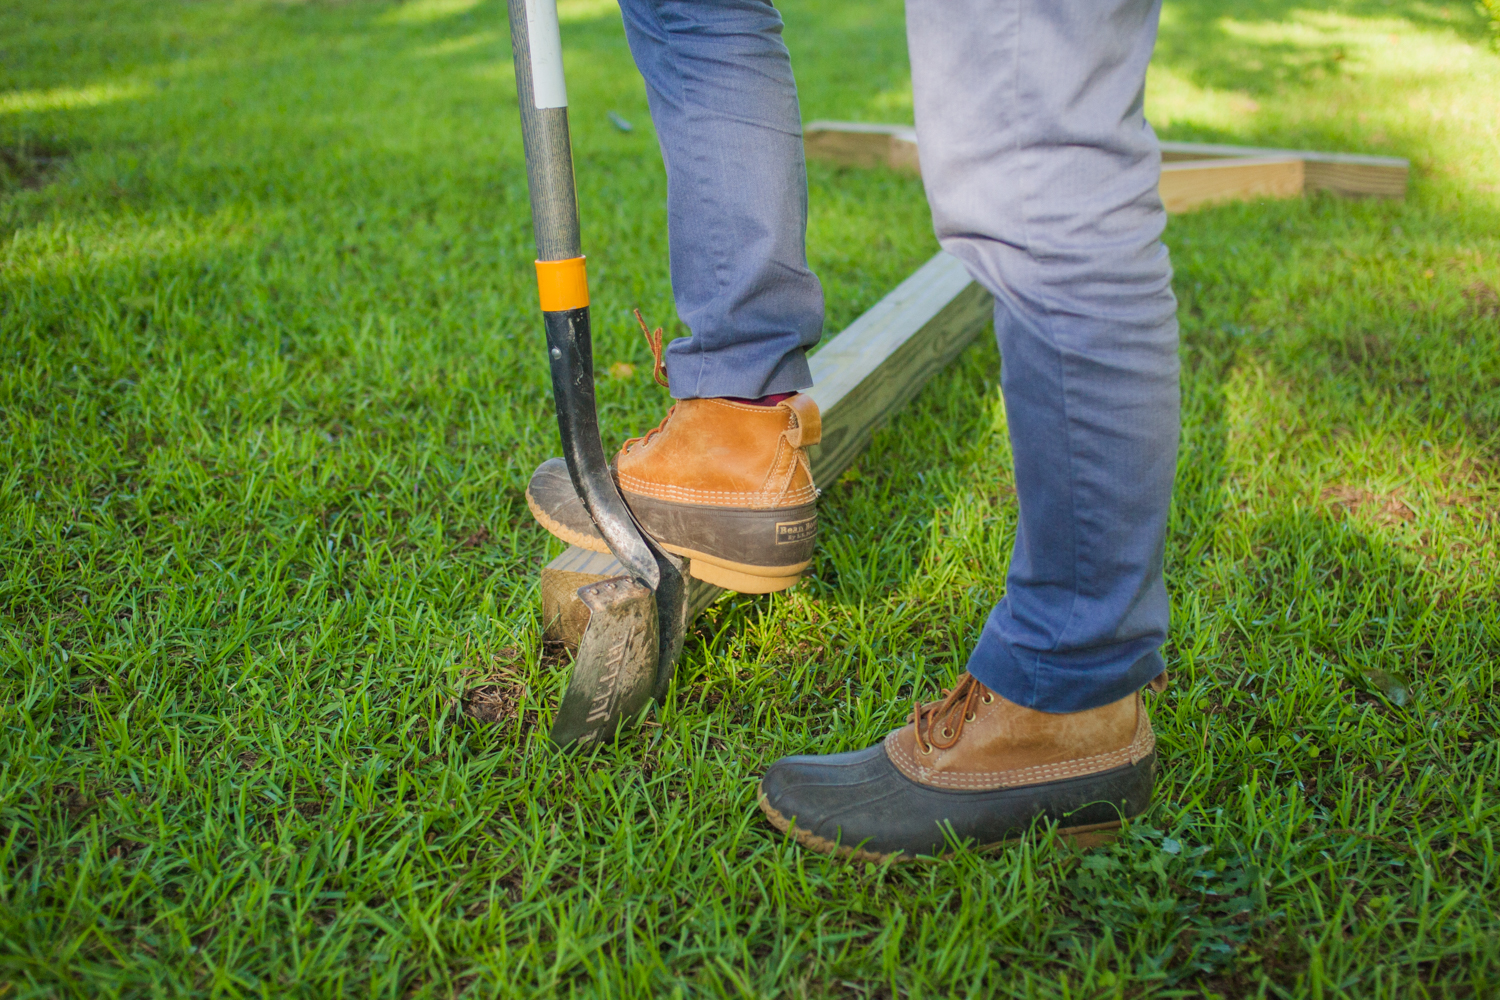
6. Dig your 2′ deep holes, preferably with a post hole digger. I used a shovel because I haven’t gotten my Ph.D. yet—heck, I haven’t even been to grad school. (Cue bad joke trombone.)
I went for a 12–13′ distance between my posts because I plan to hang a lot of laundry.
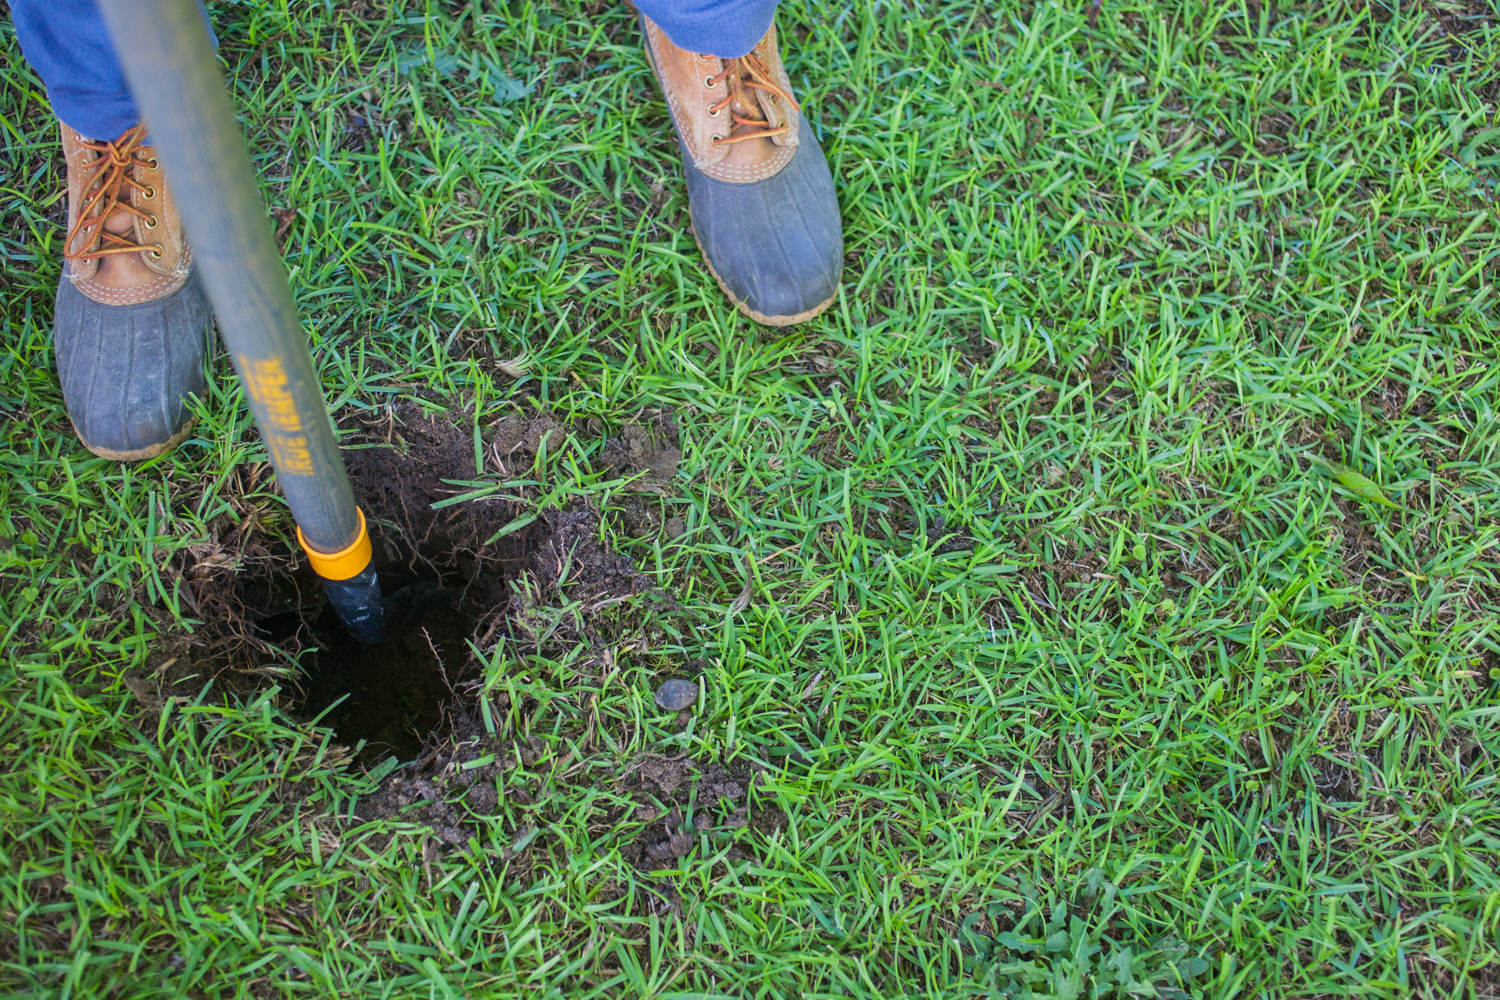
7. Sink your posts and make sure they’re level as you pack dirt in around them.
Optional: for extra security, drop some concrete mix into the holes as you go.

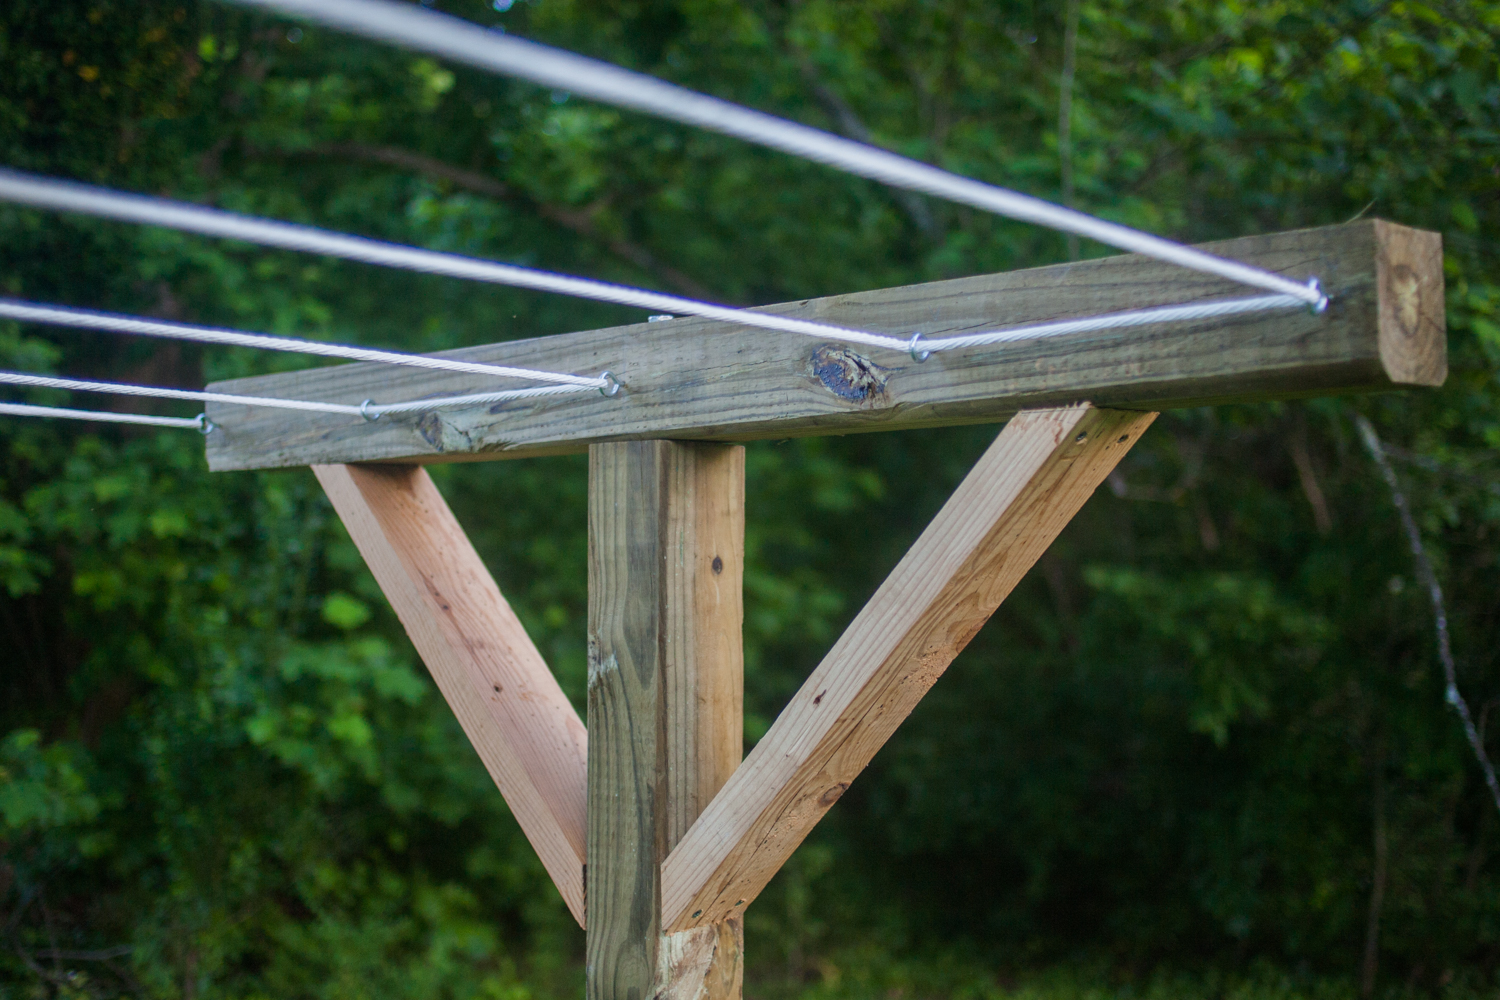
8. Drill pilot holes about a foot apart and insert your hooks. Again, I plan to hang a lot of laundry, so 5 separate lines will do the trick.
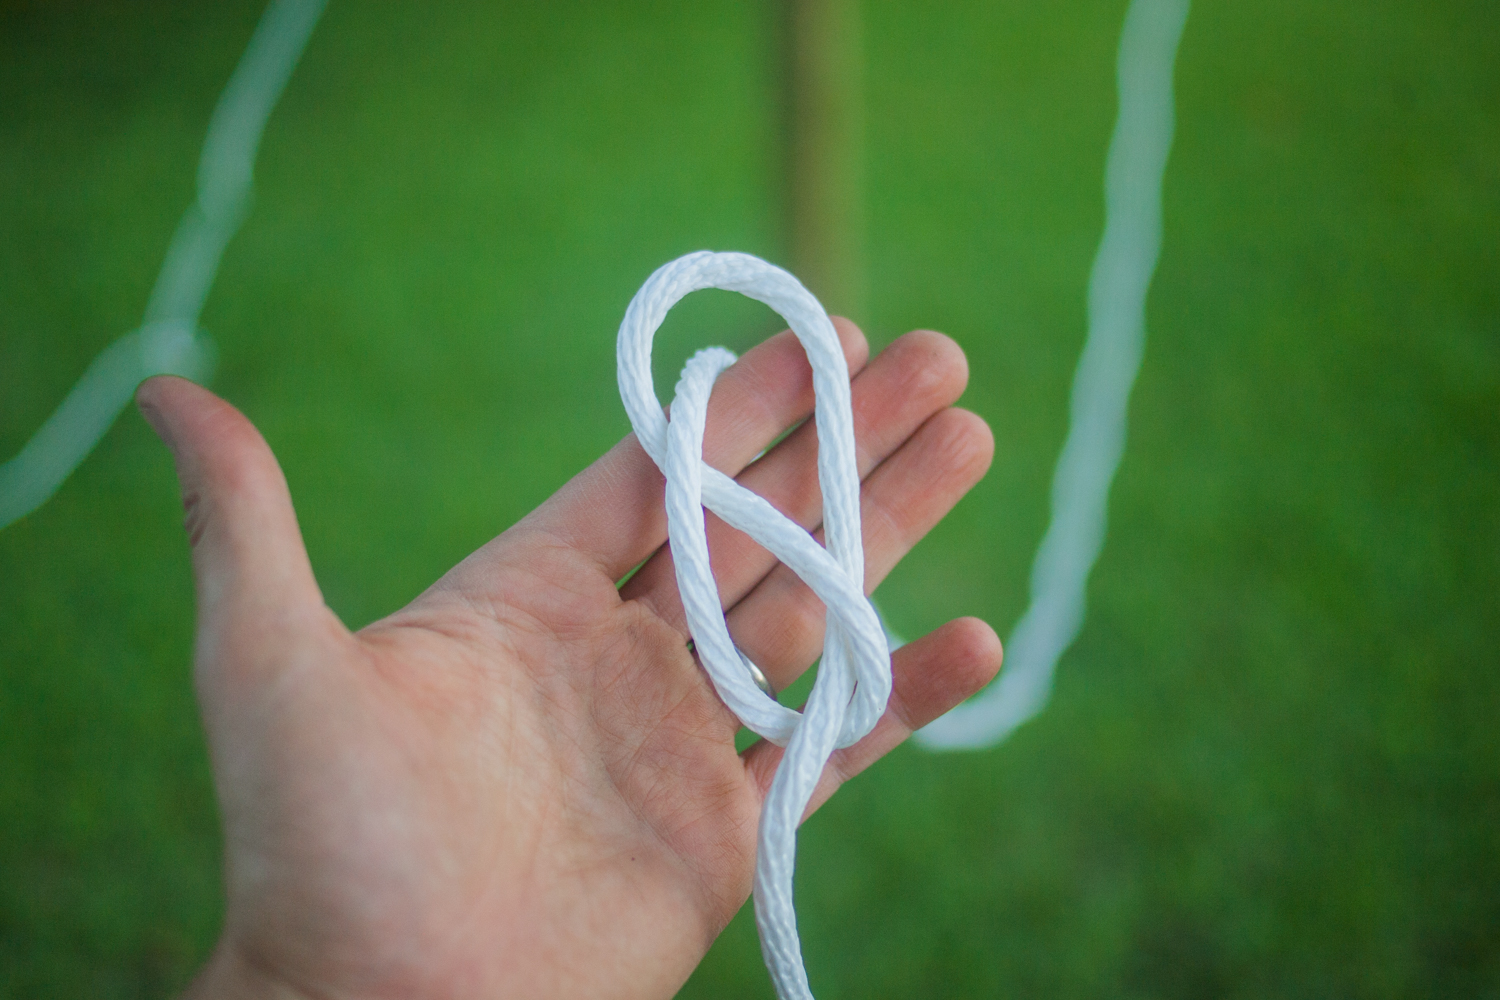
9. Secure the end of your line. I’m using a synthetic line because it’ll resist the weather a little better. I’m using a double figure-8, which is a holdover from my brief period as a climber, so you better believe it’s a secure knot. (Plus, it looks really crisp.)
Make a figure 8, run the working end through the screw eye, then run it back through your original knot. (See this 2-minute tutorial from REI for a visual explanation.)

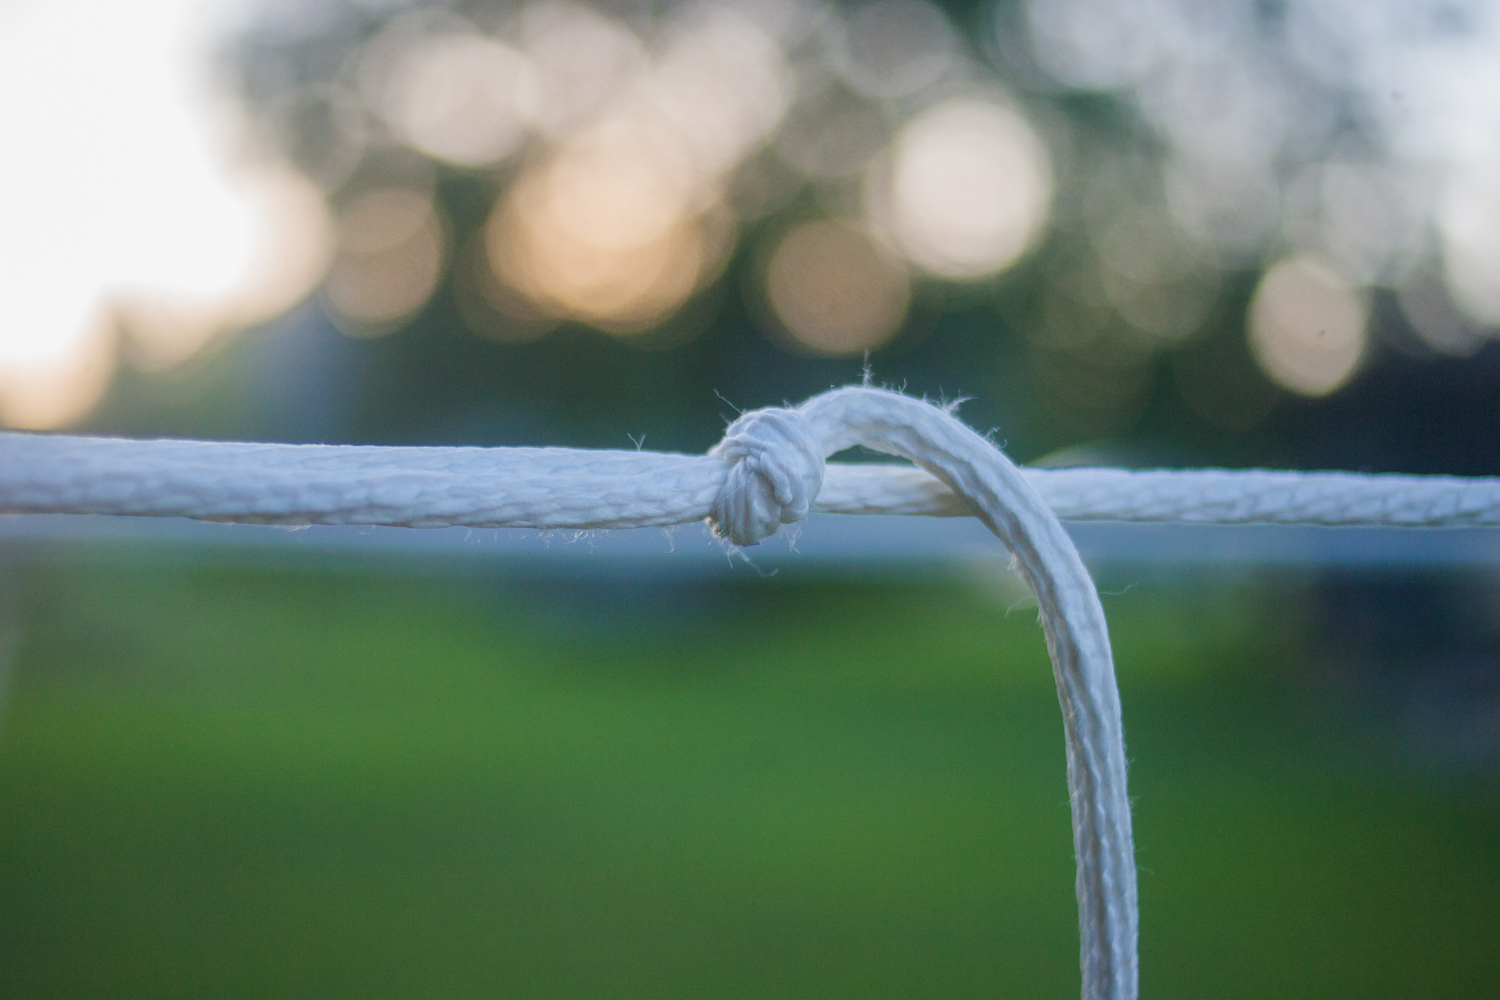
10. Thread your other working end through the other screw eye hooks to make 5 parallel lines. Tie off the loose ends of your line with a clove hitch. (We’ve got a tutorial for that!) Make sure you leave yourself a decent amount of extra line in case you need to re-tie.
Note: Be careful not to cinch the clothesline too hard right after sinking the posts like I did, because you run the risk of pulling them inward and making them crooked.
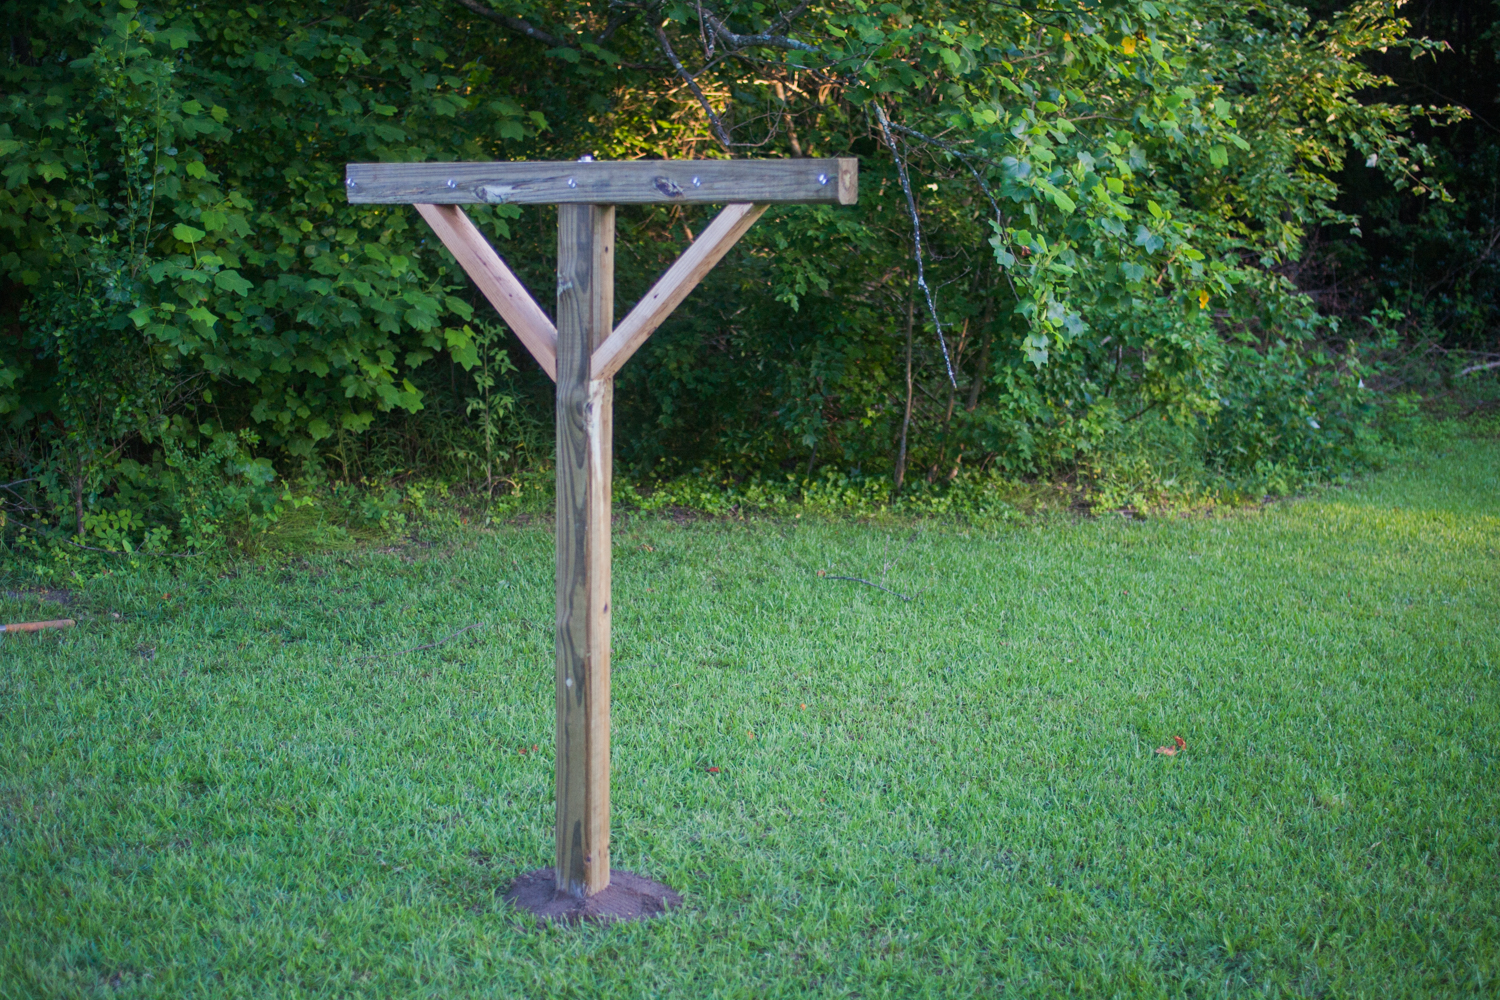
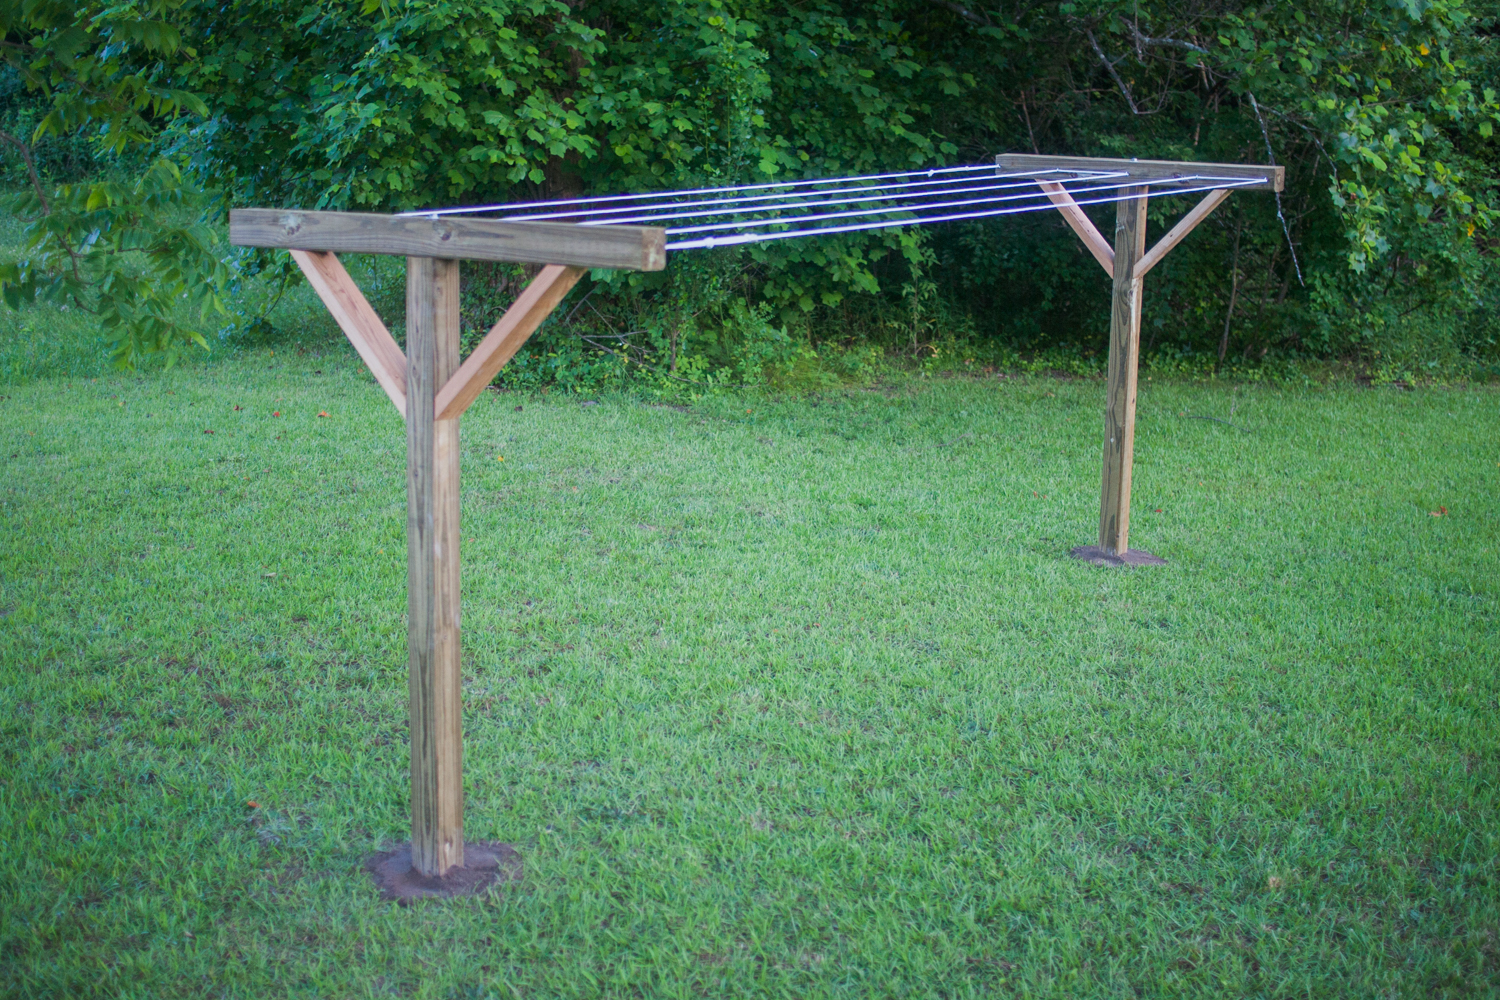
Boom! You’re done!
Benefits To Line-Drying Your Clothes
OK, so it’s not going to save you a ton of money—the national average on clothes drying appears to be about $0.50/load, so even your Hulu subscription is running laps around your savings. (It would probably take about half a year to make your money back from supplies!) But there are plenty of other good reasons to supplement your dryer with a clothesline:
Less wear and tear on your clothes
Dryer lint doesn’t just come out of nowhere—those are fibers being pulled from fabric. If you’ve begun investing in nicer clothes, or you just really don’t want to spring a leak in that Stranger Things t-shirt, line drying is the way to go.
Less wear and tear on your dryer
Appliances don’t last forever, man! Heating elements in appliances are usually among the first to go because temperature fluctuations tend to be hard on non-organic material. Your dryer deserves a break every once in a while.
Less chance of fire
Shorts causing sparks to ignite lint traps are among the most frequent causes of house fires. Decrease your dryer loads, decrease the probability of it happening.
Less drain on the grid
Like I said in the intro, the power that we take for granted doesn’t just happen, it comes from fuel, engineering, and constant maintenance. Anything you can do to reduce your consumption is a welcome addition to your routine.
Natural disinfectant
The ultraviolet rays that fry our skin also blast germs.
Get outside!
Do you need any more excuses to enjoy some sunshine and listen to the birds? Bonus: fold your clothes directly into your basket and you can begin to undo that clothes pile habit you picked up in college.