How to Use a Hole Saw for Efficient Cutting
There are endless tools and techniques to master when looking to improve your DIY skills, but one tool that stands out is the hole saw. Understanding how to use a hole saw effectively can open up a world of possibilities, from simple tasks like drilling a hole for a new door handle to more complex projects like creating a vent hole in a cabinet for electronic equipment. This comprehensive guide is designed to demystify the hole saw, offering practical tips and insights to help you make the most of this tool in your next project.
What Is a Hole Saw and When to Use It
A hole saw, at its core, is a cylindrical blade of a specific diameter designed to cut circular holes in a variety of materials, from wood and metal to plastic and drywall. It’s a tool that, when used correctly, can create neat, precise holes with minimal effort. The key to its effectiveness lies in its design, which allows for the removal of the cut material from the center of the blade, making the cutting process efficient and clean.

Choosing the right hole saw for your project is crucial. The material you’re planning to cut and the size of the hole you need are the primary factors to consider. For instance, bi-metal hole saws are a versatile option suitable for cutting through wood, metal, and plastics, while carbide-tipped hole saws are better suited for harder materials like tiles and masonry. The beauty of learning how to use a hole saw lies in its simplicity and the ability to achieve professional-looking results with a bit of practice.
Preparation Is Key – Setting Up for Success
Before you start drilling, taking the time to prepare can make a significant difference in the outcome of your project. First, ensure you have a stable work surface and secure the material you’re cutting to prevent any movement. Marking the center point of your desired hole accurately is also crucial for precision. A pilot drill, which is often included with hole saw kits, is used to drill a guide hole at the center point to ensure the hole saw does not wander during the cutting process.
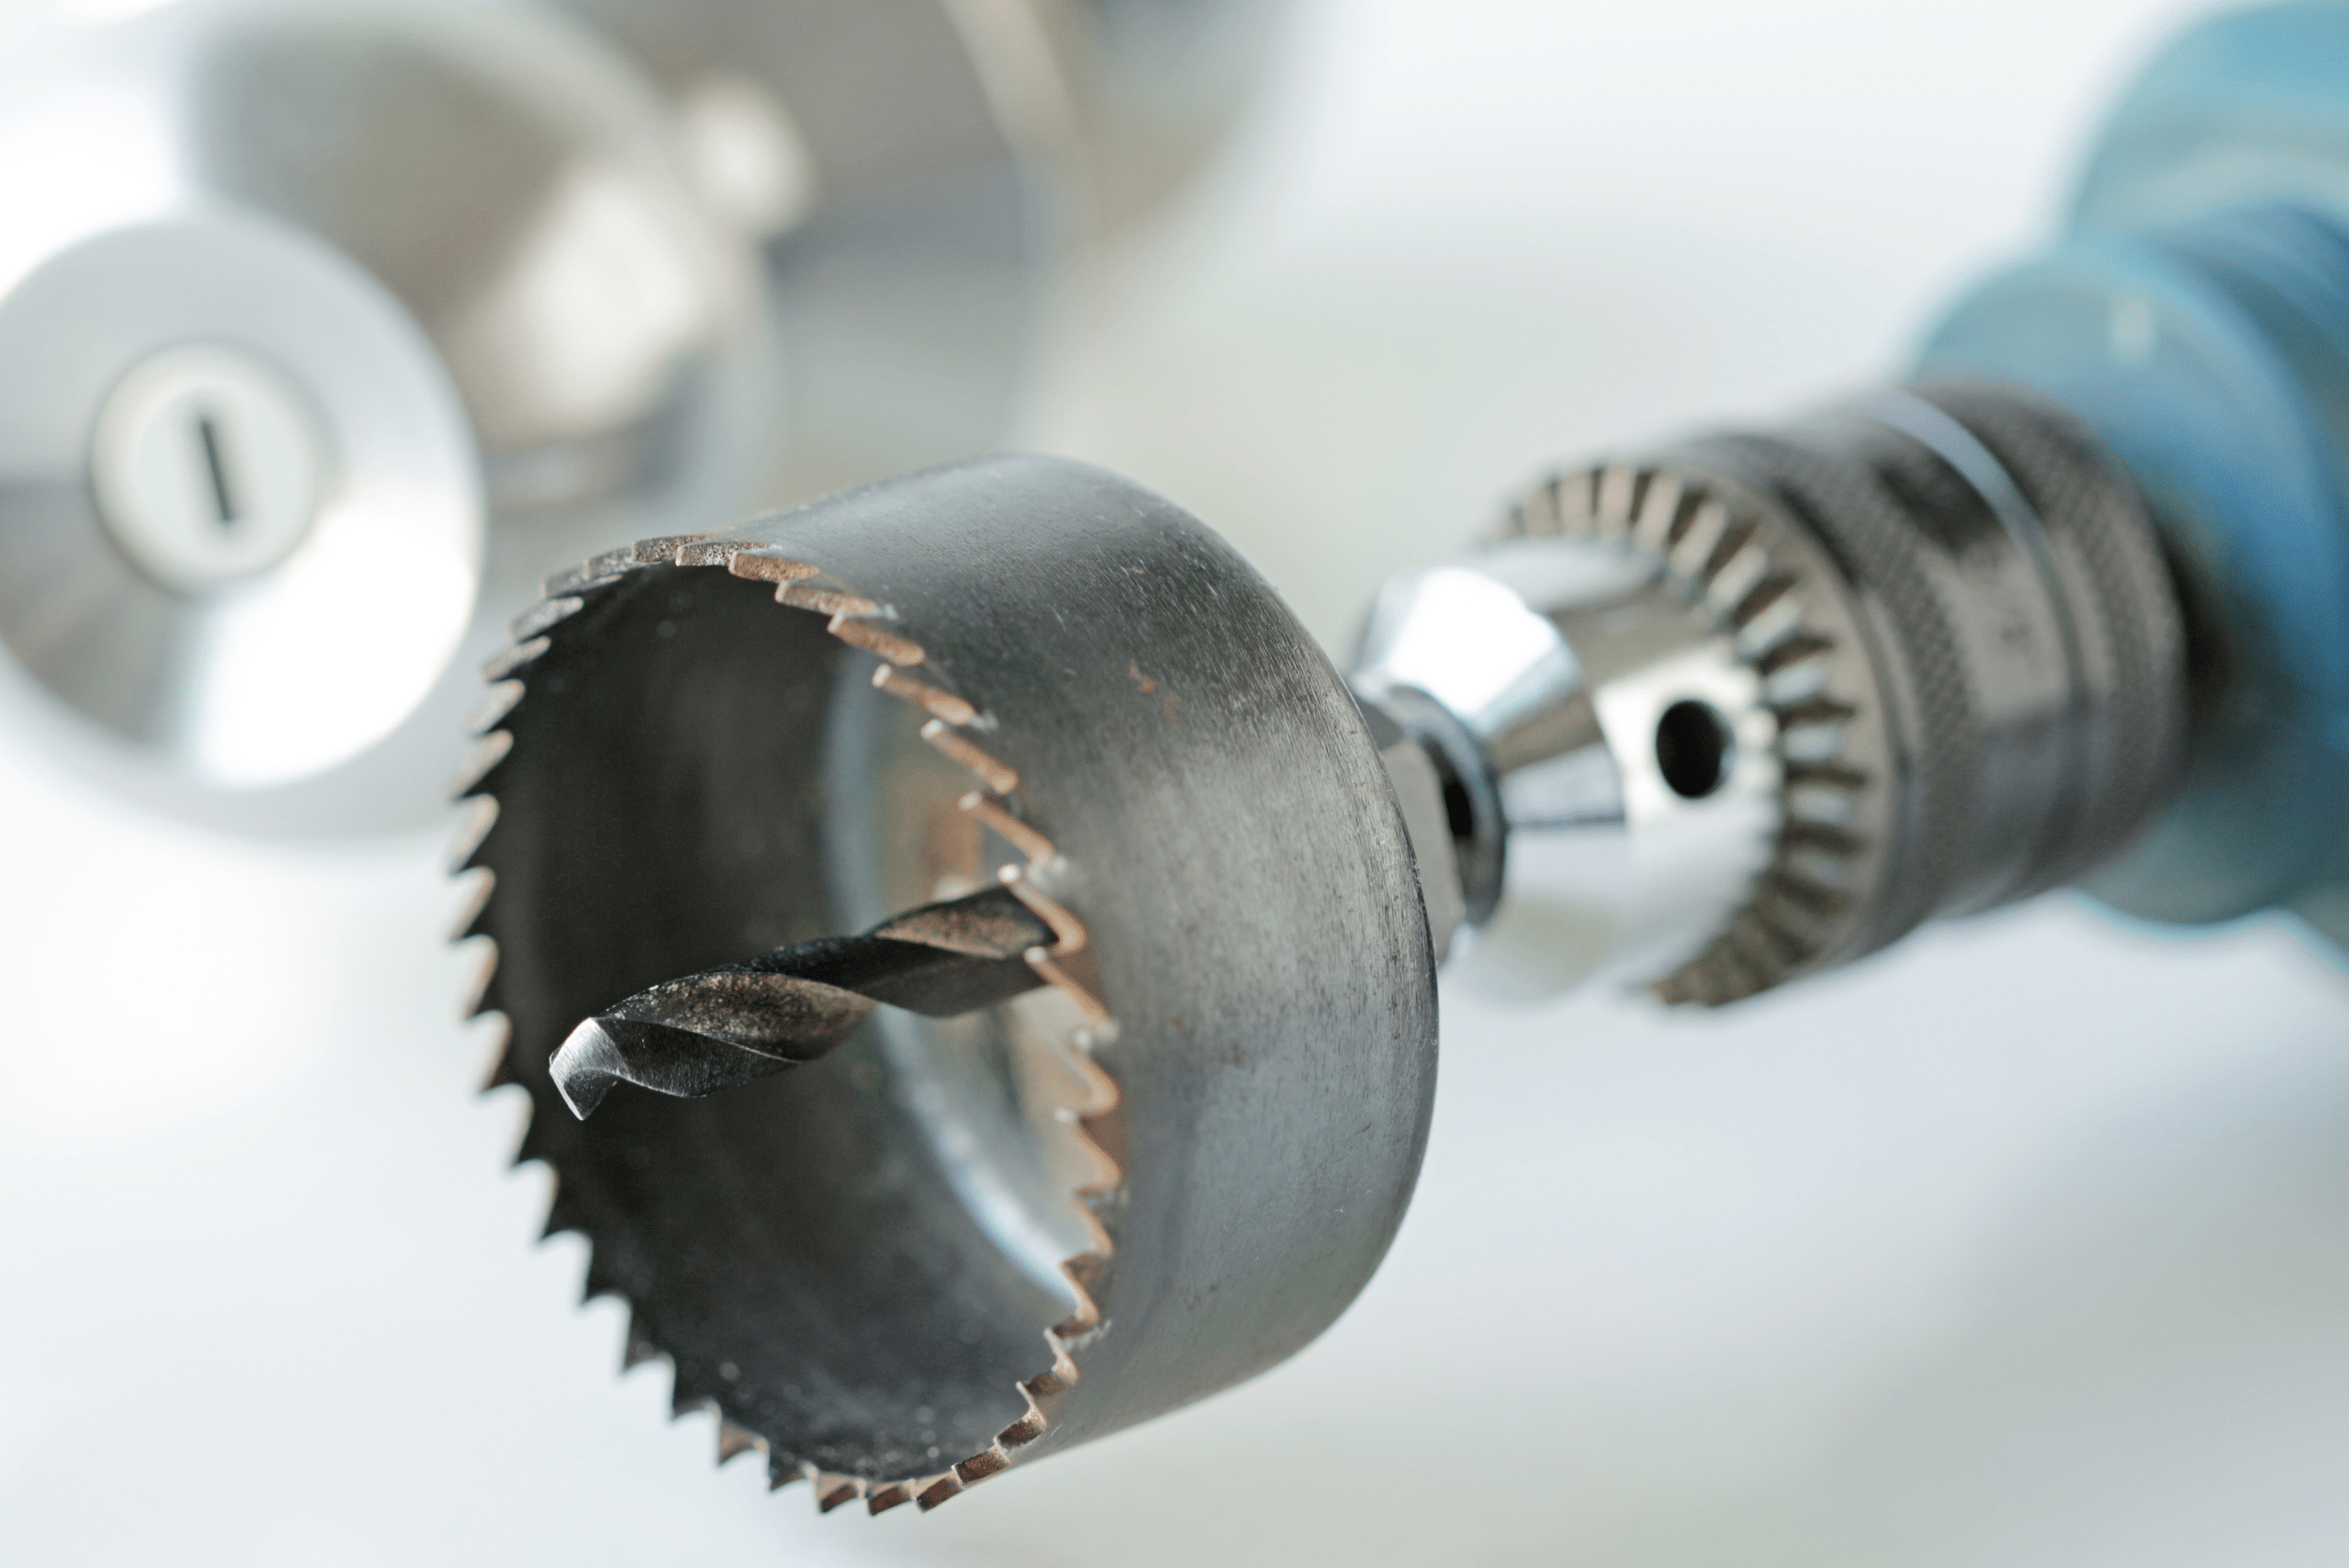
Using the correct speed setting on your drill is another important aspect of preparation. A general rule of thumb is to use a slower speed for harder materials and a faster speed for softer materials. This helps to extend the life of your hole saw and prevents overheating, which can cause the saw to lose its cutting efficiency. Additionally, applying a slight amount of pressure when drilling can help to maintain control and precision, but it’s important to let the tool do the work and not force it through the material.
The Cutting Process – Tips for a Smooth Operation
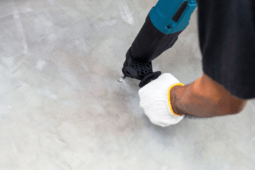
Once you’ve prepared your workspace and material, it’s time to start cutting. Begin by positioning the pilot drill at the marked center point and start the drill at a low speed to establish the cut. Gradually increase the speed as the hole saw begins to bite into the material. Maintaining a steady, consistent pressure is key; too much force can bend the saw or cause it to bind in the material, while too little pressure can make the cutting process inefficient.
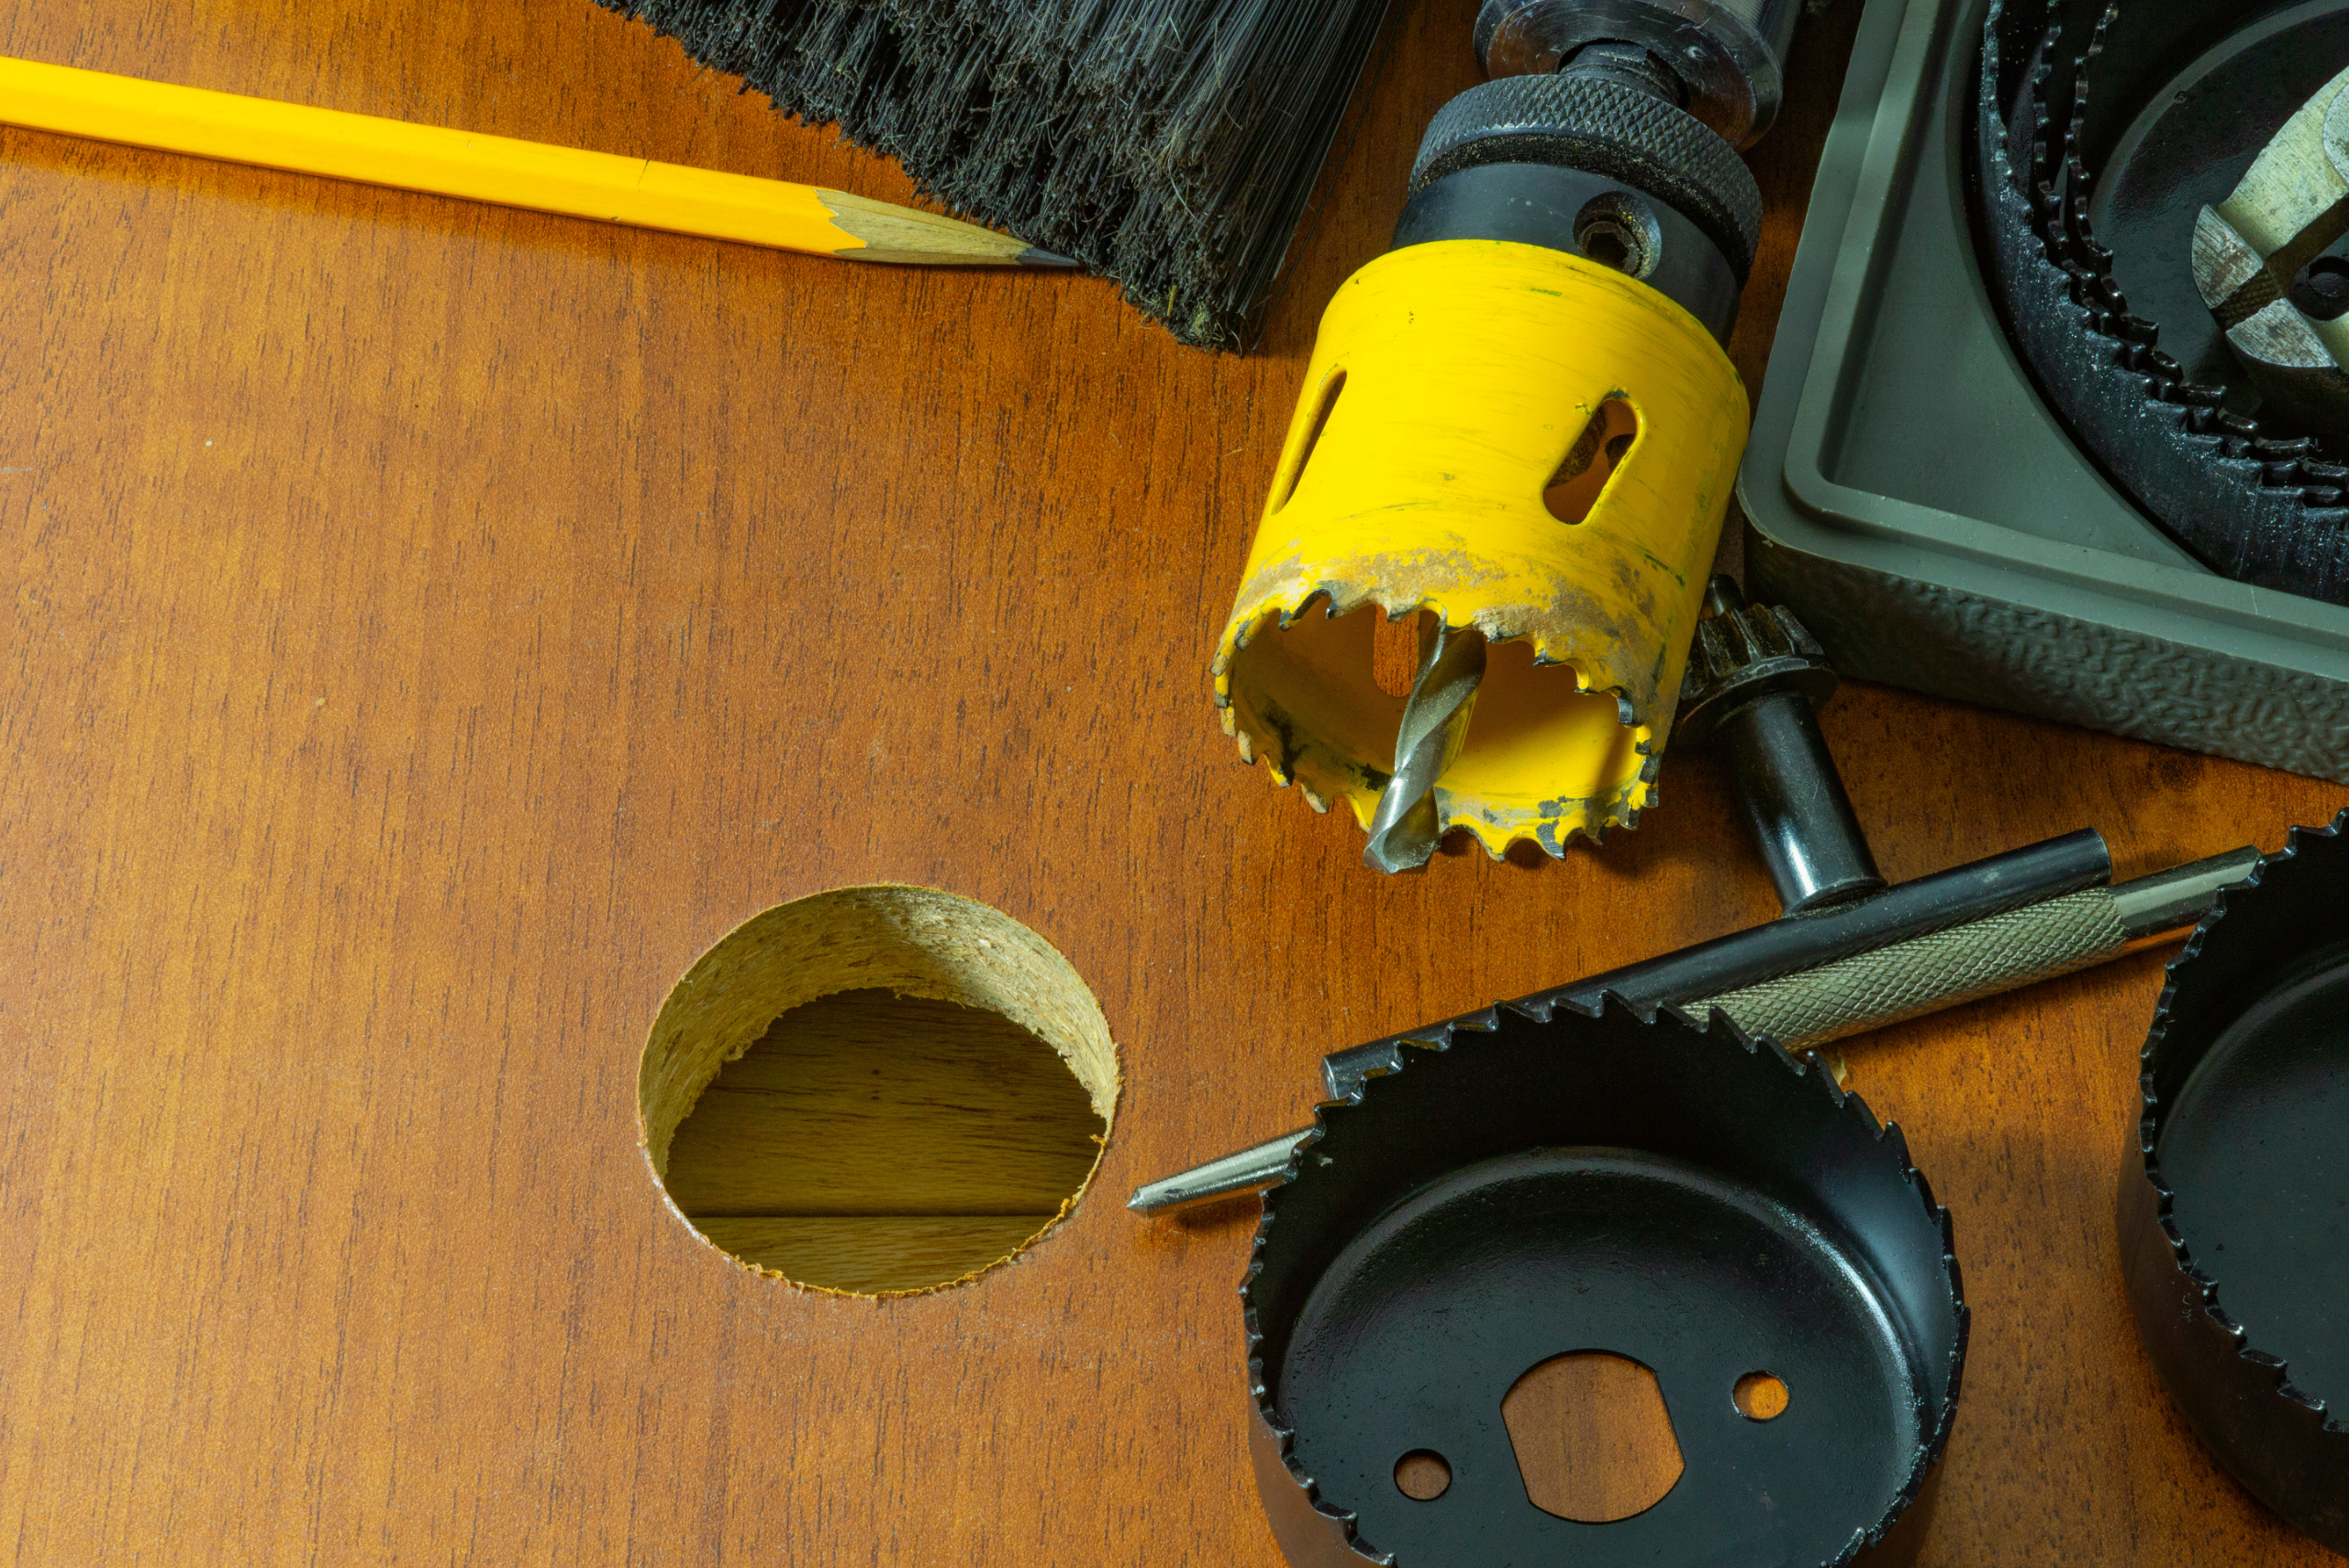
If you’re cutting through thicker materials, it may be necessary to withdraw the hole saw occasionally to clear any debris that accumulates within the saw. This not only makes the cutting process smoother but also prevents overheating and ensures a cleaner cut. It’s important to note that patience is vital when learning how to use a hole saw. Rushing the process can lead to mistakes or damage to both the tool and the material.
Maintenance and Care – Extending the Life of Your Hole Saw
Like any tool, a hole saw requires proper maintenance to keep it performing at its best. After each use, it’s essential to clean the saw thoroughly to remove any material buildup. Storing the hole saw in a dry, protected environment can prevent rust and corrosion, extending its lifespan. It’s also a good idea to inspect the saw regularly for signs of wear or damage, such as dull or bent teeth, which can compromise its cutting ability.
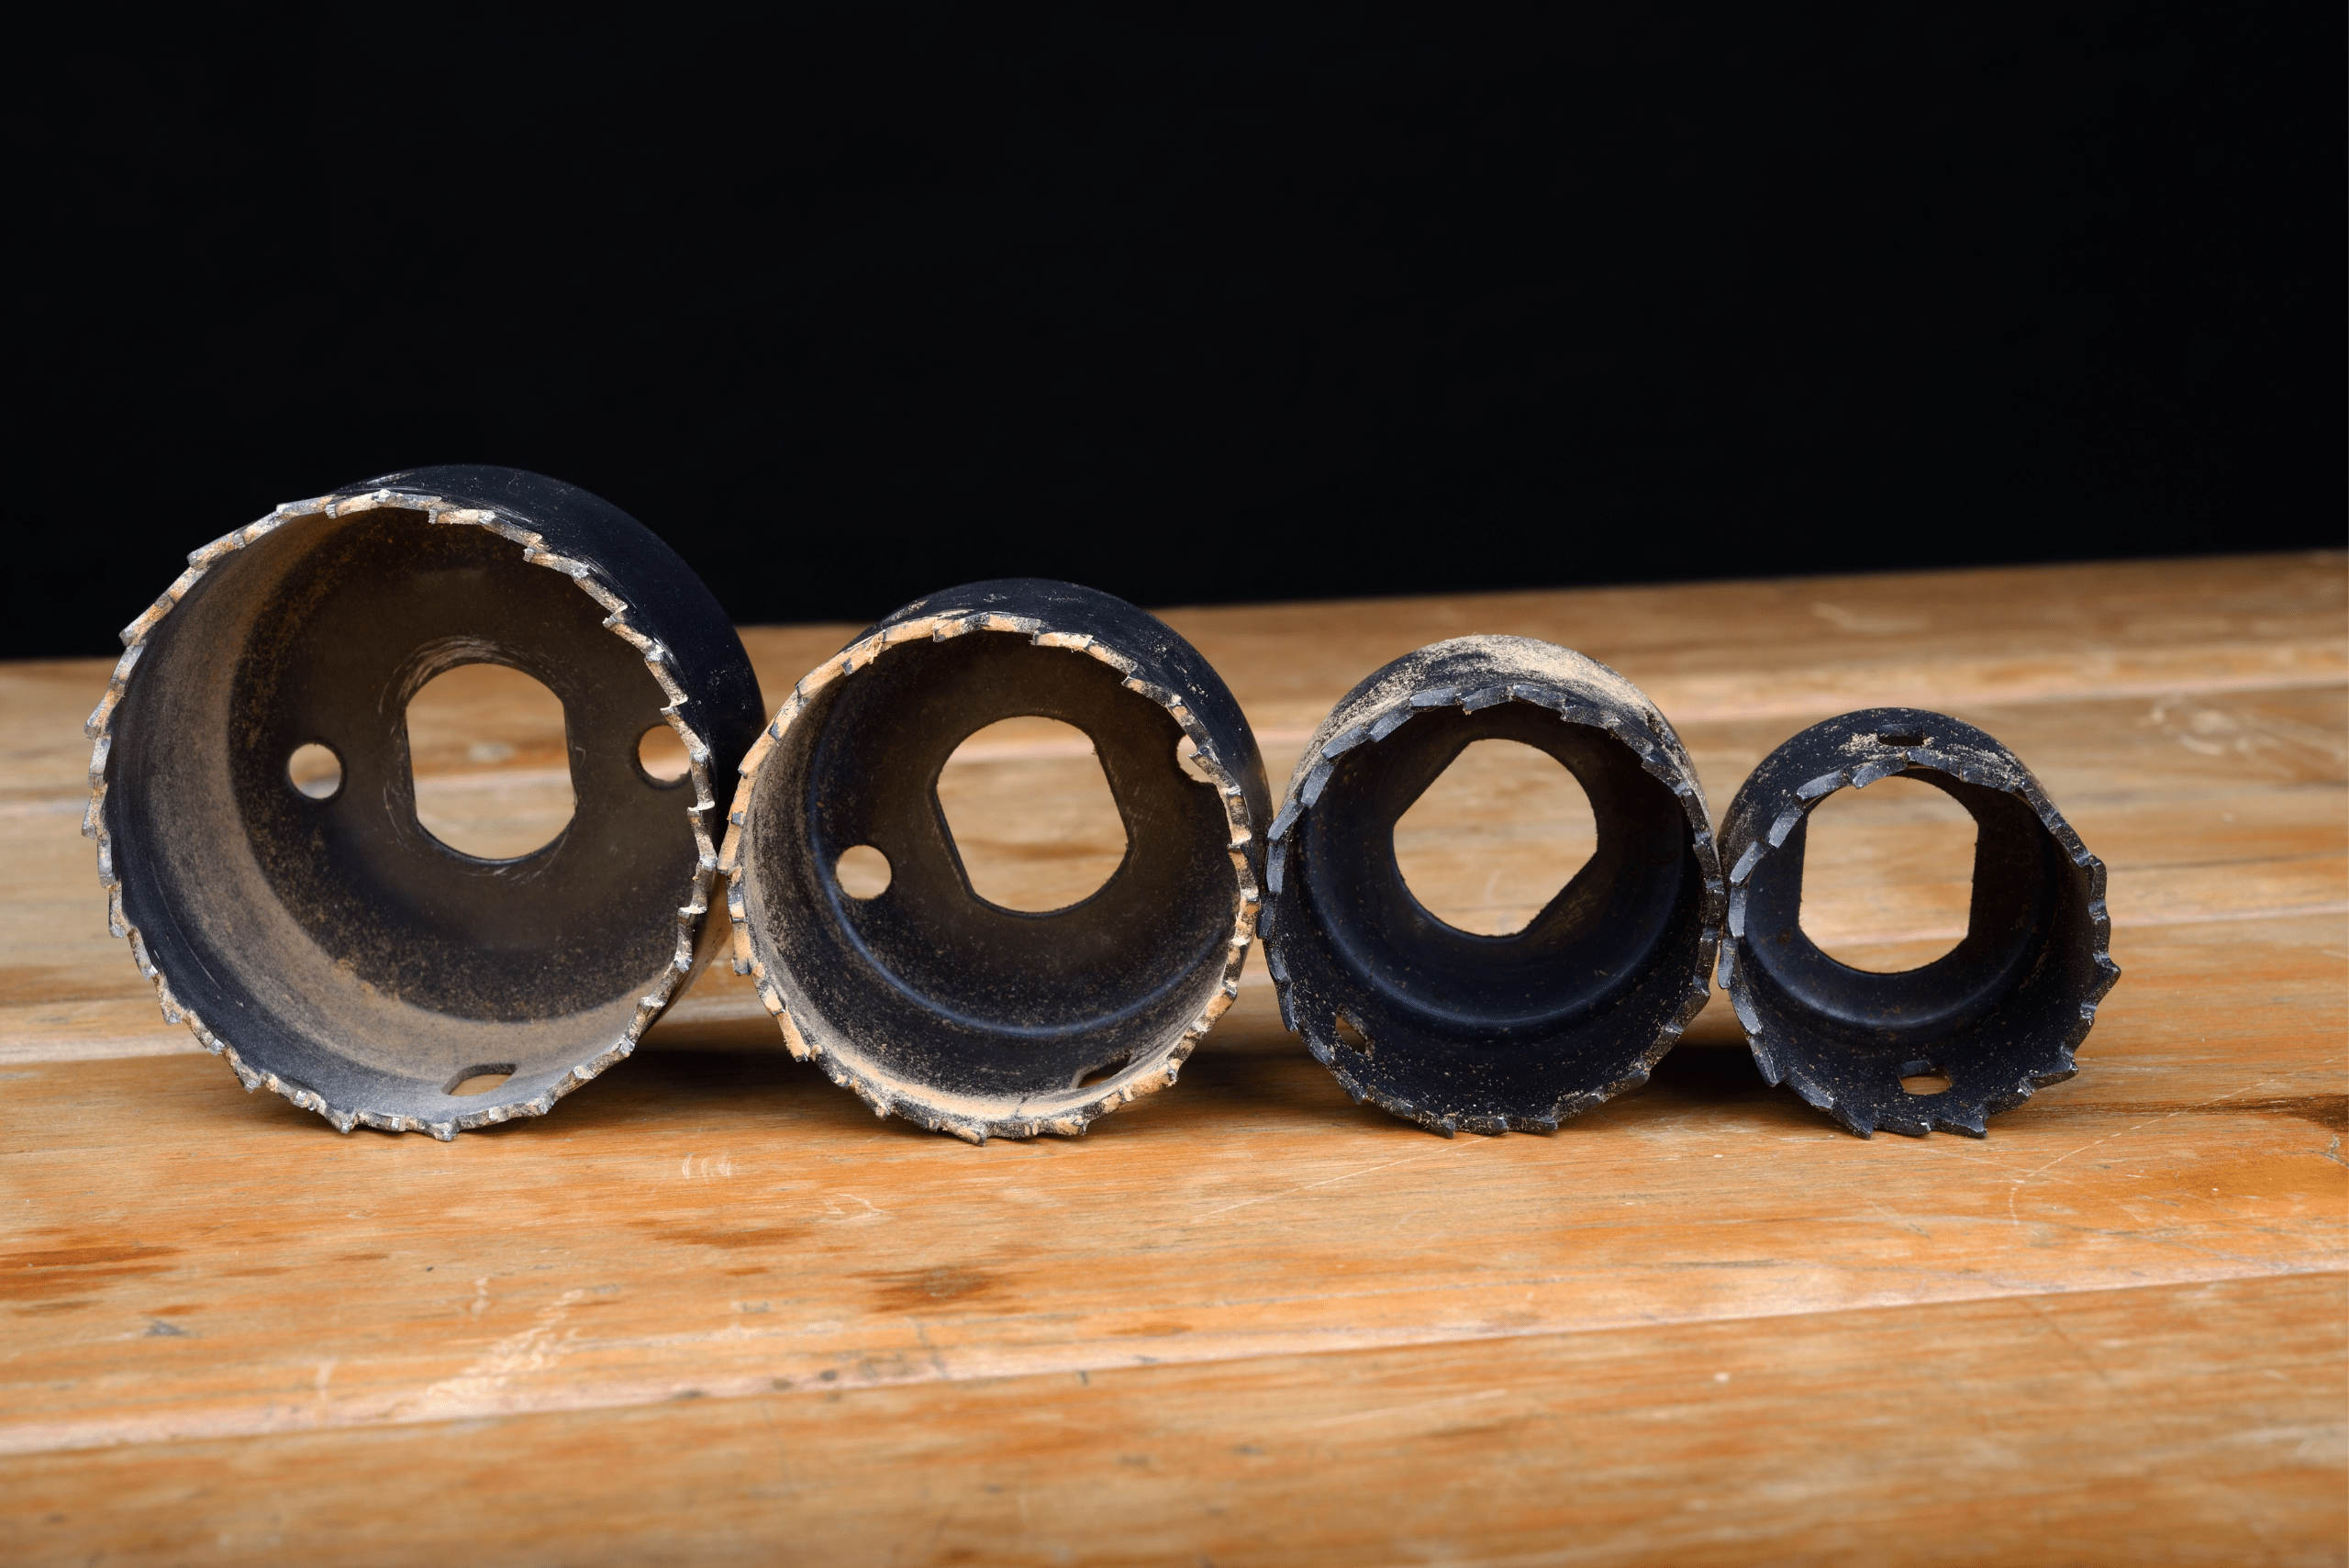
For those who use their hole saw frequently, investing in a sharpening tool can be a cost-effective way to maintain the saw’s cutting edge. However, if the saw is significantly worn or damaged, replacing it may be the more prudent option. Regardless of how often you use your hole saw, proper care and maintenance can significantly impact its performance and durability.
Related Articles
- Corn Hole Designs That Are Sure to Elevate Your Game
- Impact Driver vs Drill: Choosing the Right Tool
- 4 Effective Techniques For How to Cut Circles in Wood
Learning how to use a hole saw effectively is a valuable skill for any DIY enthusiast. With the right preparation, tools, and techniques, you can tackle a wide range of projects with confidence and precision. Remember, the key to success lies in understanding the basics, preparing thoroughly, executing with patience, and maintaining your tools properly.
Ready to start your next project? Join our DIY community to receive tool tips, how-to guides, and exclusive creative insights. Subscribe to the ManMadeDIY newsletter now! Click here to unlock a world of hands-on inspiration.

