How to Countersink a Screw – A Step-by-Step DIY
In the realm of DIY and home improvement, mastering the art of how to countersink a screw is an essential skill that can elevate your projects from looking amateur to professionally crafted. Countersinking is a technique used to allow the head of a screw to sit flush with or below the surface of the material you’re working with, creating a neater and more aesthetically pleasing finish. Whether you’re a seasoned woodworker or just starting out, understanding the nuances of this process can significantly enhance the quality of your work. Let’s delve into a step-by-step guide that demystifies this technique, ensuring your next project turns out immaculate.
Knowing how to countersink a screw is a must when tackling any of the 16,000+ projects available from TedsWoodworking, your source for build plans and creative woodworking projects. Click here now and discover your next DIY project that will test and improve your woodworking skills.
Understanding the Basics of Countersinking – A Primer for Beginners
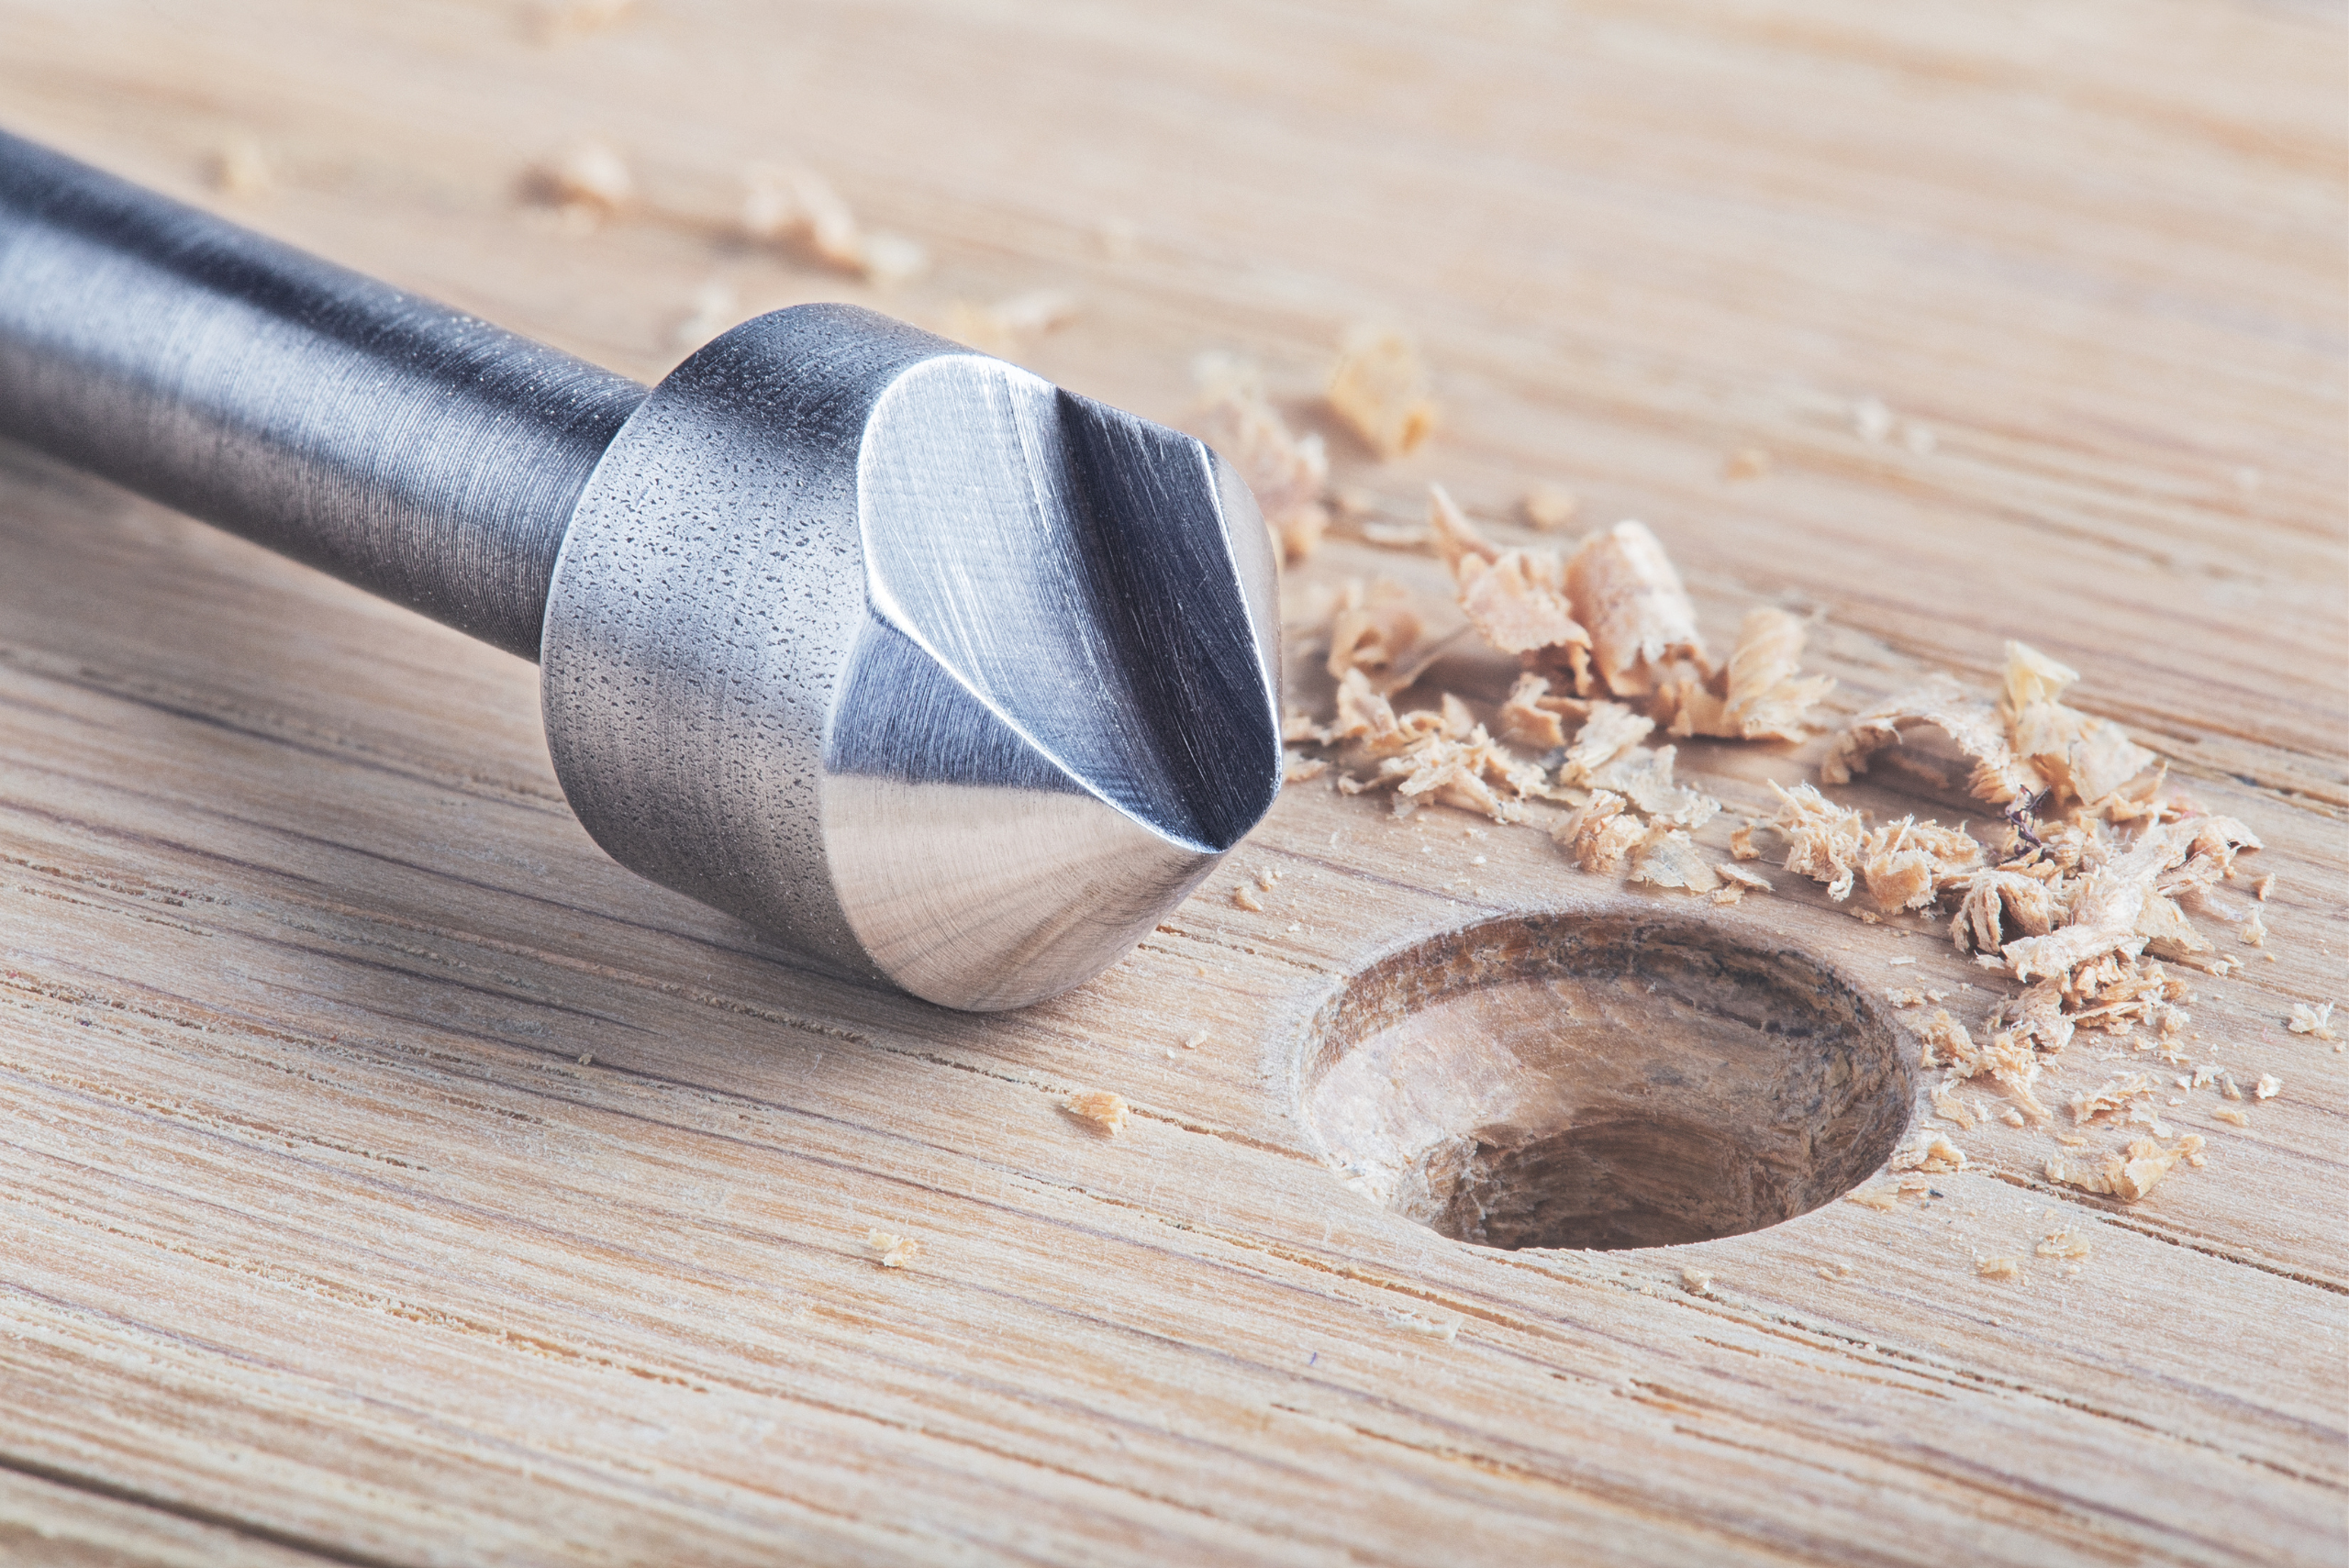
Before diving headfirst into your project, it’s crucial to grasp the fundamentals of how to countersink a screw. Countersinking involves creating a conical hole that matches the angle and size of the screw head. This preparation step is not only for aesthetic purposes but also helps prevent the material from splitting when the screw is driven in. Different types of screws and materials require specific countersink bits, so selecting the right bit is paramount. A standard drill bit won’t suffice, as it won’t create the necessary shaped cavity for the screw head to rest flush against the material.
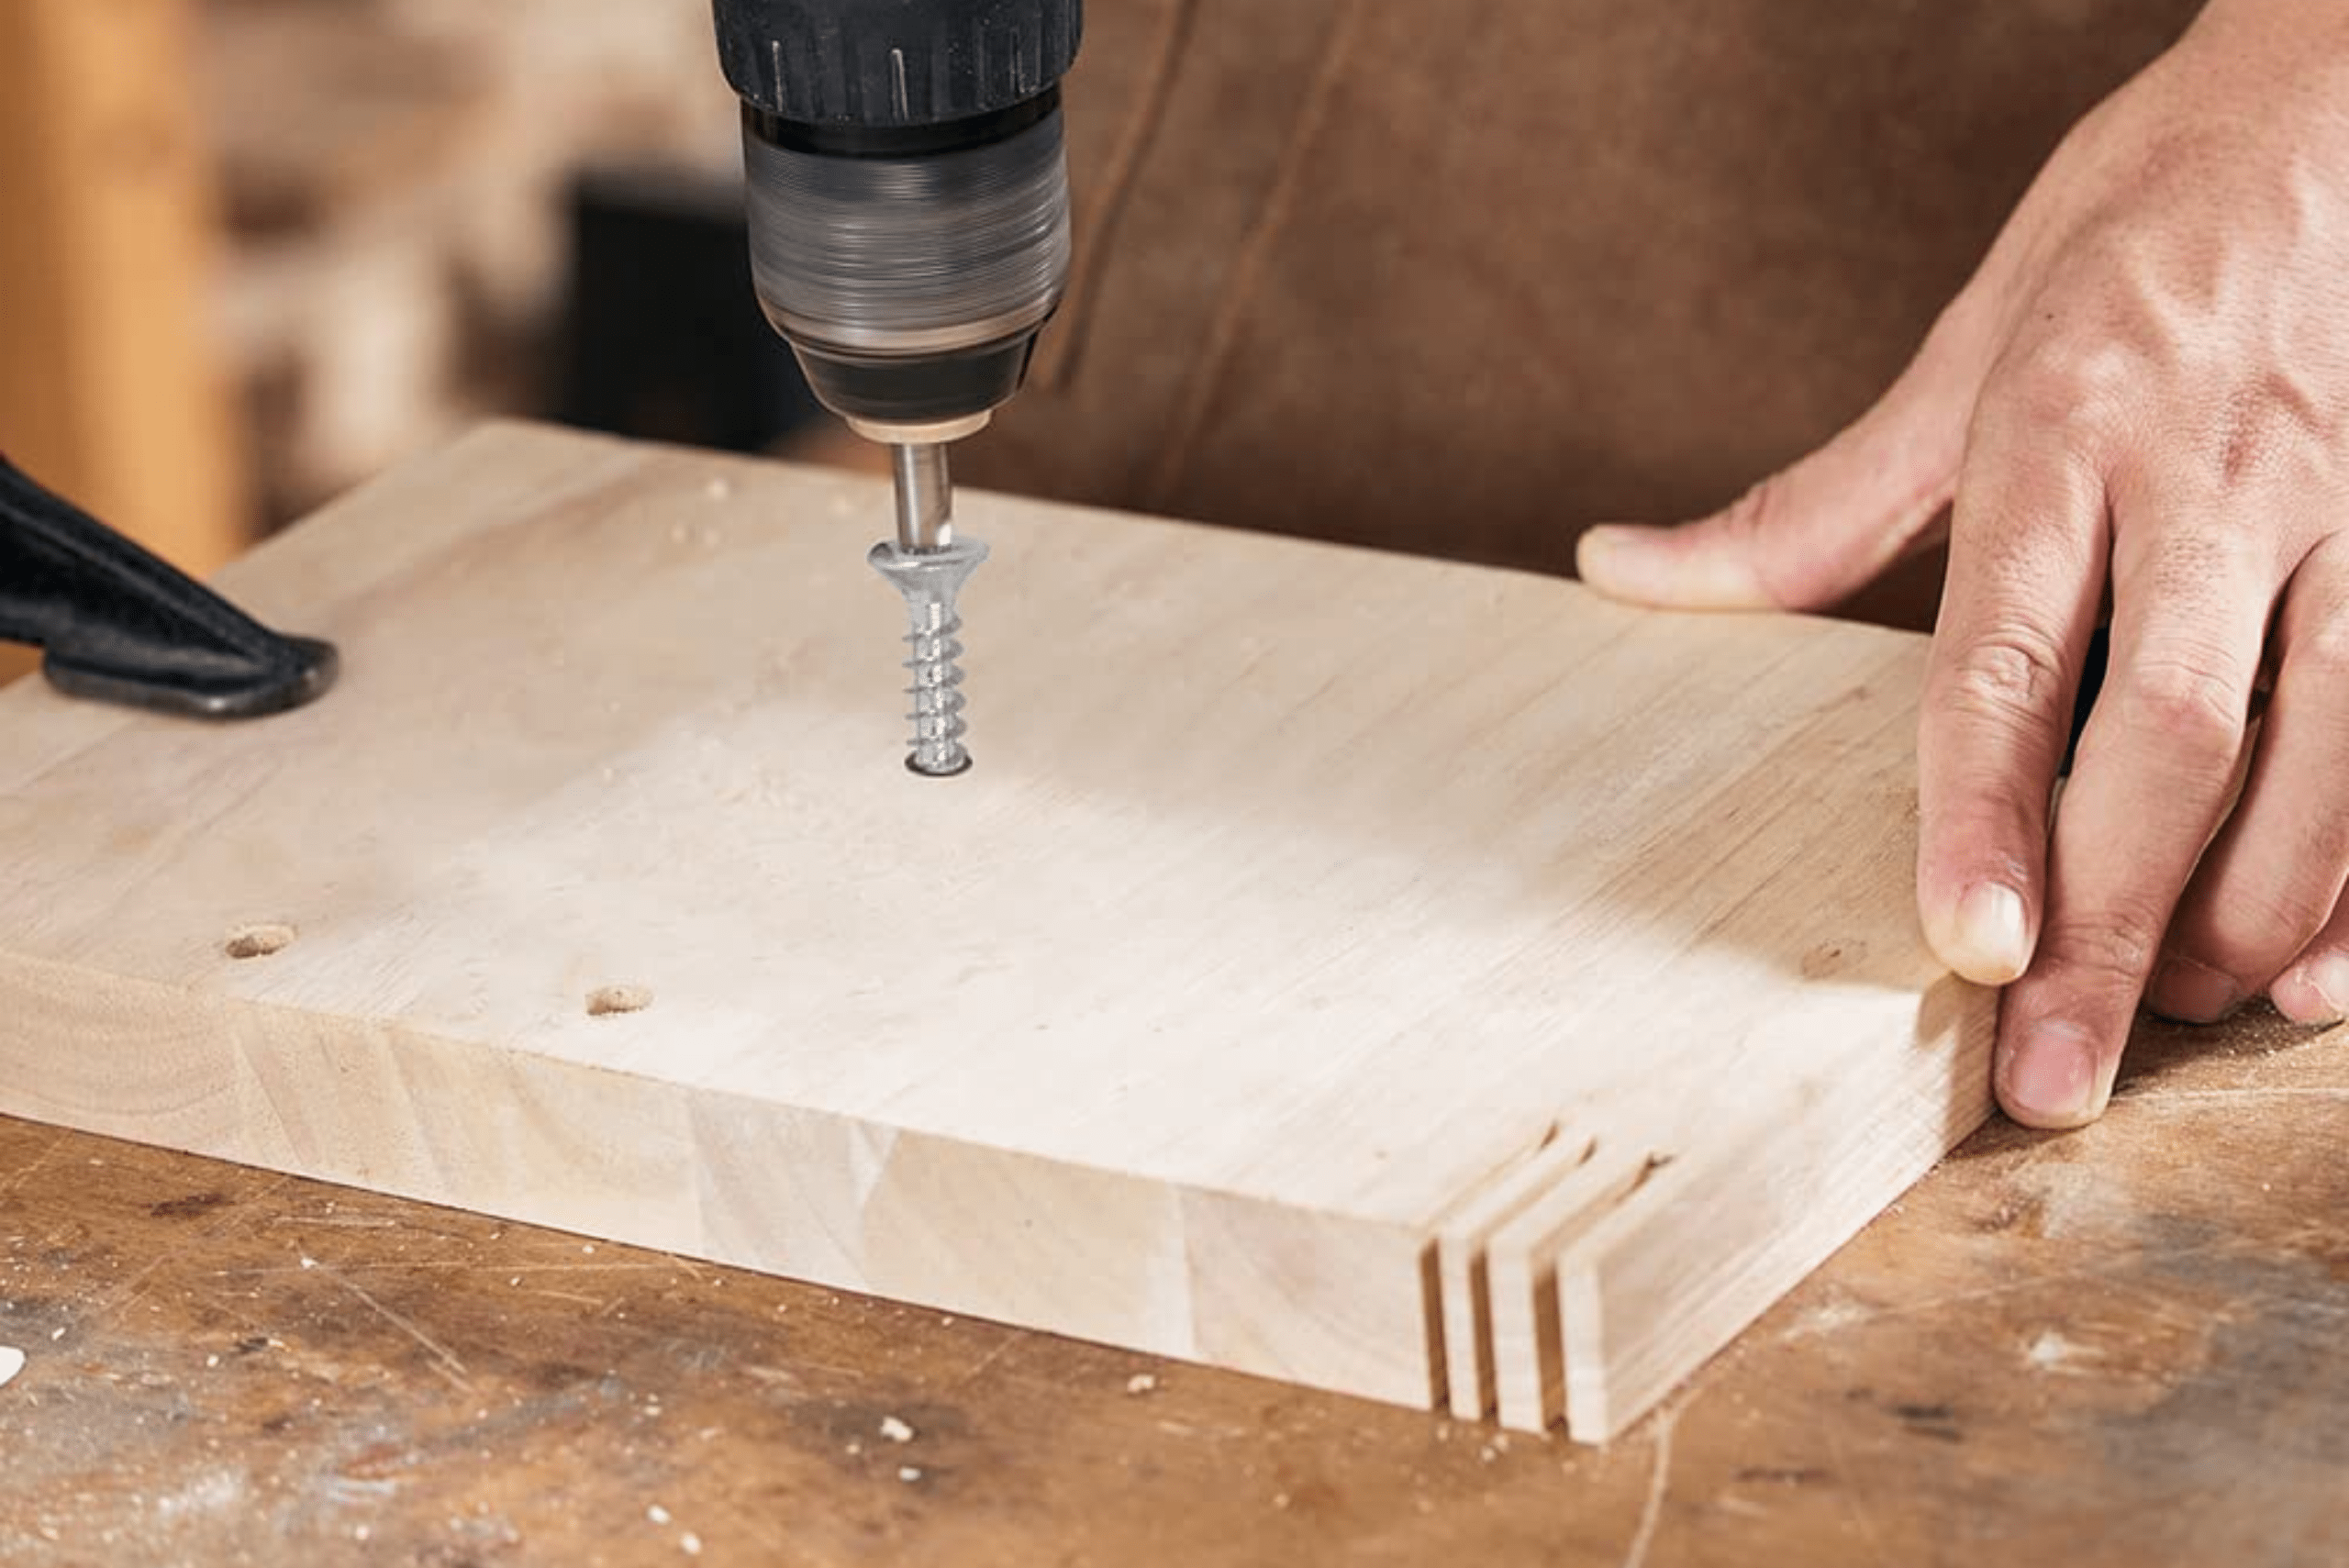
Moreover, understanding the material you’re working with is equally important. Softwoods can be forgiving, whereas hardwoods and metals demand precision and the correct tools to achieve a clean finish. Experimenting with scrap pieces before tackling your main project can provide invaluable practice, ensuring you’re comfortable and confident with the process.
Choosing the Right Tools and Materials for Flawless Execution
Equipping yourself with the proper tools is the next crucial step in learning how to countersink a screw effectively. A countersink bit is designed specifically for this task, often found in sets that cater to various screw sizes and types. These bits can be attached to a drill, allowing you to create both the pilot hole and the countersink hole in one go. It’s essential to match the countersink bit to the size and type of screw you’re using to avoid a mismatch in the finish.
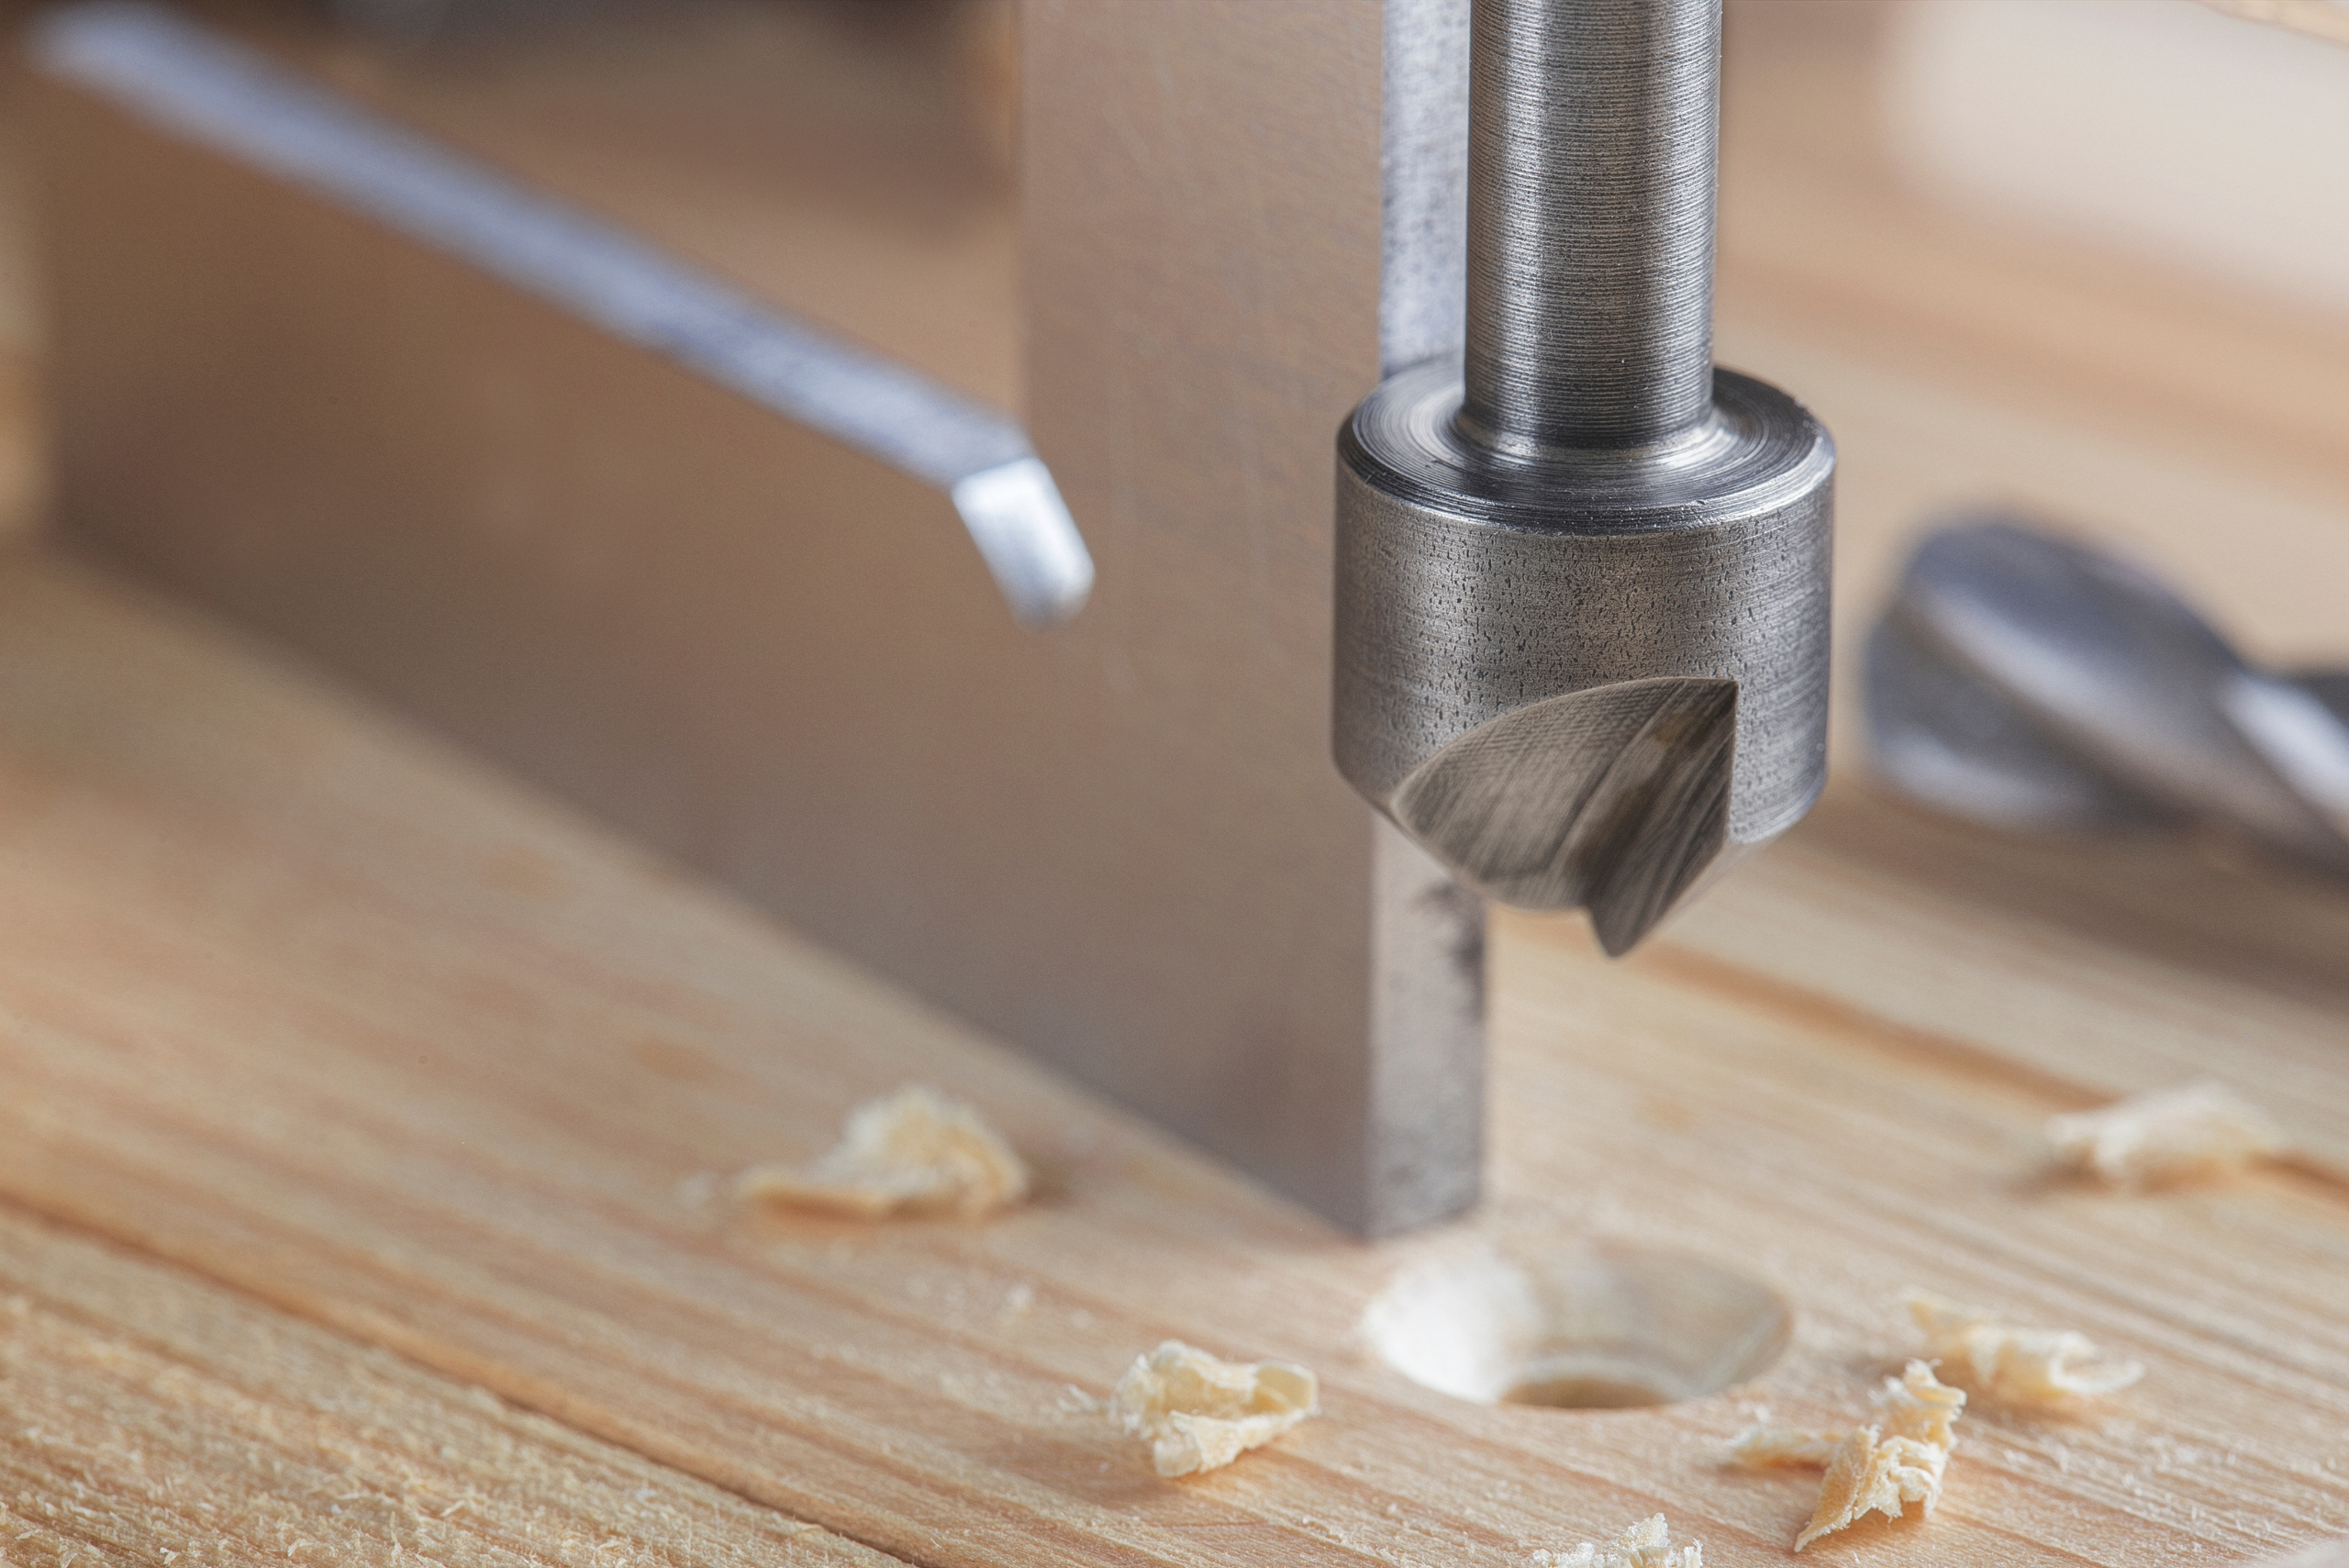
In addition to the countersink bit, a good quality drill, a set of screwdrivers, and clamps to hold your workpiece steady are indispensable tools for this job. Precision is key in countersinking, and having your workpiece move mid-process can result in an uneven or off-center finish. Investing in quality tools not only makes the job easier but also ensures a professional outcome.
Step-by-Step Guide to Mastering Countersinking Screws
Now that you’re equipped with the foundational knowledge and the right tools, let’s walk through the process of how to countersink a screw step by step.
- Begin by marking the spot where the screw will go, using a pencil or marking tool for precision.
- Next, select the appropriate countersink bit for your screw and material, and attach it to your drill.
- Drill a pilot hole first, which will guide the screw and prevent the wood from splitting.
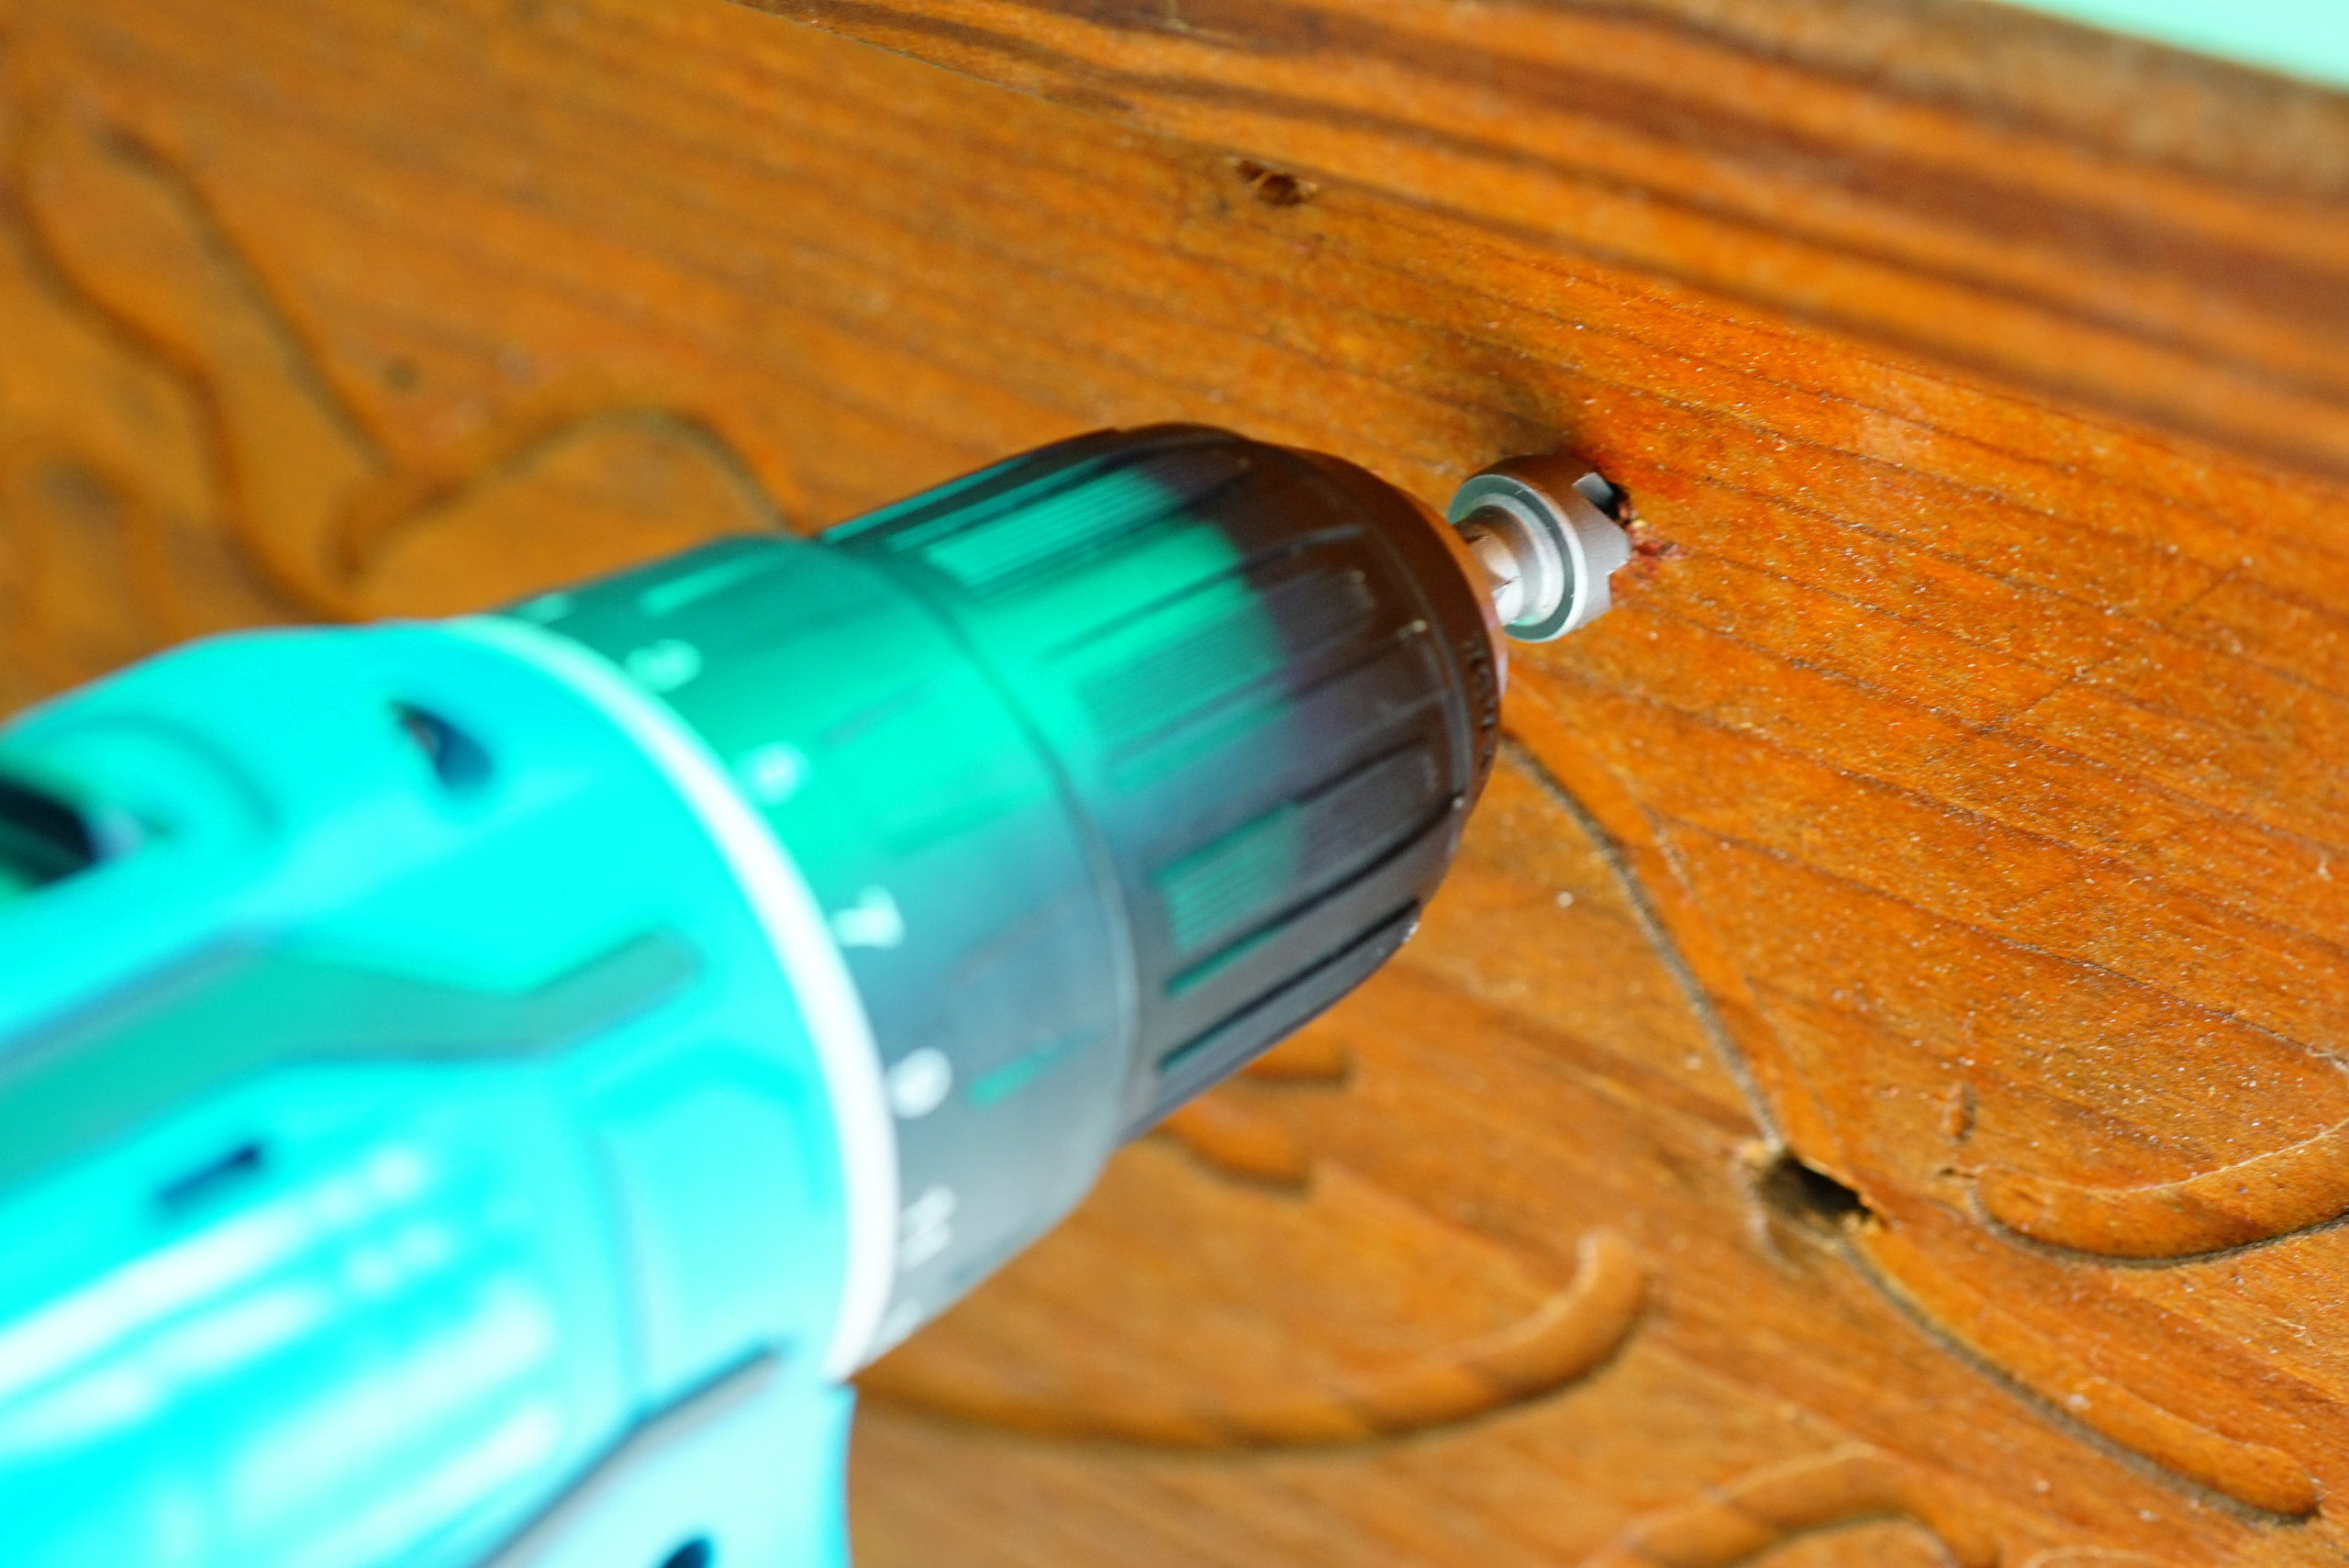
- Follow this with the countersink bit, drilling until the conical hole is the right size for your screw head to sit flush or slightly below the surface.
It’s important to drill at a consistent speed and apply steady pressure to ensure an even countersink hole. Too much force or speed can cause the material to burn or the hole to be larger than intended. Practice makes perfect, so don’t be discouraged if your first few attempts aren’t perfect.
Troubleshooting Common Countersinking Issues for a Perfect Finish
Even with careful planning and execution, you might encounter some issues while learning how to countersink a screw. One common challenge is the screw not sitting flush with the material’s surface. This can often be resolved by adjusting the depth of the countersink hole, either by drilling a bit deeper or by using a larger countersink bit. Another issue could be tear-out, where the material splinters around the countersink hole. This is typically due to using a dull bit or applying too much force. Ensuring your tools are sharp and applying gentle pressure can mitigate this issue.
Remember, the key to overcoming these challenges is patience and practice. Each material behaves differently, so take your time to understand how it reacts to drilling and adjust your technique accordingly.
Related Articles:
- Stripped Screw Hacks – Effortless Solutions for Stubborn Screws
- Top 10 Must-Have Screws for Every Project
- How to Unscrew a Tight Screw and Deal with Stubborn Fasteners
Learning how to countersink a screw is more than just a technical skill; it’s an art form that adds a professional touch to your DIY projects. With patience and practice, the art of countersinking will become second nature, enhancing the quality and finish of your creations.
As we conclude, remember – TedsWoodworking is your ally in woodworking aspirations. Dive into 16,000+ projects with ease. Your creativity knows no bounds. Happy crafting!
Ready to start your next project? Join our DIY community to receive tool tips, how-to guides, and exclusive creative insights. Subscribe to the ManMadeDIY newsletter now! Click here to unlock a world of hands-on inspiration.


