How to Properly Remove Drywall Without Making a Mess
During renovations, one of the most common aspects involves removing a wall of some sort. Given that most walls are drywall in construction – with the structural support beneath – knowing how to remove drywall becomes an invaluable skill.
But what if you have never taken on the task before? While it seems like this big, comprehensive job, removing drywall is actually quite easy. Here is a simple walkthrough that will leave you with a blank canvas to work with and less of a mess than you may have expected.
Why Remove the Drywall?
There are more than a few reasons to remove drywall. For one, it could be damaged in ways that aren’t easily repairable. Depending on the age of the drywall, it may ultimately prove better to remove the drywall and replace it.
There is also a matter of access. An overlay of drywall can make it difficult to access certain issues in a room. Removing the drywall can let you get into the interior of the wall. There, you can inspect for termite damage, worn wiring, and any other major signs of wear and tear that may be present.
How to Remove Drywall
The good news is that, if you need to remove drywall, you can do so with a little planning and the right guidance. Just follow these steps and you will be able to remove any drywall within your home, setting yourself up for an easy replacement.
Step 1: The Tools for the Job
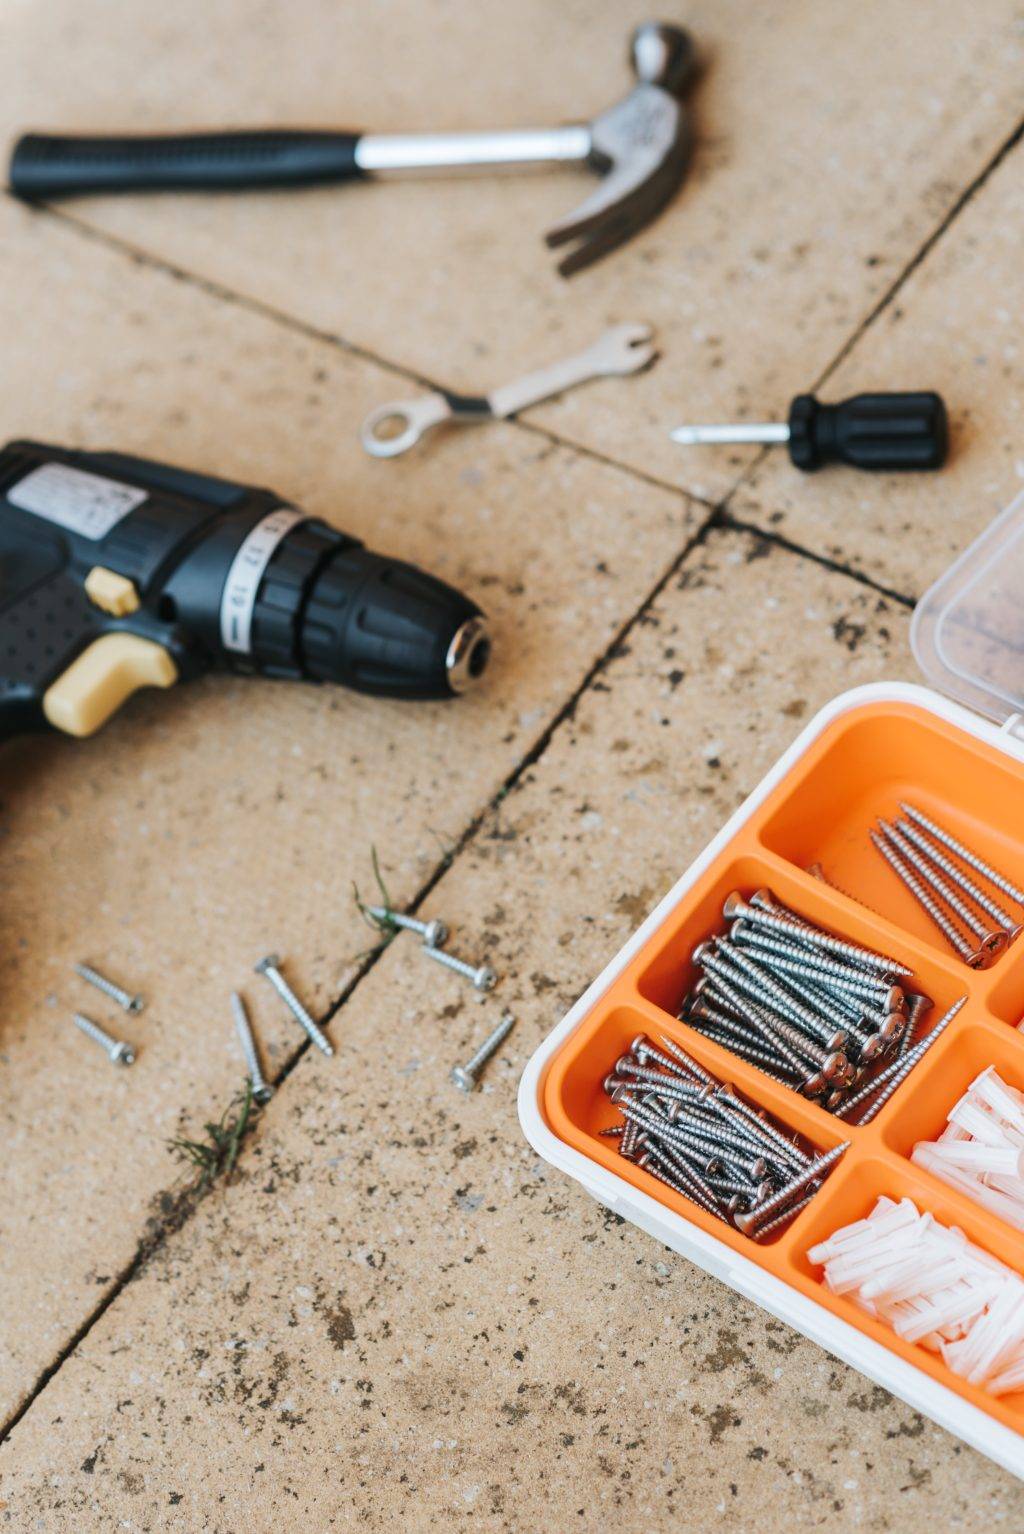
Before you can start tearing out drywall, you need to come prepared. That means having the right tools to carry out the task. For the most part, you are going to need power and hand tools found in most home workshops:
- Utility knife
- Hammer
- Handsaw
- Flat bar
- Reciprocating saw
- Power drill or driver
If you don’t have any of these, you may be able to make do with another tool, but you should probably have them in your repertoire anyhow. You will also need a dust mask as you don’t want to breathe in the dust from the drywall.
Step 2: Turn Off the Utilities
Perhaps the most important aspect of removing drywall is avoiding what lay beneath. Depending on the area in which you are working, there may be HVAC vents, plumbing, and electrical outlets to contend with.
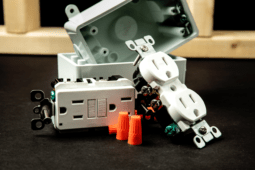
Start by turning off any utilities in the area. Use a stud finder to find any obstacles that may be underneath and mark those areas off with tape. This will give you a strong idea of where not to cut or to come back to them later.
You don’t have to turn off the utilities to the home at large, just the room in which you are working. Make sure you take off all the coverings for wall outlets, electrical outlets, and vents while you are at it.
Step 3: Prep the Room
Ideally, you want to avoid spreading drywall dust, especially when you have a larger project at hand. Make sure that you either seal off or close any vents in the room. Dust can travel into the HVAC venting, moving throughout your home when the HVAC kicks on.
Make sure that you seal the door off with plastic sheeting as well. You don’t want dust traveling throughout the house, either. And, as always, make sure that you have the proper protection. That means gloves, safety glasses, and a dust mask for proper ventilation.
Step 4: Remove the Molding
The next step is to remove the molding so that you can access the entirety of the drywall. This is where the utility knife will come in handy. Use your utility knife to cut the top part of where the drywall and molding meet.
You will need a pry bar or some other similar type of tool to then pull the baseboards or molding up. In order to effectively remove all of the drywall on a wall, you need to get behind the baseboards and molding. Don’t skip this step or you will have an uneven removal that could create issues when you go to install the new drywall.
Step 5: Cut an Area
Mark out the area that you want to remove. If you are removing the entire section of drywall, pick an edge and start there. A reciprocating saw comes in handy here. Put it at an angle where you can cut through the drywall without possibly impacting the wood framing beneath.
Cutting a notch around the door trim, if you leave it there, can also be helpful. When it comes to the corners, your utility knife is the surest tool in your arsenal. Using a reciprocating saw is just asking for trouble.
Take your time and make the proper cut. Getting sloppy with it will just create more problems for you further along.
Step 6: Find the Framing Nails
For most of us, the drywall is not going to be pristine. That’s why we’re removing it, right? That means contending with nails and other obstructions that need to go. Find any nails that hold the drywall to the framing.
To do this, you will need a strong magnet. The magnet will give you a clear indication of where the nails are so that you can mark them off. If you turn the magnet on its end, you can locate the nail more precisely, though it may miss the nail entirely if the nail was driven at an angle.
A good rule of thumb is that you can expect to find nails at 12-inch intervals vertically, 16 inches horizontally. But that’s assuming local codes were followed which does not always happen.
Step 7: Remove the Nails
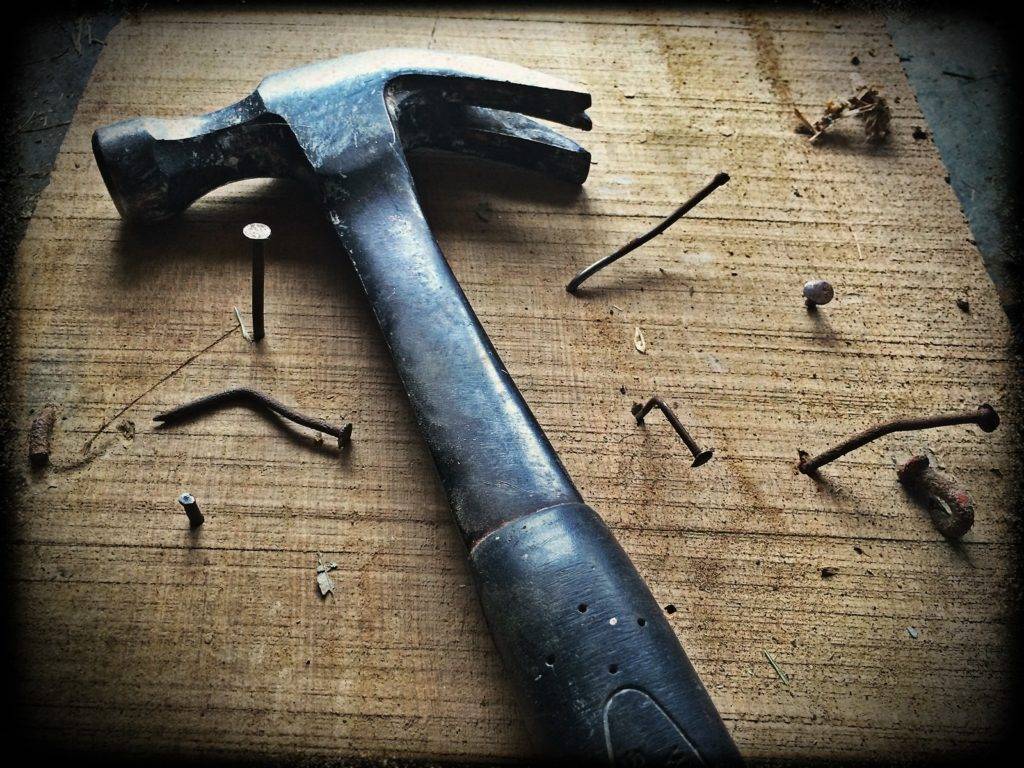
Now that we know where the nails are, it is time to get them out. Your hammer and pry bar will come in handy here. Just gently pound the pry bar into the drywall a little to the side of where the nail is. Keep gently pounding and angling the pry bar until you can get it beneath the nail head.
In some cases, you may find that there are drywall screws instead of nails. In this event, your screwdriver or screw gun would be a lot more helpful. Don’t worry about making holes in the drywall; it’s all going to go eventually. Just make sure that you get the nails or screws out.
Do this part carefully and gently. Remember that the nails or screws are what hold the drywall in place. The last thing you want is for everything to come crashing down around you.
Step 8: Remove the Drywall
Now it’s time to physically remove the drywall. For the most part, even without the nails or screws, the drywall should stay in place. Depending on the age of the drywall, it may even take a little bit of work to pry the drywall off.
For the most part, drywall with no screws or nails should come out easily. If you are having difficulty, you can use a prybar. If it still isn’t coming off easily, check for any nails or screws that you may have missed.
Drywall is generally installed horizontally with a seam somewhere around the 4-foot mark from the floor. If that is the case, pull the bottom piece away and the top should come out, folding along the seam. You can then easily haul away these larger sections of drywall.
Step 9: Clear the Edges
Depending on the age and quality of the drywall, breakage is normal. When you have removed the large portions of drywall, go back through and clean off the edges. There may be some frayed sections of drywall that need clearing away. You can do this with your utility knife and prybar.
Take your time here and ensure that you get all of the drywall. Those frayed edges can be a pain to deal with later on down the line. What should take a few extra minutes can save you a lot of time and frustration later on down the line.
Step 10: Clean Up Time
Finally, you are in the home stretch. It is time to clean up the area to prep it for the new drywall to be installed. As you go, it is helpful to put the big chunks of drywall in a heavy-duty garbage bag or some other sort of disposable container.
Make sure that after removing all of the chunks of drywall, you vacuum the room. You want to leave as little of the drywall dust to contend with as possible as it can have possible respiratory effects if breathed in. All of those plastic coverings will help to keep the dust contained, too.
Clean up the studs by backing out screws or yanking nails. Even if you are removing the wall completely, it is imperative to remove the previous fasteners. That just makes it safer to handle the studs later on. From there, it is just a matter of removing all of the bagged debris. Check with your municipality, there may be guidelines for the safe disposal of drywall materials. Otherwise, you may be able to put the bags out with the trash at your normally scheduled pickup times for optimal convenience.

