How To Distress Wood (Without Any Specialty Products)
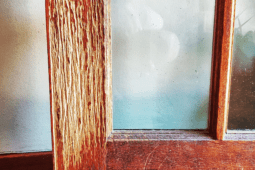
Distressing is a fun way to bring life to an old piece of furniture or a raw piece of wood. There’s a big difference between “worn down” and “distressed.” Worn down is when discoloration or scratches appear on the surface naturally over time due to wear and tear. Distressed, on the other hand, is a design process in which you create a weathered effect using layers, resulting in an evenly textured antique finish. We’re going to show you how to distress wood without needing to spend money on fancy products in order to achieve that rich, antique textured appearance.
Which Method of Distressing Is Best for You?
There’s a number of different methods that you can use depending on how much elbow grease you want to put into the process of distressing wood. Certain methods will also be more effective depending on if you’re starting with raw wood or looking to give a facelift to a piece of furniture you already own. Some of the basic things you’re going to need include: sand paper, paint, a hammer, wood stain, and maybe even a candle. Keep reading to learn which option will be best for you!
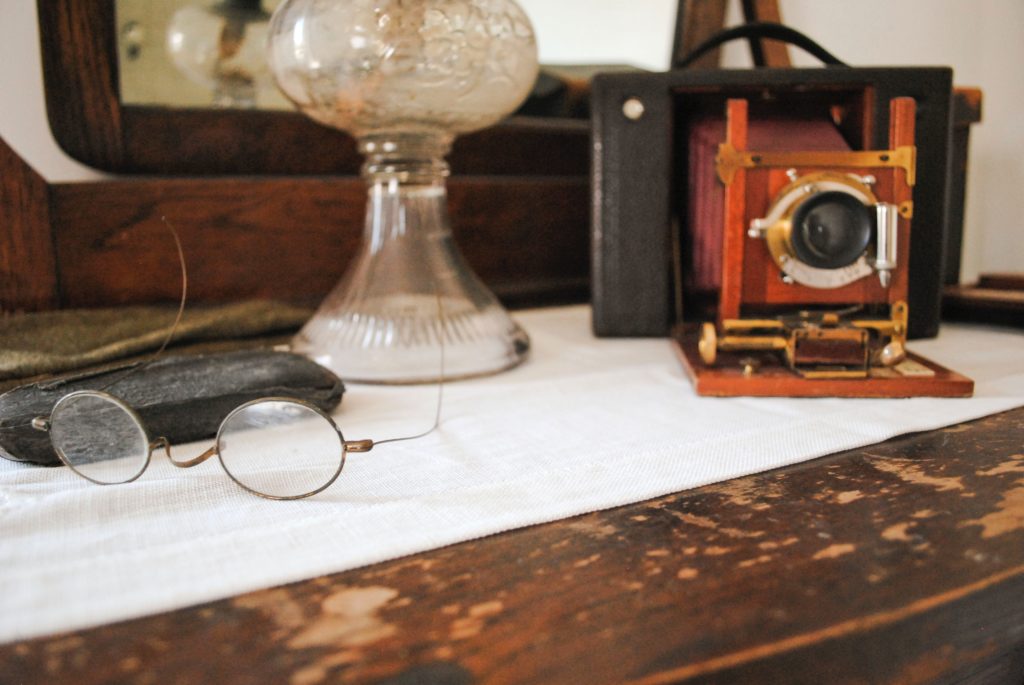
The Best Wood for Distressing
If you’re starting from scratch and looking to distress wood before you build, the best woods to work with are going to be softwoods. Woods such as pine, fir, or cedar are going to be the easiest to distress than hardwoods such as mahogany, oak, or maple. The softwood is inexpensive and is more receptive to distressing techniques like staining. Soft wood also often already has damage such as knots or surface marks so the distressing process is already started for you.
The Quickest Way to Distress Wood
For this method, you’ll want to have:
- A hand sander (it’ll make the process easier but you can do this method without it),
- Sandpaper in varying grits from 100 grit to 220 grit or more
- Tack cloth
Note: You may also want to use a water-based sealer to seal your creation once it’s distressed to your liking.
To start off, grab the hand sander. Remember during this process that it does not need to come out perfectly—in fact, imperfection and uneven textures adds to the distressed look! Cut a piece of the 100 grit sandpaper first and attach it to the manual sander. Run the sander along the surface of the wood, varying the pressure and time spent in each area to produce an uneven texture.
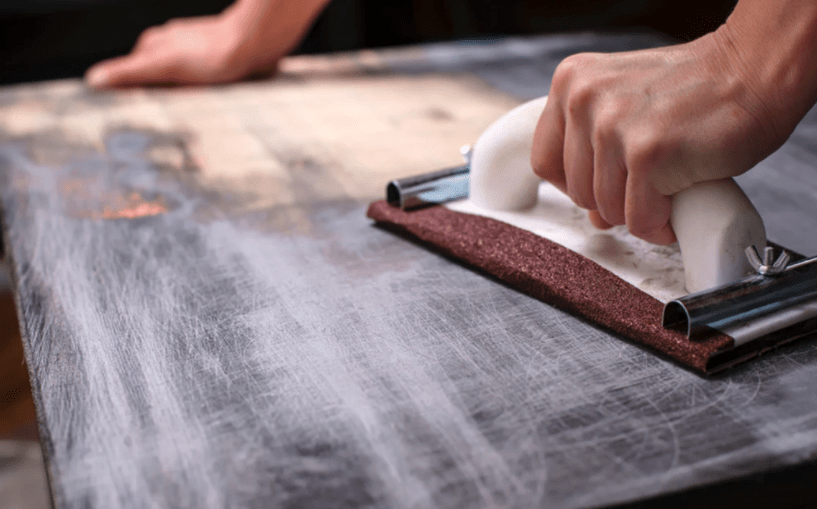
Next, focus on sanding the edges. The key to artificially distressing wood is to focus on the areas that tend to get bumped or touched often. Sanding the edges will make the distressing appear more natural. Do a few passes over the wood, first with the 100 grit, then another with 150 grit, then finish off by lightly sanding with the 220 grit to smooth it out.
The final step for this method will be to use the tack cloth to wipe down the entire surface. The tack cloth will collect all the little sanded pieces so there isn’t a gritty feeling to the surface. It will also ensure that if you’re sealing your wood, the remnants from the sandpaper won’t be sealed into the surface.
From here you have the optional step to seal down the wood using a water-based sealer, or could stain the wood using a product like Minwax Wood Finish in whatever shade you want. If you don’t feel like you’re done with the distressing process, you can read on to find other ways to add more texture to your wood.
Distressing with What’s In Your Toolbox
For this process, you’re going to need:
- Hammer
- Nails
- Screws
- Rag
- Steel chain (optional)
Lay out your piece of wood on a flat surface like a work table or the garage floor. The first item you’re going to need is a hammer. Use the hammer to beat your wood. Whack the surface with the hammer’s head a few times. If you’re hitting it hard enough, you should be able to see half-circular dents in the wood.
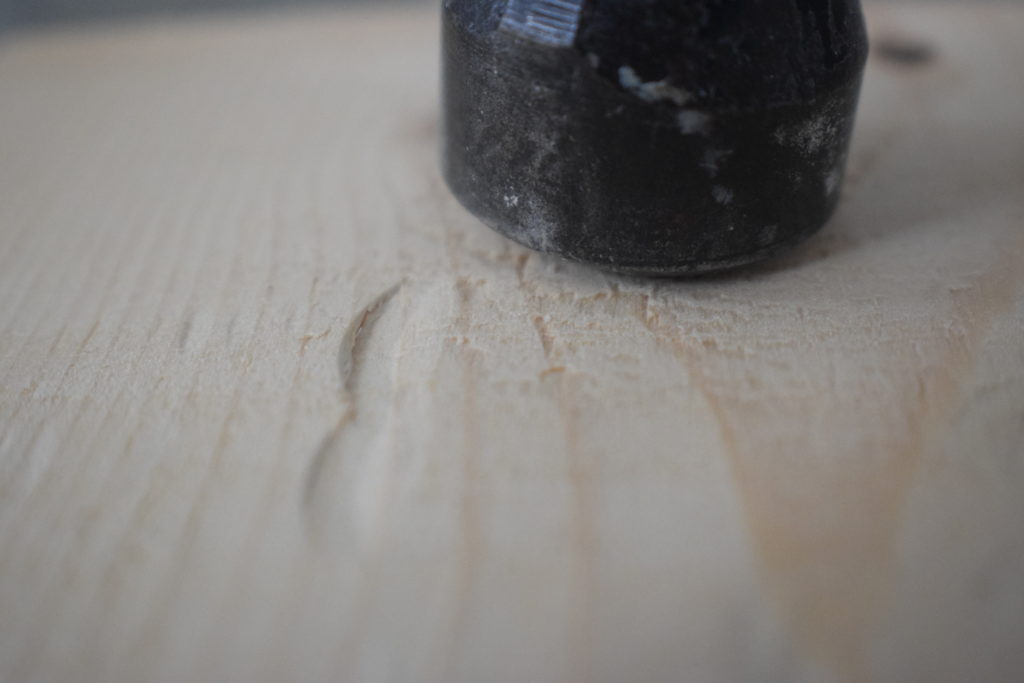
Next, take a long screw and place it sideways so it’s laying across your wood. Take the hammer and hit the screw into the wood. This technique will leave behind a trail of dents from the screw’s texture.
Once you’re happy with the screw marks, move on to the nails. Wrap the nails in the rag—a cloth bag works too—and then bash them with the hammer over the wood. You can also whack the nails directly against the wood. Make sure not to follow a pattern so that the marks appear naturally made.
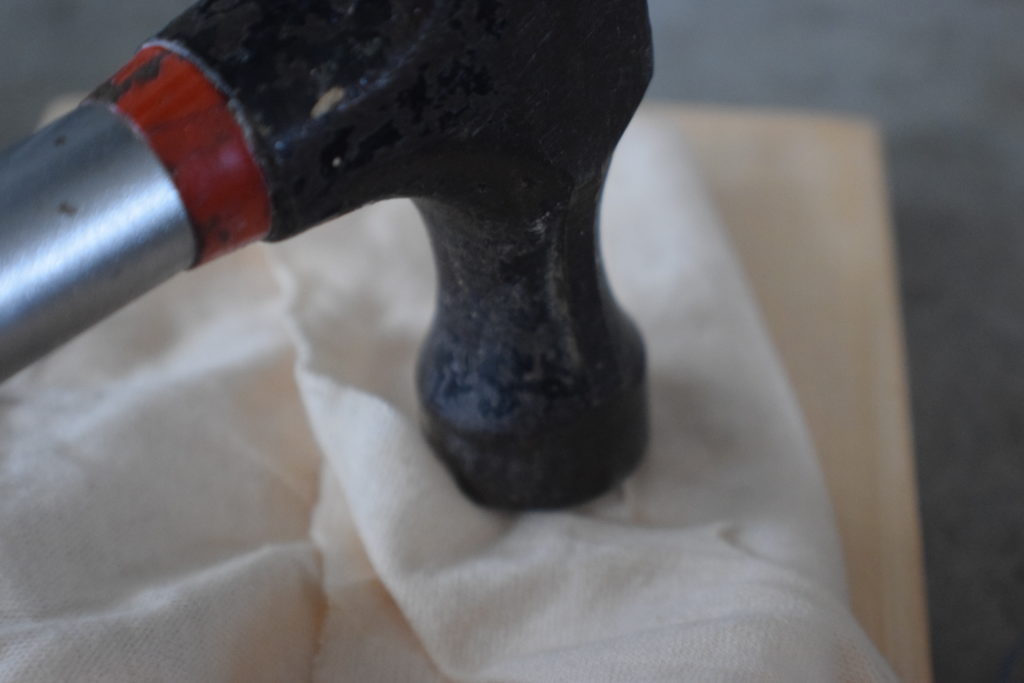
Once you’re happy with the markings on the wood from the screws and nails, it’s time for the chain. If you have a chain, whip it against the wood. The chain will create incredible markings in the wood, and it’s the fastest method for marking the wood.
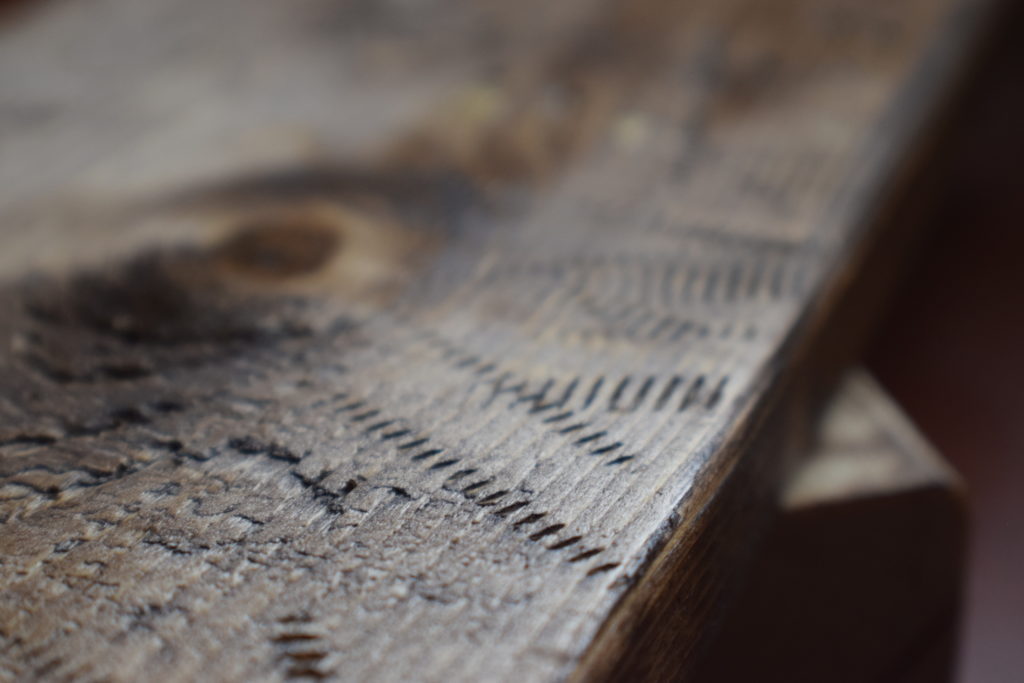
Layer Up on the Distressed Look
To take it a step further, we can add some color to the dinged-up surface. the most impressive distressed pieces often use a build-up of several colored layers.
For creating additional layers, you’ll want:
- Paint or wood stain (or both)
- Sandpaper
- Steel wool
- Candle
- Paint scraper
When adding paint to the distressed wood, you first have to decide if you want the wood grain to show through or if you want a paint color to pop through the top layer. If the wood you’re distressing is already painted, the decision is made for you!
If you’re starting with raw wood and want a pop of color, select two contrasting paint colors ie. one dark and one light. If you want the wood grain to come through, select your wood stain and paint color.
Start by coloring the wood with the base color of paint or the wood stain you’ve chosen. For the base layer, be sure to apply the color thoroughly into the deepest dings of the surface so that every knick or mark is painted. When using two or more paint layers, the base layer should be the most contrasting color to the top one.
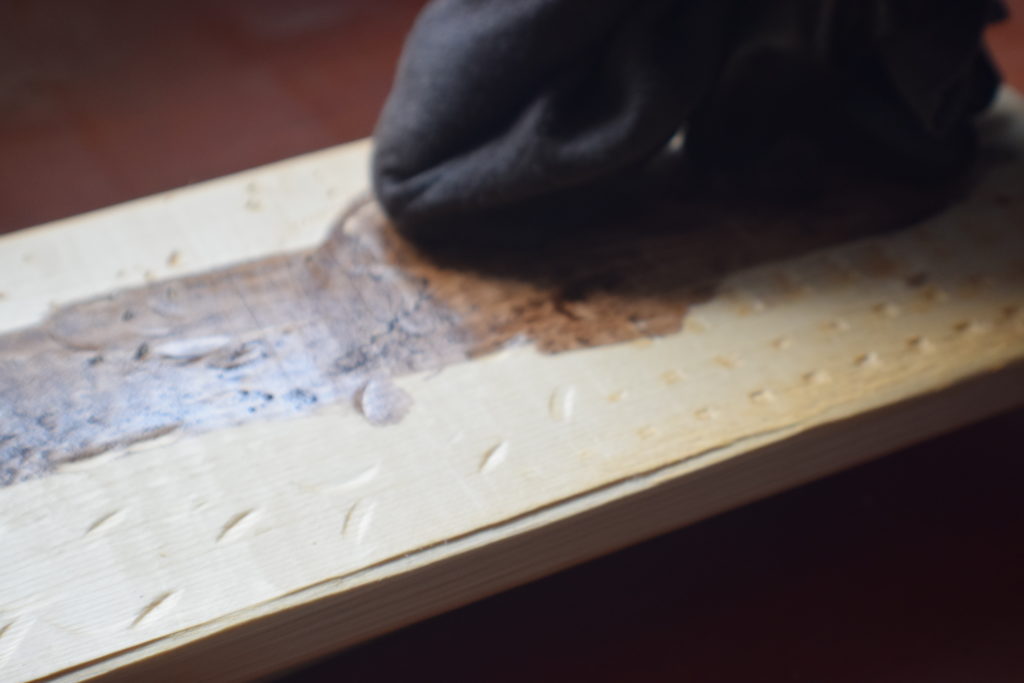
Once your stain or base layer of paint has dried, now is the time to grab the candle. This step is optional, but helps to add even more texture to the wood. Rub the candle over the wood in various areas. The wax will help to repel the topcoat paint and will make the blending process go more smoothly. Especially focus on rubbing the wax into the knicks or dents in the wood to prevent the topcoat from seeping into them.
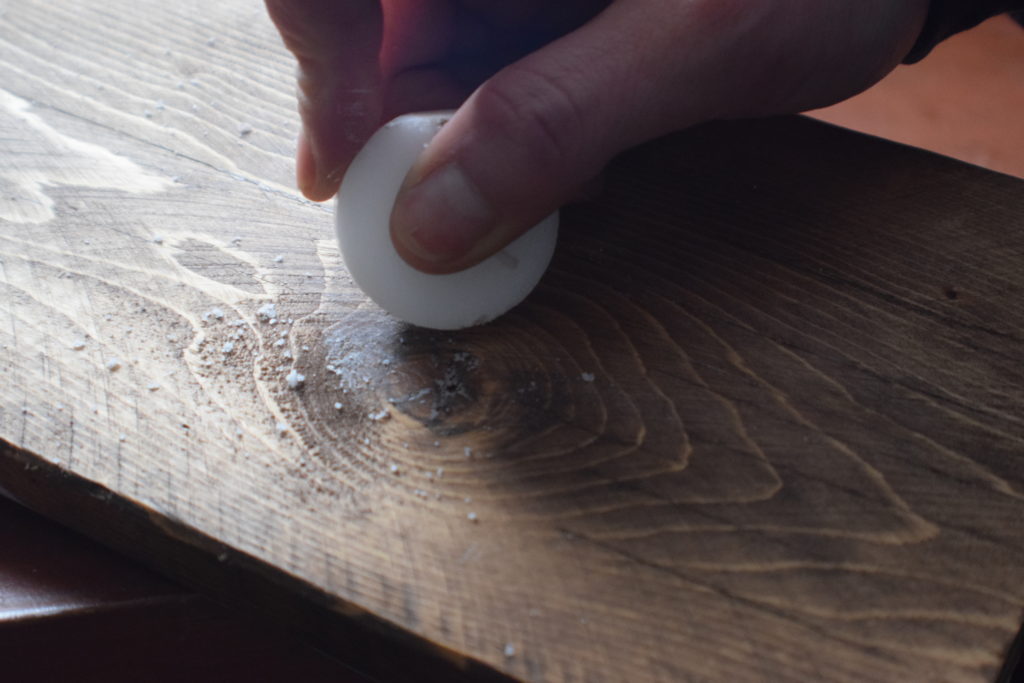
The areas you’re covering with wax are ultimately going to be the areas that hold the base color when you sand down the top coat. Pay close attention to the edges as well, as they’re where the most natural wear and tear will occur.
Now is the time to add more layers of paint if you’re using multiple colors. Add your second coat, let it dry, then repeat the waxing process over the areas that you want to preserve the color of the second layer. You can do this with as many colors as you’d liked. Finish with the topcoat paint color you’ve chosen and let it dry.
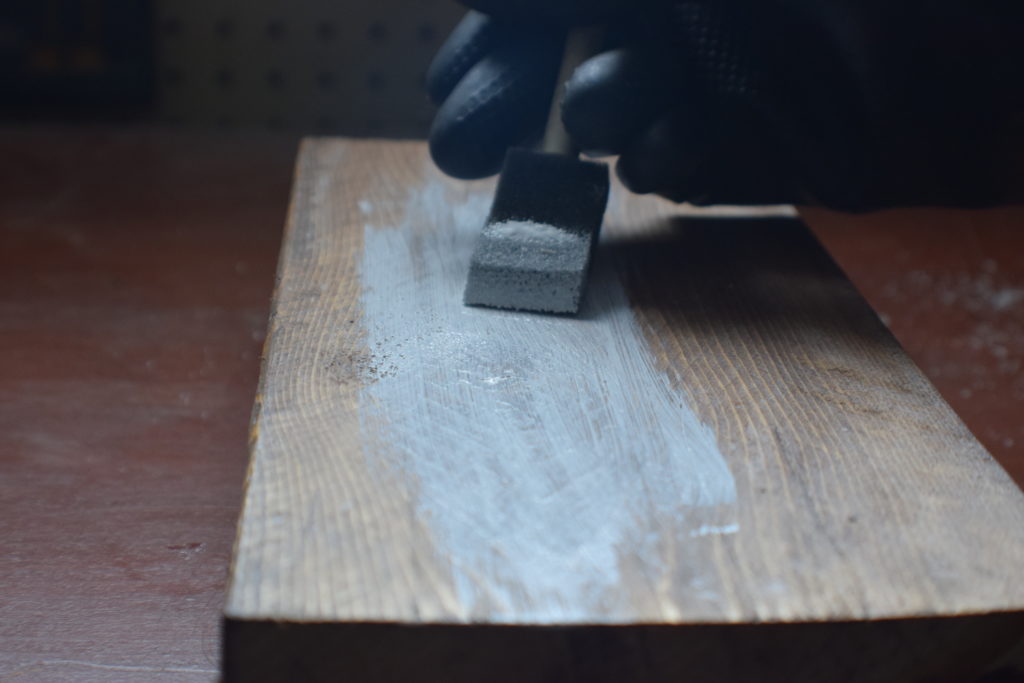
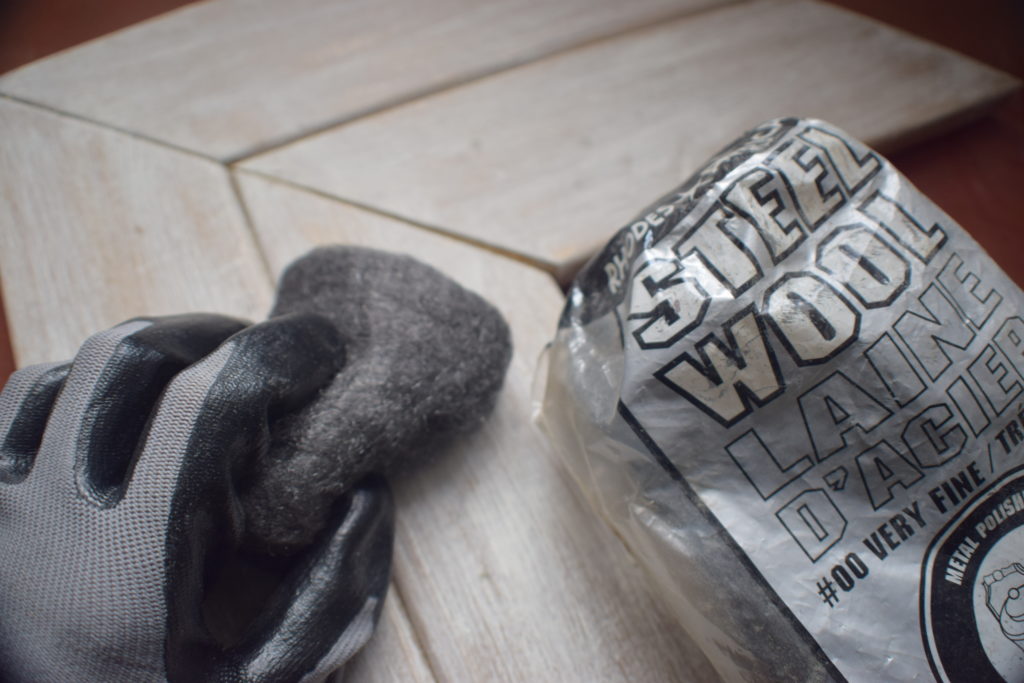
When the top layer has dried, you can finally go at the wood with the steel wool and sandpaper. If you chose to wax your wood, go at those areas first with the steel wool. Rub the surface until you get an even appearance. While using the sandpaper, work in a back and forth motion rather than a circular motion. During this process, make sure you’re stepping back every once in a while to give the wood a look so you don’t over-sand anywhere.
Another tool you can use to add a little character to your wood is a paint scraper. If you’re going to use this method, you want to do so when the paint is tacky but not fully dried. At that stage, use the scraper to chip off or scrape off paint in areas that would usually chip off. You can do this with multiple layers of paint too.
Talking about Top Coats
As we mentioned before, a water-based sealer or polyurethane will help to finish off the wood you just spent all that time and effort distressing. This will be the final step once you’re happy with the weathered look you’ve created.
Using a synthetic brush, apply your chosen top coat evenly over the entire surface. Work in small areas to avoid any drips from drying on the surface. Once the topcoat is dry, your piece is ready to go.
One of the best parts about distressing wood is that if you finish all the steps and you’re not happy with the result, you can keep going! You can add another layer and work away until you achieve the look you want. Every layer or technique will just add more character to the wood.

