How To Install Cabinet Handles Accurately and Efficiently
Always on the lookout for a new project, the more time I spend in my kitchen, the more I notice the small things. Small things that could use a little face-lift, a little refining, and make this place really feel like “me.”
One thing that is common in most homes is having outdated kitchen cabinets. The cabinets in my kitchen are well past their prime, and an easy way to move them into the 21st century would be to replace their handles and hardware (maybe even give them a new paint job while you’re at it.). This isn’t a complicated task; you just need to do a bit of prep work to ensure everything goes smoothly.
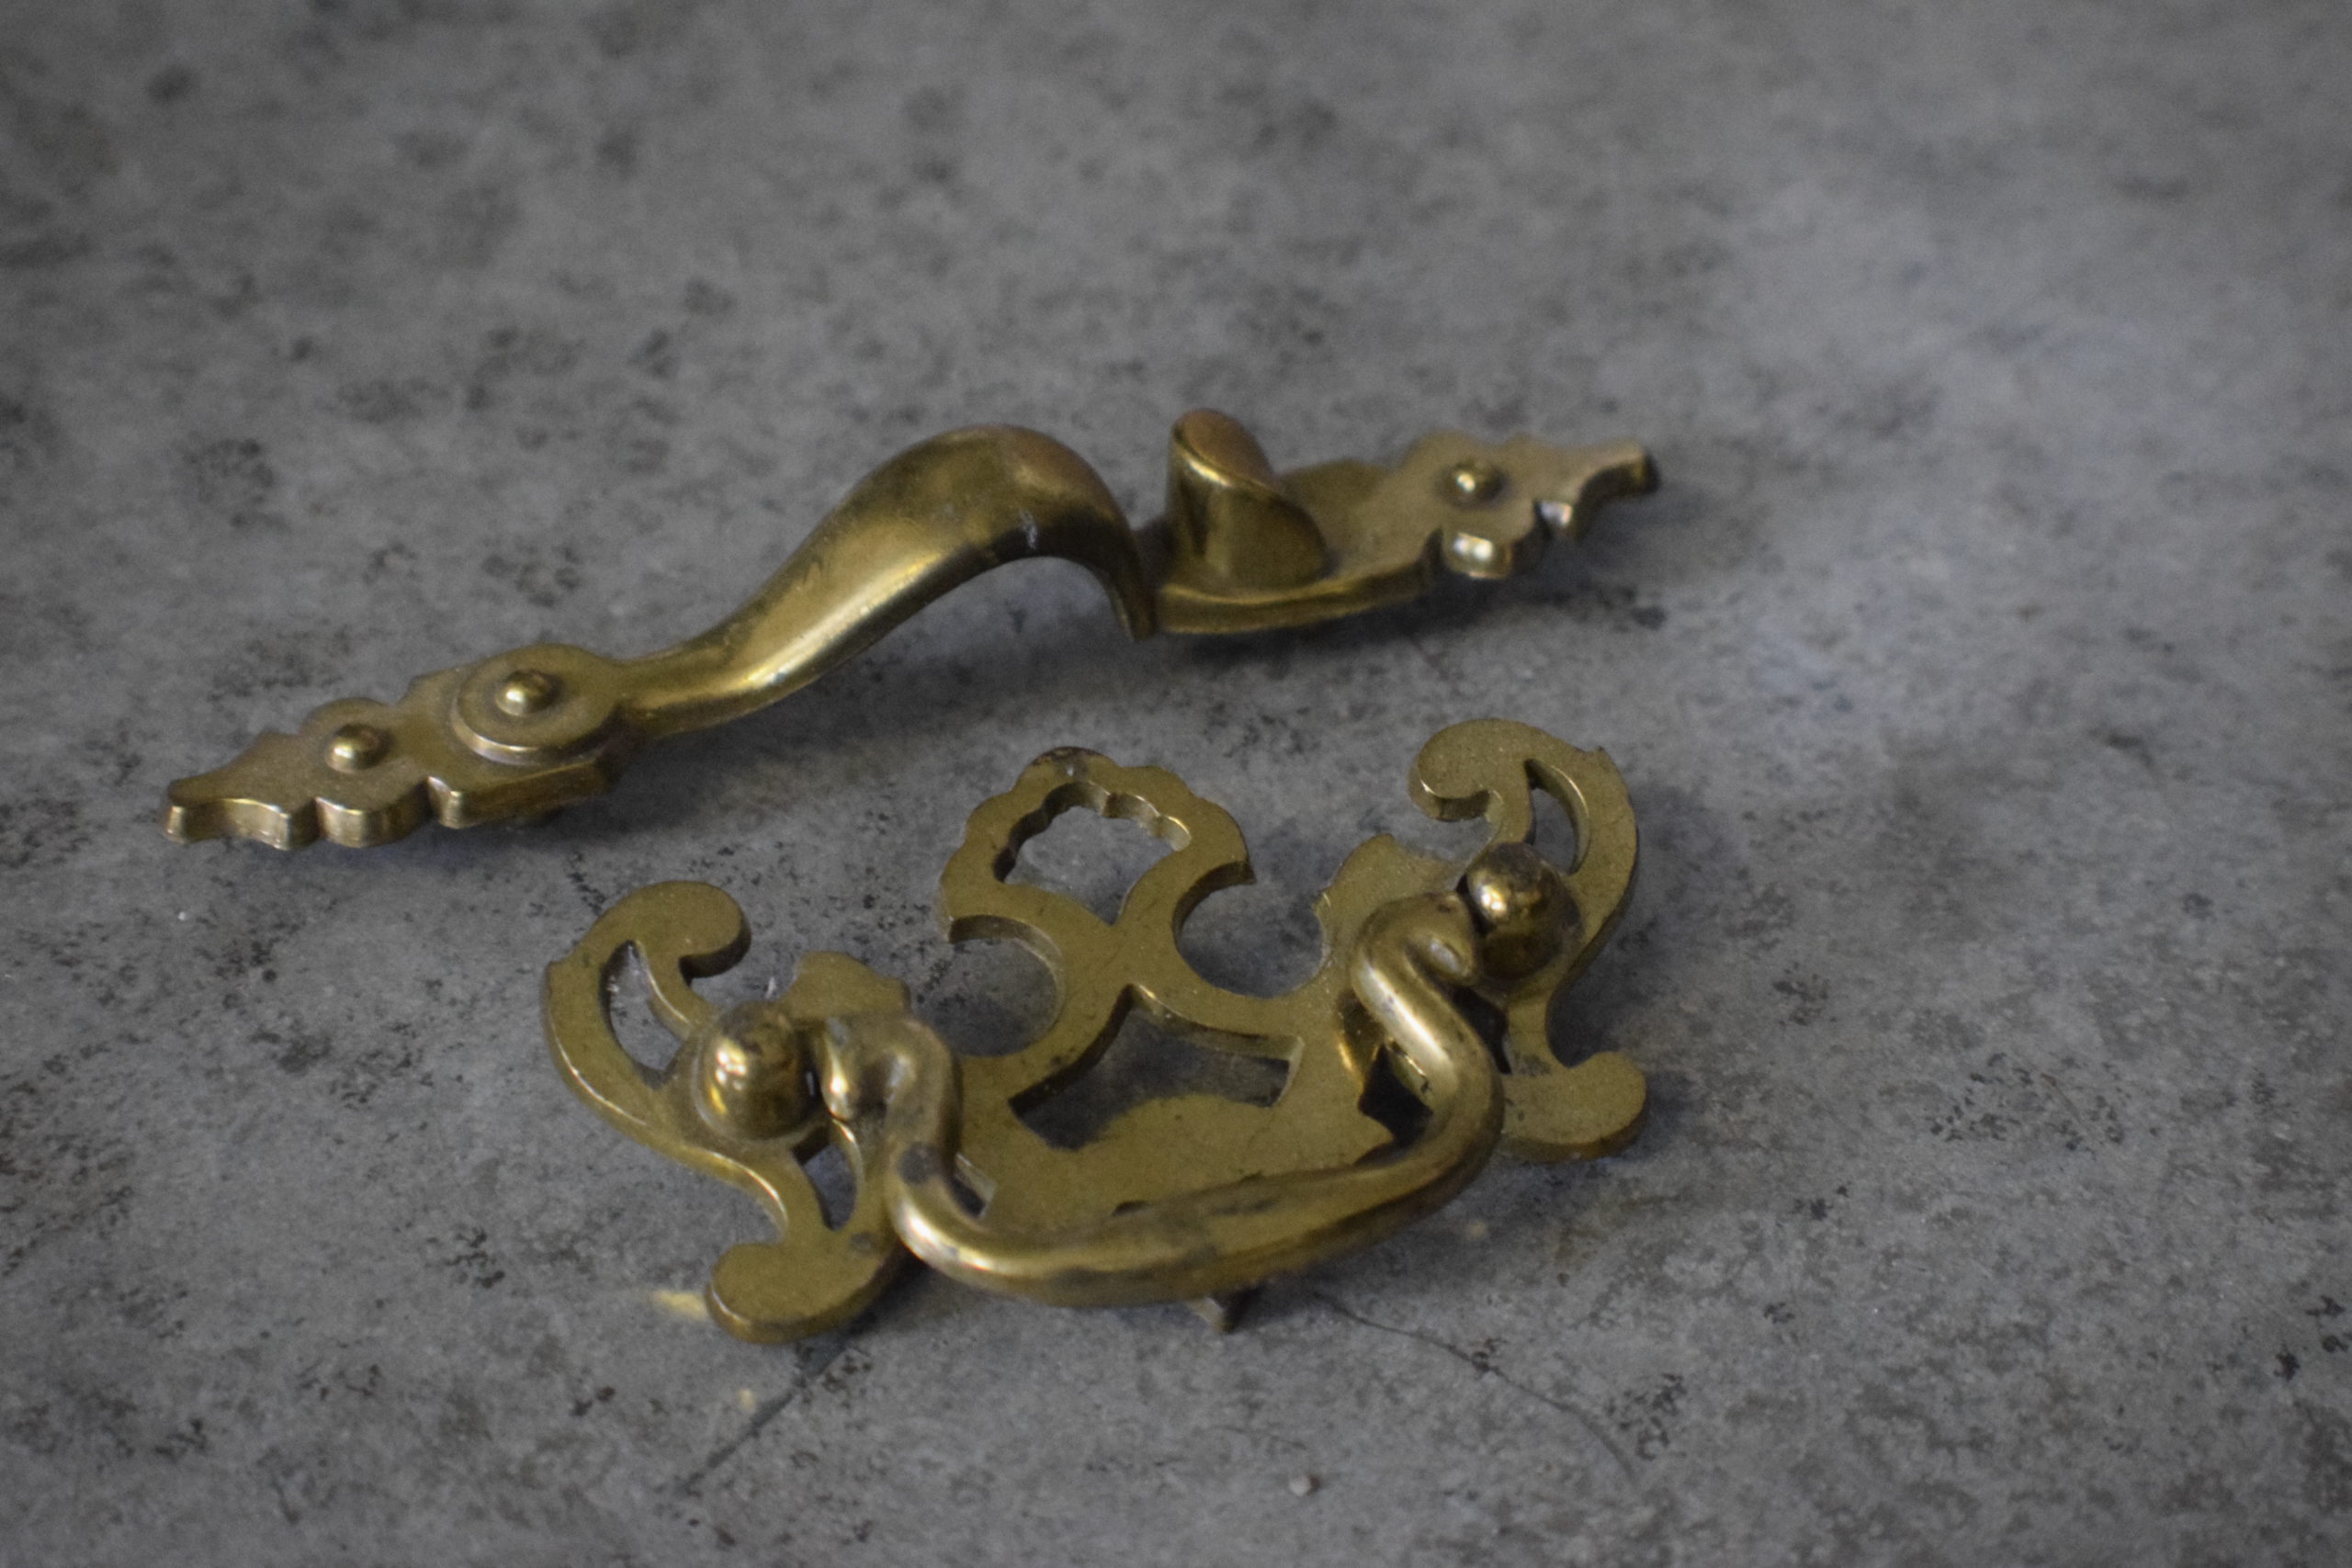
I have been working on giving my home a more modern feel, yet the handles and knobs on my cabinets were dated back to the 60s. I’m talking “brass handles that my grandmother could have been yanking on,” vintage. Old, worn, and tired, they were the first thing that had to go.
After removing the old hardware, I noticed that the hole placement on the cabinet doors did not line up with the new hardware I bought. First and foremost, I needed to fill in these holes so that I could drill new ones that would fit the hardware I wanted to install. To do this, I needed some wood filler. If you’re in the same boat, check out my article on DIY wood filler, and then meet me back here to continue.
Cabinet Handle Placement
Once the holes were filled, it was time to apply a fresh coat of paint. The new paint job covered any indication that holes once existed and allowed me plenty of freedom with handle choice and placement.
With “out-of-the-box” cabinets, the hardware is already installed before they are hung on the walls. While this seems like a good idea, the problem is that you won’t be able to fine-tune precisely where you will be reaching to open a cabinet. Therefore, it’s best to install hardware after the cabinets are already hung.
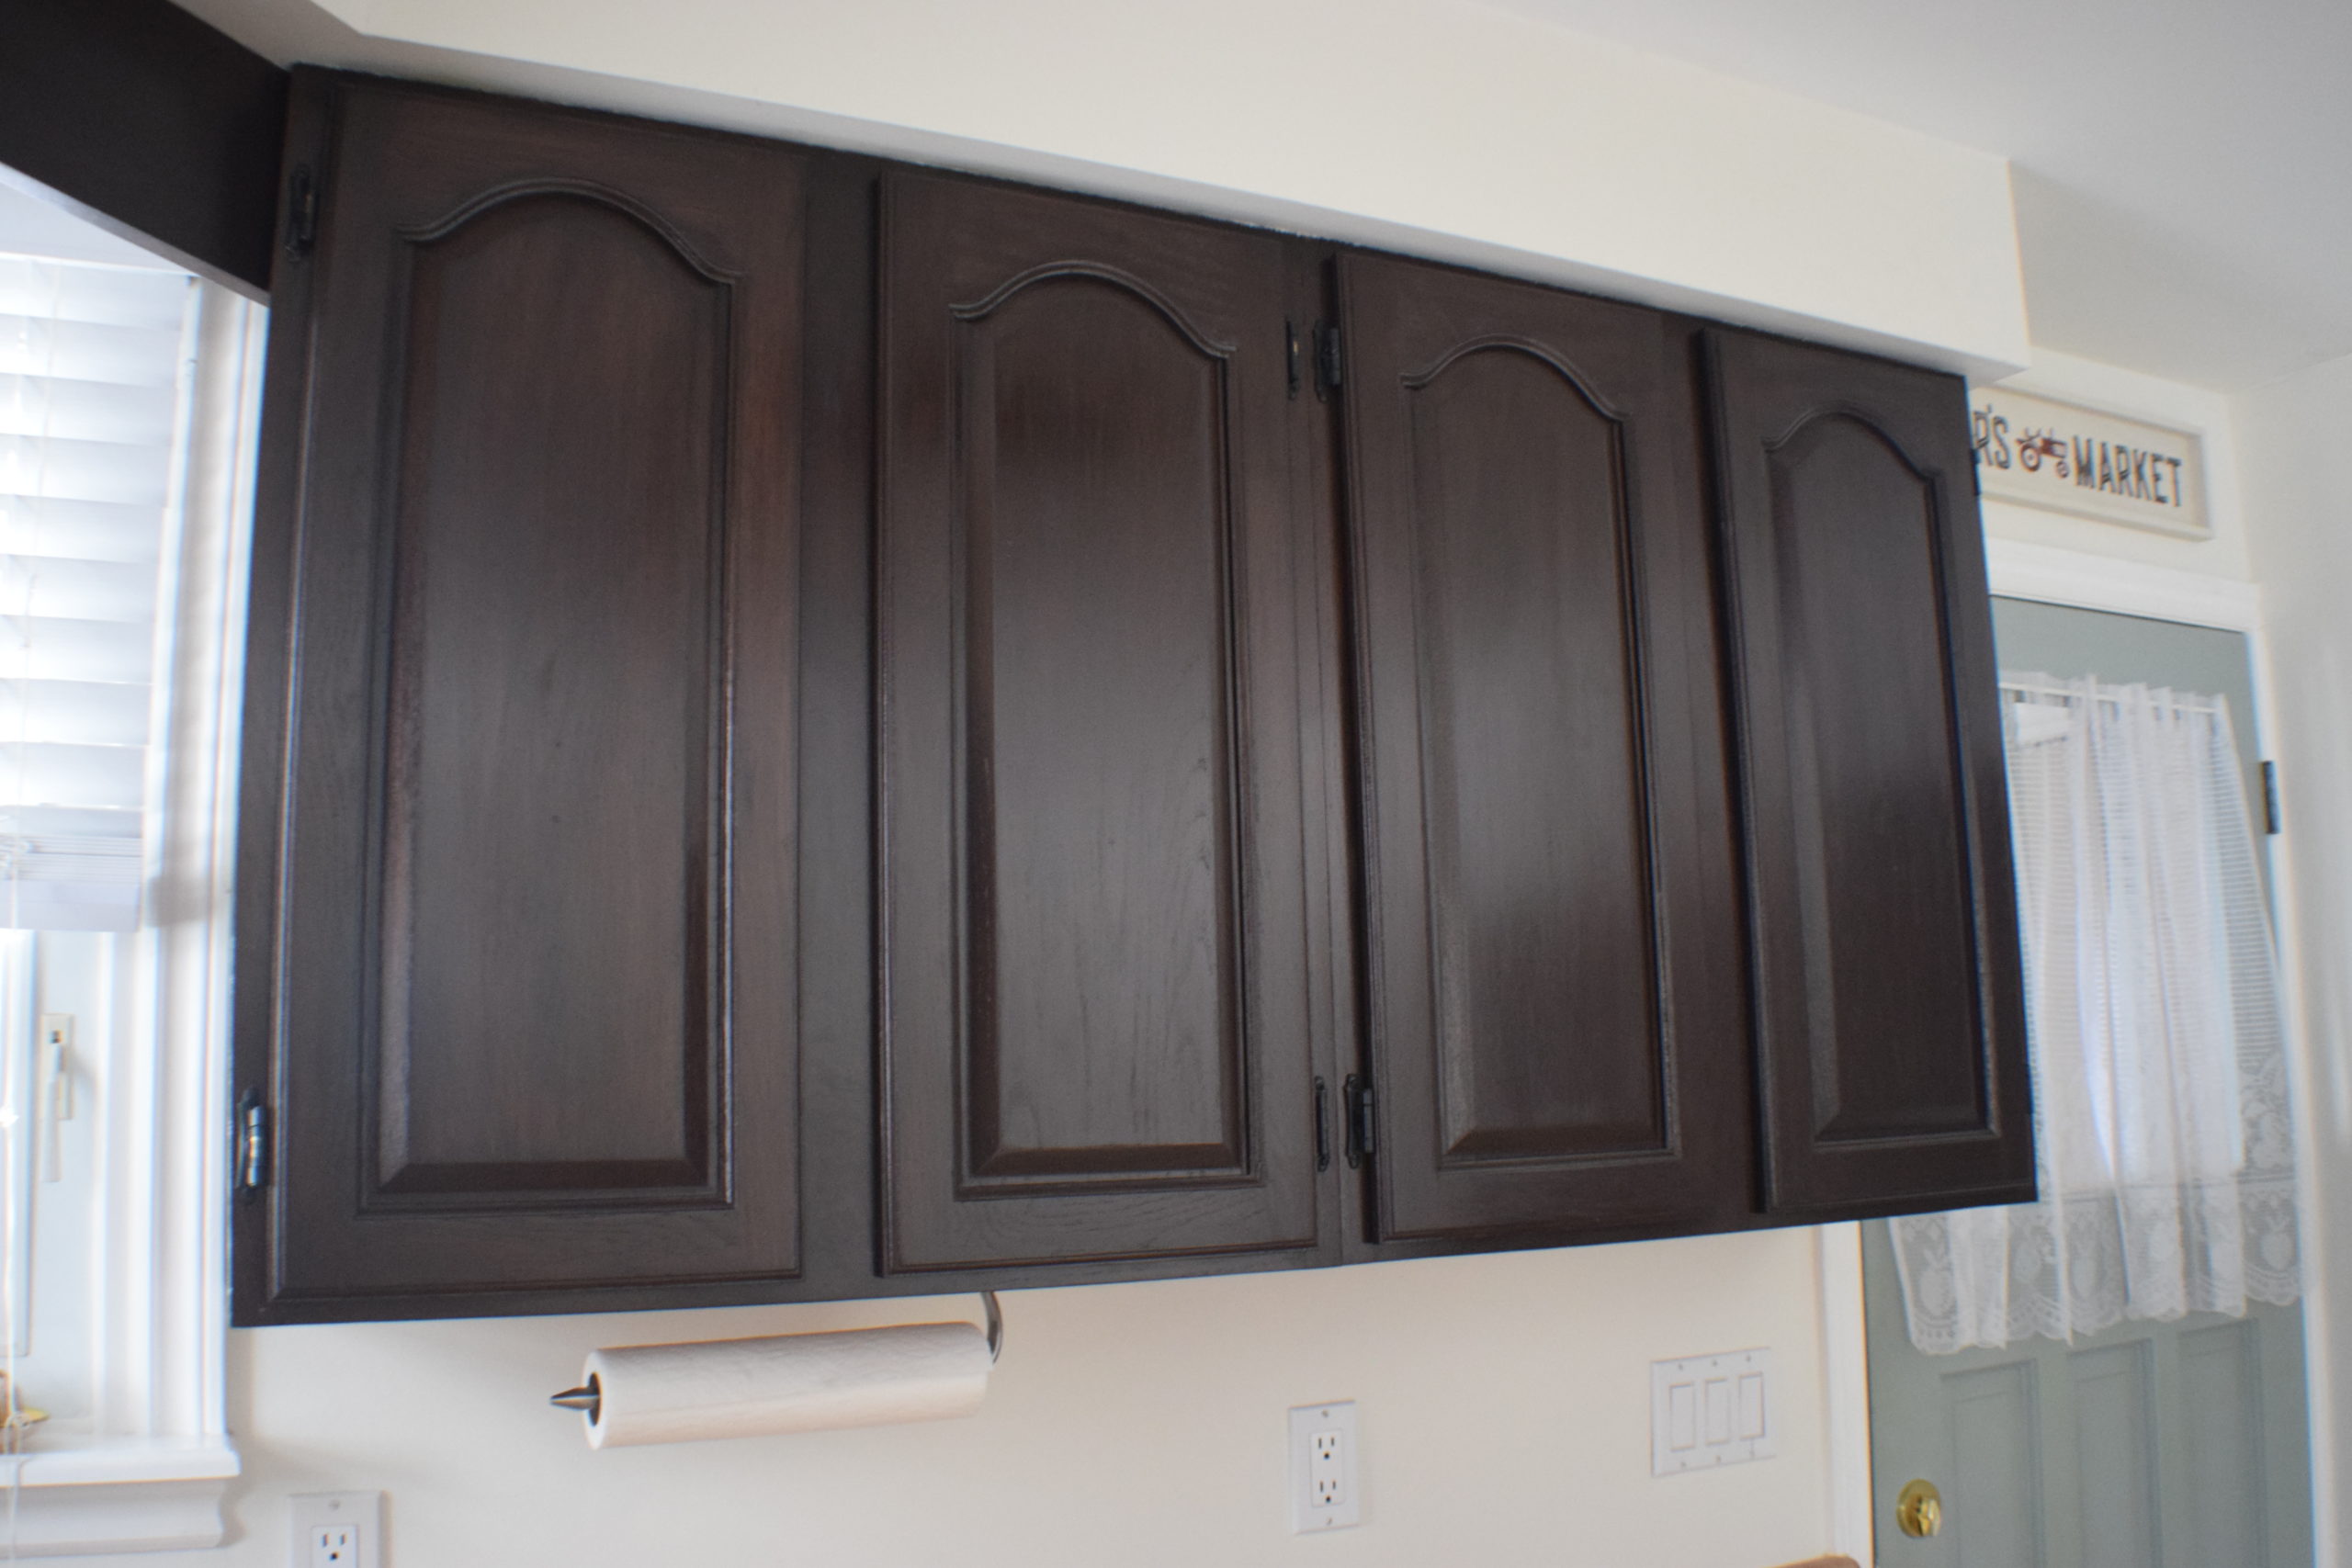
Where you place your handles is crucial for easy access. There are several layout options available, so before drilling any holes, do a “dry run.” Hold the handles up, and then imagine reaching for a whiskey glass; where are you going to want your handles to be? Depending on the type of handles you are installing, whether it be knobs or pulls, will determine their positioning. A single screw knob will be placed lower than a 2-screw handle.
- With most cabinets that are installed above a counter, the hardware is placed 2″ – 3″ above the door panels’ bottom edge and centered horizontally on the cabinet door stile.
- For cabinets beneath a counter, they are installed 2″ – 3″ beneath the door panels’ top edge.
- Drawer pulls are always centered horizontally (and usually vertically, as well) so that the drawer is pulled out evenly and won’t get jammed.
Accuracy is Essential
Cabinet hardware needs to be installed at the same location on all cabinet doors, not just for aesthetic purposes but also for muscle memory. How many times have you gone to get a drink in the middle of the night and didn’t want to turn on the lights but were able to find the cabinet handle quickly? This is your muscle memory at work, and if all your new hardware is installed at the same place for each cabinet, you can continue to enjoy this “superpower.”
The best way to measure the location for your new hardware is to use a jig or template. If you were to measure each cabinet manually, this could open you up to the possibility of human error and take a painstakingly long time. Using a jig, you will be able to quickly, easily, and accurately install the cabinet hardware so that all the handles are aligned with each other.
You can purchase mounting drill templates from your local hardware store or create a DIY version yourself.
DIY Cabinet Door Jig:
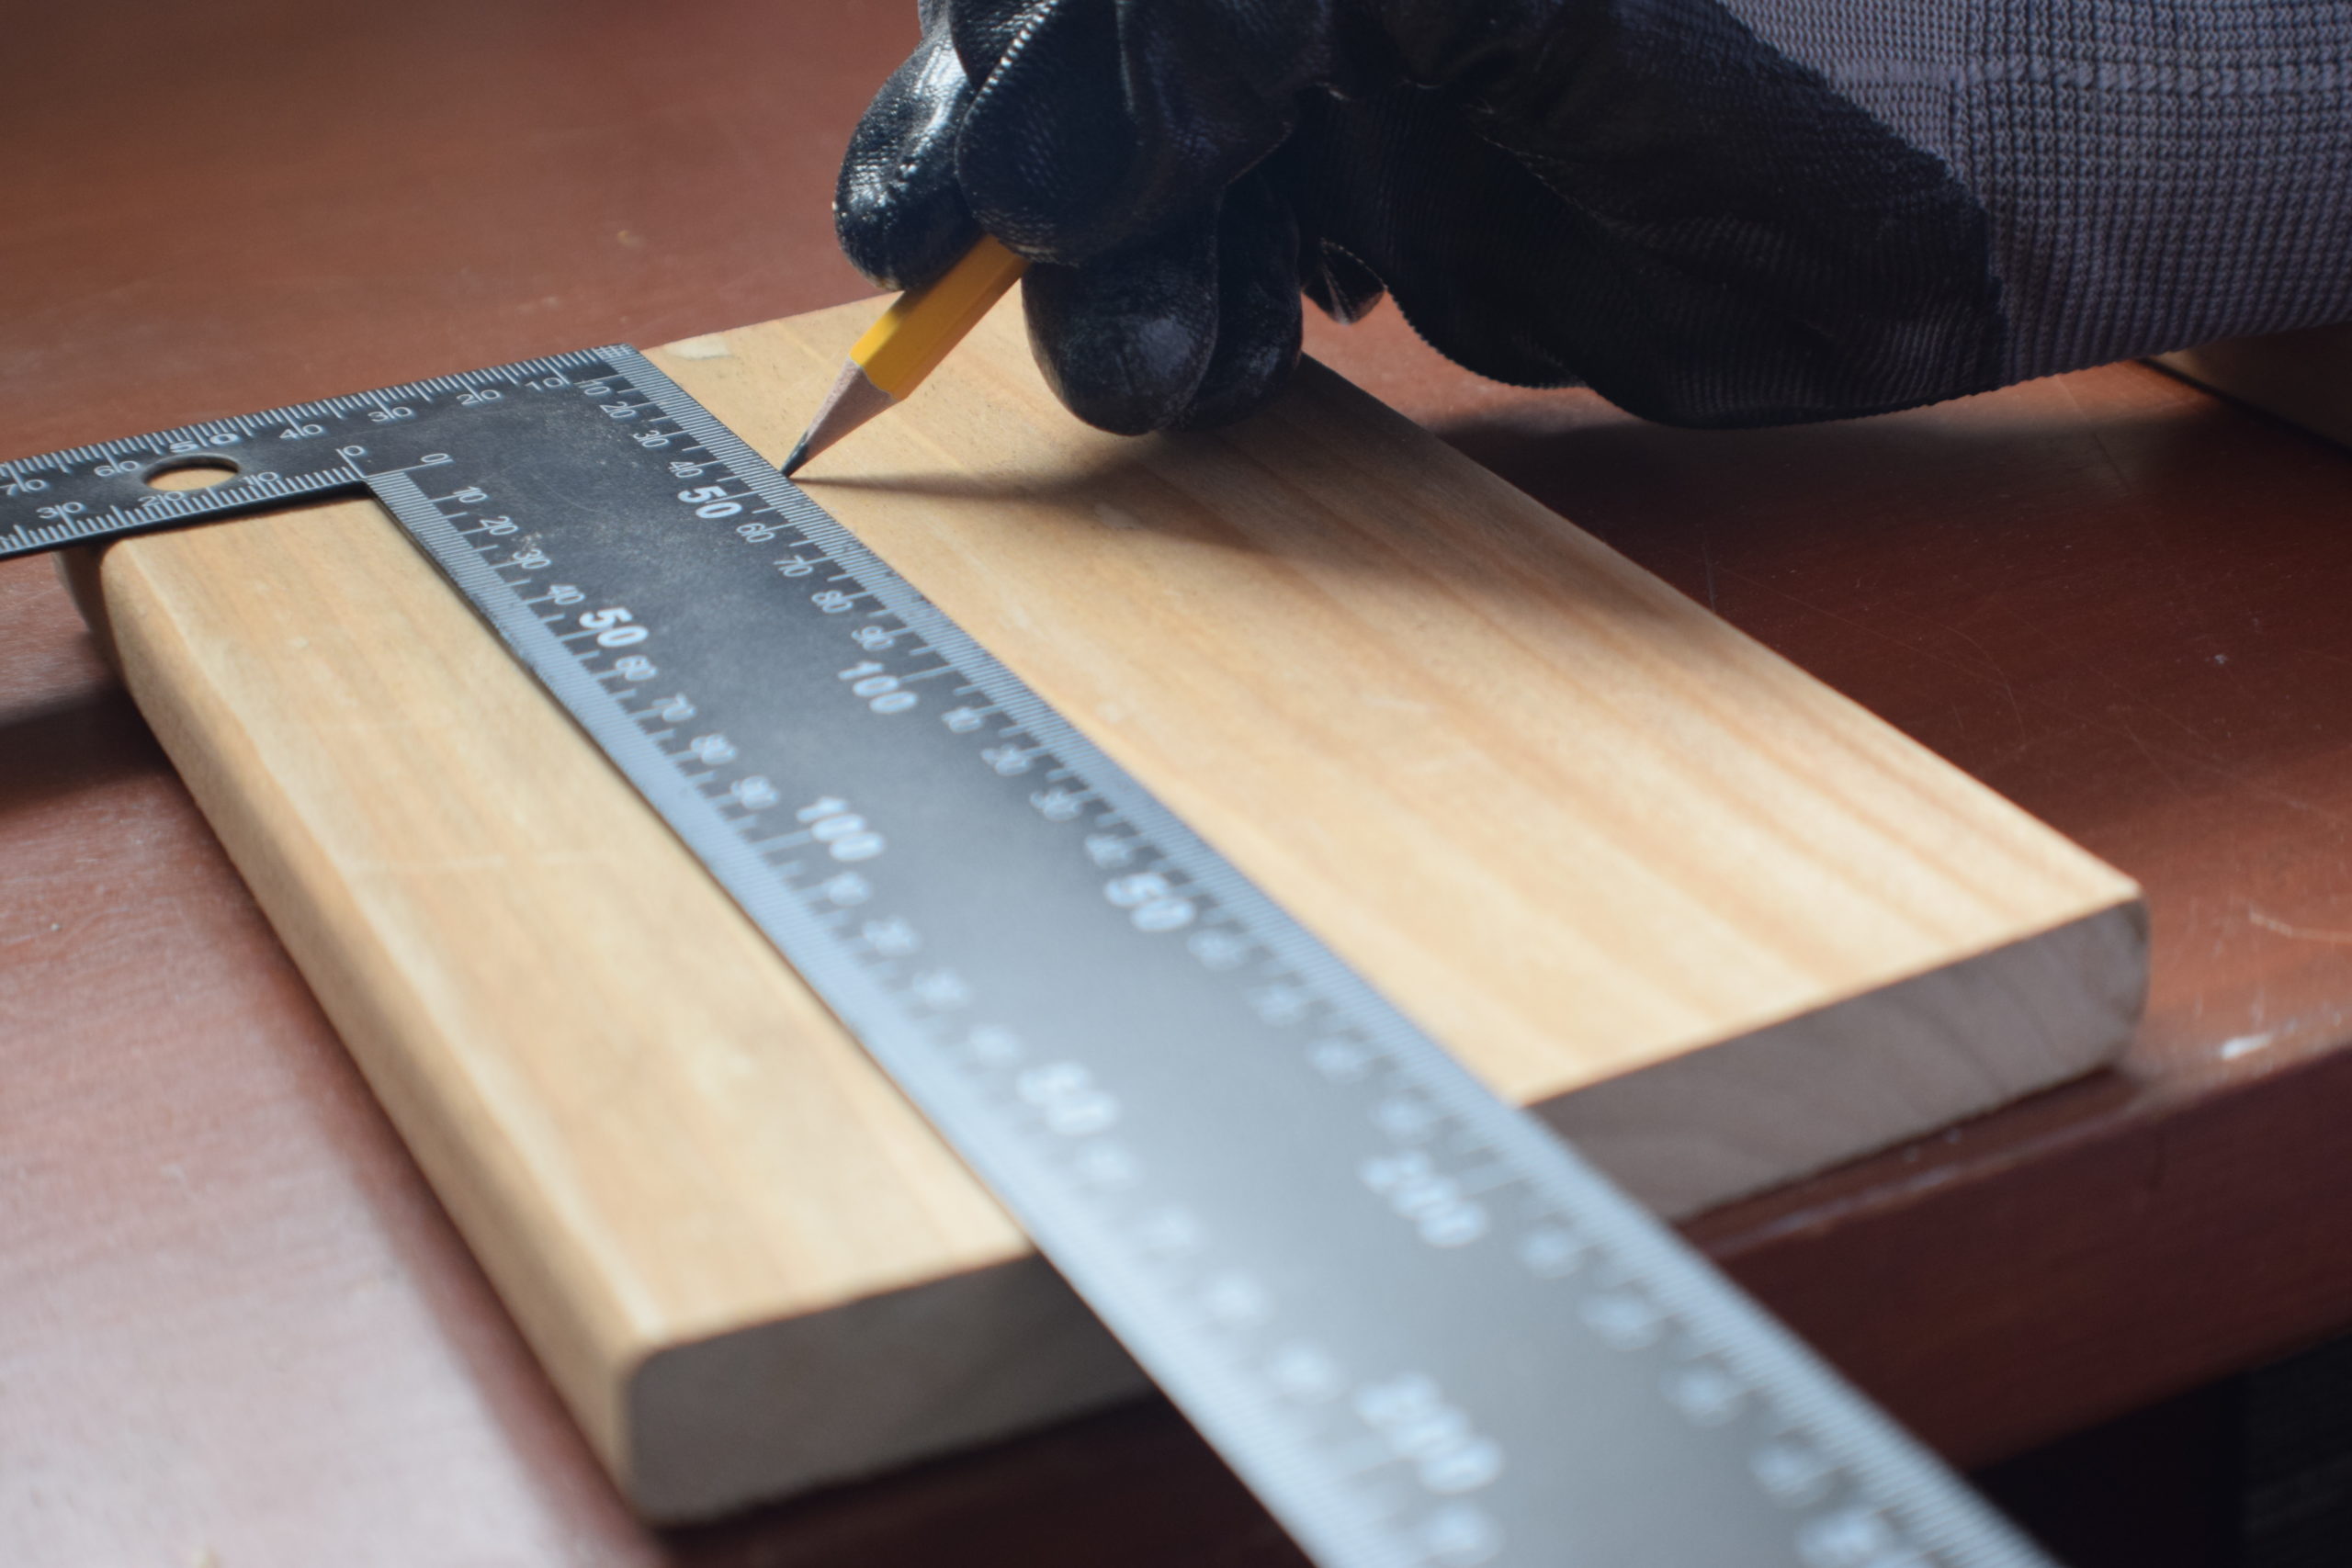
- Find three pieces of scrap wood, roughly 1/2″ in thickness. Select one, place it flat on your working surface and draw a line down the center. This line is where you will be gluing the next piece of wood.
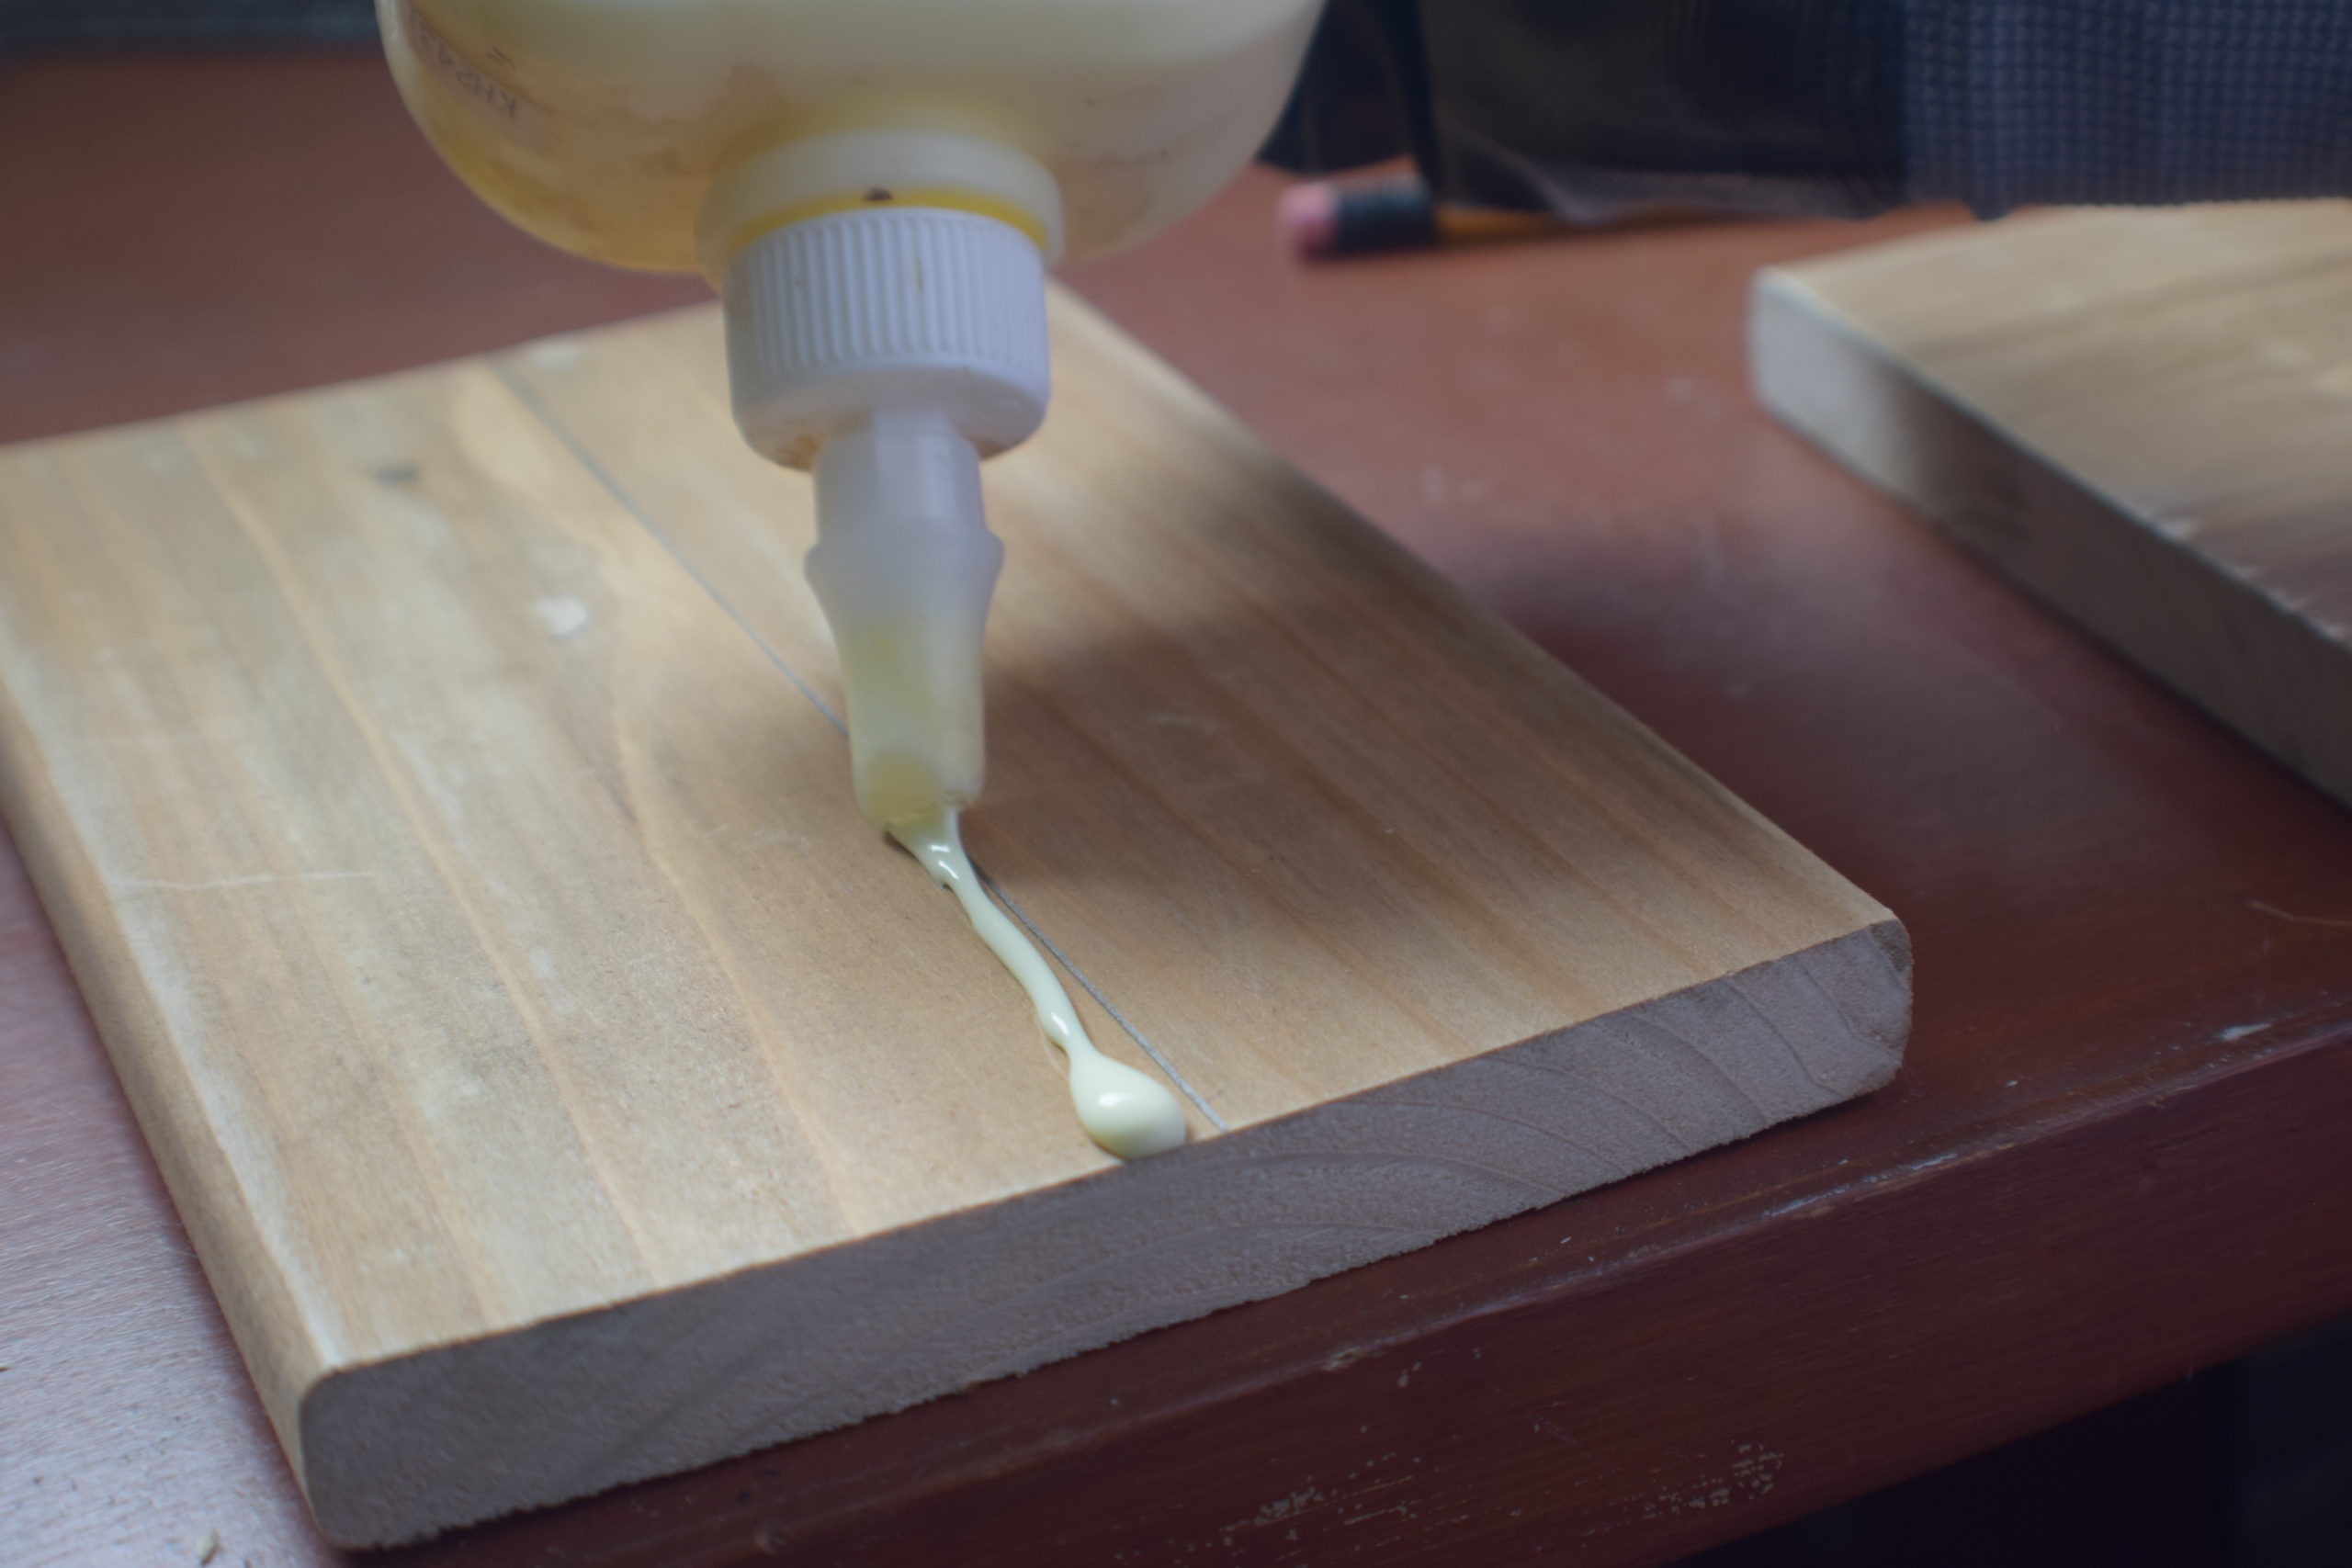
- Apply a strip of wood glue next to this pencil marking. Try not to cover the pencil line, as it will be used as a guideline for the next step.
- Using a second piece of wood, adhere it to the first piece in a “T” shape. Use the pencil line as a guide and line it up with the edge of the wood. Let the wood glue dry for the recommended time.
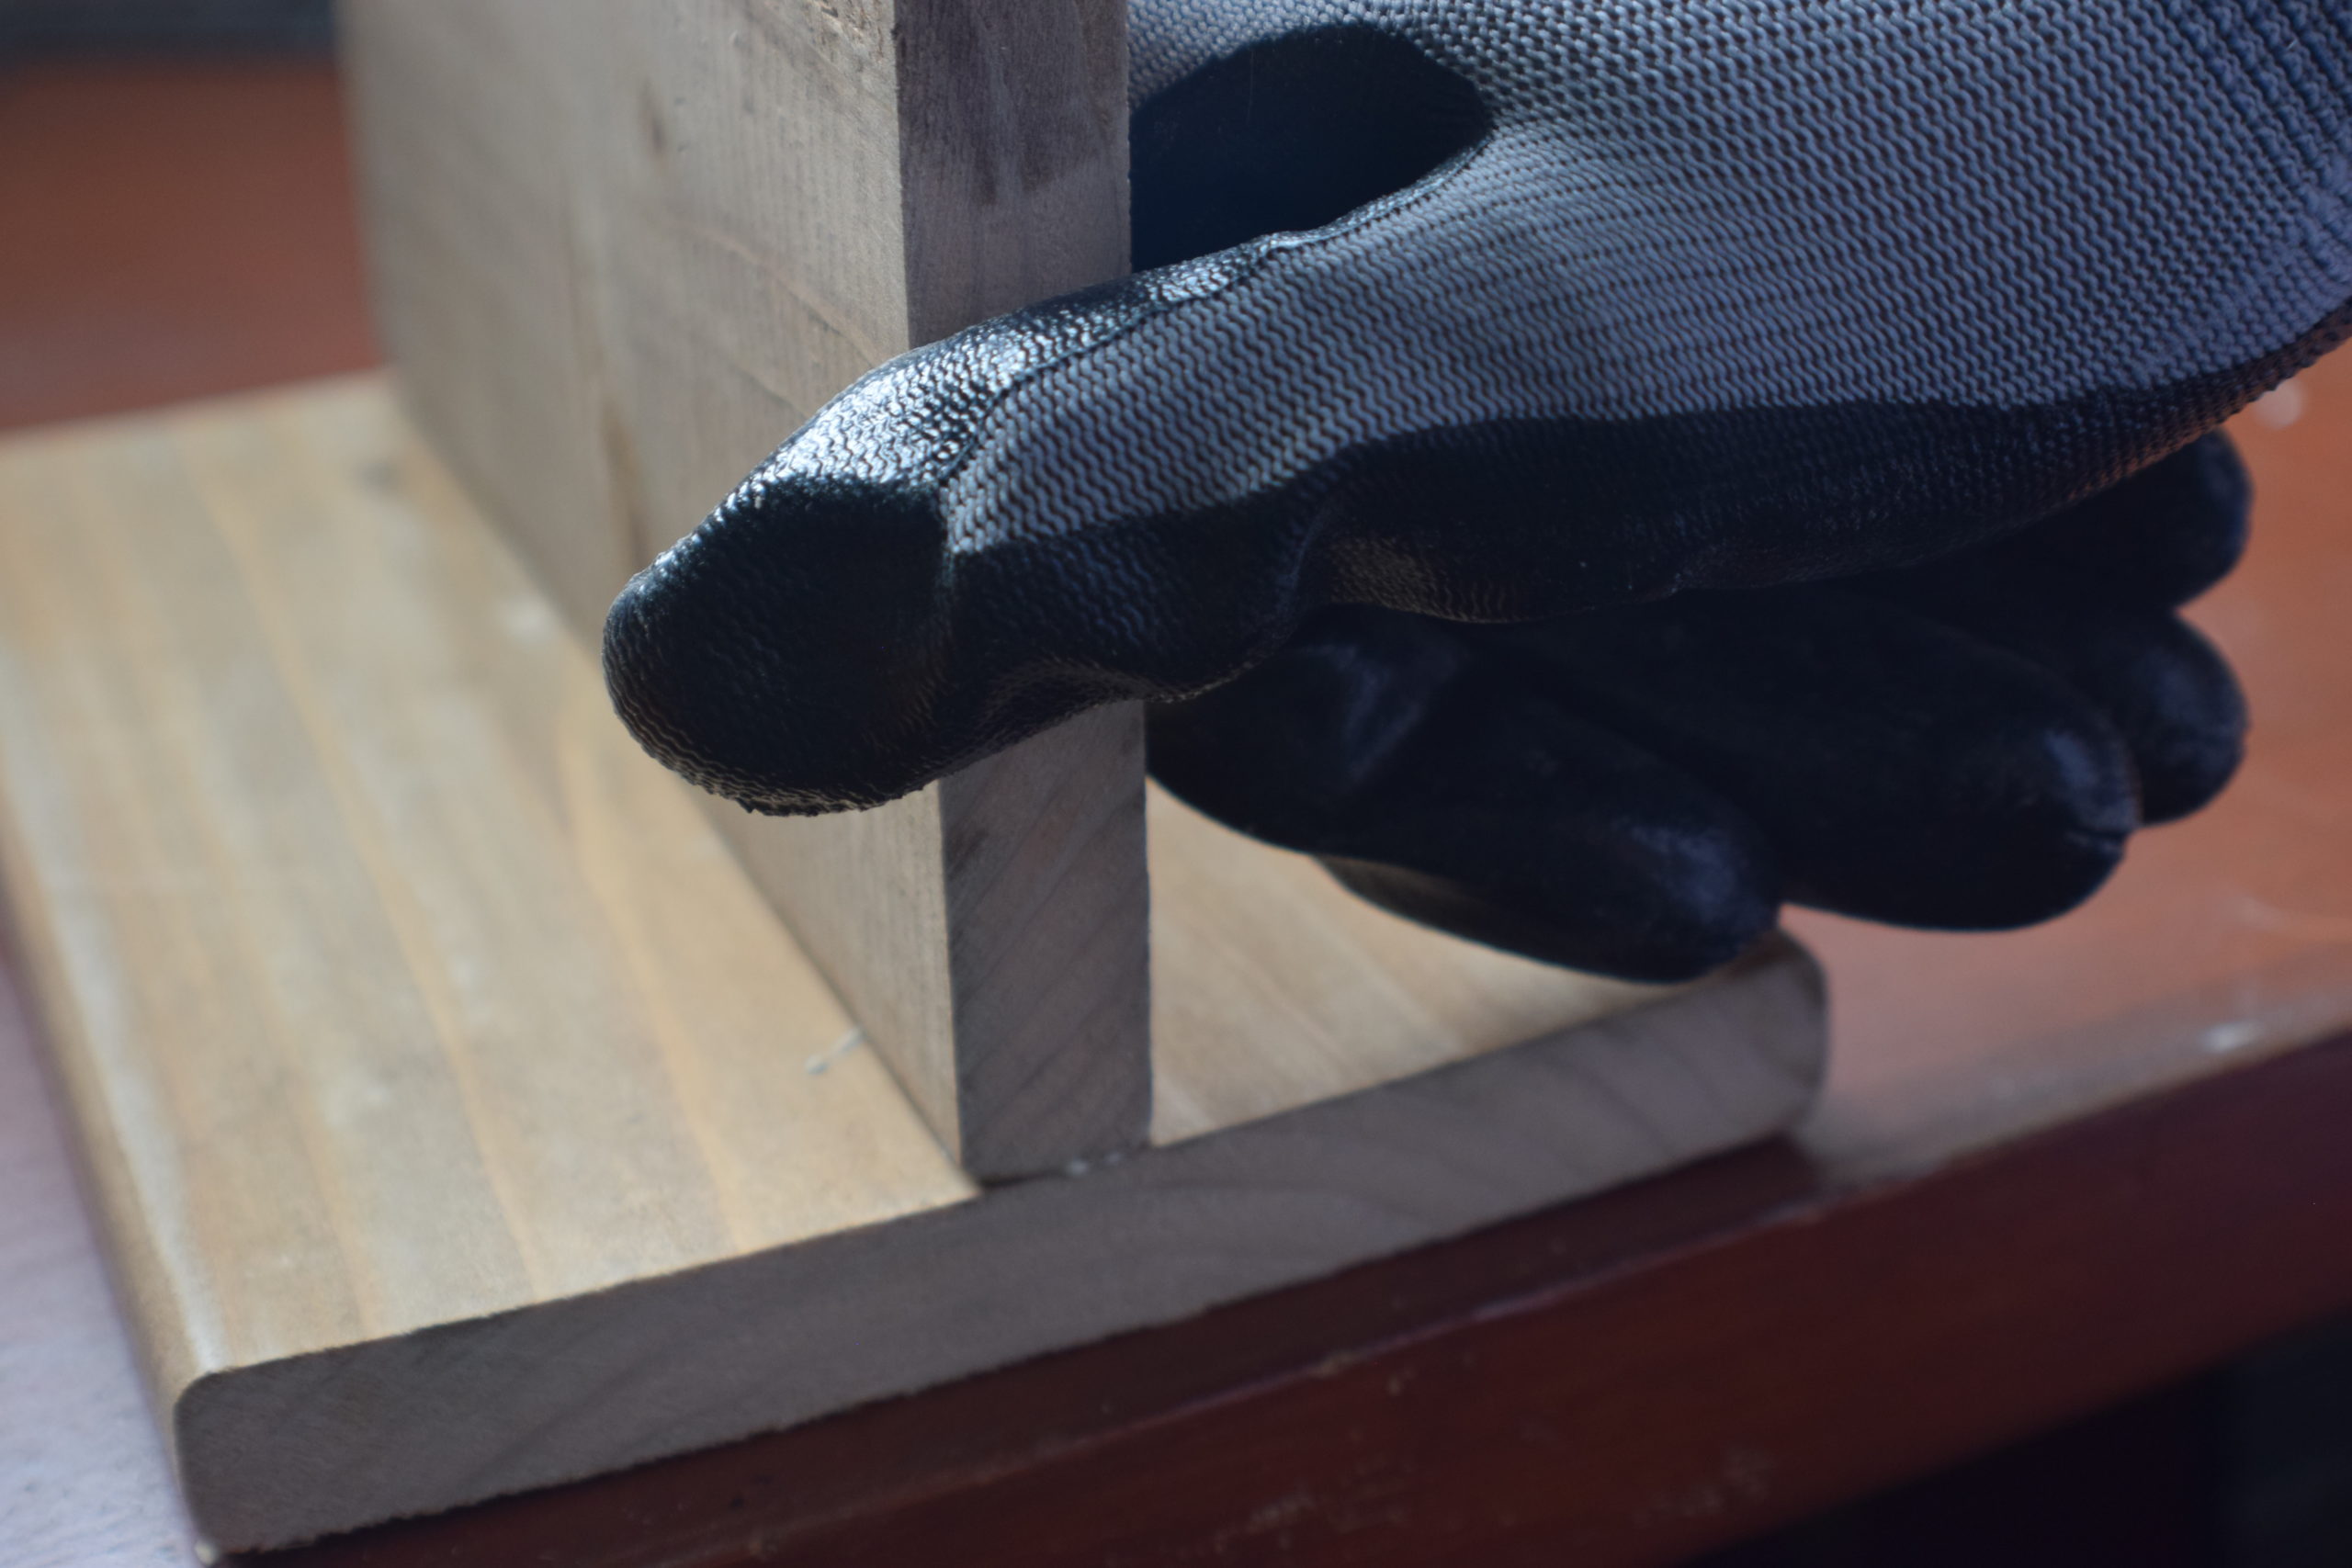
- Once dry, add glue to the top edges of both pieces.
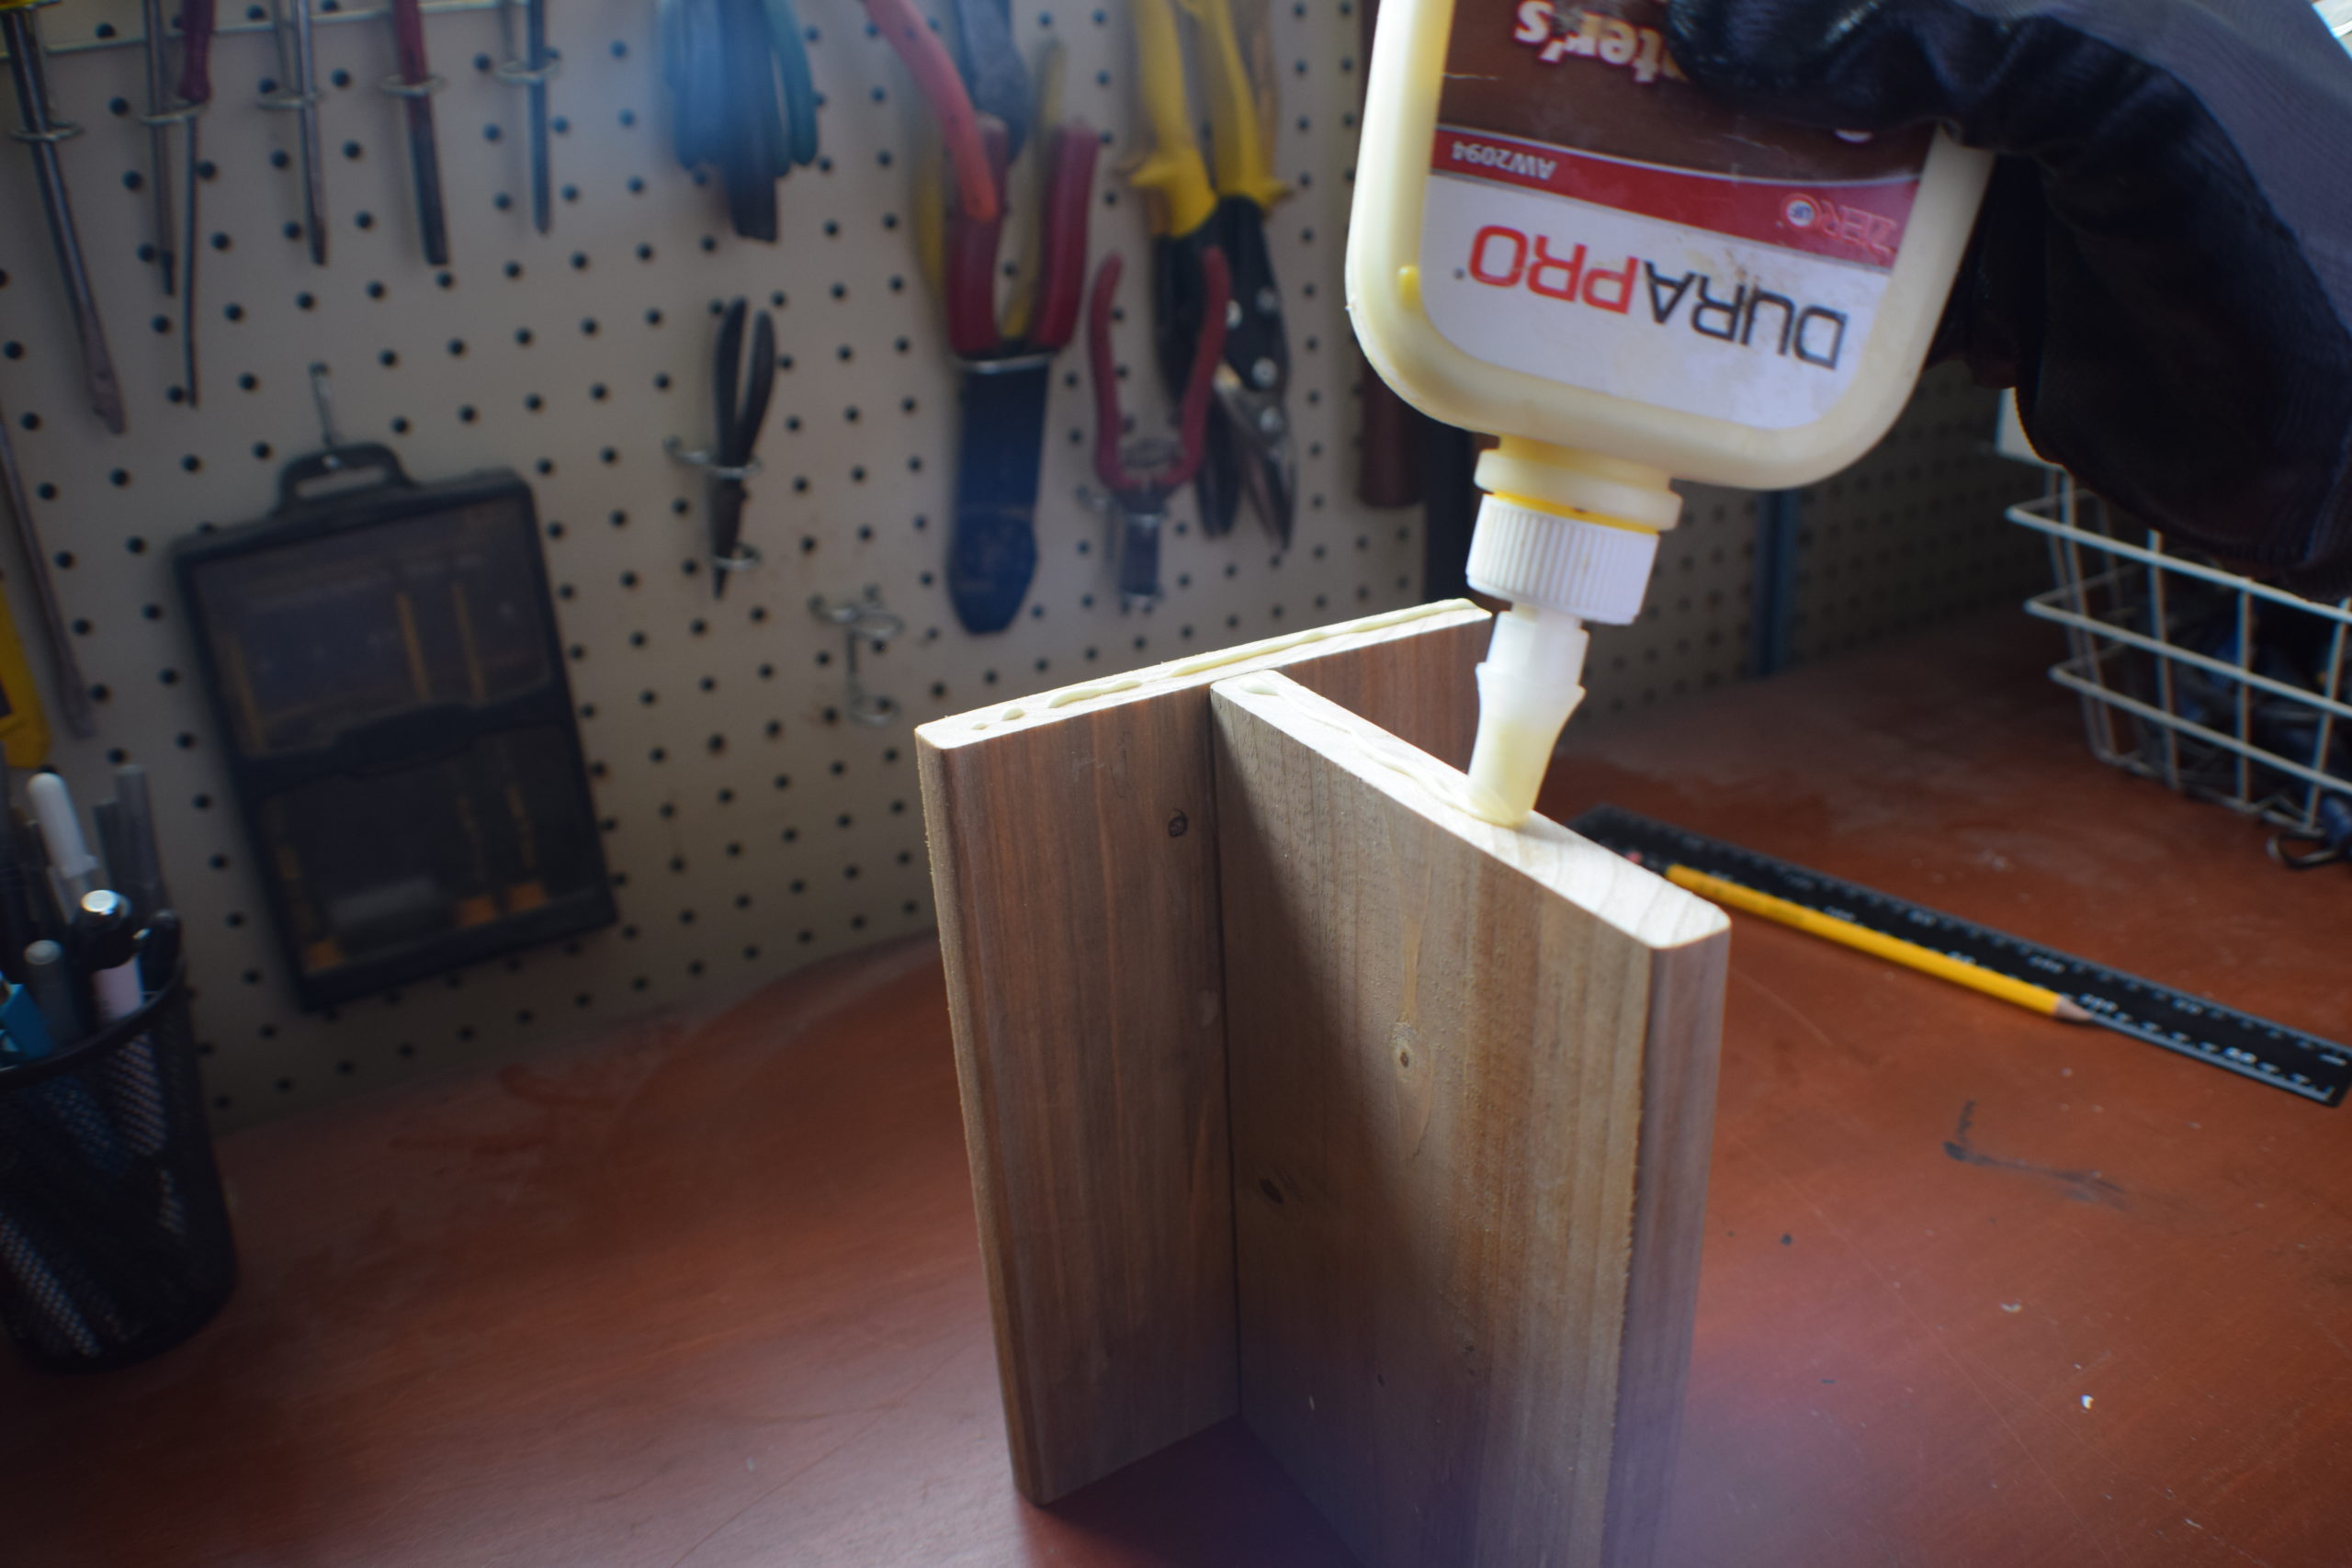
- Place the remaining piece of wood on top of the glue (as indicated in the photos) and apply pressure. You can also add a few nails for additional support to all the areas that are glued together.
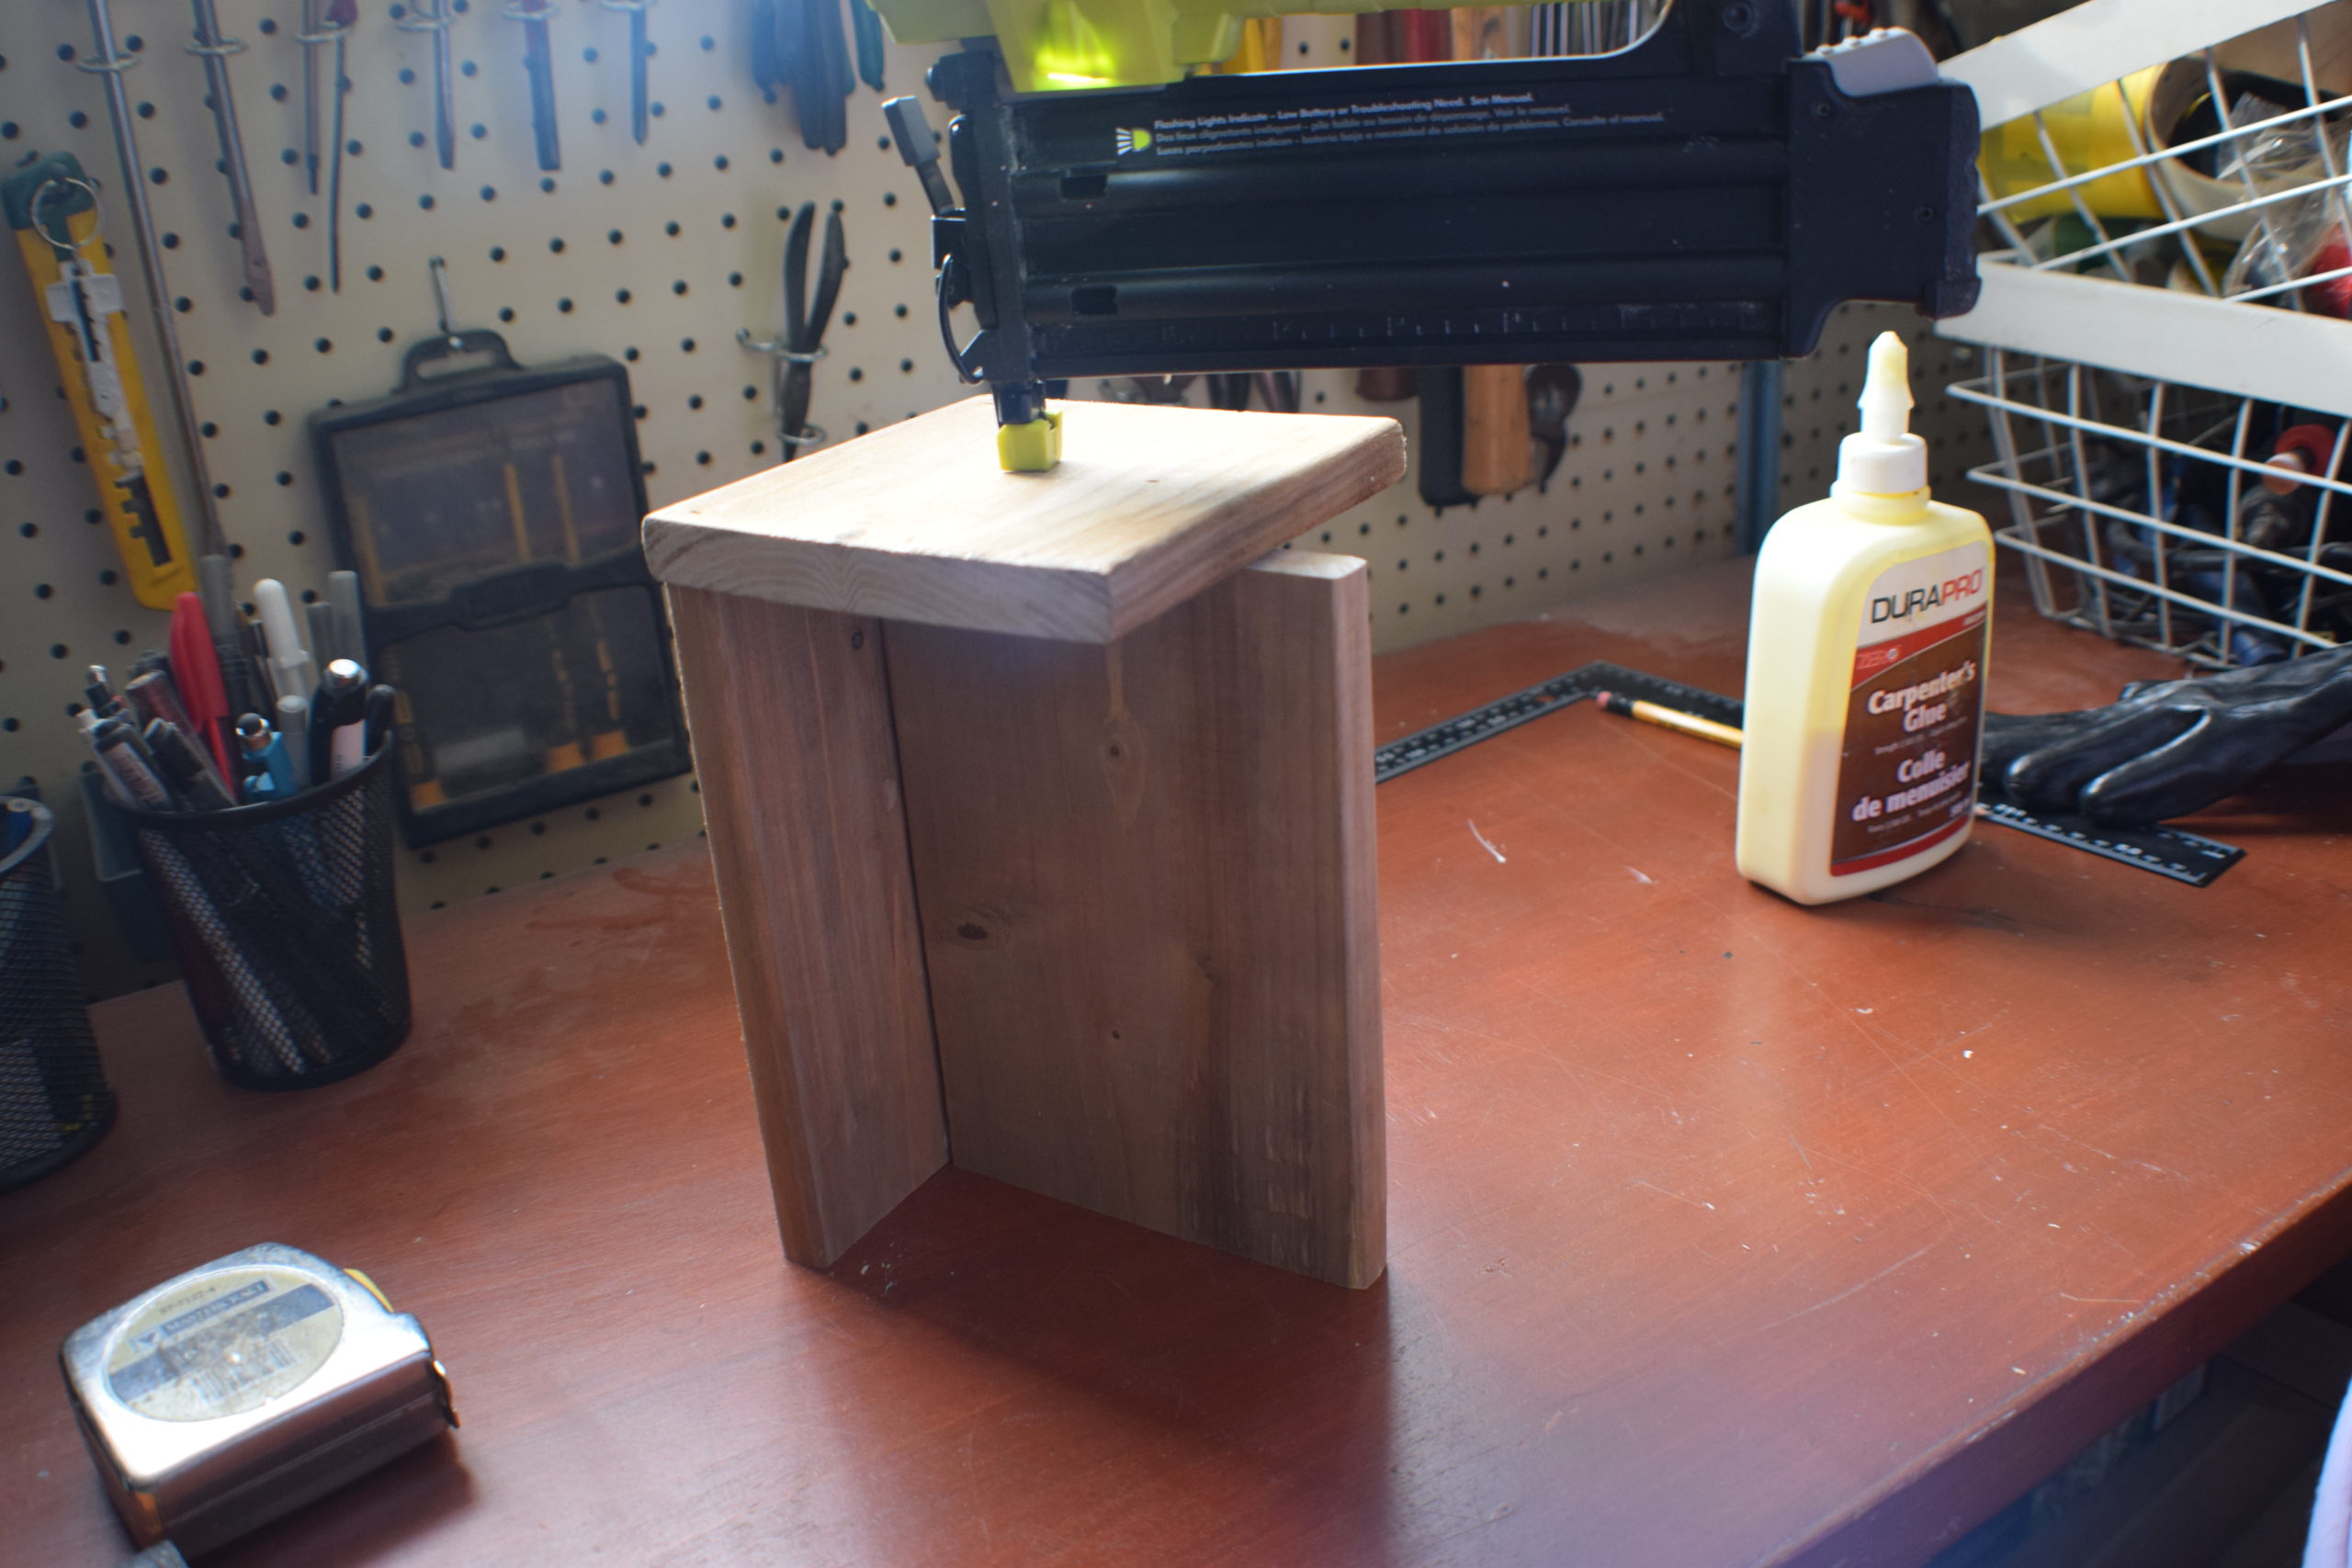
- While the glue is drying, take measurements from the bottom and side of the cabinet. You want to measure from the edges of the cabinet to the screw holes that will need to be drilled for the new hardware.
- Take these measurements and mark out the details on the jig.
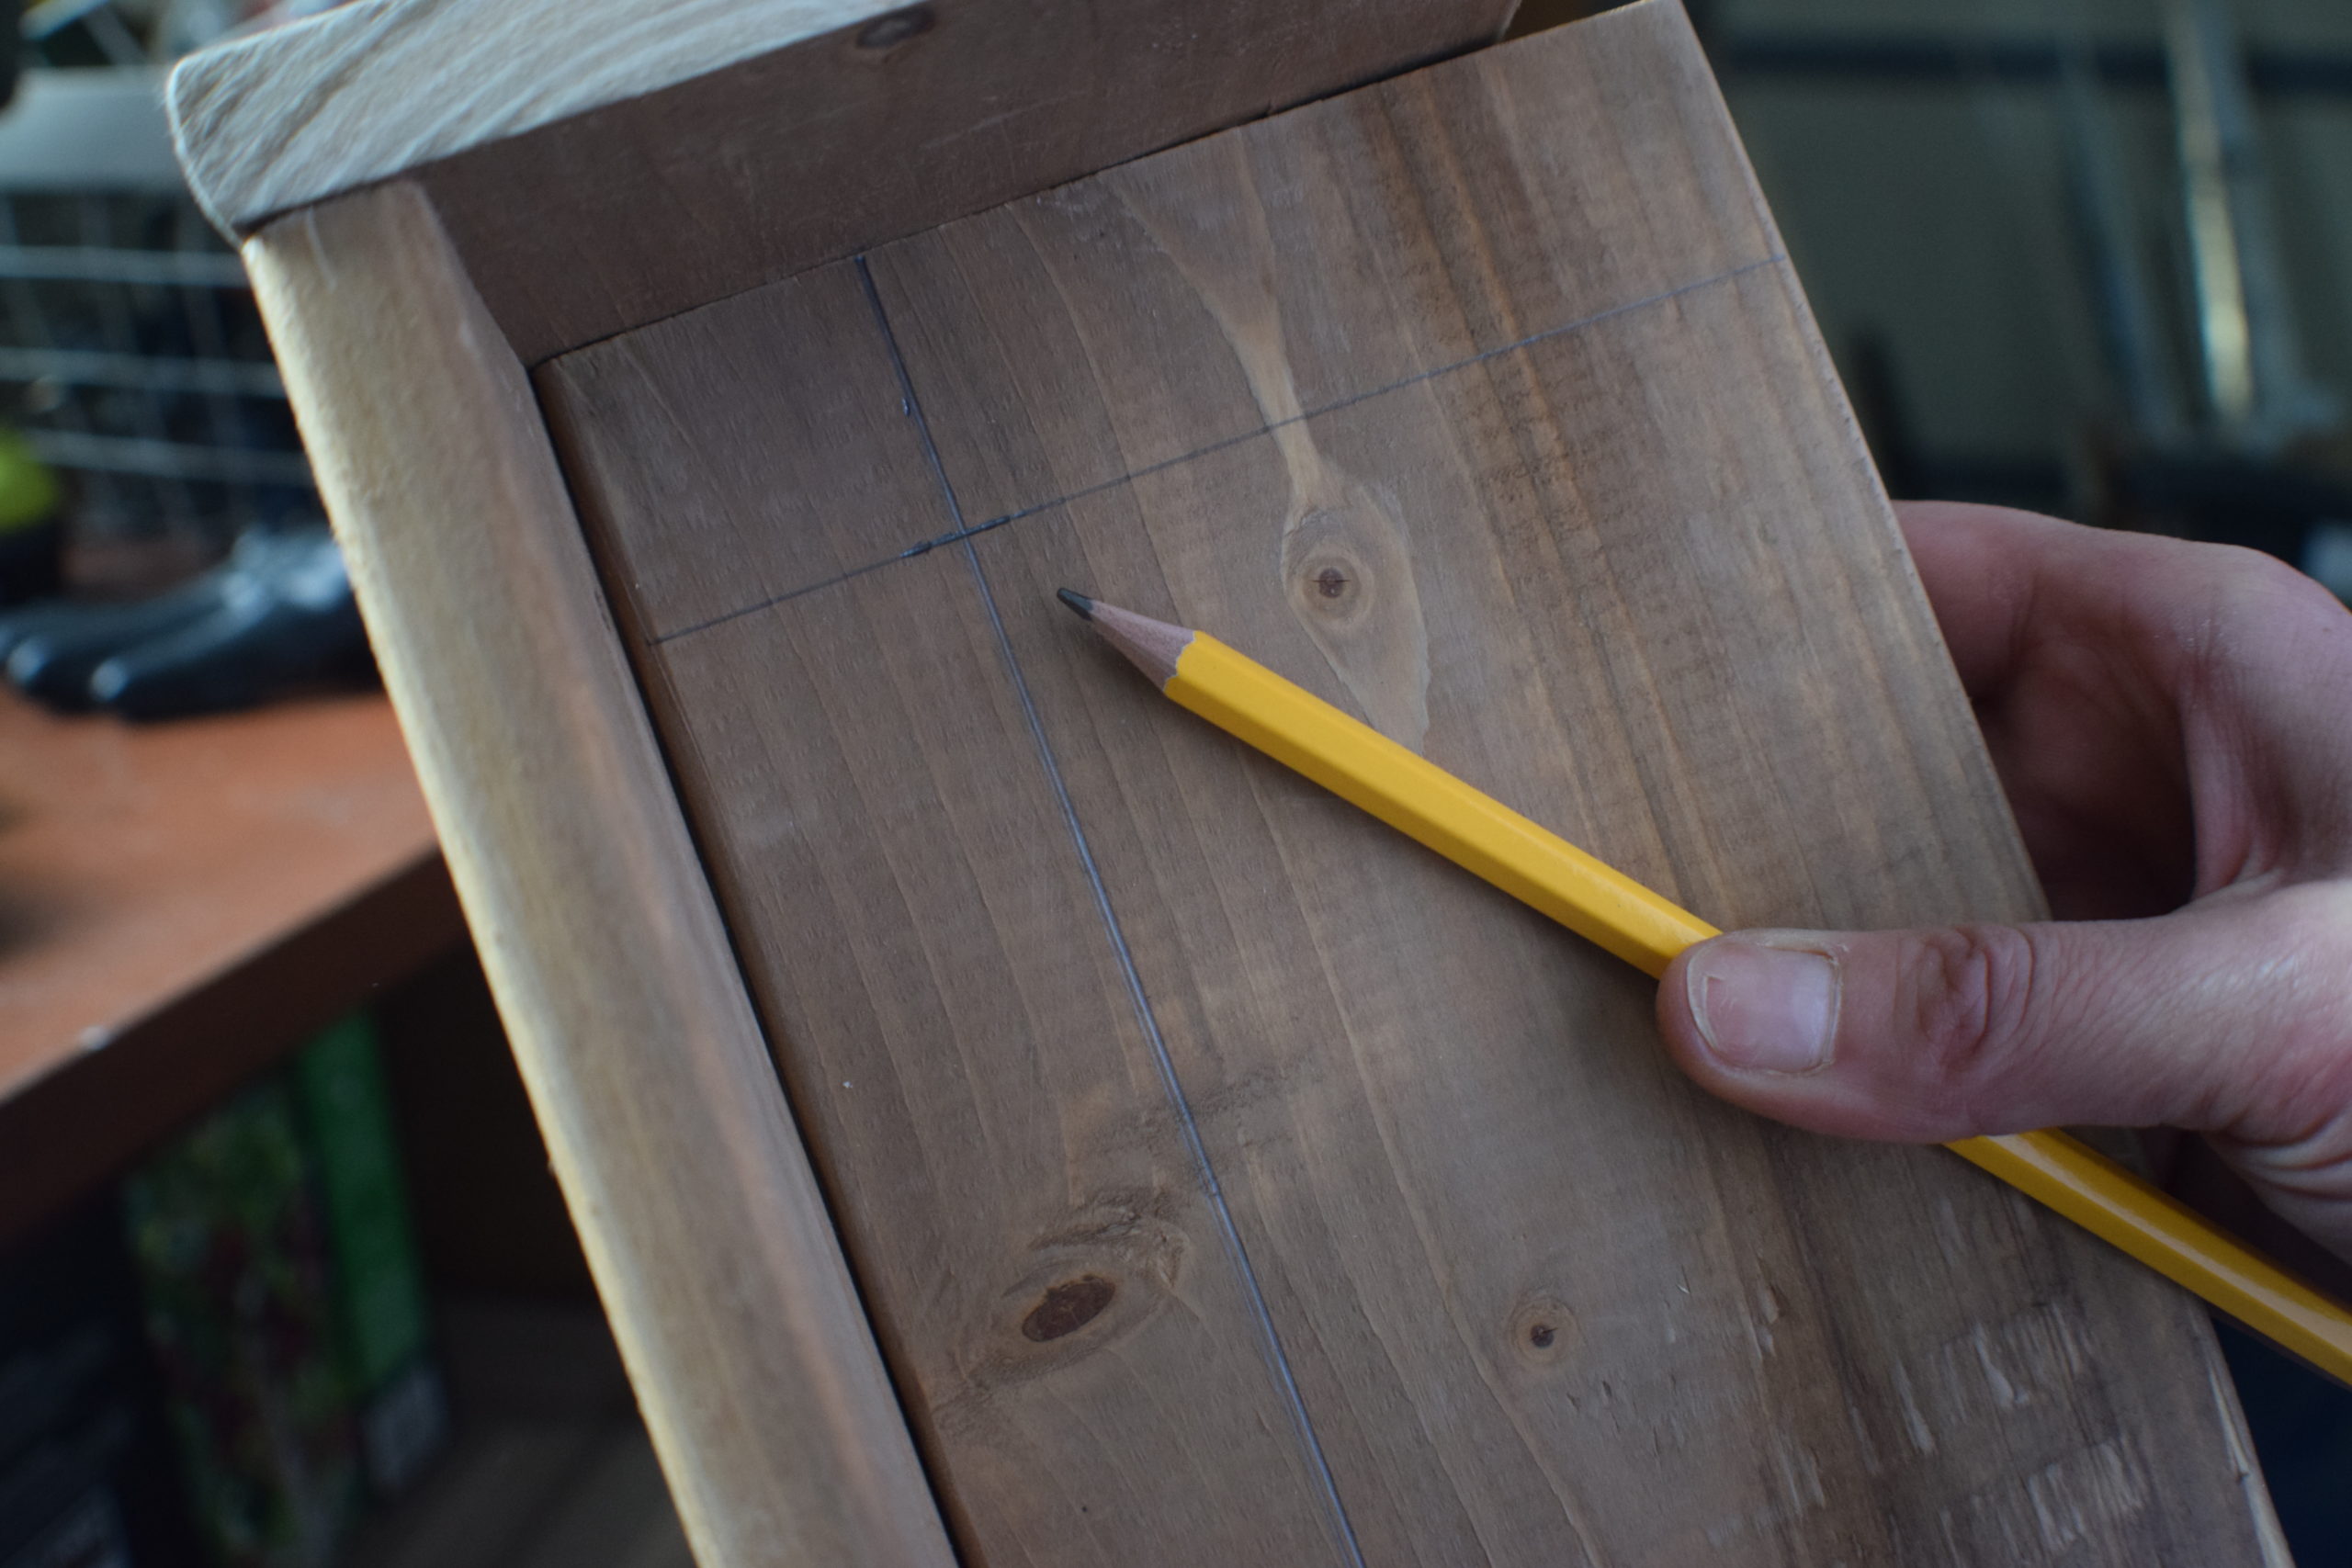
- Drill holes (in the jig) where they are needed for the hardware screws to pass through, and now you have a corner door jig!
DIY Cabinet Drawer Jig
This jig is a bit simpler, using only two pieces of wood. Rather than holding this jig vertically on the surface, we will be holding it horizontally. With that in mind, the construction of this jig relies on creating a top edge, which will rest along the top of the drawer.
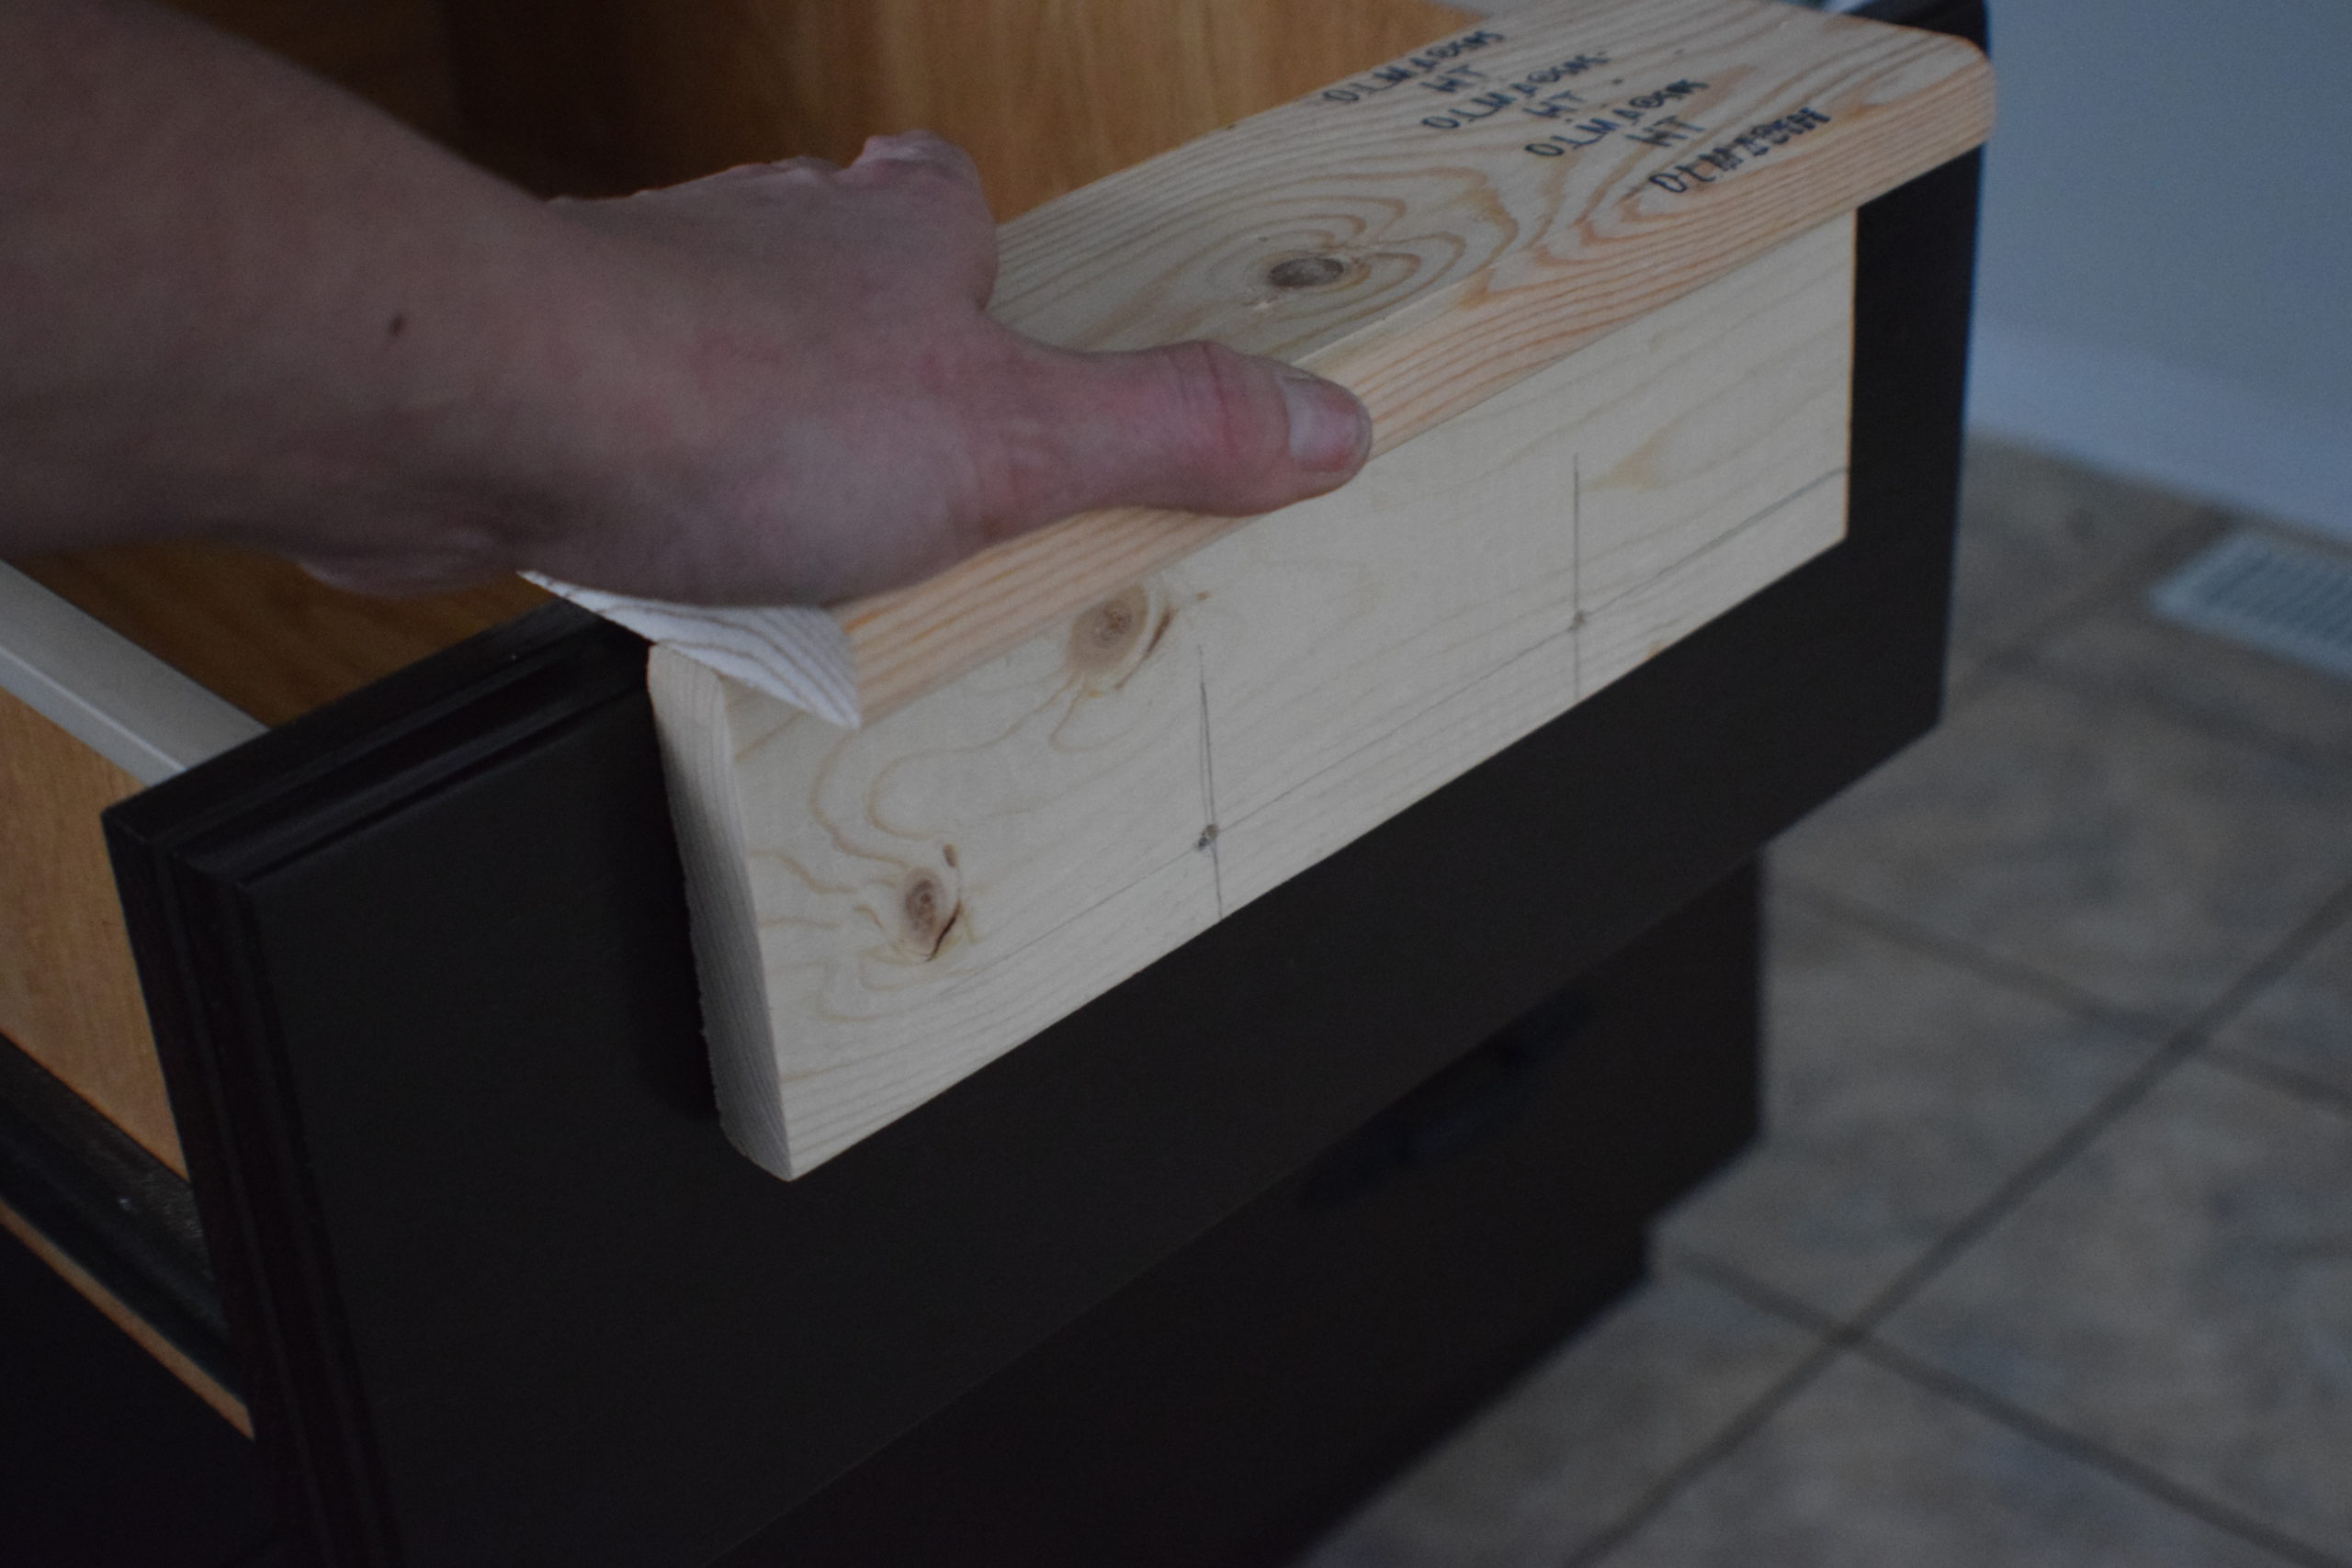
- Similar to the door jig, lay a piece of wood down flat and mark a line across the center. This will be the guideline for the edge of the next piece of wood.
- Run a line of glue alongside your pencil marking, trying not to cover the guide line.
- Place the second piece of wood, using the pencil line as a guide to line up the edge.
- Once the glue dries, add a few nails for additional support.
- Measure the placement for the hardware you will use and mark out these details on the jig. Drill holes where needed, and now you have a cabinet drawer jig!
Using your DIY Jig
- To use your jig, open the cabinet and hold the jig firmly against the corner of the door.
- You can either use a marker to mark the holes on the cabinet, or you can drill directly through the jig. Marking holes first will be easier, as you won’t have to hold the jig against the cabinet while drilling, and there is no risk of widening the jig holes. To mark the holes, push your marker (pen, pencil, etc.) through the jig holes to mark the cabinet where the hardware holes will need to be drilled.
- Use a drill bit that is slightly thinner than the hardware screws so that the hardware screws will catch the cabinet as they are tightened. The less movement that the new hardware has, the less often it will need tightening.
- Keep straight and even pressure as you drill through the cabinets. To keep the cabinet propped open as you drill, you can hang a thick towel off the bottom shelf. Another option is to take off the cabinet doors.
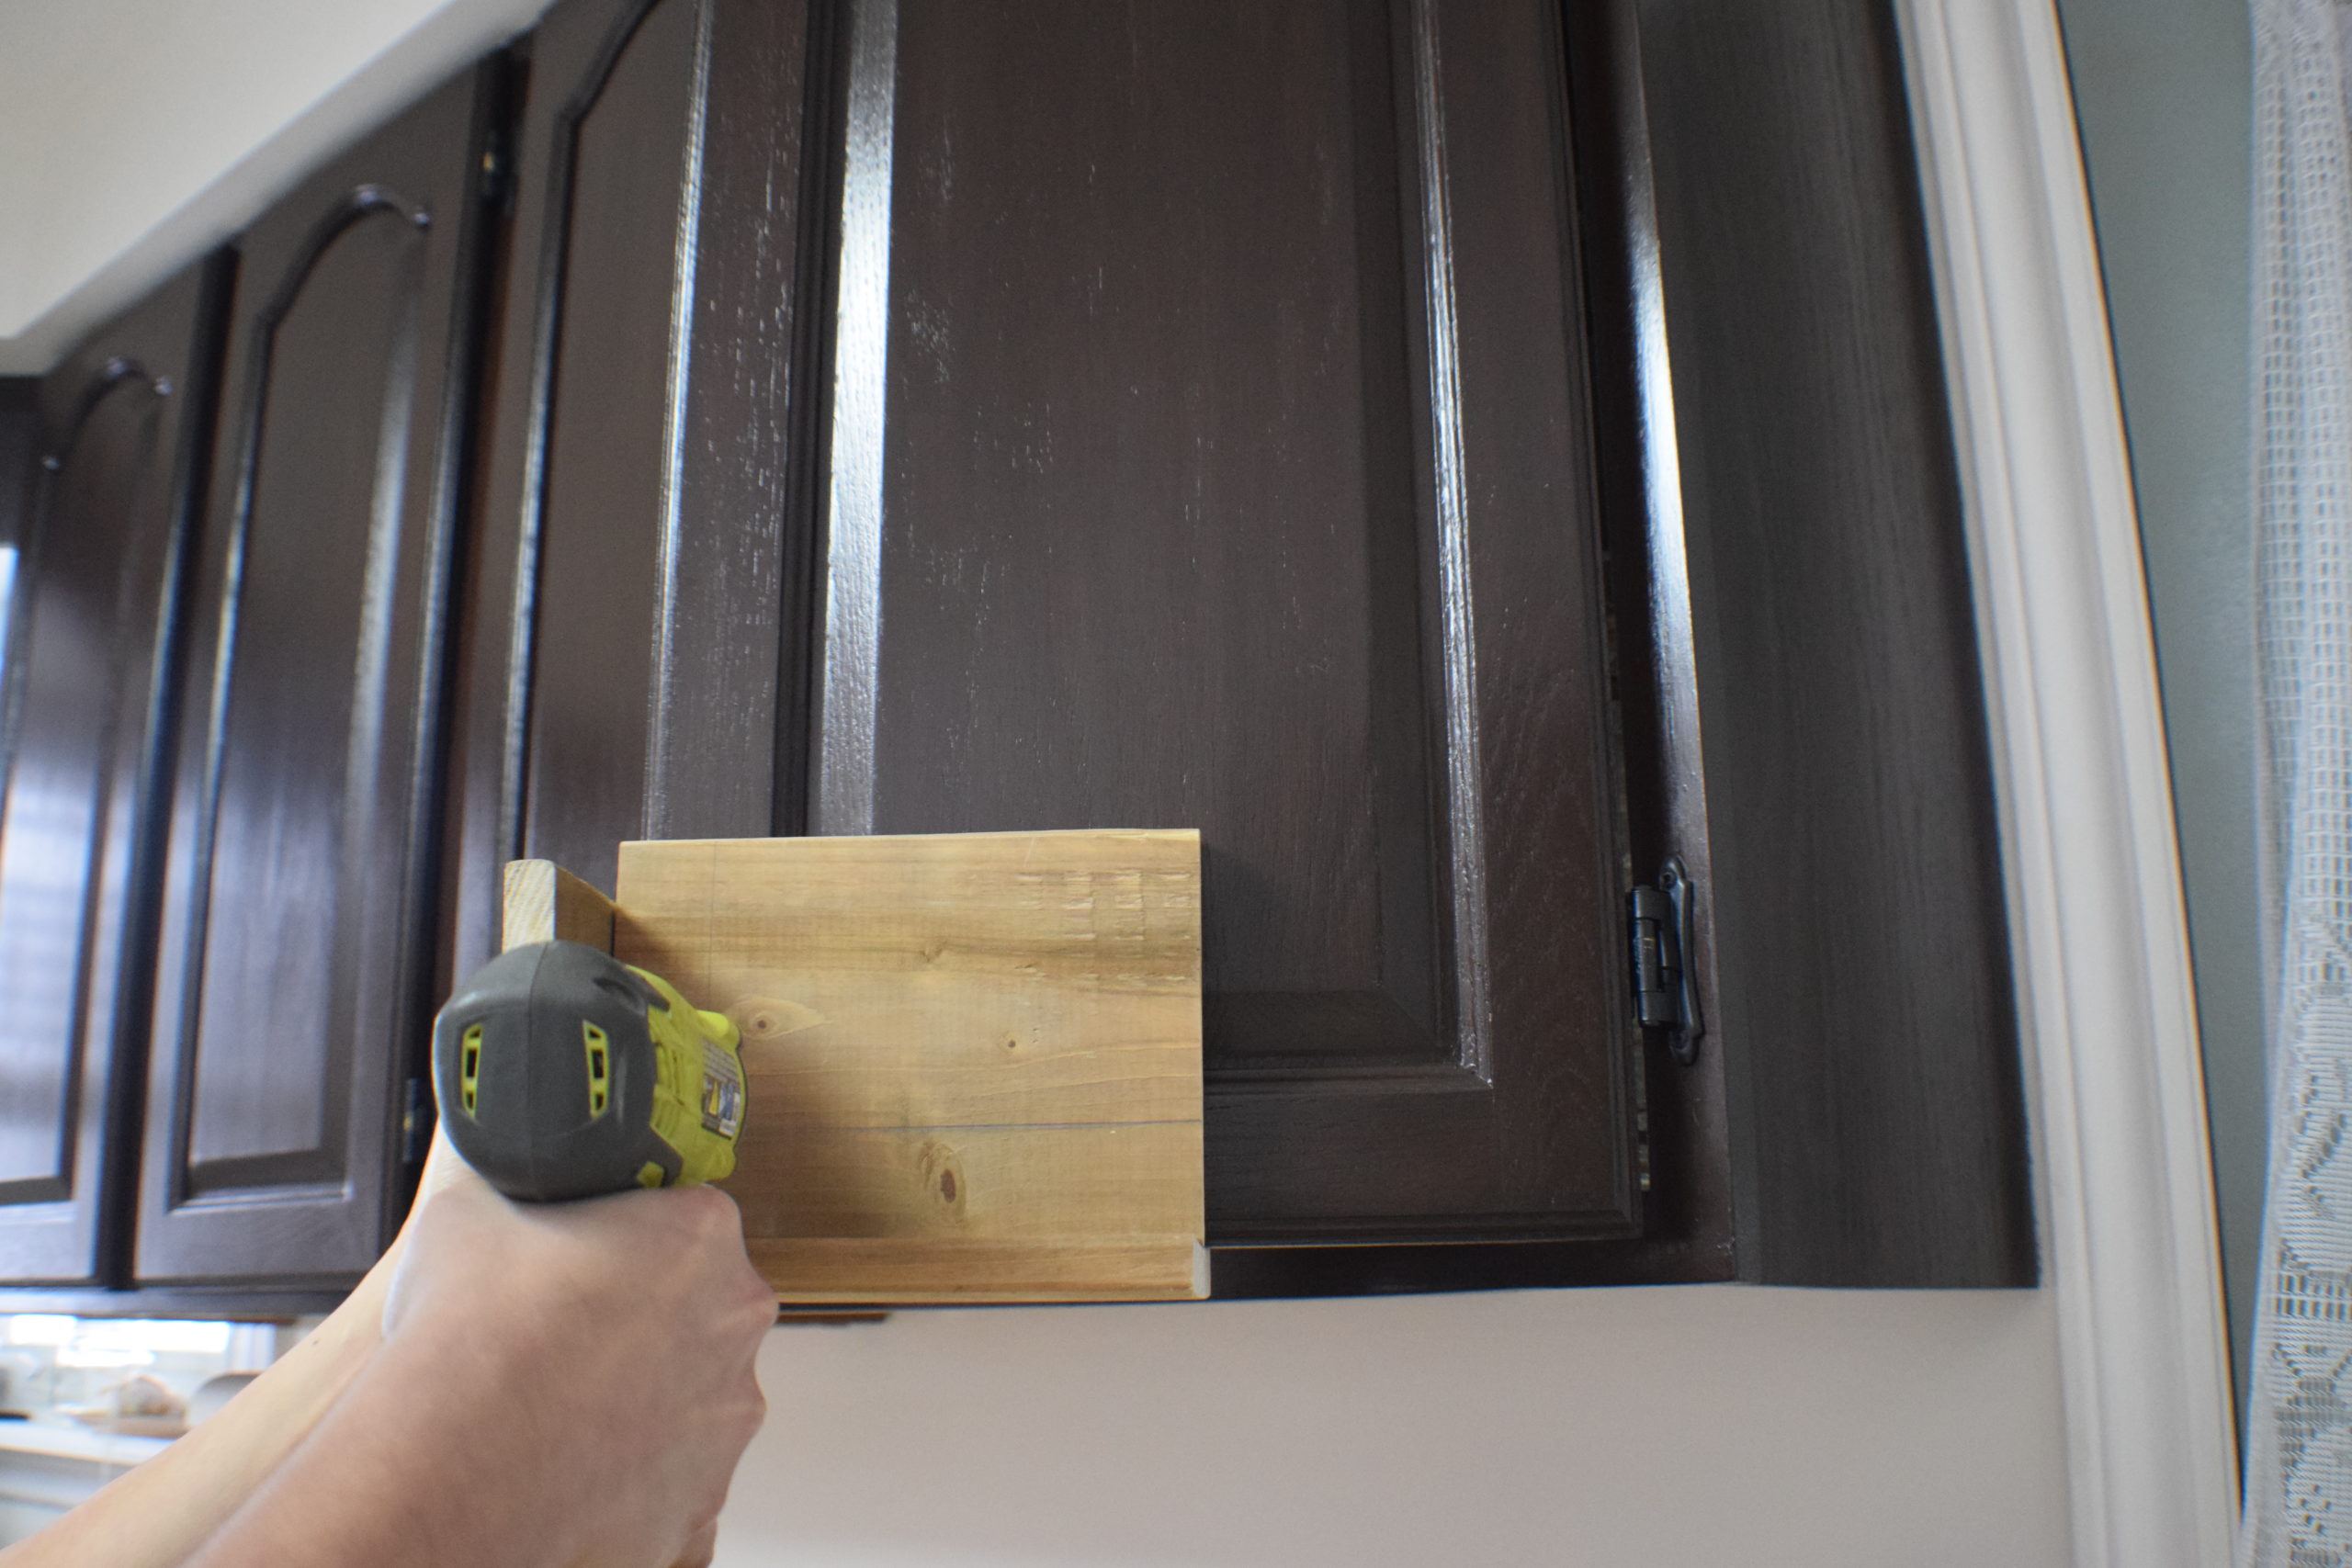
Now that your cabinets have pre-drilled holes, you can efficiently complete your new hardware installation.
Installing the Handles & Hardware
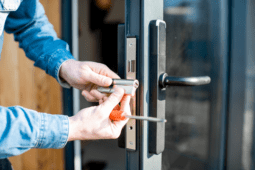
- To install the new hardware, insert the hardware screws from the back of the cupboard and, using a screwdriver, tighten until they are snug with the back of the cabinet door.
- Screw on your knobs until flush with the cabinet but not so tight as to create indents in the wood.
Once you have done this for all of your cabinet doors, your project is complete!
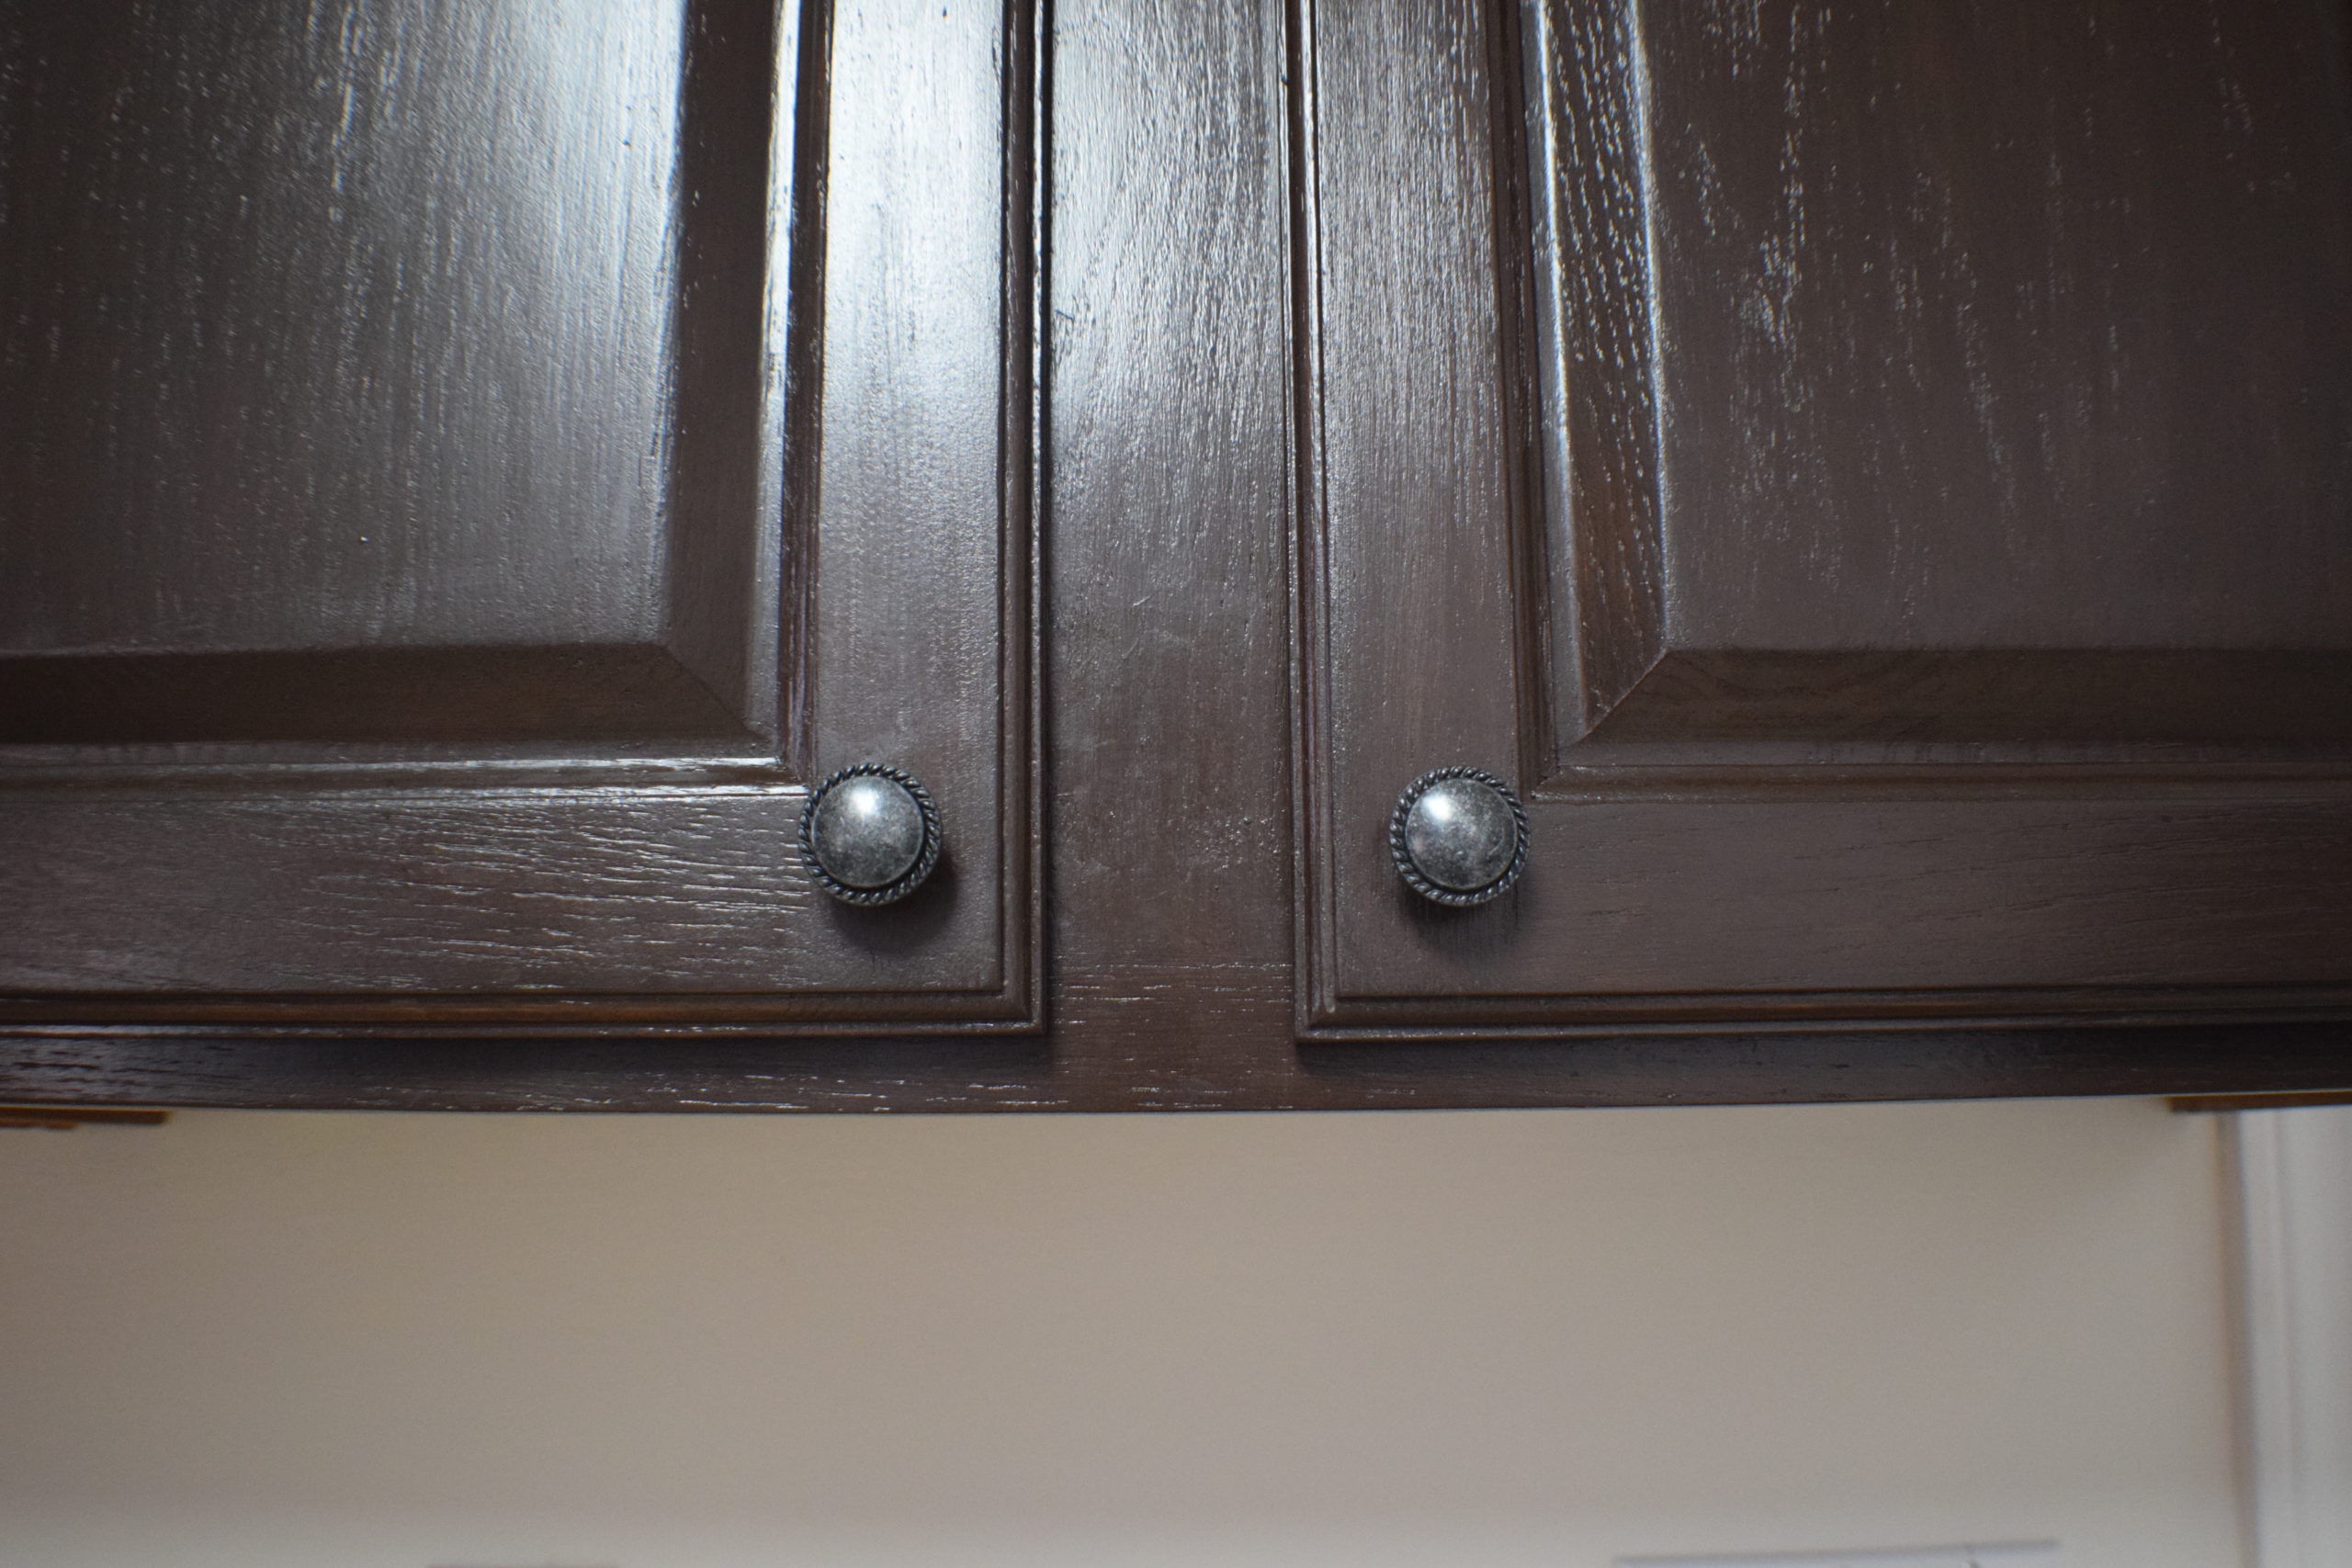
Now stand back and admire your new kitchen cabinets!

