How to Build a Wooden Box – Step-by-Step DIY Guide
Building a wooden box might seem like a simple task at first glance, but it’s an excellent project for honing your woodworking skills and unleashing your creativity. Whether you’re aiming to craft a small treasure chest to tuck away your keepsakes, a sturdy box to organize your tools, or even a bespoke gift for a loved one, mastering the art of constructing a wooden box is a rewarding endeavor. Let’s dive into a step-by-step guide that will not only help you build a wooden box but also ensure it’s a fun, educational, and fulfilling project.
Choosing the Right Materials and Tools for Your Wooden Box
Before you start sawing and sanding, the first step is selecting the right materials and tools for your project. The beauty of building a wooden box is that you can make it as simple or complex as you like, depending on your skill level and the tools at your disposal. For beginners, softwoods like pine are a great choice because they’re easy to work with and relatively inexpensive. If you’re aiming for something more durable or aesthetically pleasing, hardwoods such as oak or walnut could be the way to go.
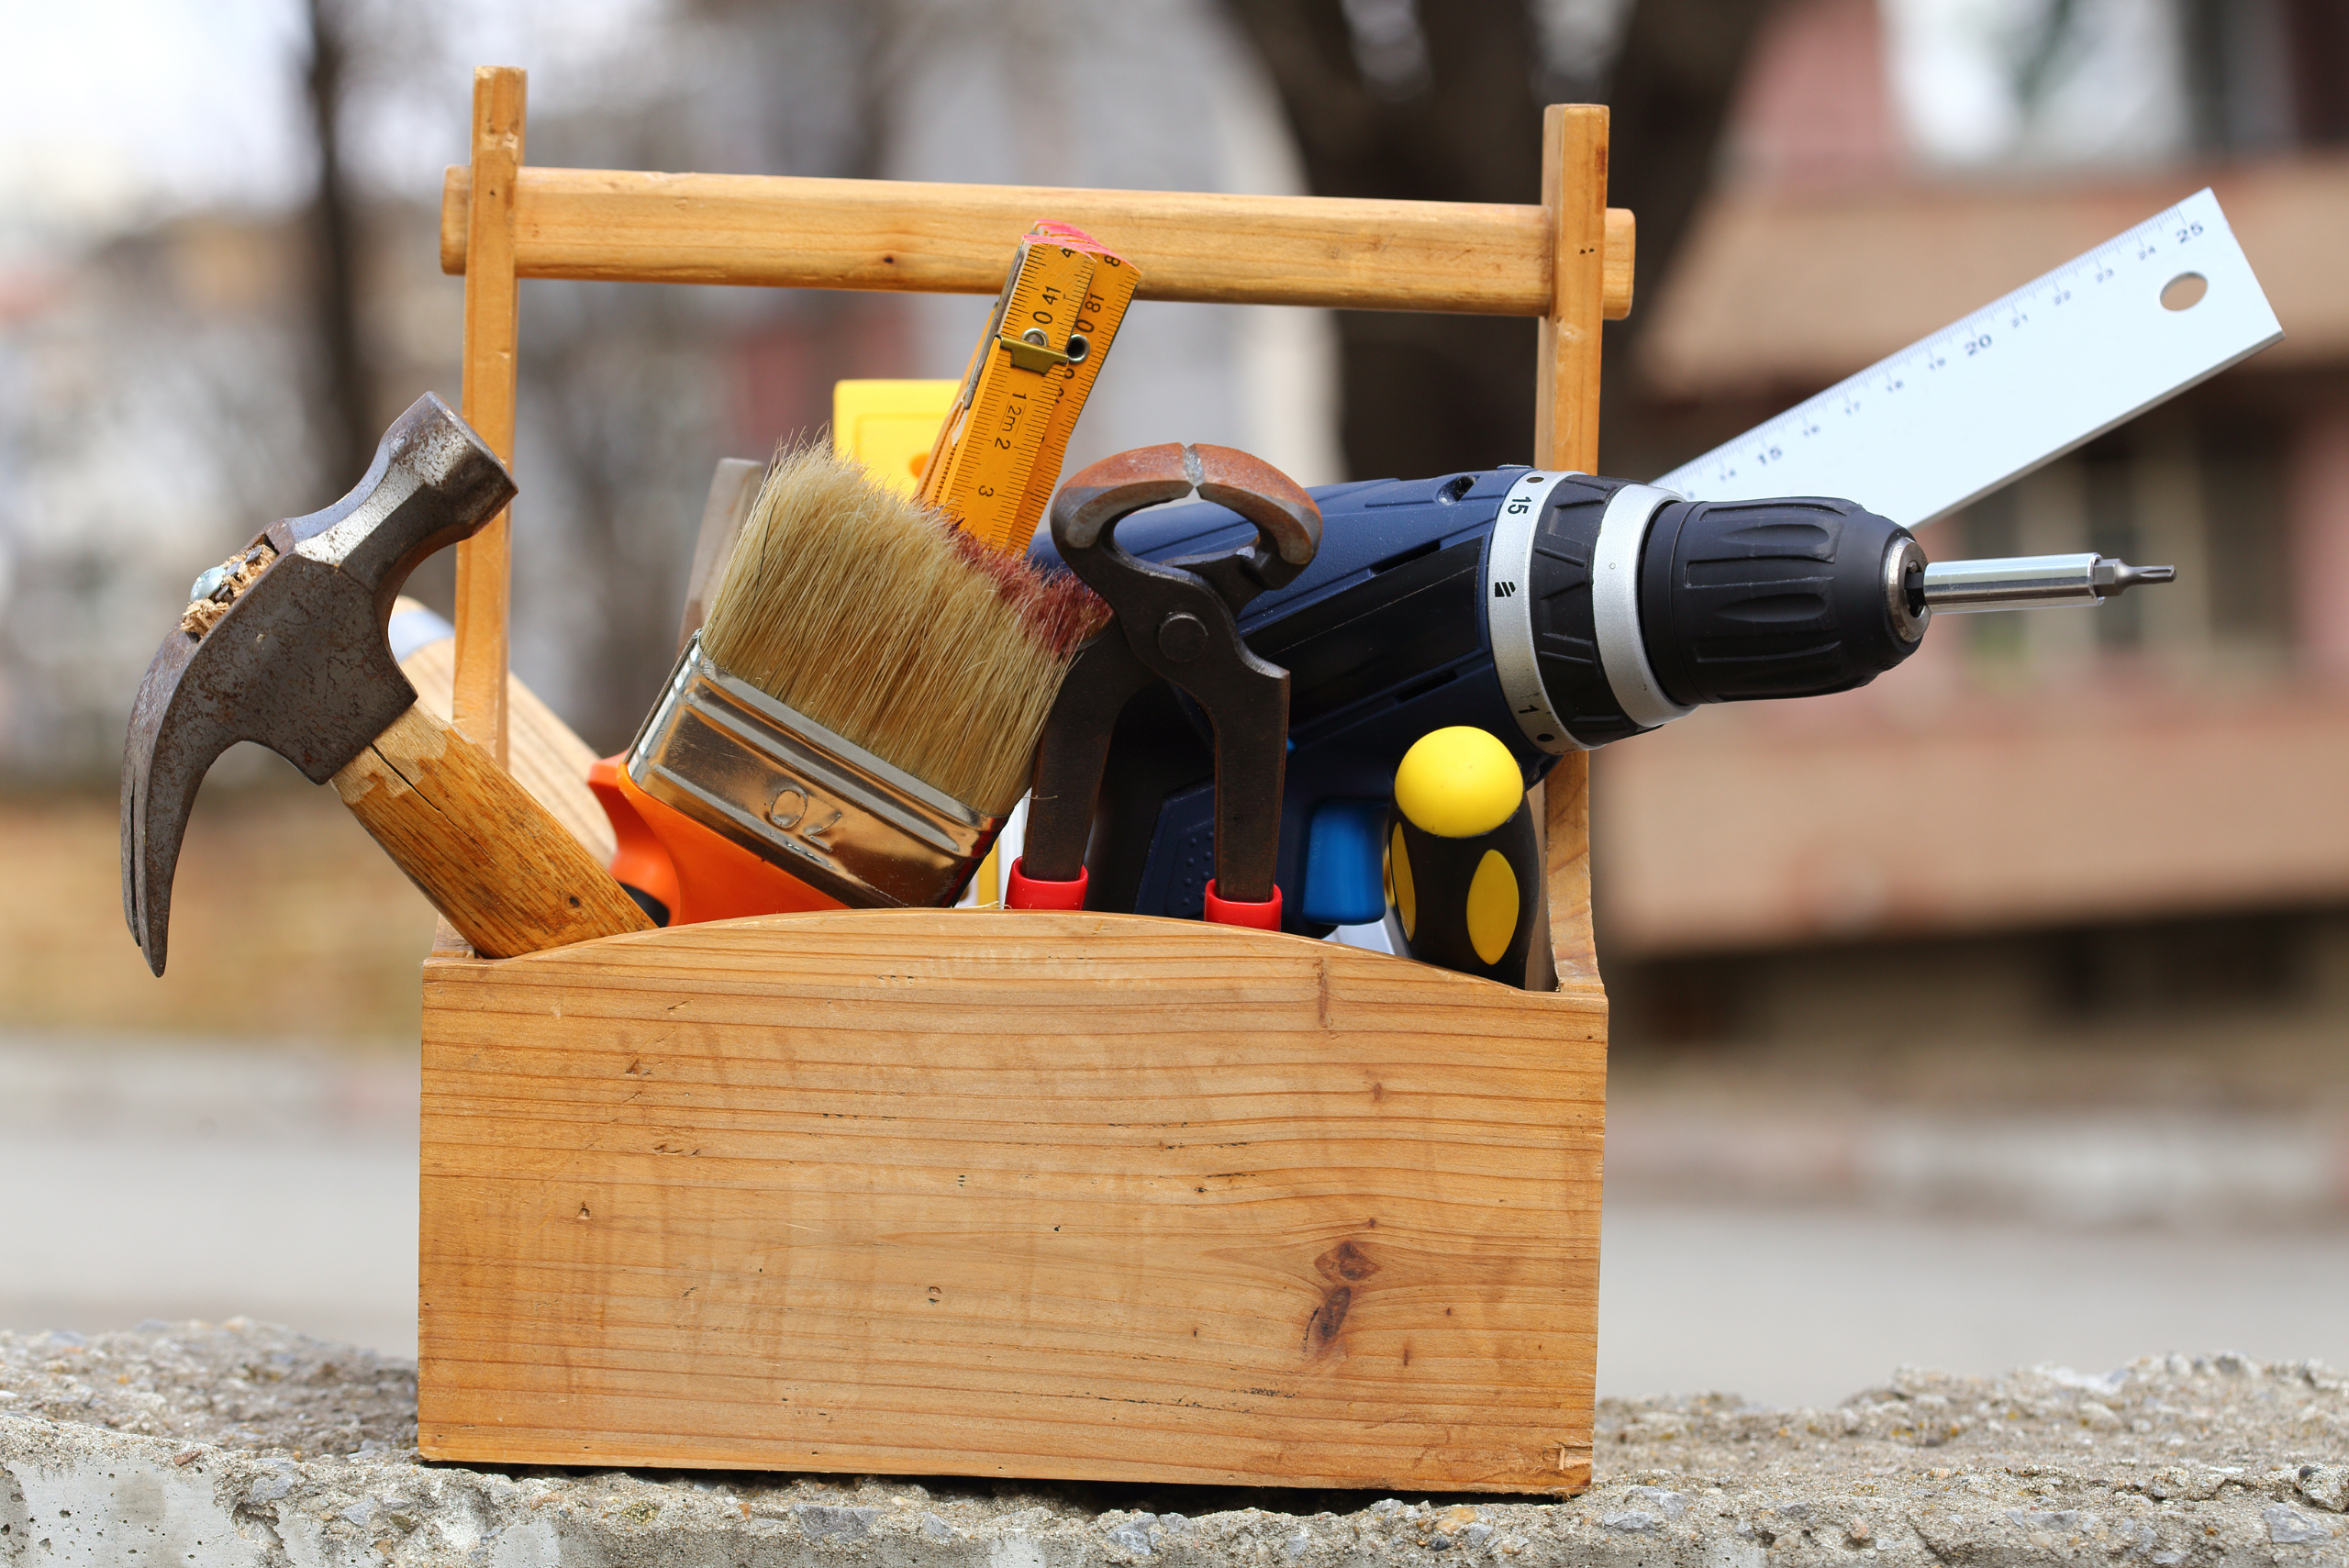
In terms of tools, you’ll need some basics: a saw for cutting your wood to size, a drill for making pilot holes (especially important if you’re working with hardwoods to avoid splitting), wood glue for assembling your pieces, clamps to hold everything together while the glue dries, and sandpaper to smooth out any rough edges. Additionally, considering a measuring tape and a square will ensure that all your cuts are precise and your box turns out as intended.
Planning Dimensions and Features for a Unique Creation
The design phase is where your box starts to take shape – figuratively before literally. Deciding on the dimensions of your box is crucial; it dictates not only the appearance but also the functionality of your final product. Think about what you intend to store in the box and plan the dimensions accordingly. A well-designed box is not just about the external measurements; consider how thick you want the walls to be, which will affect the internal dimensions.
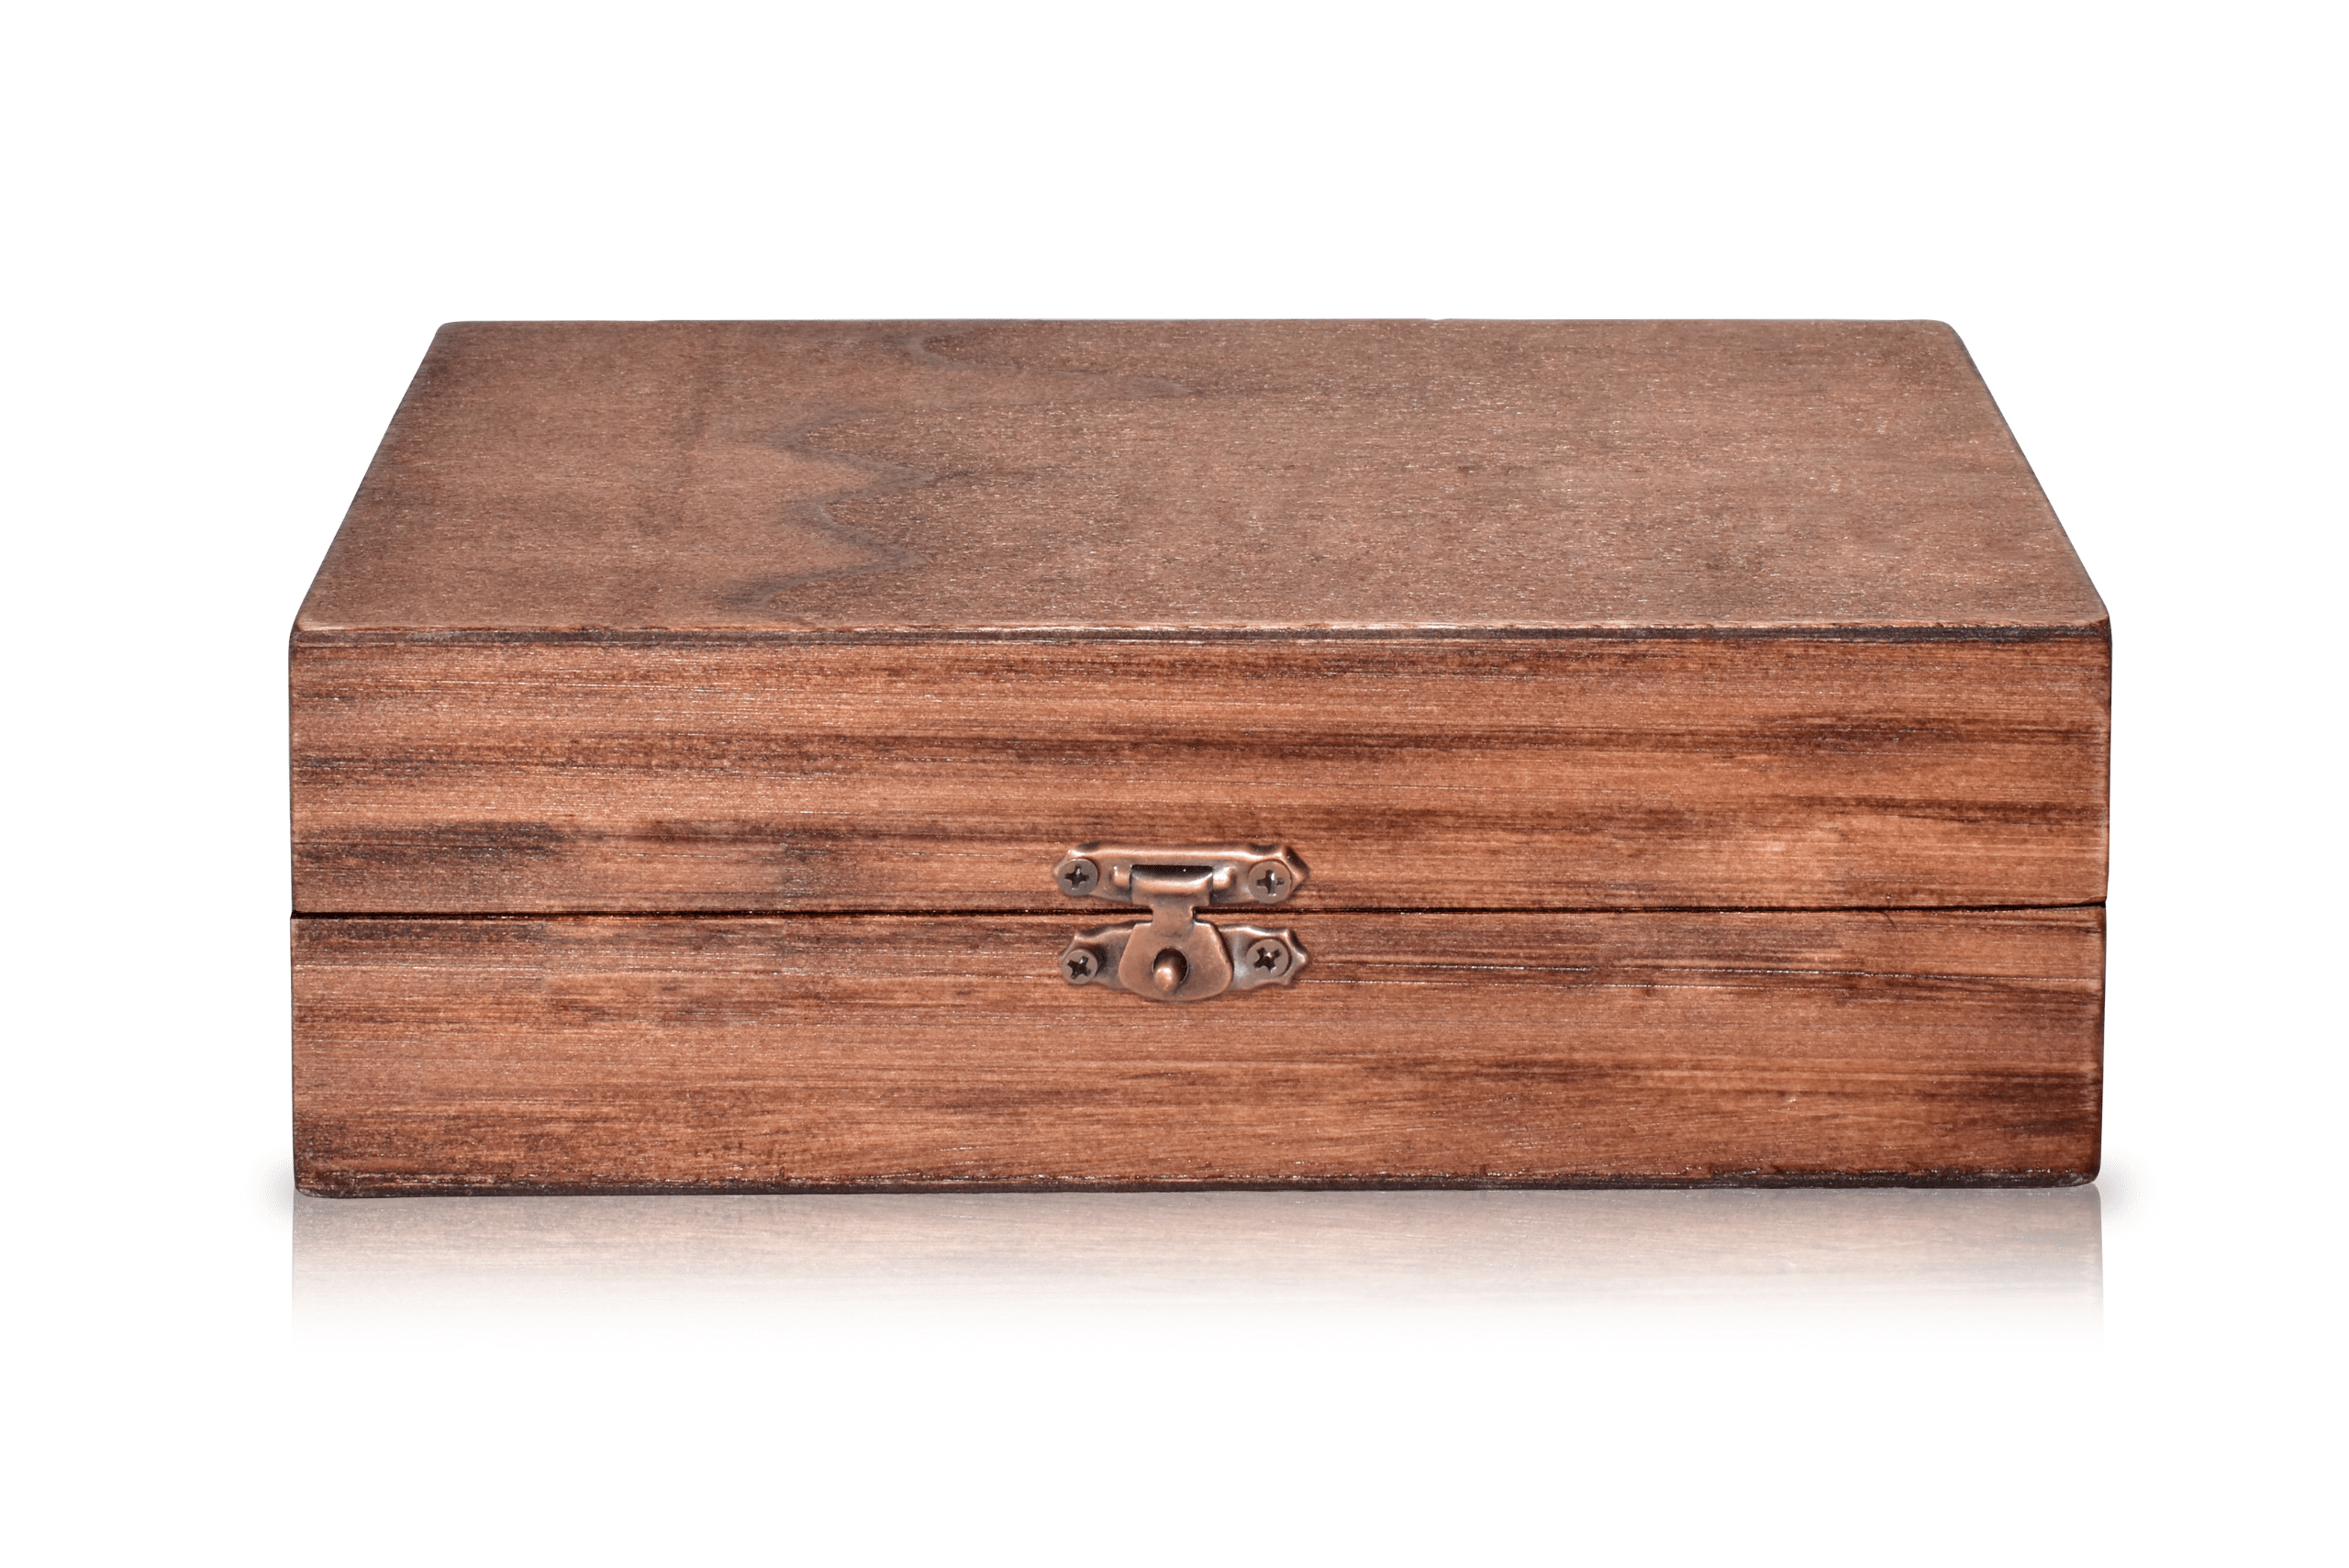
This is also the time to get creative with features. Do you want a lid that lifts off or one that’s hinged? How about dividers inside the box for better organization or felt lining for a touch of elegance and protection for its contents? Sketching your design can be incredibly helpful at this stage, allowing you to visualize the final product and make any adjustments before you start cutting.
Assembling Your Box To See Your Wooden Box Take Shape
With your materials selected and your design in hand, it’s time to start the exciting process of assembling your box. Cutting your wood according to the dimensions you’ve planned is the first step. Remember, measure twice, cut once – this old adage will save you time and materials. Once your pieces are cut, lay them out to ensure everything fits together as you envisioned.
Gluing and clamping your box’s sides together forms the basic structure. Be patient during this stage; a strong bond is crucial for a durable box. After the glue has dried, you can add any additional features like hinges or handles. This stage is particularly rewarding as you see the physical manifestation of your design coming together, a testament to your planning and effort.
Sanding, Staining, and Sealing Your Masterpiece
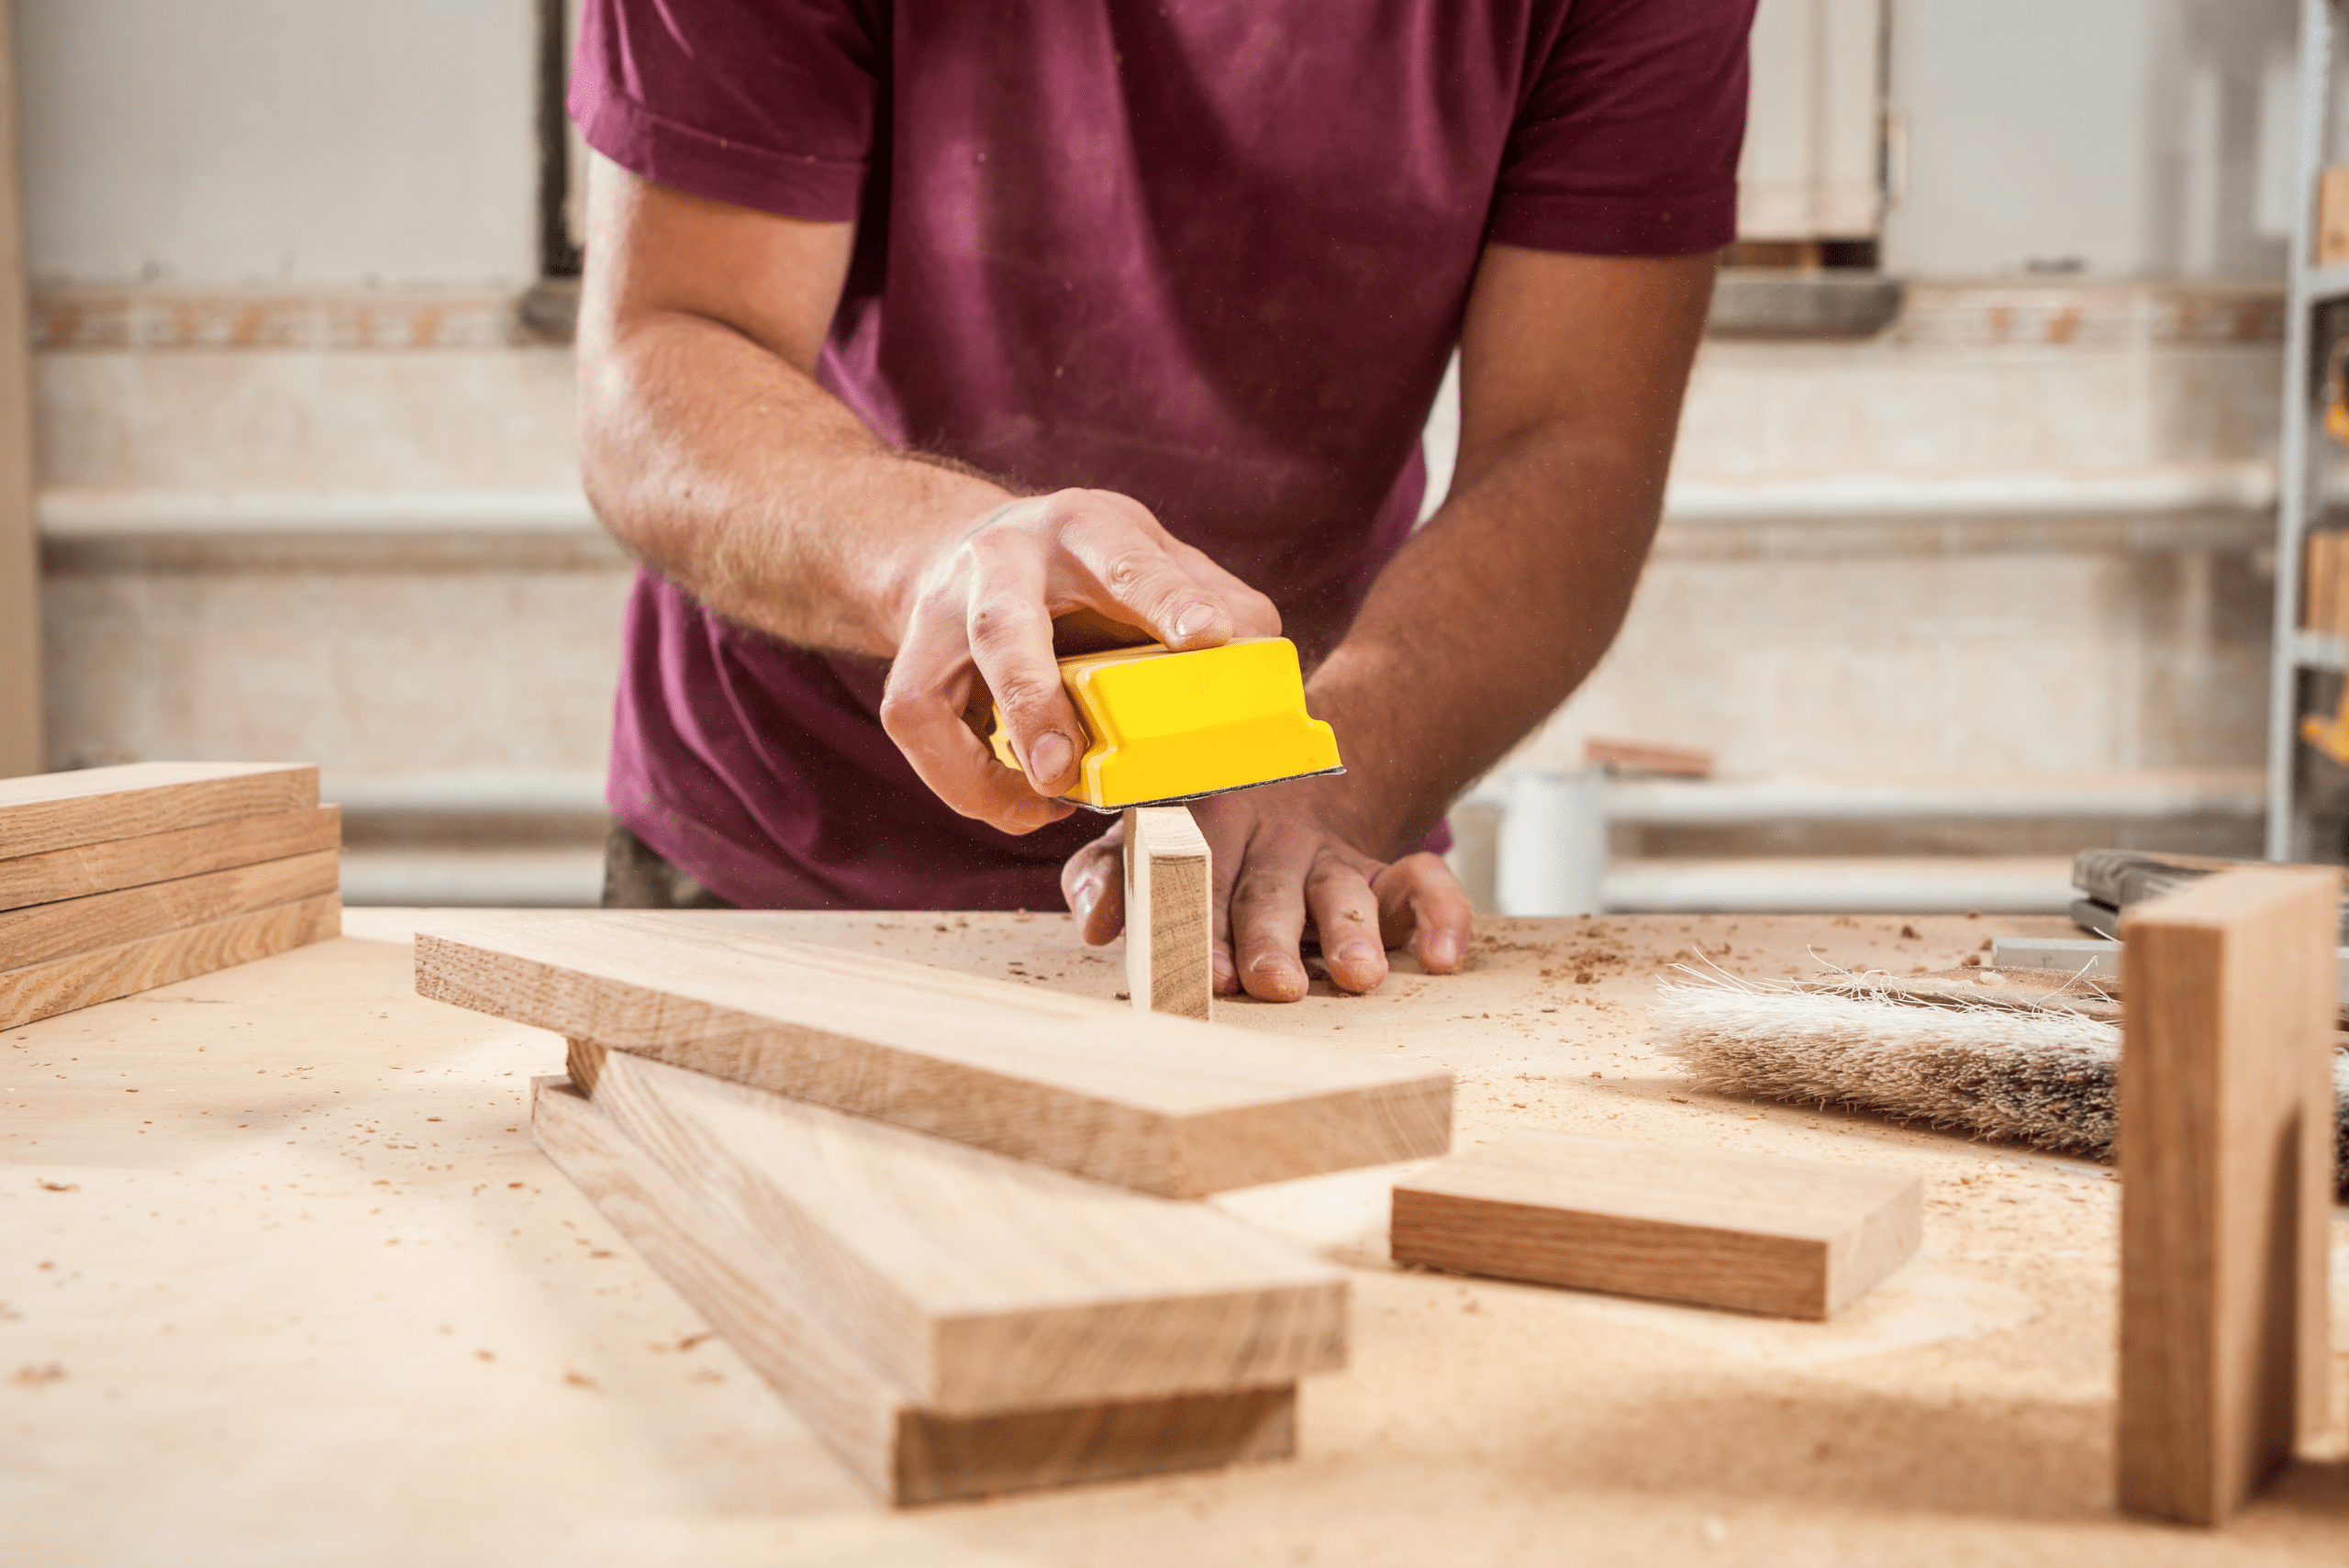
After assembling your box, it might look a bit rough around the edges, but this is where the magic happens. Sanding is an essential step, transforming your box from a wooden construct into a smooth, tactile object of beauty. Start with a coarser grit sandpaper to remove any glue residue and smooth out rough patches, then move to a finer grit to achieve a silky finish.
Staining and sealing are the final steps in the process, protecting your box and bringing out the natural beauty of the wood. Whether you opt for a natural finish to highlight the wood’s grain or a vibrant stain to match your decor, make sure to apply it evenly and allow it to dry completely. A final sealant will protect your box from moisture and wear, ensuring it stands the test of time.
Related Articles:
- Ways to Prevent Router Tearout During Woodworking Projects
- Polyurethane vs Polycrylic – Choosing the Right Finish for Your Wood Projects
- Difference Between Wood Putty and Wood Filler
Remember, the most important part of building a wooden box – or any DIY project, for that matter – is to enjoy the process. Each step, from selecting materials to applying the finishing touches, is an opportunity to learn and grow. So, take your time, embrace the challenges, and let your creativity shine. Happy building!
Ready to start your next project? Join our DIY community to receive tool tips, how-to guides, and exclusive creative insights. Subscribe to the ManMadeDIY newsletter now! Click here to unlock a world of hands-on inspiration.



![How To Clean Patio Pavers [Without a Pressure Washer!]](https://www.manmadediy.com/wp-content/uploads/sites/52/2024/06/broom-15377-238x170.png)

