Ways to Prevent Router Tearout During Woodworking Projects
When learning the ins and outs of woodworking, encountering the term “router tearout” is almost inevitable. This phenomenon occurs when a router bit, moving at high speeds, inadvertently chips or splinters the wood instead of creating a smooth cut. The frustration of router tearout lies in its ability to mar a nearly finished piece, potentially setting your project back hours or even days. Understanding what causes this can be a game-changer for both novice and experienced woodworkers alike. It usually stems from factors like the router’s speed, the direction of the cut relative to the wood grain, or even the condition of the bit itself.
Understanding the Basics of Router Tearout
This phenomenon can be a real headache, turning a smooth project into a jagged mess in seconds. To put it simply, router tearout happens when the spinning blades of the router unexpectedly rip or tear the wood fibers instead of cutting them cleanly. This usually occurs in areas where the wood grain changes direction, making it difficult for the router bit to make a smooth cut.
It’s not just about recognizing the problem but also about learning the strategies to prevent it. For instance, using a sharp bit and setting the correct speed on the router can significantly reduce the chances of tearout. Additionally, supporting the wood properly and using a backing board are techniques that help ensure a cleaner cut. Grasping these fundamental concepts can transform woodworking projects, making the process smoother and the results more professional. After all, the goal is to make the wood yield to your design, not to fight against the natural tendencies of the material.
The Importance of Preventing Router Tearout in Woodworking Projects
In the realm of woodworking, the concept of router tearout is one that every craftsman strives to avoid. This unfortunate occurrence can transform a piece of wood from pristine to problematic in mere moments. When the router bit exits the wood, it can sometimes catch and tear the grain instead of cutting it cleanly. This not only affects the aesthetic appeal of the project but can also compromise its structural integrity. The importance of preventing router tearout cannot be overstated, as it ensures the smooth, clean finish that is paramount in woodworking projects. By paying close attention to the direction of the grain and choosing the right router bit, woodworkers can significantly reduce the risk of this issue.

Moreover, understanding the nuances of how different types of wood respond to routing is crucial in the battle against router tearout. Softwoods, for instance, tend to be more susceptible due to their less dense grain structure. Hence, adopting techniques such as using a backing board or decreasing the router’s speed can make a world of difference. It’s these small adjustments and preventive measures that elevate the quality of the finished product. The satisfaction of achieving a flawless finish, free from the clutches of router tearout, is a feeling unparalleled in the woodworking community. It is a testament to the craftsman’s skill, patience, and attention to detail, underscoring the importance of mastering the art of preventing router tearout in woodworking projects.
Factors That Contribute to Router Tearout
Navigating through the complexities of woodworking, one common challenge that often frustrates many is the occurrence of router tearout. This pesky problem can mar the surface of your workpiece, leaving unsightly blemishes that are hard to fix. Several factors play pivotal roles in contributing to router tearout and understanding them can be the key to avoiding this issue. One significant factor is the direction of the wood grain. Routing against the grain increases the likelihood of the wood fibers being lifted and torn rather than cleanly cut. It’s akin to petting a cat against the direction of its fur; the natural resistance is palpable.
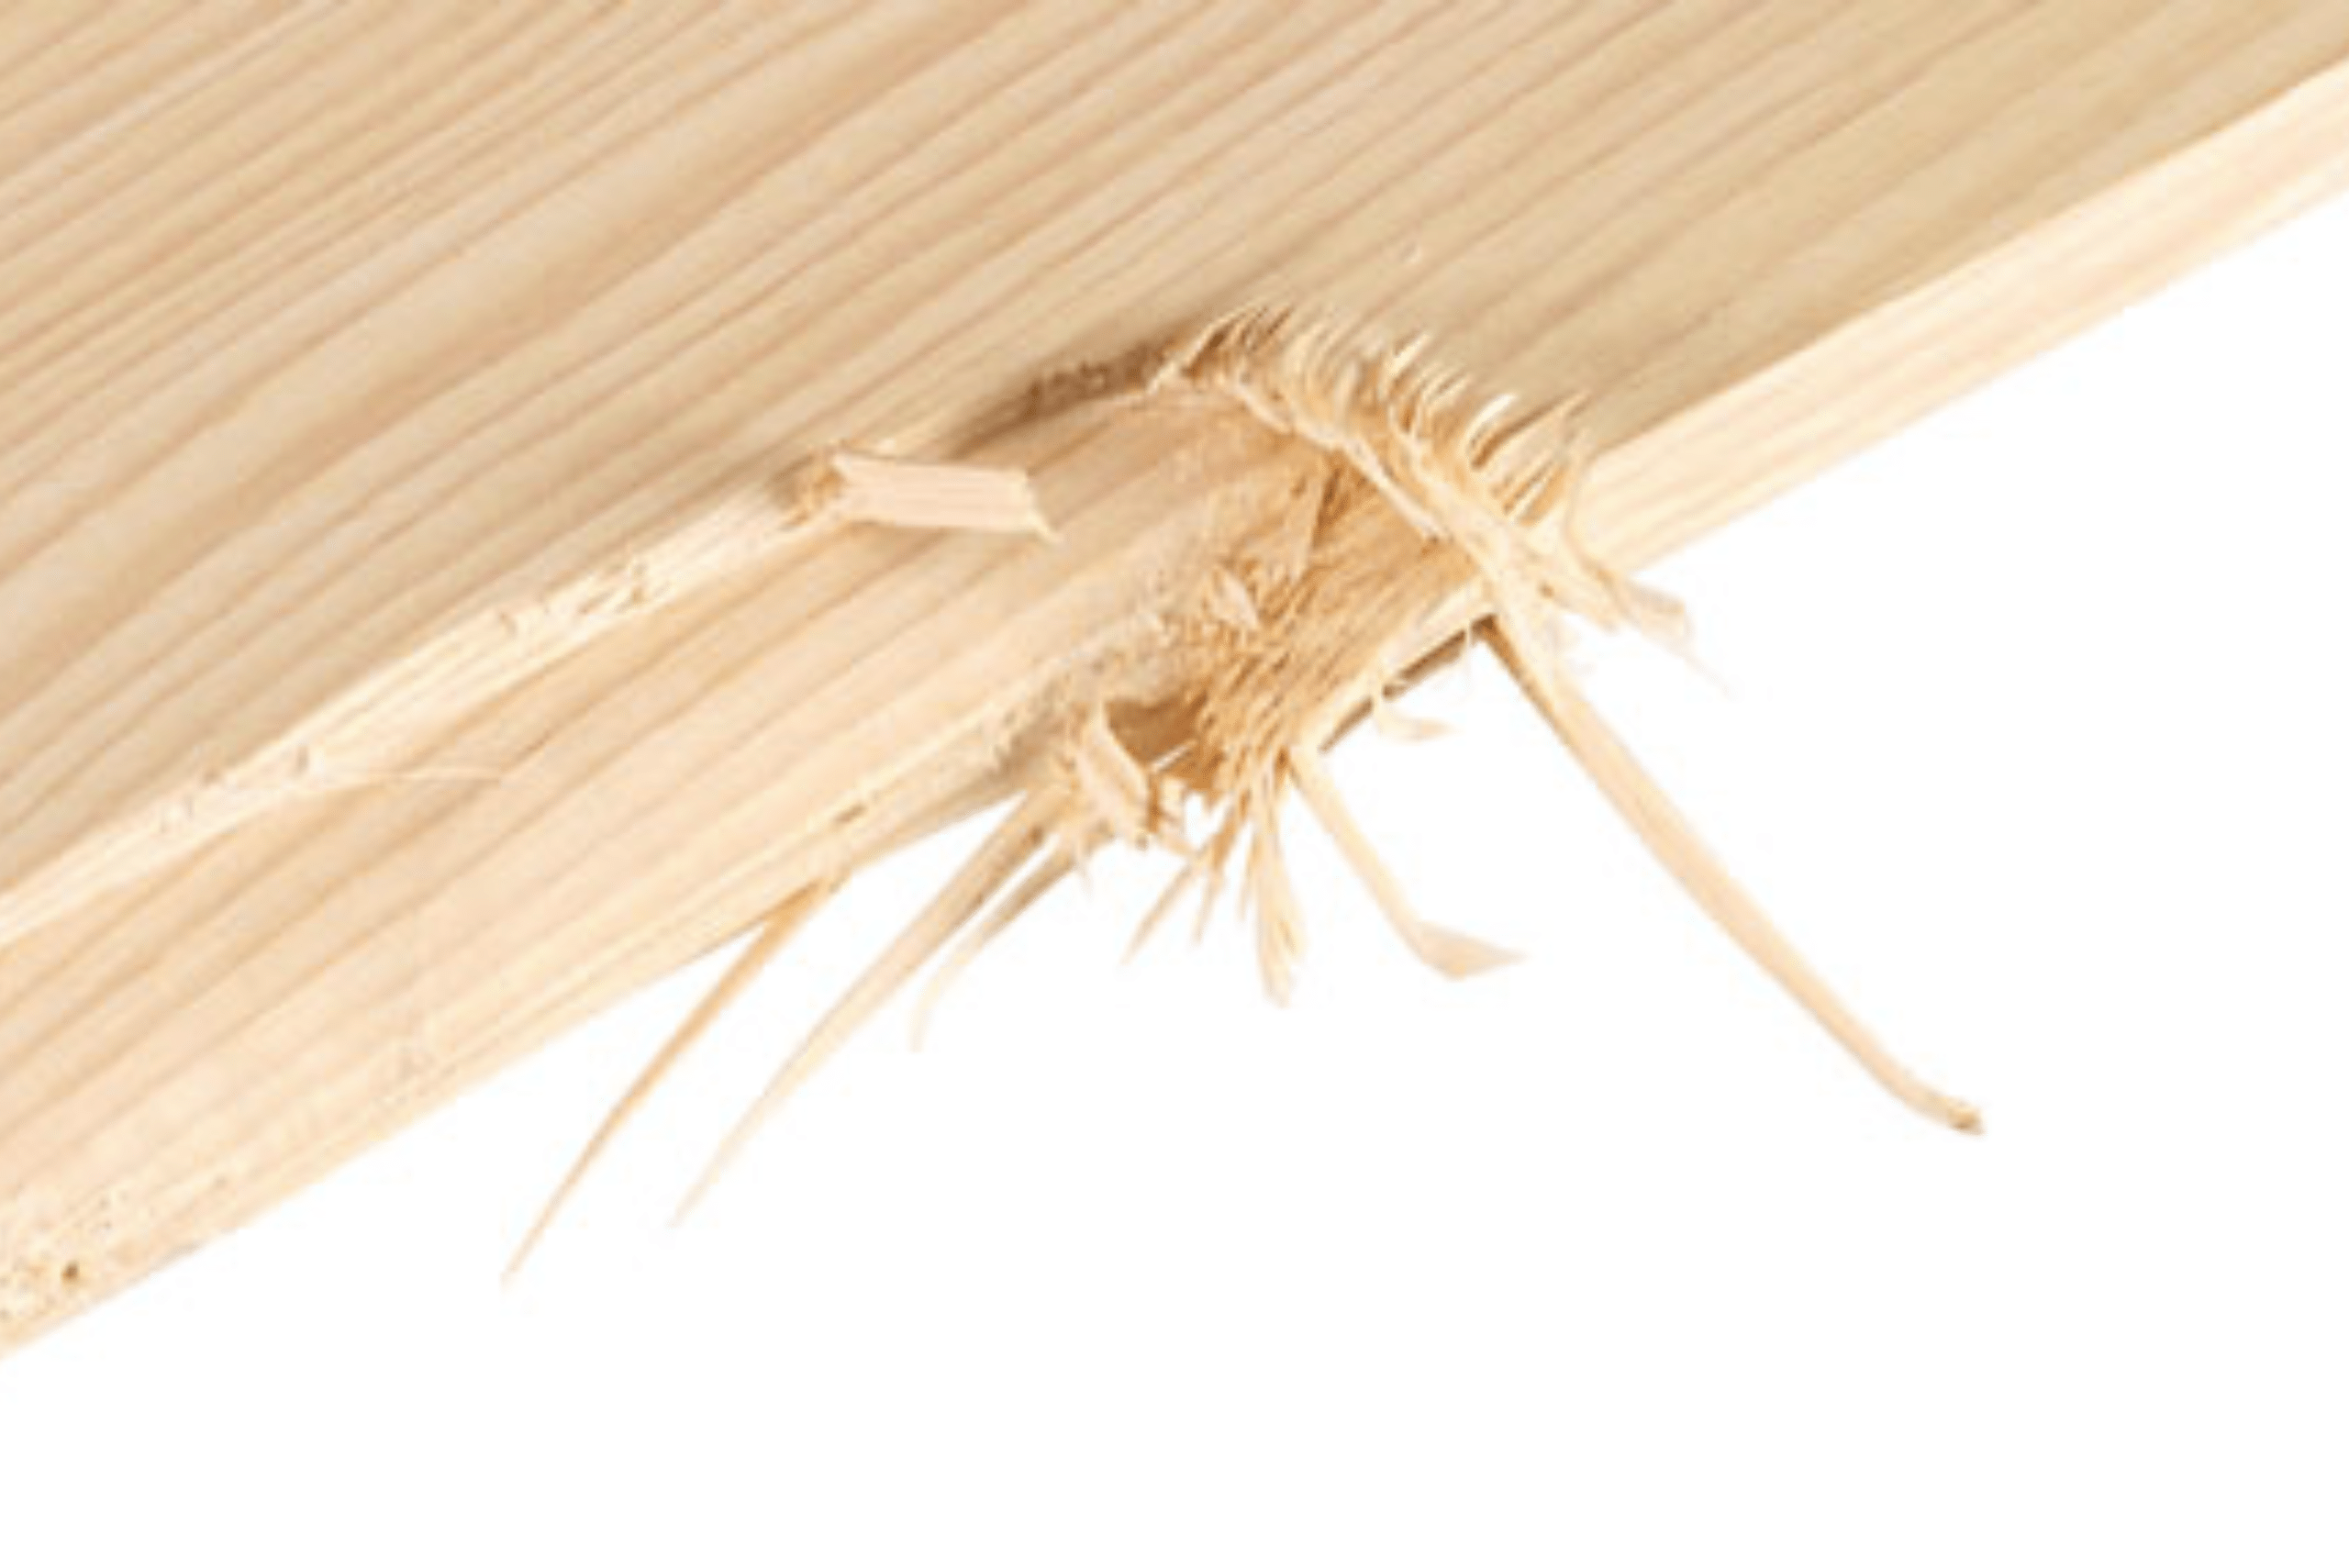
Another critical aspect to consider is the sharpness and condition of the router bit. A dull or damaged bit requires more force to cut through the wood, which can exacerbate tearout. Similarly, the speed at which the router is set can also influence the outcome. Too fast, and the bit may tear through the wood fibers before cutting cleanly through them; too slow, and the bit can burn the wood, creating a different but equally undesirable problem. Thus, achieving a balance in router speed, ensuring the use of sharp bits, and paying attention to the grain direction are fundamental steps in mitigating the risk of router tearout, making your woodworking project a smoother and more enjoyable experience.
How Material Type and Router Speed Affect Tearout
Navigating through the challenge of router tearout requires an understanding of how different materials react to the routing process. Hardwoods, for instance, are notorious for their susceptibility to tearout due to their dense grain structure. This means that when the router bit makes contact, it can sometimes lift and splinter the wood rather than cutting cleanly through it. On the other end of the spectrum, softer woods might seem easier to work with, but they also have their pitfalls. A router moving too fast can cause the softer wood fibers to tear out, leaving behind a ragged edge that requires additional sanding and finishing work.
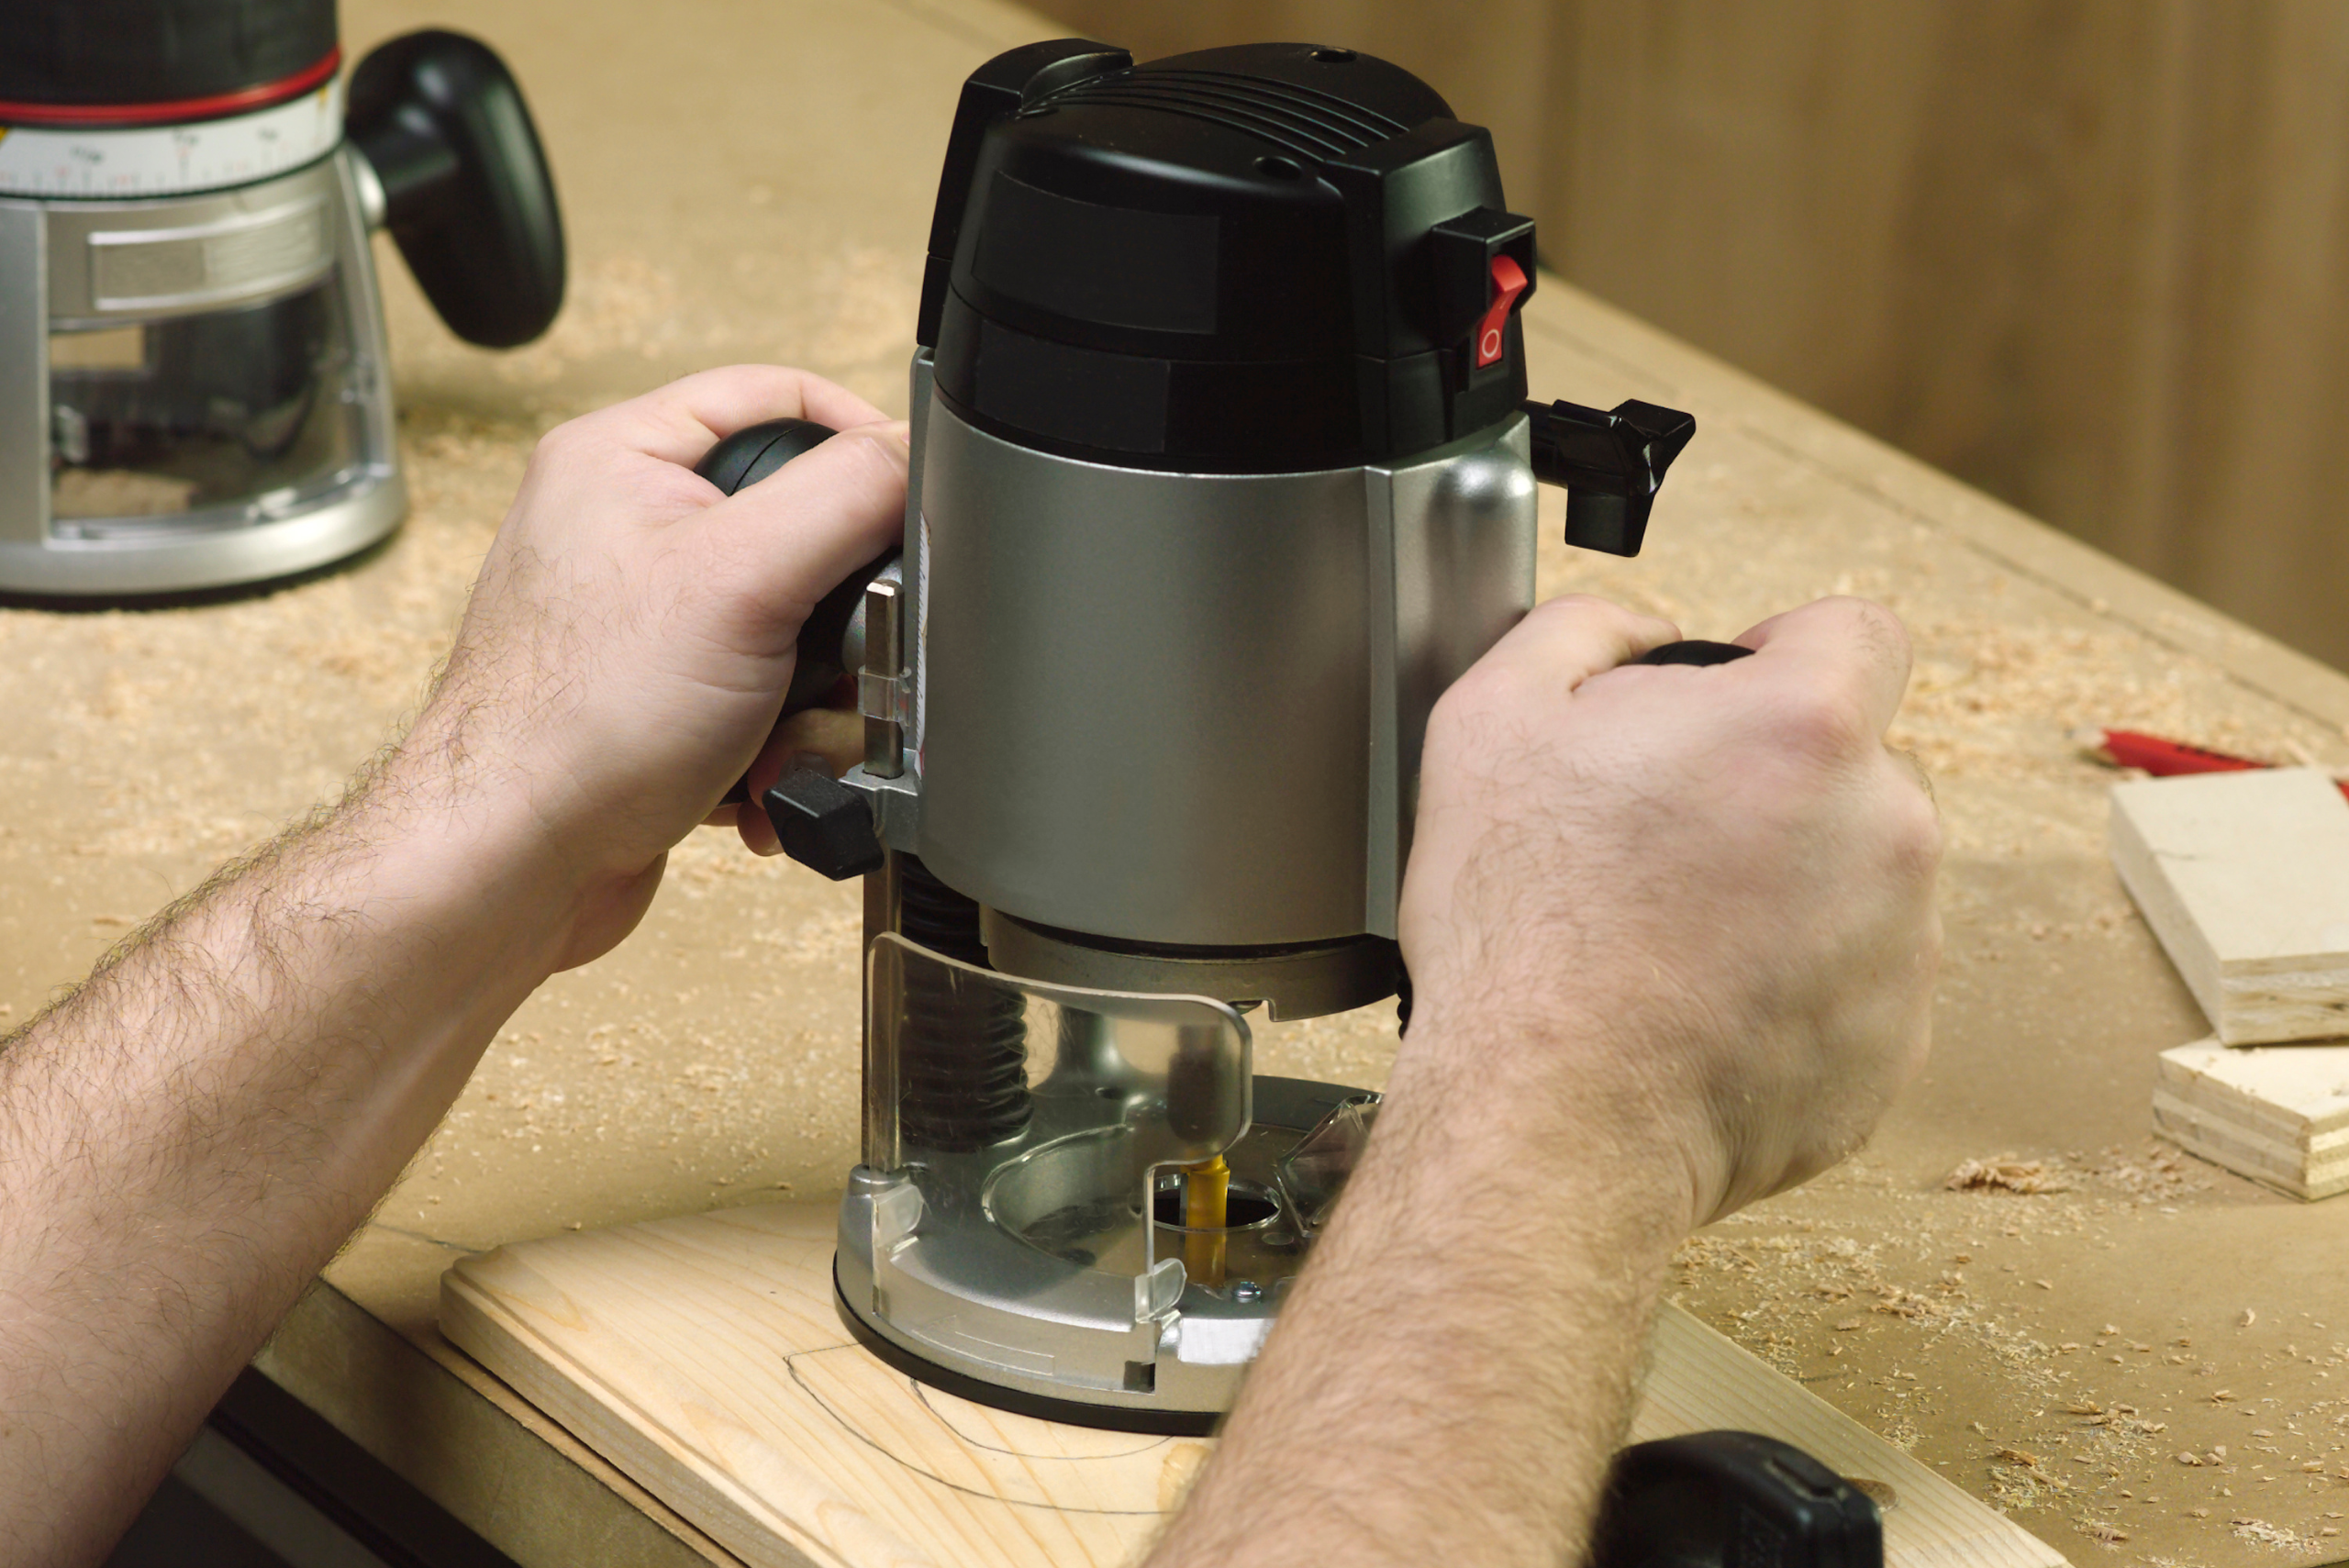
The speed of your router plays a crucial role in minimizing tearout. A high-speed setting might be tempting to get the job done faster, but it can be counterproductive, especially with materials that are prone to splintering. Slowing down the router allows the bit to cut through the material more cleanly, producing a smoother edge. It’s a delicate balance, though, as going too slow can lead to burn marks on the wood, especially in denser materials. Experimentation and experience are key in finding that sweet spot where the router speed and the material type are in harmony, reducing the likelihood of tearout and achieving a professional finish on your project.
Tips and Techniques to Prevent Router Tearout
Ah, the dreaded router tearout – a common frustration for many woodworkers, but fear not! There are several tried and true methods to ensure your woodworking projects remain smooth and splinter-free. One effective strategy is to ensure you’re using a sharp, high-quality bit. Dull tools are often the culprits behind tearouts. They tend to fray the wood rather than slicing cleanly through. Routinely checking and maintaining the sharpness of your bits can make a significant difference in your results.
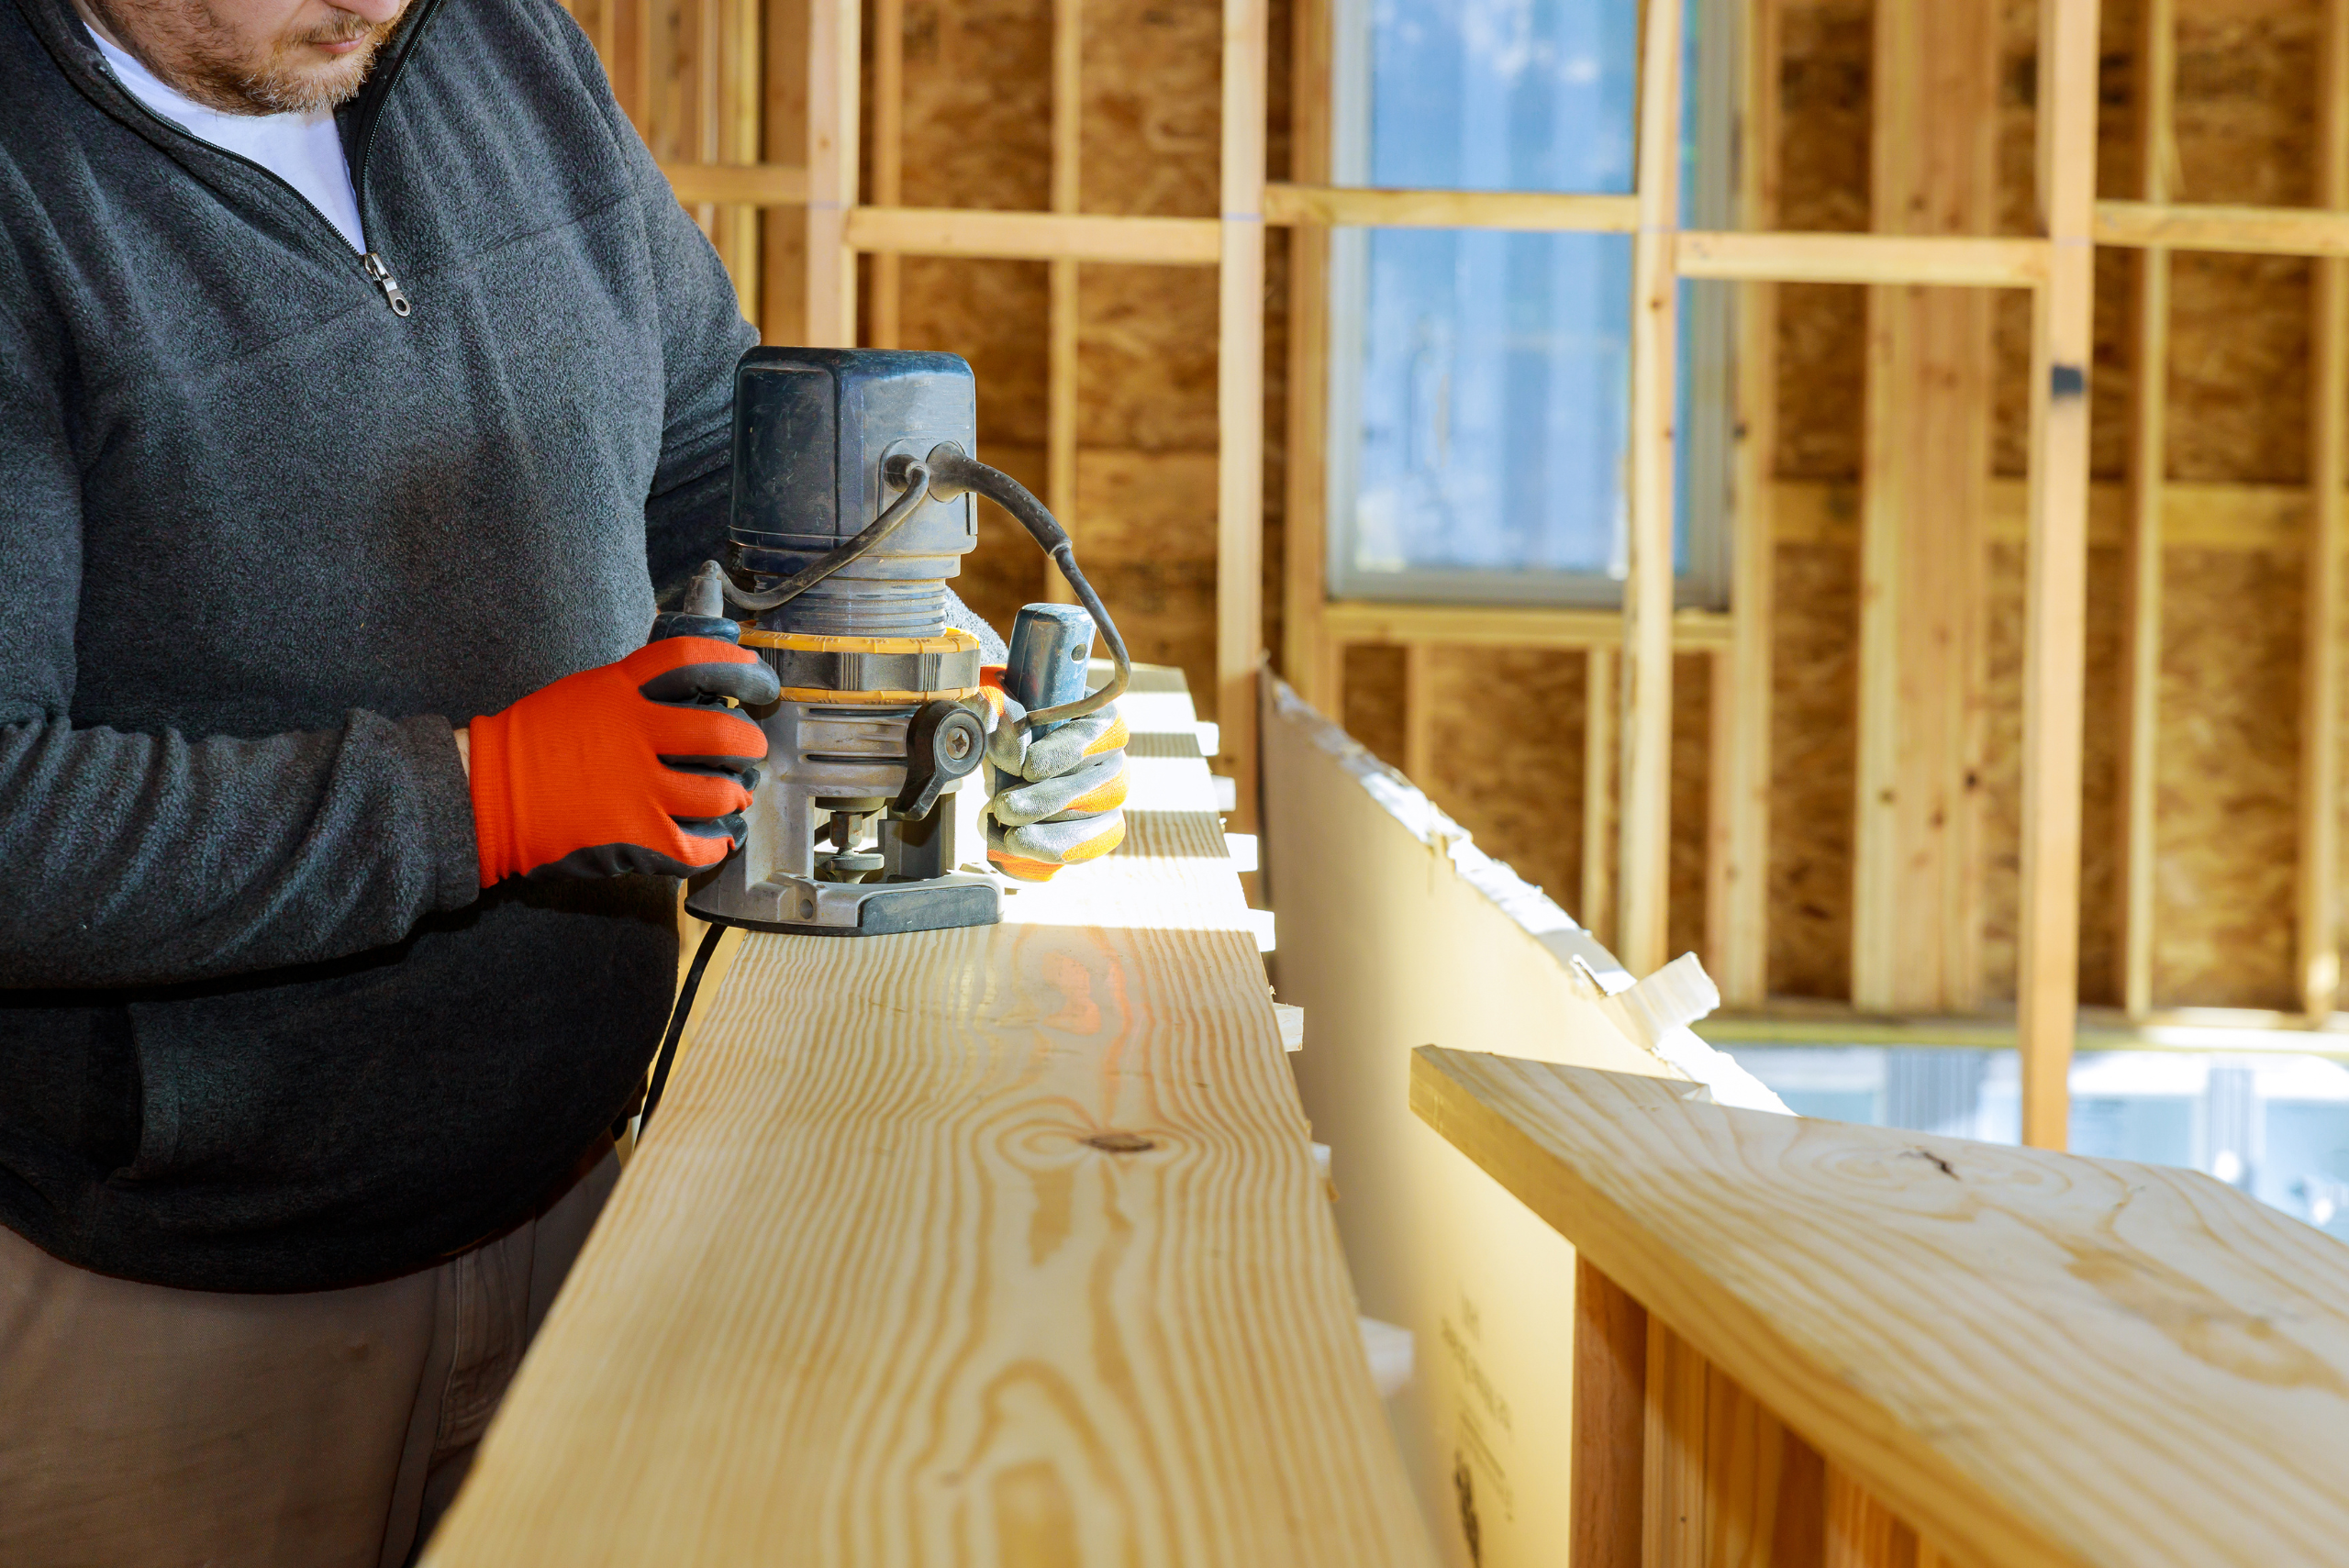
Another technique is to use a backing board when routing the edge of a board. This simple yet effective approach supports the wood fibers at the edge, preventing them from breaking away as the router bit exits the material. Imagine it as a gentle embrace around the wood, offering support where it’s most vulnerable. Additionally, taking the time to climb cut on the end grain can also help in managing router tearout. This method involves a careful, controlled cut in the opposite direction of the router’s normal path for a short distance on the end grain before proceeding with the conventional routing direction. This preemptive move can significantly reduce the chances of tearout, leaving you with crisp, clean edges that are sure to impress.
Advanced Strategies for Dealing with Difficult Router Tearout
When grappling with the challenge of router tearout, it’s essential to experiment with some advanced strategies that can turn your woodworking projects from frustrating to fulfilling. One such method involves the strategic use of sacrificial boards or backing boards. Placing a piece of scrap wood behind or alongside your workpiece provides additional support to the wood fibers at the edge, where tearout is most prone to occur.
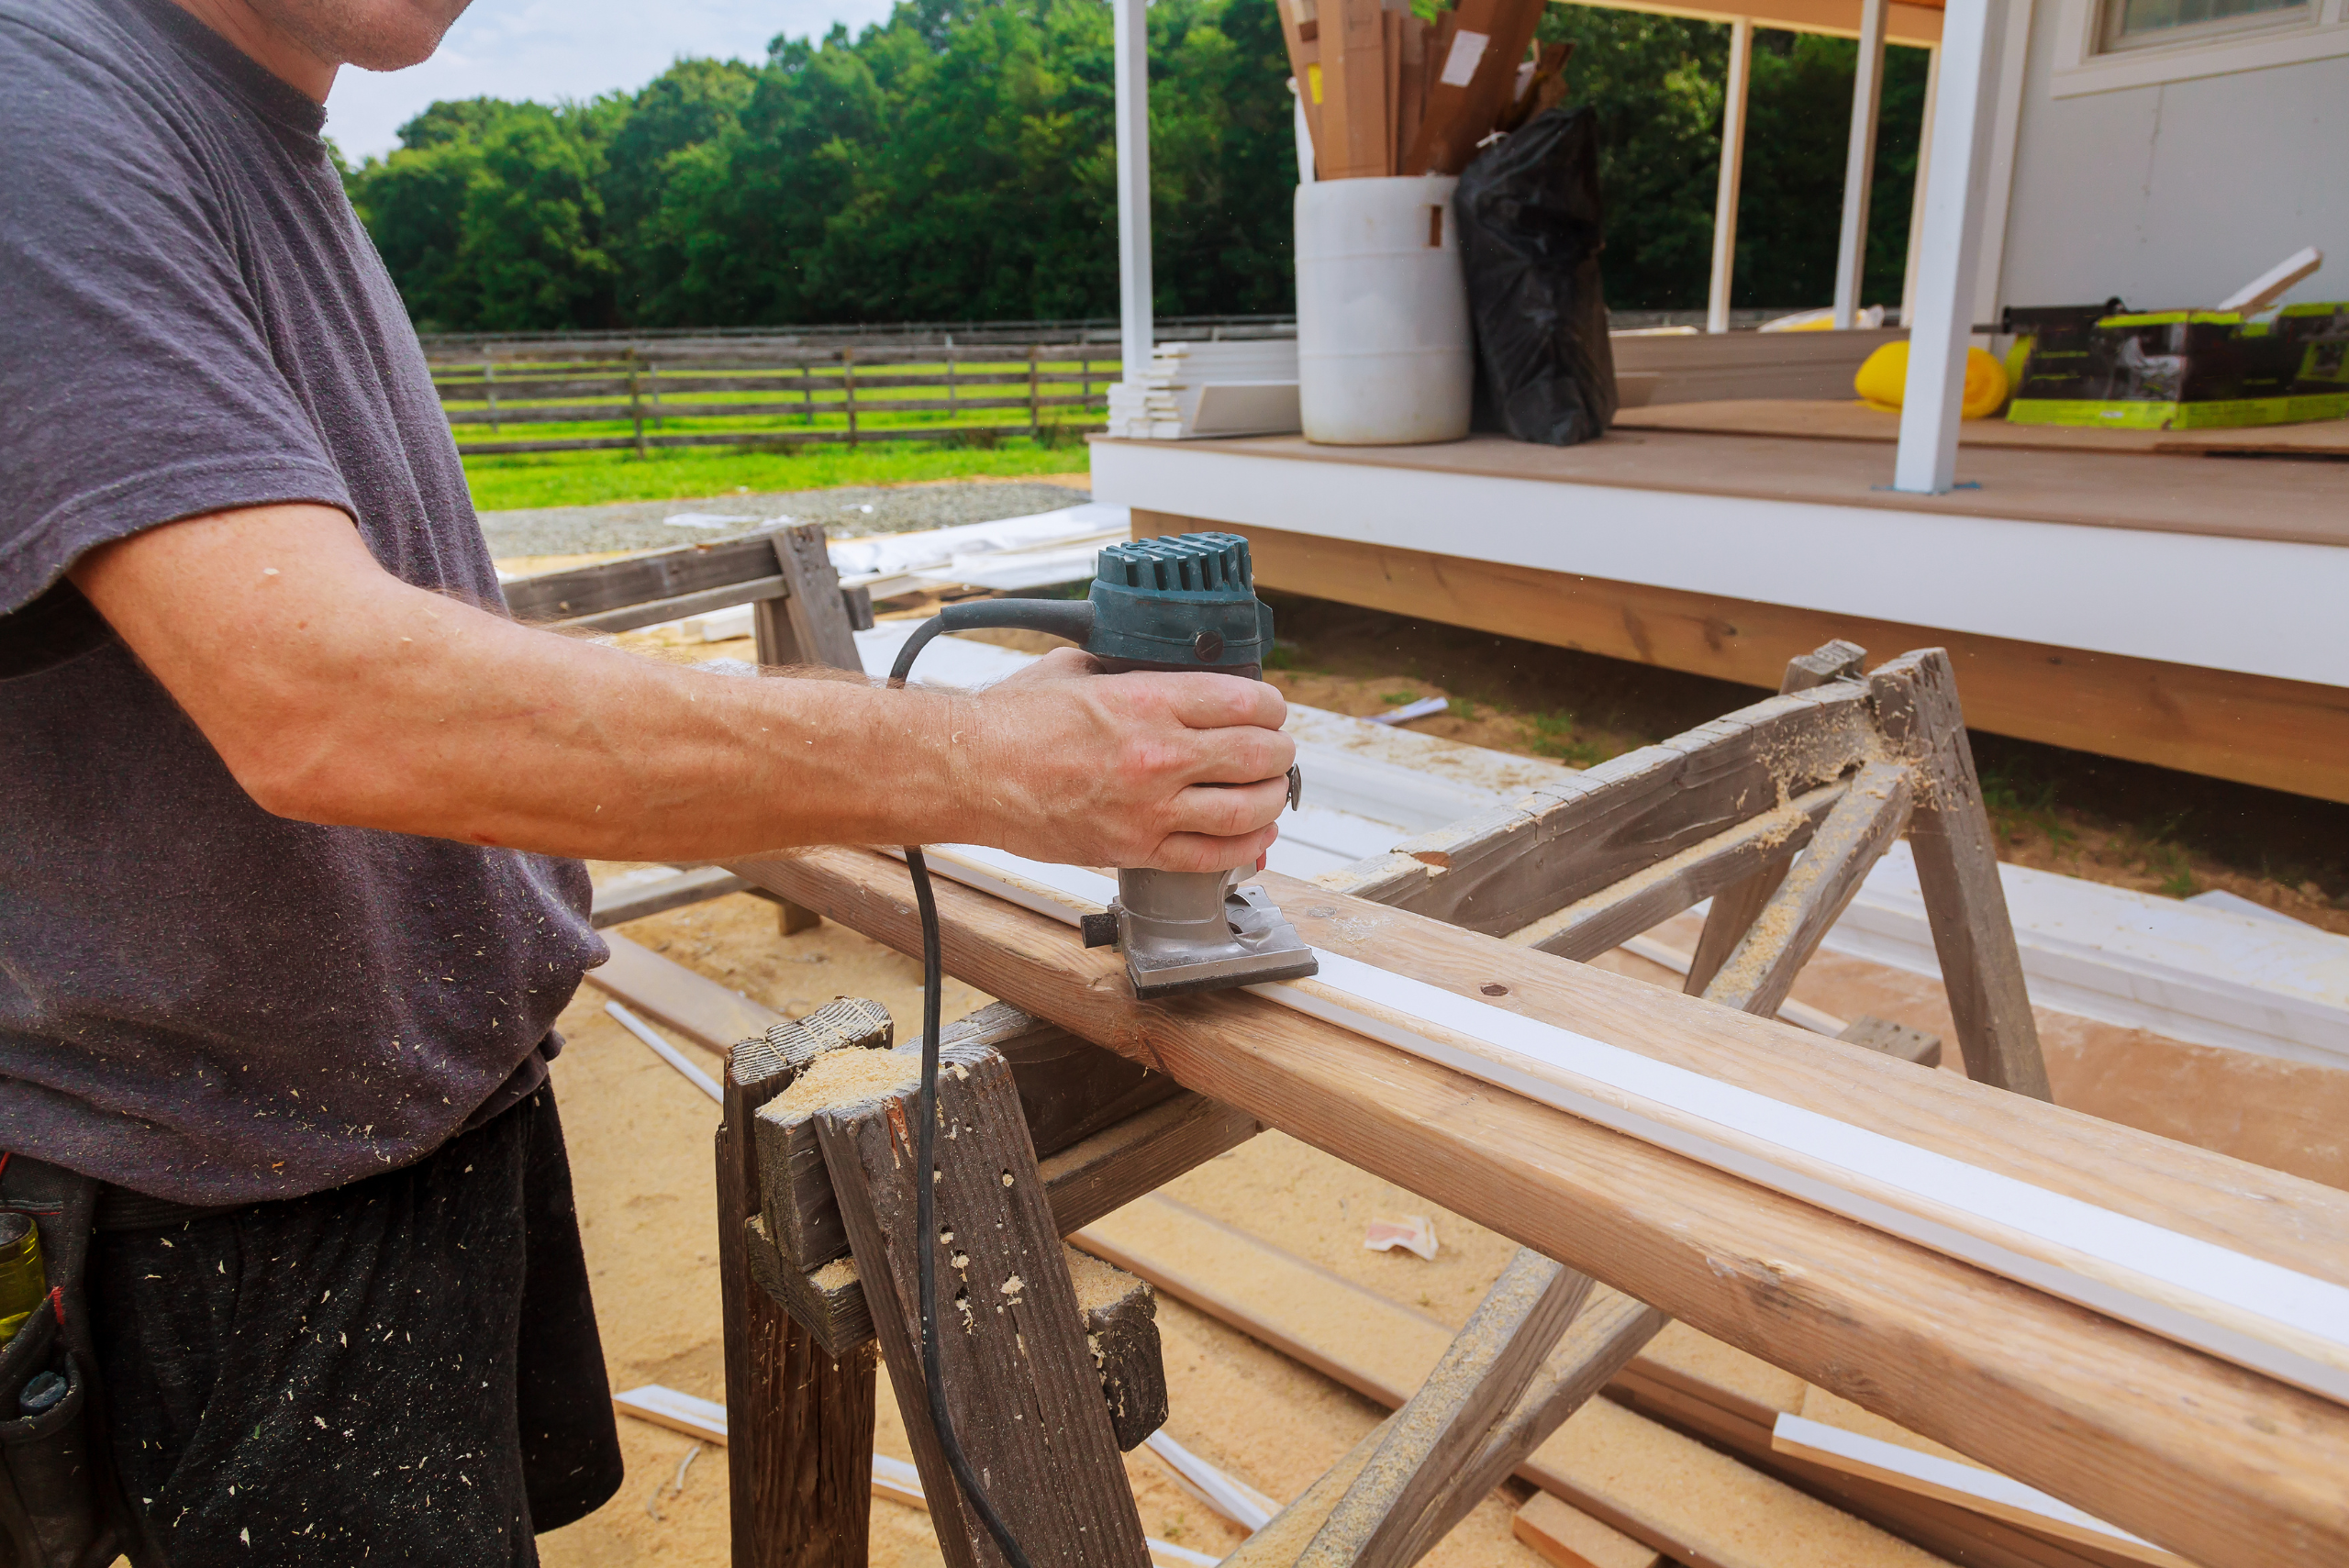
This simple yet effective technique acts as a barrier, absorbing the force and preventing the delicate edges of your project piece from splintering. By combining these approaches, adjusting router speed, and employing backing boards, you can tackle router tearout head-on, resulting in cleaner cuts and a more professional finish to your woodworking projects. These advanced strategies not only enhance the quality of your work but also elevate your woodworking experience, making it more enjoyable and less of a battle against tearout.
Techniques for Repairing Router Tearout After It Occurs
When you’re working with wood, router tearout is an unavoidable frustration that can mar the appearance of your project. However, the good news is that there are effective ways to repair these mishaps, ensuring your finished project looks as intended. One of the first steps in addressing router tearout is to assess the depth and severity of the damage. For minor tearouts, a simple application of wood filler matched to the color of your wood can do wonders. It’s essential to apply the filler carefully, pressing it into the tearout area and then sanding it smooth once it’s dry. This method is particularly useful for small, superficial tearouts where the structural integrity of the wood is not compromised.
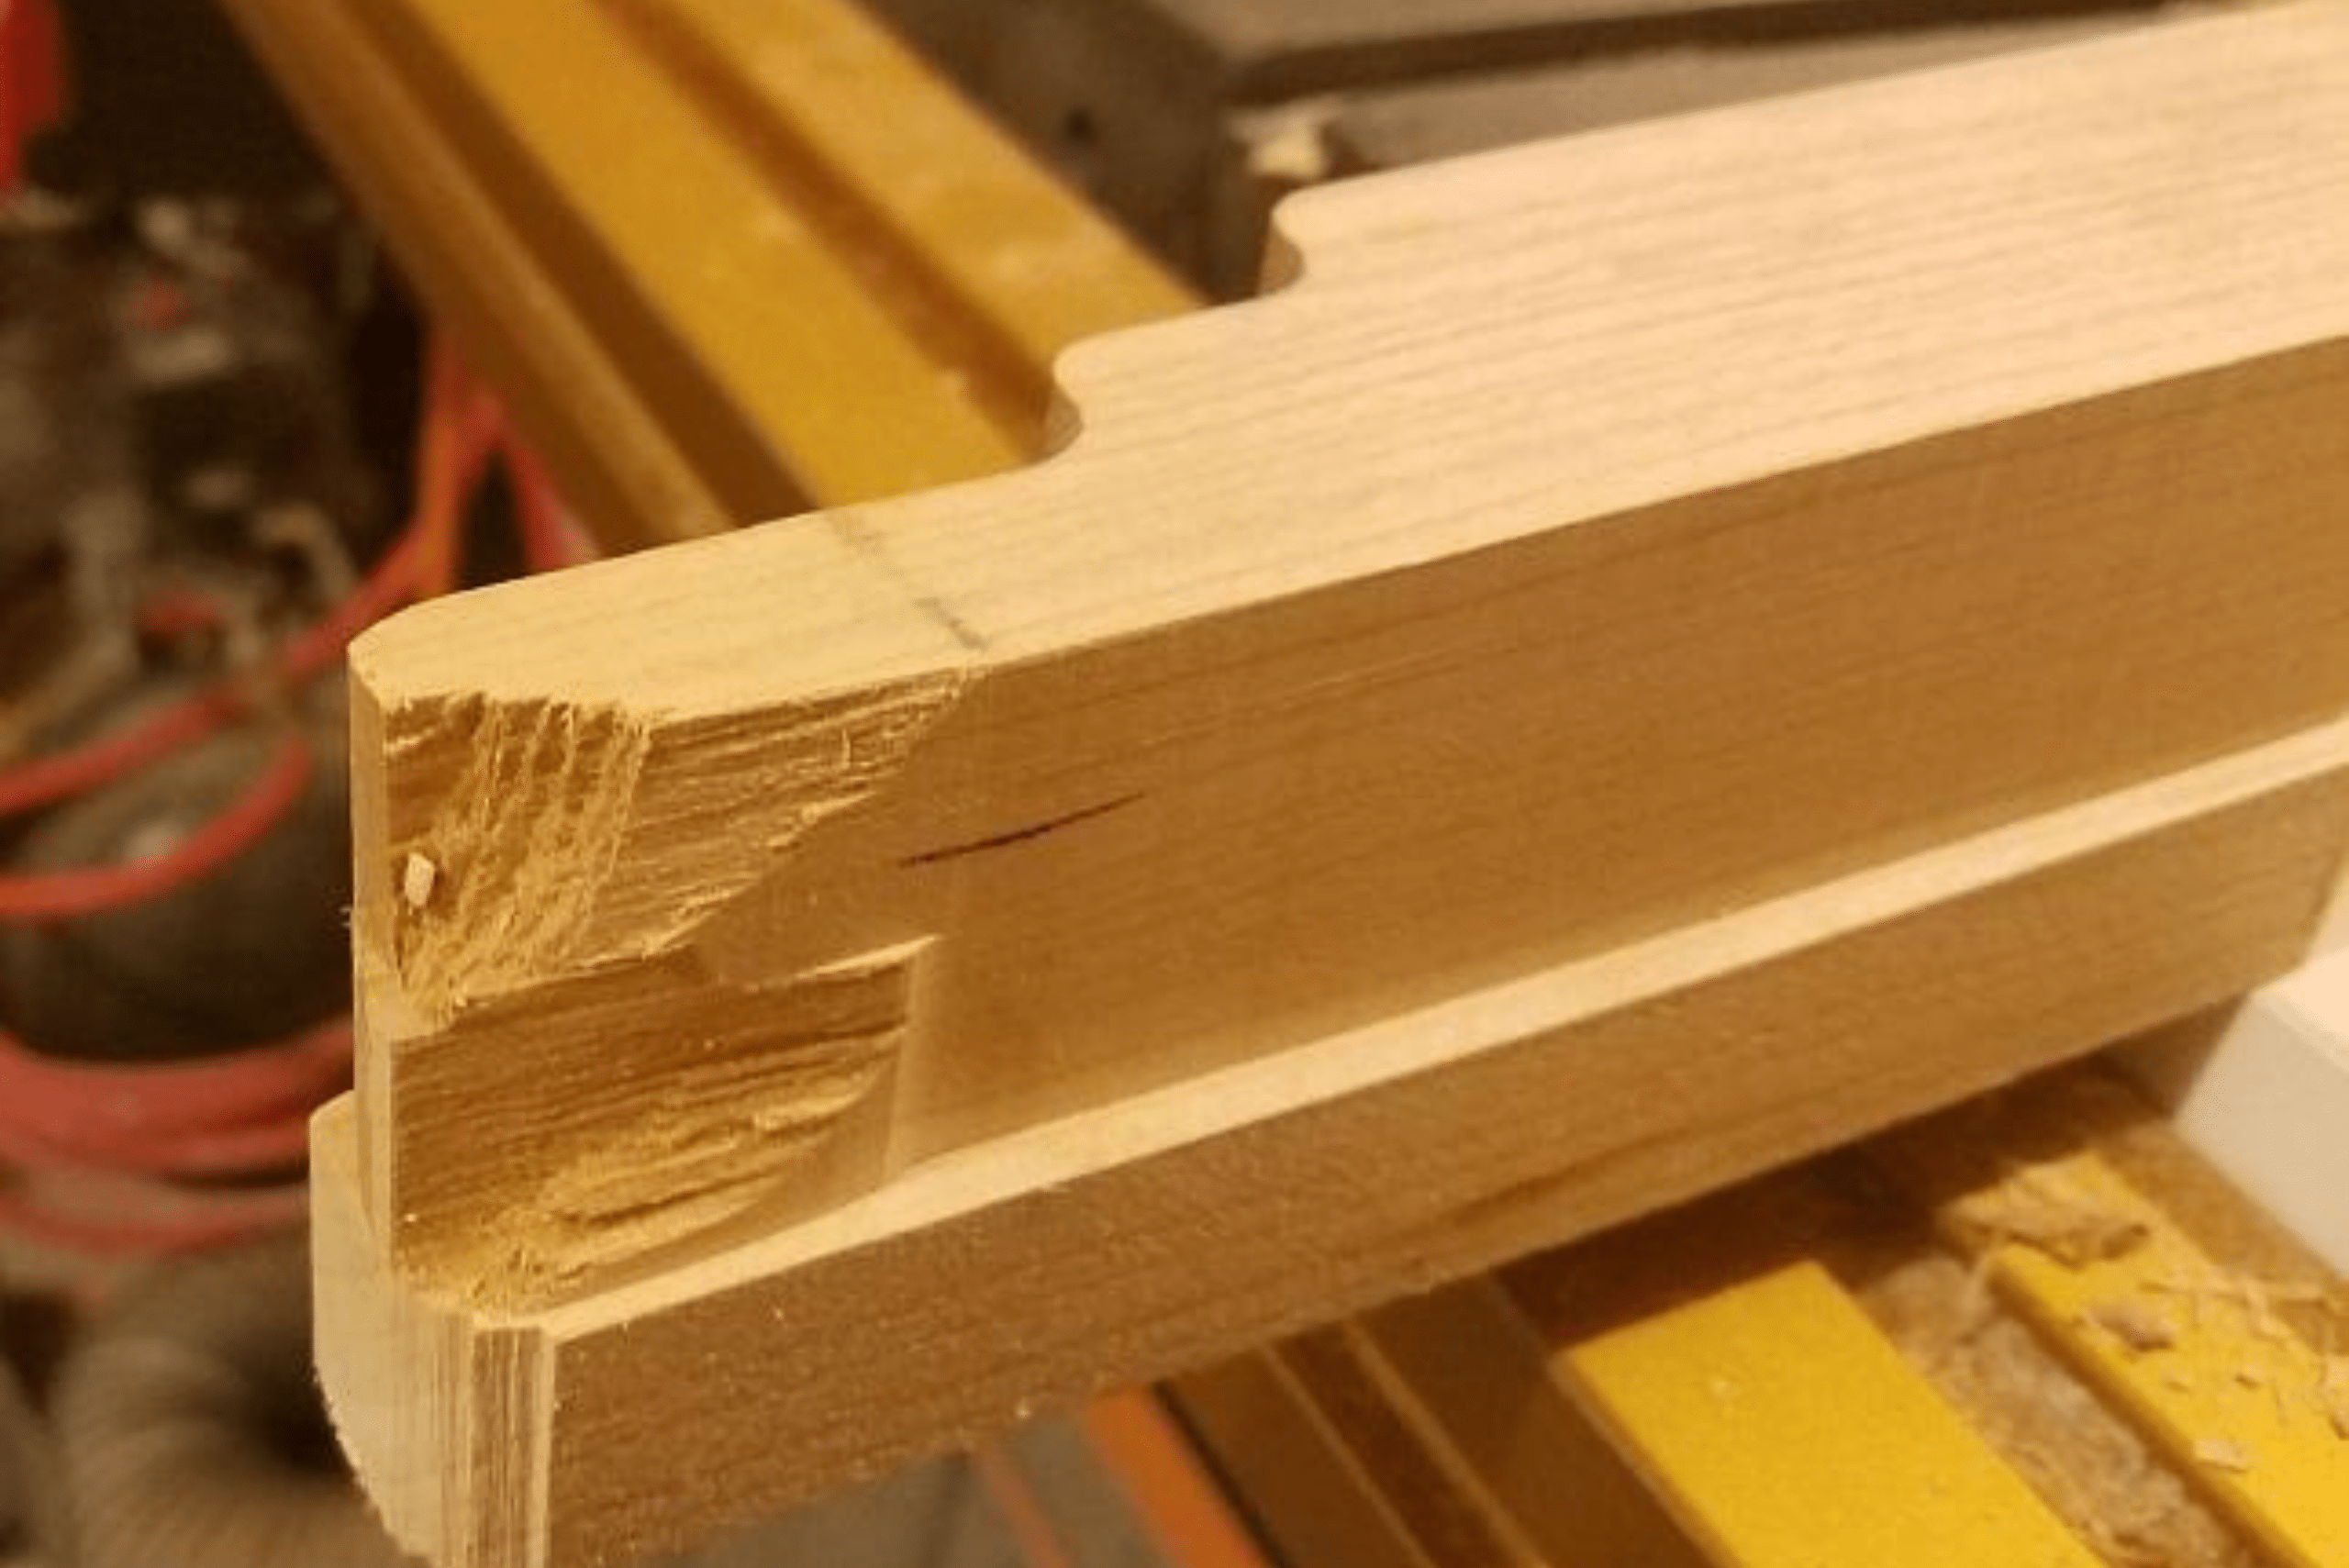
For more significant tearouts, a different approach might be necessary, such as creating a custom patch. This involves cutting a piece of wood that closely matches the type of wood you’re working with and carefully fitting it into the tearout. Gluing this patch in place and then sanding it flush with the surface can effectively conceal the damage, making the repair almost invisible. It requires a bit more work and skill but results in a more aesthetically pleasing and durable repair. The key to a successful repair is patience and attention to detail, ensuring that your fix blends seamlessly with the surrounding wood.
Related Articles:
- How to Prevent Tearout and Splintering When Cutting Plywood, Once and For All
- Best Types of Wood for Beginner Woodworking
- Difference Between Wood Putty and Wood Filler
As you continue to refine your skills and techniques, you’ll discover that preventing router tearout becomes an intuitive part of your woodworking process. Remember, every piece of wood has its unique characteristics, and sometimes, despite your best efforts, tearout might still occur. However, don’t be discouraged. Such challenges offer valuable learning opportunities to improve and adapt your approach. With time, your ability to anticipate and prevent router tearout will enhance, allowing you to achieve flawless finishes on your woodworking projects.
Ready to start your next project? Join our DIY community to receive tool tips, how-to guides, and exclusive creative insights. Subscribe to the ManMadeDIY newsletter now! Click here to unlock a world of hands-on inspiration.


