How to Make an Heirloom Carving Board
It happens every year. I'll spend a couple days reading old November issues of my favorite cooking magazines and pouring over the food blogs to come up with our Thanksgiving menu. I'll make a plan, shop way ahead of time, and spread my prep work out over the three days prior. Come Thursday, there will be an established timeline, and it will be executed to a T. And when the sides are ready, the turkey will be out of the oven and well rested to keep the juices in. I'll go to carve it, and inevitably, I'll say to myself:
Crap. I forgot that I do not have a work surface on which to properly take this thing apart.
I have cutting boards. Nice, thick, end-grain hard maple butcher blocks that I made myself. But they were designed for chopping vegetables, which are relatively dry, and not carving a turkey, which (if you cook it right) is very, very moist. Those juices will flow, and saturate any number of kitchen towels, and make a huge mess, covering my hands in poultry drippings to the point that I can no longer safely grip the knife and everything goes slippery, sliding (but flavorful) chaos.
It happens every year. I say to myself, “I really ought to make a proper carving board.” And this year, I decided it was finally time.
So, here's how to make a diy cutting board yourself. Once you have the materials, it's only 90 minutes of work, and will last for many, many holiday seasons to come.
First things first: what makes this carving board different from any other cutting board?
A cutting board is a popular woodworking project. If you've ever been to a craft fair or holiday market (or, frankly, ever looked at woodworking content on YouTube), you've no doubt seen all the stripes and squares glued up together, in boards of all sizes, shapes, color palettes, and design taste.
This homemade carving board is different from the butcher block design in a couple of key ways, that both improve function for carving, and make the project easier to build quickly.
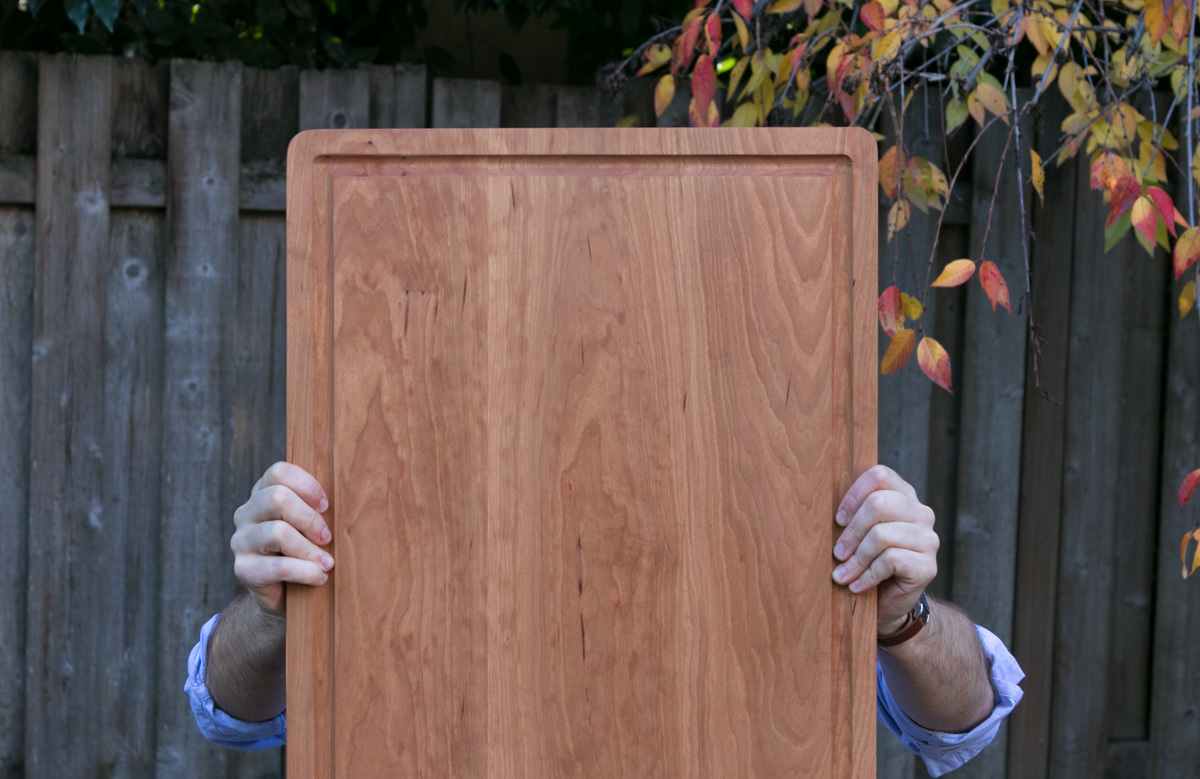
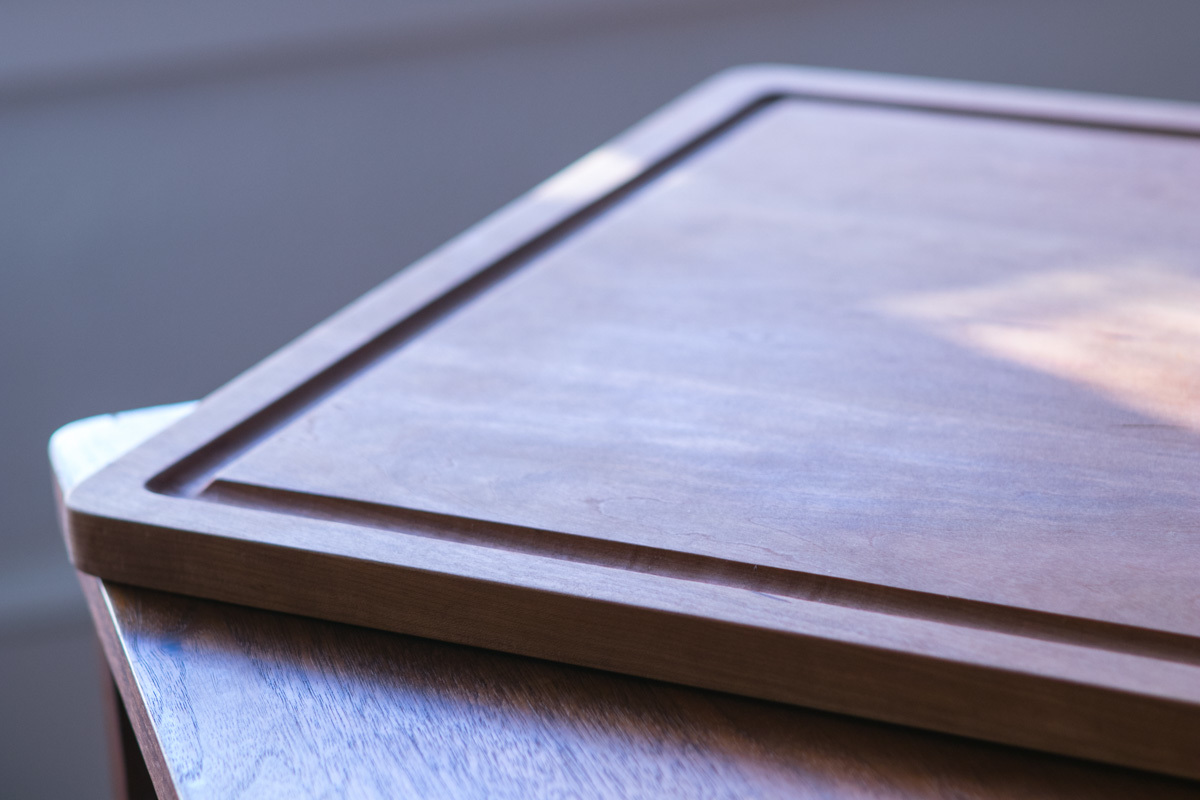
- It's large. This project is big…on purpose. The finished design is 18 x 24″, which will hold roast beasts of all sizes. It could live on your counter, or be something you pull out for special occasions.
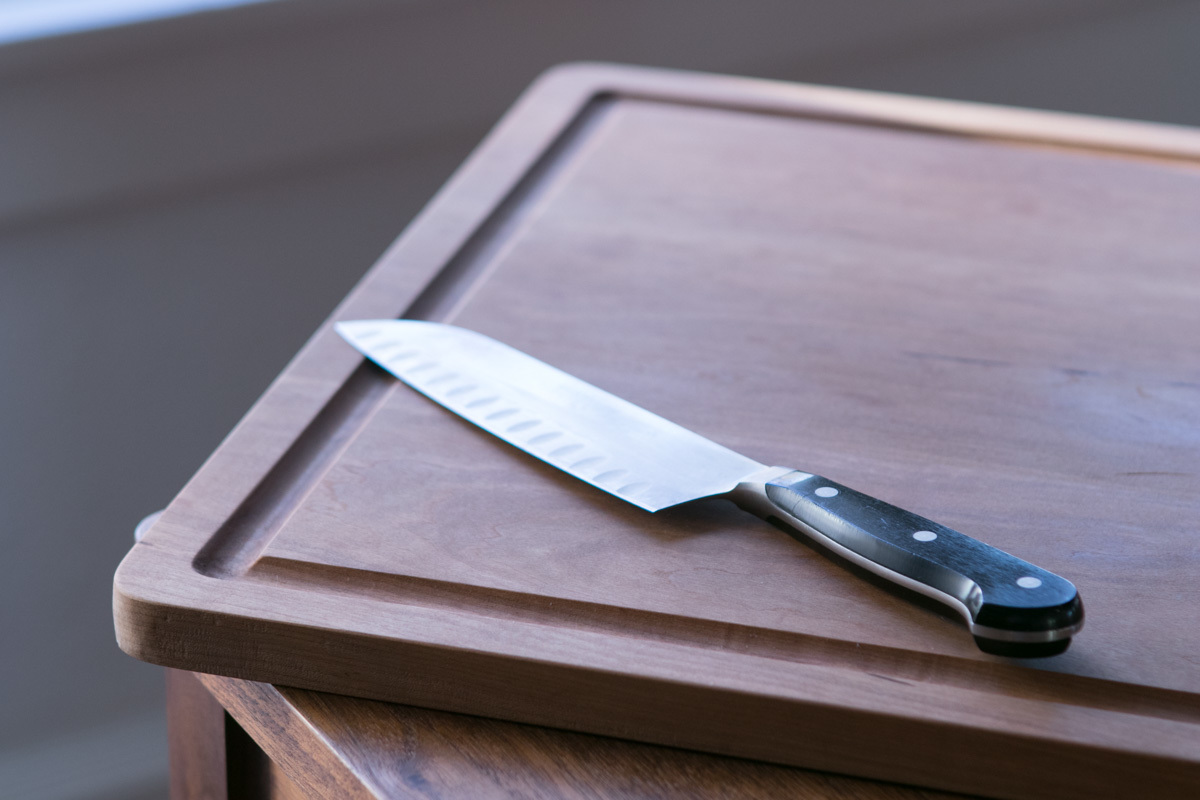
- It's has a moat to catch all the liquid. The groove that skirts the perimeter will catch juices and drippings. This keeps them off the floor, and more importantly, allows you to capture them to use in your gravy or a pan sauce.
- It's made from face grain, not edge grain or end grain. Pro-grade cutting boards are glued together so that the work surface is made of edge grain, or, in higher-end models, end grain. This is important for cutting boards designed for everyday use, as the grain will “heal itself” from repeated slices with a sharp knife.
This carving board doesn't need to take regular abuse from a heavy blade, and so can be constructed from normal, flat-sawn lumber. This is 1) much less expensive and 2) much less work. In fact, they entire thing can be made from a single board that's only 7 feet long. That's only $20-25 worth of wood; compare that to store-bought carving boards this size, which cost more than $100. - You can make this from any (non-toxic) hardwood. Proper “chop blocks” are made from woods high on the Janka scale, typically rock maple, beech, or sometimes walnut. But, for this project, you can opt for nearly any close-grained wood you like. I made mine from very affordable flat-sawn cherry, which will darken over time. Plus, it's lighter-use design means your wood only needs to be 1″ or so, saving money. I think it's the best wood for cutting board projects of this nature.
- This will show signs of use. That's the point. The face grain wood means this will get a little beat up. That's the look I'm going for. I want this thing to bear the witness marks of Thanksgivings, Christmas, and special meals for years to come. The wear is what makes it an heirloom.
Got it? Good. Let's make a DIY cutting board:
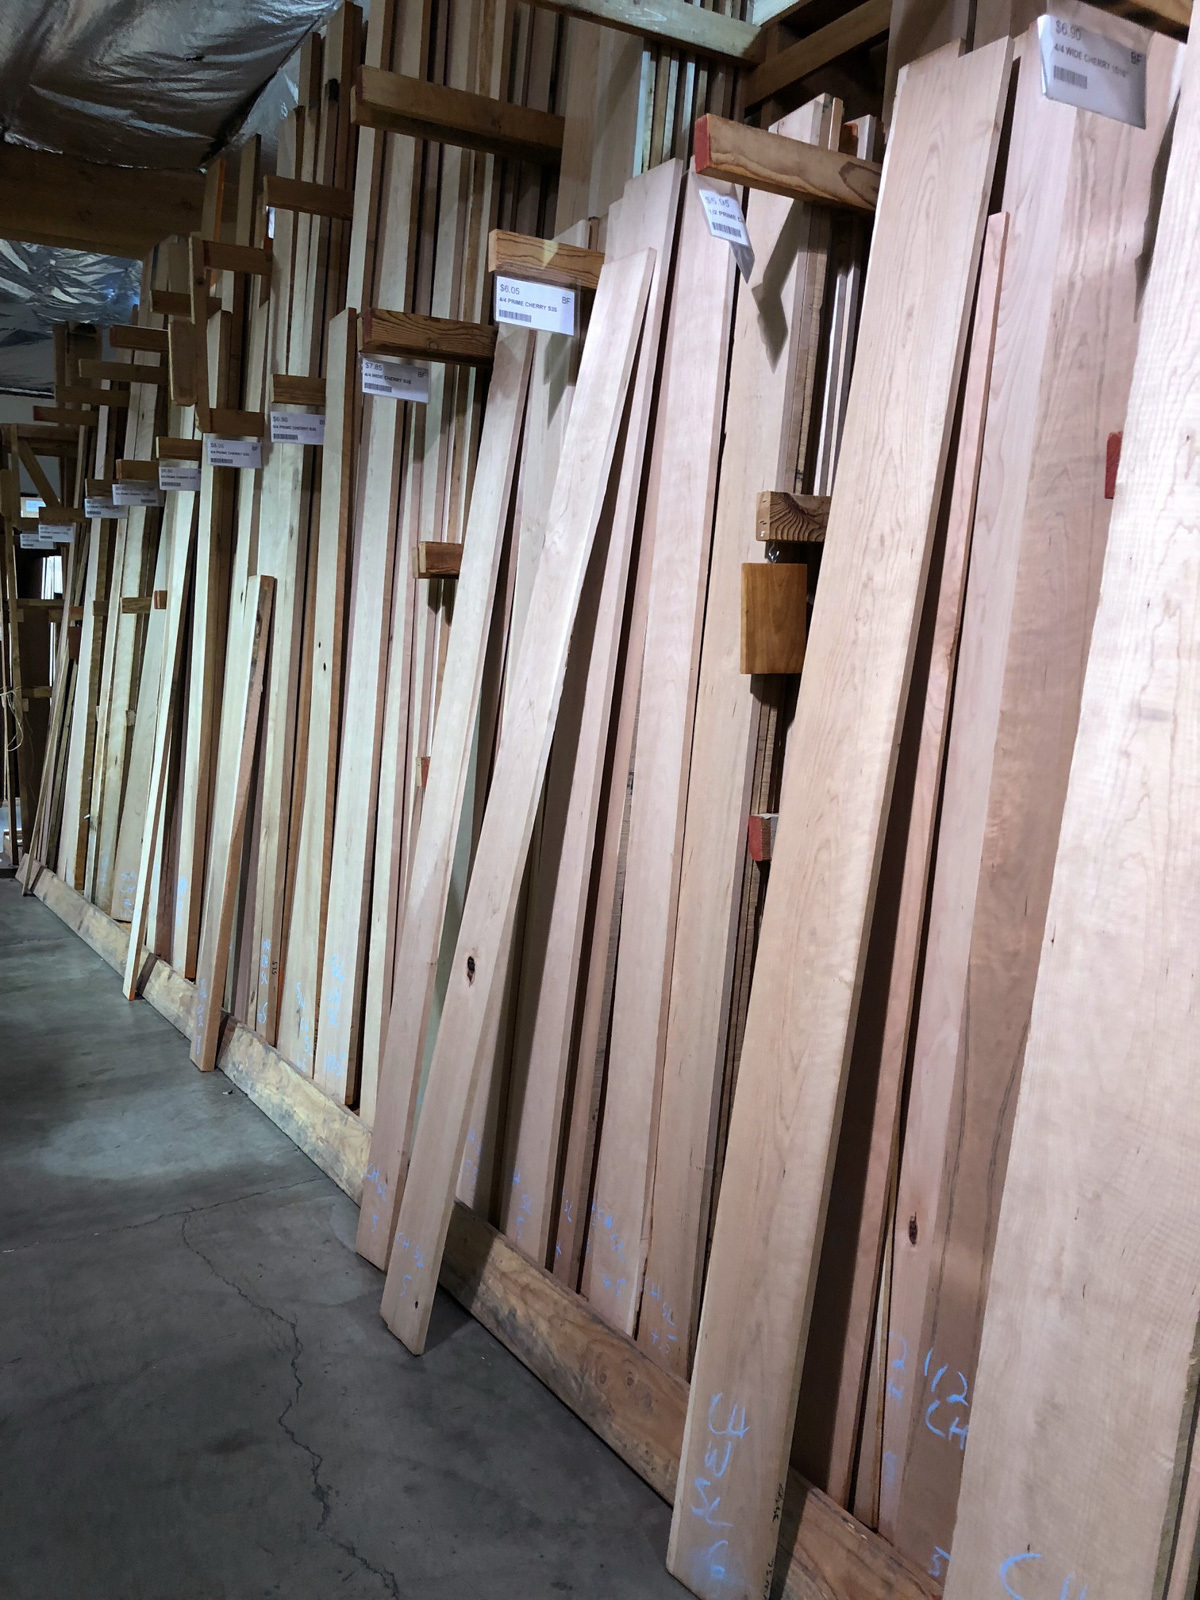
The single most important part of this project is selecting the right wood. Choosing your lumber carefully means fewer joints, and much less work to glue up and get things flat and smooth.
Find a board that will net you a useable 6″ wide parts that are 25″ long. I bought a single board, 6 3/4″ wide, and 94″ long. The wood was sold as S3S – surfaced on three sides.
I tend to like to mill my own wood, but with only a few days before Thanksgiving, I needed to get this thing done ASAP. Since one edge was already jointed and the faces flat, I only needed to cut to size before gluing the panel together.
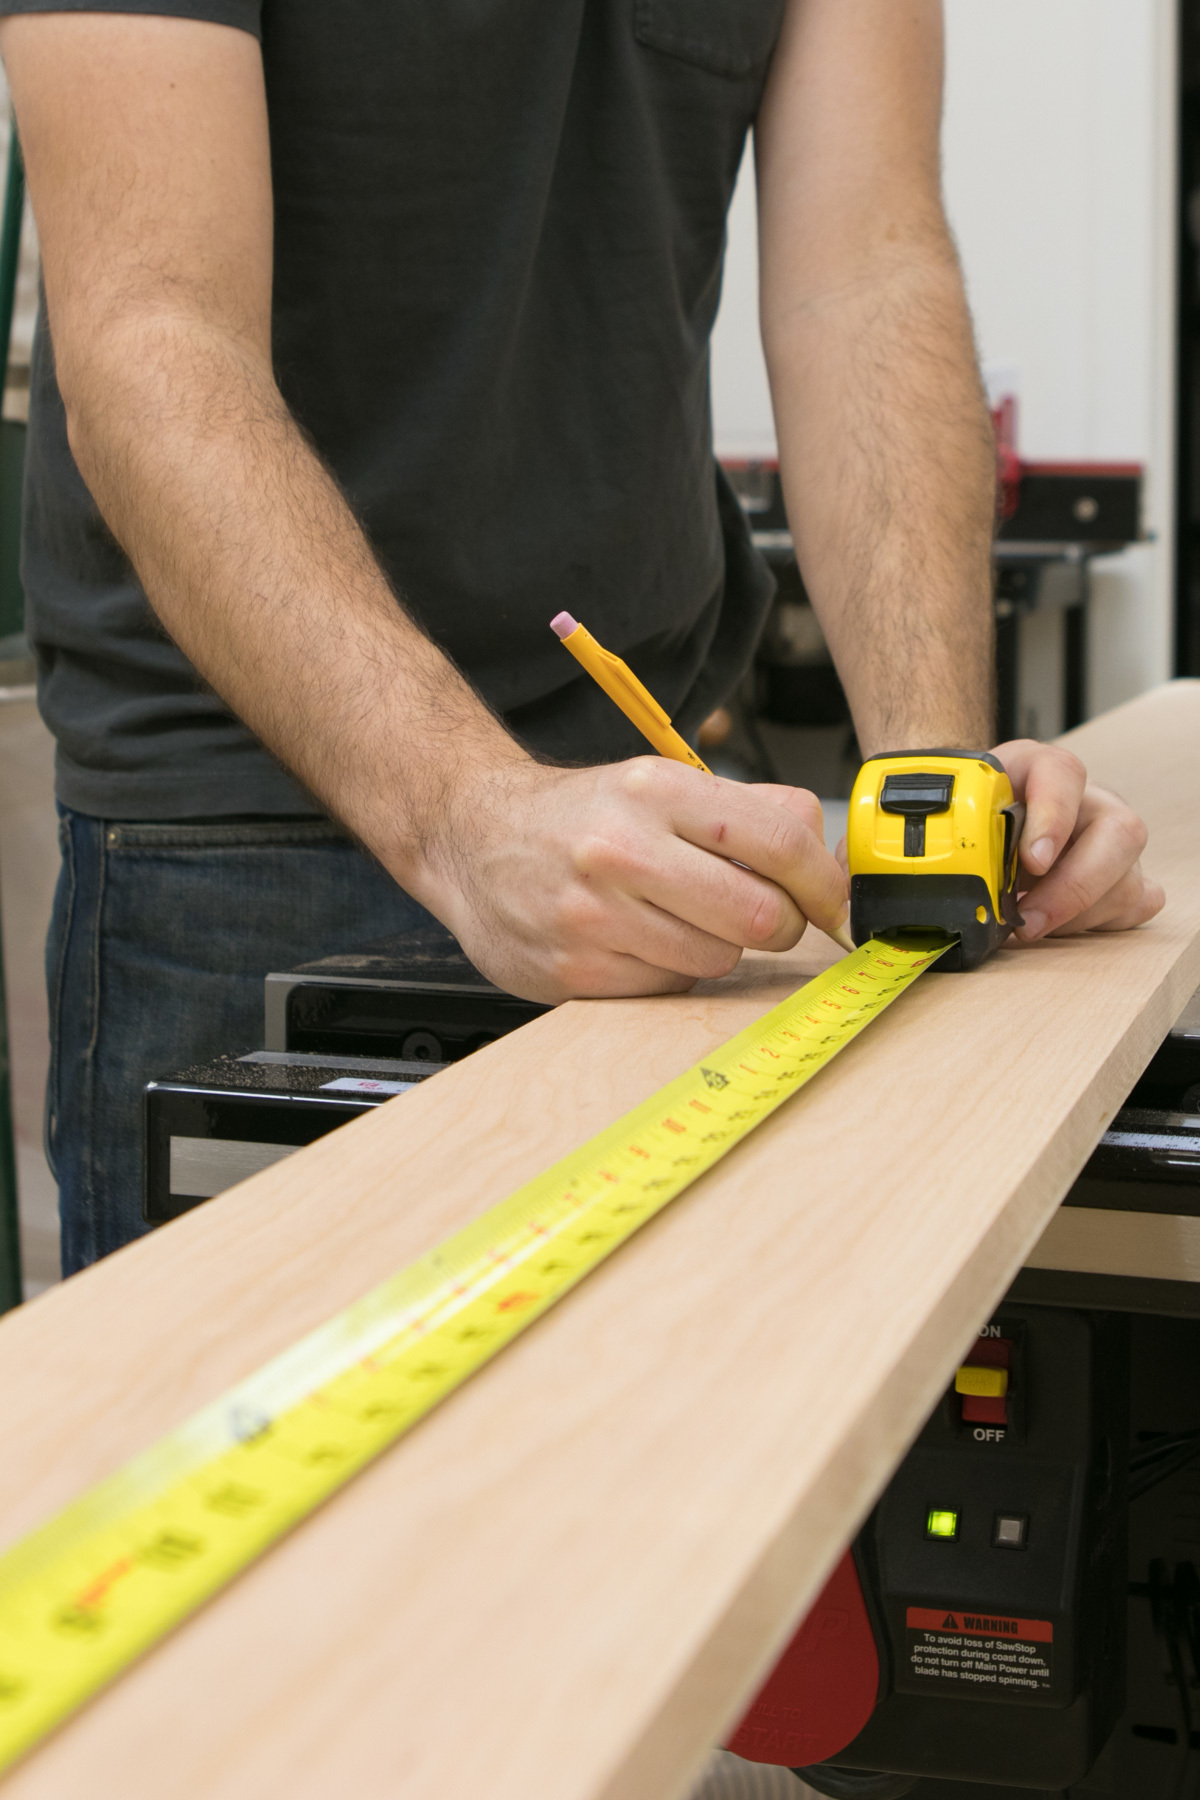
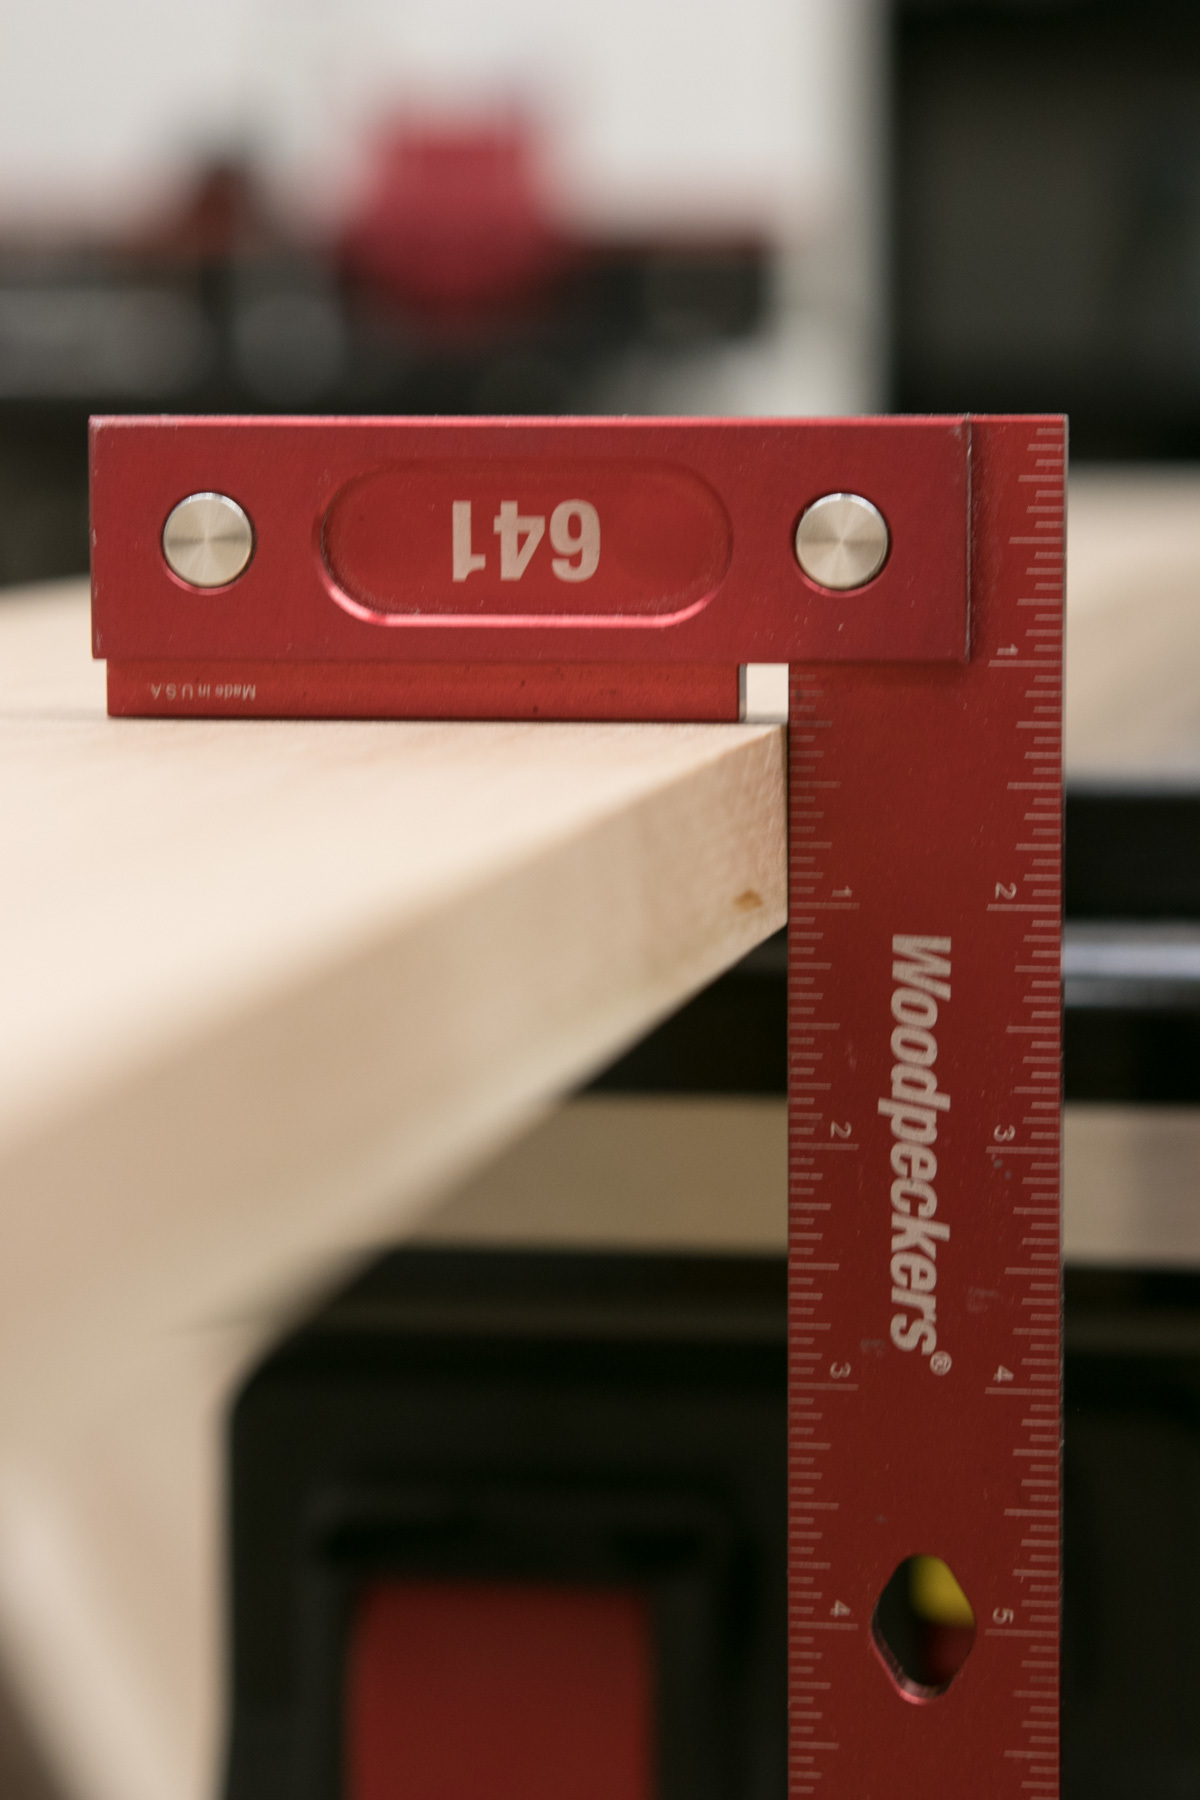
Once I got the wood home, I marked out three 26″ sections from the length…
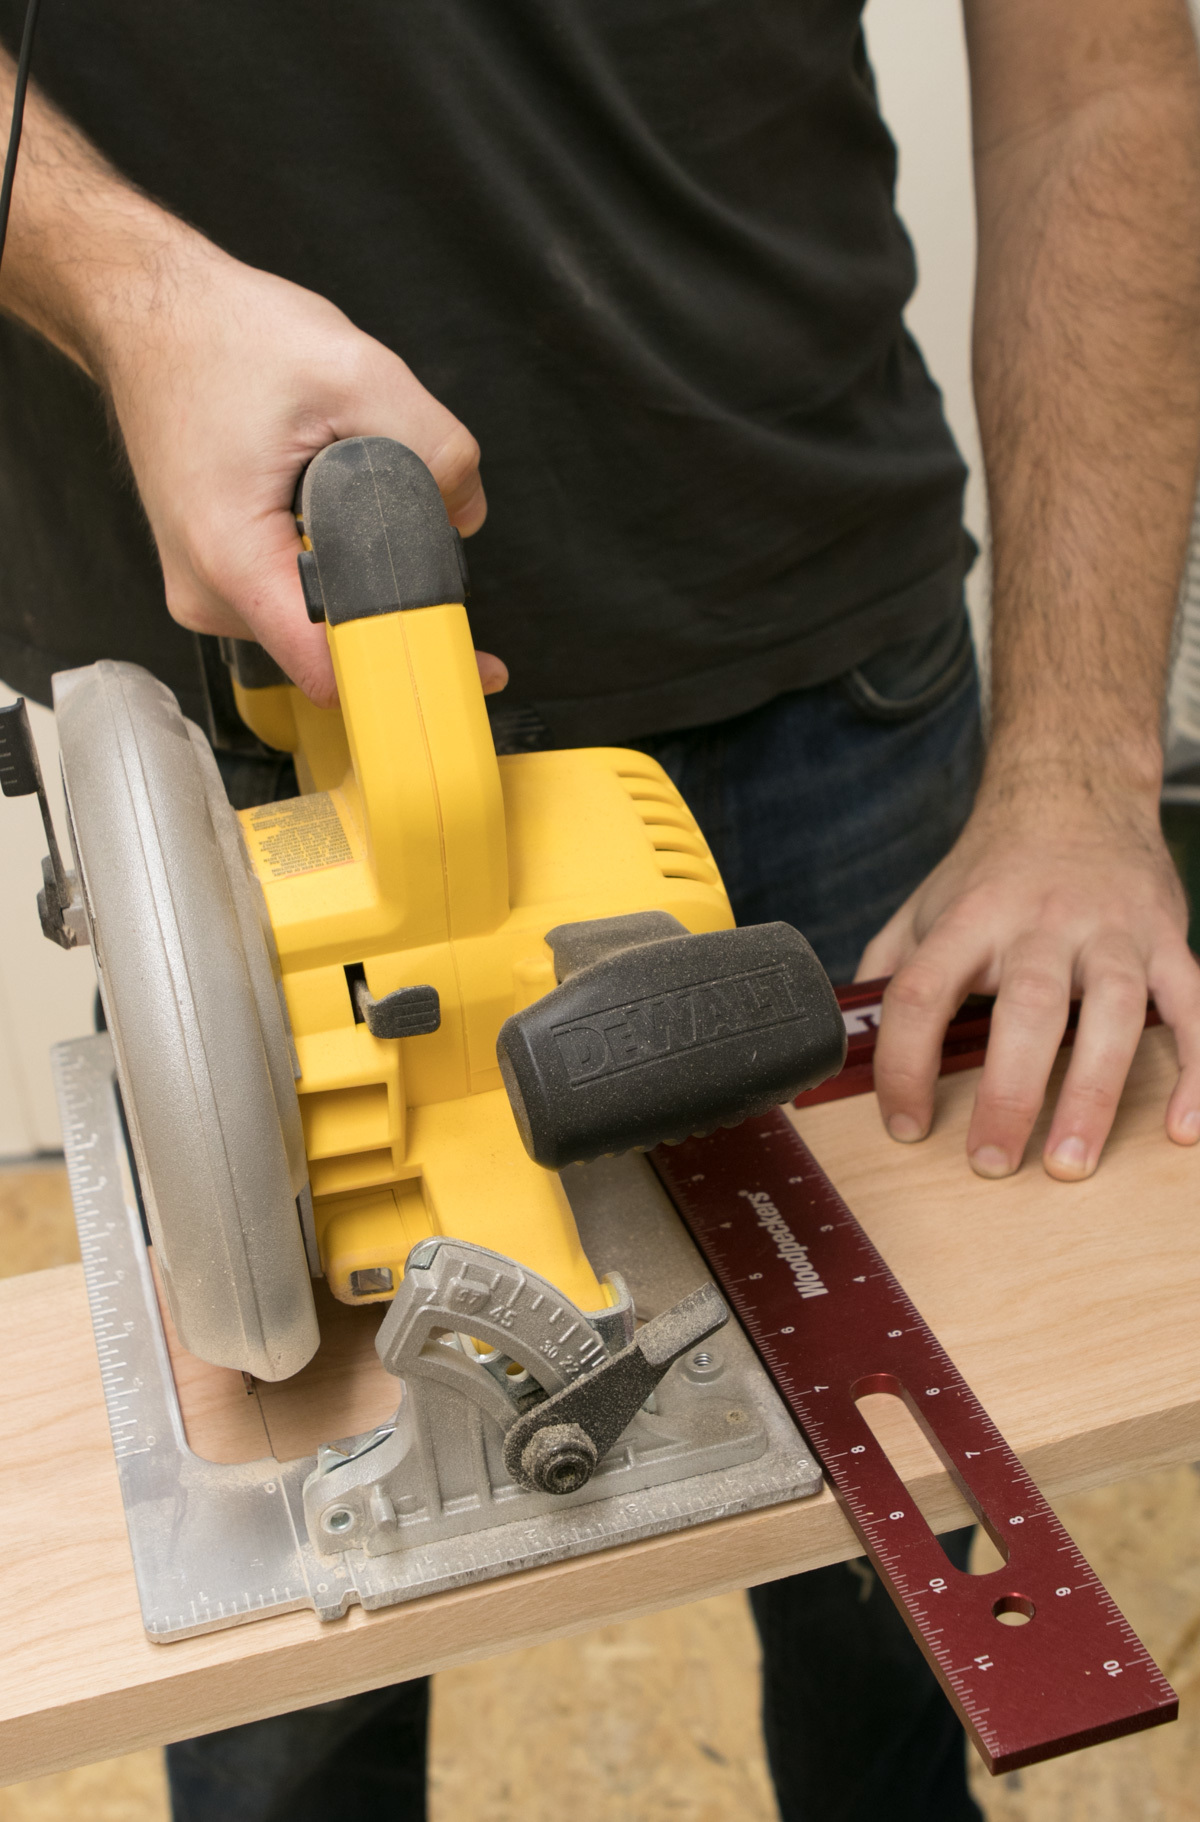
… and rough cut them with a circular saw.
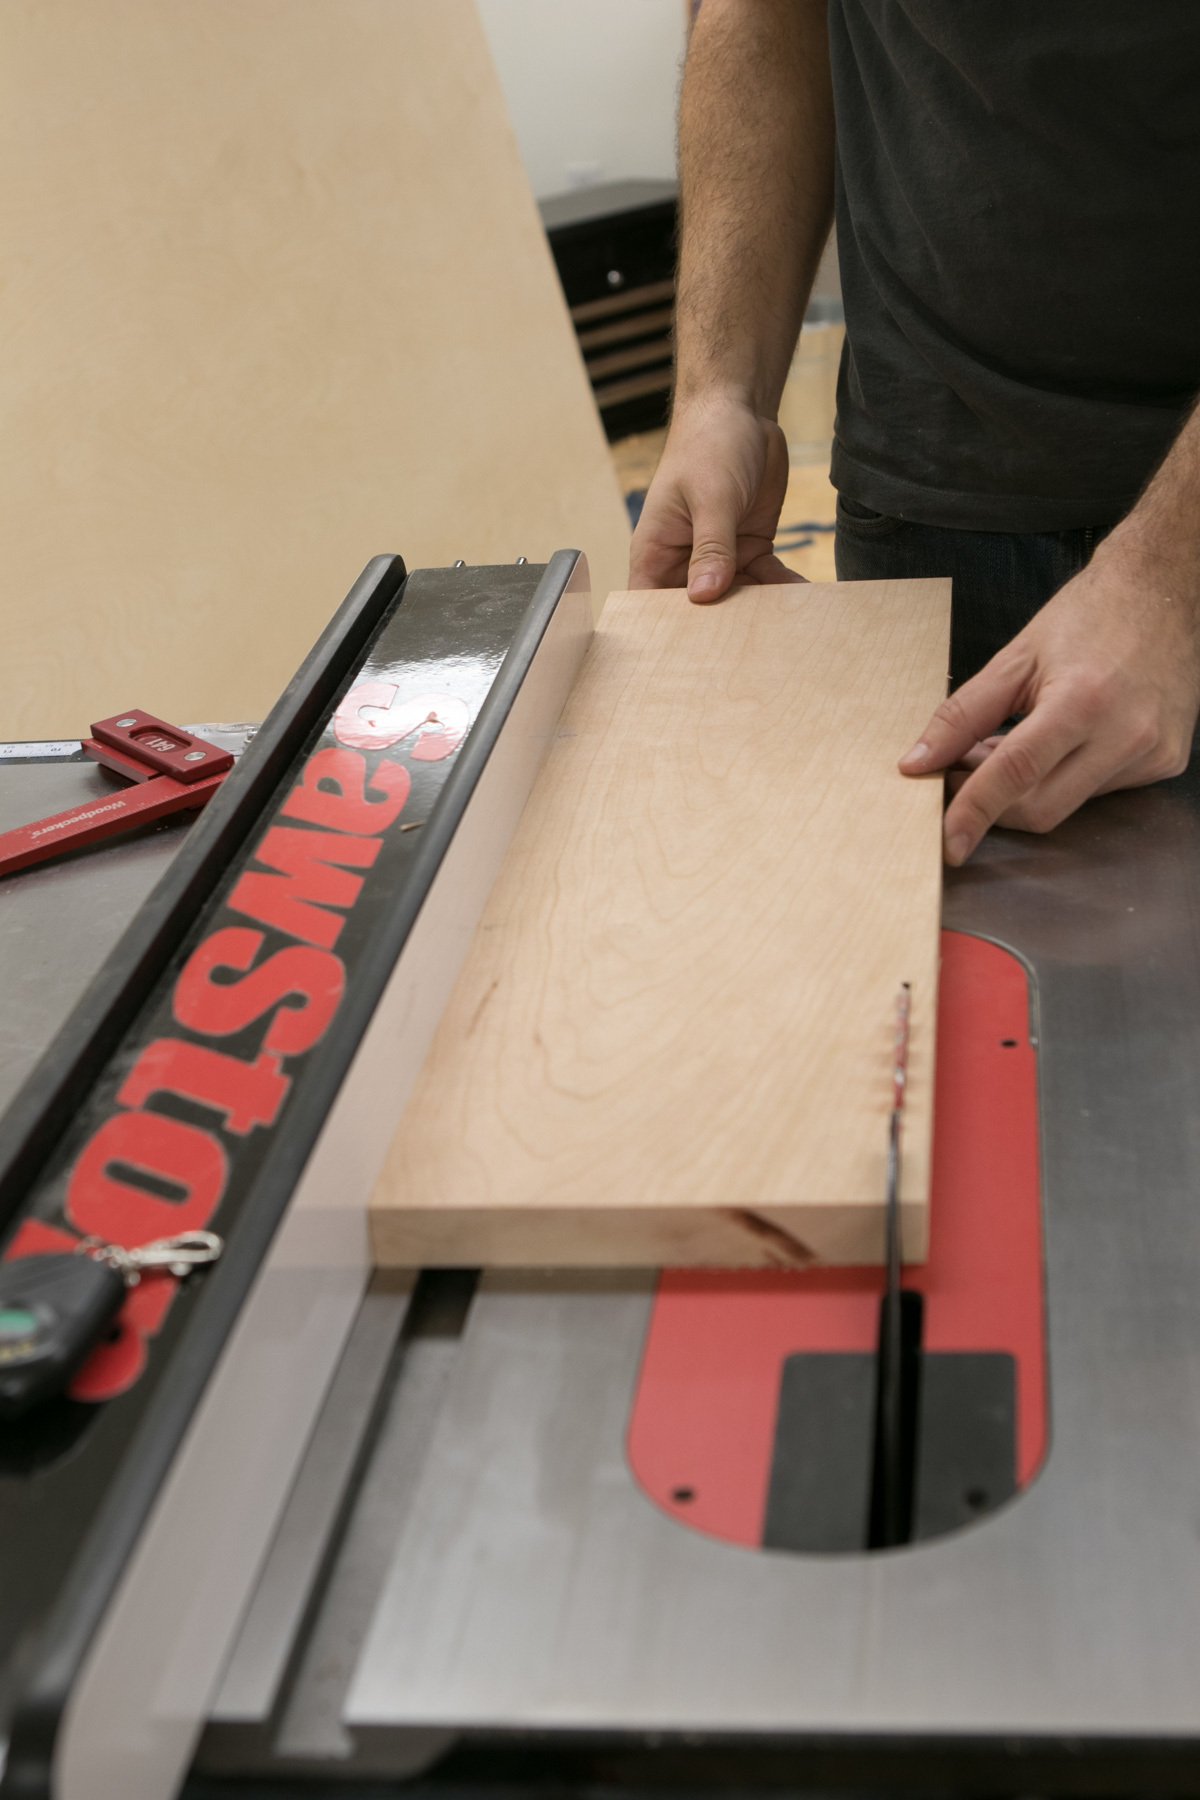
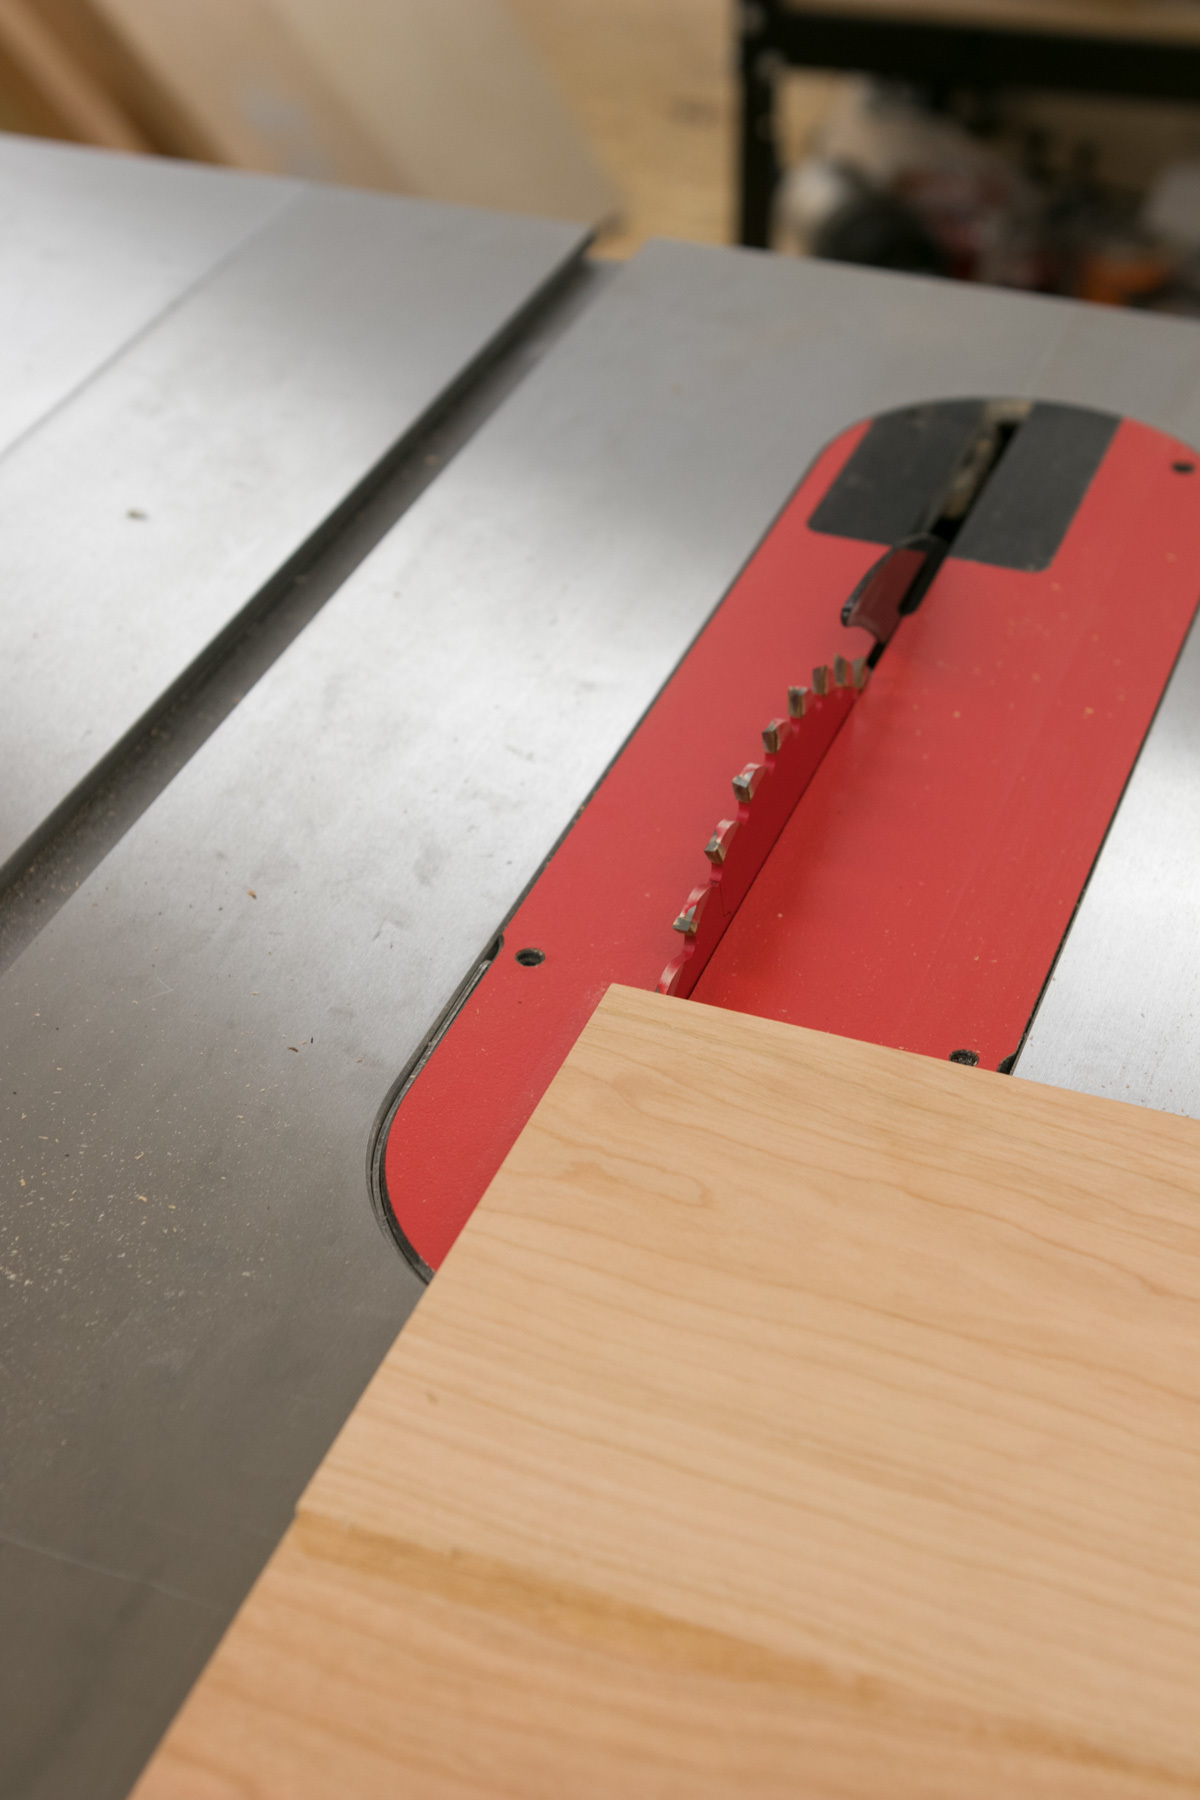
I then used the table saw to cut the wood to width. I used the jointed edge to run along the fence, making this a simple one cut process.
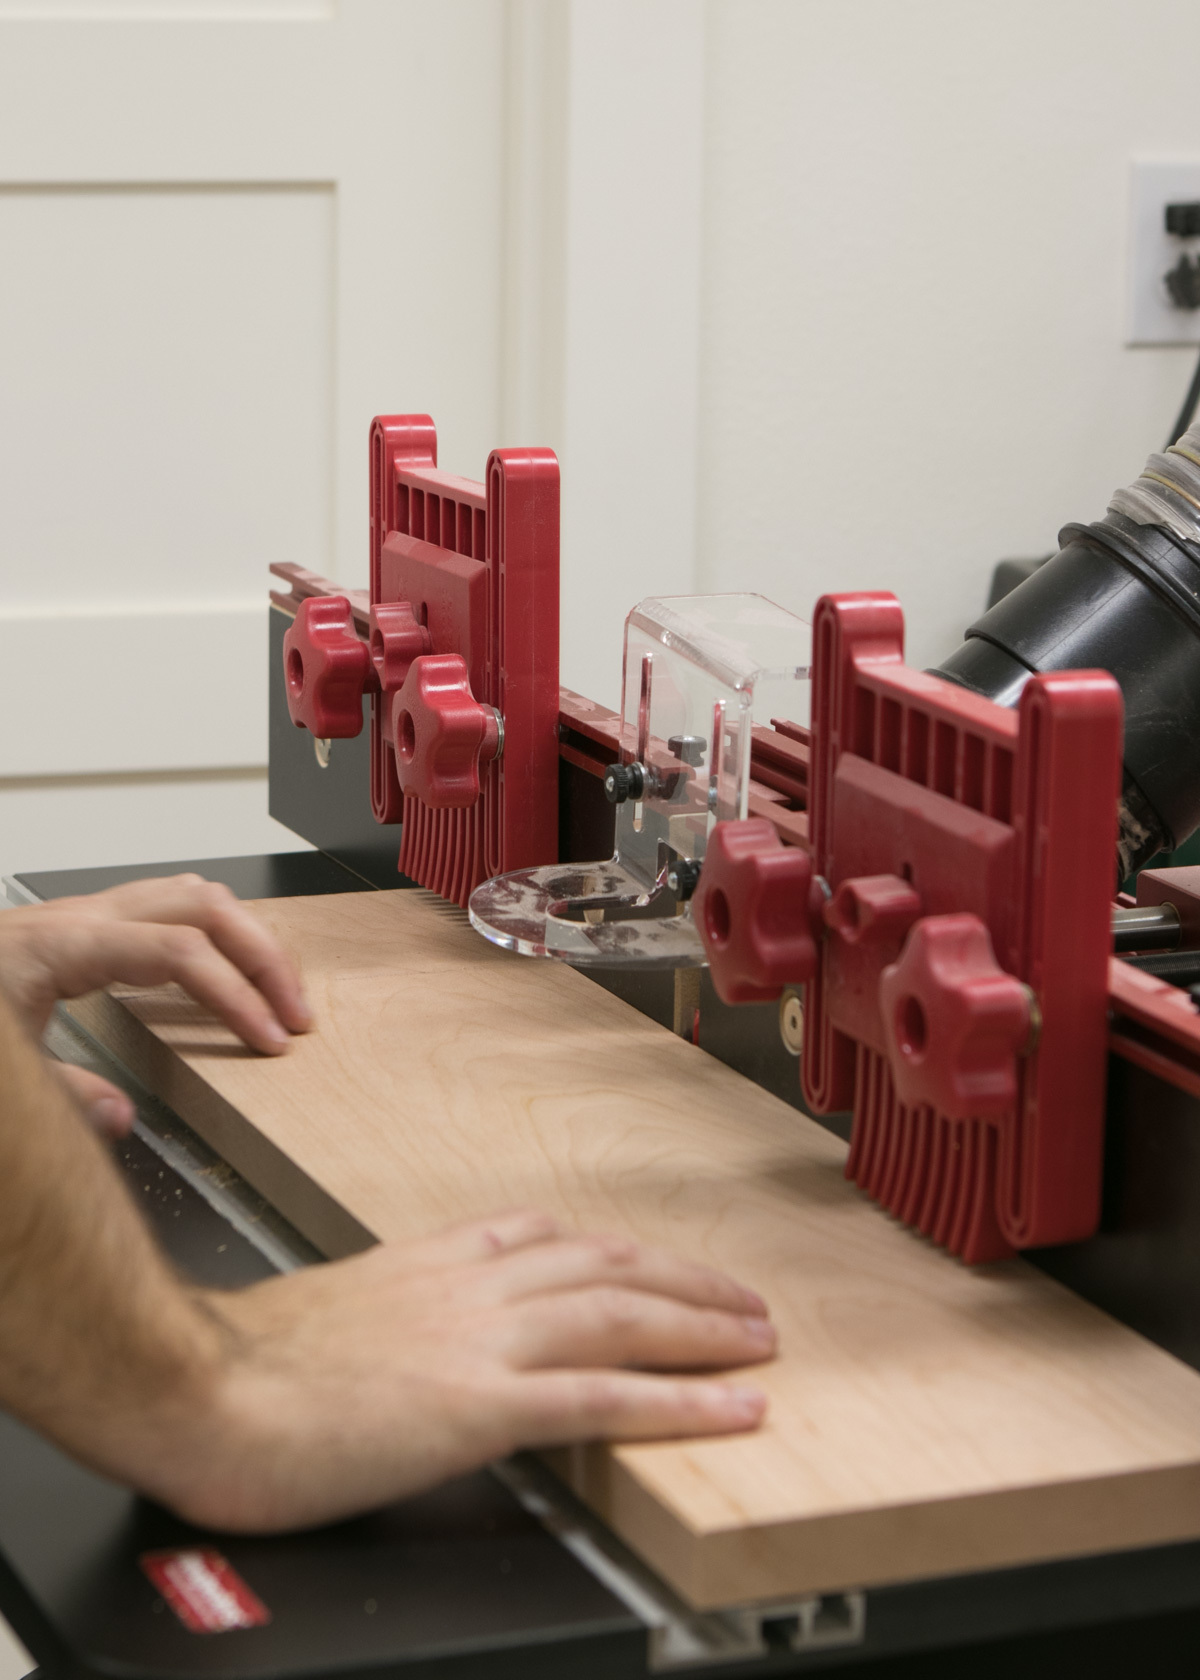
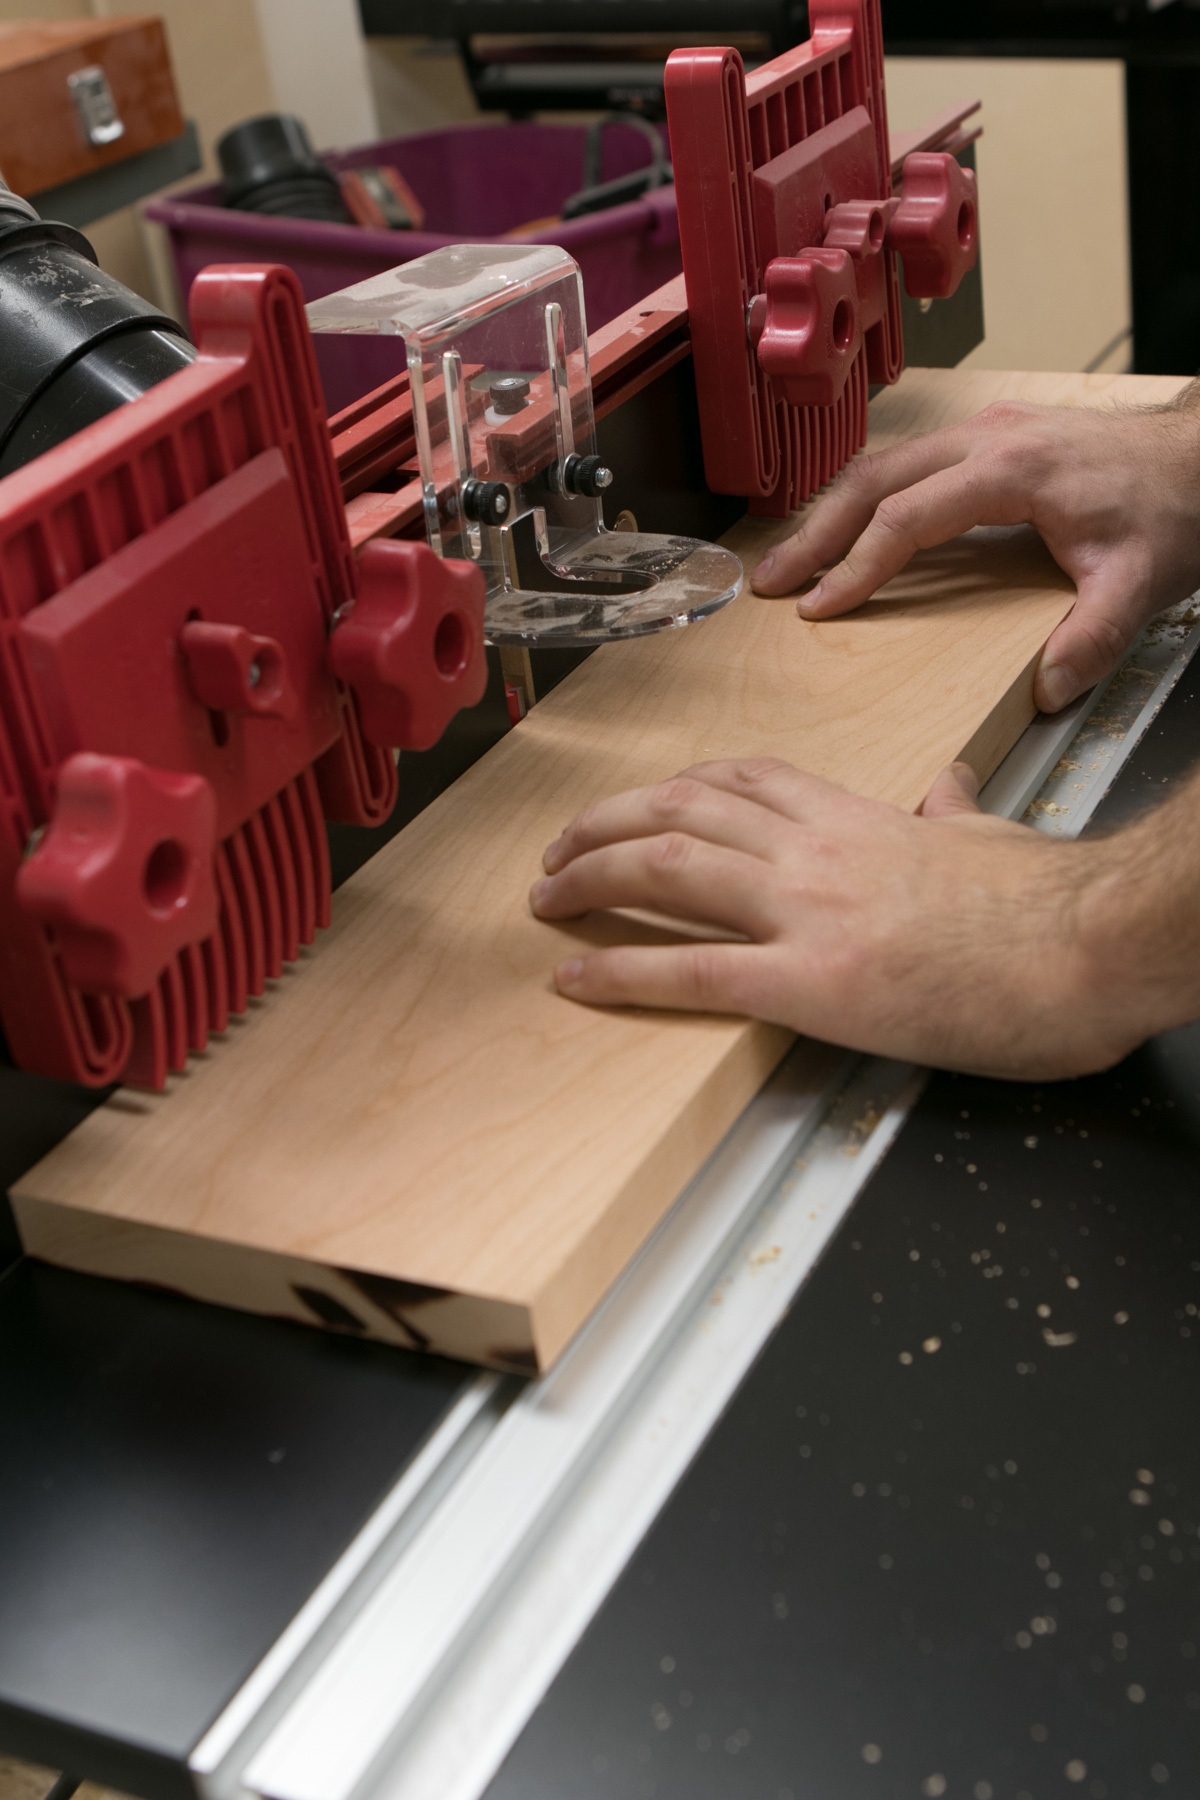
To get a seamless glue joint, I used my router table and a straight cut bit to joint the edge. The table has a split fence that can be shimmed out on the outfeed side, supporting the wood throughout the cut.
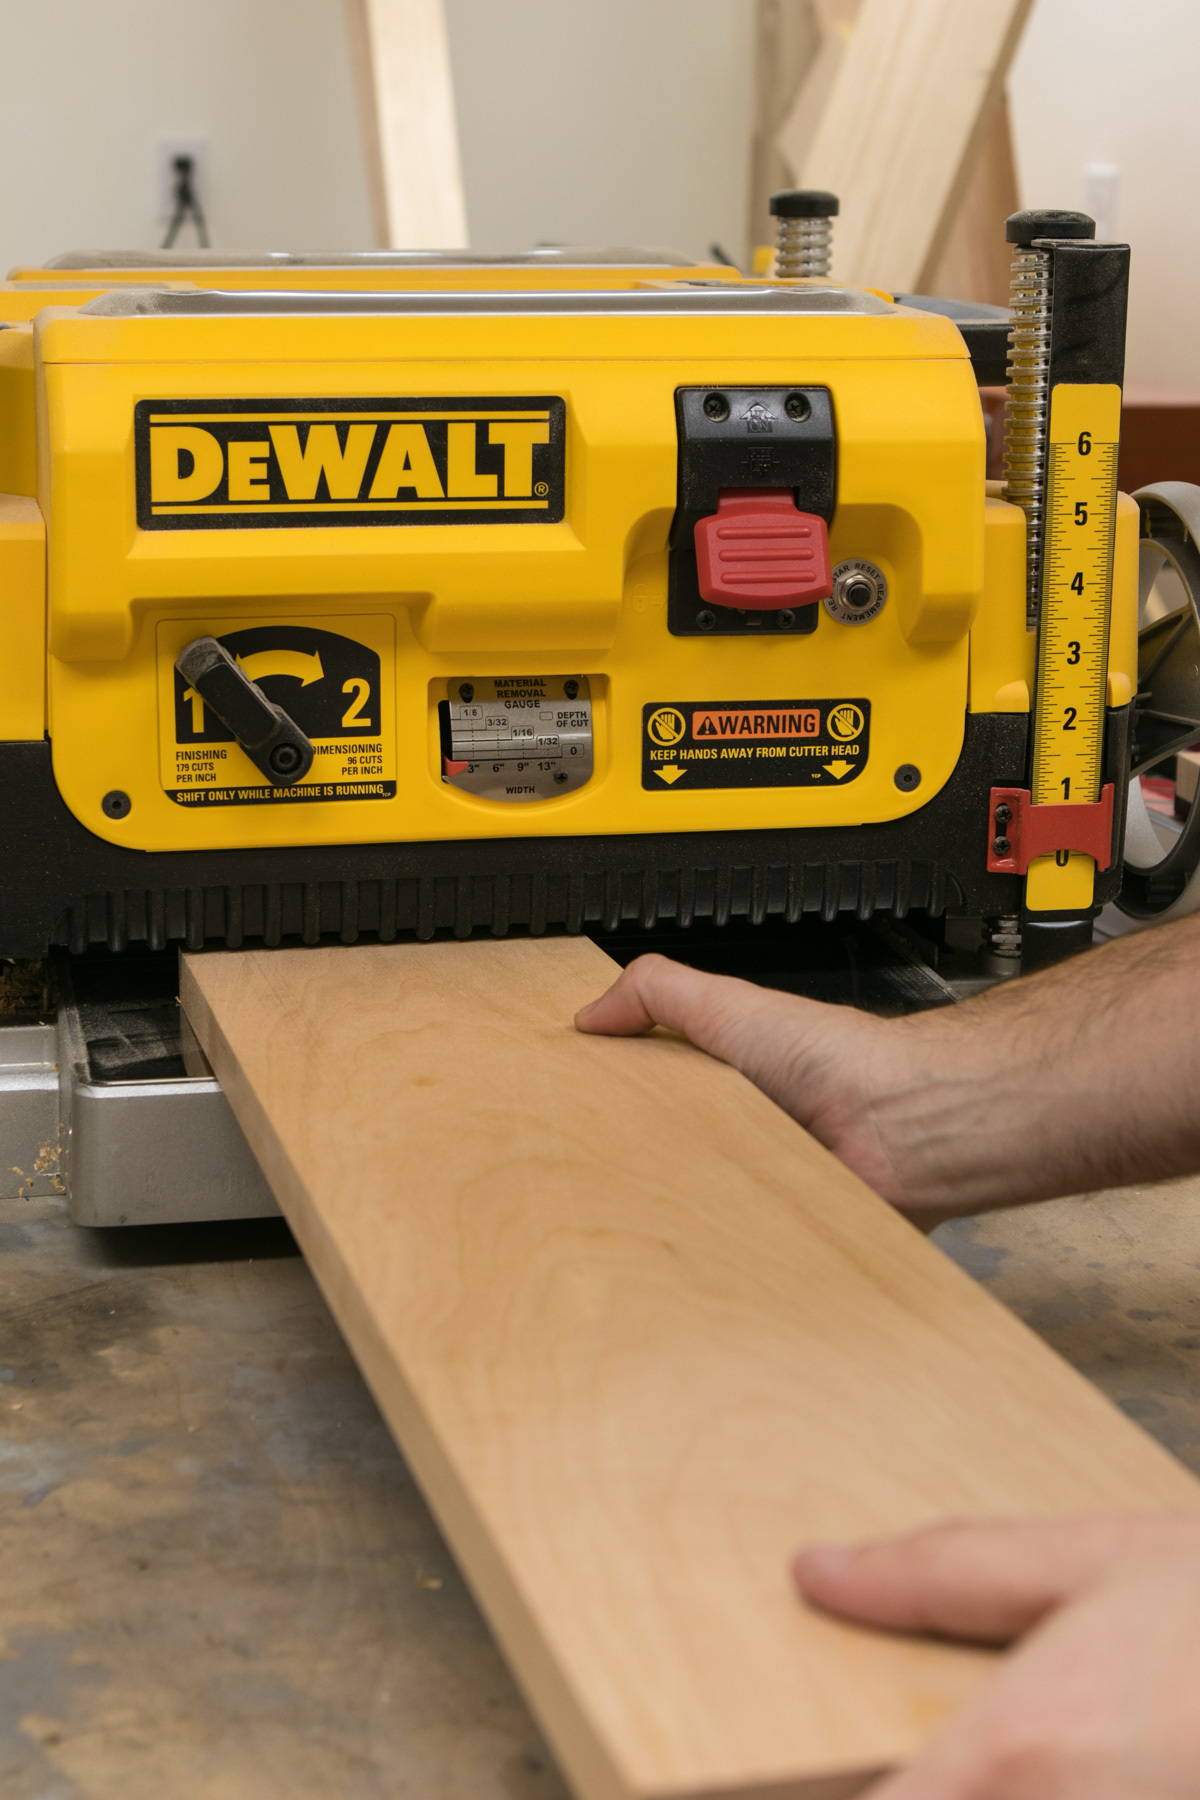
The wood was thicknessed from the lumberyard, but there were still rough milling marks visible, so I ran each piece through the planer to get a nice clean surface. A simple 1/64″ off each face did the trick.
 After placing the pieces next to each other, I realized I needed to joint the other edge. While it was square, the milling marks stuck out a bit, making a tiny little gap. So, two pieces are about 1/32″ narrower than the third. No worries.
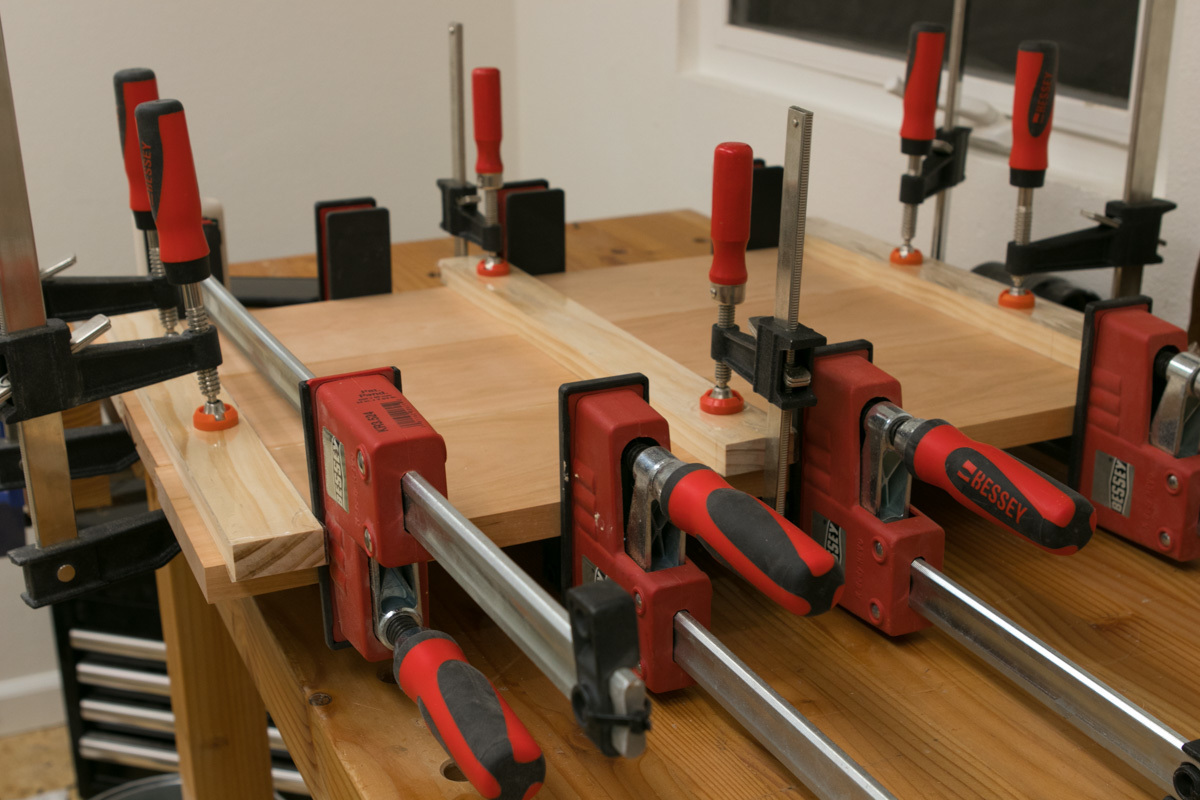 Then, I just glued everything up. I used cauls with packing tape on their surfaces to keep things flat on top, and the bar clamps to apply just enough pressure to make the glue squeeze out.
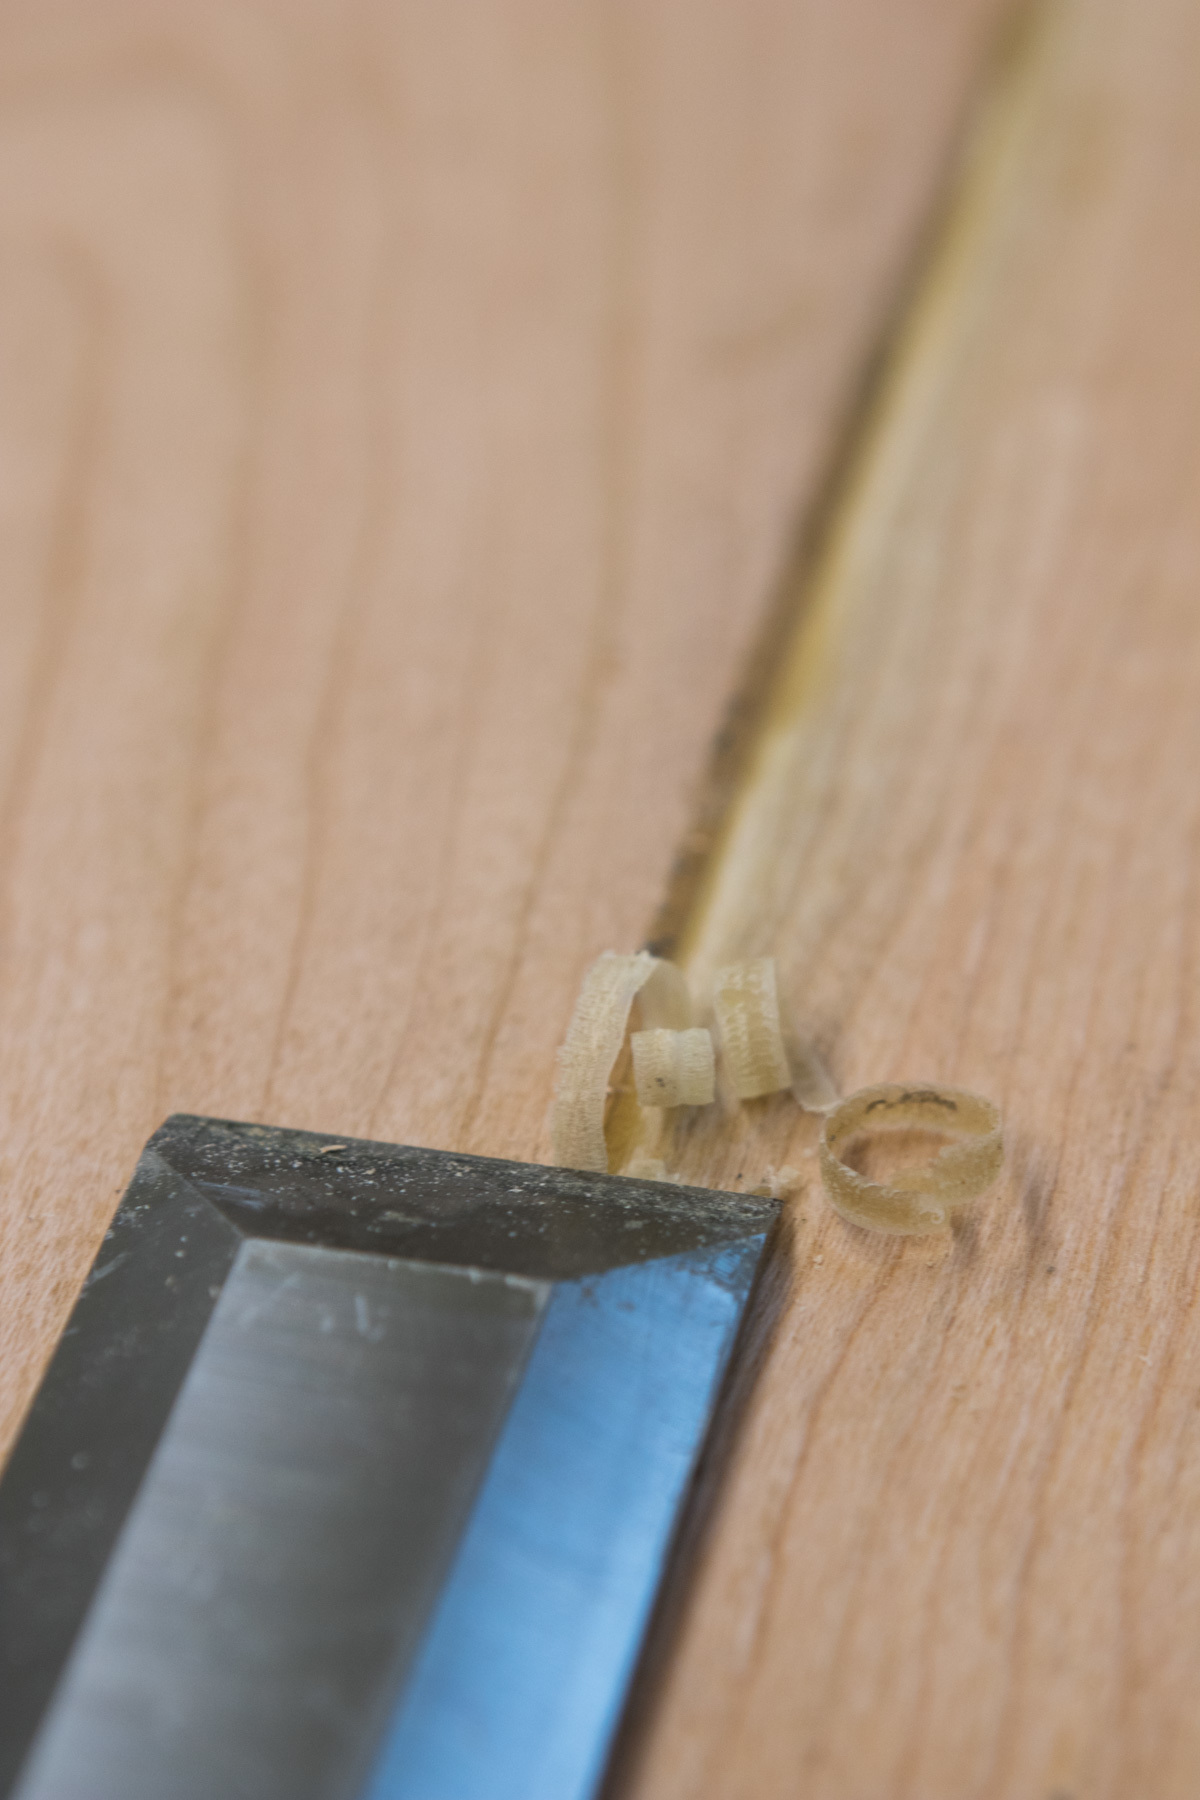
After 40 minutes or so, when the glue gelled up a bit, I used my “glue chisel” to remove what I could from the surface before it hardened completely. Then, I left it to set up overnight.
The next day, I trimmed the edges square on the table saw…
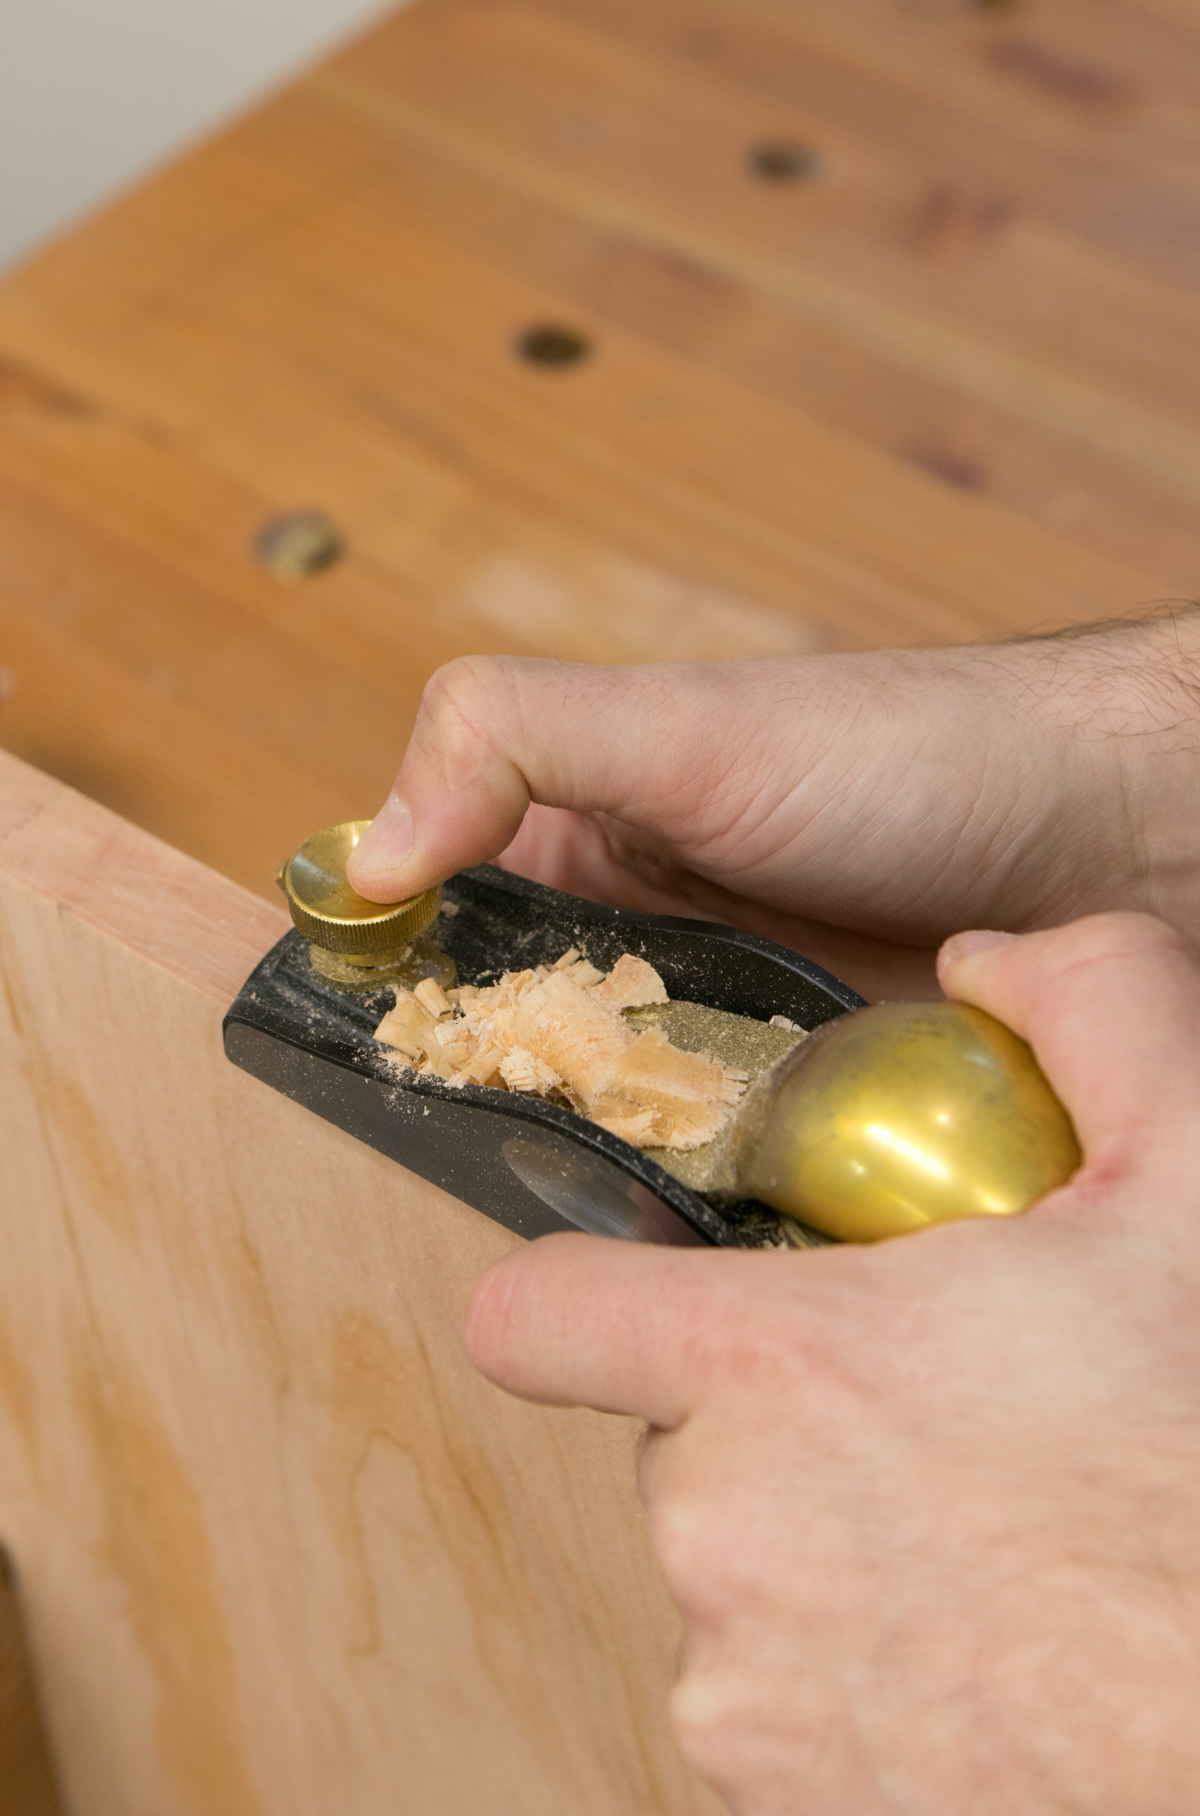
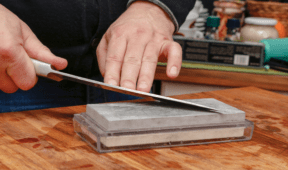
…and used low angle block plane to remove the burn marks left from the saw blade. Being a fruit wood, cherry is full of sugars, and burns easily. (This is essentially caramel, so it smells great, but doesn't look so nice.)
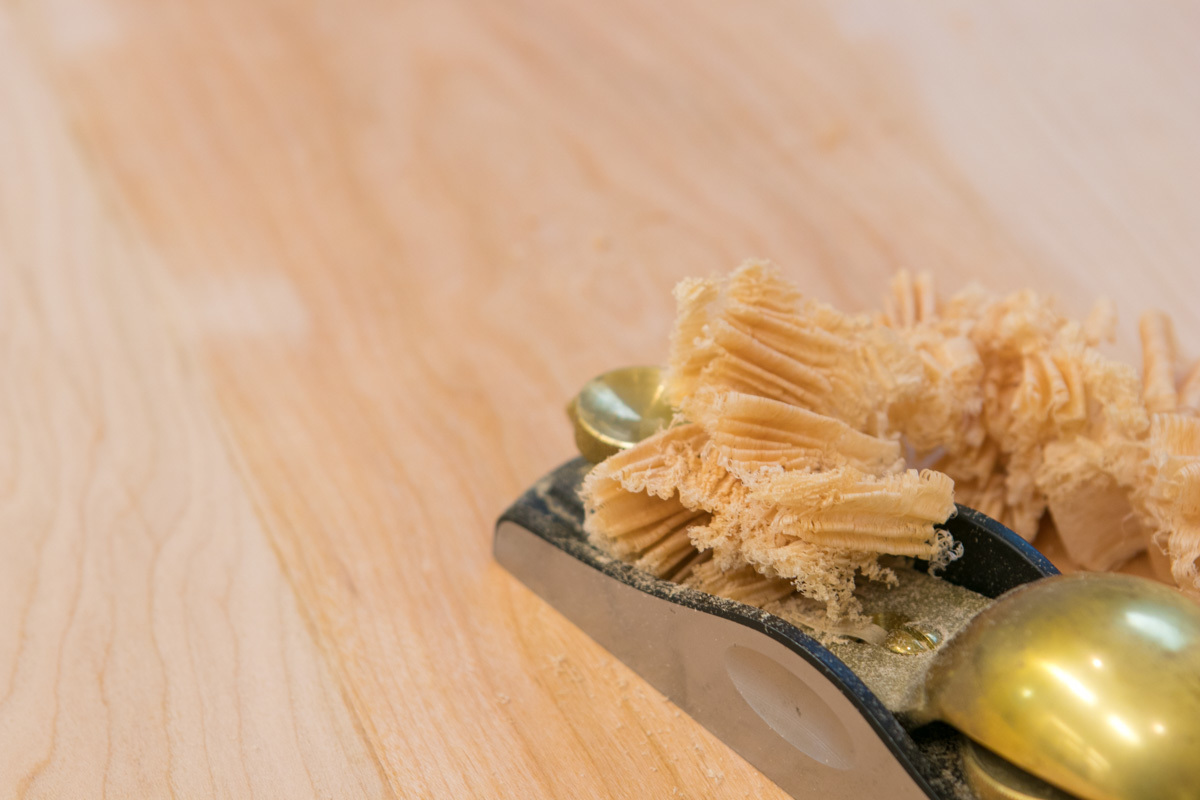
I had to do some sanding to flattened out the seams. I used some 80 grit to remove the wood quickly, and then, because sanding is boring, I grabbed the block plane again to take things from rough to glass smooth. I do have a #4 bench plane, which is designed to do this, but since the grain ran in every direction, the low angle of the block plane helped to prevent tearout.
Cutting the Groove to Catch all Those Tasty, Tasty Drippings
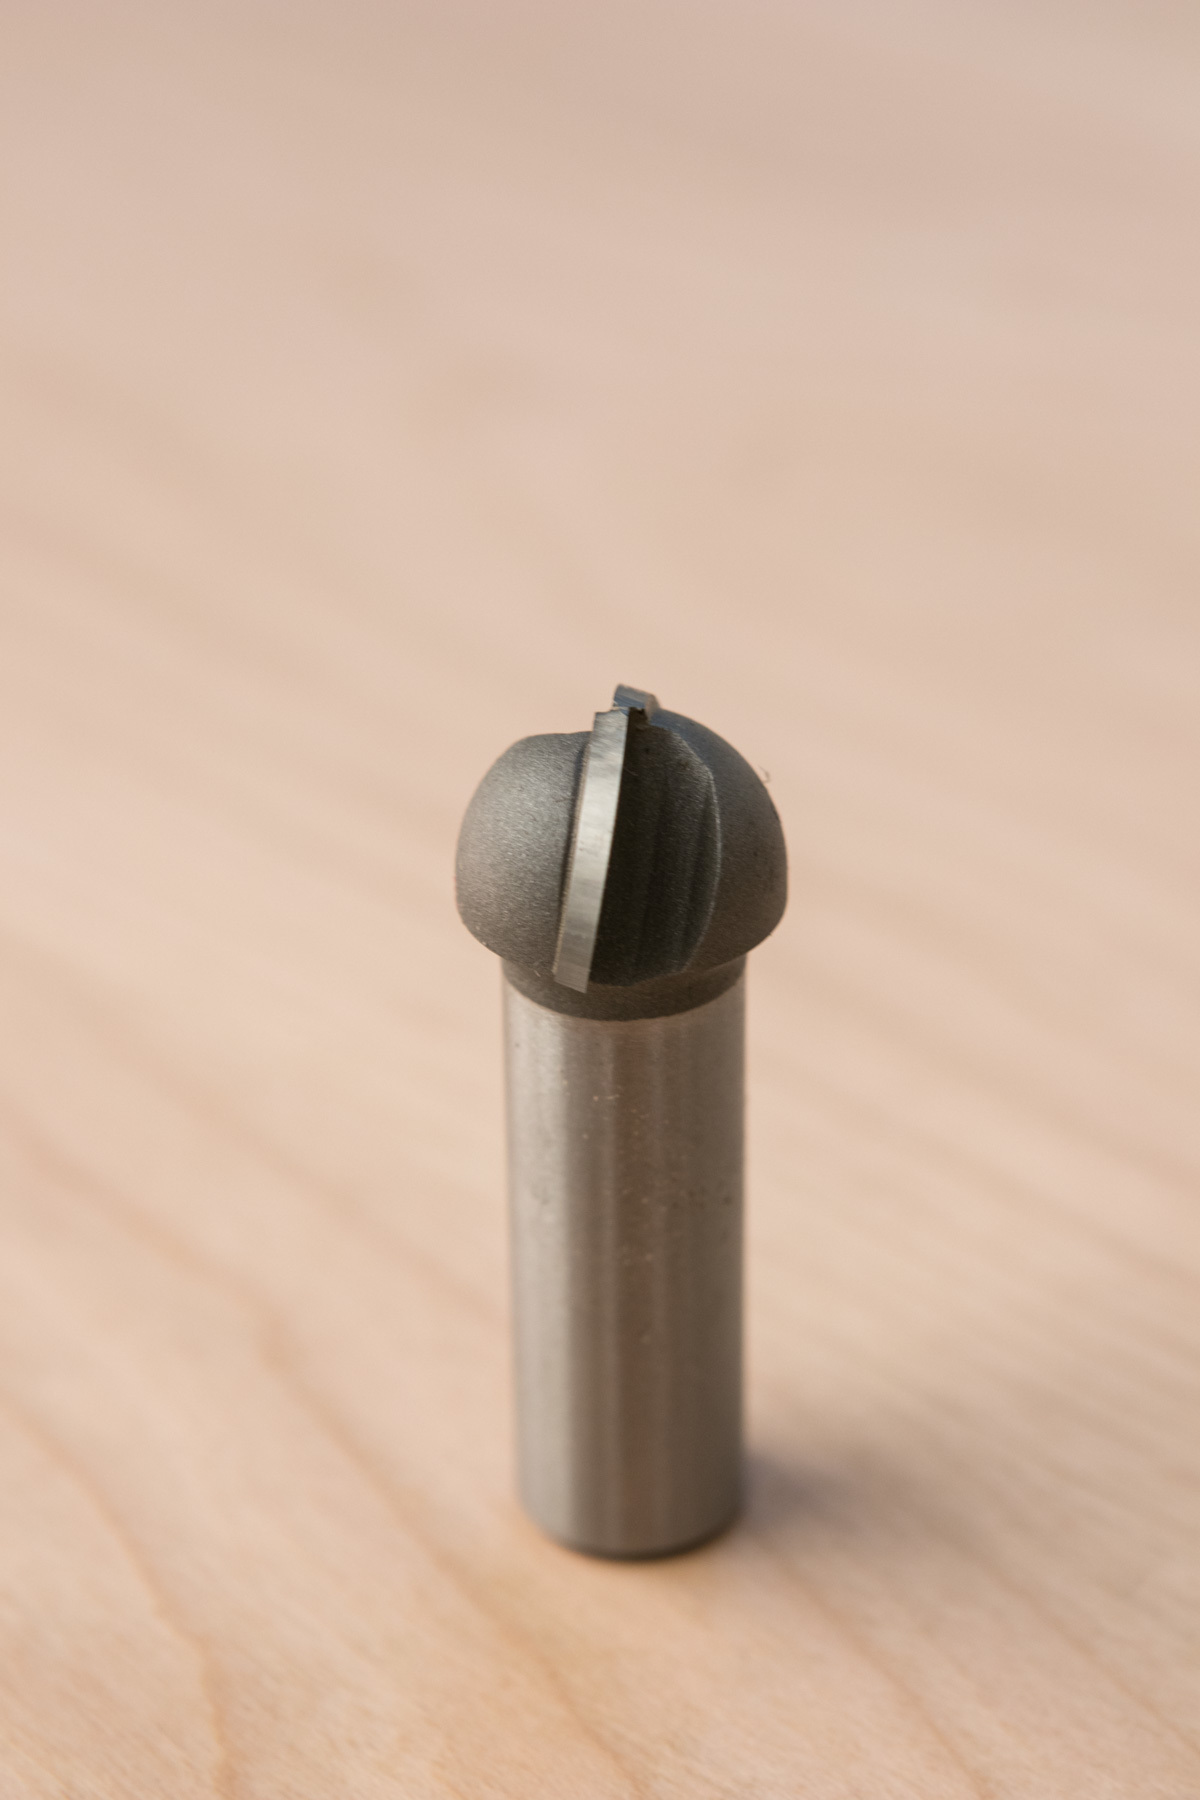
Next, I need to figure out how to create the moat around the edges. The router is the obvious choice, and by putting it on my plunge base, it was easy to get that continuous cut around the outside. To make the cut, I used a core box bit, 3/4″ in diameter. Mine is made by Amana, but you can find similar models here or at your local woodworking shop.
 Next, I needed to figure out how to guide the router for a consistent cut. This process might look complicated, but trust me – once you see how it works, it only takes 10 minutes to set up.
First, you need to build a structure that accomplishes two tasks: 1) holds the carving board securely in place and 2) sets the inset of the groove from the edge.
To make one, you just need a wide, flat surface you can screw into. This can be your workbench, or a scrap piece of MDF or cheap plywood (OSB or any inexpensive sheet good will be fine.) Then, you'll cut strips that are thinner than your carving board, and screw them down to hold everything in place.
To get started, determine how far in you want your groove to go. Next, measure the distance from the bit to the edge of the router's baseplate. Then, you simply need to cut strips from scrap to make a frame to hold the carving board. The formula is:
Distance of router bit to the edge of baseplate MINUS the inset of the groove = how wide you should make these strips.
In my case, the bit to router edge was 2 7/8″, and my groove is set 3/4″. So my strips are 2 1/8″ wide. (I cut them on the tablesaw.)
Place your carving board on your surface, then screw the strips in place. Everything will be locked in.
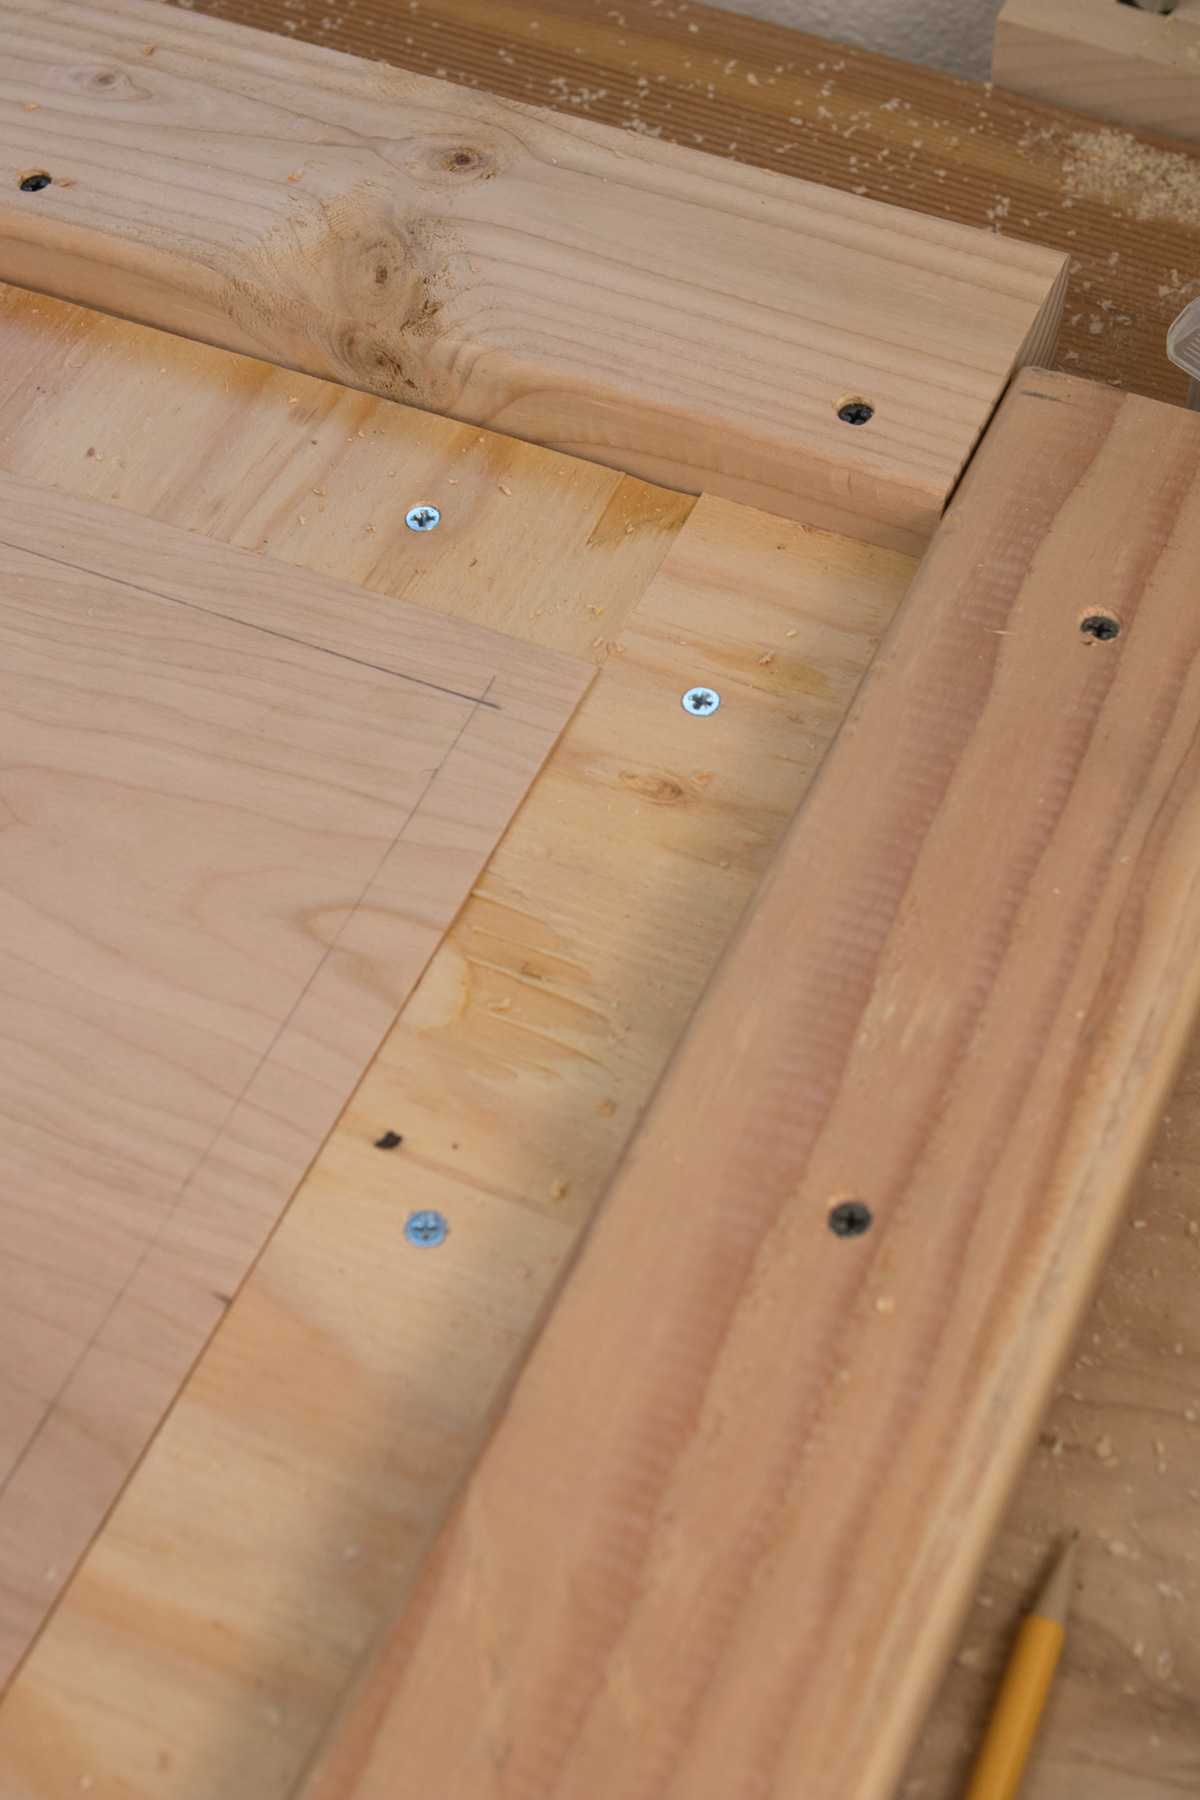
Now, you need to make a fence system to guide the router's baseplate around the carving board. This can be anything that has both a straight edge and is thicker than your carving board. A straight and square 2×4 works fine, and is what I used.
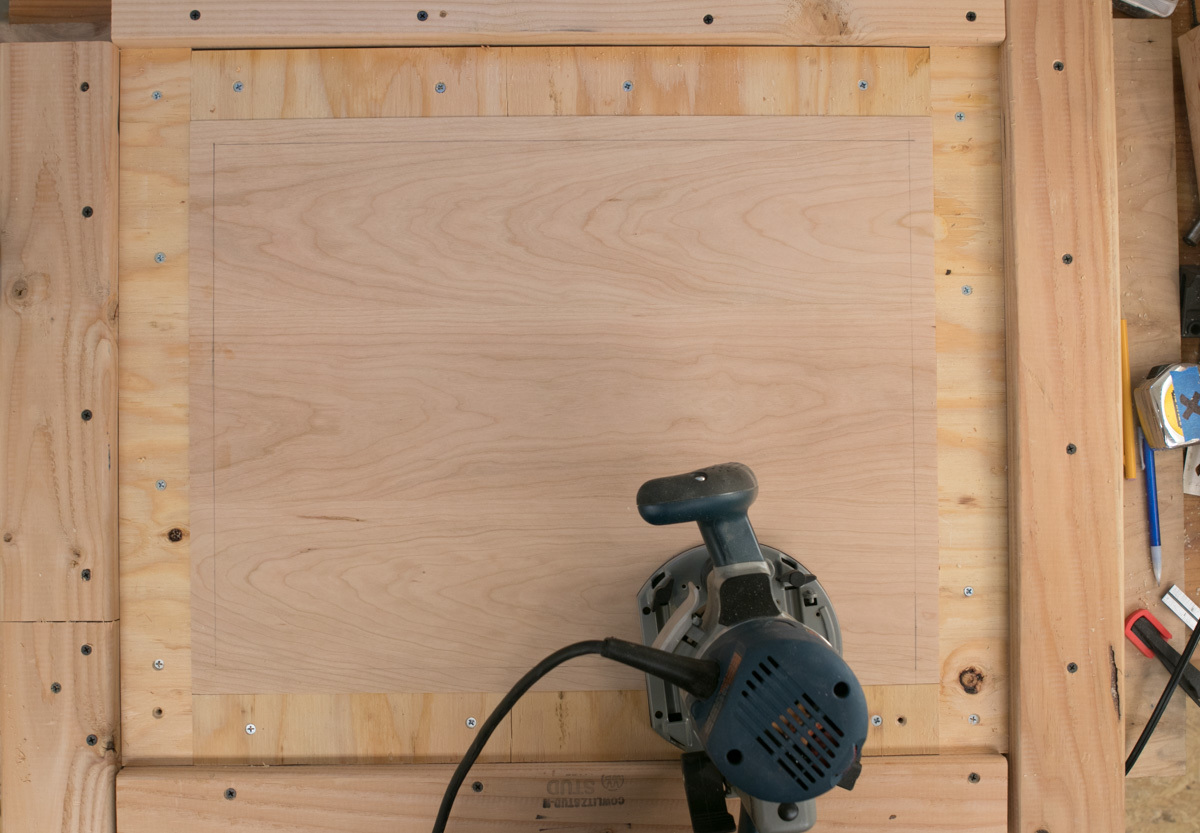
Here's the whole rig in place. Just remember – the inner frame needs to be shorter (or equal) to your carving board. And the outer frame needs to be taller than your board. If using 4/4 lumber, 3/4″ thick material is great for the inside, and standard 1 1/2″ thick lumber works for the fence.
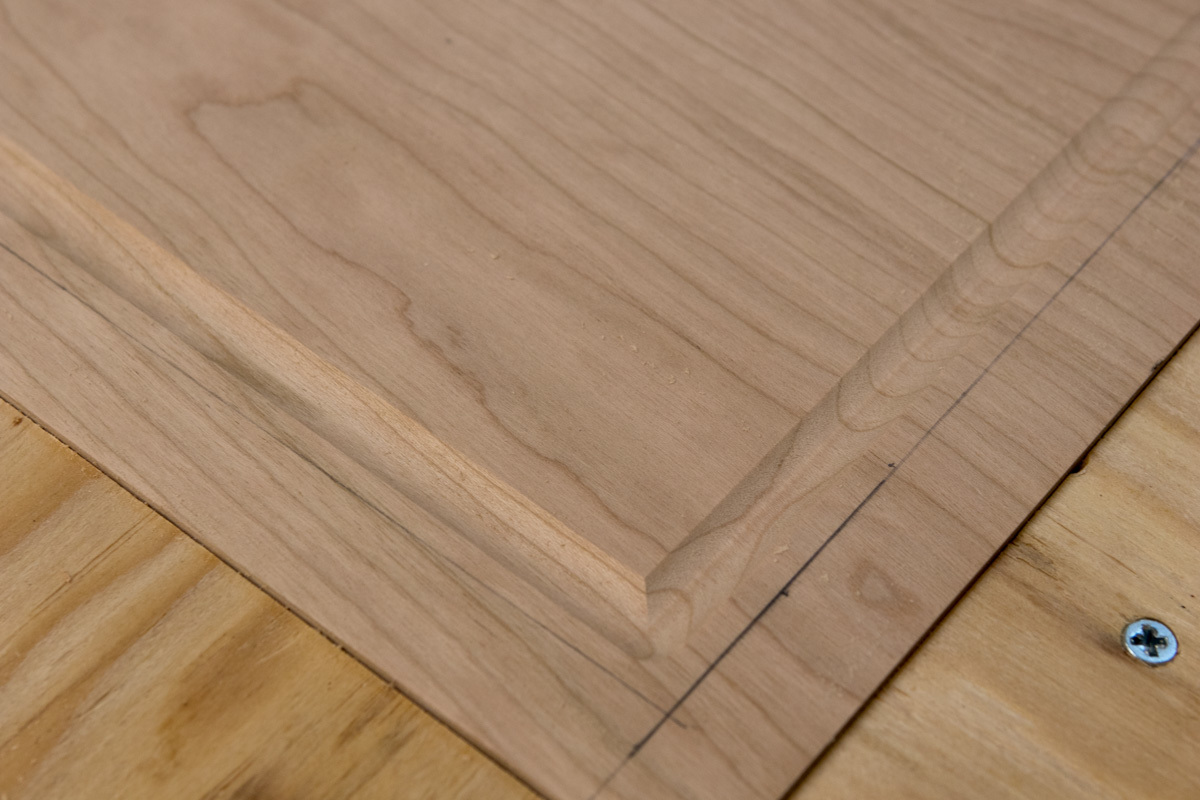
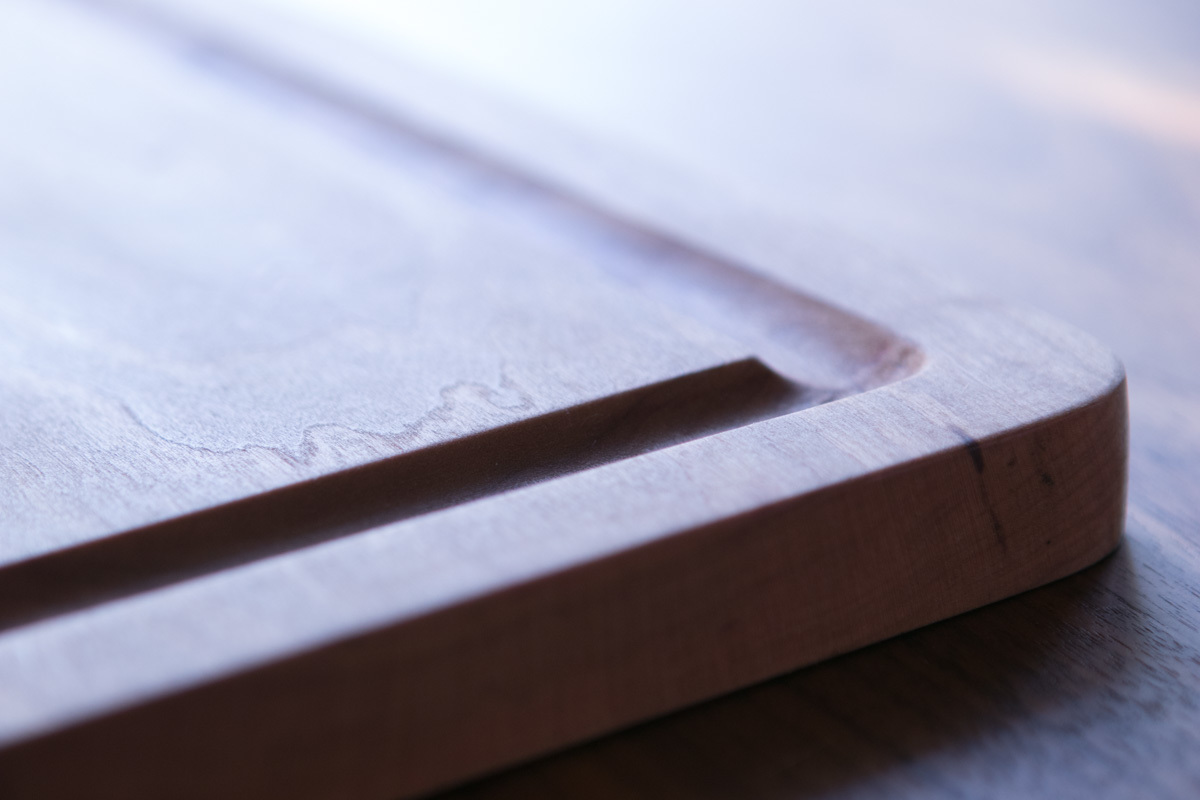
You want to make this cut in passes, lowering the bit each time. Here's the first pass on my board; I then lowered the bit 1/8″ at a time to complete the groove. The final depth was about 1/2″.
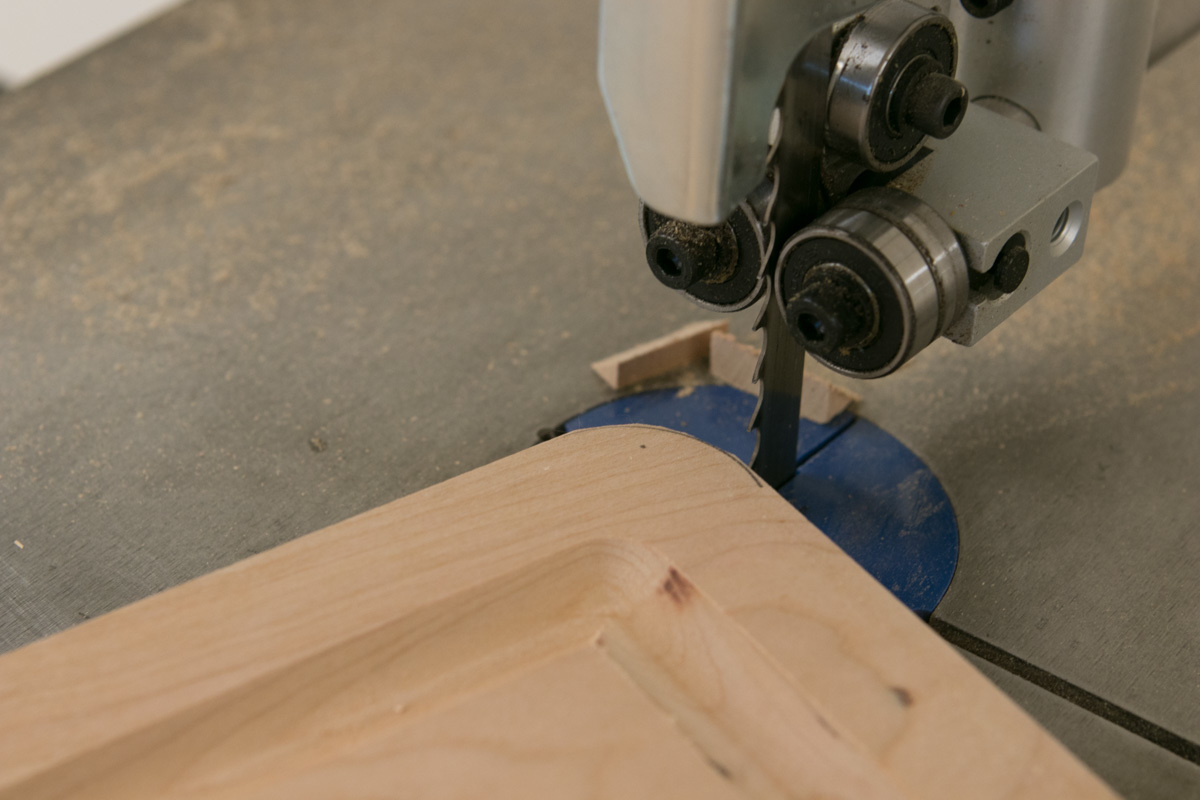
Now, you can put any finishing touches. I put a radius on the corners to match the shape of the groove. I removed most of the waste with the band saw, then sanded everything smooth.

Lastly, I broke the edges a bit with a sanding block and 220 grit paper. The router left a pretty sharp edge, so I wanted to ease the lines a bit since this is a tactile object.

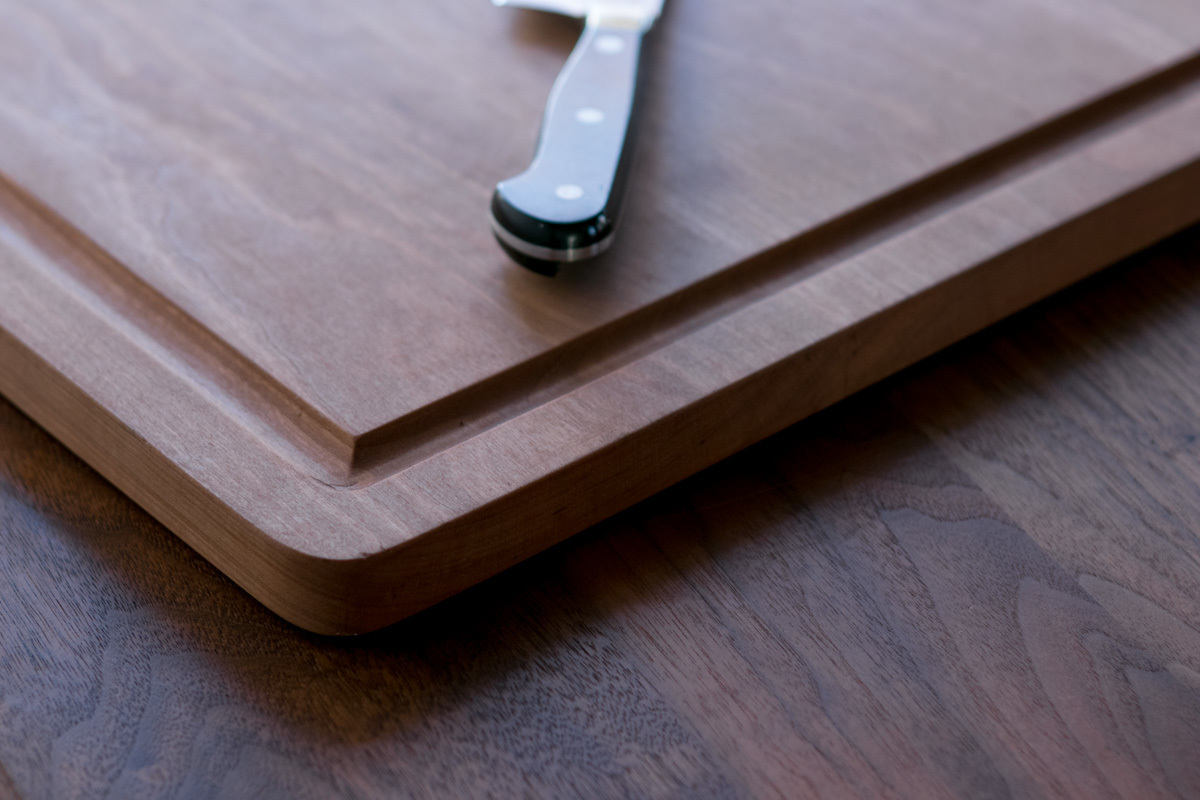
I finish all my kitchen projects with mineral oil, from the pharmacy. You can buy butcher block oil, but if it's completely colorless and doesn't say it includes wax, then you're probably just paying three times as much for mineral oil in a fancy bottle. Also, because cherry is photosensitive, I set it outside during the day to get a little suntan. It will continue to dark over time.
I admit I don't have any photos of it in action yet, because I haven't cooked my turkey this year. But I will not only carve on it, I'll probably use it to serve the beast as well. Outside of the holiday season, this thing will come in handy for breaking down large food projects of all kinds: smoked chickens, slicing roasts, as a prep surface out on the grill, serving charcuterie/cheese/appetizers, and any time we need another place for a helpful friend who comes over for dinner and says “what can I do?”
I'm really happy with how easy this was. By choose a nice wide board, I only had two joints to worry about, making the flattening process go so quickly. The router guide took a bit to figure out, but once I had it, the groove was cut in matter of minutes. And I can keep those scraps if I want to make another board this size, or cut them for a smaller one.
Happy Thanksgiving, and happy carving.
Best,
Chris