How to Make Pine Needle Tea
The scourge of long-distance voyages was the twin evils of rickets and scurvy. Both were indicative of vitamin deficiencies suffered by sailors on early voyages across the Atlantic and later on grueling multi-year treks from Europe around Africa or Tierra Del Fuego to the Pacific.
Rickets and scurvy are both micronutrient deficiencies—though they don’t stem from the same deficiency. Rickets is a disease that affects the bone development of children, and can result in osteomalacia (the softening of the bones) in adults. It’s most often caused by a vitamin D deficiency, though it can also be caused by a calcium deficiency. Both deficiencies would be present on long voyages considering they would go days without seeing the sun or being exposed to ultraviolet rays, and they didn’t exactly eat a balanced diet while on voyages across the Atlantic.
Scurvy, on the other hand, is caused by a vitamin C deficiency and is most often identified by swollen, bleeding gums. Scurvy occurs when there is a prolonged lack of vitamin C in someone’s diet, “prolonged” being defined as typically for 3 months or more. The most common source of vitamin C for humans is fresh fruit or vegetables, which is something that sailors didn’t have access to when stuck on a boat for months at a time. That’s where pine needle tea can come in to save the day.
This unique tea saved the English Navy in the Pacific when Captain James Cook commanded his men to drink a cup every day. As they made landfall, Cook sent out parties to search for conifers, and his men brought back armfulls of needles to store on board.
Pine needle tea is a history lesson in a cup!
Where Did Pine Needle Tea Originate?
Native Americans were the first to drink tea made of pine needles but didn’t exclusively use just the white pine that is indigenous to the east coast of Canada and the United States. Many tribes brewed tea made from spruce, fir, and even redwood needles.
The vitamin C content of needles from these species of conifers is on average five times as potent as found in an orange or lemon, so when brewed it is a very effective source of vitamins.
With the advent of the modern day natural food movement, people have discovered the merits, and the taste of pine needle tea once again.
You don’t have to be a member of the admiralty to enjoy a cup of pine needle tea either! All you have to do in most locales is step outside, find the nearest pine, spruce, or fir, and harvest a few needles.

Finding The Right Tree For Your Tea
If you’re wondering what type of evergreen you have in the backyard, the easiest way to determine which species it is is to feel the needles. When you rub your hand against the natural bend of the needles you’ll quickly discover some have a little bite, and others none at all.
A friendly fir is a tree whose needles sway when you rub them without poking you.
A spiney spruce is just the opposite, poking you immediately when you pull the needles. The prickly pine is similar, although it’s more like a large, dull-needled cactus when you touch it.
How to Make Pine Needle Tea
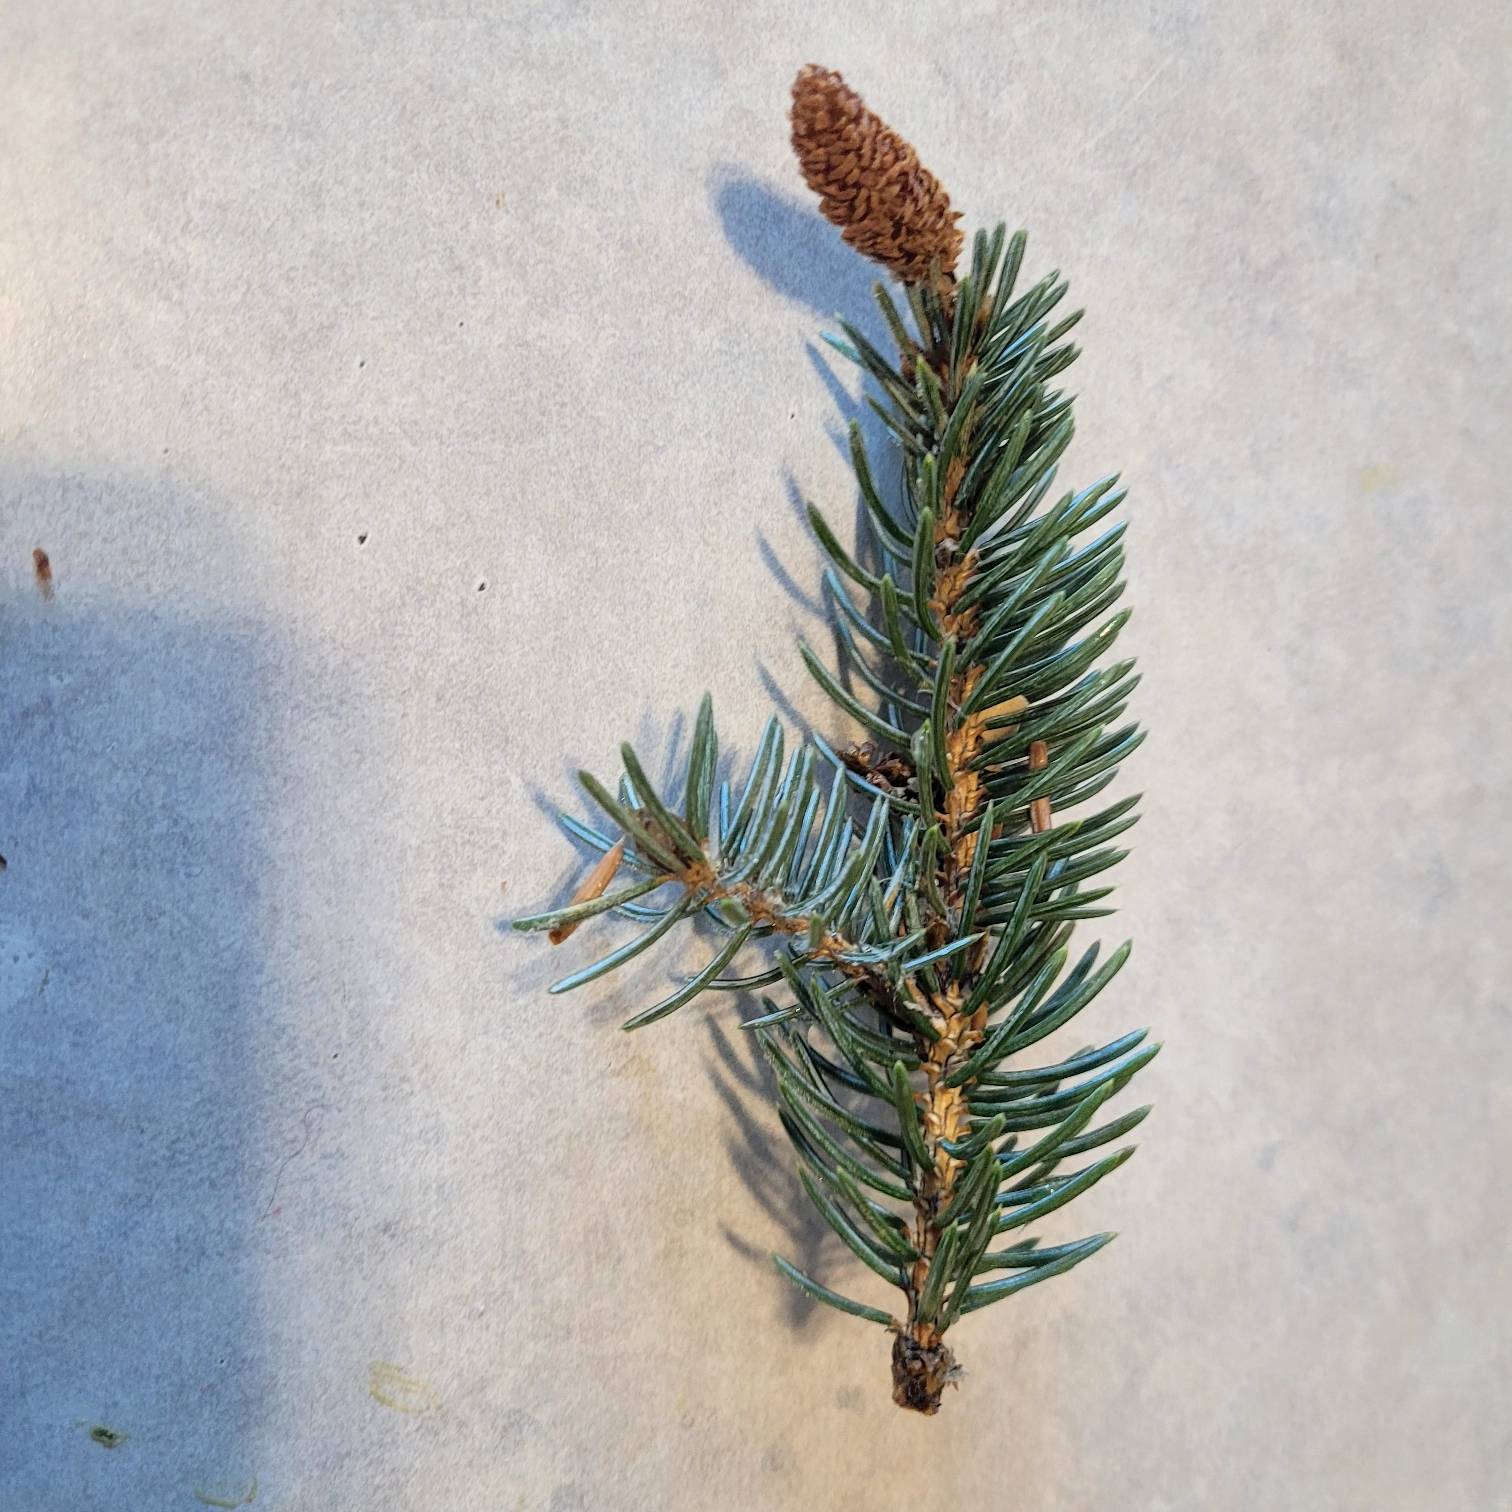
Step 1: The first step regardless of the tree is to harvest a few needles. You’ll find them growing in bundles called fascicules, or individually along a narrow stem.
Step 2: Cut the needles at a branching joint on the tree, that way you won’t hard the tree while harvesting needles.
Pro tip: You won’t need many needles to brew a cup or two—these needles are potent!
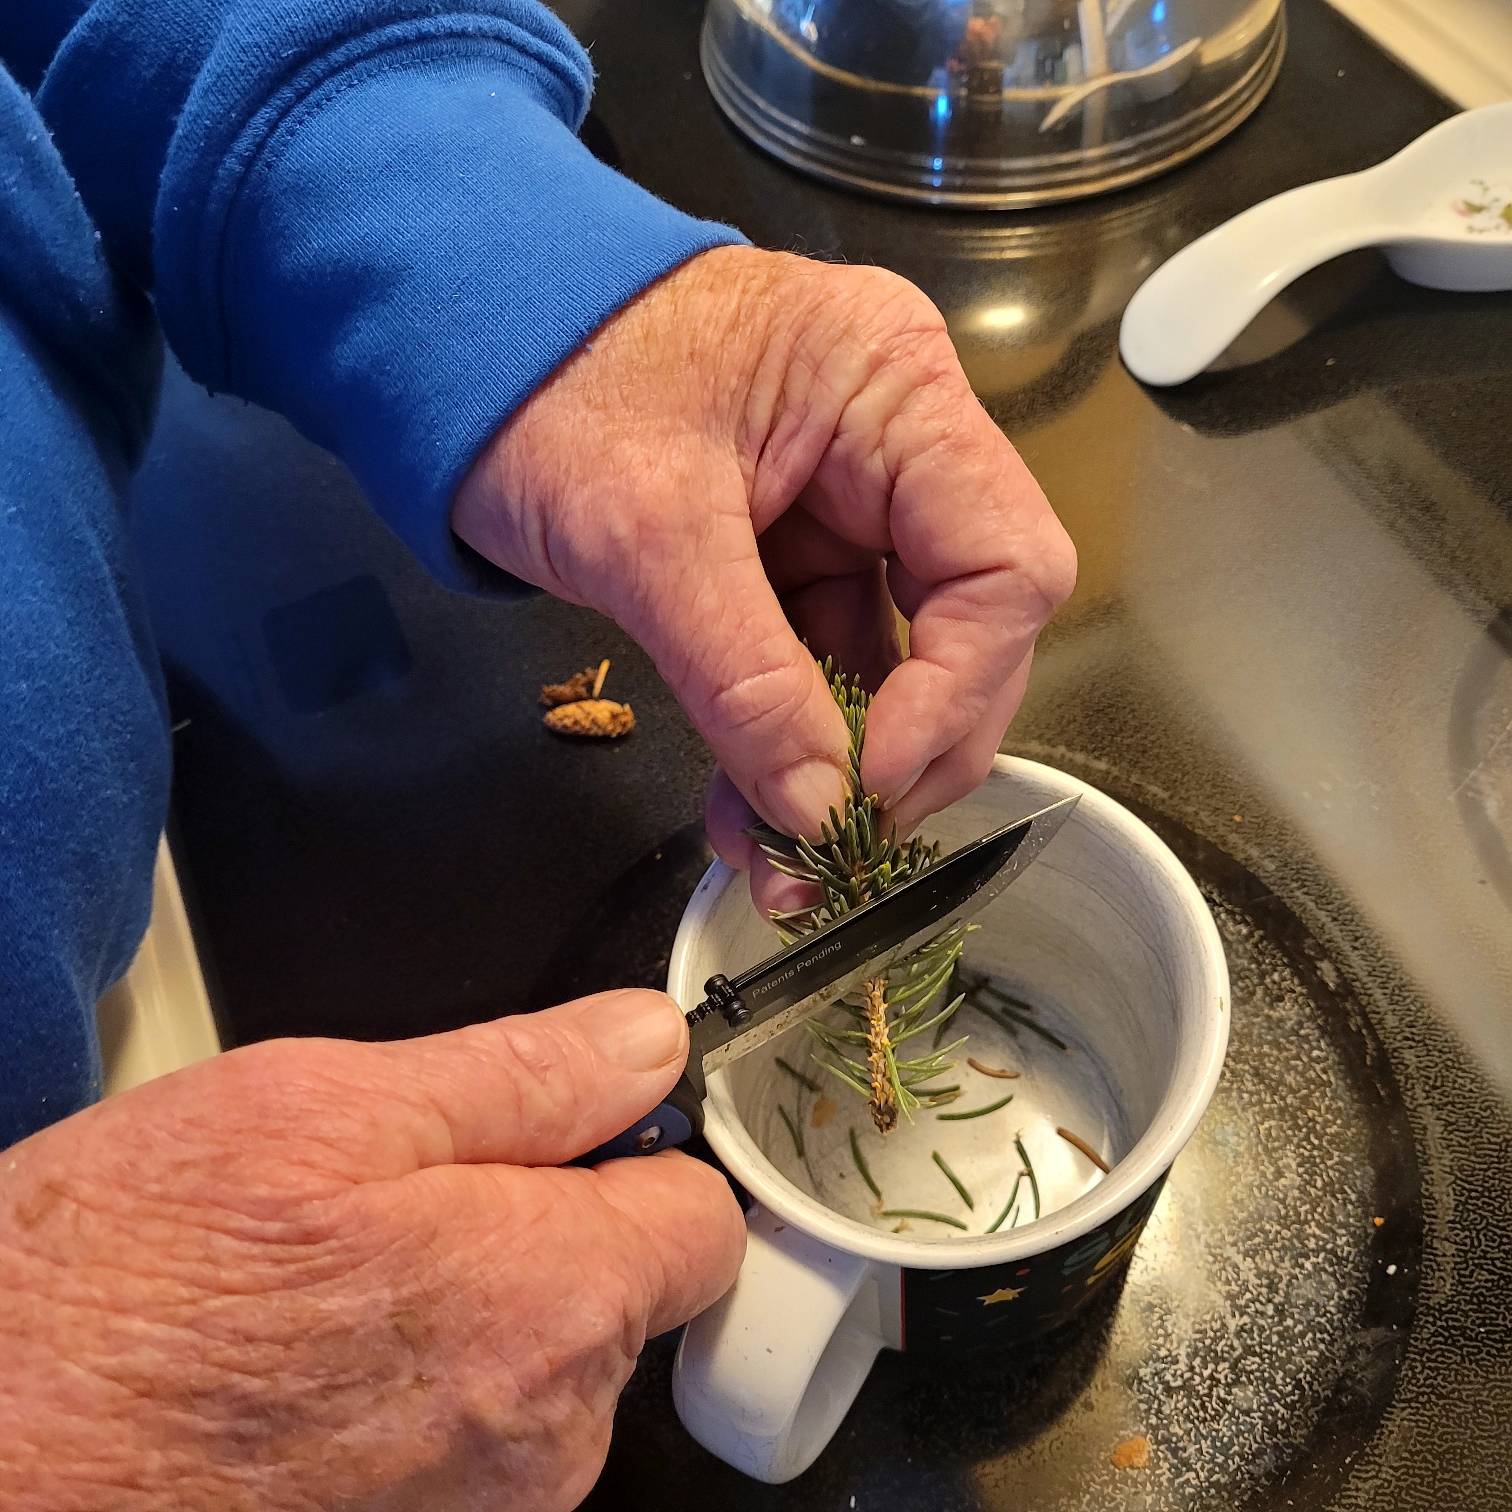
Step 3: Once harvested, take a small knife and carefully remove the needles, placing them in an empty cup.
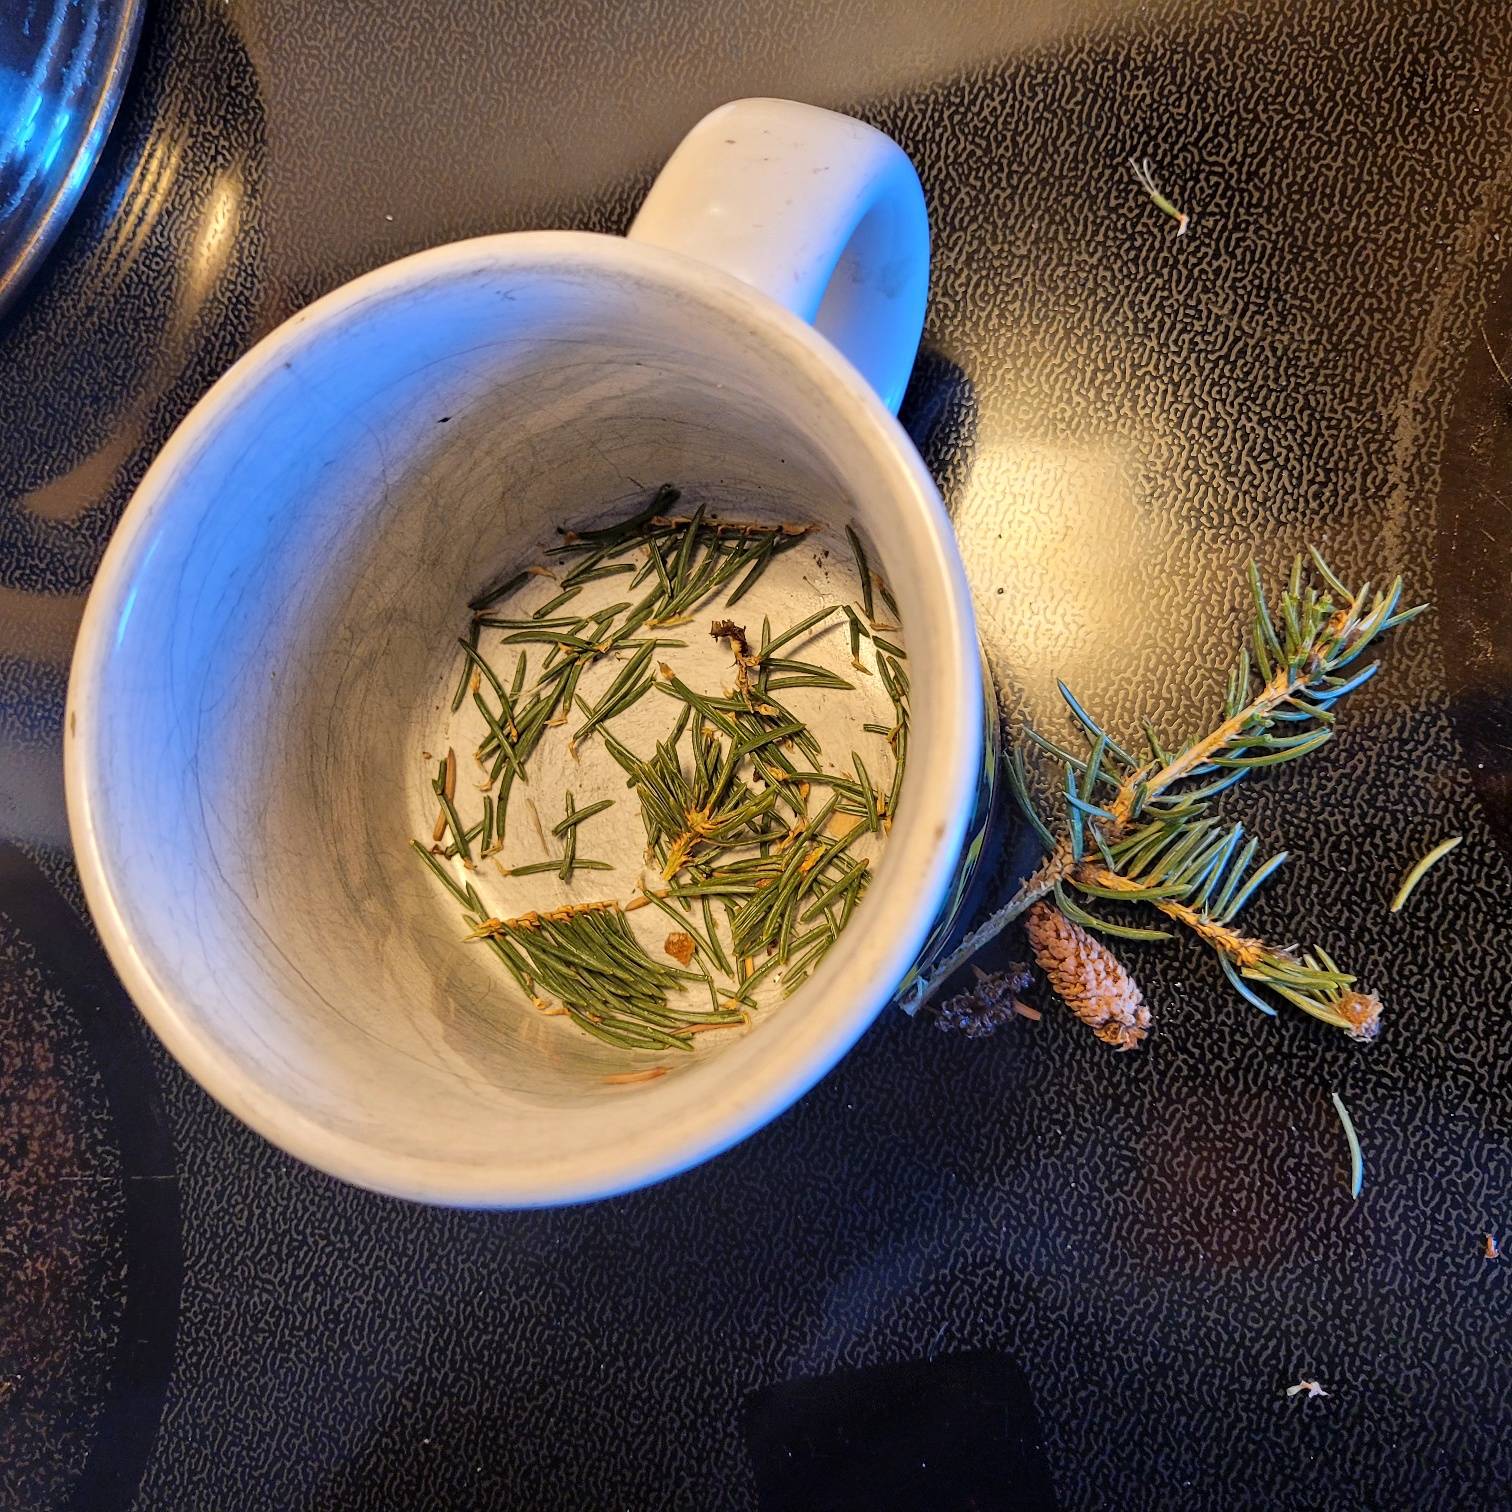
Step 4: Remove all stems, blooms, and immature pine cones from the cup so that only the needles are left. Any of the extra parts of the bundle can create a bitter tasting tea.
Step 5: Seeing as you just brought these needles in from outside, now is the time for you to rinse off your needles to remove any residual dirt or other substances that may be stuck to the needles.
Step 6: For brewing the tea, you have two options:
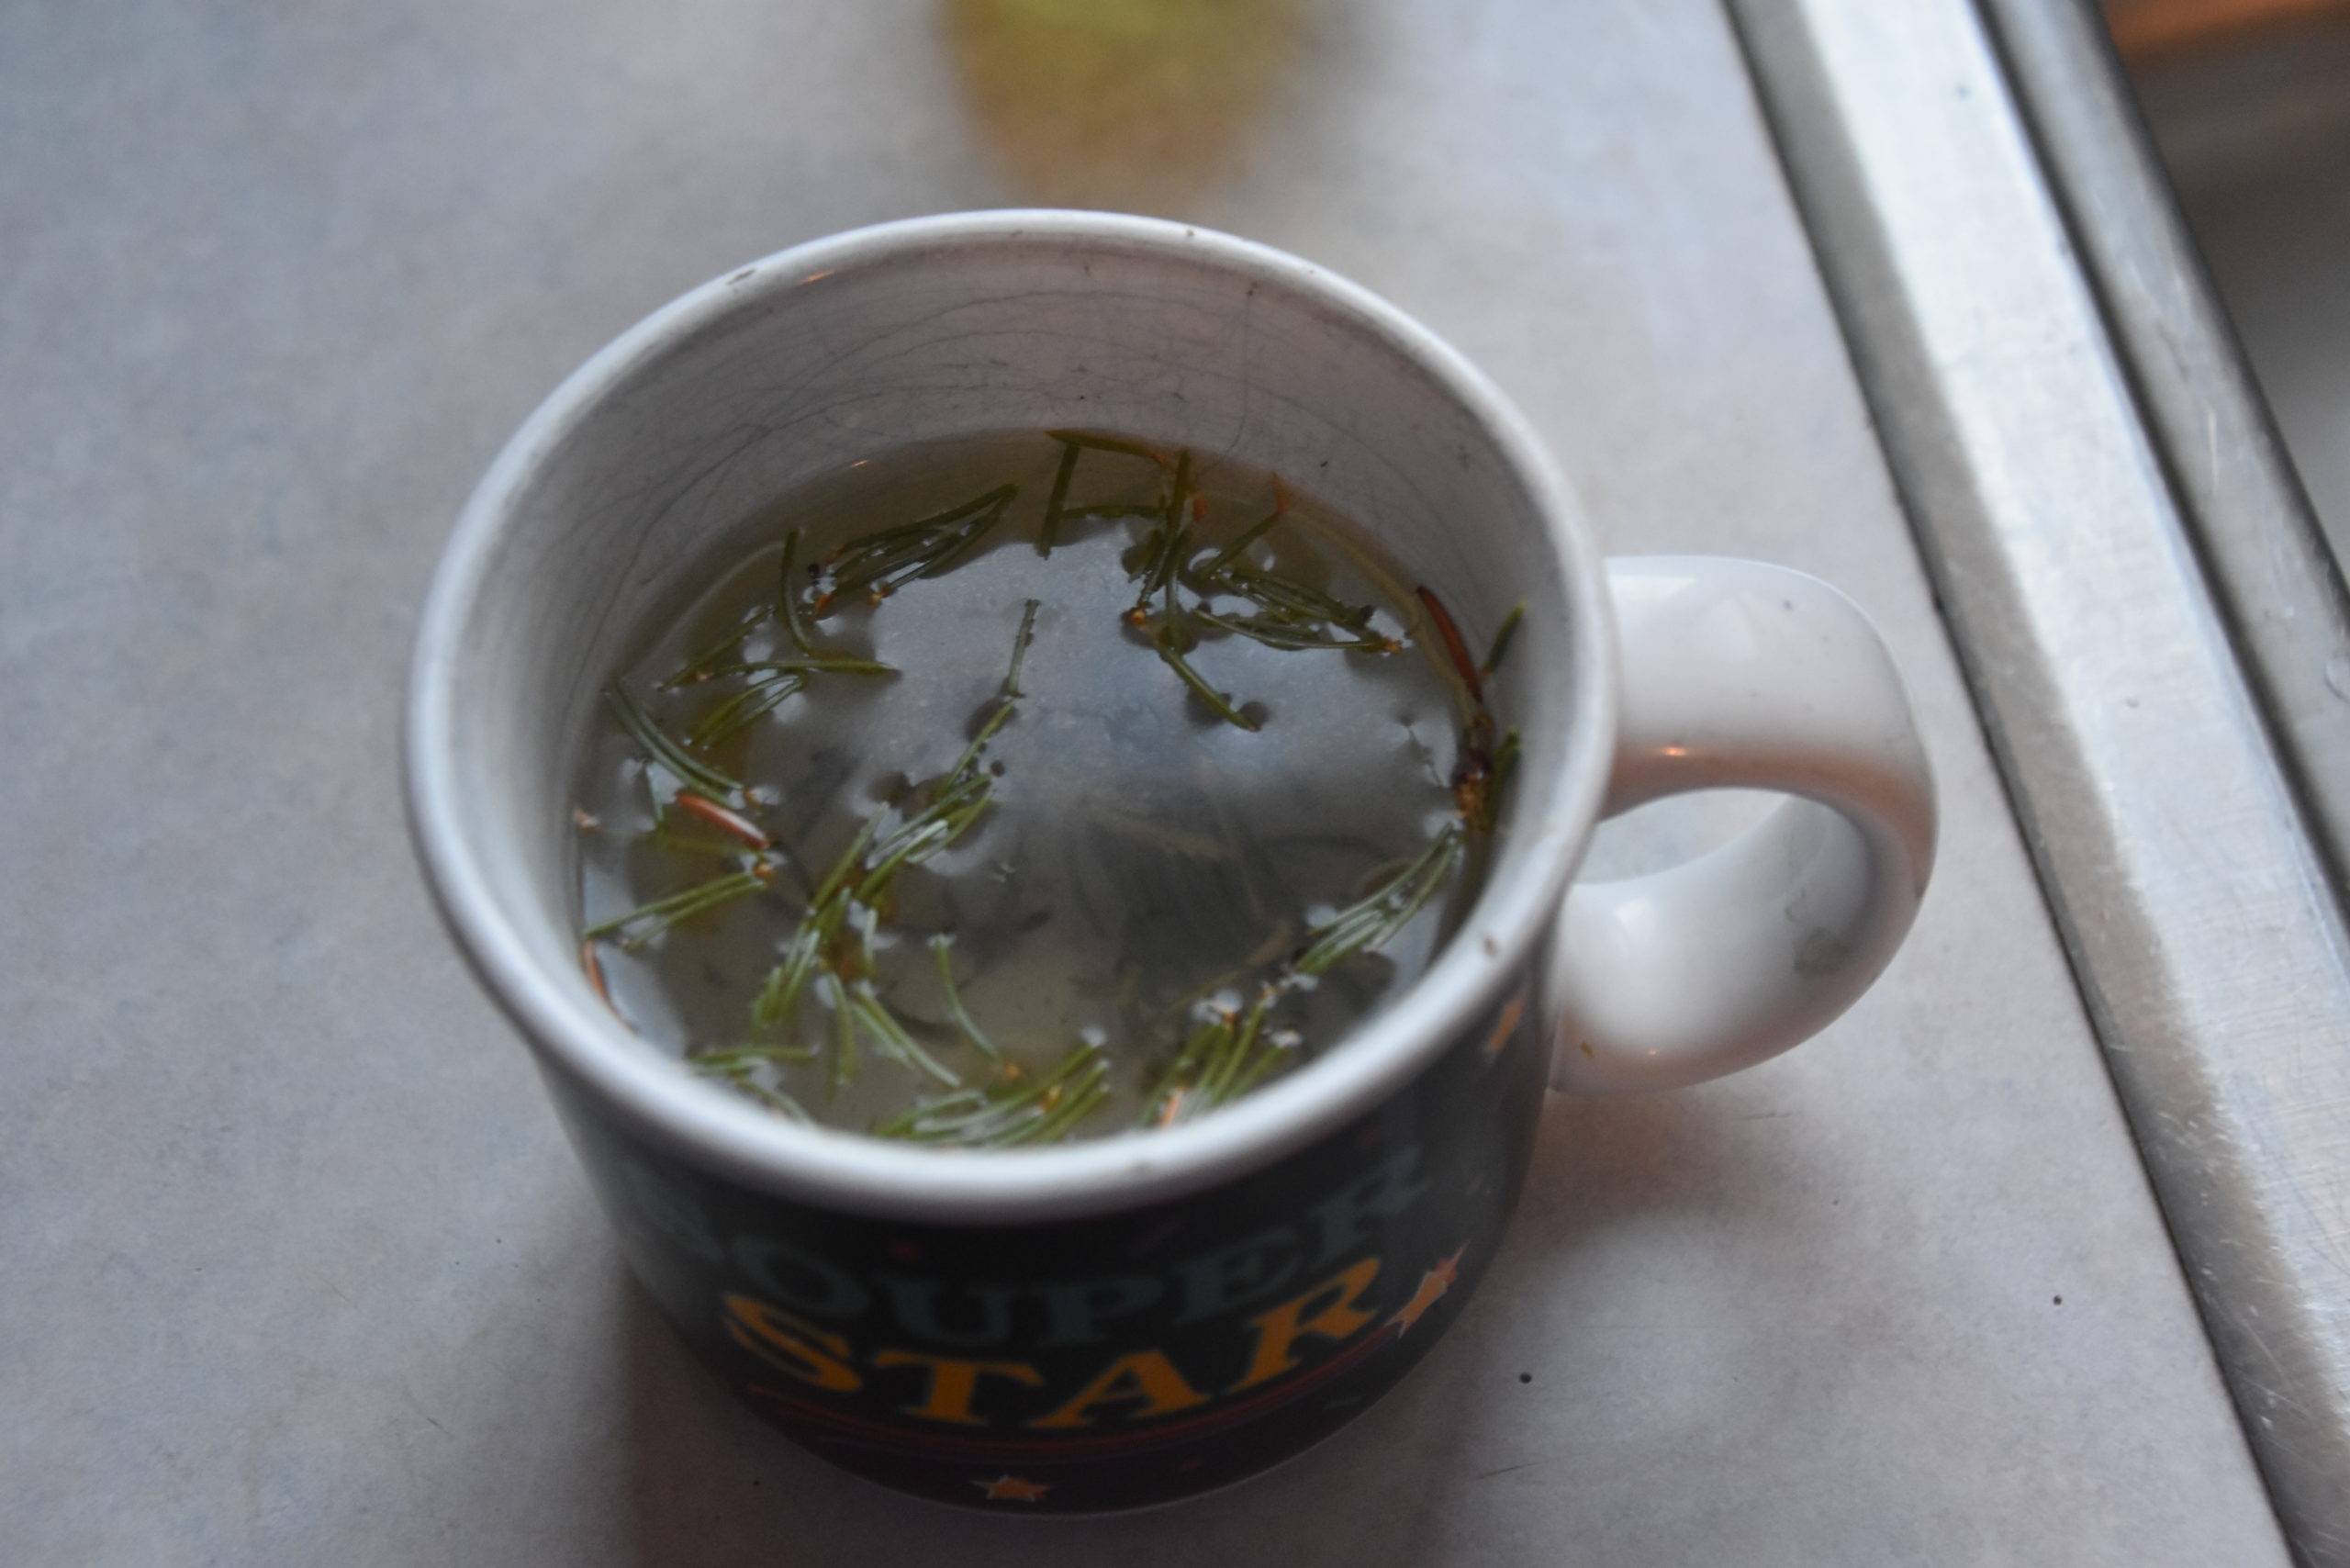
Option 1: Fill a tea kettle or standard pot with water and bring to a vigorous boil. Once boiled, pour the water over the pine needles in the cup, cover the mug with a lid or plate and leave to brew for 10-15 minutes. If choosing this method of brewing, it’s important to make sure you cover the tea as it’s brewing so that the nutrients from the needles don’t escape in the steam. After it’s brewed, strain out the needles using a sieve or fine colander. A coffee filter can work just as well too!
Option 2: For the second brewing option you’ll need a stove pot, sauce pan, or even a French press. Add the water and pine needles to your chosen vessel and bring to a roiling boil. Let the water and needles brew for at least 5-10 minutes once it’s reached boiling point, then you can strain and pour into a cup as normal.
Step 7: If desired, you can sweeten the tea with honey or lemon, then you’re ready to drink!
