Hang Drywall With Precision And Ease Using This DIY Guide
When embarking on a DIY journey to give your home’s basement or living spaces a fresh lift, hanging drywall can be a pivotal step. This process may seem daunting to some, but with the right approach, it can efficiently transform your room. From prepping the walls to applying the finishing touches, let’s delve into the essential steps and tips for how to hang drywall like a pro.
Understanding the Basics of Drywall and Its Importance in Home Renovation
Drywall, also known as gypsum board, plays a crucial role in modern construction by providing a smooth, paint-ready surface. It’s favored for its cost-effectiveness and relatively straightforward installation process.
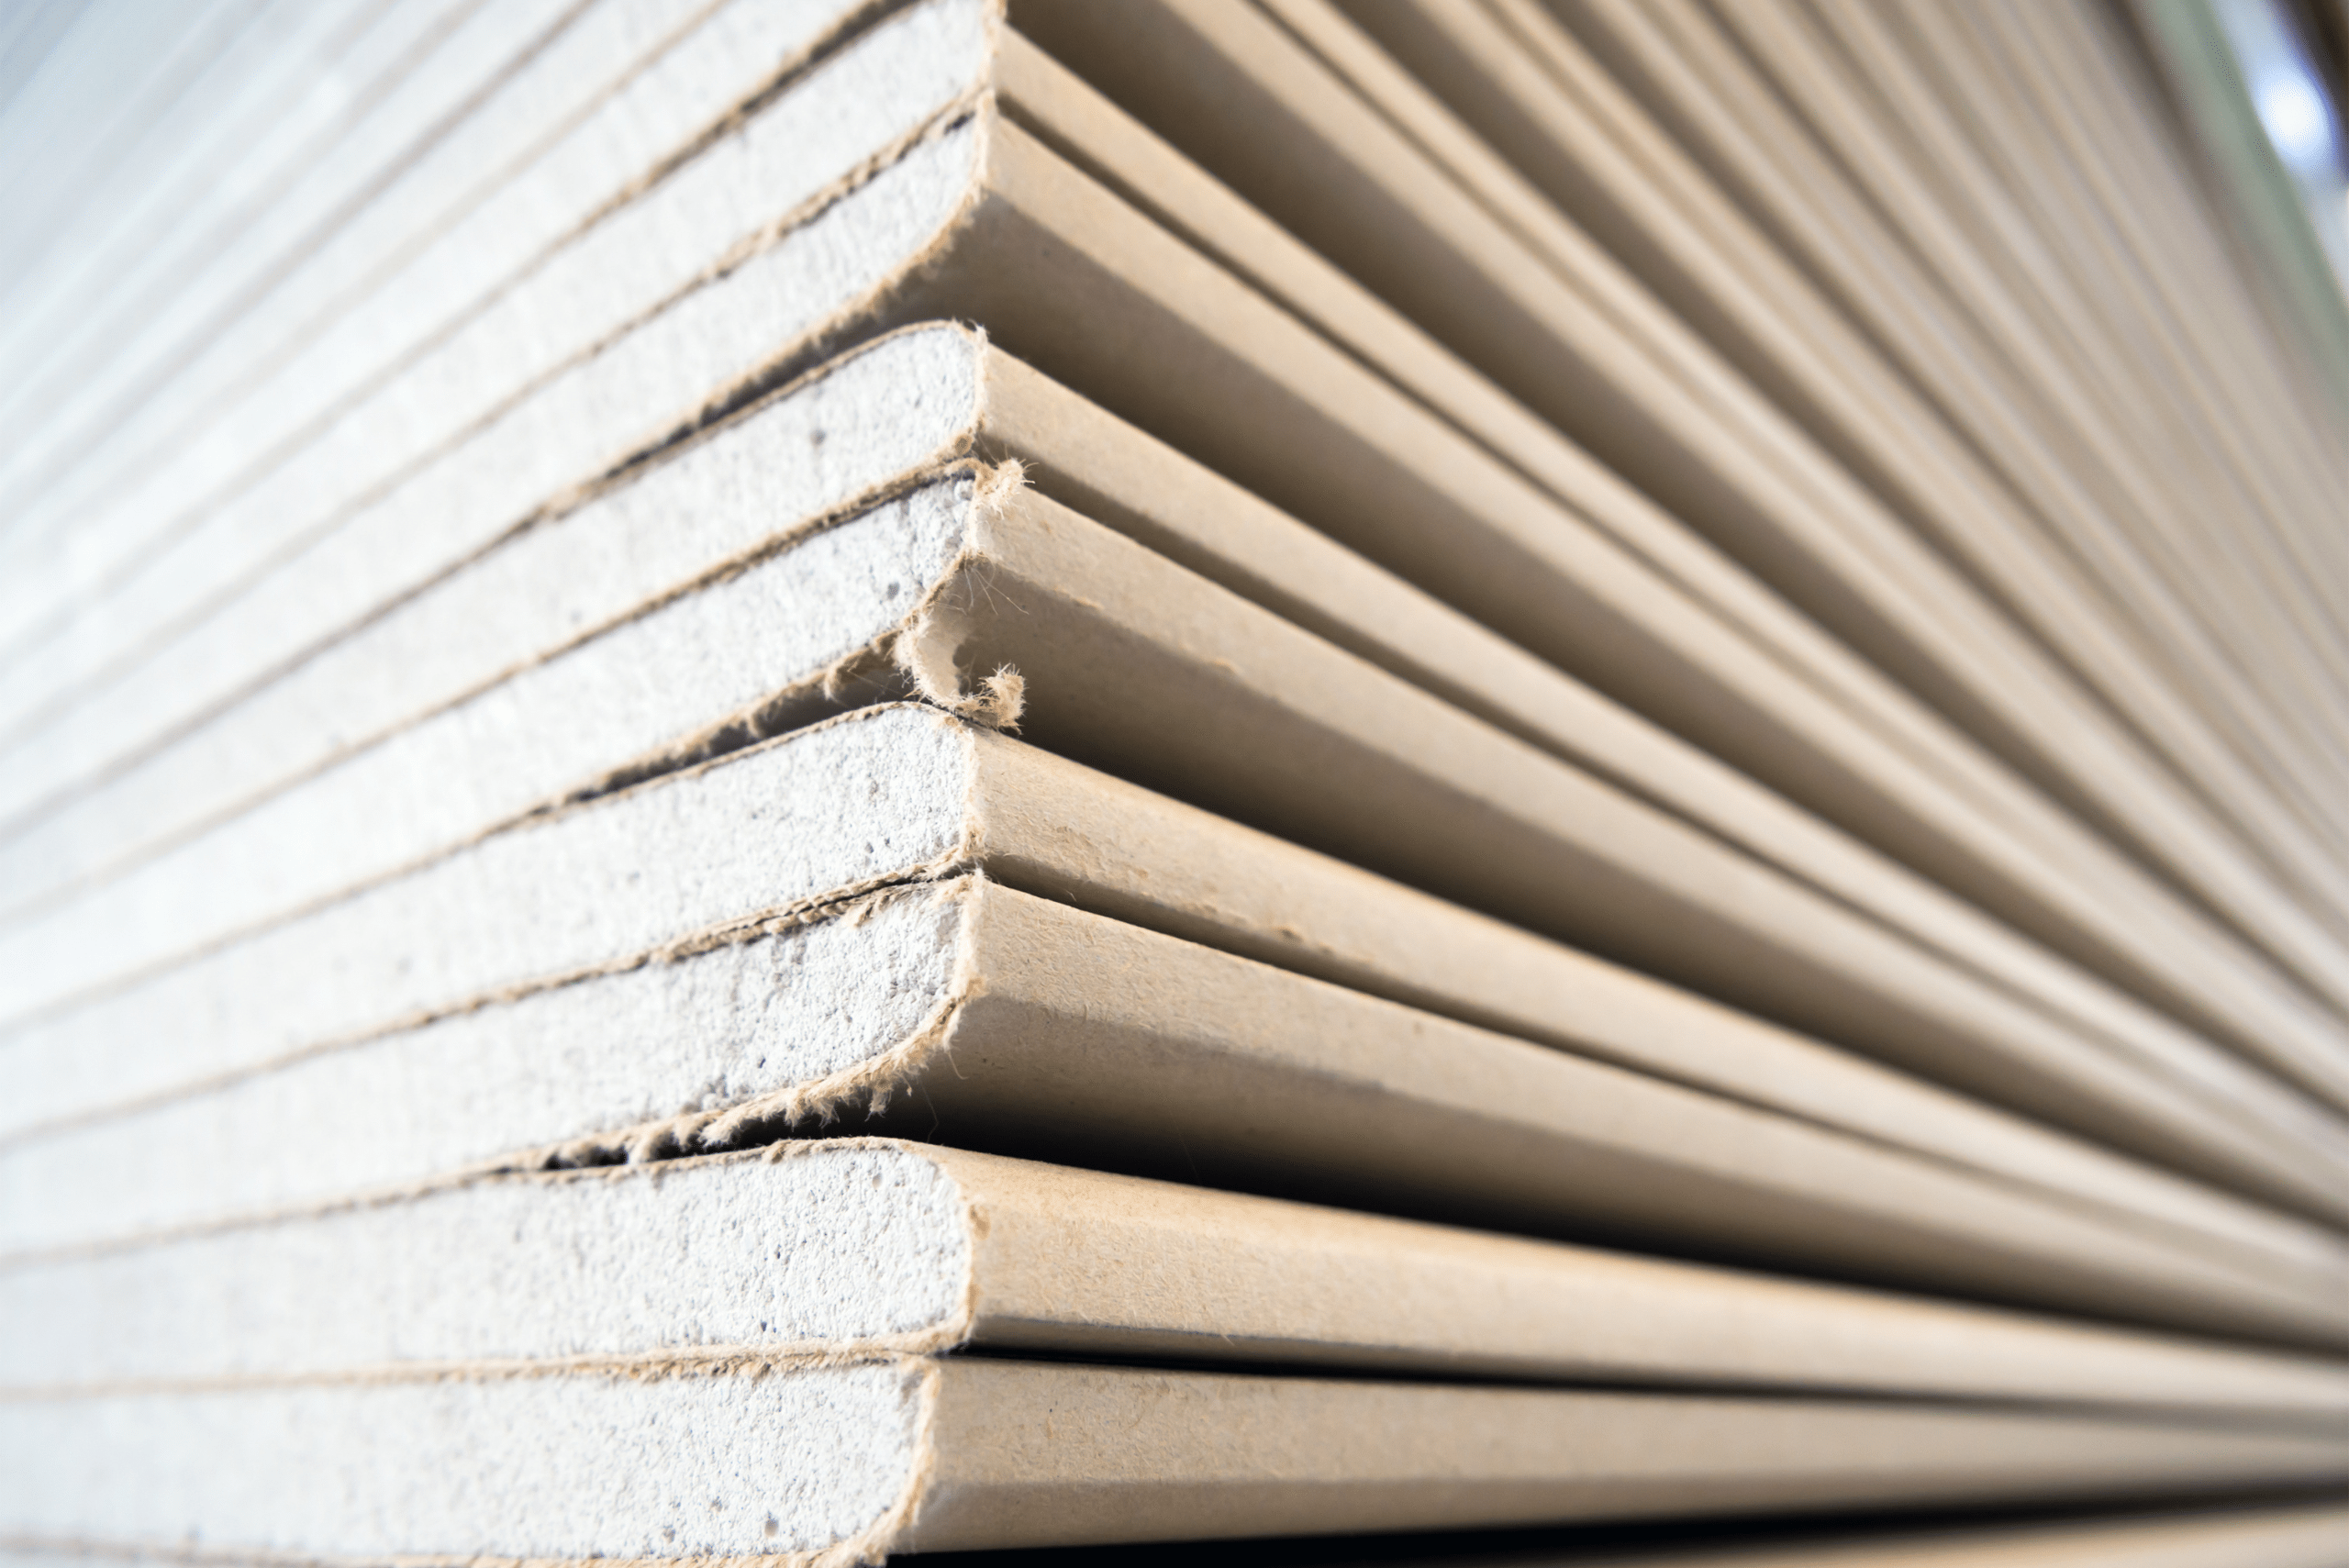
Before you start, it’s essential to gather all the necessary tools and materials, including drywall panels, screws, drywall tape, joint compound, and a good-quality drill. Preparing yourself with the correct equipment will streamline your workflow and help you achieve professional-looking results.
Choosing the Right Drywall and Tools
Selecting the appropriate type of drywall is essential. The most common thickness is 1/2 inch, ideal for most interior walls, while 5/8 inch is better suited for ceilings or walls requiring additional soundproofing.
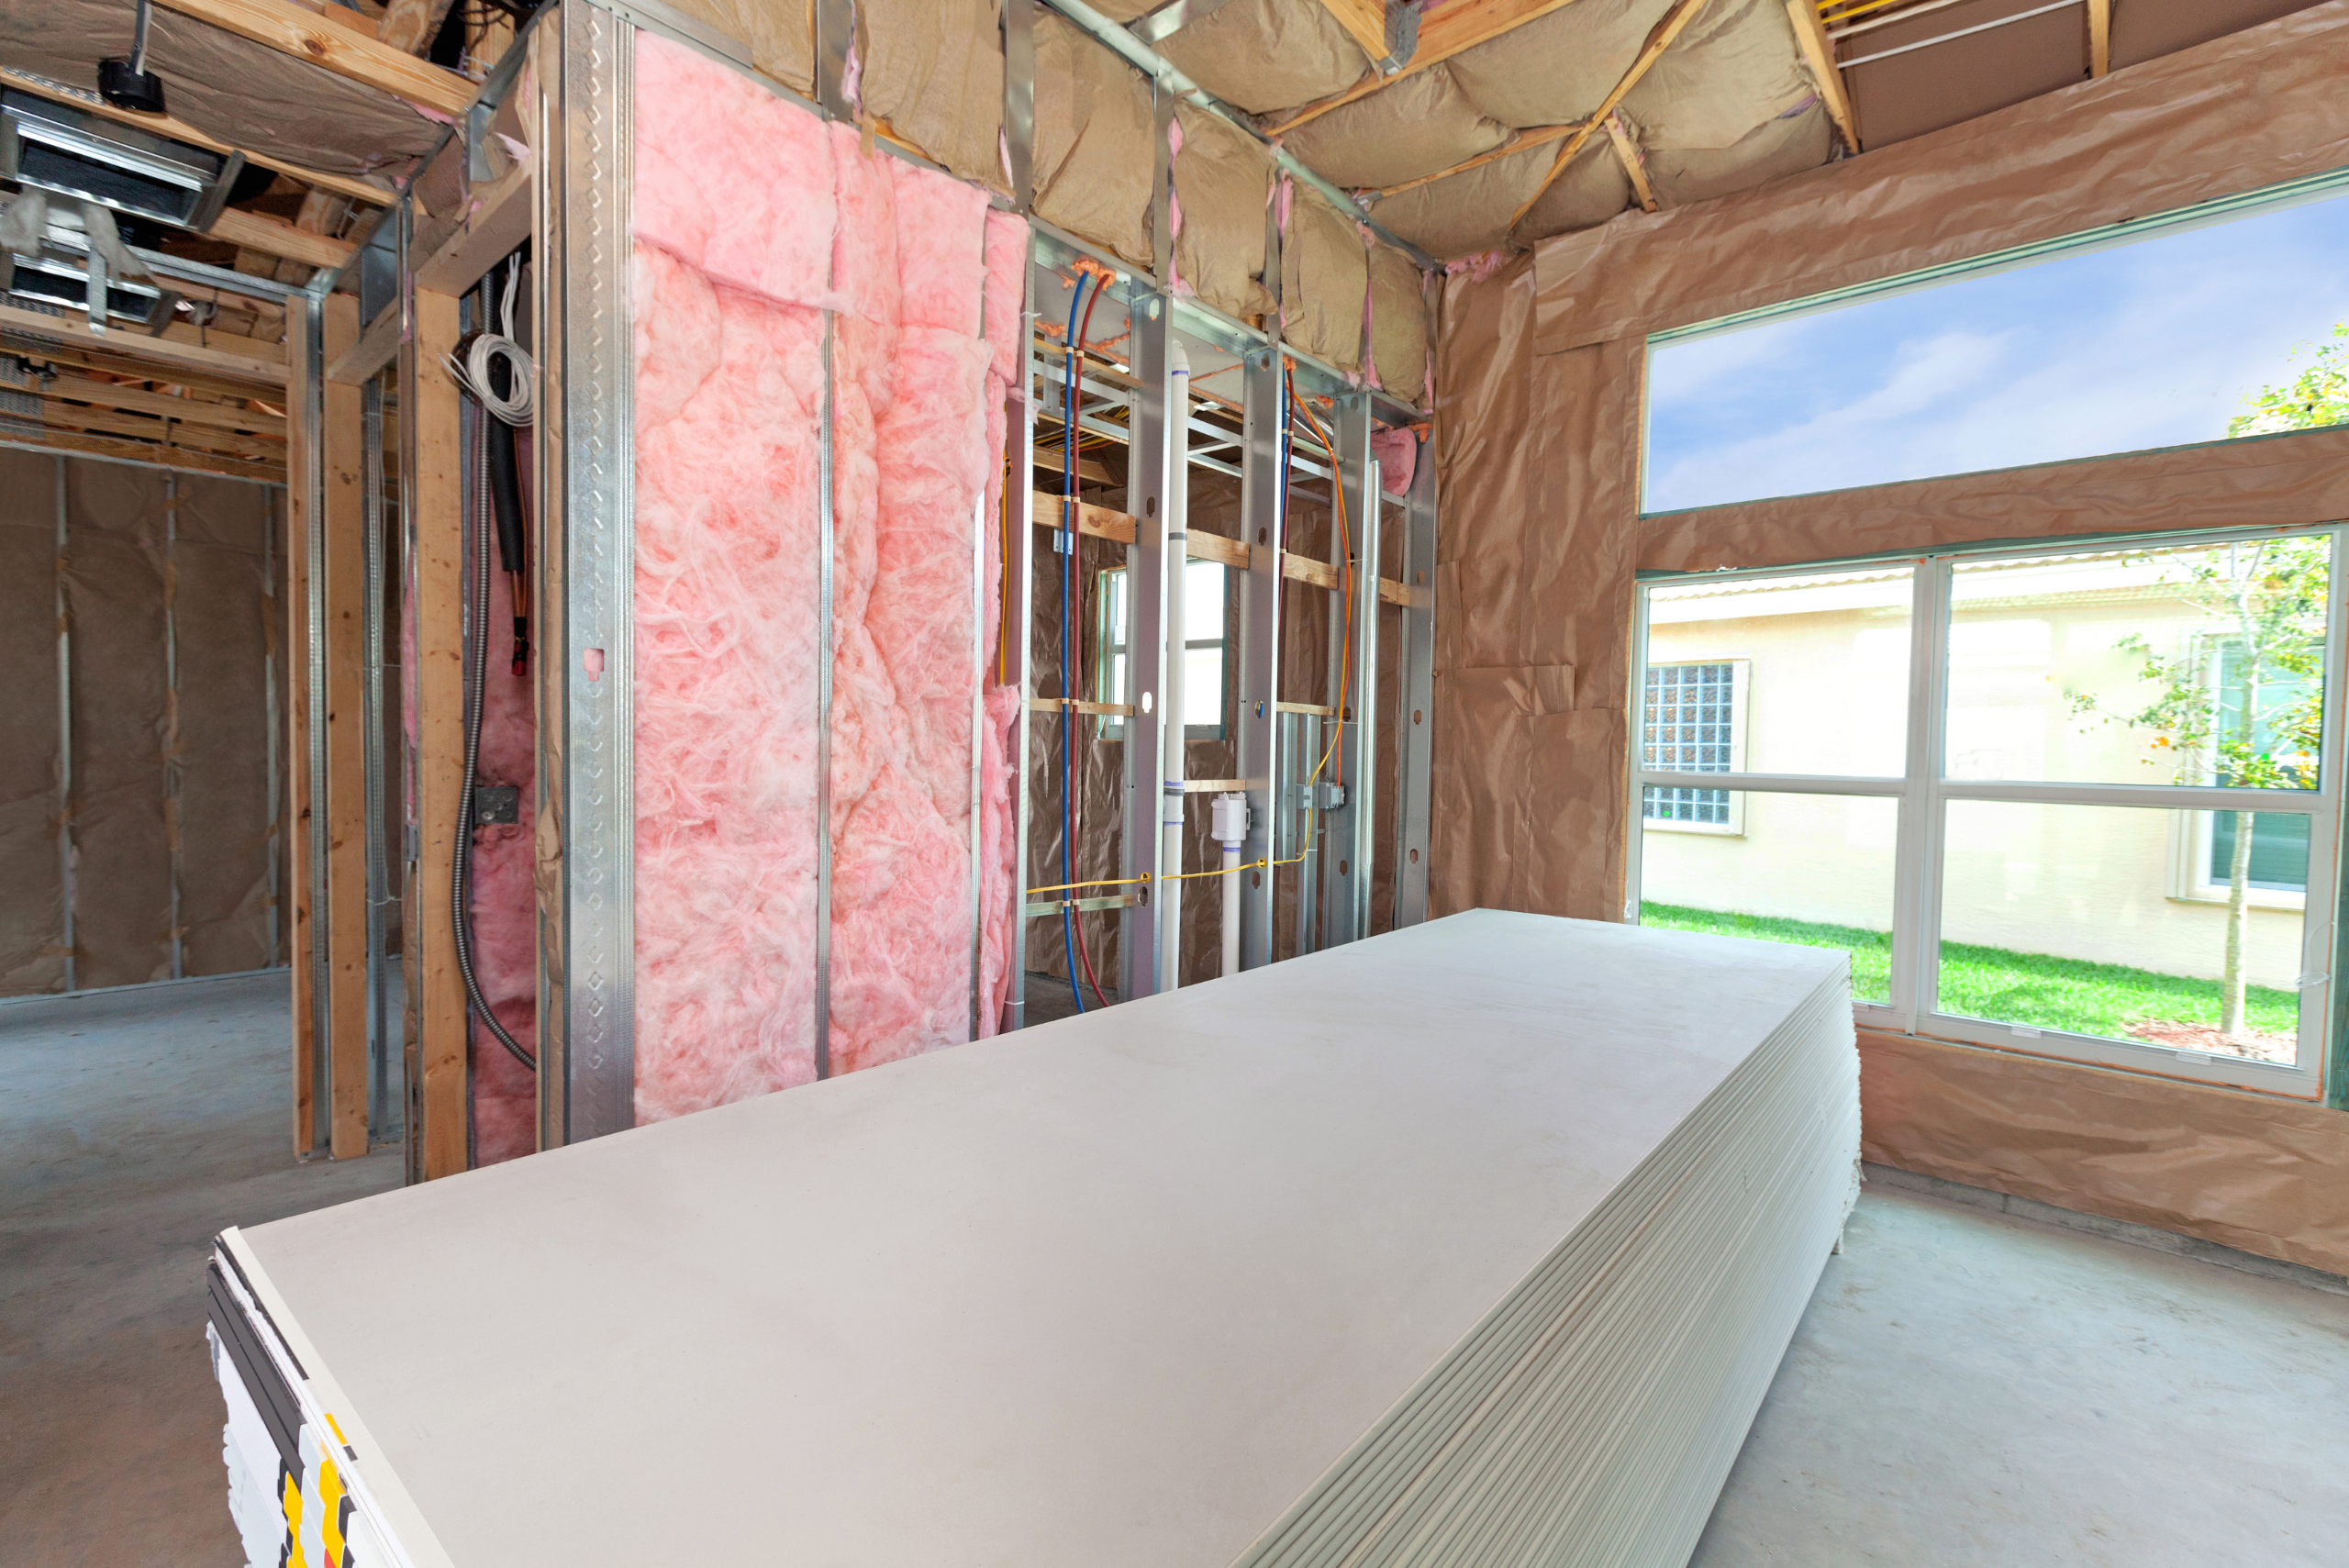
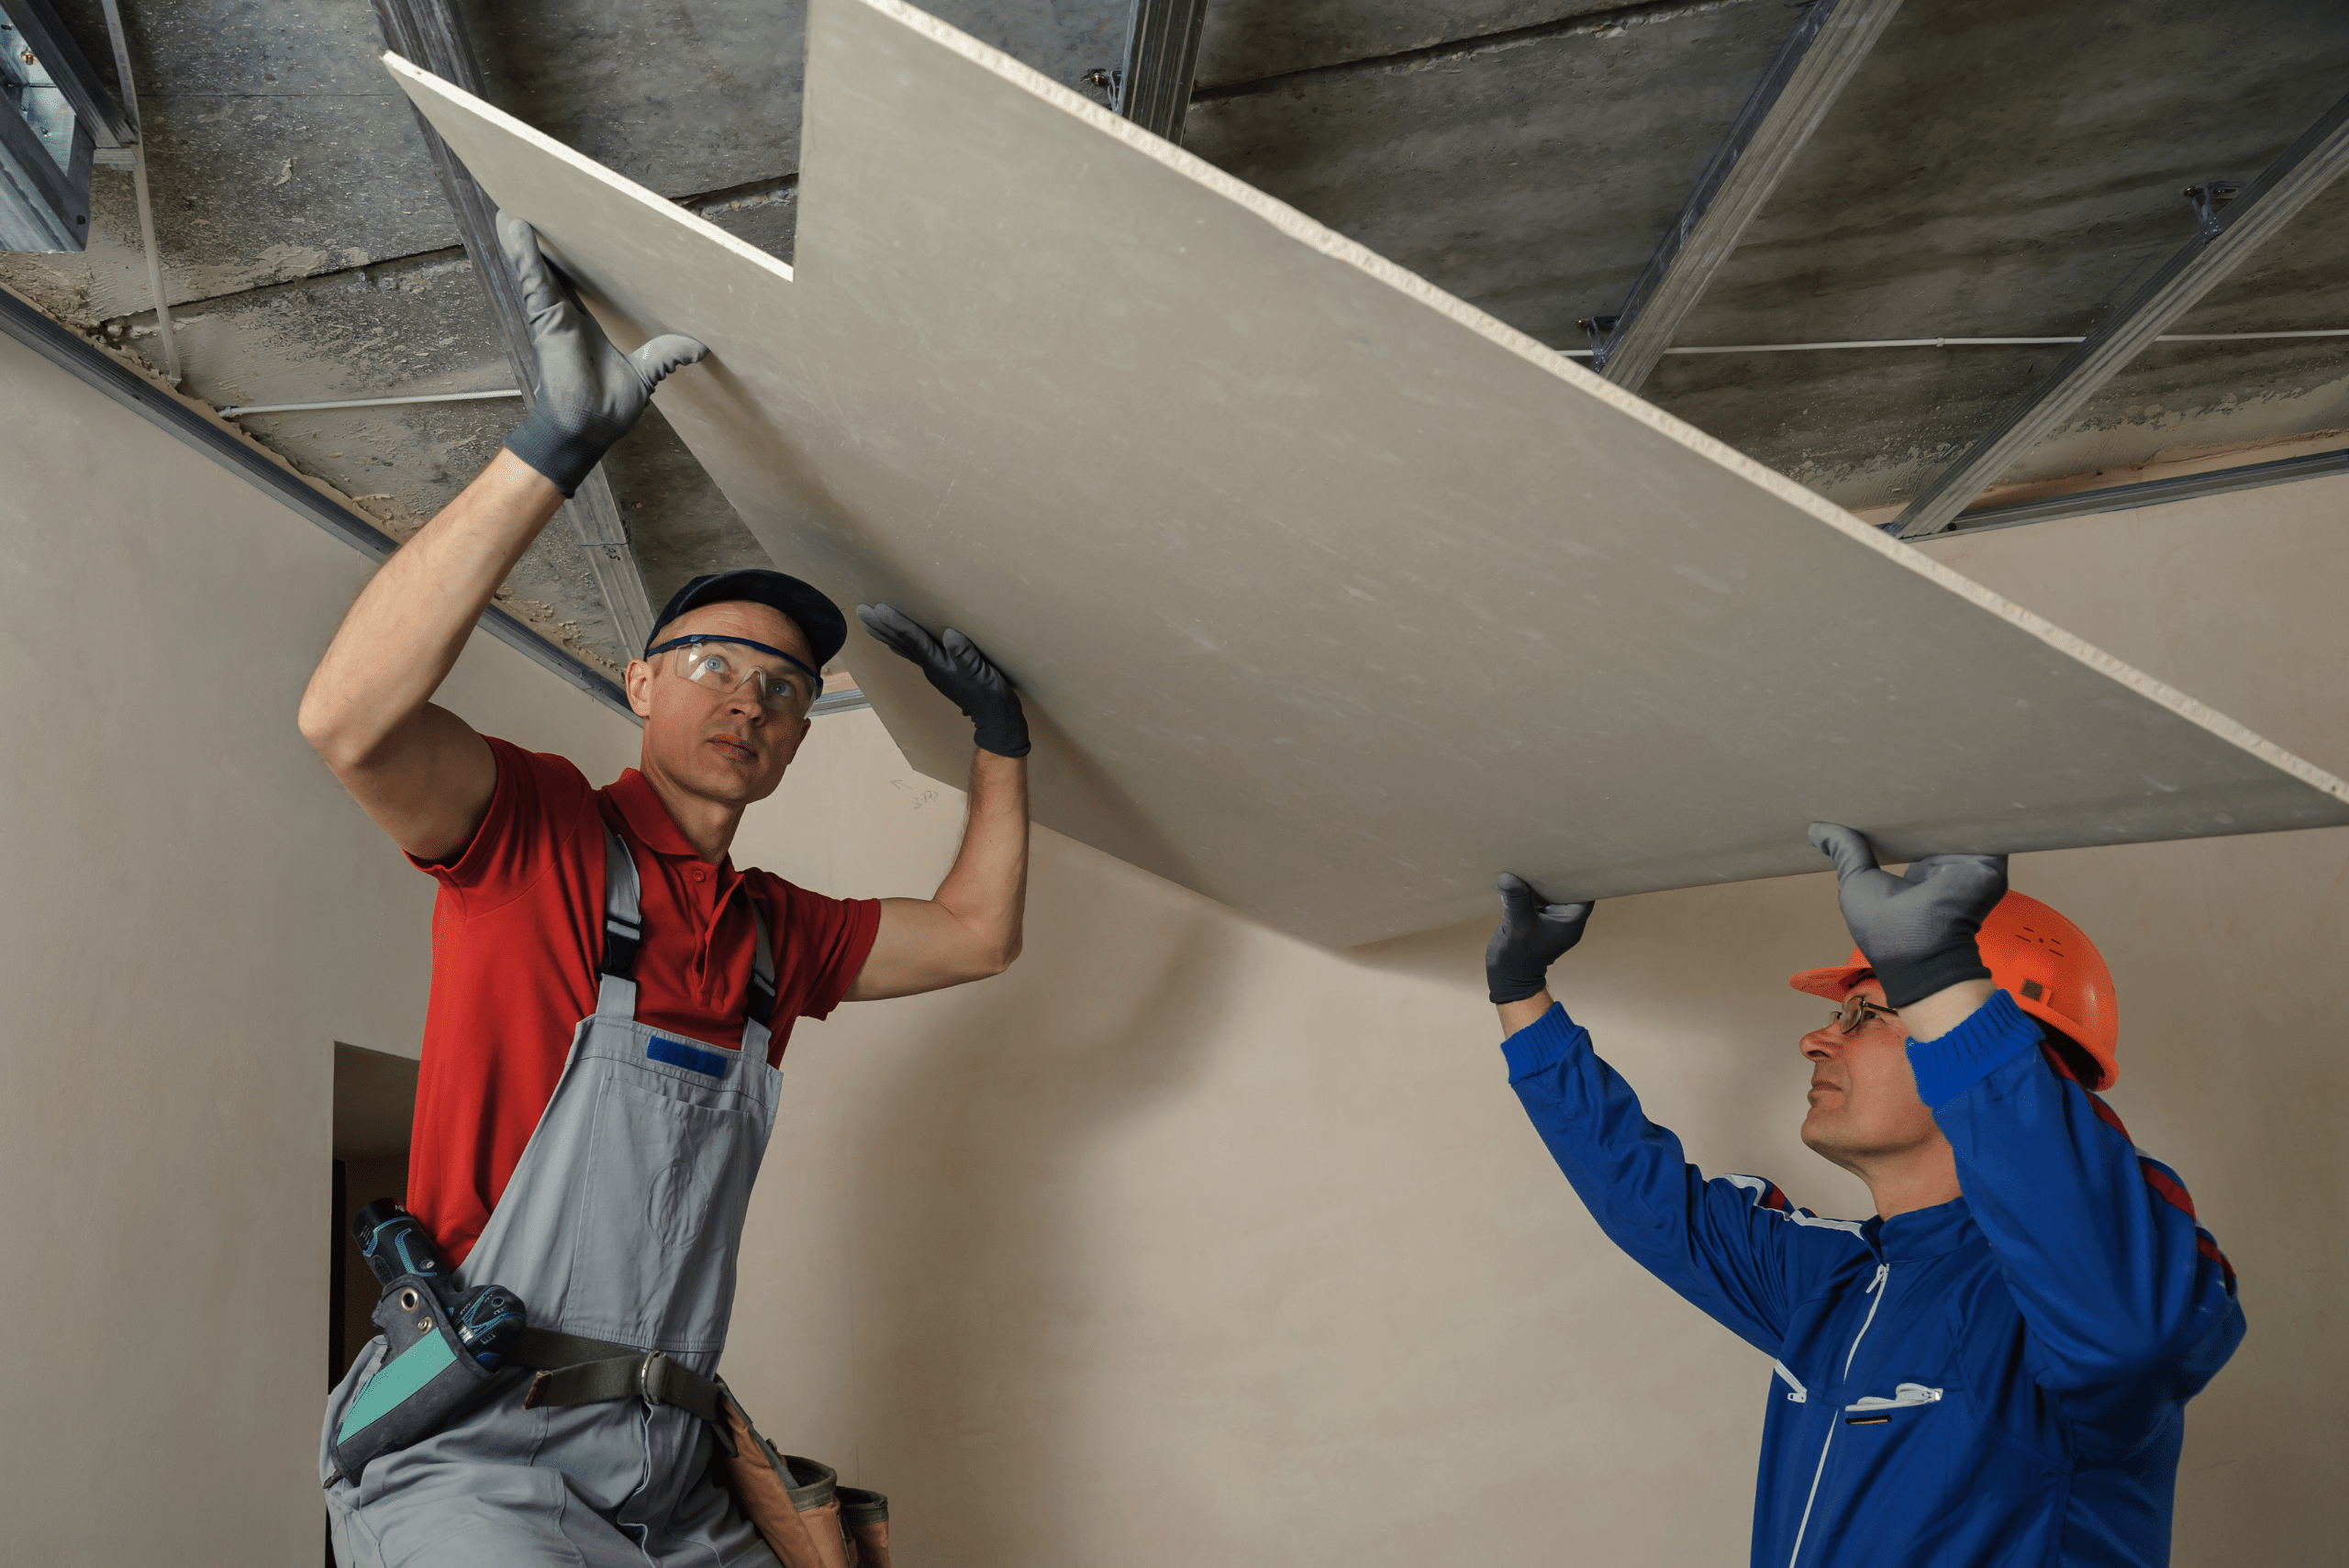
Moisture-resistant drywall is advisable in bathrooms and kitchens. Additionally, invest in a high-quality drywall lift if you plan to work on ceilings. This tool will save you a lot of effort and help prevent potential injuries or damage to the drywall sheets.
Step-by-Step Guide to Hanging Drywall
Here are the steps for hanging drywall like a professional:
- Firstly, measure the area where you intend to install the drywall.
- Plan the layout to minimize the number of cuts needed, and remember that it’s typically better to hang drywall vertically. (This orientation tends to provide a smoother finish and stronger walls.)
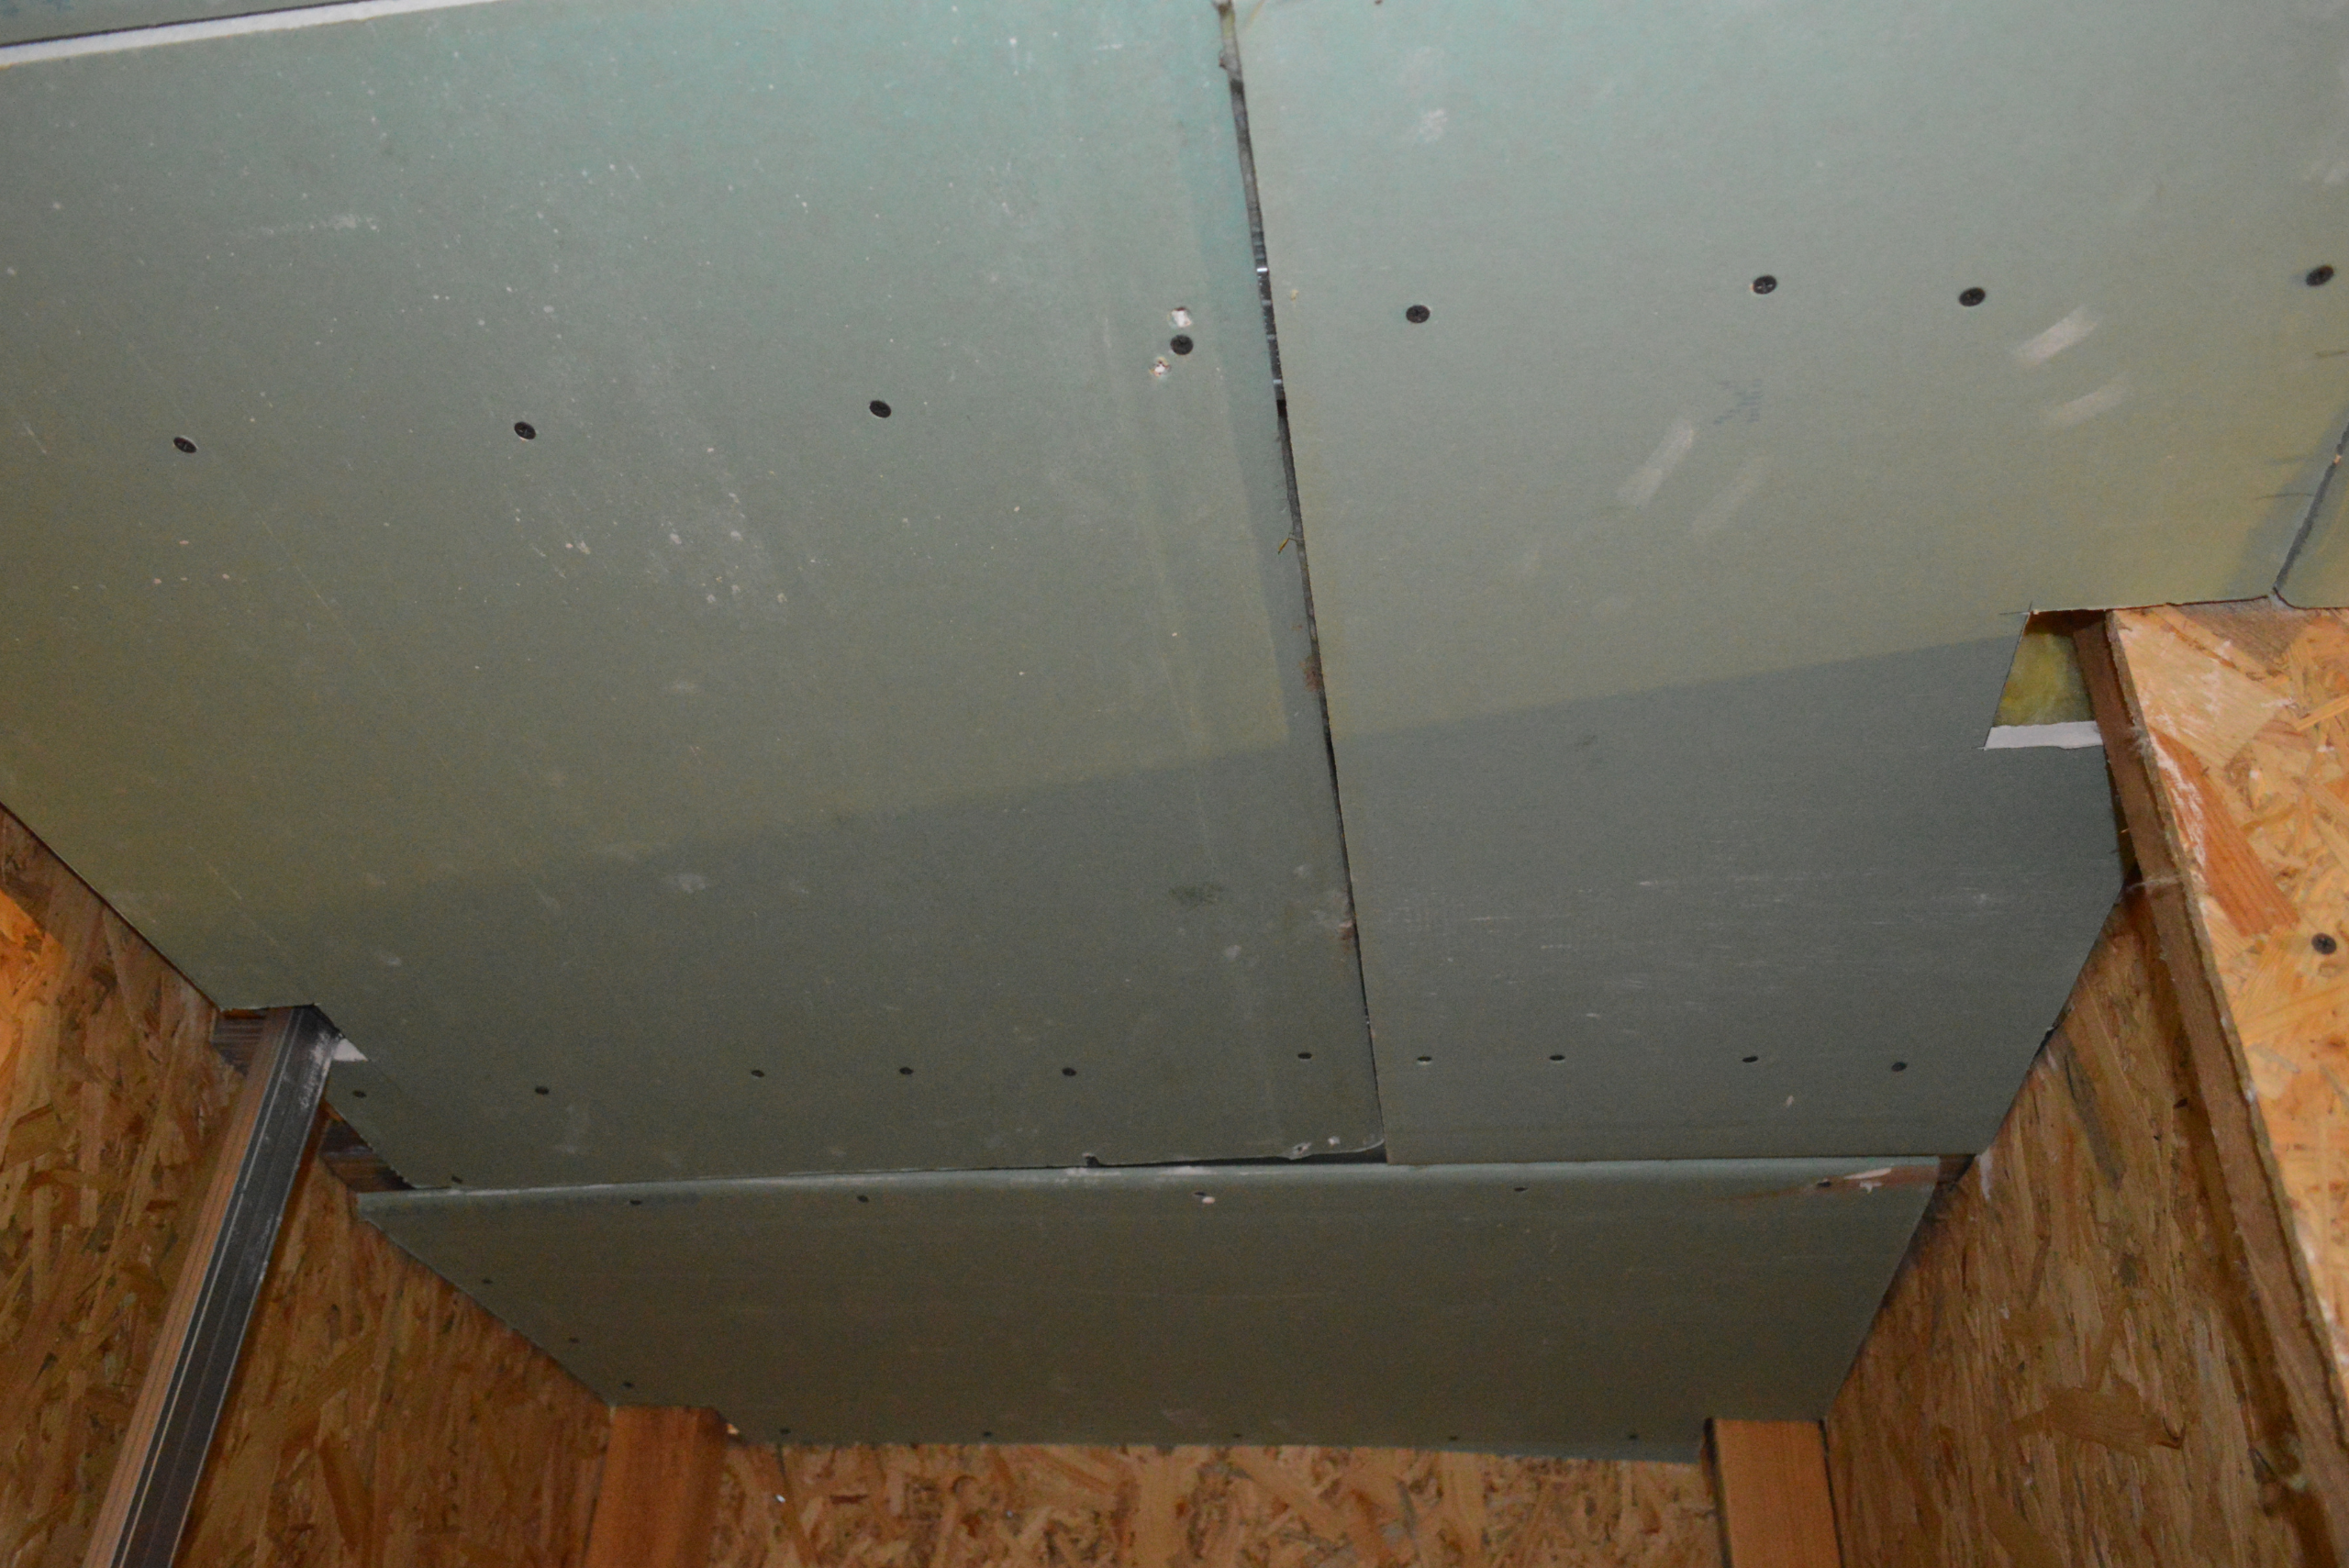
- Begin by installing panels on the ceiling first, securing them with drywall screws.
- Ensure screws are driven slightly below the surface of the drywall; this is crucial for the next step of mudding and taping.
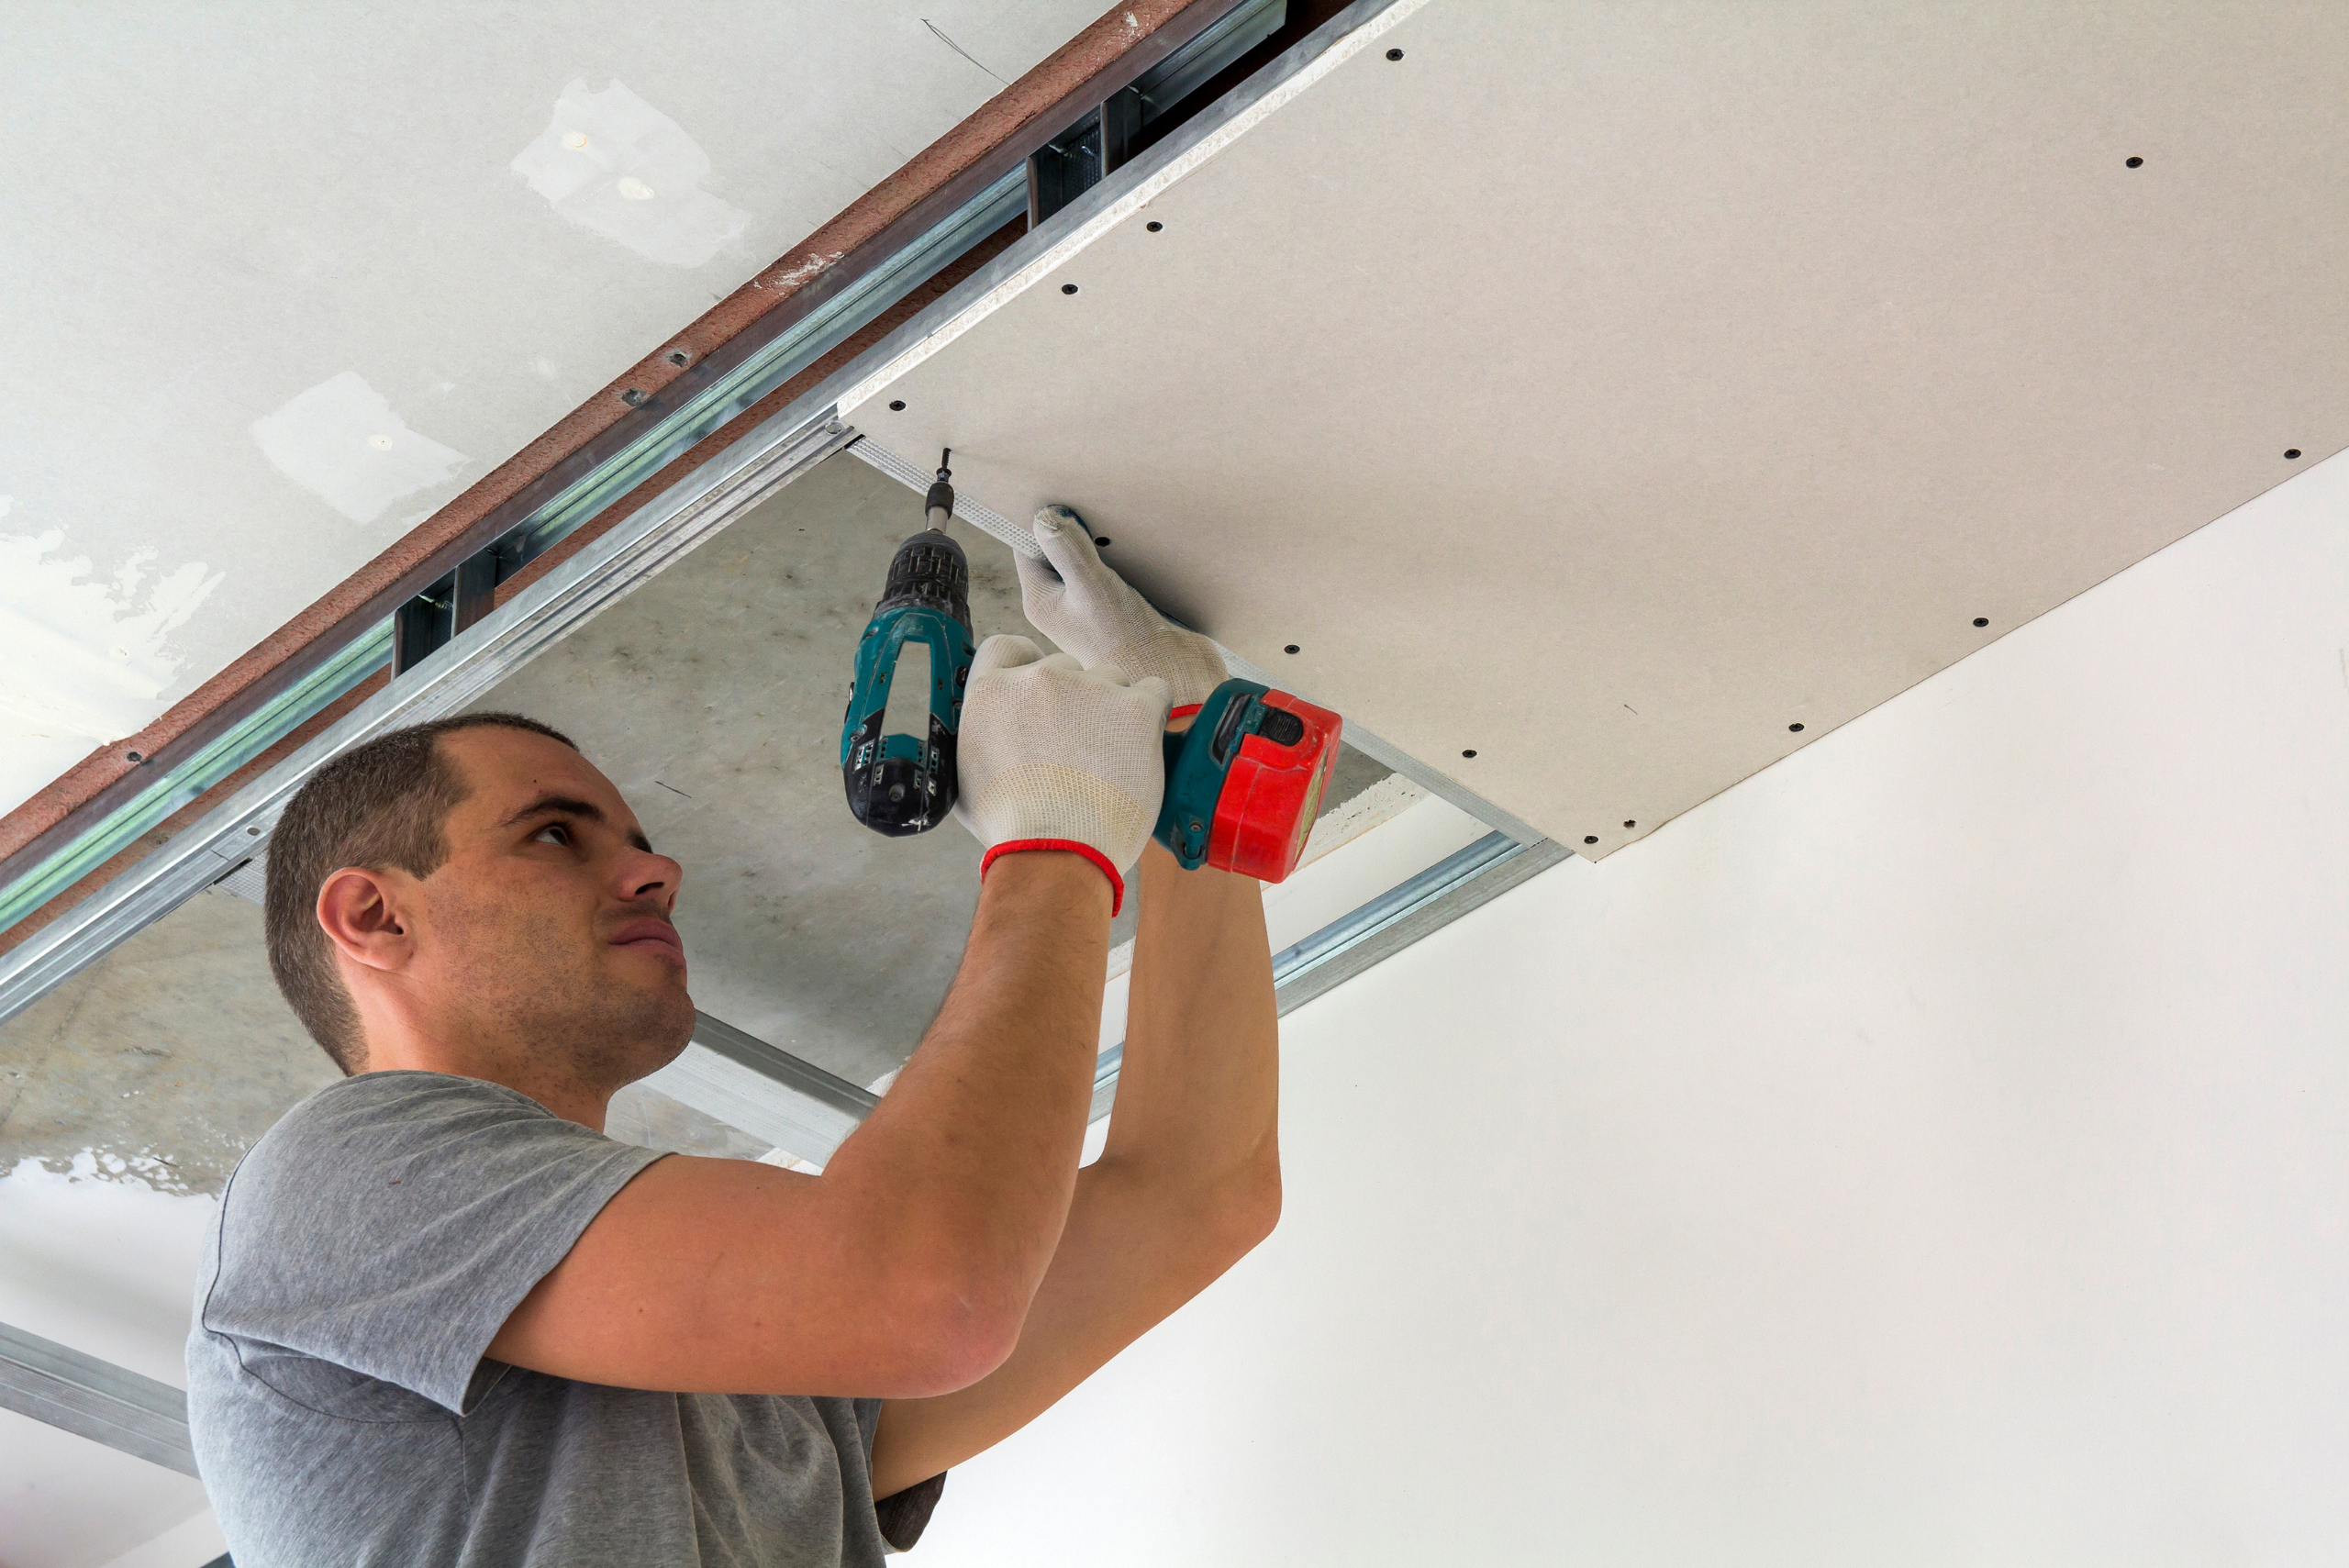
- Following the ceiling, move to the walls. Start from the top, pushing each panel tightly against the ceiling drywall to minimize gaps. (It’s advisable to stagger the joints between the ceiling and wall panels, as this can enhance the overall stability and appearance.)
- As you install each panel, use a level to check that the walls remain straight and even.
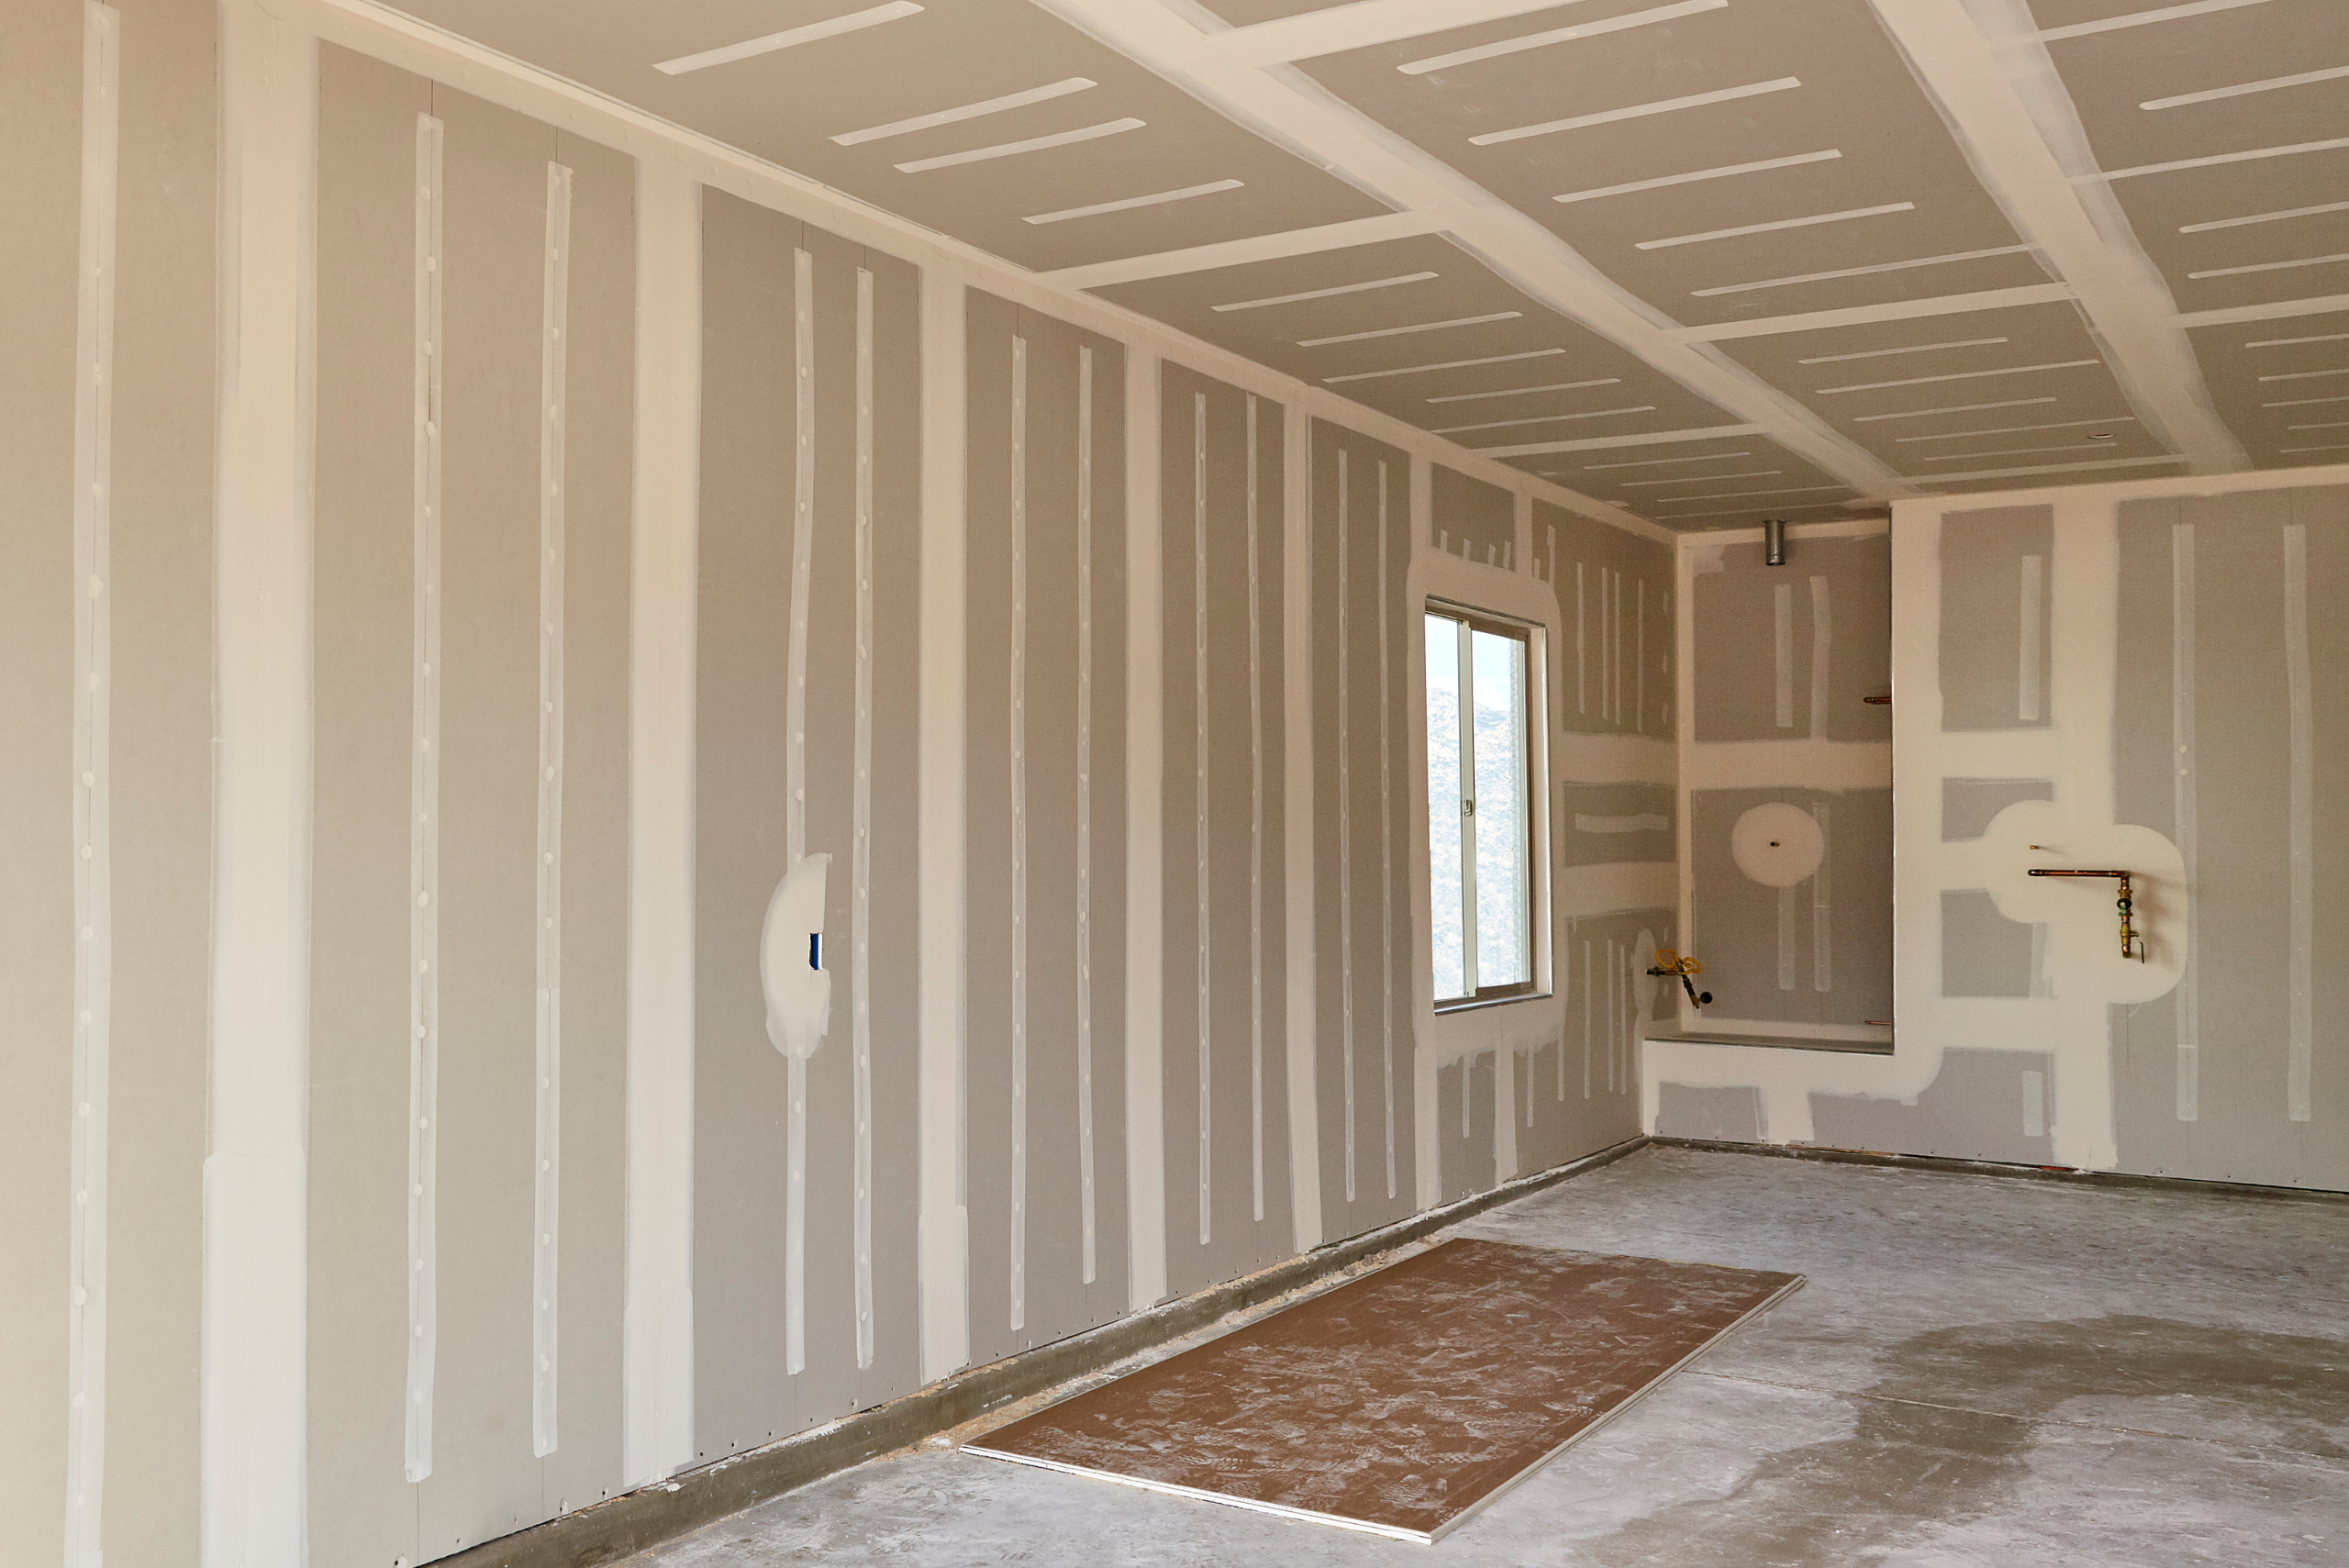
Mudding and Taping to Achieve Smooth Joints
Once all panels are secured, the next phase is mudding and taping. This step covers the seams and screw indentations, creating a seamless surface. Apply a thin layer of joint compound over each seam, then press drywall tape into the wet compound. Smooth out any bubbles or excess mud with your drywall knife.
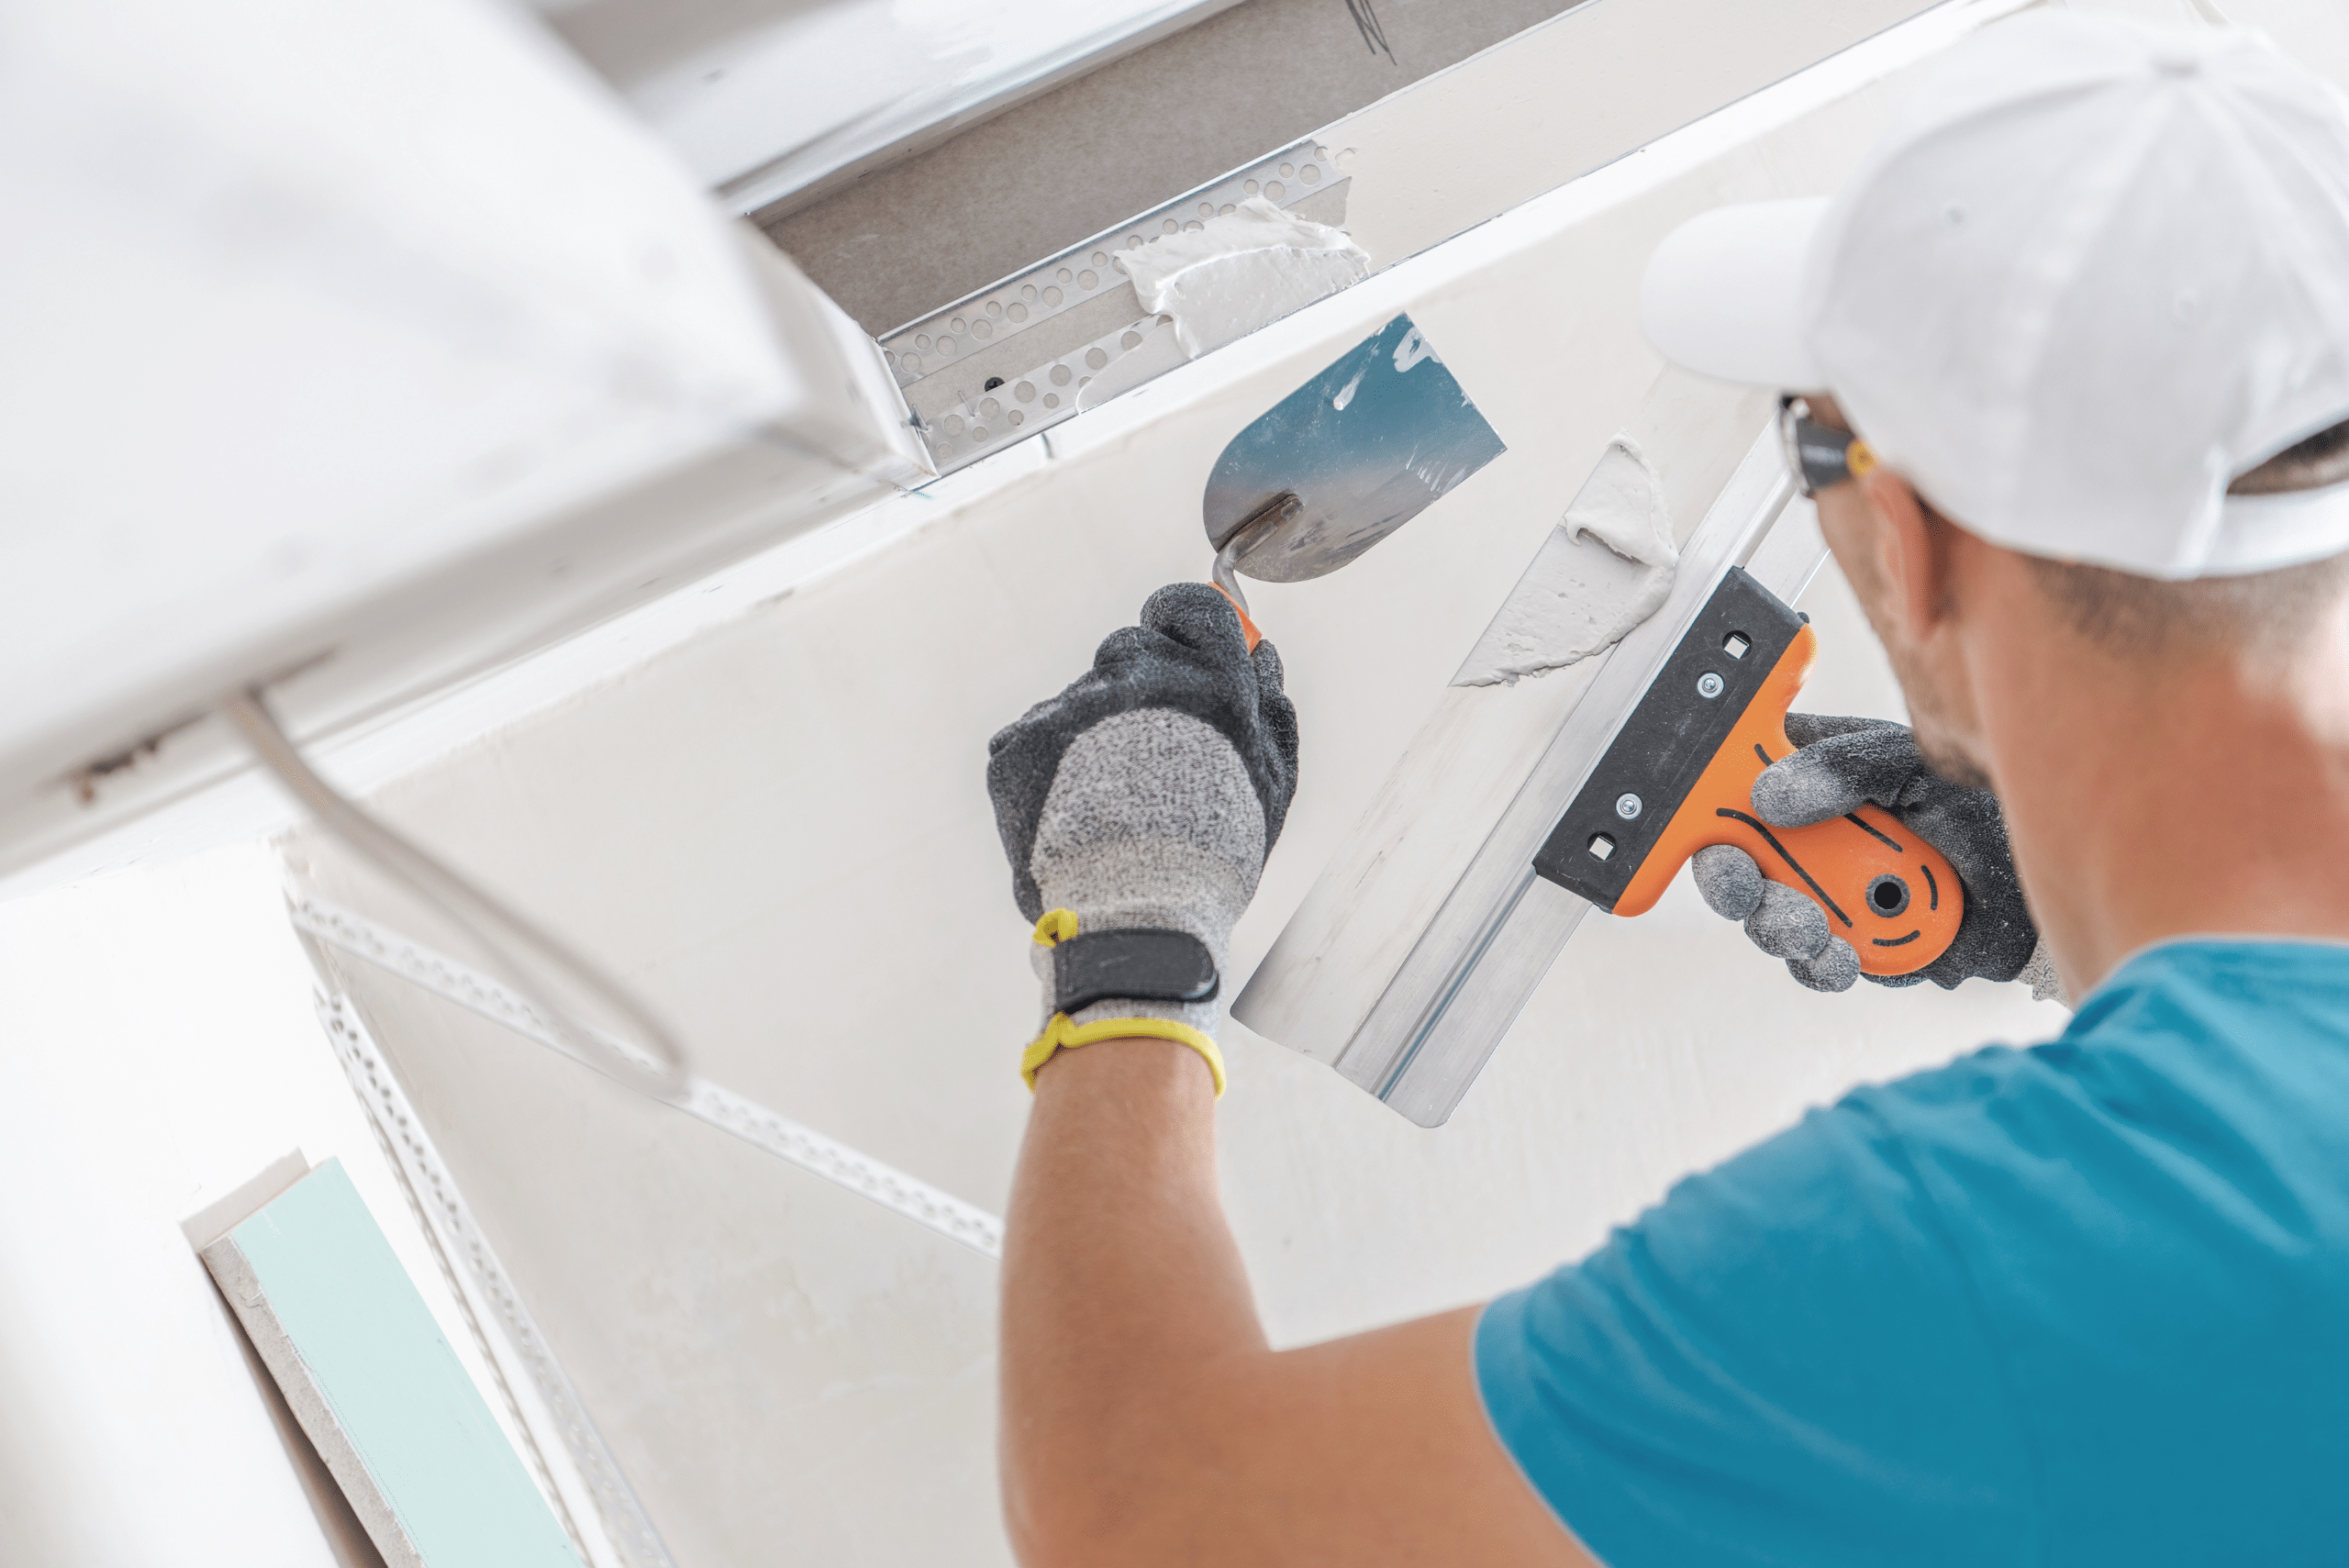
Allow it to dry thoroughly, then apply a second, wider coat of mud, feathering the edges to blend into the panel. Sanding between coats may be necessary, depending on the smoothness of your application. This process might need several repetitions for a perfectly smooth finish.
Sanding and Preparing Your Drywall for Painting or Wallpapering
The final step in hanging drywall is ensuring the surface is smooth and ready for painting or wallpapering. Once the joint compound is completely dry, sand the surface lightly with a fine-grit sandpaper.
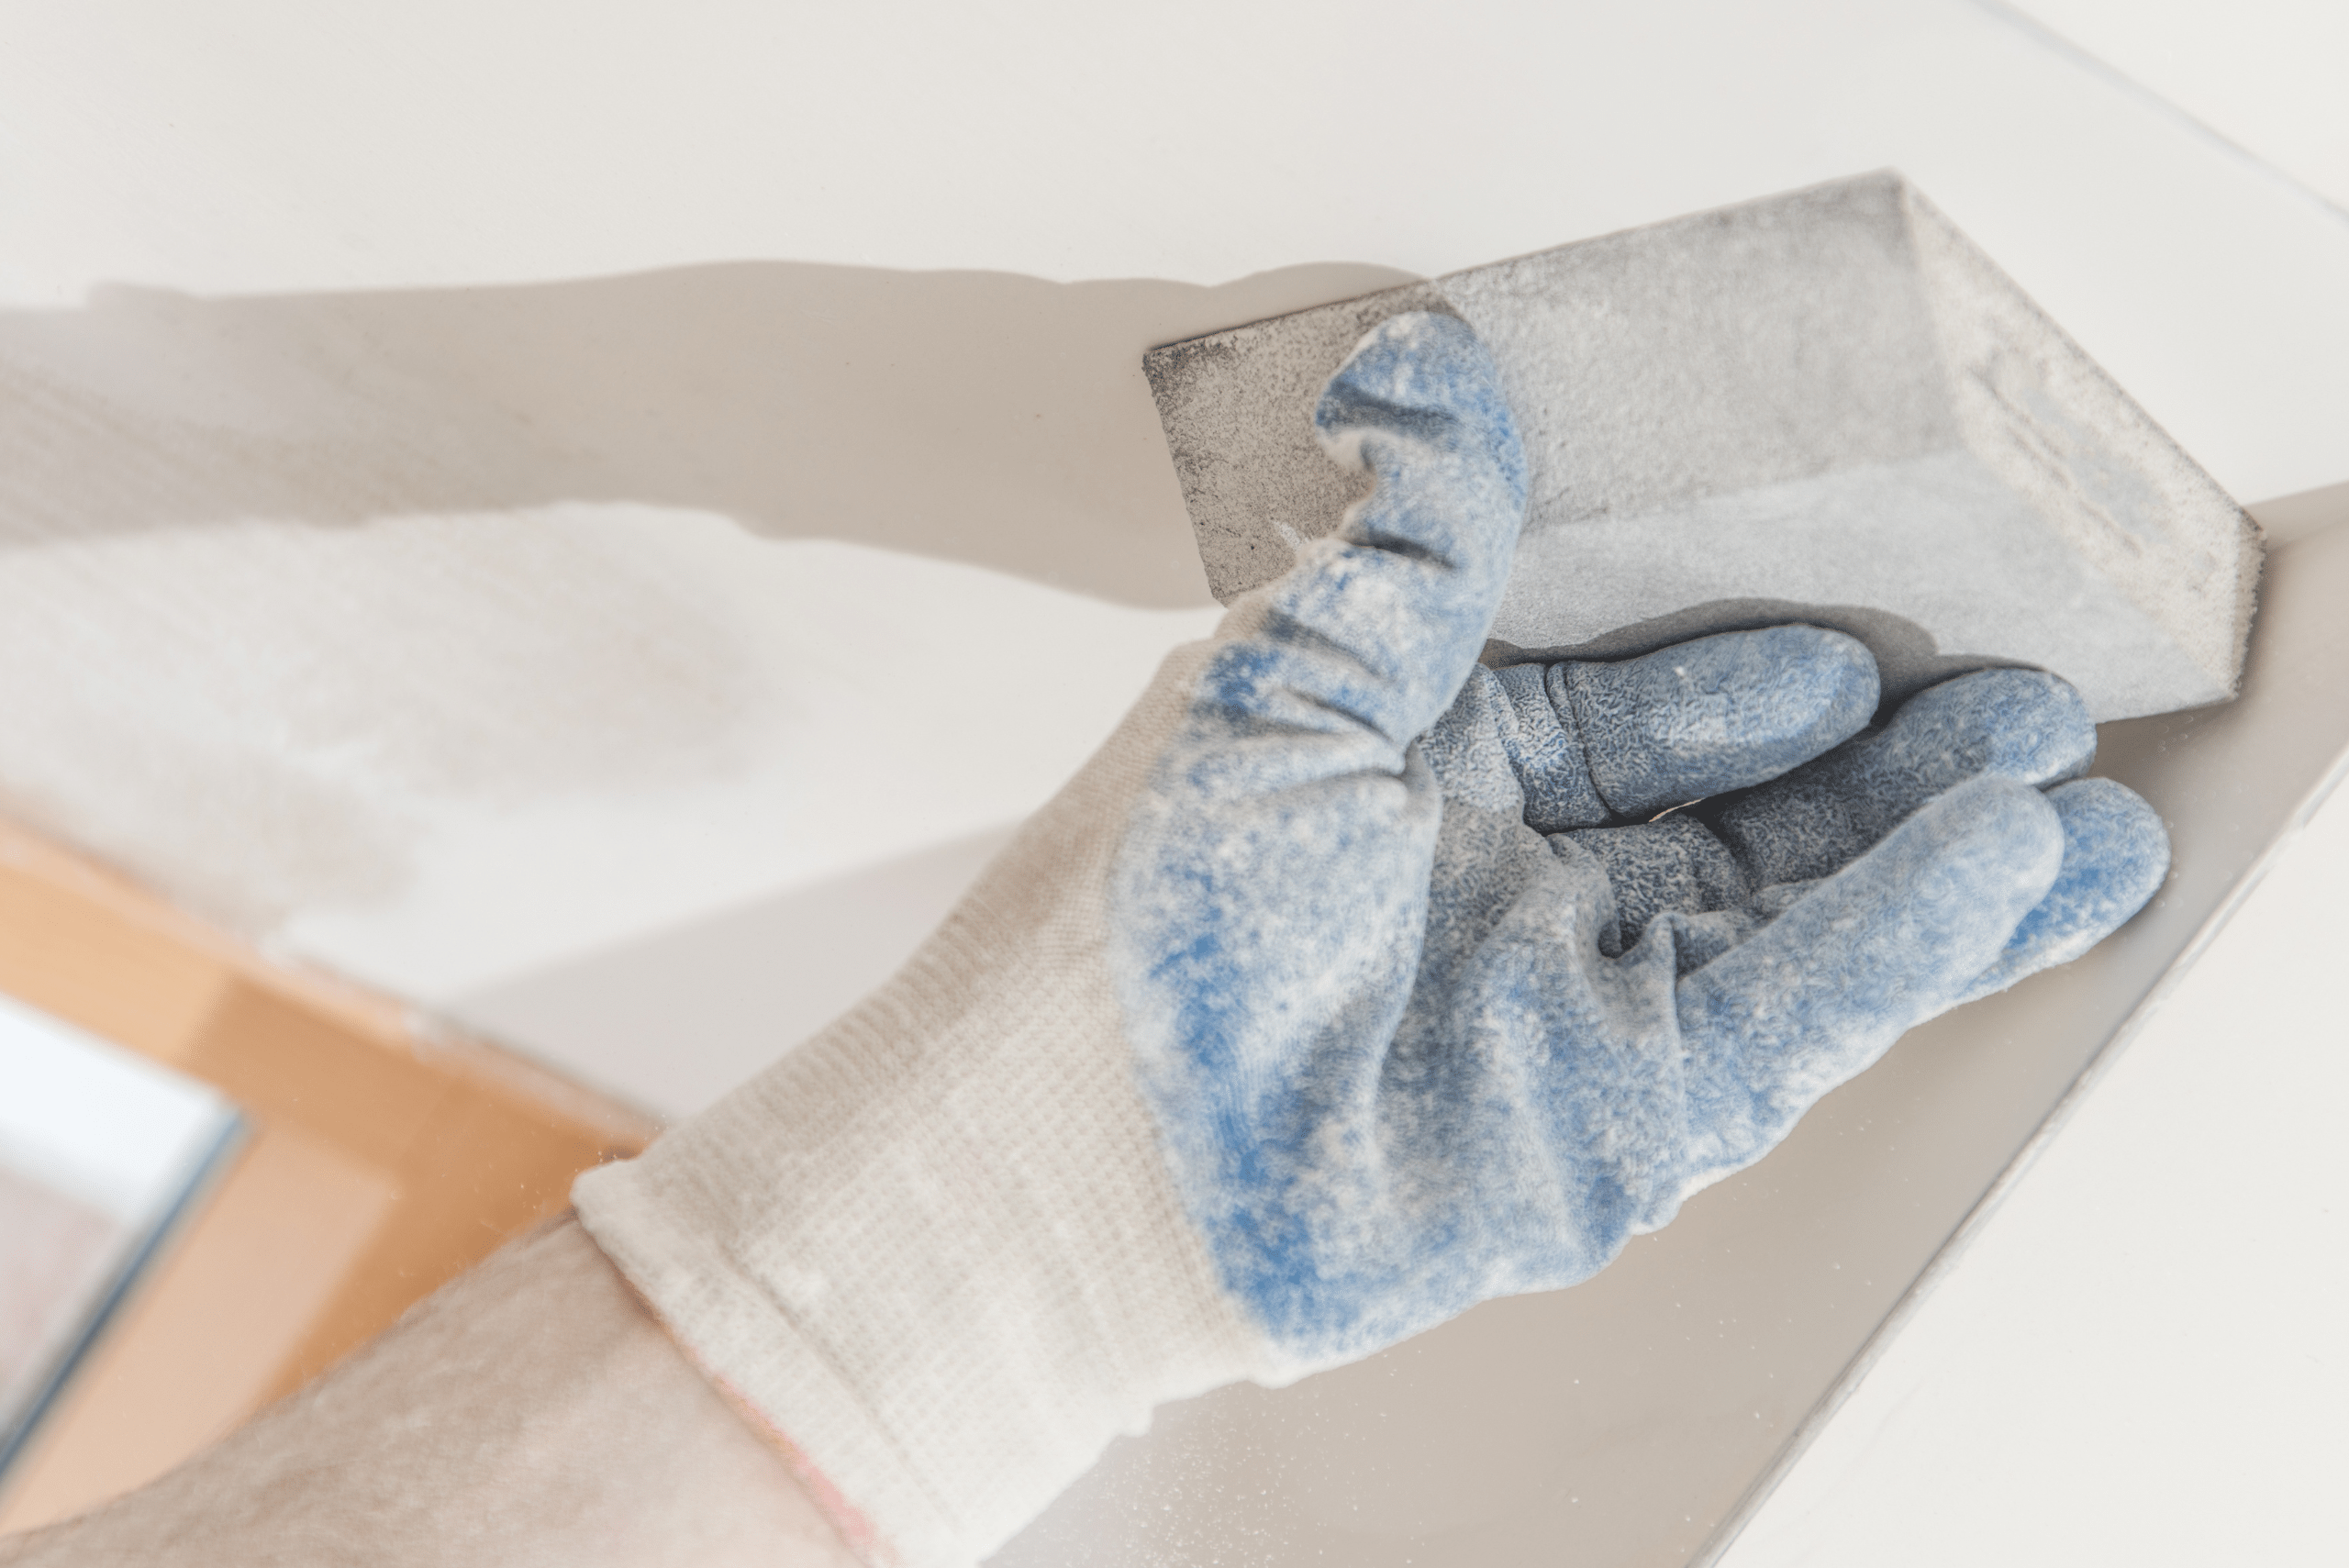
Be careful not to oversand, as you could damage the paper surface of the drywall. Wipe down the walls with a damp cloth to remove any dust, and inspect your work for any imperfections. If needed, apply additional compound and sand again. This attention to detail will ensure a flawless finish.
- How to Fix Crack in Drywall – A Step-by-Step Guide for Seamless Repairs
- Sheetrock vs. Drywall – Understanding the Key Differences and Similarities
- How to Use a Toggle Bolt for Wall Mounting on Drywall
Hanging drywall can be a satisfying project that significantly impacts the feel and function of a room. Although it requires patience and precision, learning this skill can save you money and add value to your home. With the right tools and techniques, even beginners can achieve results they can be proud of.
Ready to start your next project? Join our DIY community to receive tool tips, how-to guides, and exclusive creative insights. Subscribe to the ManMadeDIY newsletter now!


