How to Fix Drywall – Patching and Repairing Walls
Whether it’s a minor dent from moving furniture or a larger hole left by an accident, knowing how to fix drywall is an essential skill for homeowners and renters alike. Drywall damage can look unsightly and may even affect the structural integrity of your walls if not addressed promptly. Fortunately, with the right tools and techniques, repairing drywall is a task that many DIY enthusiasts can tackle with confidence.
Don’t be daunted by the thought of repairing drywall. It’s a project that can be completed in a few hours or over a weekend, depending on the size and severity of the damage. The key is to work carefully and methodically, ensuring that each step is done properly to achieve a durable and aesthetically pleasing repair. Remember, the goal is to make your wall look untouched, so patience and precision are your best friends throughout the process.
Assembling Your Drywall Repair Kit
Before you dive into the world of drywall repair, you’ll want to make sure you have all the necessary supplies on hand. This means gathering tools like a putty knife, sandpaper, a drywall saw, and a mud pan. You’ll also need materials such as joint compound, drywall tape or patches, and possibly some new drywall if you’re dealing with a larger hole. Investing in quality materials and tools can make the difference between a patch that blends seamlessly and one that sticks out like a sore thumb.
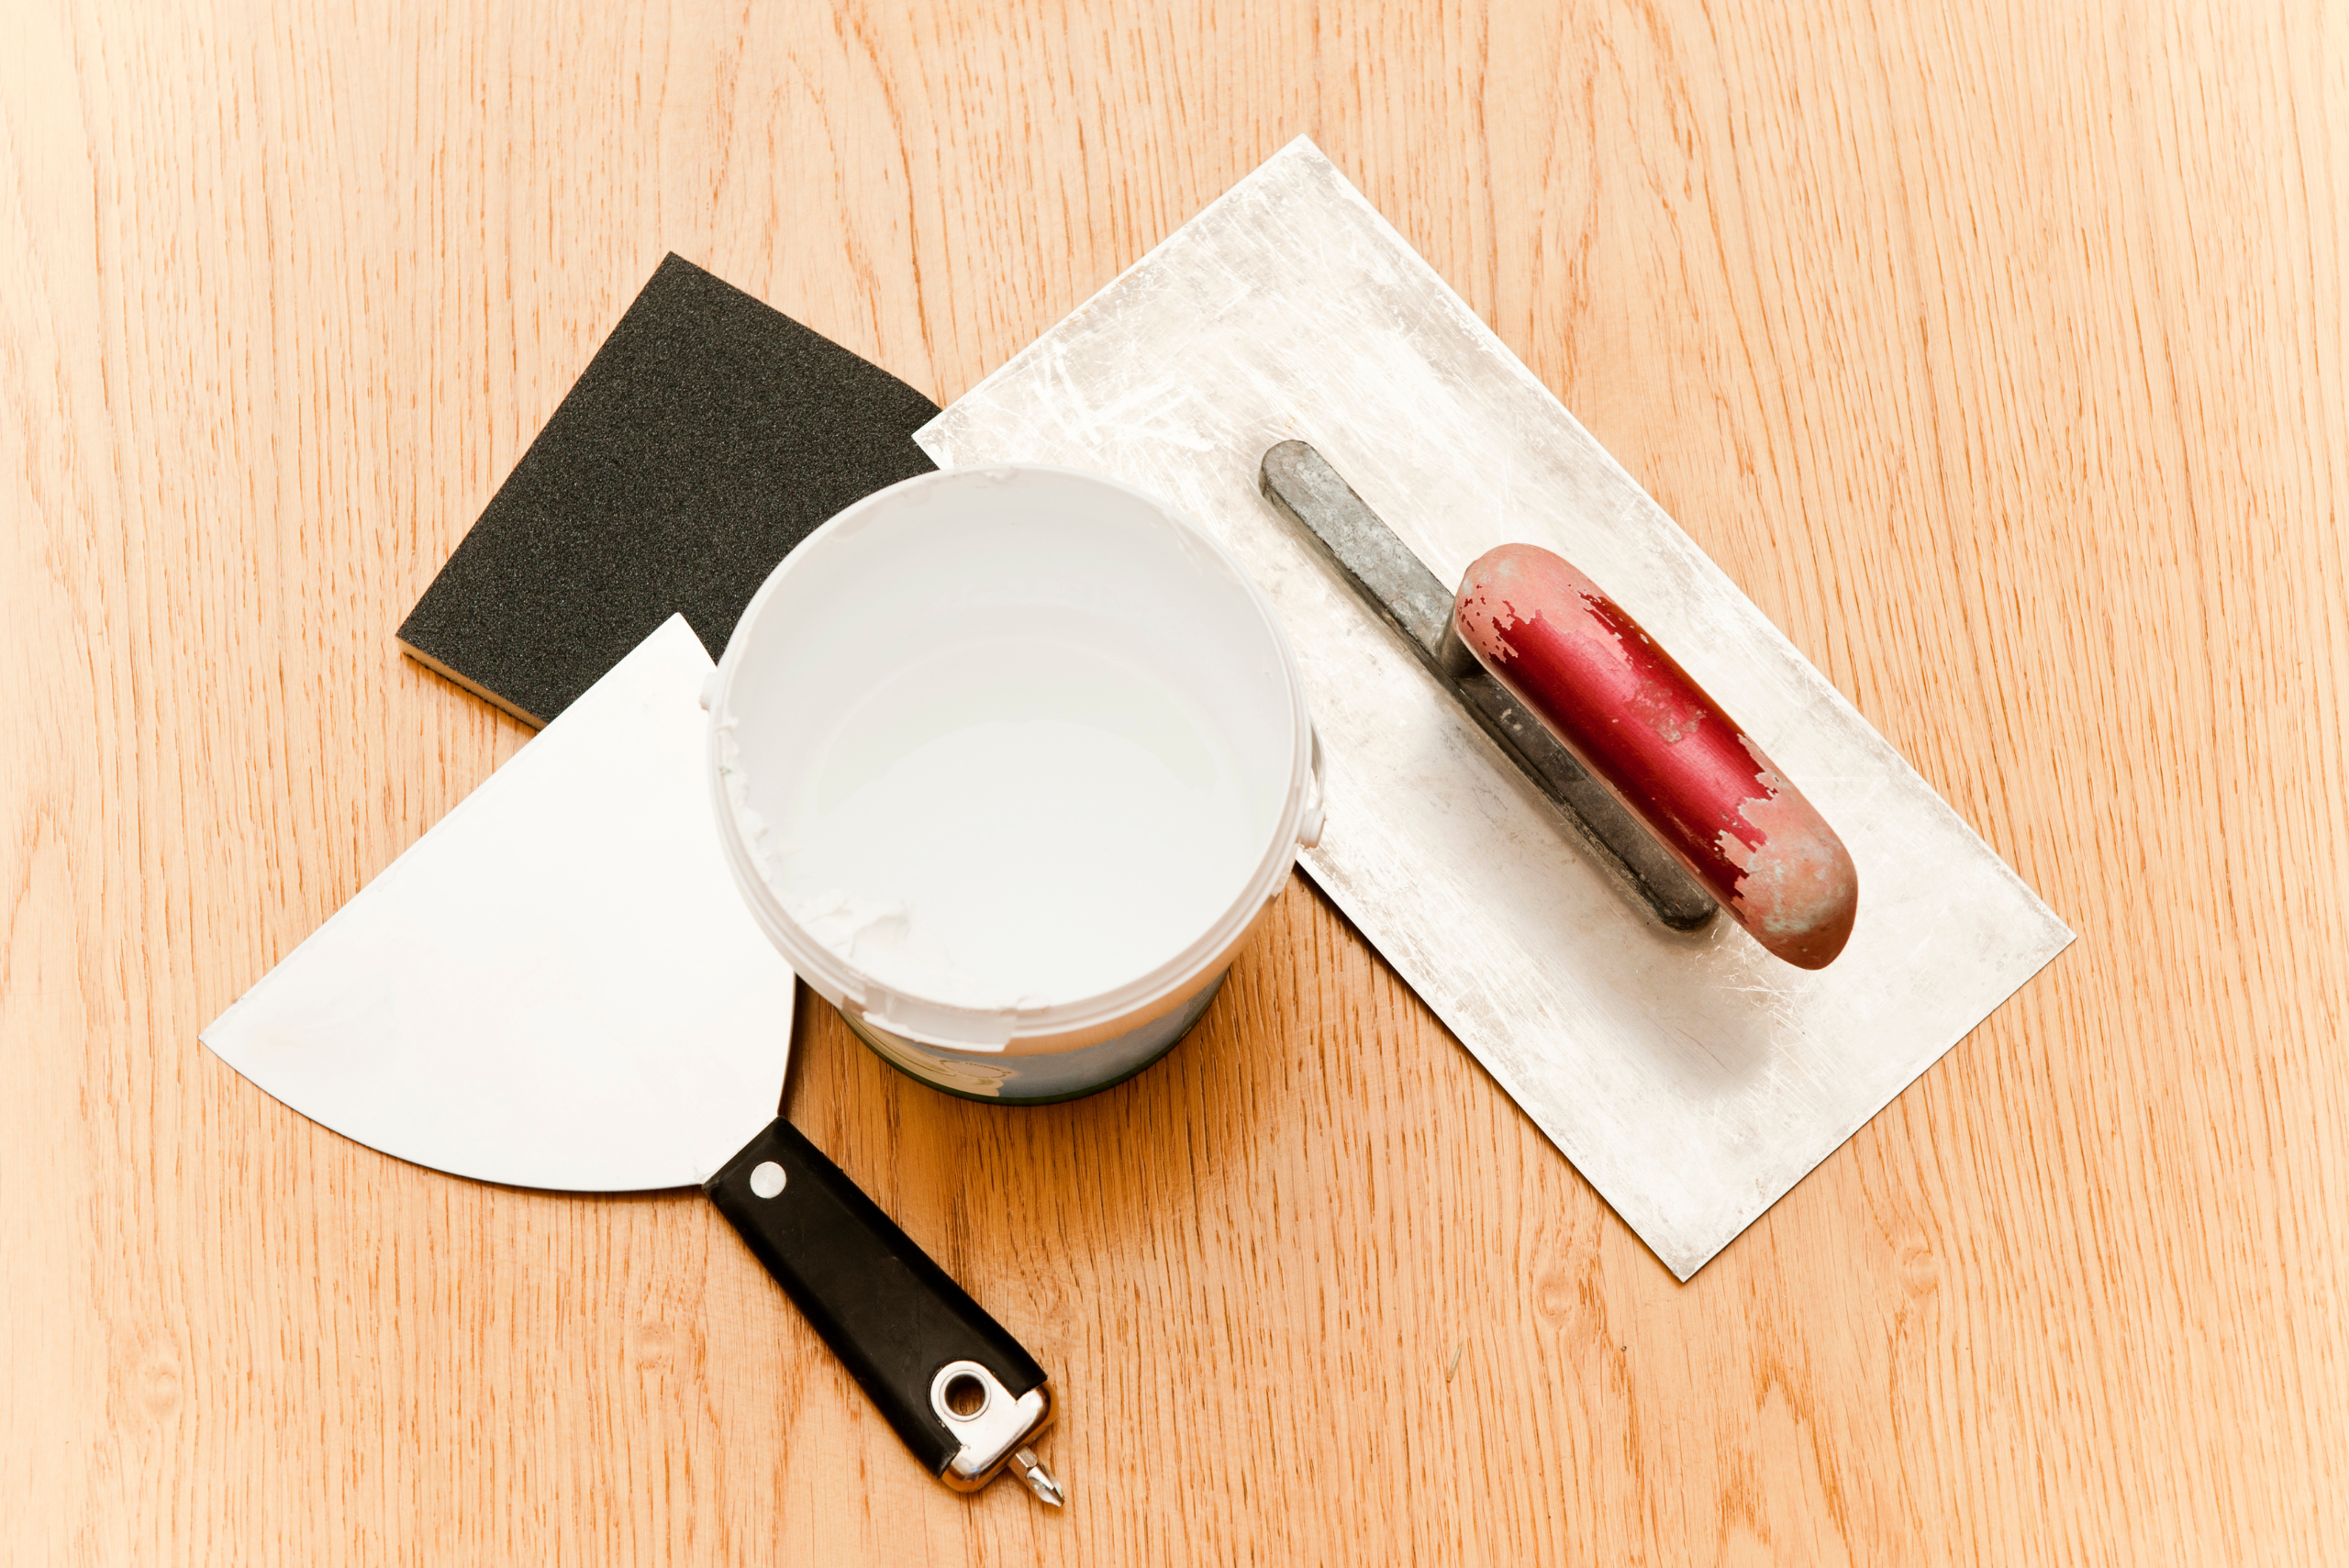
In addition to the basic tools and materials, it’s also helpful to have a dust mask and eye protection, as drywall repair can get a bit messy. And don’t forget a drop cloth or plastic sheeting to protect your floors and furniture from dust and spills. Once you’ve got your kit ready, take a moment to clear the area around the damage and make sure you have plenty of light to see what you’re doing. A well-prepared workspace is crucial for a smooth repair process.
Understanding Drywall Damage – From Small Dents to Big Holes
Drywall can be damaged in numerous ways, and each type of damage may require a slightly different approach. Small dings or nail holes are usually the easiest to fix – often, a bit of spackle and some sanding is all it takes. Larger holes, on the other hand, may require a patch or even a new piece of drywall to fill the gap. Identifying the extent of the damage is key to determining the best repair strategy.
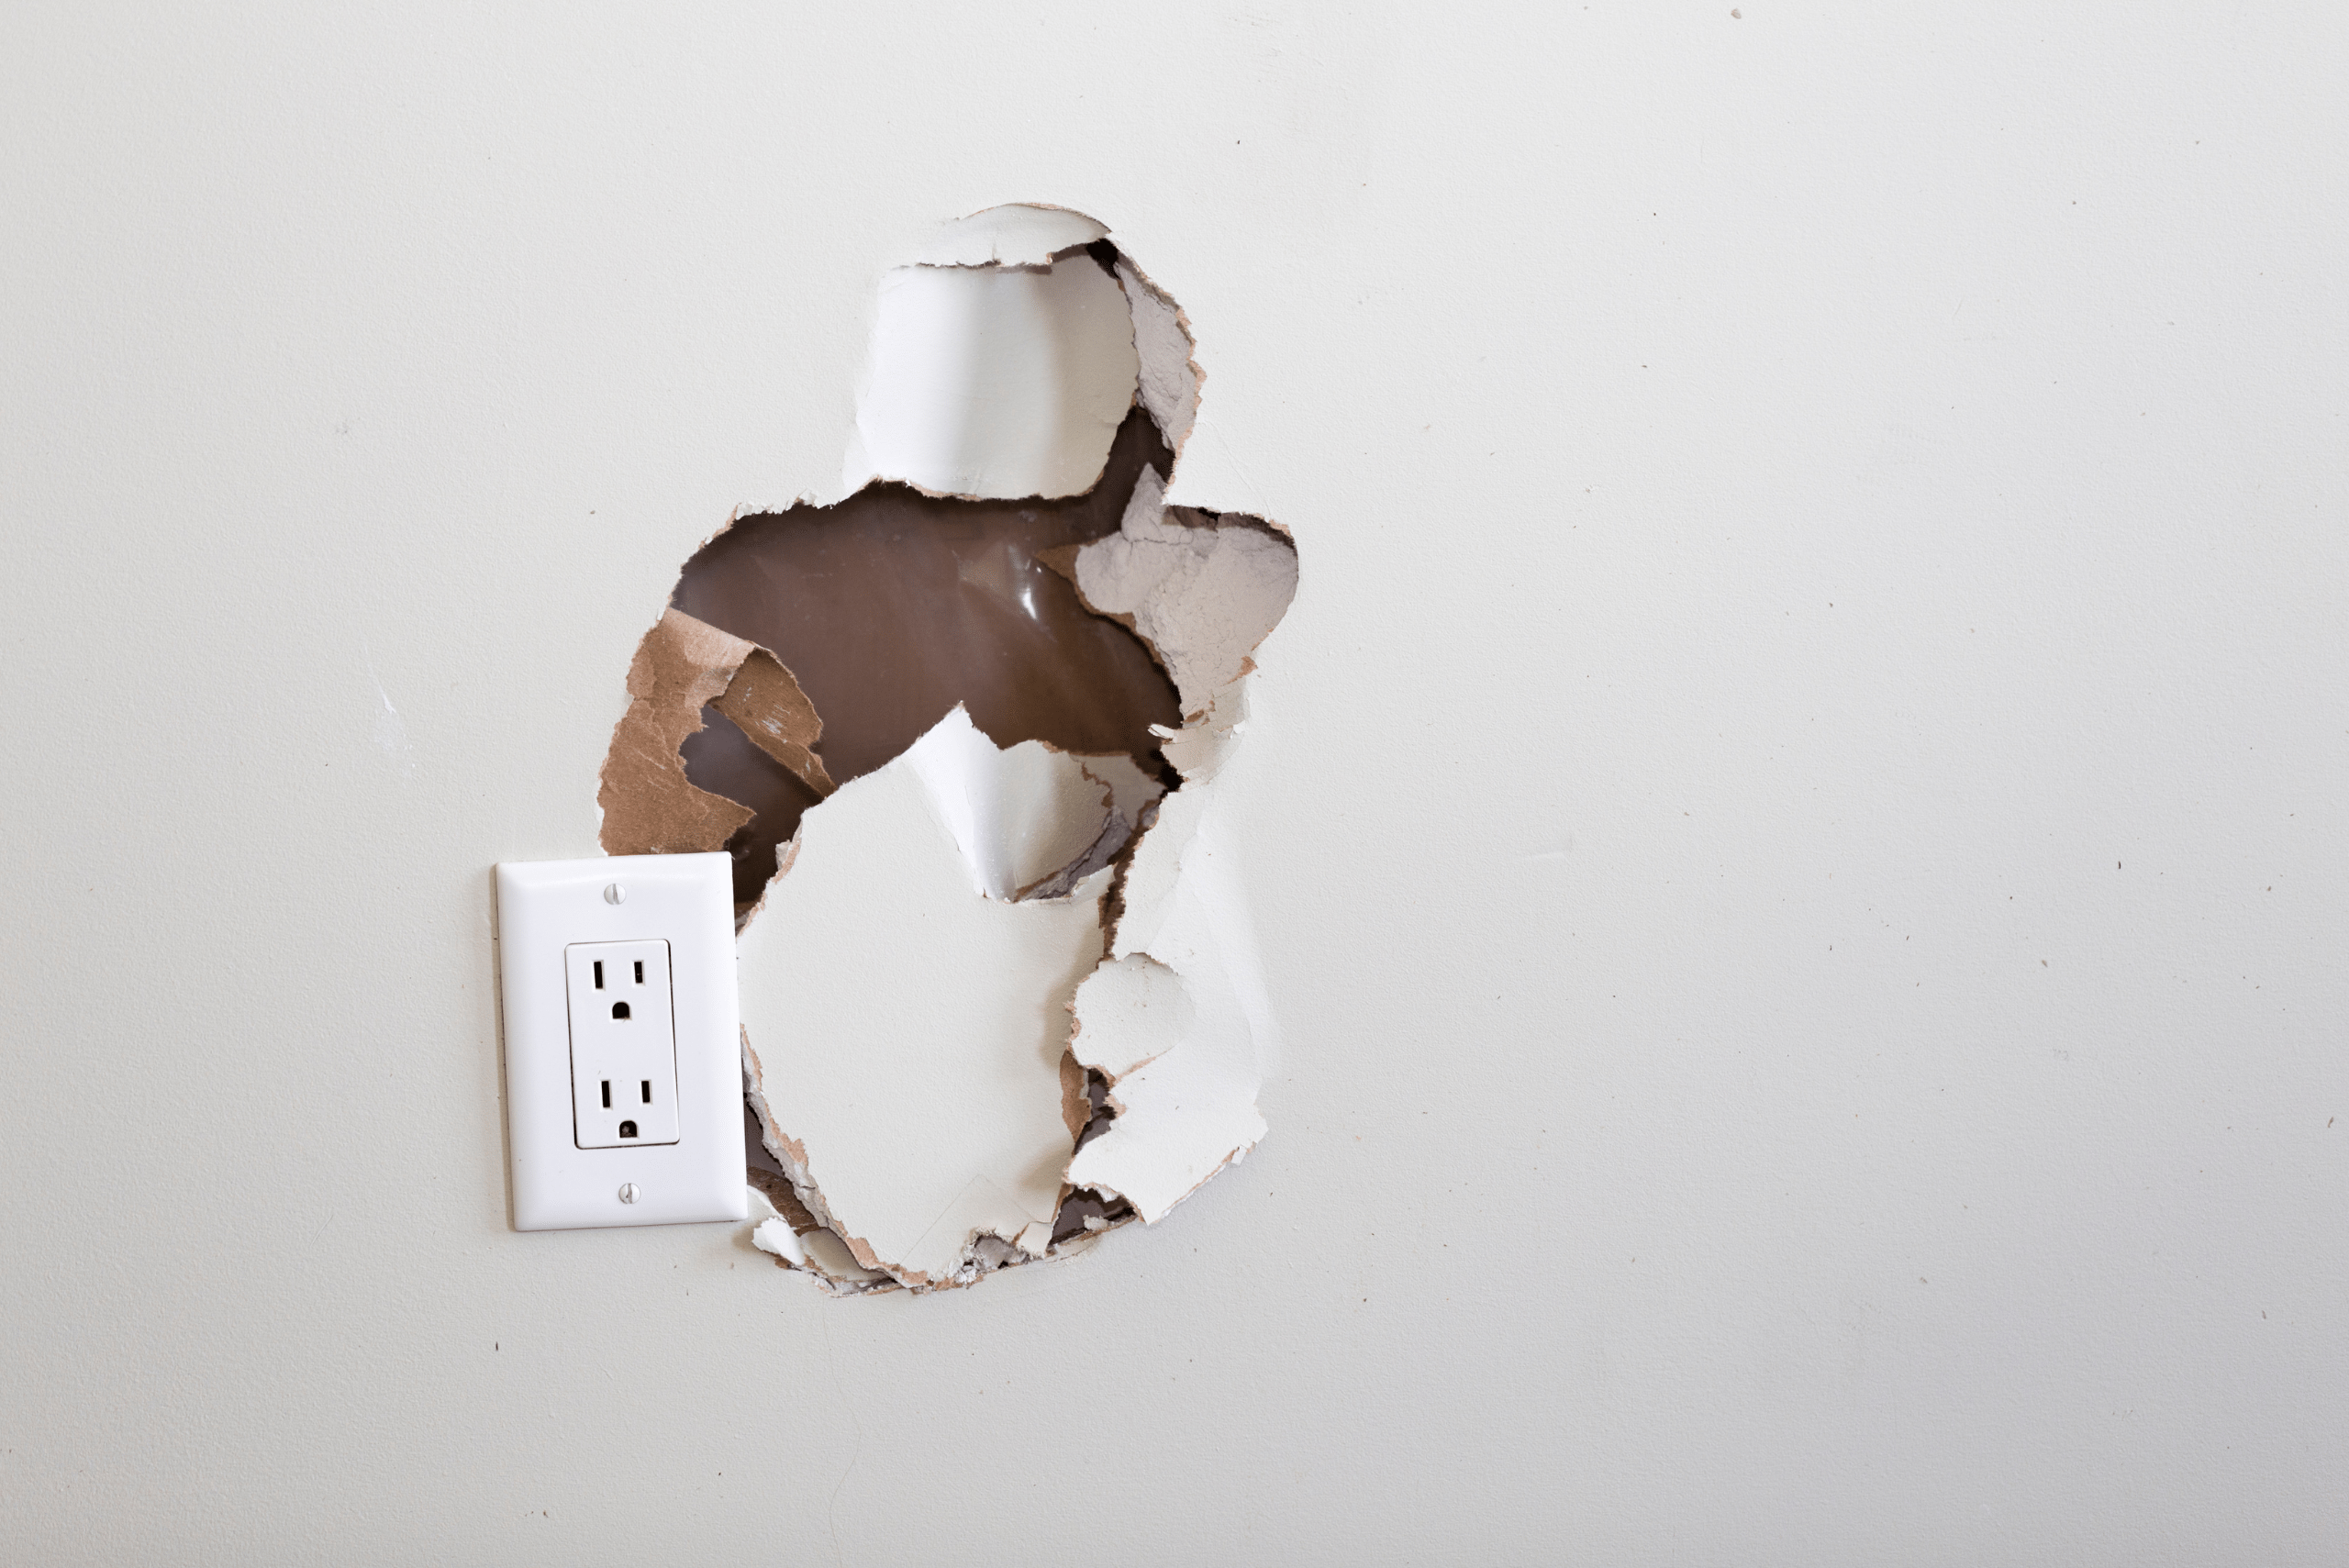
Different types of damage also affect the structural integrity of your walls in different ways. While small dents might be mostly cosmetic, larger holes can compromise the wall’s ability to bear weight or insulate your home effectively. Therefore, it’s important to assess the damage thoroughly and decide whether it’s something you can handle yourself or if it’s time to call in a professional.
Step-by-Step Guide For How to Fix Drywall Like a Pro
Once you’ve assessed the damage and assembled your tools, it’s time to get down to business. Start by cleaning up the damaged area, ensuring it’s free of debris and loose edges. For small repairs, apply spackle, wait for it to dry, and then sand it smooth. For larger holes, cut a piece of drywall to fit, secure it in place with screws, and use drywall tape to cover the seams. Applying joint compound smoothly is an art – it may take a few coats, with sanding in between, to get a flat, flush finish.
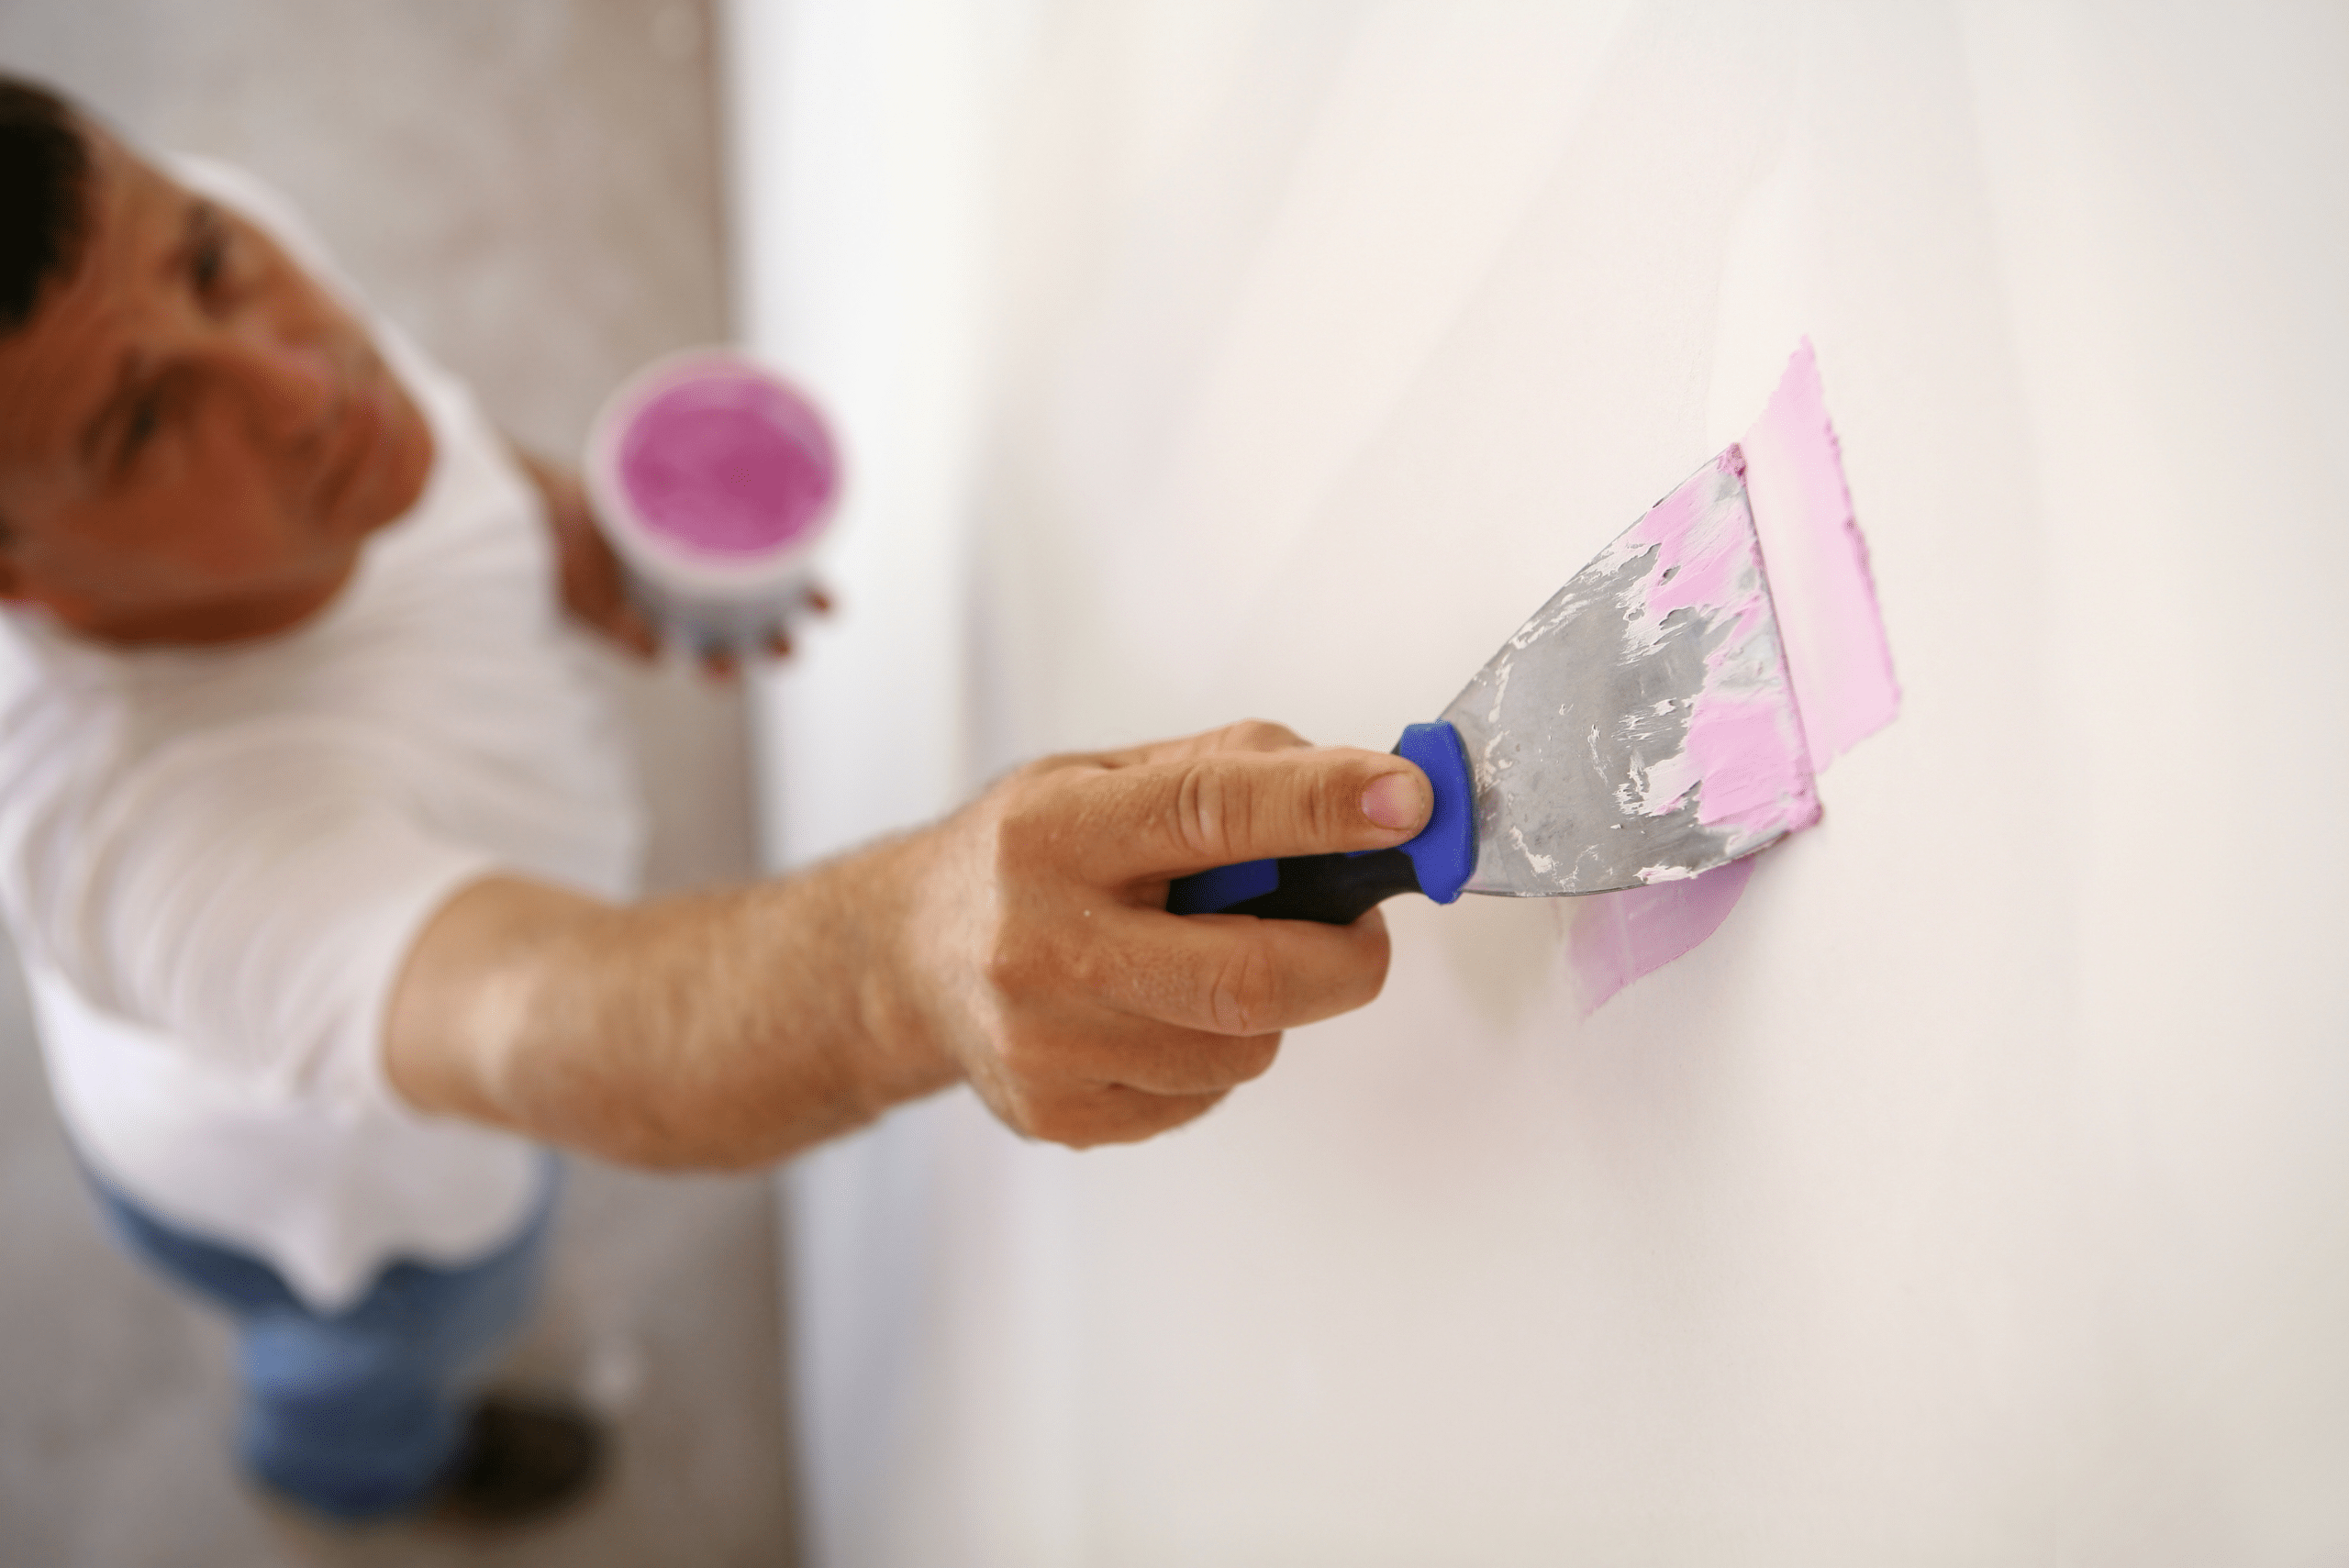
For those new to drywall repair, don’t be discouraged if your first attempt isn’t perfect. Like any skill, it improves with practice. Take your time applying the joint compound, and be meticulous with your sanding. The smoother your application, the less sanding you’ll need to do, and the better the final result will be. It’s all about layering and sanding until the repaired area is indistinguishable from the surrounding wall.
Sanding, Painting, and Perfecting Your Work
After your joint compound is fully dry, good sanding is crucial for achieving that professional look. Sand with a light touch in a circular motion until the surface is smooth and even with the rest of the wall. Once you’re satisfied with the texture, it’s time to paint. Use a primer first if you’re working with new drywall or a large patched area. Then, apply paint that matches your wall color for a repair that’s virtually invisible.
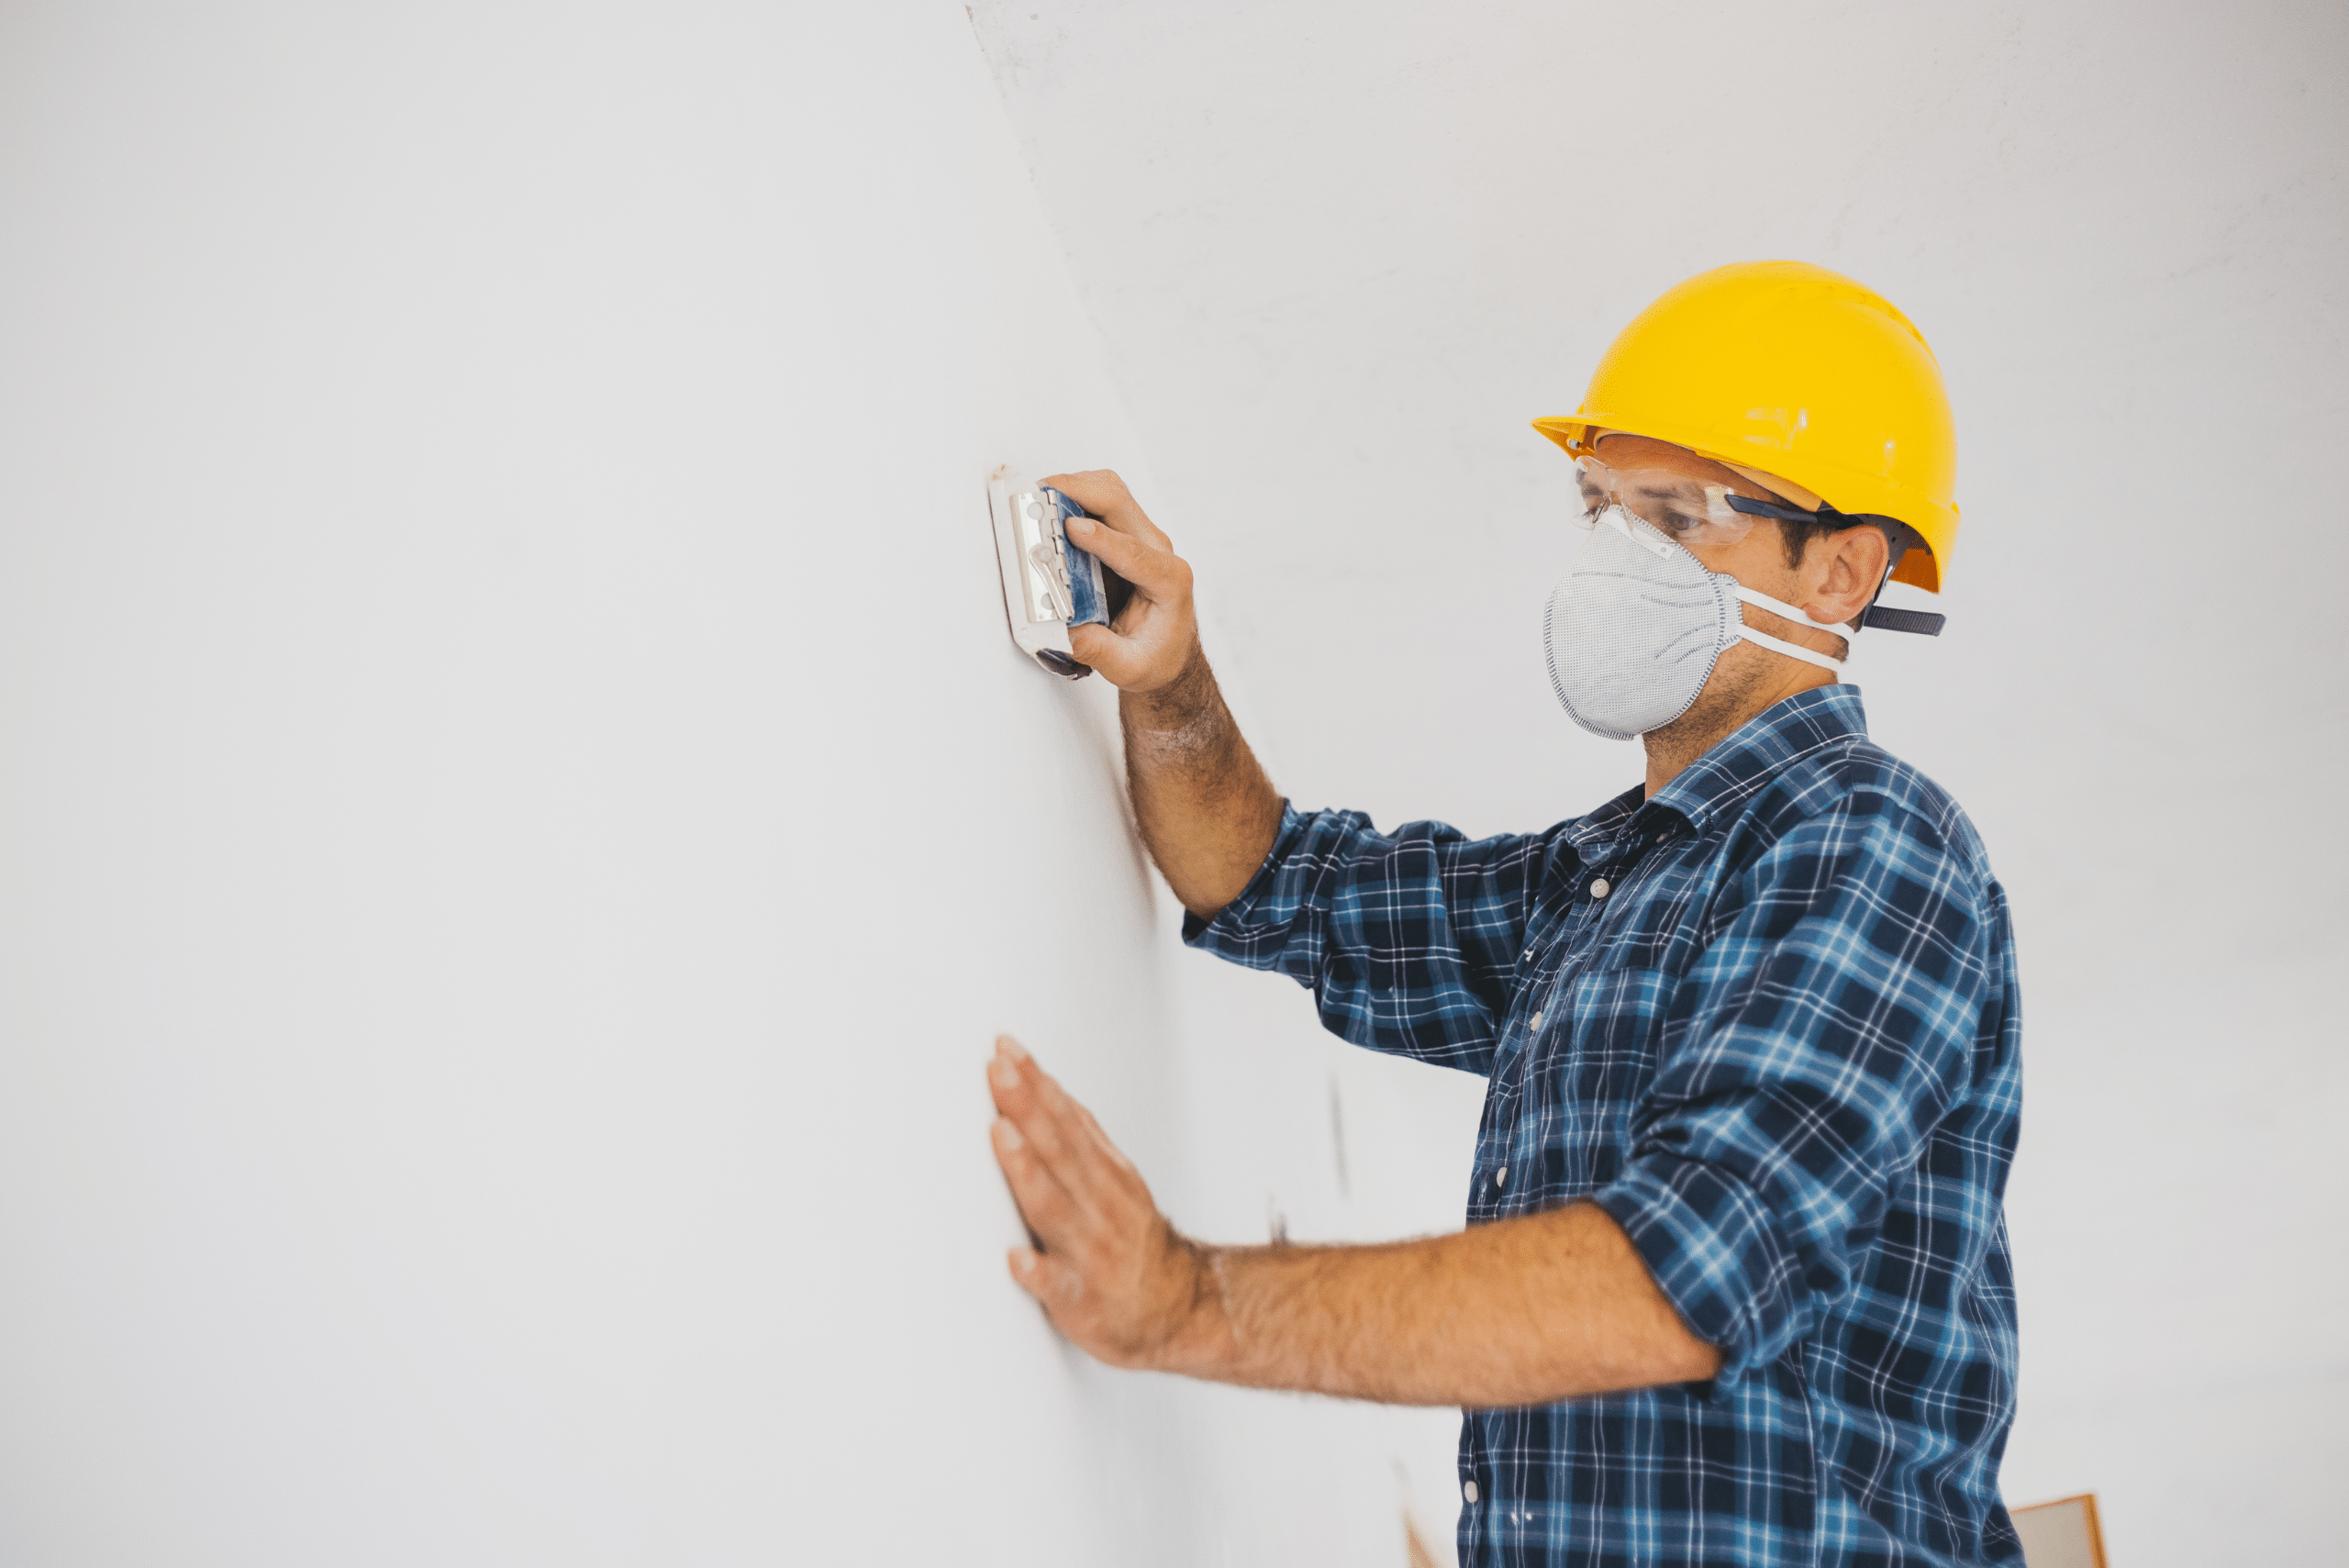
When painting over your repaired area, it’s important to blend the new paint with the existing wall color. Sometimes, even the best-matched paint can look slightly different when applied. To avoid this, feather the edges of your new paint into the old paint. This blending technique helps to disguise the boundaries of the repair, making the entire wall look uniform and untouched.
Related Articles:
- Your Guide to Different Types of Drywall Anchors
- Helpful Tips: How to Cut Drywall Like a Pro
- How to Remove Drywall Anchors [4 Easy Methods]
Learning how to fix drywall isn’t just about saving money on repairs; it’s about empowering yourself to maintain and improve your living space on your own terms. With the skills you’ve gained, you’ll be able to tackle future drywall mishaps with confidence. Remember, the key to a successful drywall repair is patience and attention to detail. Don’t rush the process, and take pride in the knowledge that you’re building your DIY skills with every patch and paint stroke.
Ready to start your next project? Join our DIY community to receive tool tips, how-to guides, and exclusive creative insights. Subscribe to the ManMadeDIY newsletter now! Click here to unlock a world of hands-on inspiration.


