How to Fix Crack in Drywall – A Step-by-Step Guide for Seamless Repairs
Fixing a crack in drywall doesn’t have to feel like an insurmountable task. Whether you’re a seasoned DIY enthusiast or a first-timer looking to save on repair costs, understanding the basics of drywall repair is a valuable skill. From small hairline fractures to more noticeable splits, this guide will walk you through the process of making your walls look as good as new. Let’s get into the ins and outs of drywall repair with a step-by-step approach that’s both informative and easy to follow.
Gathering Your Tools and Materials That You’ll Need for a Seamless Drywall Crack Fix
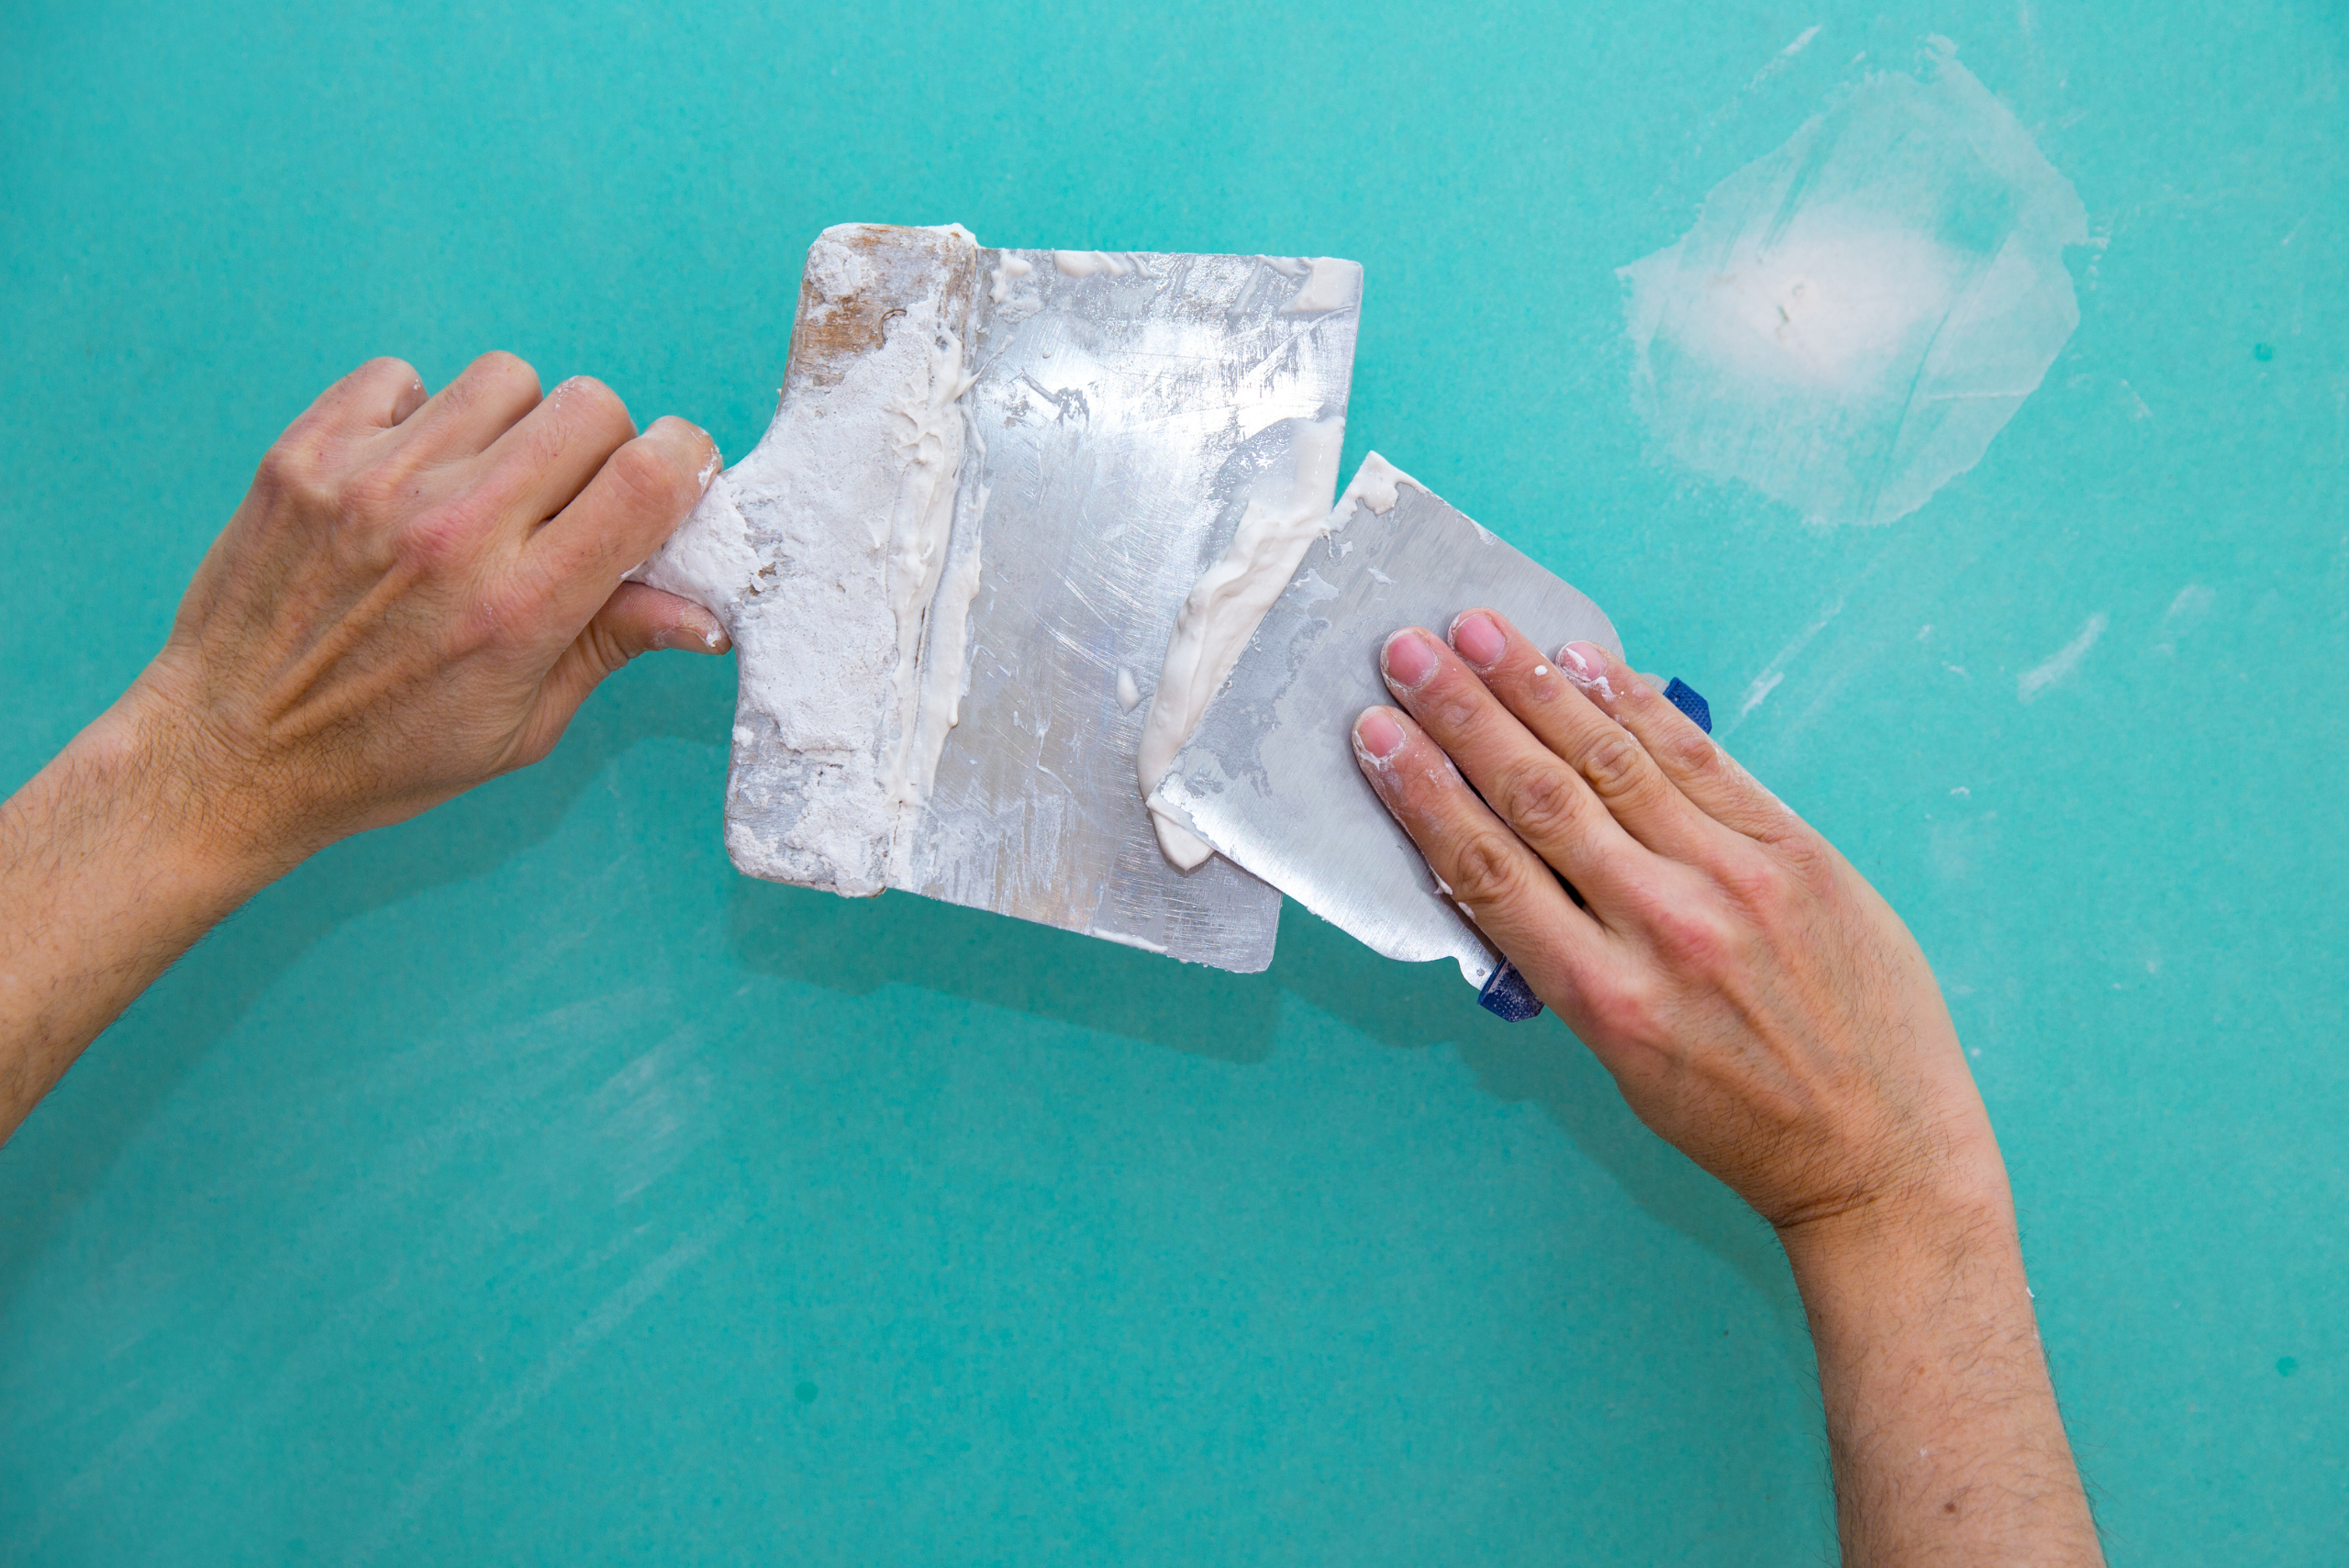
Before you start the repair, gathering all the necessary tools and materials is essential. For most drywall repairs, you’ll need a few basic items: joint compound (also known as mud), a putty knife, sandpaper, and drywall tape. For larger cracks, a drywall patch might also be necessary. Investing in quality materials can make the difference between a repair that lasts and one that needs redoing sooner than you’d like.
Preparing your workspace is equally important. Covering furniture and flooring with drop cloths can save you a lot of cleaning time later. Additionally, ensuring good ventilation in the room will help the joint compound dry faster and reduce the inhalation of dust during the sanding process. Taking these preparatory steps seriously can transform your repair experience from frustrating to fulfilling.
Step-by-Step Guide For How to Fix Crack in Drywall
The actual repair process might seem daunting, but with a step-by-step approach, you’ll find it quite manageable.
- Start by cleaning out the crack; removing any loose material with a utility knife creates a clean space for the joint compound to adhere to.
- Next, apply a thin layer of compound over the crack and place the drywall tape firmly on top. The tape acts as a bridge, preventing the crack from reappearing.
- Once the tape is in place, apply another layer of joint compound, smoothing it out as you go. Patience is key here; rushing through this step can leave you with a bumpy finish that’s hard to disguise.
- Allow the compound to dry thoroughly before sanding it down to a smooth finish. This might require several applications, especially for deeper cracks, but the end result will be a seamlessly repaired wall.
Painting and Finishing Touches to Make Your Repair Invisible
After the repaired area is smooth and free of imperfections, it’s time for the finishing touches. Choosing the right paint to match your existing wall color is critical. If you’re unsure about the color match, bringing a small sample to your local hardware store can help you find the closest match. Applying a primer before the paint can also enhance the final look, ensuring that your repair blends in perfectly with the rest of the wall.
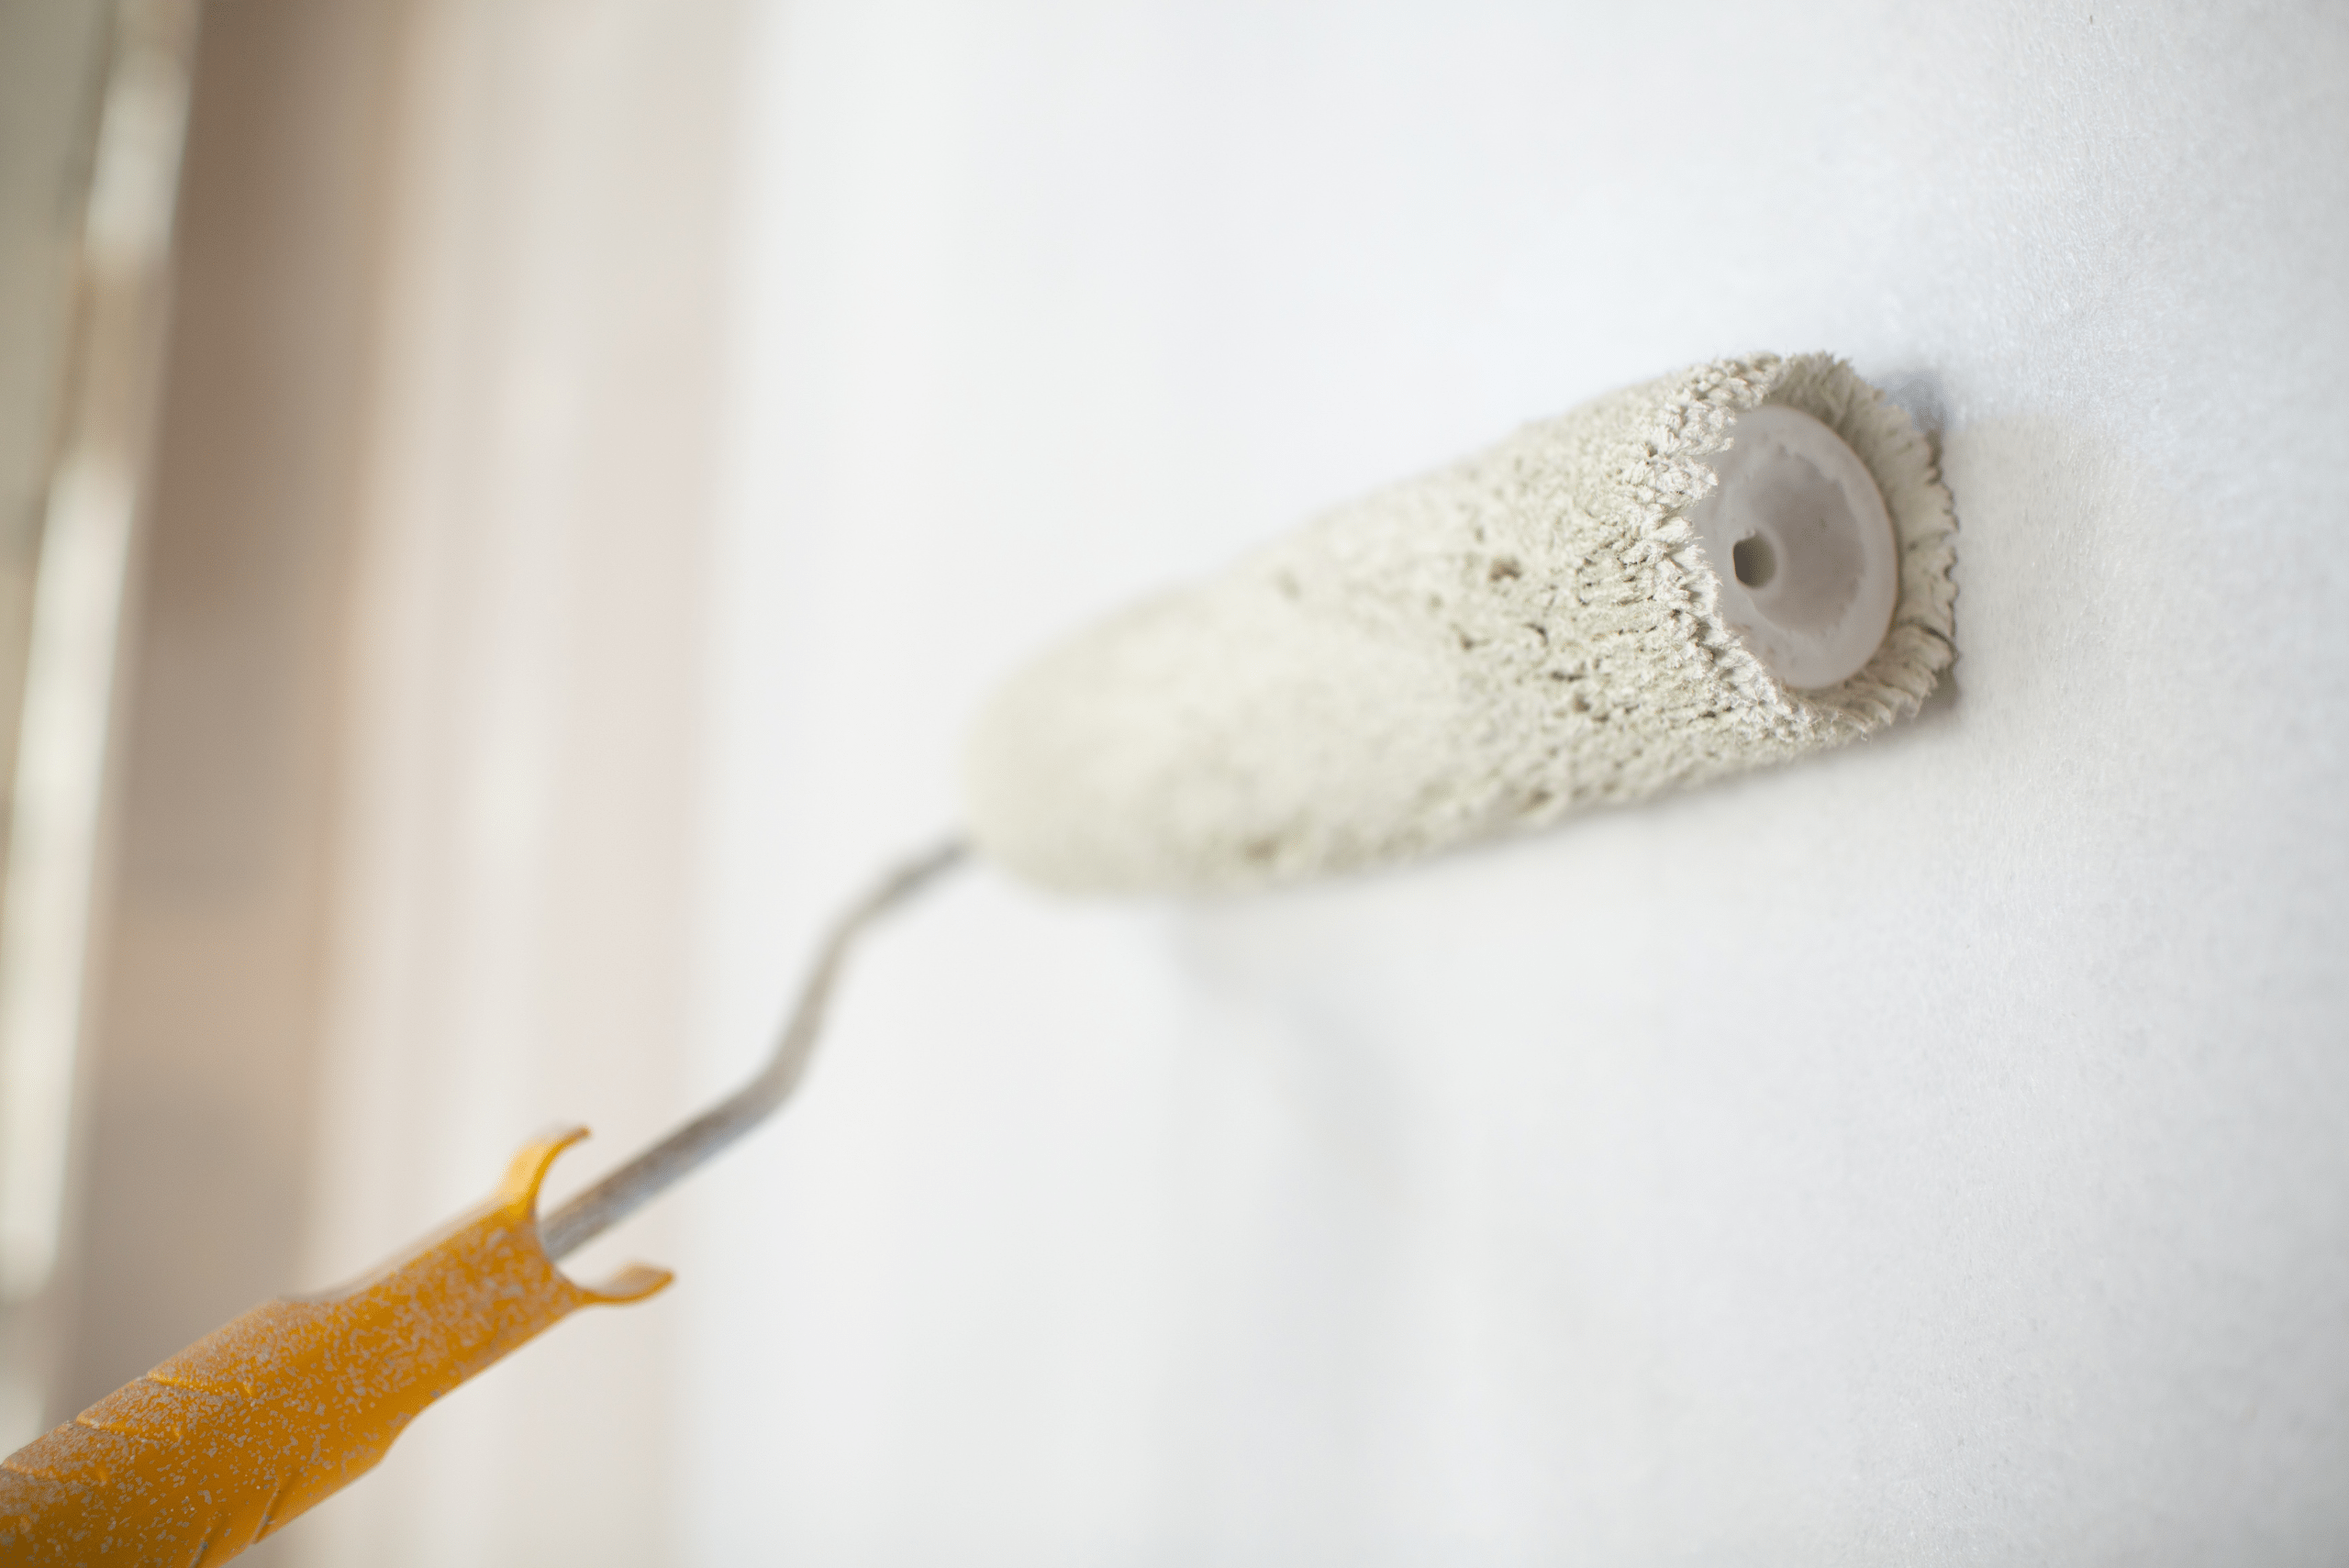
In some cases, you might find that the texture of the repaired area doesn’t quite match the rest of the wall. Using texture spray or a textured roller can help mimic the original wall texture, making your repair virtually invisible. The goal is to not only fix the crack but to do so in a way that leaves no trace of the damage.
Understanding the Basics of Why Drywall Cracks
Drywall, despite its sturdy appearance, is susceptible to damage. Factors such as temperature fluctuations, humidity changes, and settling foundations can lead to cracks. Before you begin your attempt at repairing cracks in drywall, it’s crucial to understand the nature of the crack you’re dealing with. Hairline cracks, for instance, can be a result of minor settling and may only require a simple fix. On the other hand, larger cracks could point toward more significant structural issues that might need professional attention. Recognizing the difference is key to determining the best course of action.
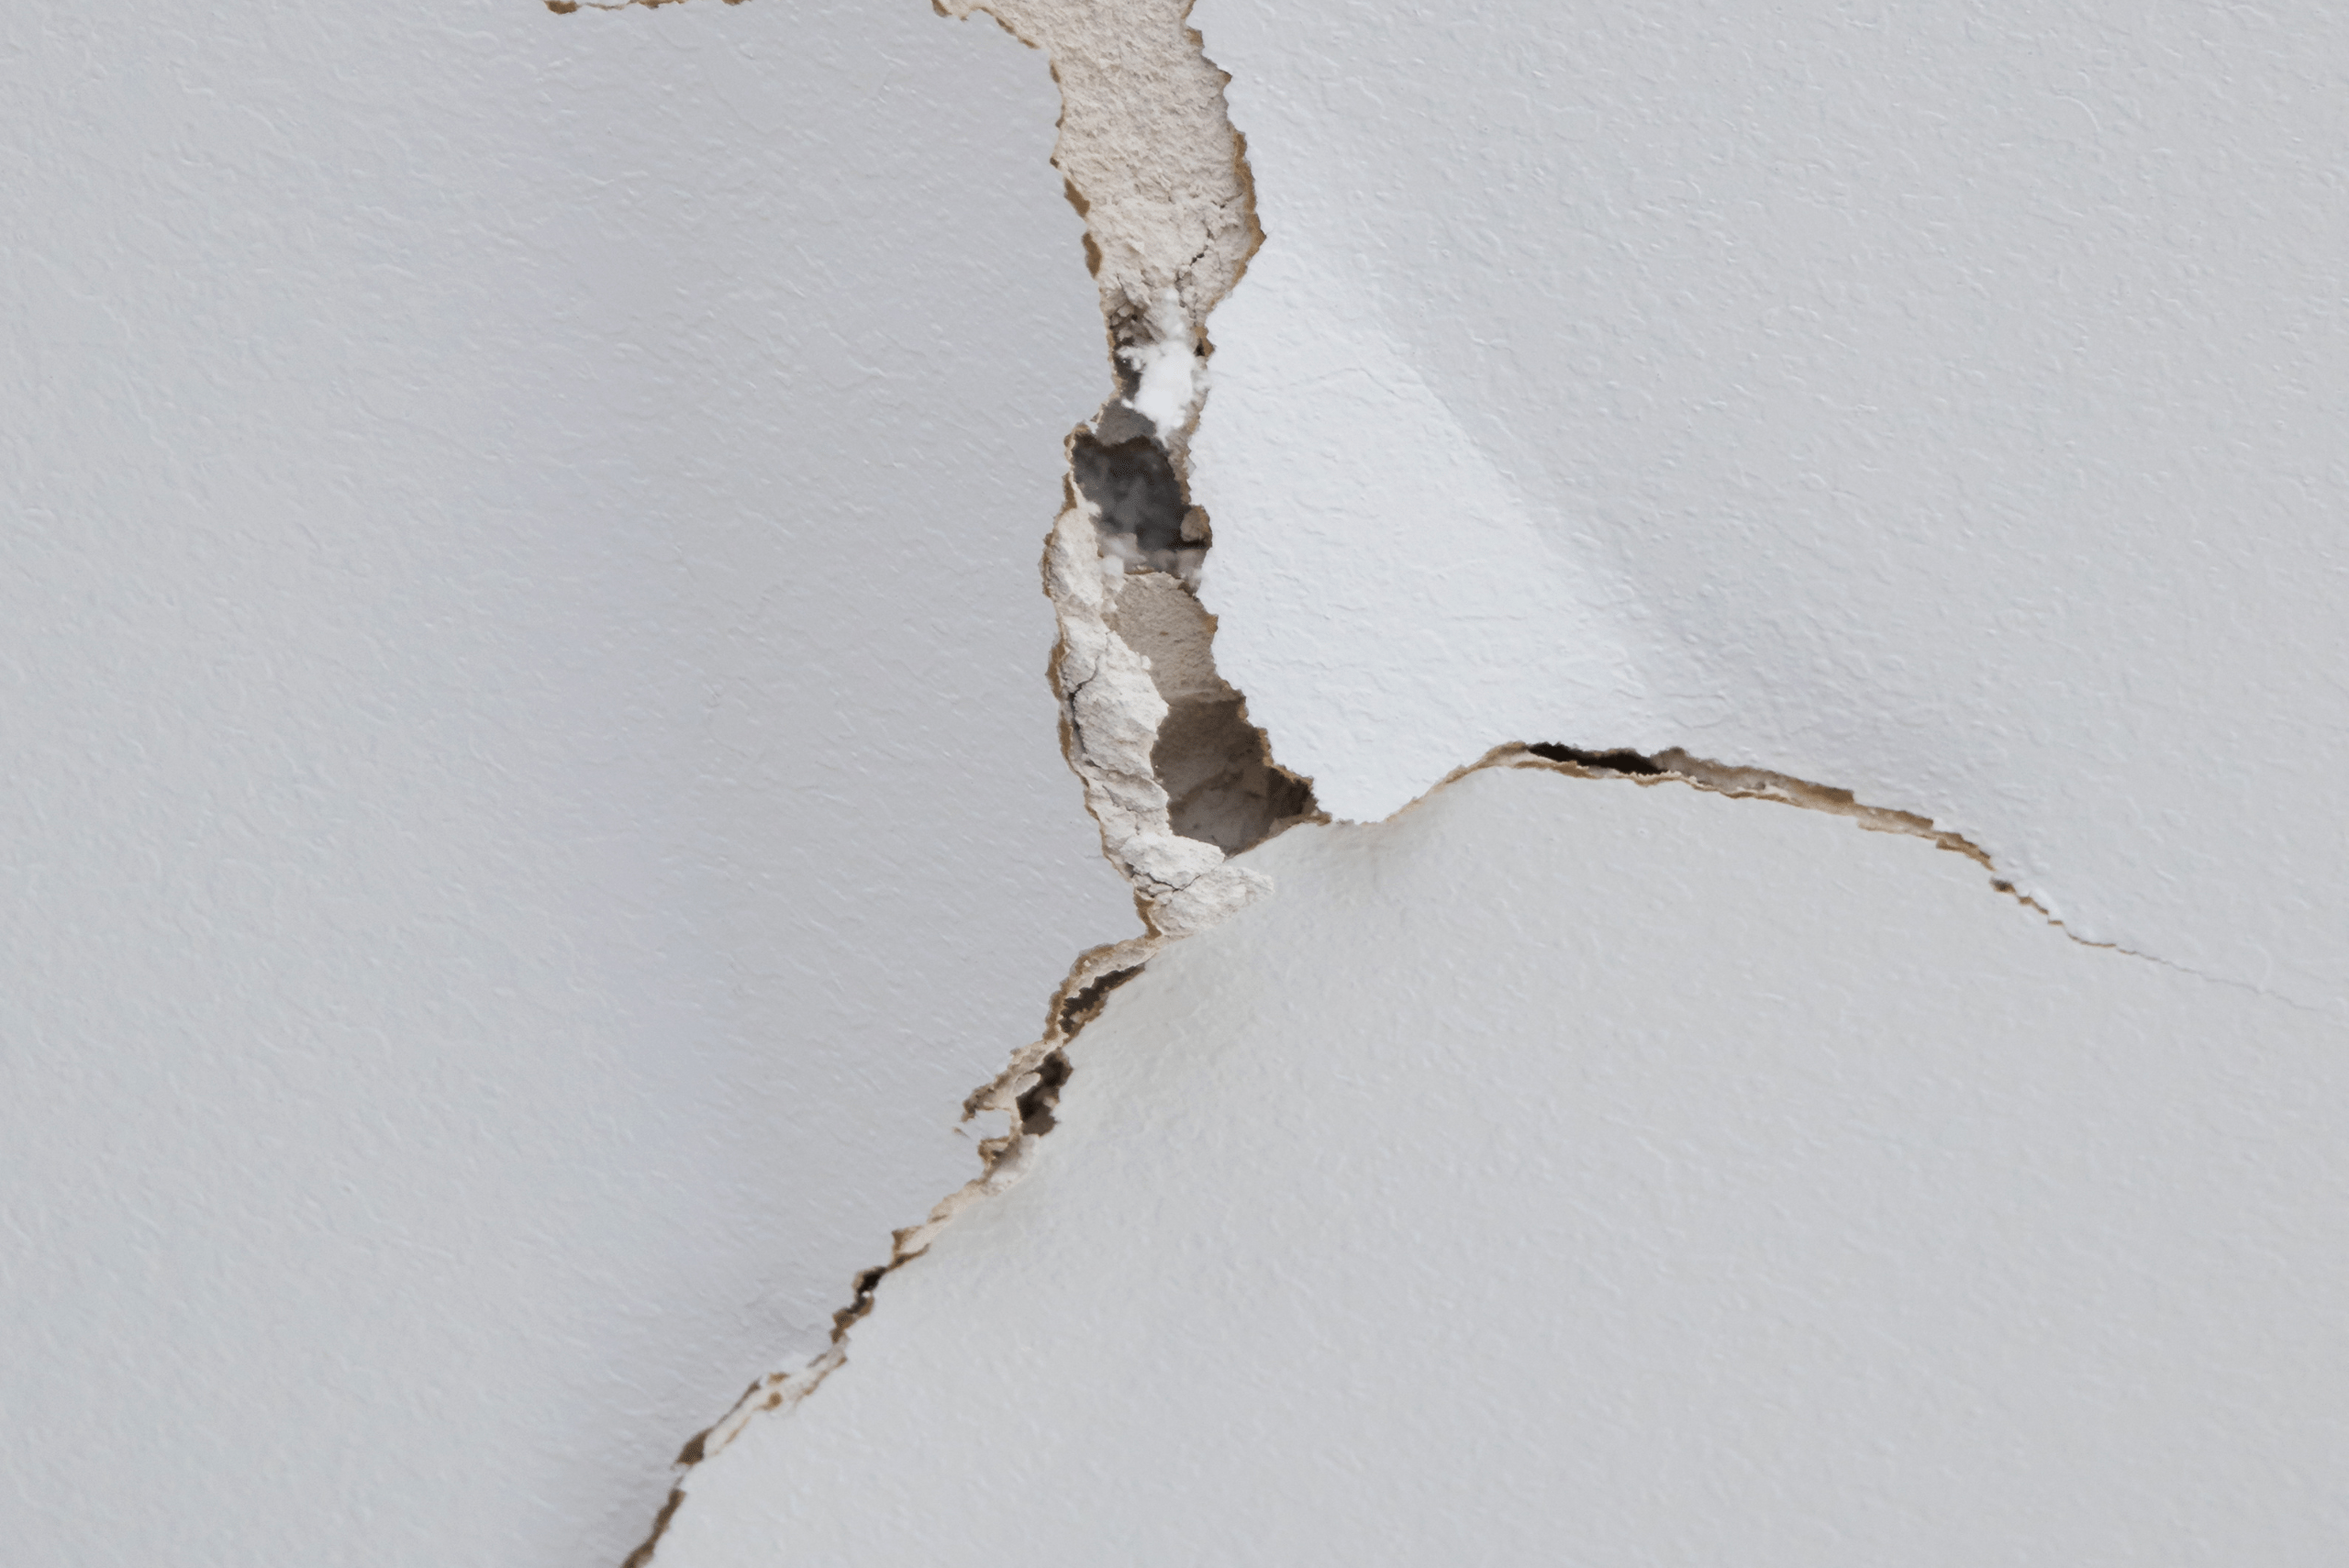
Identifying the cause of the crack is the first step in the repair process. This knowledge not only helps in fixing the current issue but also in preventing future damage. Inspecting your home regularly for new cracks or changes in existing ones can save you from bigger headaches down the line. Remember, when in doubt, consulting a professional is always a wise decision to ensure the safety and integrity of your home.
Related Articles:
- Helpful Tips: How to Cut Drywall Like a Pro
- Your Guide to Different Types of Drywall Anchors
- Sheetrock vs. Drywall – Understanding the Key Differences and Similarities
Repairing a crack in drywall is a task that might seem complicated at first but is entirely achievable with the right guidance and tools. This guide aims to equip you with the knowledge and confidence needed to tackle drywall repairs head-on. The key to a successful repair lies in understanding the cause of the crack, using quality materials, and taking your time to ensure a smooth finish.

