Easy DIY Solution For Exterior Mildew Build-Up
Battling with stubborn mildew on your home’s exterior can be frustrating, not to mention unsightly. But there’s good news for homeowners seeking a cost-effective and straightforward solution to this common problem. In this article, we’ll introduce you to an easy DIY method that promises to banish exterior mildew for good.
Utilizing simple ingredients that are likely already in your pantry, this approach is not only effective but also environmentally friendly and gentle on your home’s surfaces. Say goodbye to harsh chemicals and expensive treatments—let’s explore how you can reclaim the beauty of your home’s exterior with this hassle-free remedy.
Common Causes of Mildew
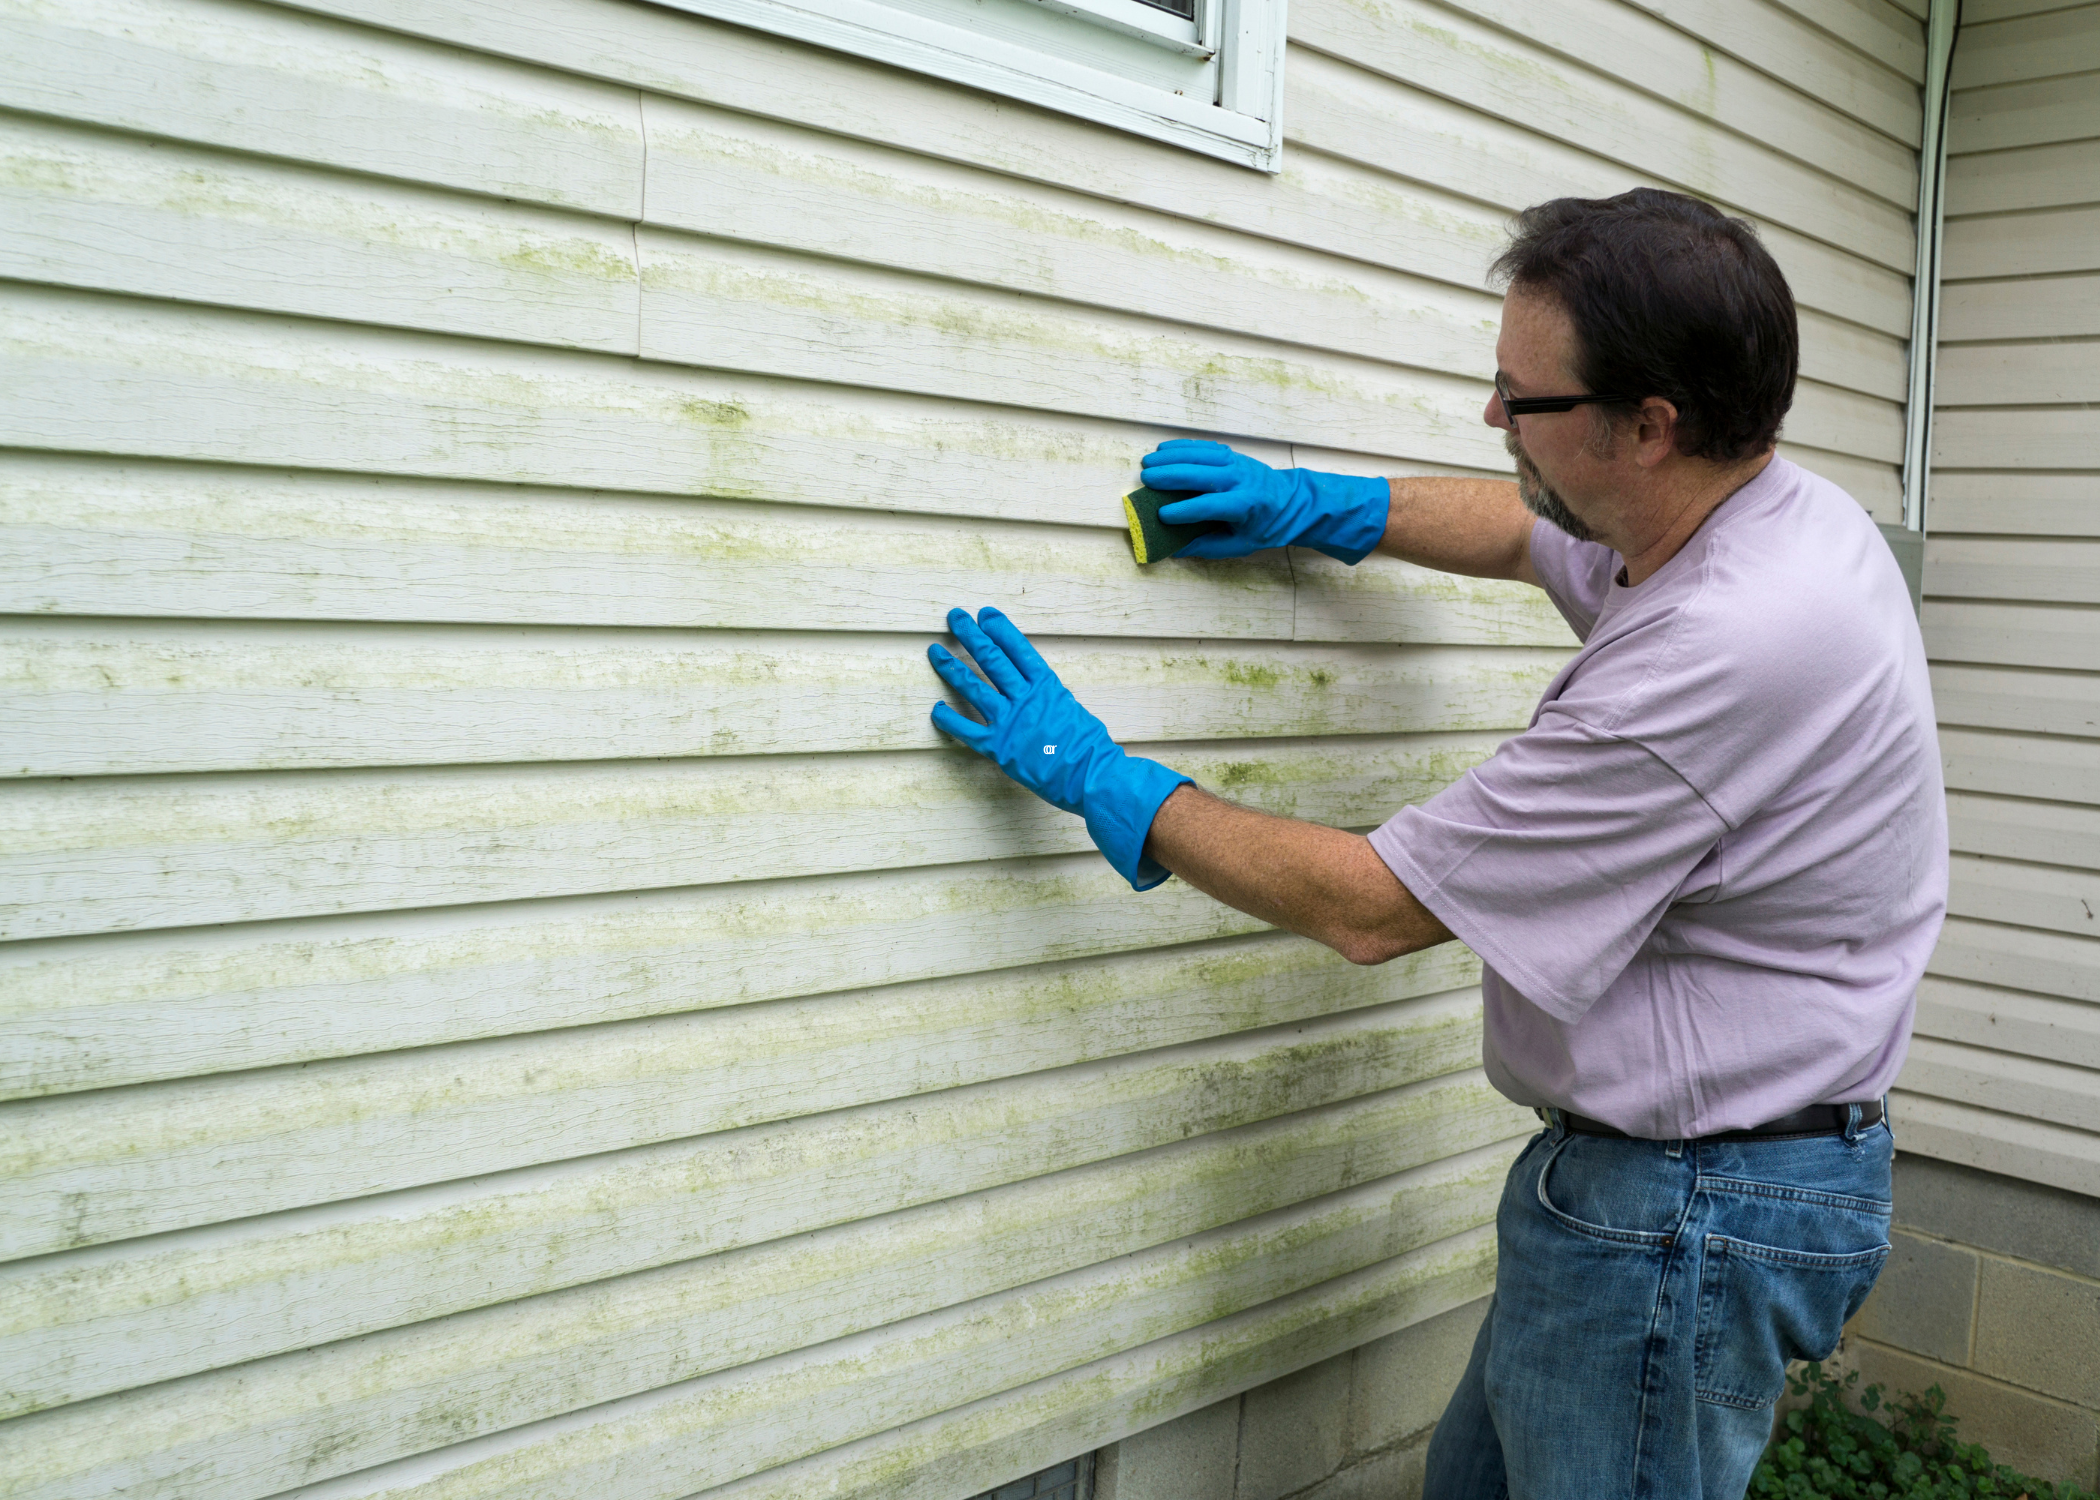
Mildew on a home’s exterior is a common issue that homeowners face, particularly in areas with high humidity and moisture levels. This fungal growth, which appears as a powdery or fluffy white or gray substance, primarily develops in damp, shaded areas where sunlight is scarce, making the north-facing walls of buildings particularly susceptible. Several factors contribute to mildew formation, including excessive moisture, which can be due to poor drainage, leaking gutters, or insufficient sealing around windows and doors.
Another contributing factor is a lack of proper maintenance, such as failing to clean or paint the exterior surfaces regularly, which can allow mildew spores to settle and grow unchecked. Organic material found on exterior surfaces, such as pollen, dust, and dirt, can nourish mildew, enabling it to spread rapidly. Understanding these causes is crucial for effectively preventing and treating mildew to maintain a home’s aesthetic and structural integrity.
Essential Ingredients for a Mildew DIY Solution
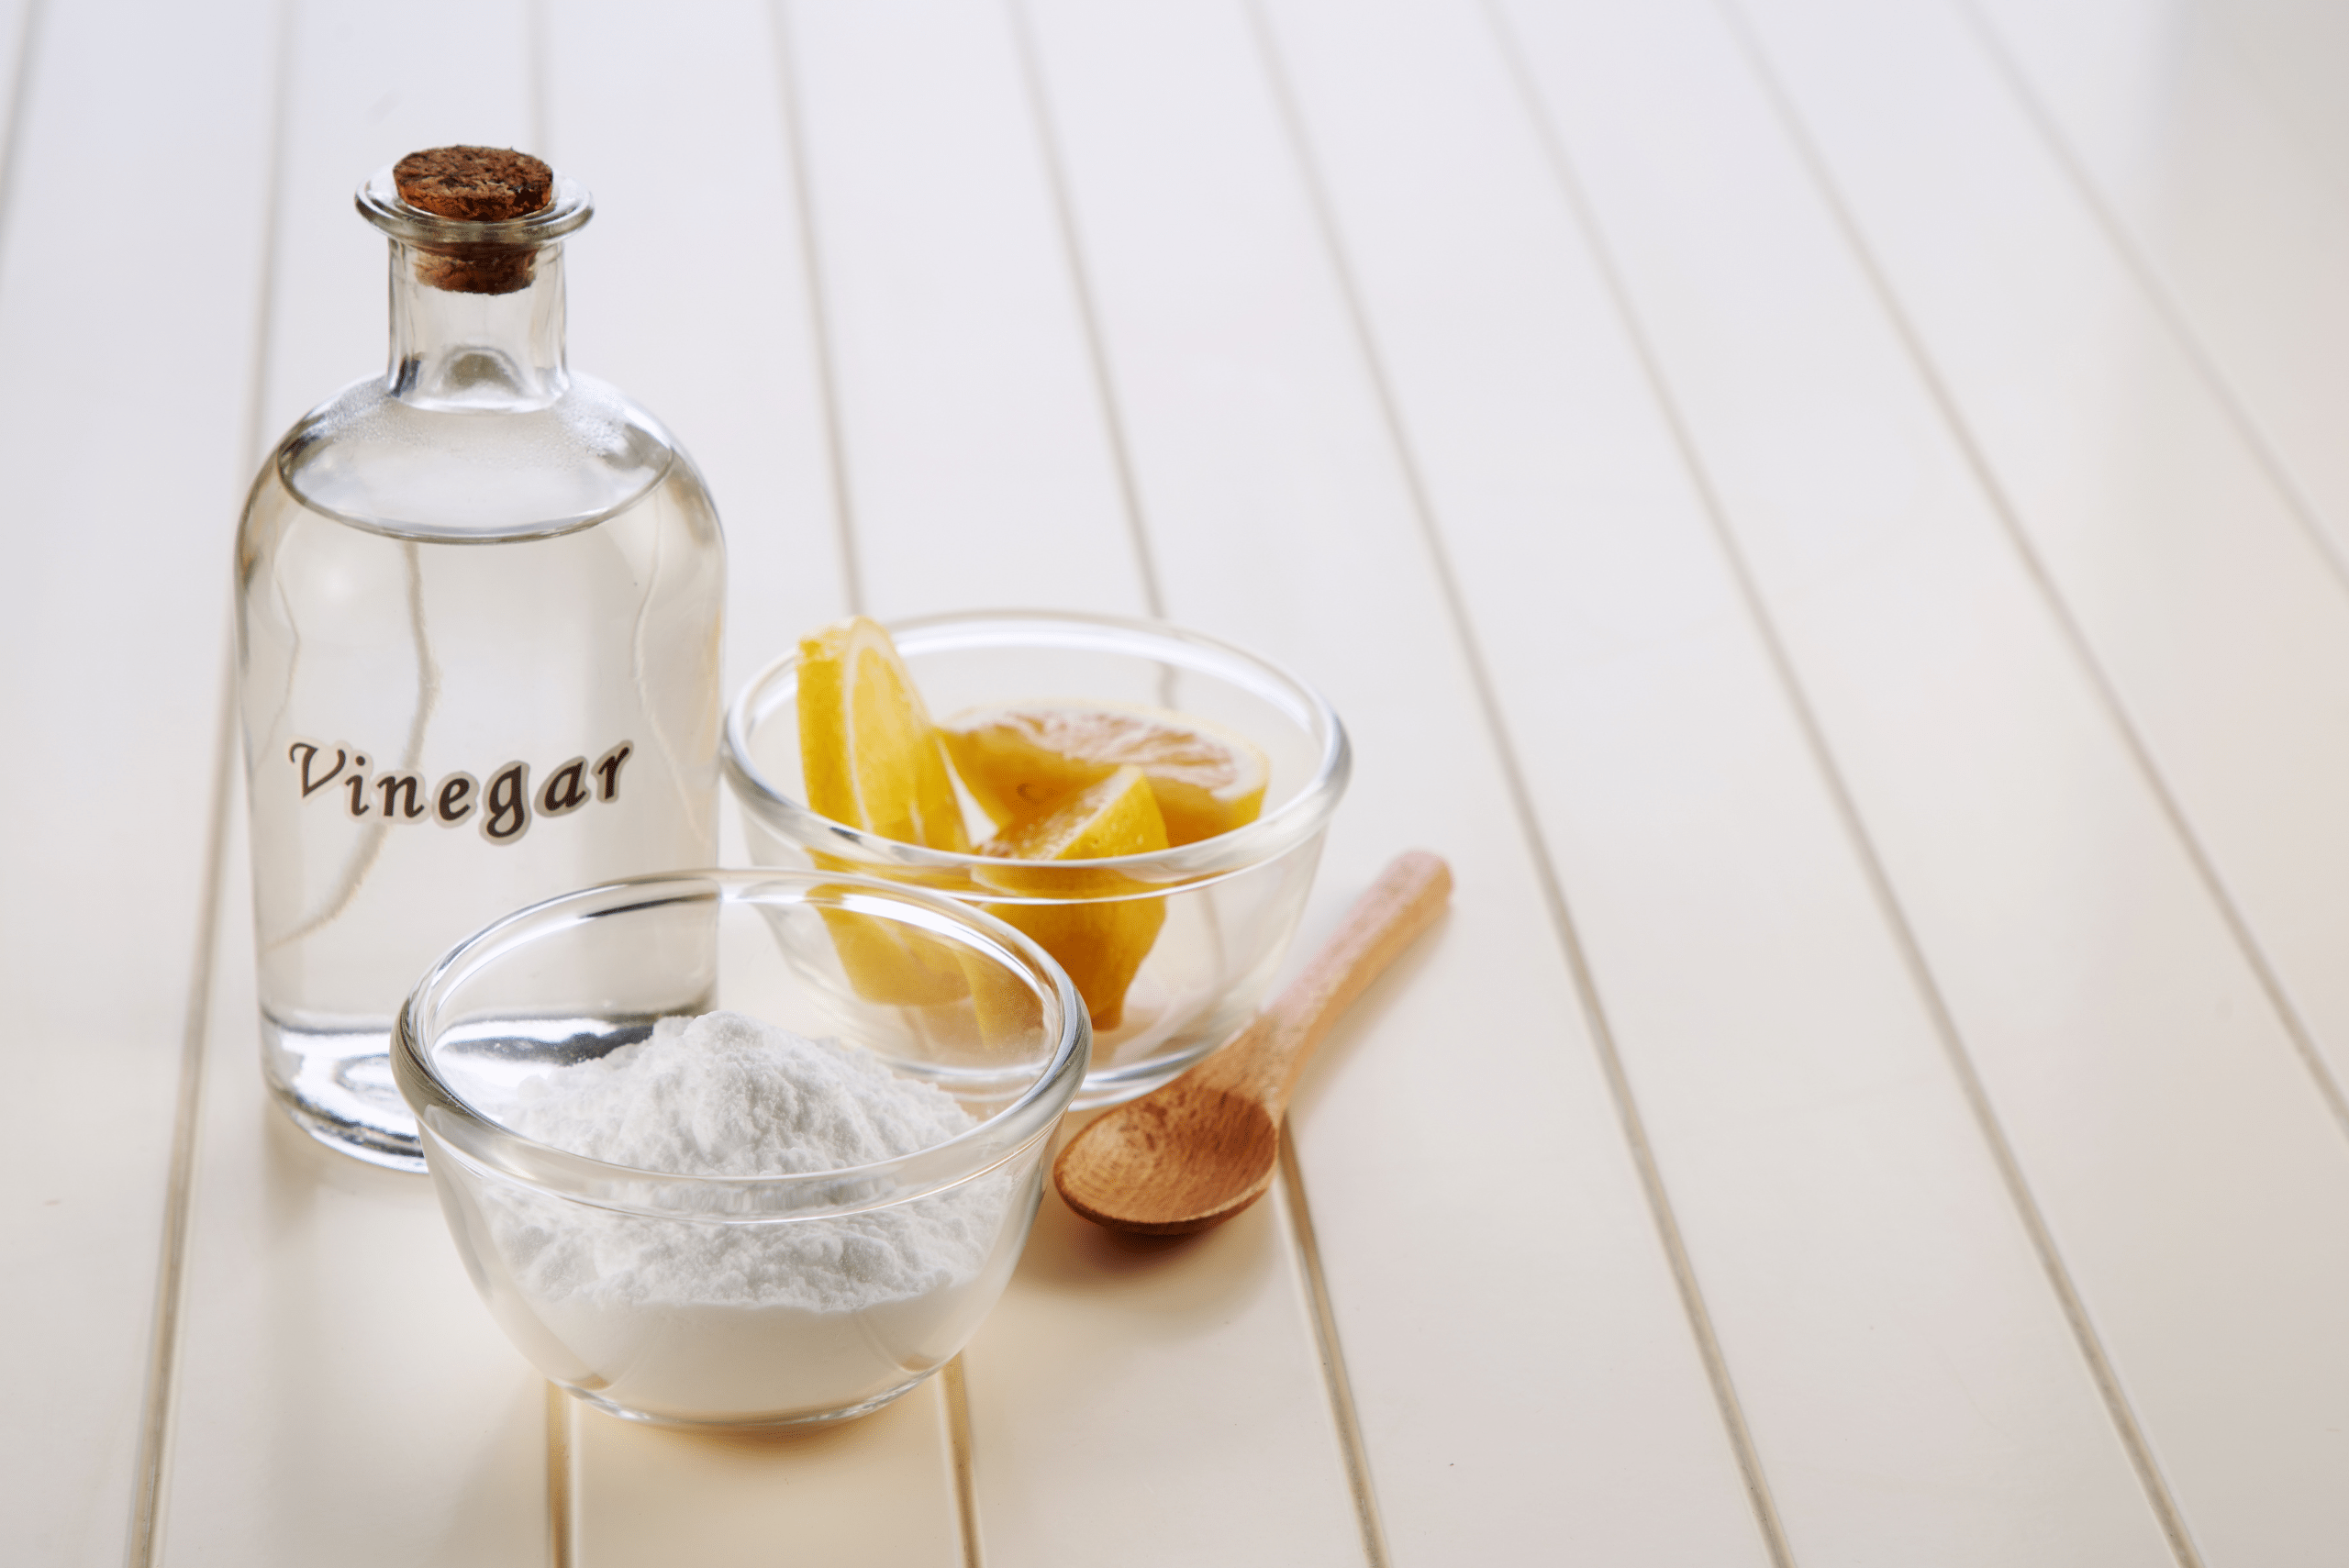
When crafting your own mildew DIY solution, you’ll need to gather a few key ingredients that are both effective and safe to use. One essential component is white vinegar, known for its natural acidity, which helps break down mildew and mold. Another vital ingredient is baking soda, a powerful cleaning agent that scrubs away mildew while neutralizing odors. Combining these two household staples creates a potent mixture that can tackle even the most stubborn mildew spots.
In addition to vinegar and baking soda, tea tree oil can be an excellent addition to your mildew DIY solution. This essential oil is celebrated for its antifungal properties, making it a natural ally in the fight against mildew. Just a few drops can enhance the effectiveness of your homemade remedy, leaving behind a fresh, clean scent. With these simple, natural ingredients, you can create a reliable and eco-friendly cleaning solution that keeps mildew at bay.
Step-by-Step Guide to Making Your Own Mildew DIY Solution
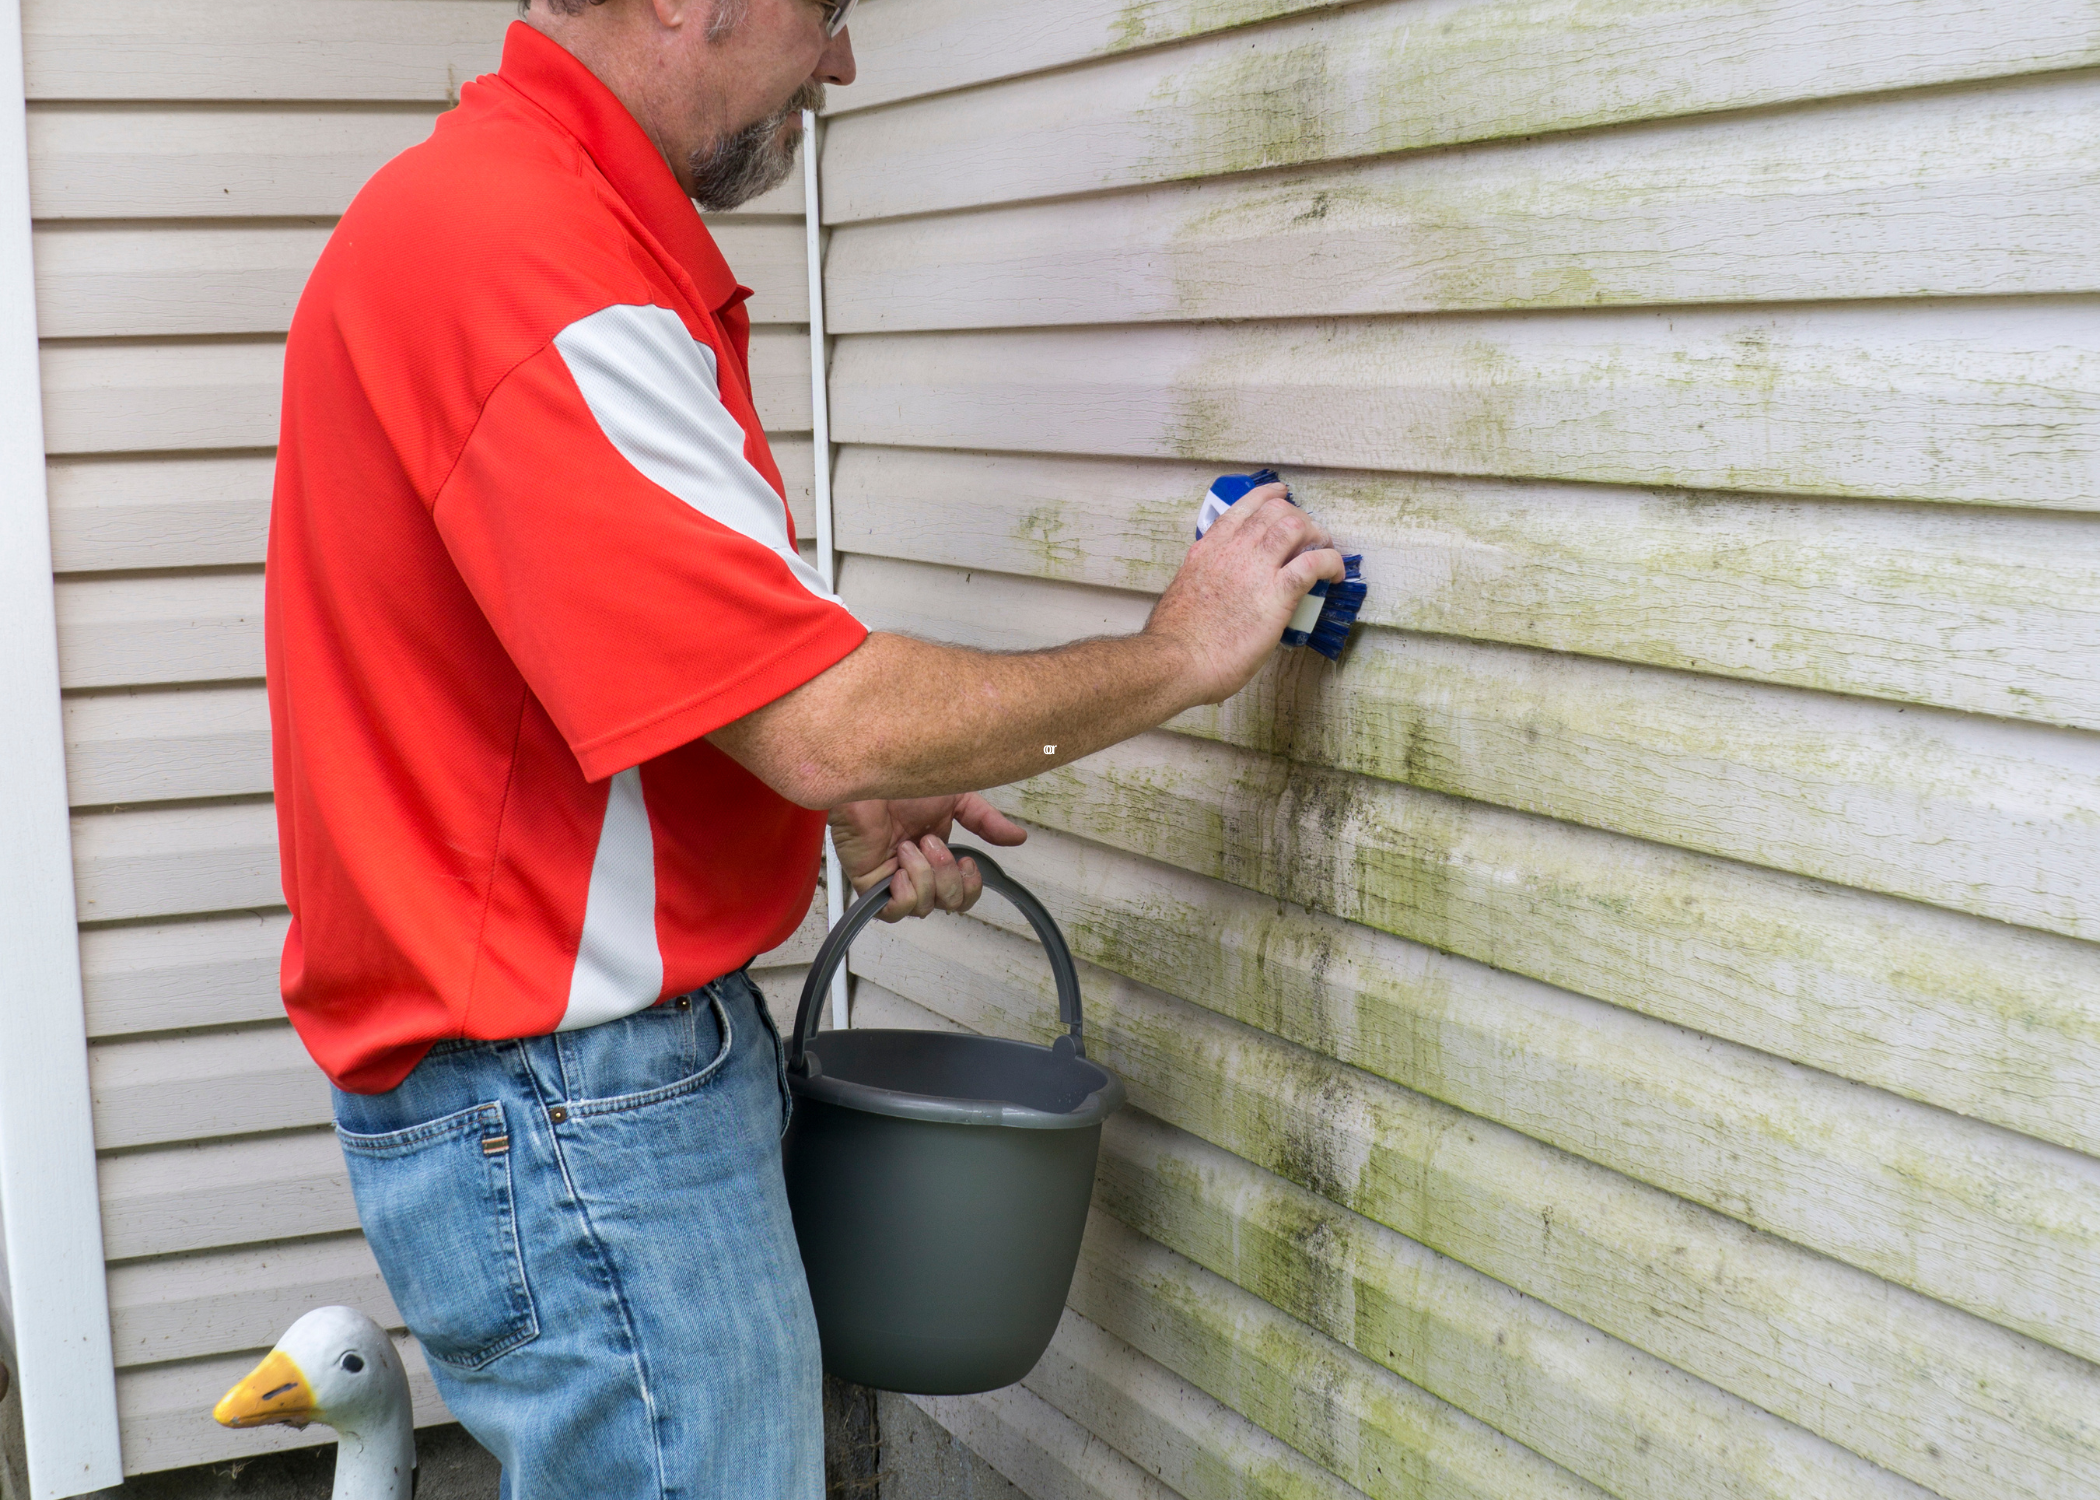
To start, gather common household items such as white vinegar, baking soda, and essential oils. These ingredients are not only effective but also environmentally friendly. For the process, you’ll need a spray bottle, a measuring cup, and a mixing bowl. The first step involves mixing equal parts of white vinegar and water in your spray bottle. Vinegar is a natural disinfectant that will help break down the mildew on various surfaces.
Next, sprinkle baking soda directly onto the mildew-affected area. Baking soda acts as a mild abrasive, which will help lift the mildew without damaging your surfaces. After applying the baking soda, spray the vinegar solution generously over it. The reaction between baking soda and vinegar will create a fizzy effect, loosening the mildew further. Allow this mixture to sit for about 15 minutes. Then, using a scrub brush, gently scrub the area to remove the mildew. Rinse with clean water and wipe the surface dry.
Application Techniques
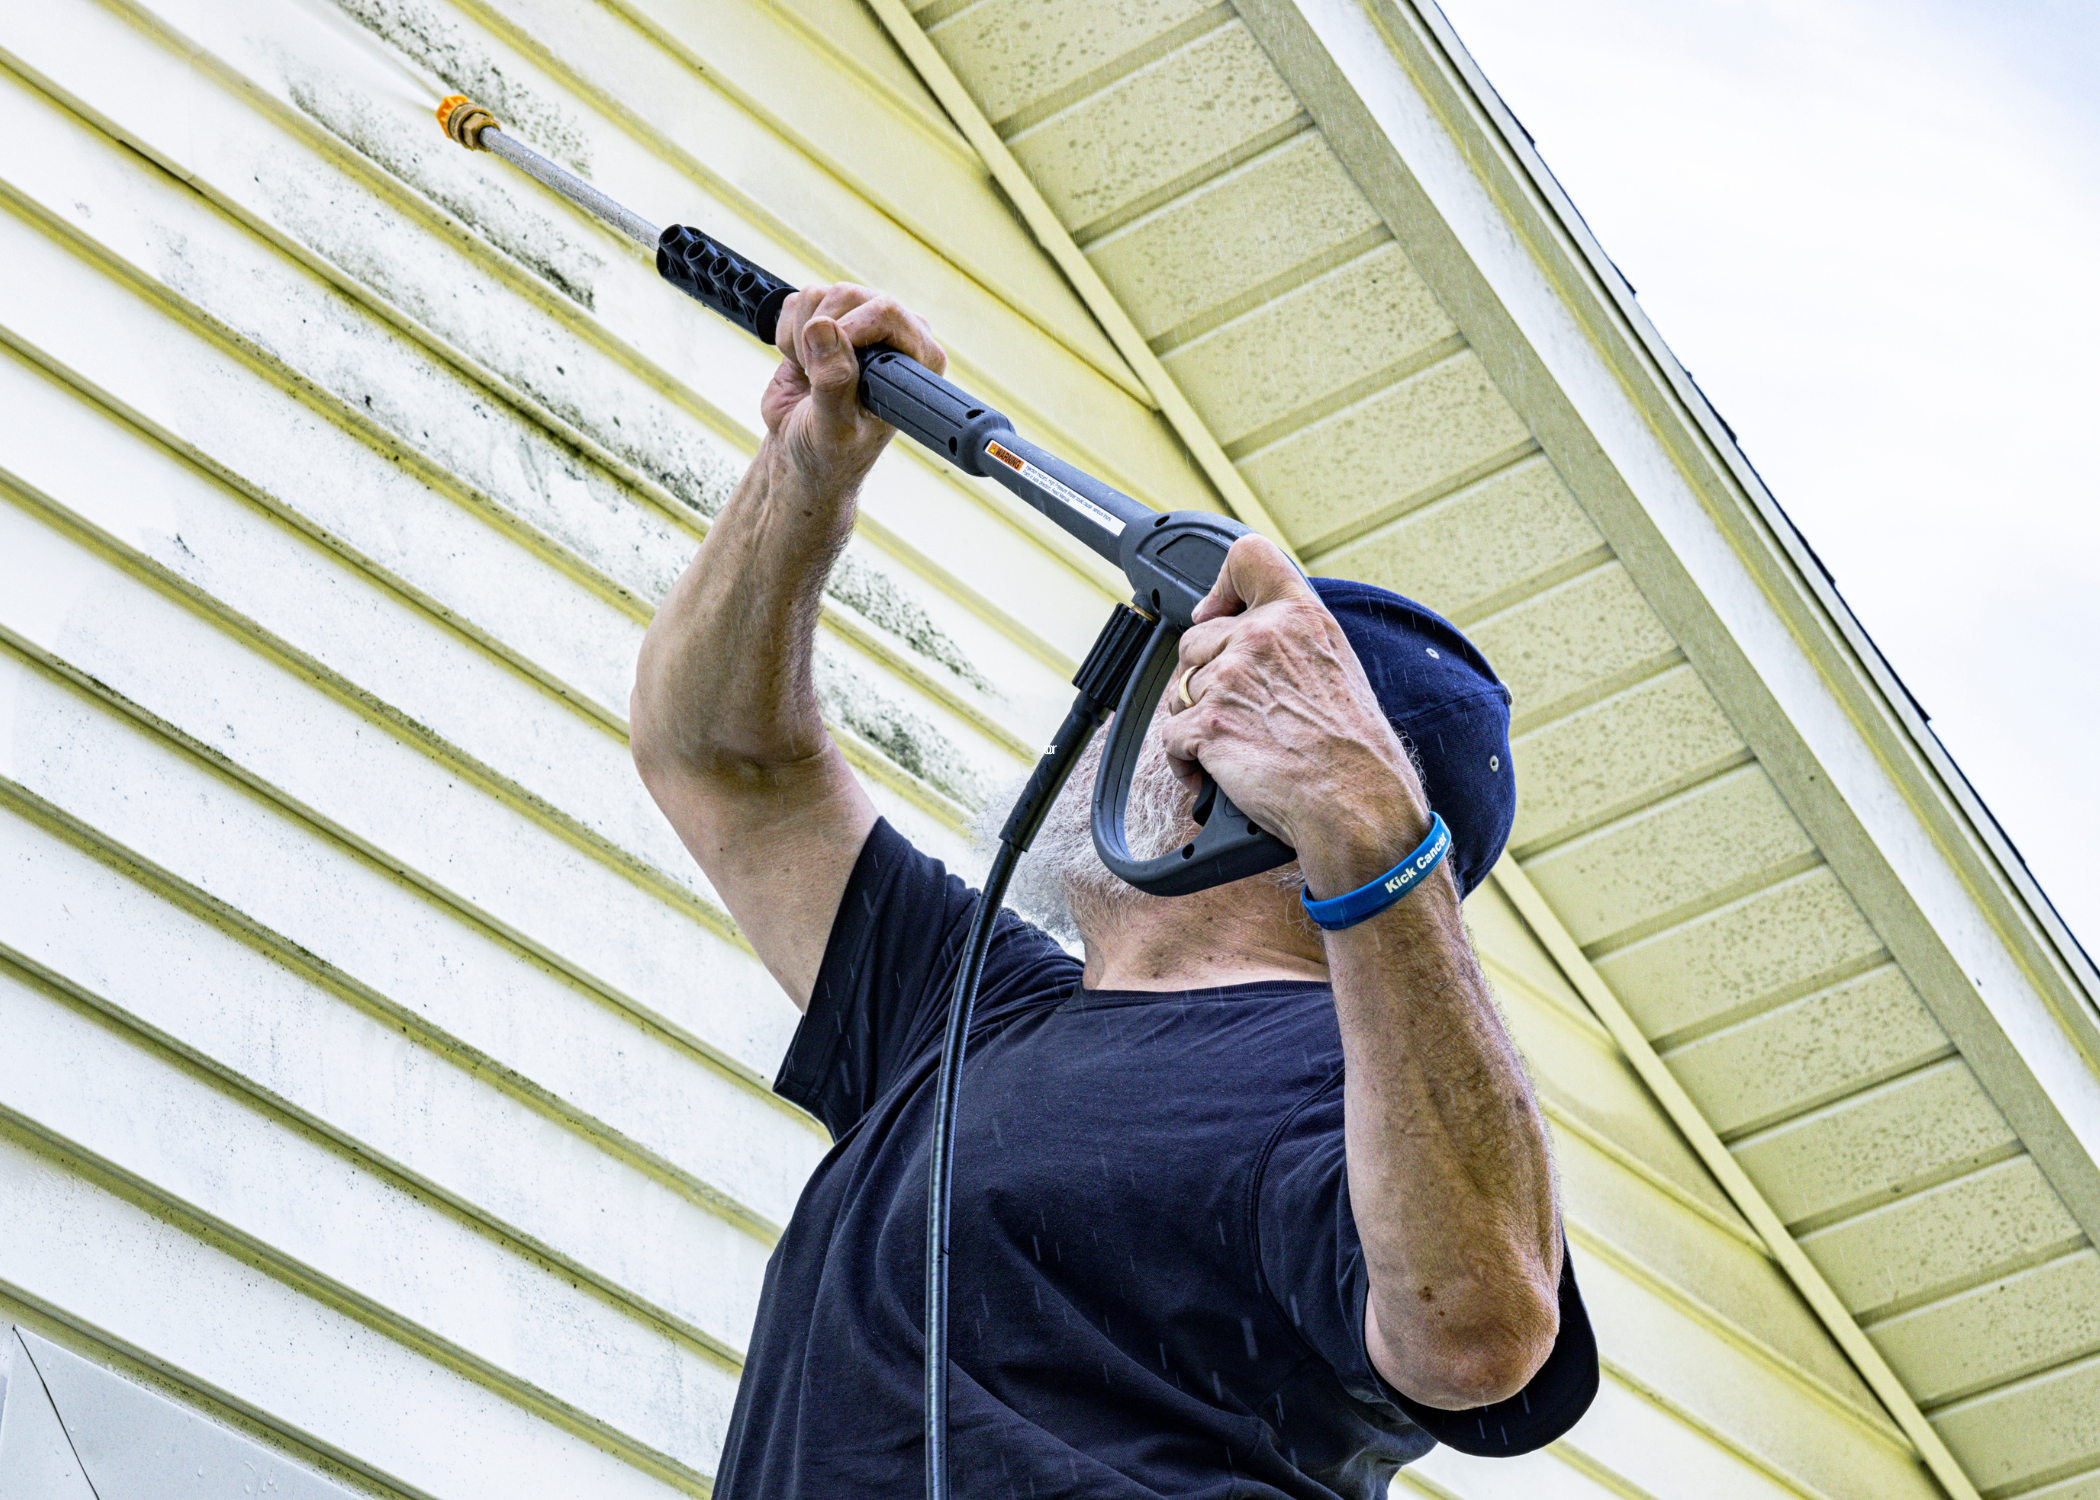
When applying your mildew DIY solution, the key is to ensure the mixture thoroughly covers the affected areas. Start by generously spraying the solution onto the mildew, making sure to reach every nook and cranny. It’s essential to let the solution sit for a few minutes to penetrate and break down the mildew effectively. This waiting period allows the active ingredients to work their magic, loosening the mildew’s grip on surfaces.
After the solution has had time to work, use a sturdy scrub brush to agitate the mildew and lift it away from the surface. In some cases, a second application might be necessary for particularly stubborn spots. Rinse the area with clean water to remove any remaining residue, and dry it thoroughly to prevent future mildew growth. By following these steps, you can maximize the efficacy of your mildew DIY solution and enjoy a cleaner, healthier environment.
The Benefits of Using a Mildew DIY Solution for Your Home
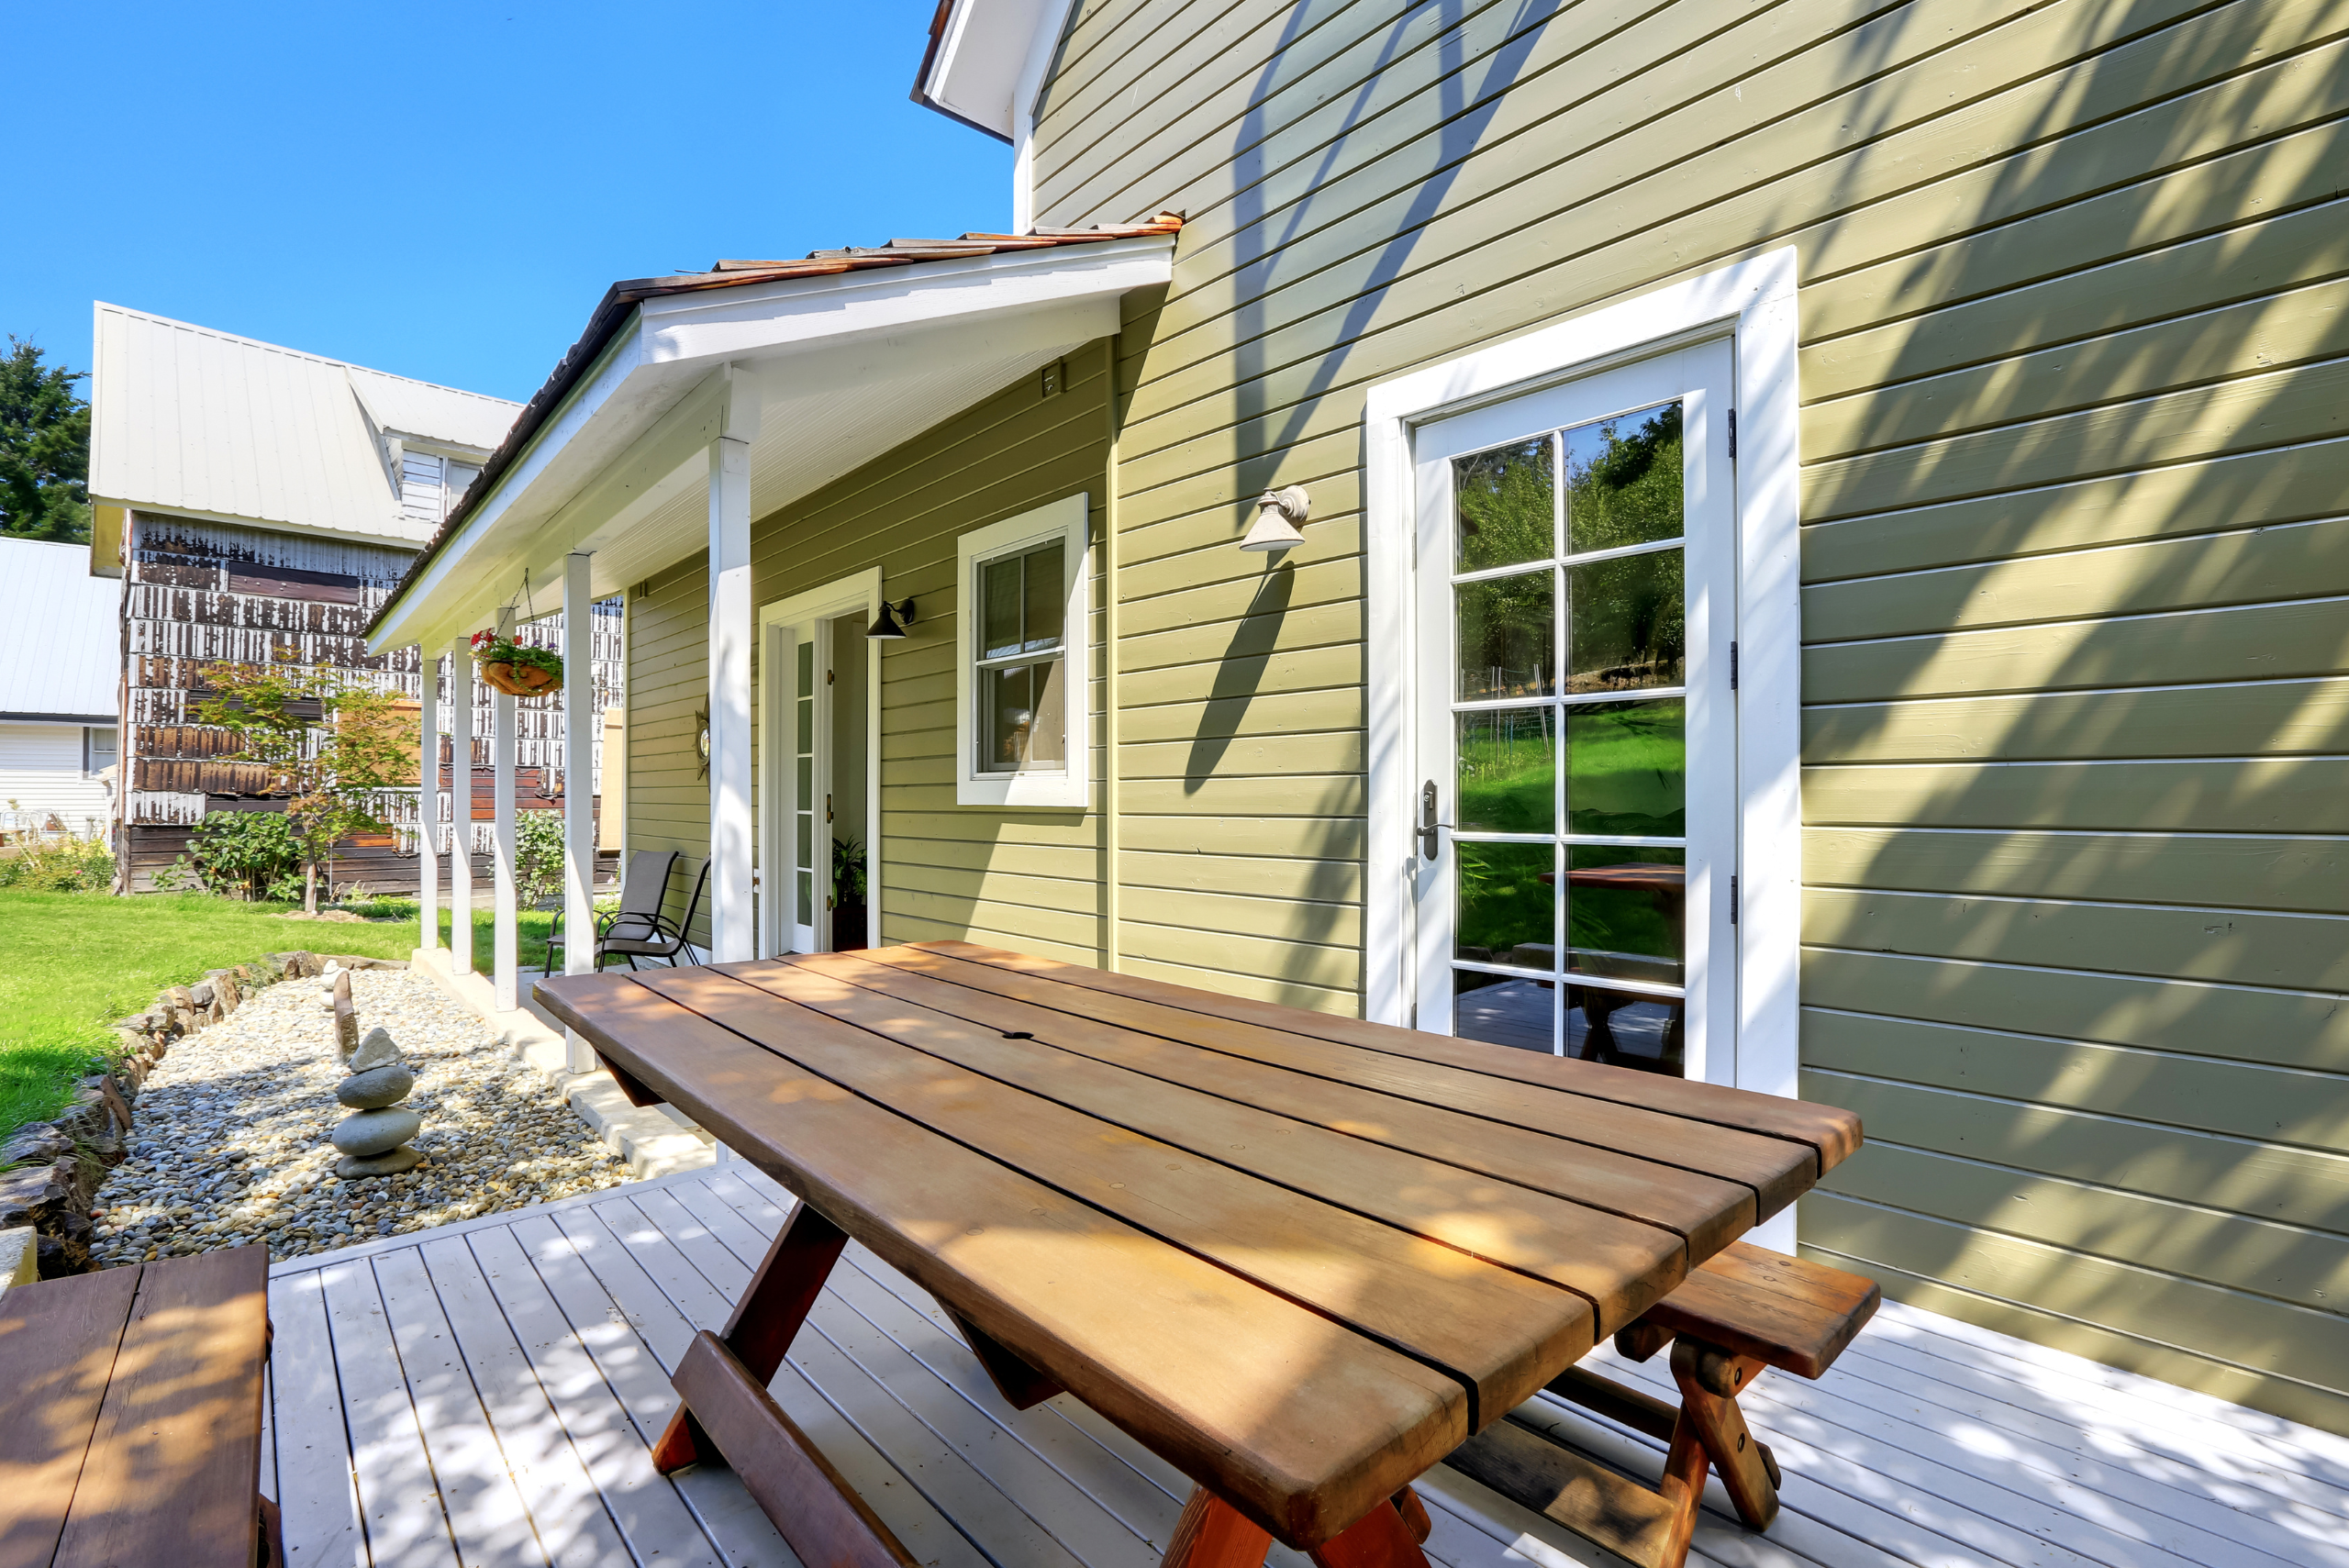
Using a mildew DIY solution for your home offers numerous benefits that extend beyond just keeping your exterior clean. For one, these solutions are typically made from ingredients you already have in your pantry, like vinegar or baking soda, making them both cost-effective and eco-friendly. By choosing a homemade option, you also avoid the harsh chemicals found in many commercial products, which can be harmful to both your health and the environment.
A mildew DIY solution can be customized to fit your specific needs. Whether you need a stronger concentration for a particularly stubborn spot or a gentler mixture for delicate surfaces, you have the flexibility to adjust the recipe accordingly. This level of control ensures that your cleaning efforts are both effective and safe for the exterior of your home. Using natural ingredients can leave a more pleasant, clean scent compared to the often overpowering chemical smell of store-bought cleaners.
Related Articles
- Step-by-Step Guide For Vinyl Siding Repair
- How To Select The Right Paint For Your Home’s Exterior
- Discover the Alluring Charm of Vinyl Siding
As you tackle exterior mildew with these simple DIY solutions, you’re not only enhancing your home’s curb appeal but also protecting surfaces from long-term damage. Consistent upkeep can make a world of difference, so keep these techniques handy and enjoy a fresh, mildew-free exterior all year round. For more helpful DIY tips, check back with us and keep your home looking its best with minimal effort!
Ready to start your next project? Join our DIY community to receive tool tips, how-to guides, and exclusive creative insights. Subscribe to the ManMadeDIY newsletter now! Click here to unlock a world of hands-on inspiration.

