Discover the Alluring Charm of Vinyl Siding
Part of the allure of vinyl siding is the design laying it out creates. If you connect siding with proper staggering to a home, it adds curb appeal, value, and durability to any style of structure.
Modern vinyl siding is a marked improvement over the styles available just a couple of decades ago. The first vinyl siding consisted of a thin membrane glued onto a solid blank of vinyl. They looked great for the first few years, but then the sun took its toll, and the vinyl eventually faded, leaving nothing but the blank underneath.
Modern Vinyl Siding and Staggering
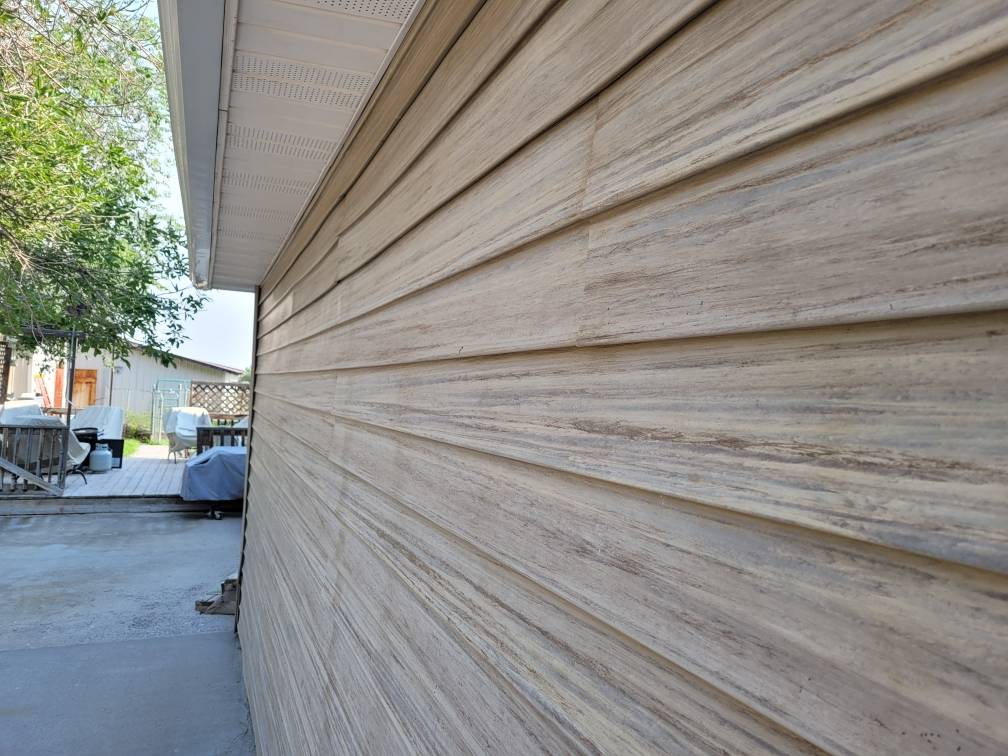
Modern vinyl siding is impregnated with pattern and color throughout the siding.
Laying it out can make the difference between a mediocre job and one that pops when you approach the home.
Staggering the vinyl is a technique that professional siding installers utilize, but it’s no trade secret; it’s just a method that anyone can follow.
Vinyl Siding Sizes and Components
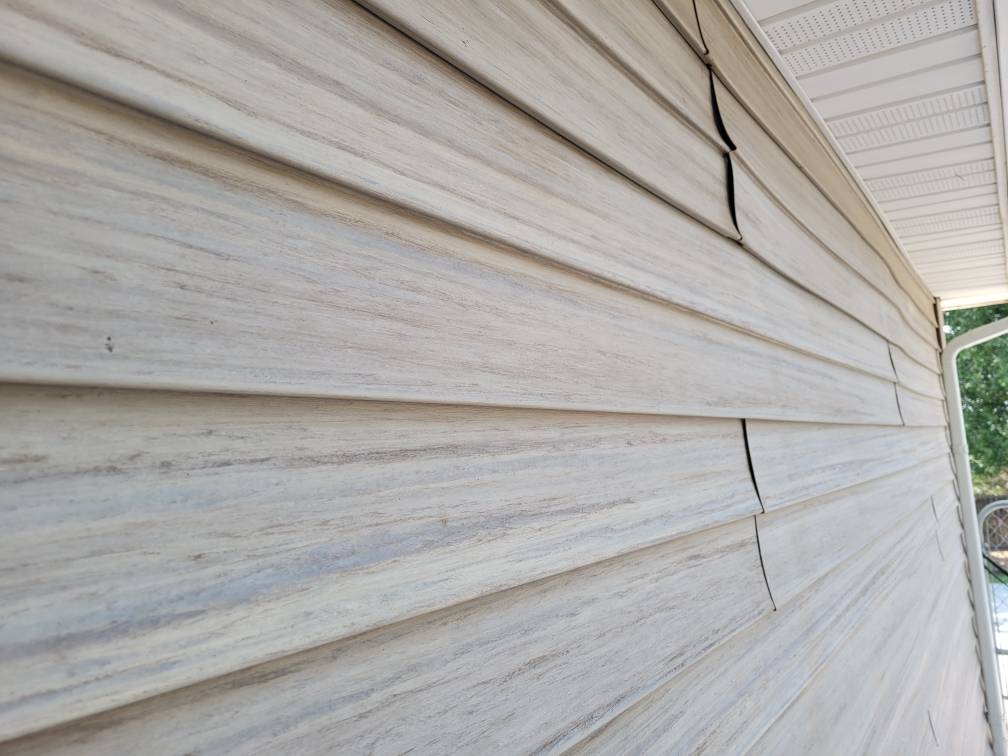
Siding comes in a variety of sizes, with most coming in 10-, 12-, or 16-foot lengths. With those flexible size options, you won’t have a problem finding the right pieces to work with while installing staggered vinyl siding to your home or business.
There are five components on each piece of siding. The blank surface of the siding is the largest, but the upper lip that allows the lower groove of an adjacent piece of siding to lock in place are two key elements necessary to get a professional finish. The final two components are the left and right ends, which allow the meshing of two pieces into one.
Achieving a Seamless Look
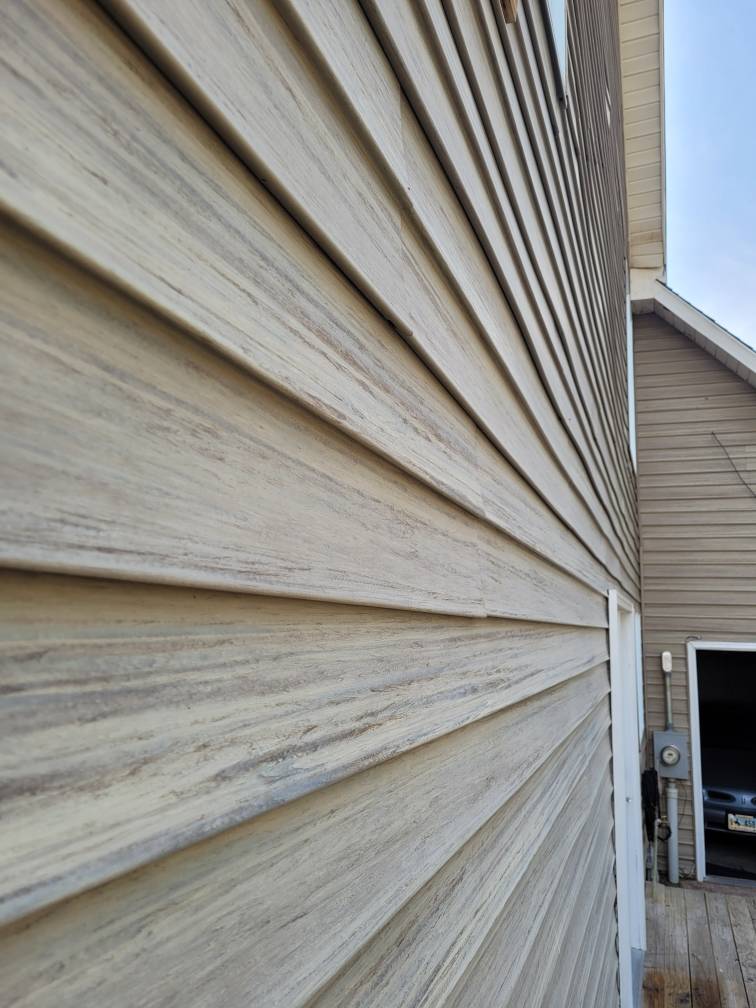
When you mesh these pieces together, it creates a seam or stagger that is visible from the ground.
The secret to invisible seams is to lay the siding from the most likely vantage point of someone viewing the home.
If your sidewalk comes up to the house from the front, you should begin laying the siding on the farthest viewable sections of the house first. That way, the overlap covers the edge from the viewpoint of a person walking up the sidewalk.
If you do the reverse, the lap or seam will be clearly visible to someone walking up to the house, and the eye appeal is drastically reduced.
Things to Avoid When Installing Vinyl Siding
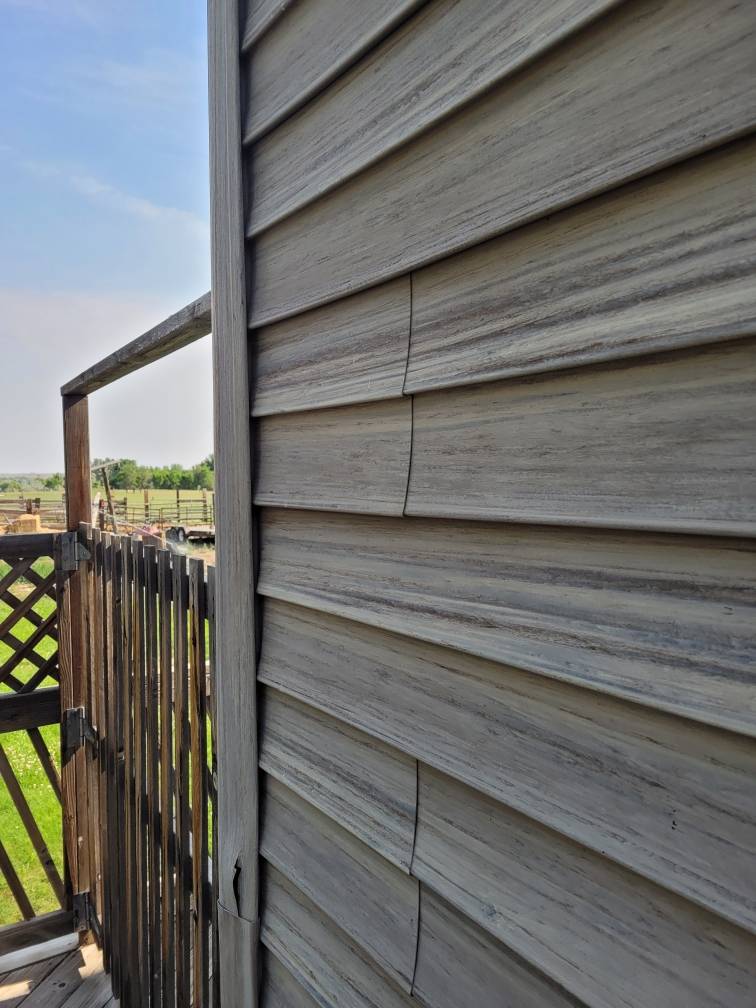
Another eyesore in poorly laid siding is if all the staggered siding is in the same place. It creates a focal point for an observer, and the siding looks terrible.
The solution is to stagger the joints, so they vary by a few feet on each level of the siding as it rises from the ground to the soffit.
Installing First and Second Vinyl Pieces
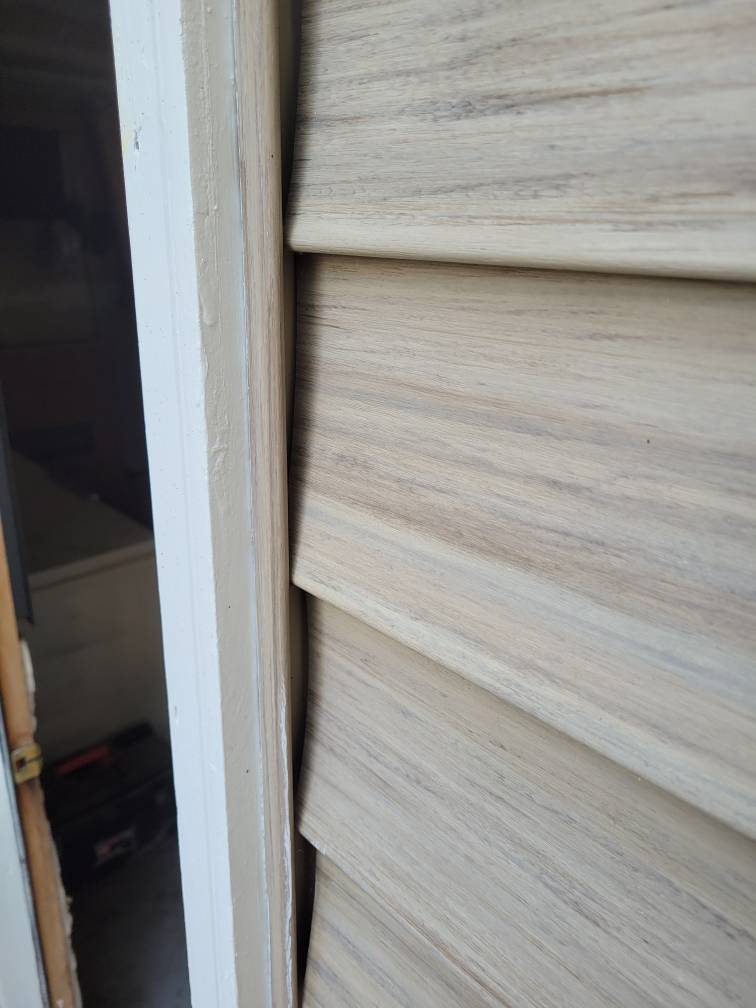
Start with a complete piece of siding, connect additional full pieces on the first run, and then cut the last piece to match the J-channel or corner enclosures.
On the second run, you’ll want to cut at least four feet off a full piece and lock it into place from the same corner and in the same direction as the first run. This makes the seams lay in the same direction but staggers them, breaking up the line of sight to create a much better curb appeal.
Installing Third and Fourth Vinyl Pieces
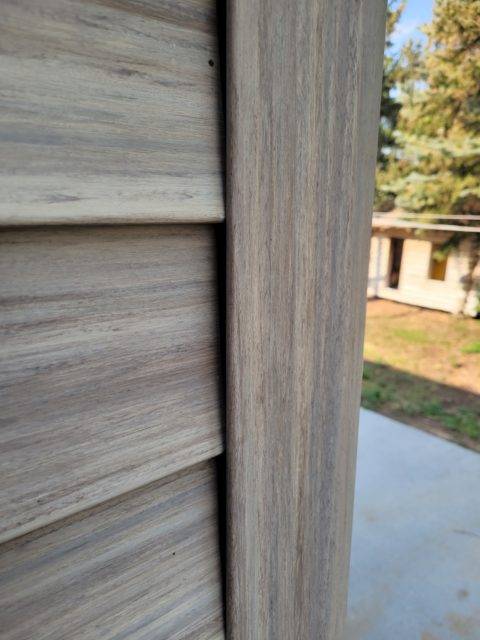
On the third level, cut the first piece at around eight feet. Doing so moves the stagger to the right of the second level but to the left of the first. Lay in full pieces, and cut the last to fit just like the other two.
On the fourth run, you can start with a full piece again. Repeat the process until you reach the soffit, and you’re siding will be as good as any professional can produce.

