From Plywood to Play: How To Build Cornhole Boards
Cornhole, a classic outdoor game that combines skill and camaraderie, has become a staple at gatherings and events. One essential element of this popular pastime is the cornhole boards. In this article, we’ll delve into the world of cornhole boards, providing you with a step-by-step guide to build your own.
Materials and Tools Needed for Building Cornhole Boards
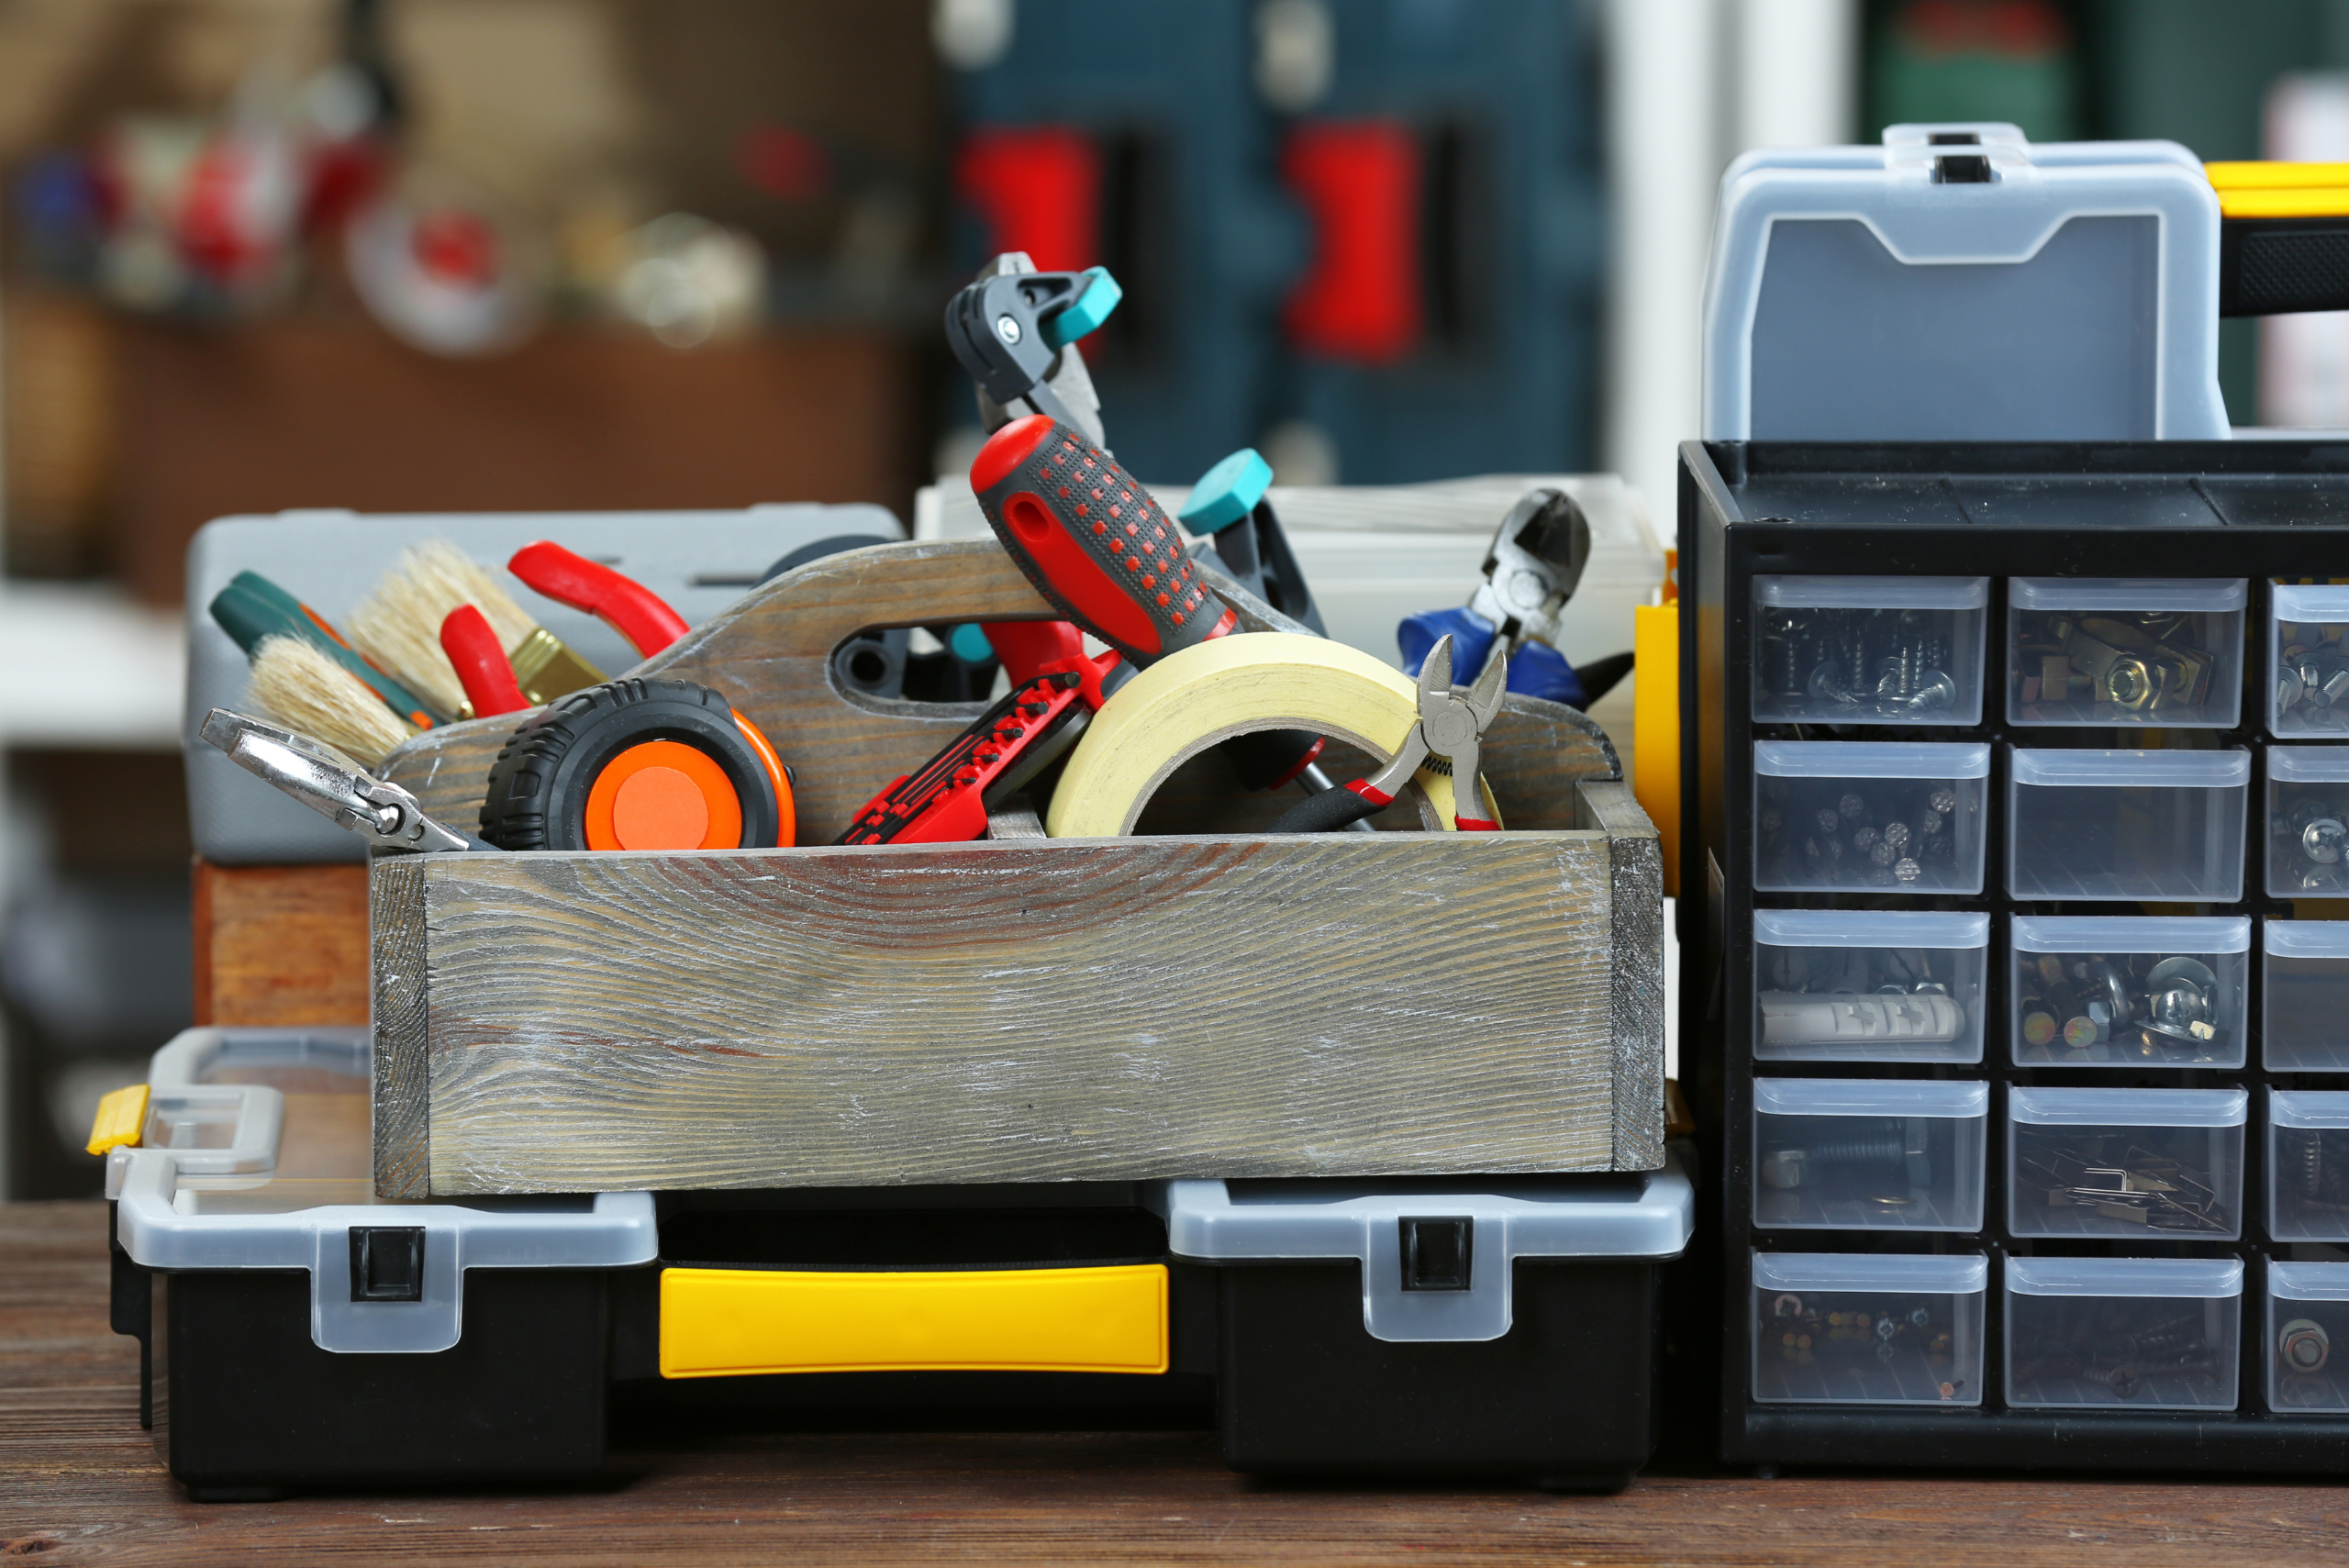
Before diving into your exciting cornhole board project, ensure you have all the essential materials at your fingertips. Here’s a comprehensive list to guide you:
- Plywood: Acquire a sturdy plywood sheet of the appropriate thickness to serve as the playing surface for your cornhole boards. Opt for a high-quality material to ensure durability.
- 2×4 Boards: Invest in straight and robust 2×4 boards, which will be the backbone of your cornhole boards’ frame. Select boards that are free from knots and imperfections for a professional finish.
- Wood Screws: Stock up on wood screws of various lengths, ensuring you have the right sizes to secure the plywood to the frame and assemble the various components of your cornhole boards.
- Measuring Tape: A reliable measuring tape is indispensable for precision. Use it to measure and mark accurate dimensions, guaranteeing that your cornhole boards meet regulation standards.
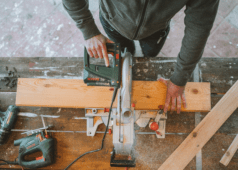
- Circular Saw: A circular saw is a versatile tool that will be pivotal for cutting both the plywood and the 2×4 boards to the required dimensions. Ensure the blade is sharp for clean, accurate cuts.
- Drill: A power drill with the appropriate bits is essential for creating pilot holes and driving in wood screws efficiently. Choose a drill with variable speed settings for optimal control during assembly.
Having these materials on hand not only streamlines your DIY process but also sets the stage for crafting cornhole boards that are both functional and aesthetically pleasing. So, gather your materials, and let the woodworking adventure begin!
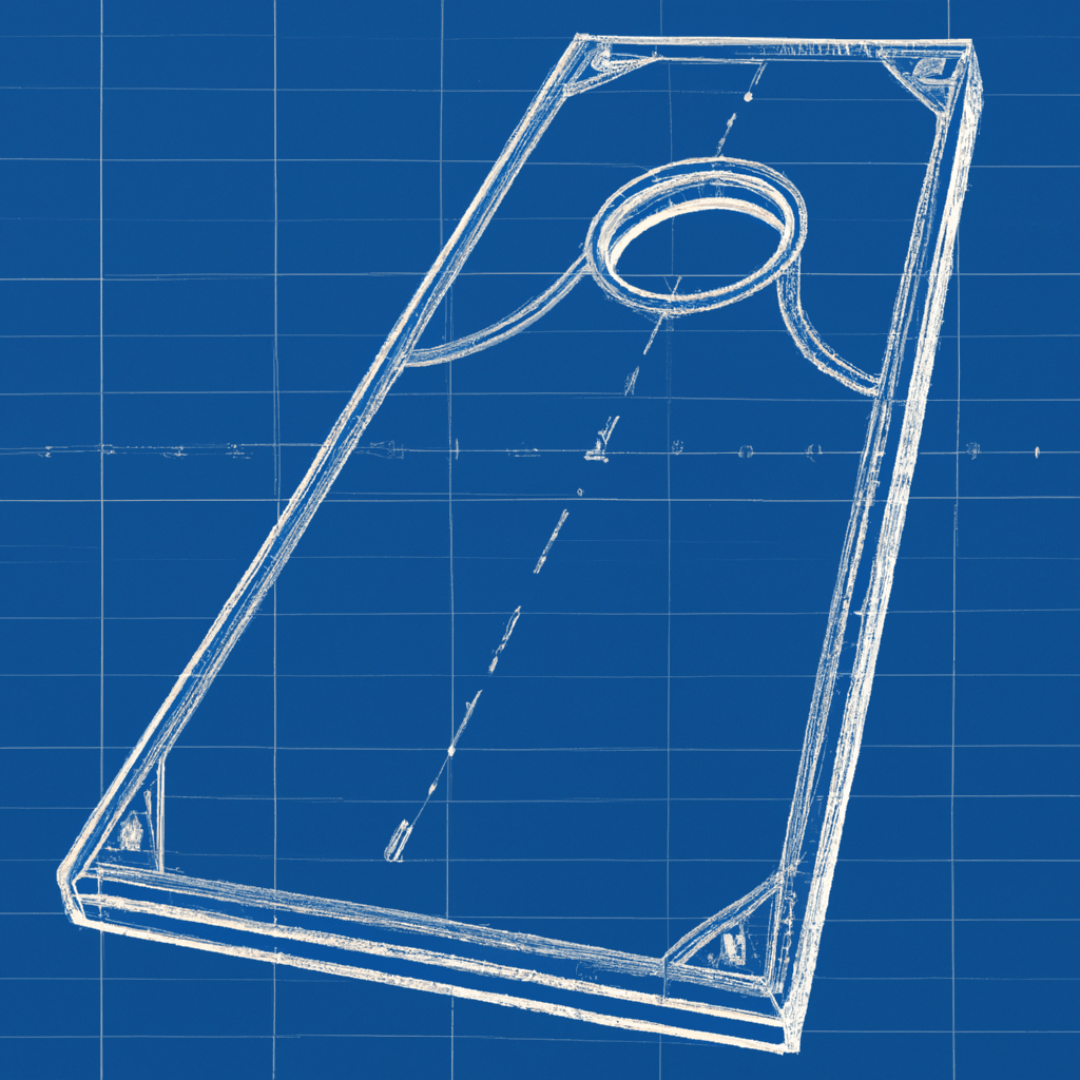
Step-by-Step Guide to Building Cornhole Boards
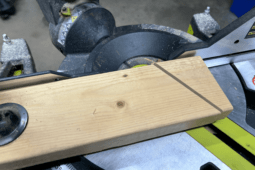
- Cutting the Plywood and 2×4 Boards: Begin by cutting the plywood and 2×4 boards to the required size, ensuring precision for a professional finish.
- Assembling the Frame: Use wood screws to assemble the frame, creating a sturdy foundation for your cornhole boards.
- Attaching the Plywood: Affix the plywood to the frame securely, forming the playing surface of the cornhole boards.
- Cutting the Hole: Mark and cut the hole for the cornhole, ensuring it adheres to standard dimensions for regulation play.
- Sanding and Smoothing: Achieve a polished look by sanding and smoothing the surface of the boards, creating the ideal playing canvas.
Painting and Decorating the Cornhole Boards
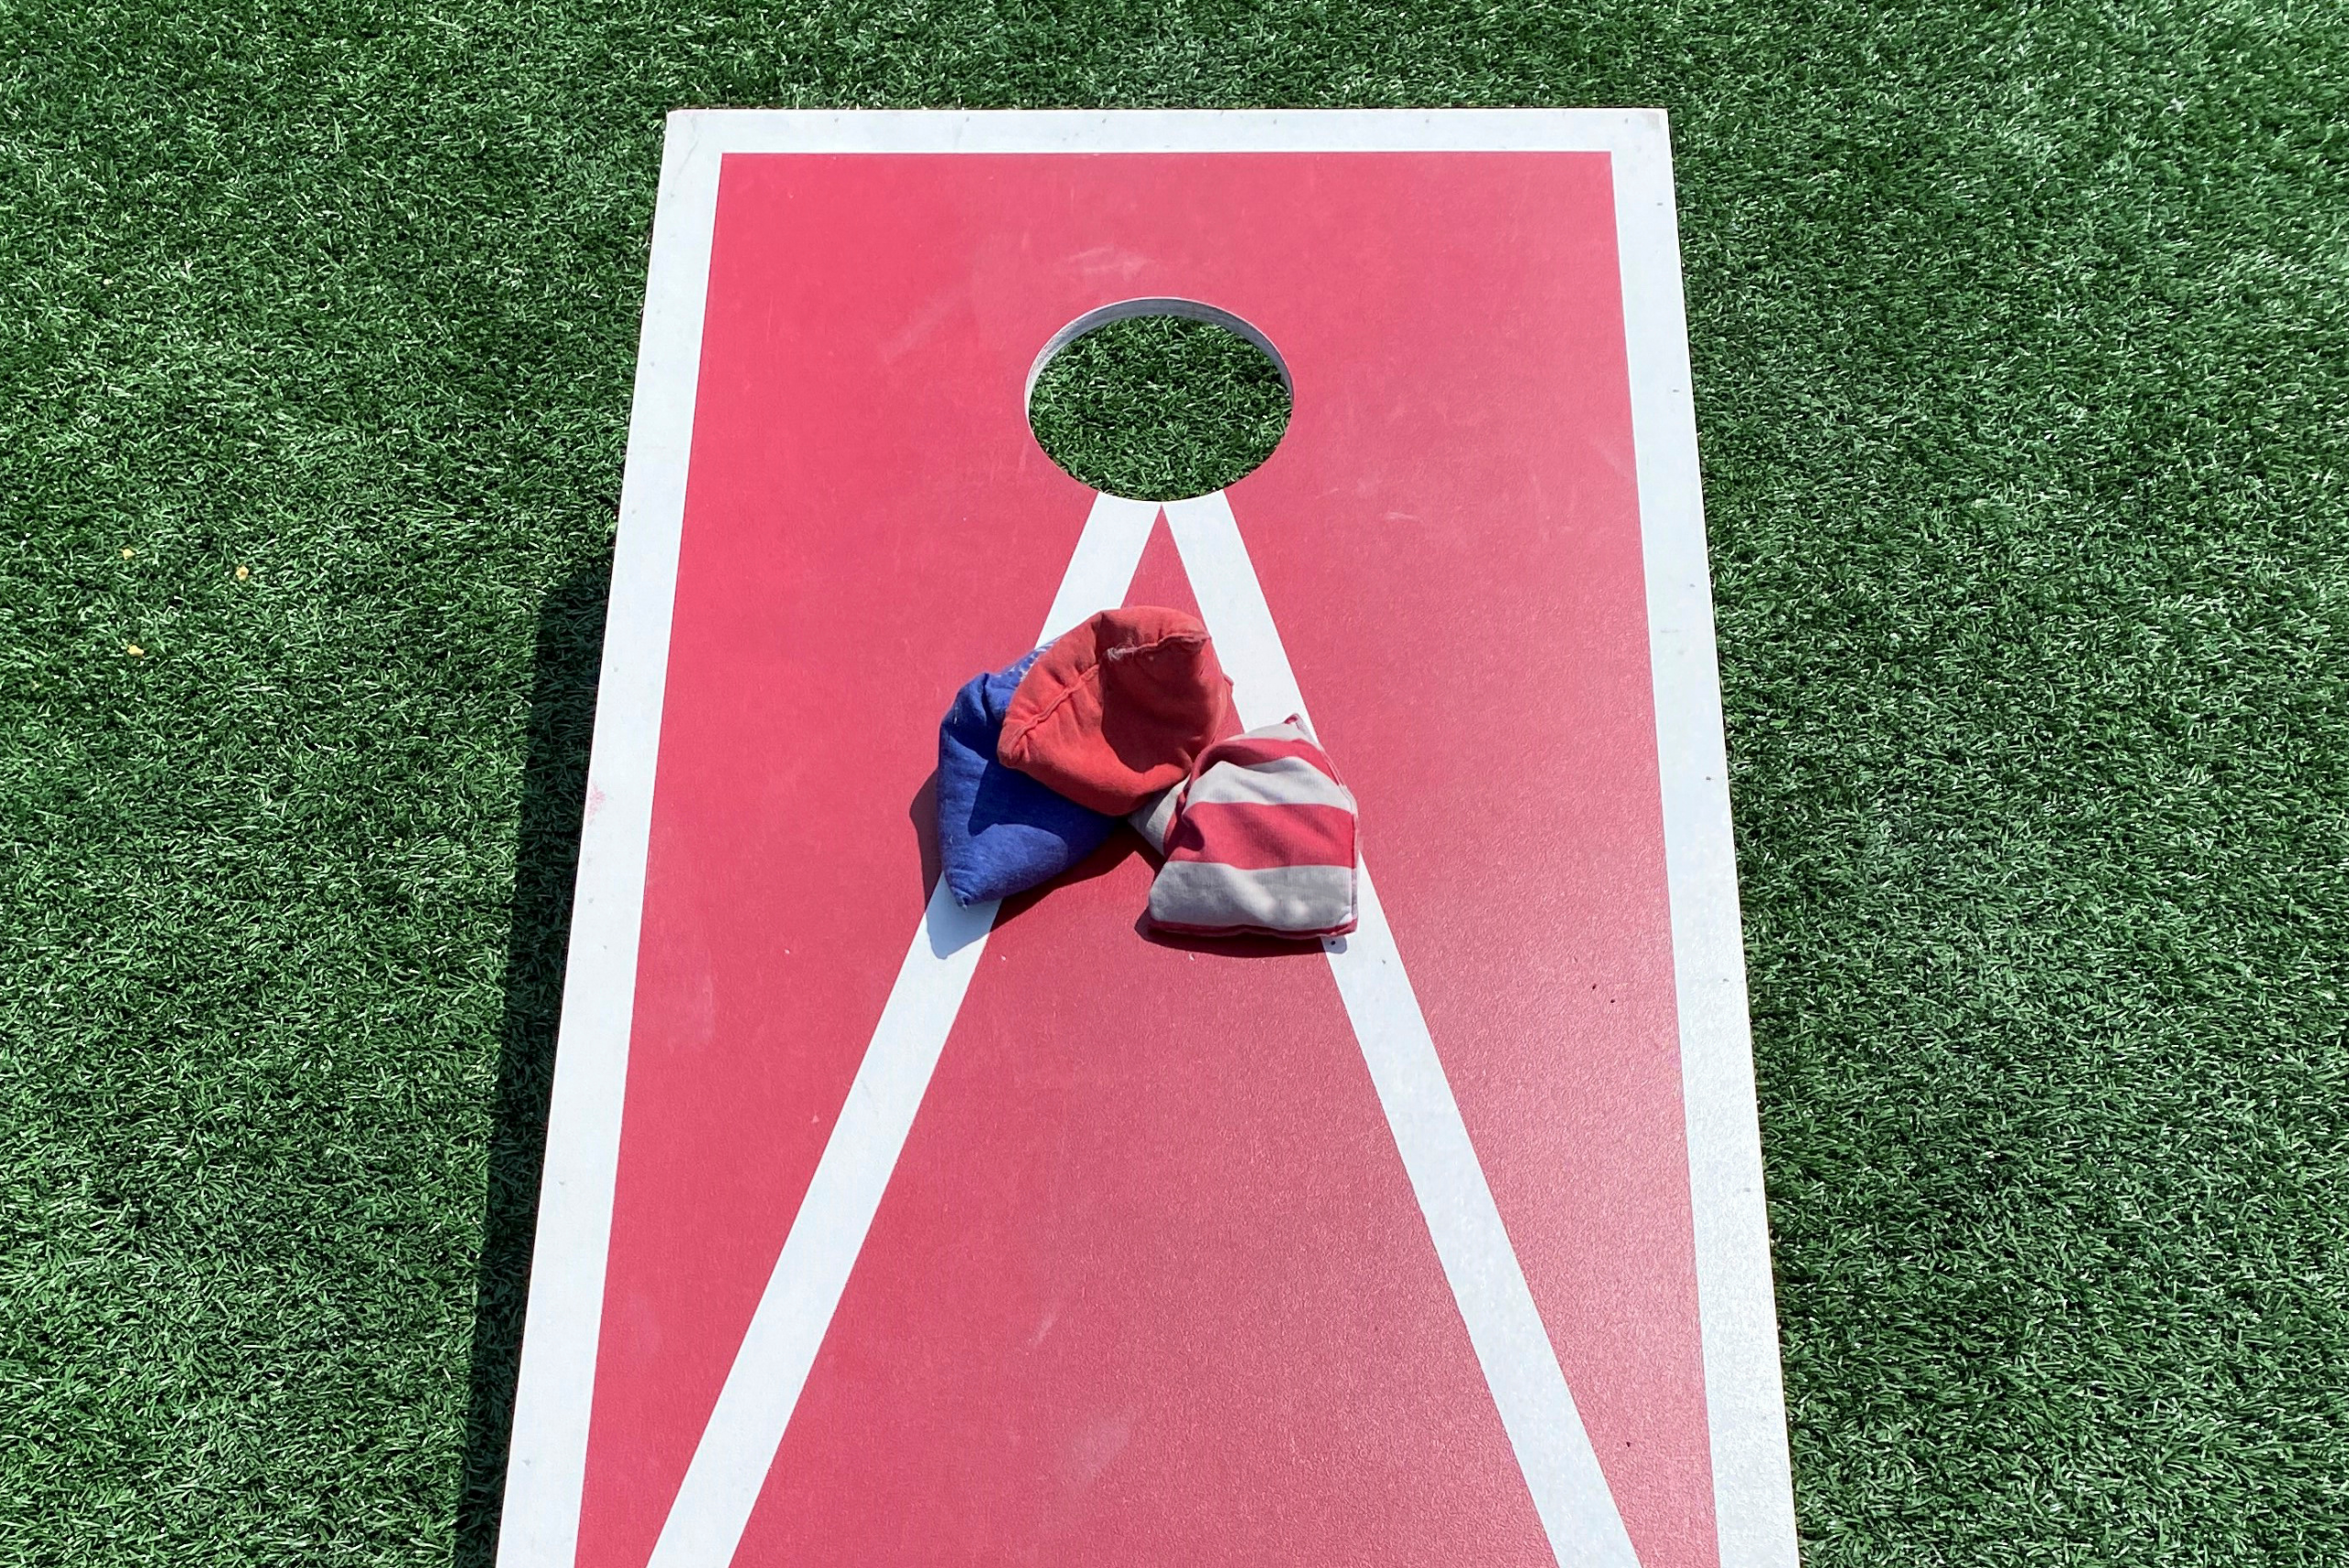
- Choosing Paint Colors and Designs: Get creative with your cornhole boards by choosing paint colors and designs that reflect your style.
- Preparing for Painting: Properly prepare the boards for painting by cleaning and priming the surface.
- Applying Paint: Apply the selected paint, allowing it to dry completely before moving on to the next step.
- Adding Custom Designs or Logos: Elevate your cornhole boards by incorporating custom designs or logos, adding a personal touch.
Finishing Touches for the Cornhole Boards
- Applying a Protective Sealant or Varnish: Protect your masterpiece by applying a sealant or varnish, safeguarding it against the elements.
- Adding Legs or Folding Mechanisms: Enhance portability by adding legs or folding mechanisms for easy transportation.
- Attaching Handles: Simplify transportation further by attaching handles, ensuring your cornhole boards are ready for action wherever you go.
Safety Precautions when Building and Using Cornhole Boards

- Wearing Protective Gear: Prioritize safety by wearing protective eyewear and gloves during the construction phase.
- Playing in Safe Areas: Choose open spaces away from obstacles when playing, minimizing the risk of accidents.
- Keeping Children and Pets at a Distance: Ensure a safe environment by keeping children and pets away from the playing area.
Maintenance and Care for Cornhole Boards
- Cleaning Regularly: Keep your boards in top condition by cleaning them regularly, preventing dirt buildup.
- Repairing Damages: Address any damages or loose parts promptly, prolonging the lifespan of your cornhole boards.
- Proper Storage: Store your boards properly when not in use, safeguarding them against potential damage.
Tips for Playing Cornhole
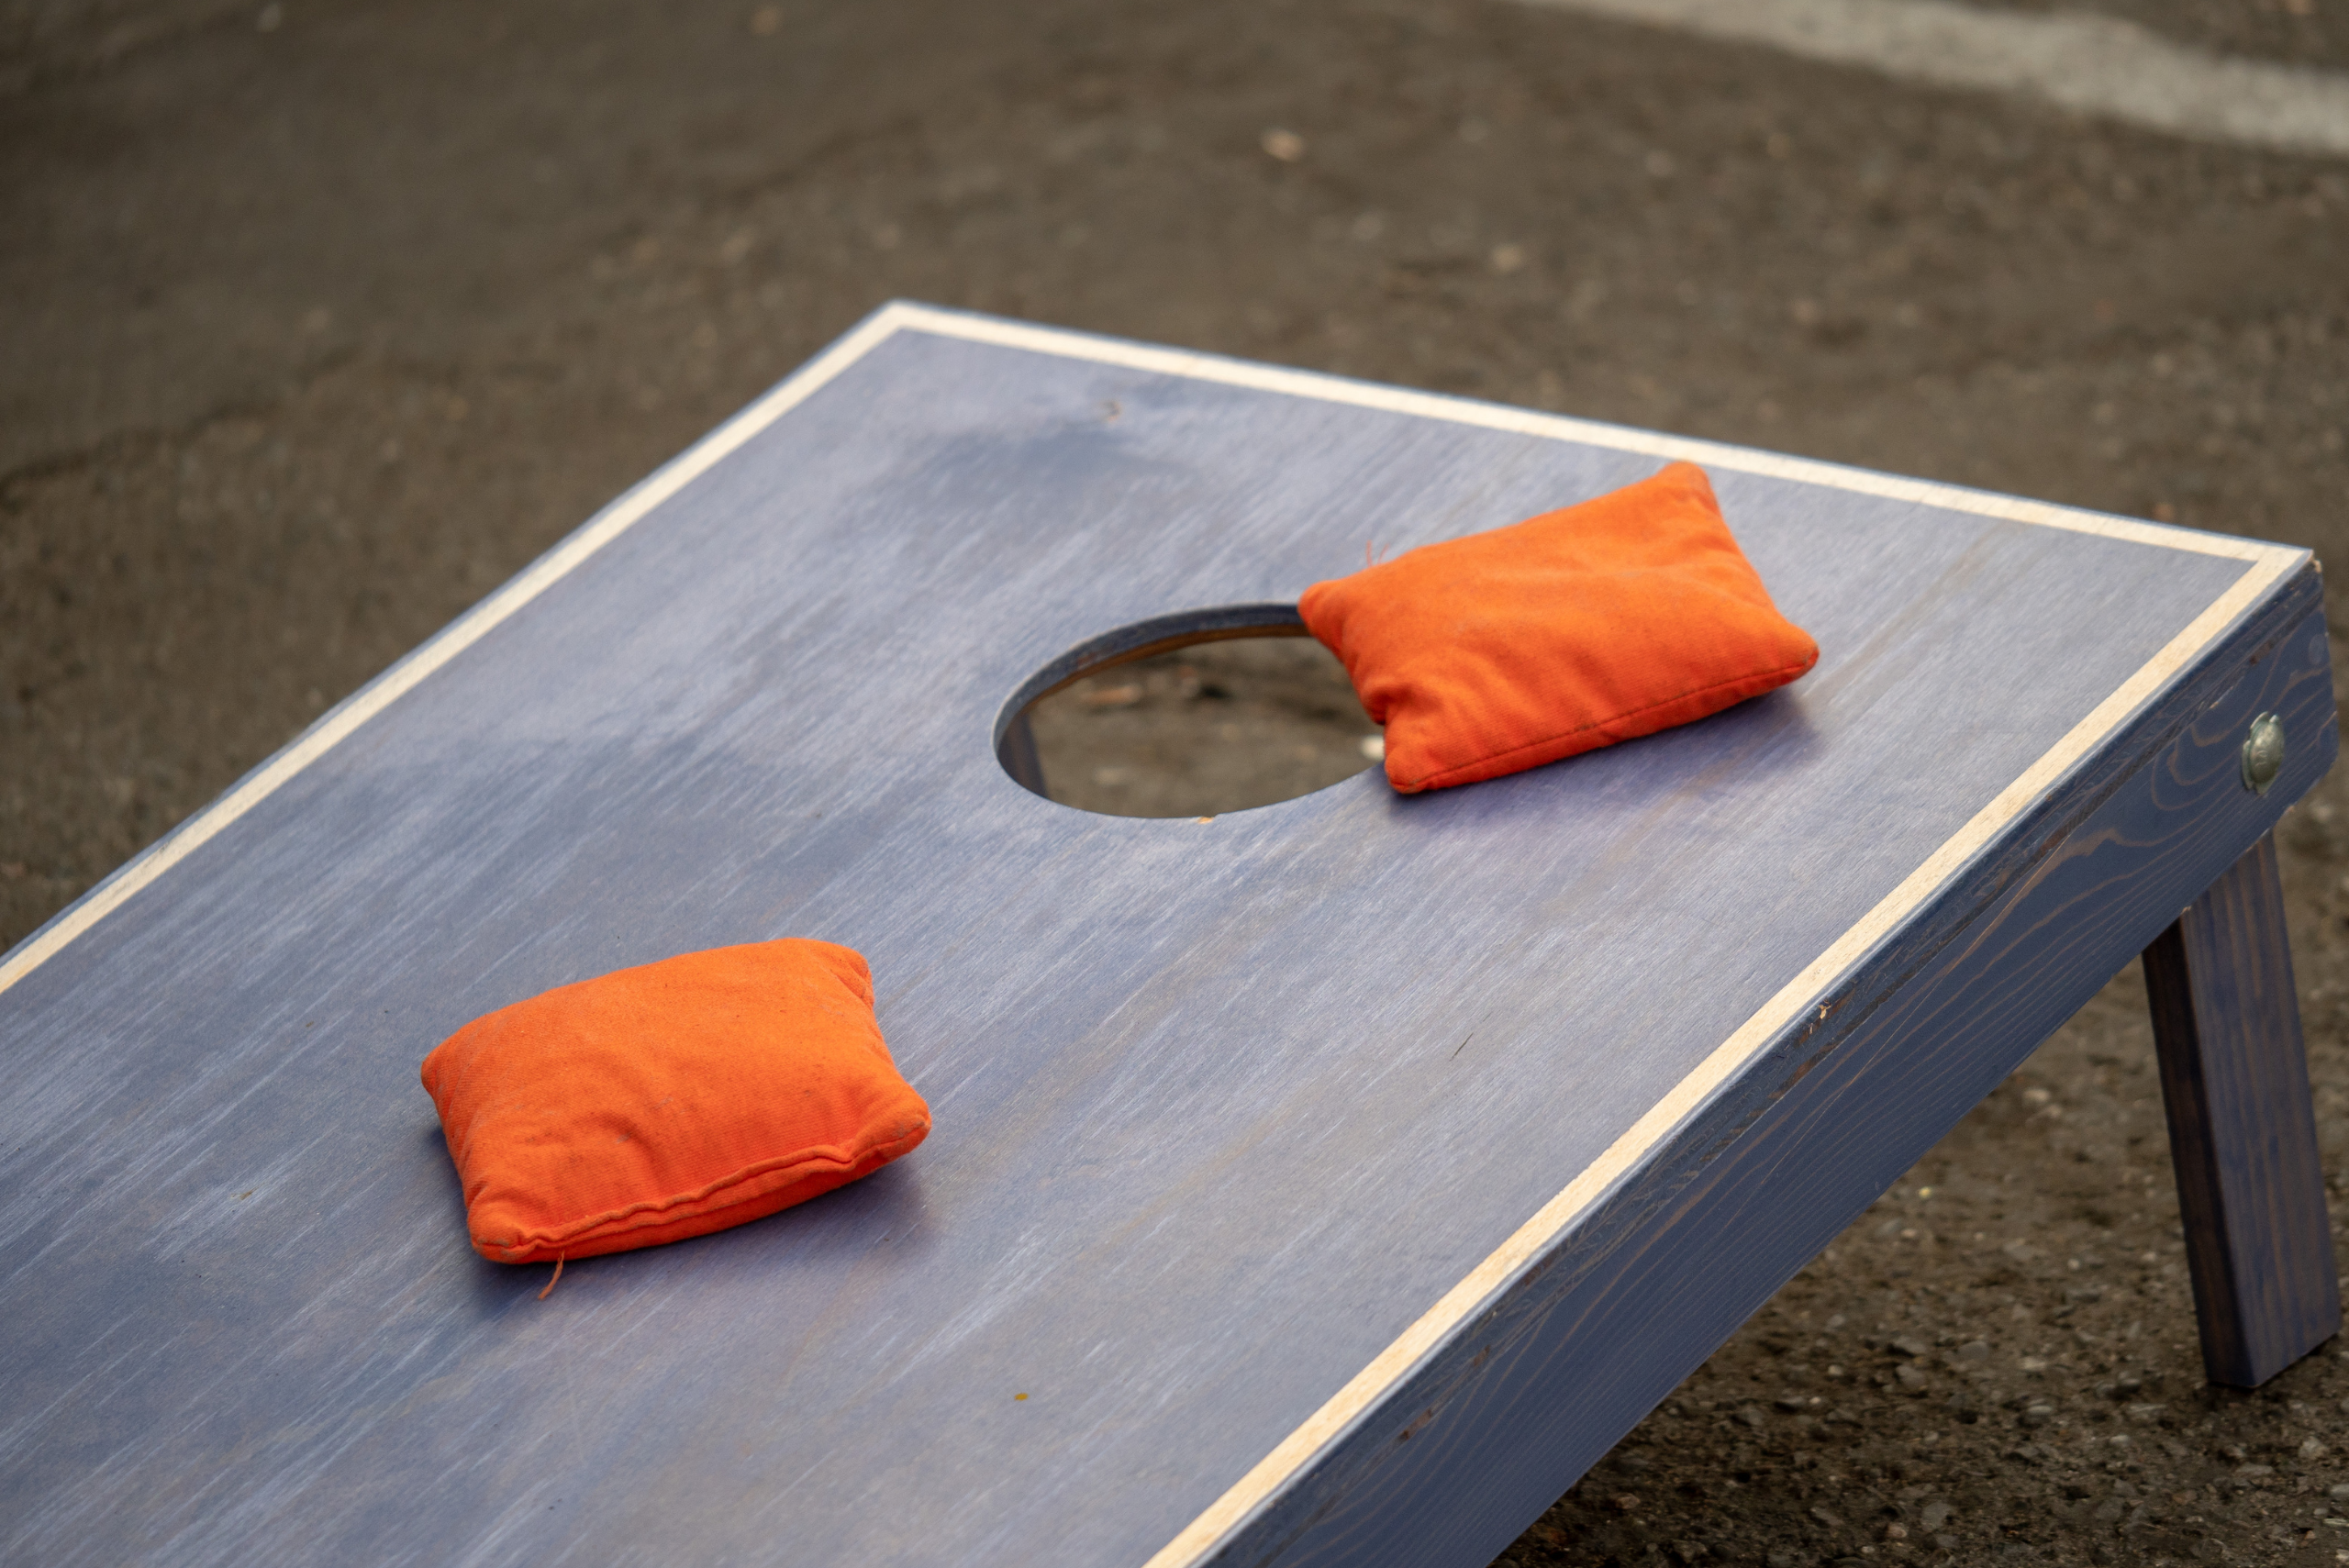
- Setting Up the Cornhole Boards: Ensure proper setup with the correct distance between the cornhole boards.
- Explaining the Scoring System: Familiarize yourself and others with the scoring system, making the game more enjoyable.
- Throwing Techniques: Master the technique for throwing corn bags, enhancing your competitive edge.
Building your own cornhole boards is not just a DIY project; it’s an investment in outdoor entertainment and socializing. By following these cornhole plans, you’ll not only create a set of personalized cornhole boards but also enhance your enjoyment of this timeless game. So, roll up your sleeves, gather your materials, and embark on the satisfying journey of building your very own cornhole boards. Your backyard will thank you for it!
Where to Find Cornhole Board Plans and Inspiration
Explore online resources and websites for free cornhole board plans. Engage with DIY communities on social media platforms for inspiration and valuable insights. Also, make sure to submit your final results; we would love to see your creative creations and can highlight your DIY project in our post!

