Stripped Screw Hacks – Effortless Solutions for Stubborn Screws
Facing a stripped screw can halt your DIY project or repair work in its tracks, leaving you feeling stuck and frustrated. However, with these stripped screw hacks, you can easily overcome this obstacle and continue with your task. The essence of dealing with a stripped screw lies in finding innovative ways to gain leverage and turn the screw out of its position. This can involve using common household items or specific tools designed for such predicaments. The key is to approach the problem with patience and creativity, ensuring that you don’t cause further damage to the material you’re working with.
Utilizing Rubber Bands for Extra Grip
Have you ever faced the frustration of dealing with a stripped screw that just won’t budge, no matter how hard you try? Before you throw in the towel, there’s a stripped screw hack that could save the day, and it involves something as simple as a rubber band. This might sound too good to be true, but the effectiveness of this method has surprised many. By placing a wide rubber band flat over the top of the stripped screw, you create an additional layer of grip. This allows the screwdriver to catch onto the rubber, providing the traction needed to turn the screw. It’s a testament to how sometimes, the most straightforward solutions are the most effective.

This approach is not only ingenious but also incredibly easy to implement. You don’t need any specialized tools or skills to make it work. The key here is to ensure that the rubber band is thick enough to fill the gap created by the stripped screw yet flexible enough to mold itself to the shape when pressure is applied. This stripped screw hack is a perfect example of how everyday items can be repurposed to solve annoying problems, demonstrating that sometimes, a little ingenuity goes a long way in making repairs smoother and less of a headache.
Employing a Flathead Screwdriver
The trick lies in finding a flathead screwdriver that fits as snugly as possible into the stripped head. While it might not seem like an obvious solution, the flathead screwdriver can sometimes catch onto parts of the screw that a Phillips head can’t, especially if the screw’s grooves are worn out. This method requires patience and a steady hand. The key is to apply firm pressure and turn slowly, allowing the flathead to grip the damaged areas.
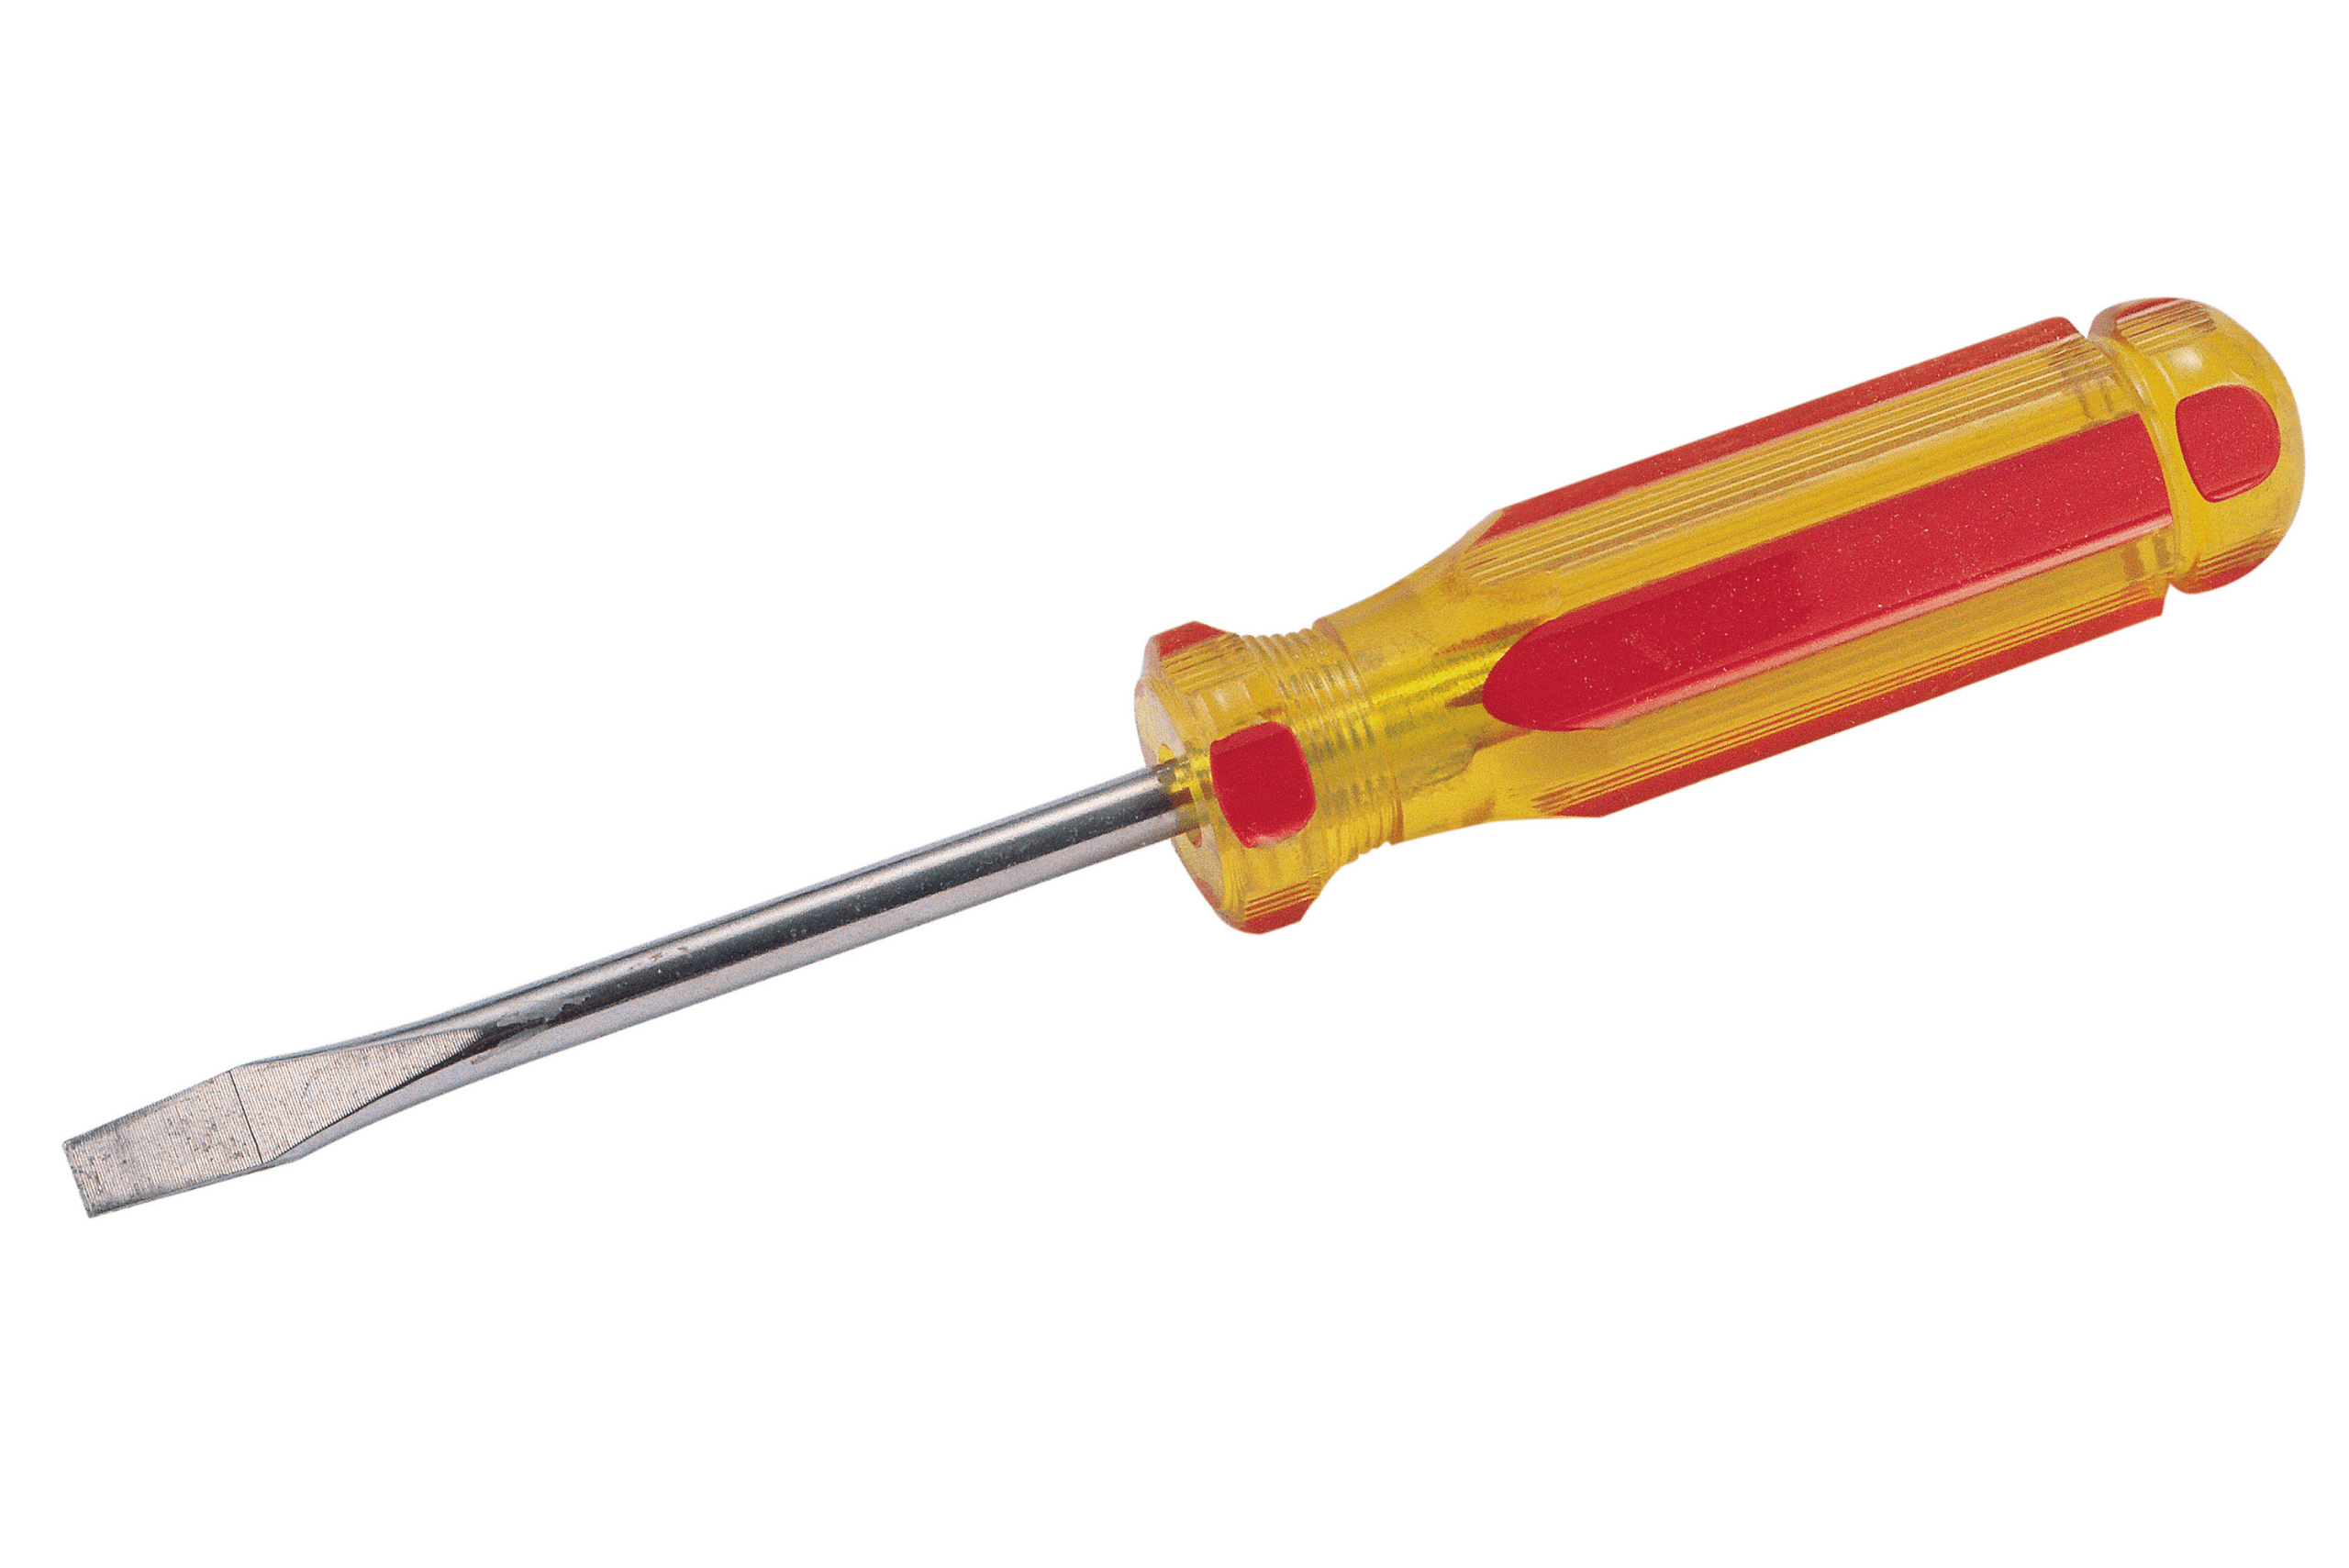
Using a flathead screwdriver in this manner requires a bit of finesse. First, ensure that the flathead you choose is as wide as the screw head for a snug fit. Gently insert it into the stripped head and apply steady pressure while turning. The goal is to allow the edges of the flathead to catch onto the remaining undamaged parts of the screw head. This stripped screw hack can save you both time and frustration, turning what might seem like a lost cause into a manageable task. Remember, patience and the right tool adjustment are key to dealing with stripped screws effectively.
Creating a New Groove with a Rotary Tool
Sometimes, when faced with a stripped screw, the situation demands a bit more ingenuity and strength to resolve. This is where a rotary tool can become your best ally. By carefully using the tool to carve a new groove into the head of the stripped screw, you create a new point of entry for your screwdriver. This stripped screw hack is particularly useful when other methods fail and you need to apply a bit more force. It’s essential, however, to approach this method with a steady hand and an eye for precision to avoid further damage to the material around the screw.
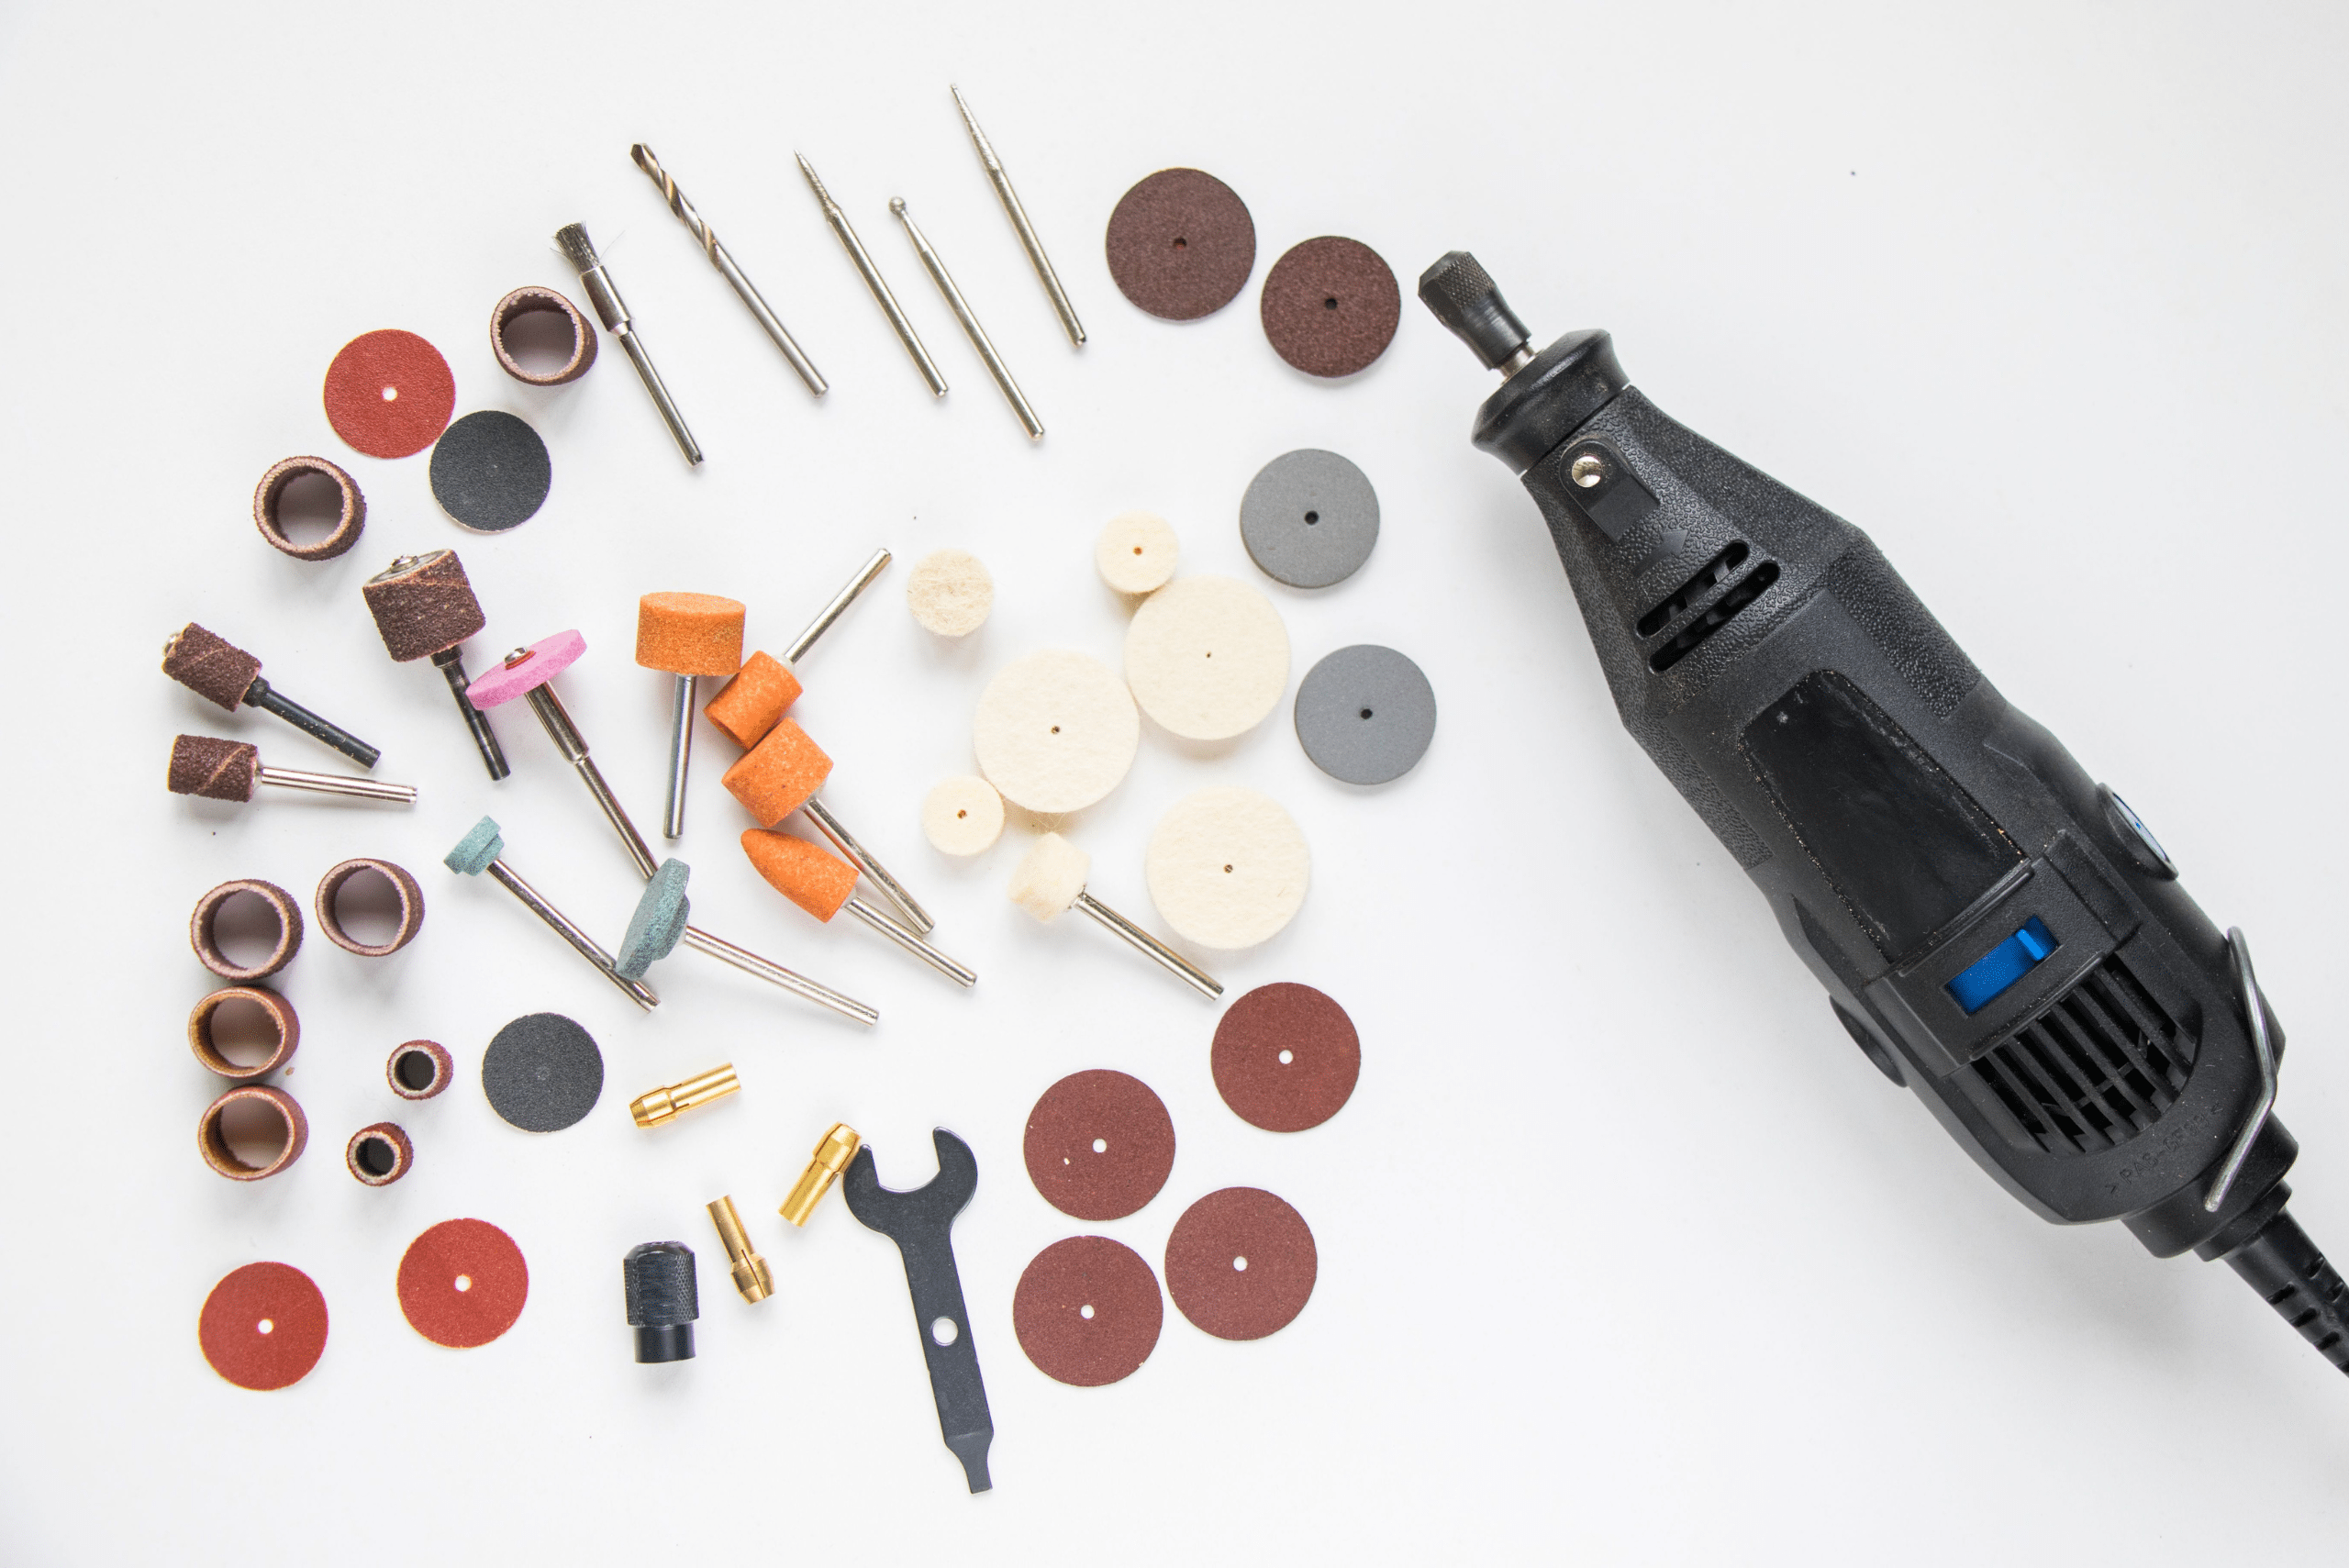
Before embarking on this task, it’s crucial to don protective gear, such as safety glasses, to shield your eyes from any metal shavings that might fly off during the process. Begin by selecting a cutting disc that’s appropriate for the size of the screw you’re dealing with. Then, carefully align the rotary tool so that it’s perpendicular to the screw head, ensuring that you cut a clean, straight groove. With patience and a cautious approach, this technique can save you from a lot of frustration, making it a valuable trick in any DIY enthusiast’s arsenal.
Extracting with a Screw Extractor Kit
When faced with a stripped screw that refuses to budge using conventional methods, reaching for a screw extractor kit can be a game-changer. This stripped screw hack involves a specialized tool designed to grip and remove screws whose heads are damaged or worn out. The process starts by selecting the appropriately sized extractor for the screw in question. It’s crucial to drill a pilot hole into the center of the stripped screw, ensuring the extractor can achieve a solid grip. This preliminary step requires a steady hand and a bit of patience, as rushing could further damage the screw or the material it’s embedded in.
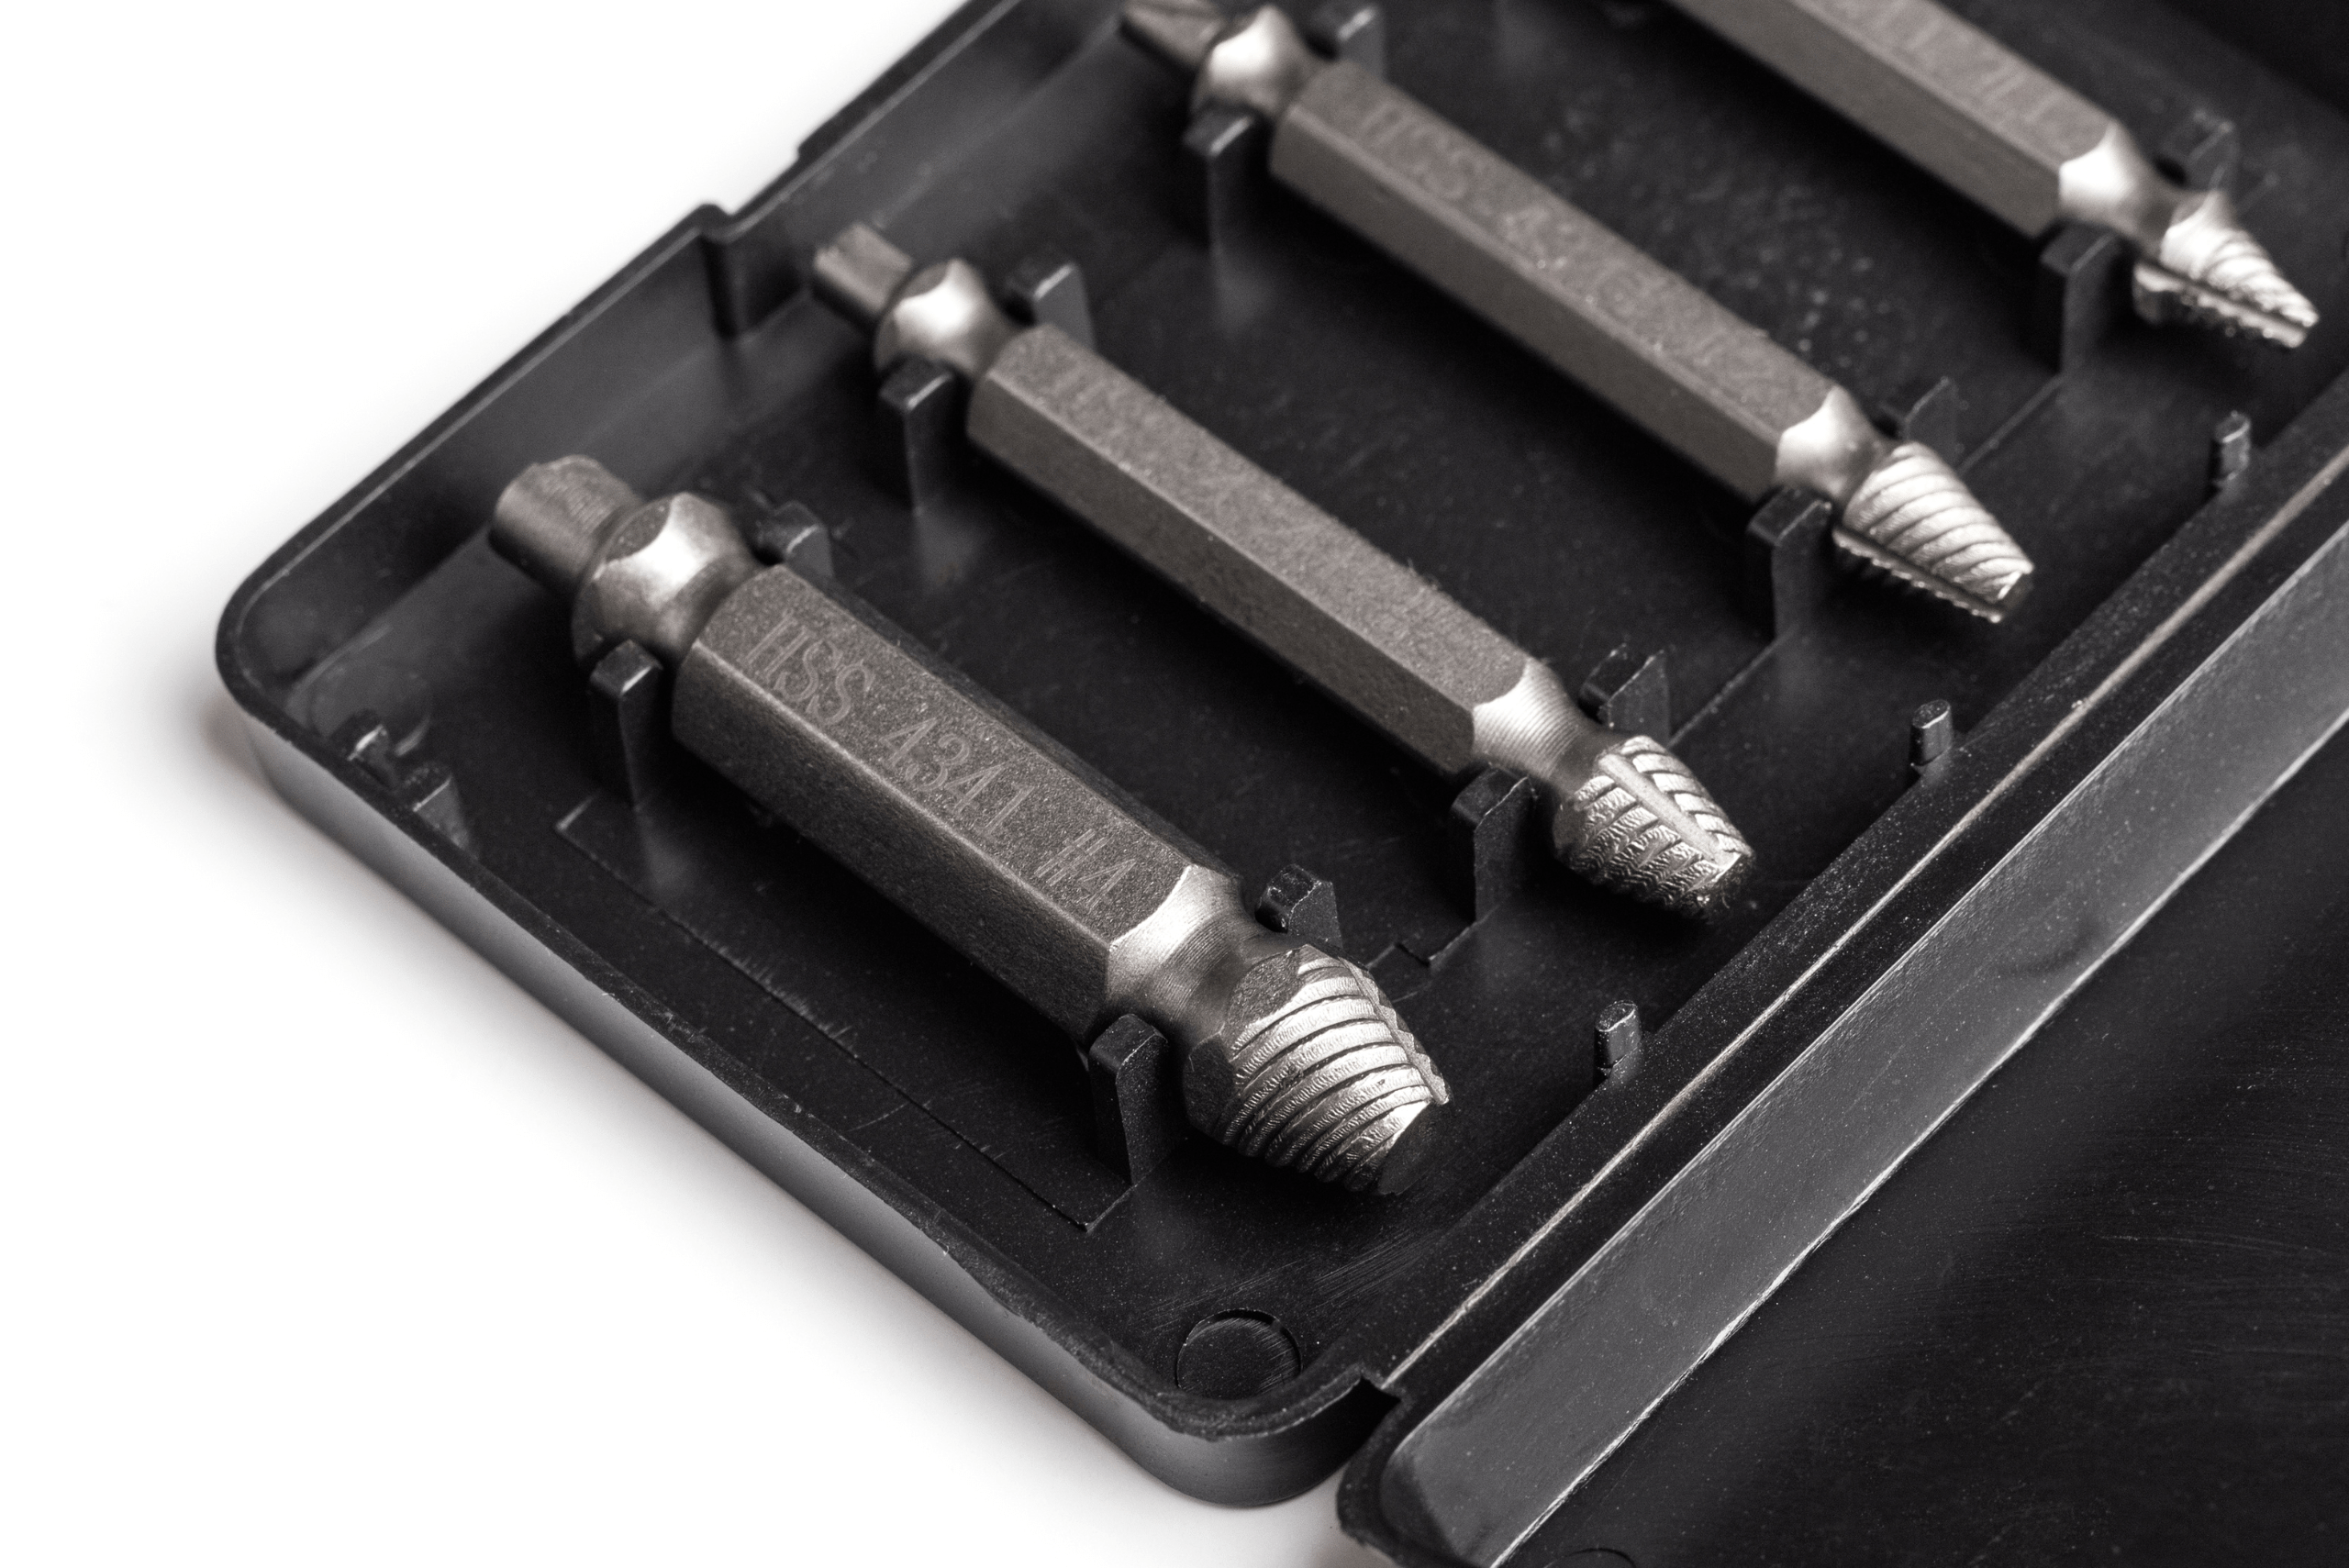
Once the pilot hole is prepared, the extractor bit is inserted into the hole and turned counter-clockwise, typically with a wrench or drill set to reverse. The unique design of the extractor allows it to dig into the screw, providing the necessary leverage to loosen and remove it. This technique can save significant time and frustration, allowing you to proceed with your project without resorting to more drastic measures. It’s a testament to the fact that with the right tools and approach, even the most challenging situations, like dealing with a stubborn stripped screw, can be handled with confidence.
Related Articles:
- How to: Repair Stripped Screw Holes in Wood
- How to Unscrew a Tight Screw and Deal with Stubborn Fasteners
- Impact Driver vs Drill: Choosing the Right Tool
In wrapping up our discussion on dealing with the frustration of dealing with damaged fasteners, it’s vital to remember that the stripped screw hacks we explored offer a practical solution, breathing new life into what might seem like a hopeless situation. However, taking steps to minimize the chances of encountering this issue in the future is equally important. Ensuring you’re using the correct tools and screw sizes for your project can go a long way.
Additionally, applying the right amount of pressure and turning speed when inserting screws will help prevent stripping. These preventive measures, coupled with our handy fix, should keep your DIY projects running smoothly without unnecessary interruptions.


