Don’t Toss Those Fries! How to Hack Your Restaurant Leftovers
I love all the “comes with” food from restaurant meals. You know what I’m talking about—the side dishes and classic pairings that are served with what you actually ordered: fries, steakhouse rolls, steamed rice…and, because I live in the South, biscuits. Oh, the biscuits. If you’re like me, though, half of that glorious freebie food gets launched at the end of the meal because you’re too full from the main entree.
But I have a modest proposal: with these suggestions as a springboard, make sure you take ALL that food home for later, in its entirety, because they make leftovers that exceed the quality of their original form. Think about it for a minute: you paid for this food. These aren't “freebies,” they're built into the price of the meal. The restaurant doesn't just give you bread or rice, but, rather, work it into their overall operating costs, which determined the price of the meal. When you throw away food, you're throwing away money, which means you're throwing away the precious time you spent earning that money. (Can you tell yet that I'm a full-time freelancer?)
Another principle to bear in mind when thinking about leftovers is the technique of parcooking, a portmanteau of “partially cooking.” This is a really common practice in restaurants: before the dinner shift, for example, prep cooks will do a little bit of the cooking process ahead of time so that when you place your order, the line cooks only have to finish your food. Heating up food more than once isn't such a strange concept; the trick is doing it in certain ways that respects the ingredients so they don't get overcooked.
Here's a brief list of starter ideas for refreshing restaurant leftovers:
1. Steamed white rice is perfect for homemade fried rice. It's how the dish got invented in the first place. Bonus: finely chop that steamed broccoli that you're never excited about and toss it in the mix.
2. All kinds of leftover bread make great French toast. (Even biscuits. Especially biscuits.)
3. Tortilla chips reheat in the oven really well—just don't set them above 300 degrees F, and watch them carefully, or they'll brown too much.
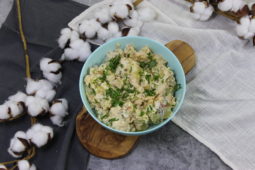
4. Mashed potatoes are fantastic for breakfast. Slap some butter in a pan, mold the potatoes into a patty, brown on both sides.
5. When in doubt, put an egg on it.
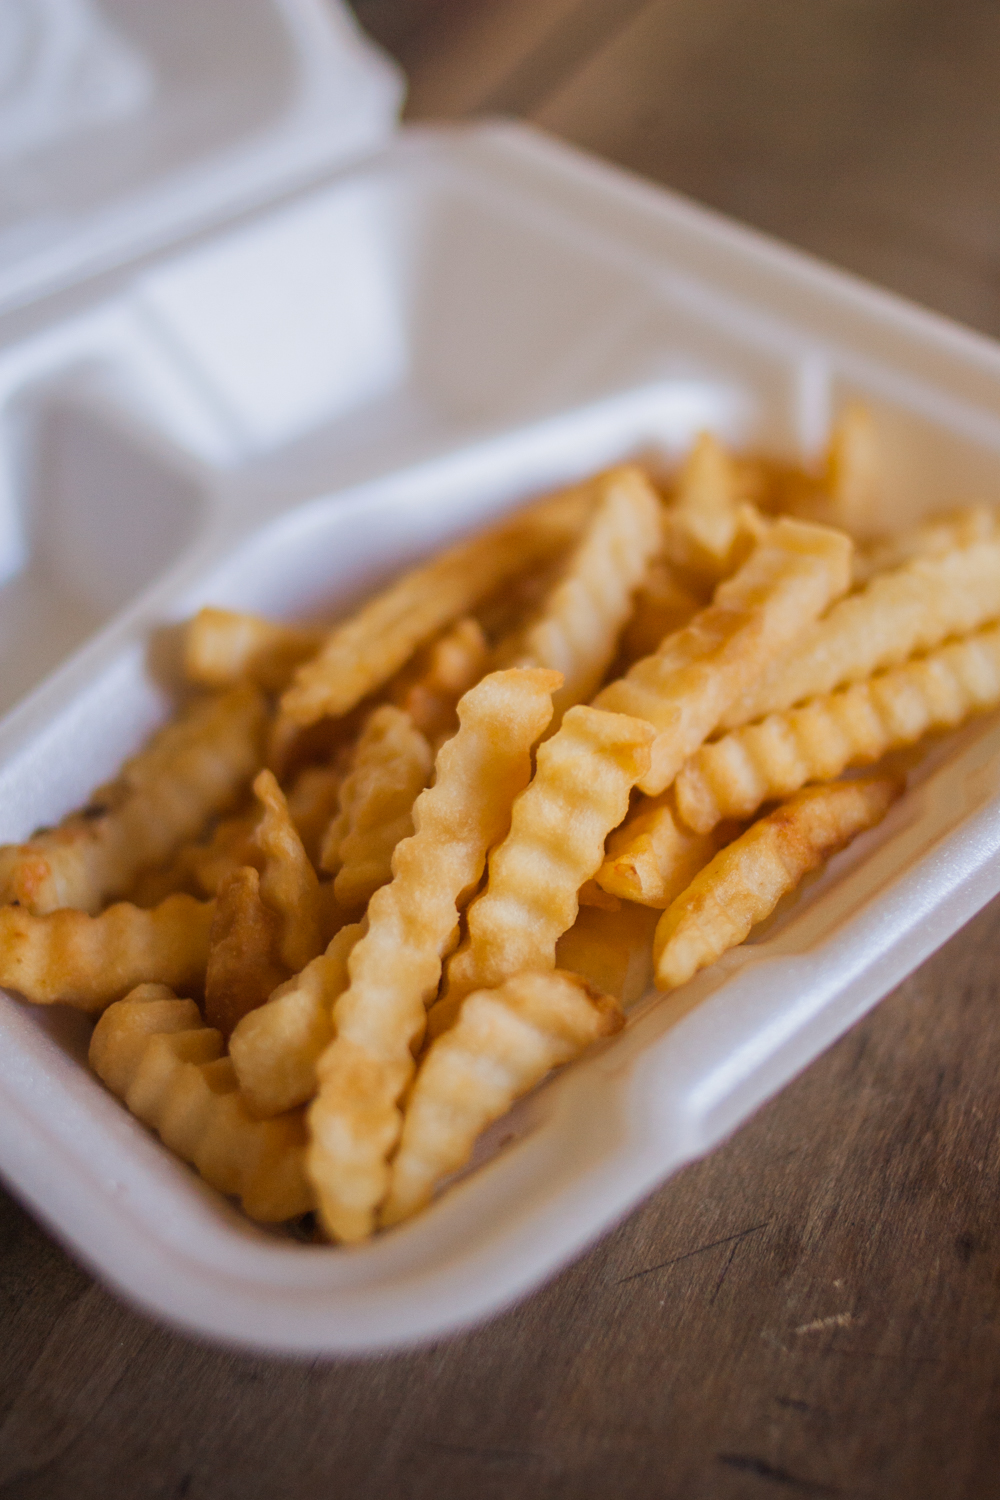
As a tutorial, let’s gussy up some fries.
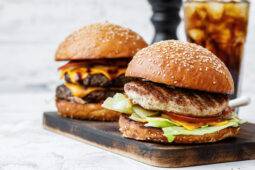
What once languished as the starchy stomach-filler that diverted precious attention away from my burger has now become my household’s Prince of the Leftovers. Fries are perhaps the most common side not taken home, since a night in the fridge tends to rob them of their former glory.
But no more! This is really simple and nearly impossible to goon up, so even if you’re a lousy cook, I’m positive you can have strong results.
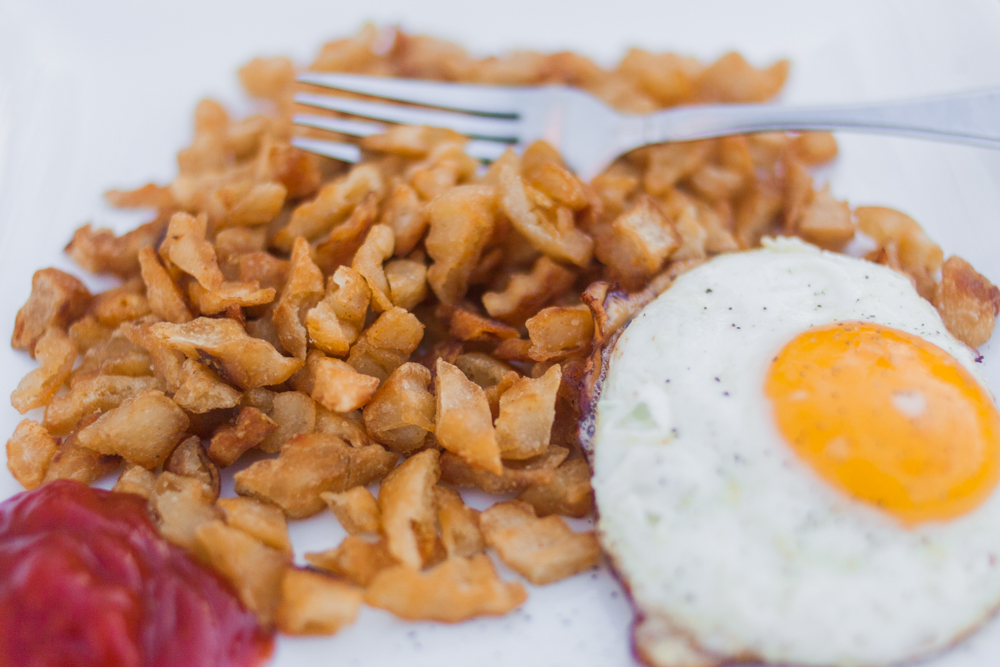
French Fry Breakfast Hash
This particular batch of fries came from a family dinner at the Fairview Dairy Bar, our local diner in downtown Sanford, NC. It’s your standard crinkle cut job, but you can apply these principles to virtually any version: shoestring, curly, homestyle, waffle—you name it.
For you food science nerds/Good Eats fans out there, the reason this works is because of the way starch behaves. Prior to cooking, starch holds water; when exposed to hot oil, the water escapes and the starch forms the porous, brittle network that gives us the golden crunch we all know and love. When old fries go soft, they take on moisture, but you can reactivate that crunchy starch network simply by reheating it in fat. (It has to be in fat, and not a microwave, because a microwave works by simply shoving around the water molecules in the food.)
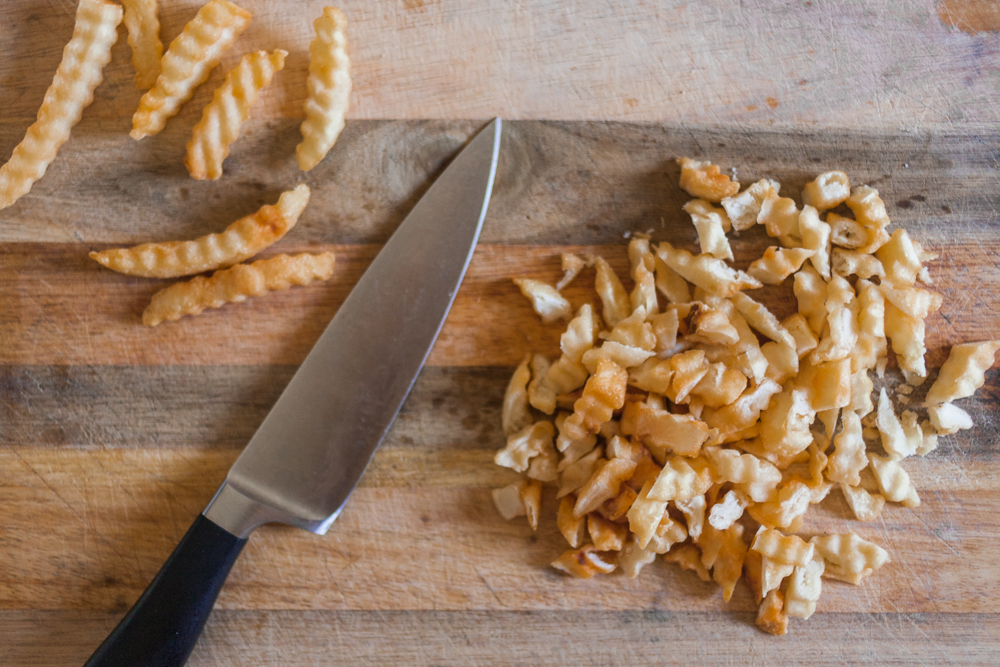
Begin by cutting the fries into bite-sized pieces. I like to cut on a bias (i.e. an angle) because it looks fancy and exposes a little more of the starchy inside of the fries to the direct heat of the oil. (If you need a quick primer on how to properly cut, look no further!)
Give your pan a moderate amount of neutral oil like canola, about 2–3 tbsp worth, depending on quantity of fries. Let it heat up a little on medium heat until you get a slight shimmer. (If it smokes, you’ve gone too far—pull the pan off the heat and wait about 30 seconds.) Add the fries and stir to coat them evenly in the hot oil.

You’ll have to pay close attention to the fries for the next step. Simply put, your endgame is crispy golden perfection. Stir them occasionally in the pan so they get even heat and give them the occasional taste test. (If they’re getting unevenly browned, reduce the heat a notch or two and stir a little more frequently.)
To make it a true hash, I like to add in all sorts of extras like a diced onion, sausage, bacon, even the occasional diced carrot or coarsely-chopped curly kale. A good rule of thumb: cook the fries until crispy, remove them from heat to cook meats and other ingredients, and add them back in at the end. This helps avoid sogging up your newly-recrisped fries.
Of course, they’re fantastic by themselves with a generous squirt of ketchup and a sunny side up fried egg.