Make This! DIY Wooden Rocket Stove
 Here’s another project that will go perfect with a long summer night at the beach. Make a portable campfire you can bring with you to light off wherever you need. This variation of a swedish flame (make one of those here) is a bit different, as it produces a more compact flame. With a side hole that lets in oxygen, the light and heat are directed out the centralized hole at the top. This means less smoke but also a bit less “campfire” ambiance. But with a stable top, it’s great for heating up an evening toddy, or hot chocolate, and the licking flames make quick work of those s’more ingredients. Adding a simple rope handle and it’s easy to bring alone anywhere.
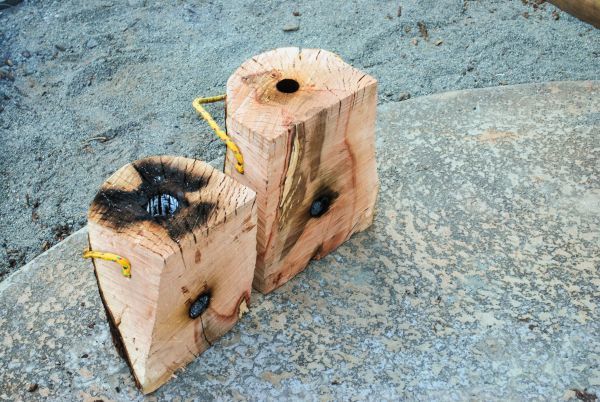
The Tools:
1. Chainsaw – Just about any chainsaw can be used to get a suitable log sized right and squared up. Make sure it’s sharp.
2. Drill and Bits – Use something plugged in that can take a bit of torque, these are pretty deep holes. The bits should be large enough to let a good flame come out (1 3/4″ or so).
The Steps: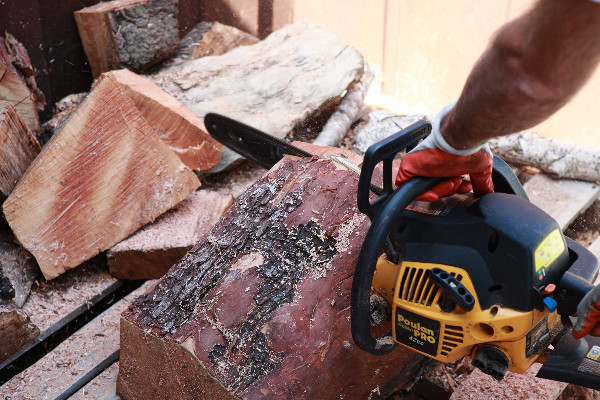
Step 1: Pick the Wood – While most wood will burn well, use a sapwood for a faster, brighter flame. I had a few cuts of madrone and oak I needed to use, so this seemed like a perfect time to make them useful (See my lessons learned on this below). It is easier to use a single log as it’s already round, but a larger cut can be cut down to a manageable size if you have large pieces around.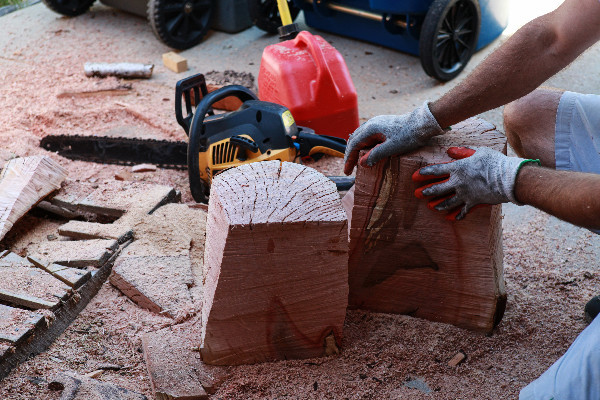
Step 2: Square it Up – Make the cuts needed to get the piece down to a manageable size, and stable enough to be used without falling over. Round or square isn’t really an issue, as long as it’s stable.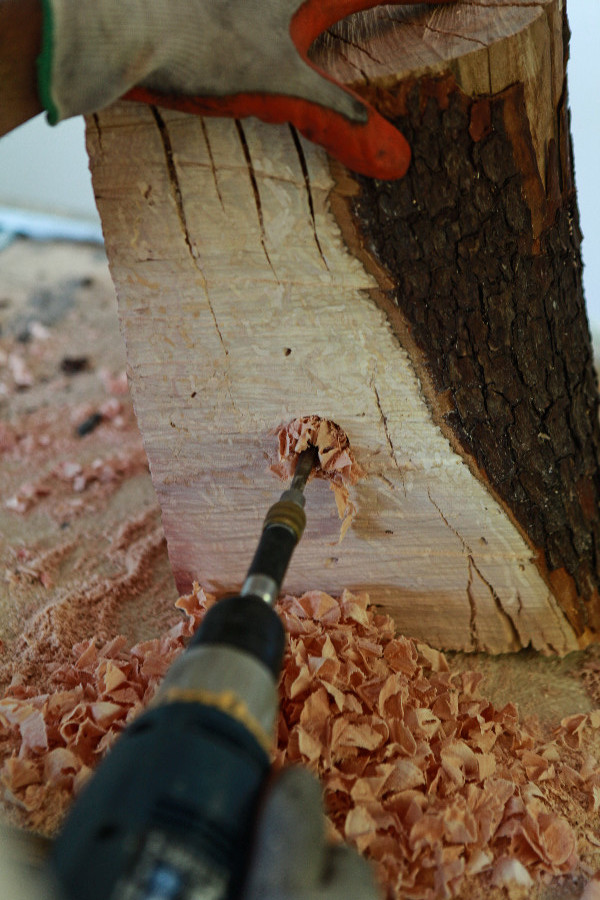
Step 3: Drill the Holes – This is where the fun comes in. Using large bits, carefully bore halfway through the side of the log about halfway from the top. Then, bore a hole through the top center to meet the side hole. This union point is where the fire will happen, and oxygen coming in from the side will turn into heat and light through the magic of fire.
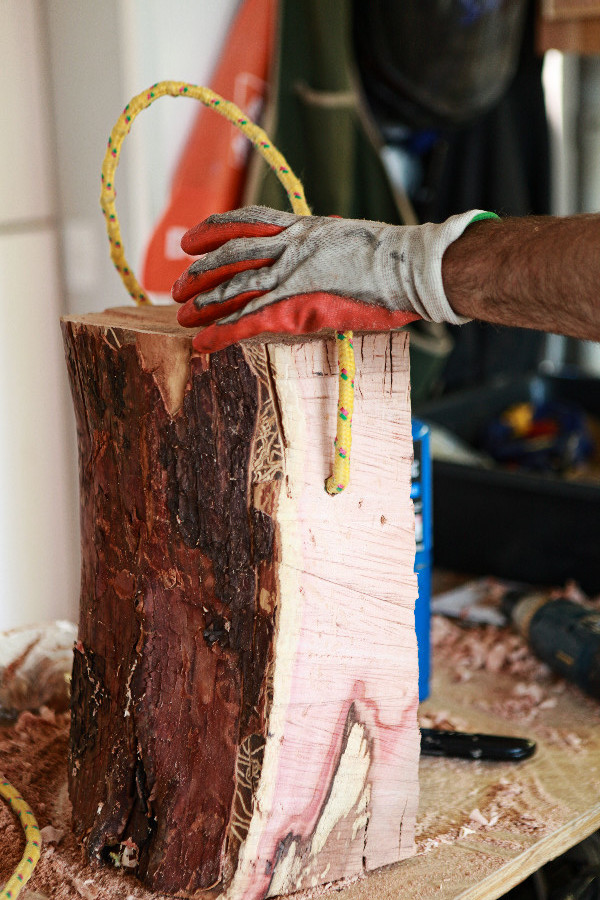 Step 4: Attach a Handle – Adding a bit of rope as a handle makes it easy to transport and manage. Using staples, screws, or nails, attach a length of rope at each side as a simple handle to keep it mobile.
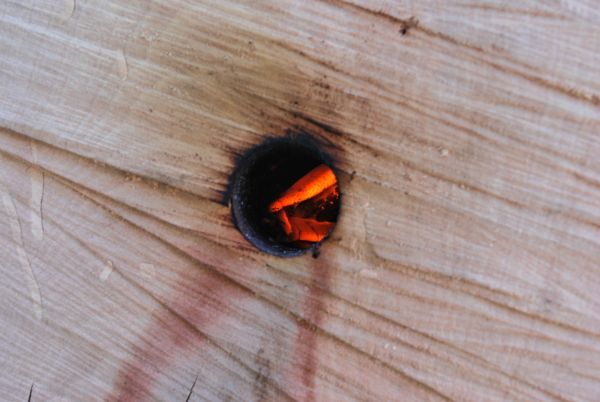
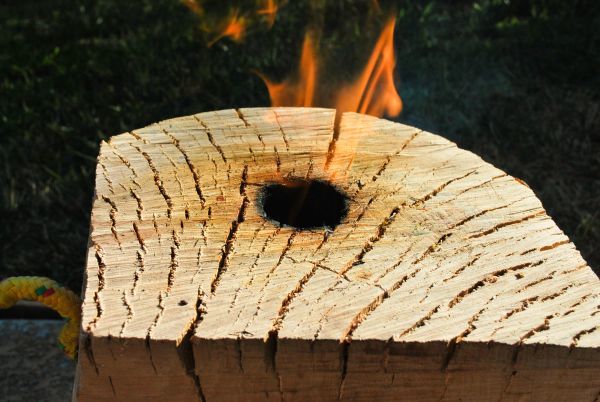
To light it, use a bit of fire starter (I use cotton-balls soaked in Vaseline) in the center of the log to get it warmed up. Blowing in the side hole to give a bit of extra oxygen will speed up the process. (Watch out for flying embers, as blowing in the side pushes them right out the top).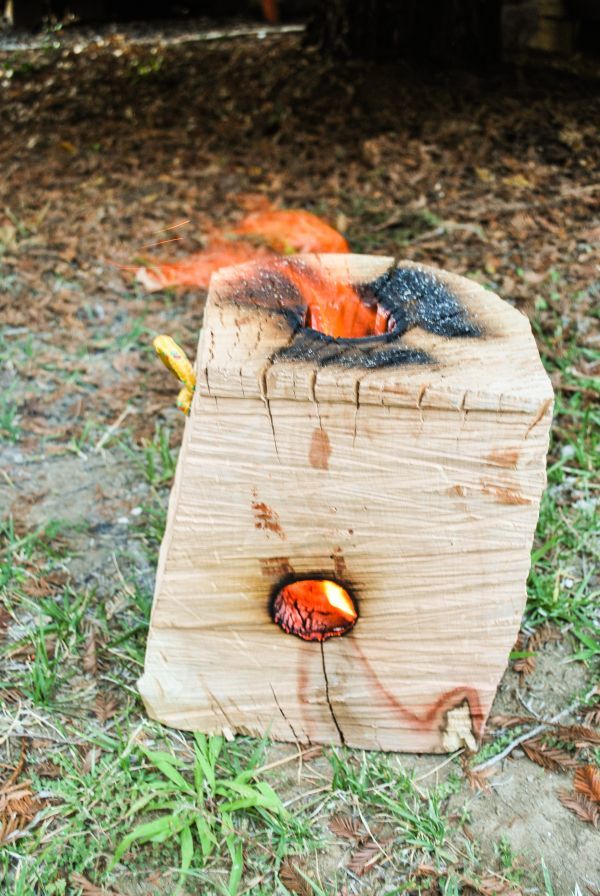
So, now there are a few more reasons to take that extra wood around the shop and turn it into something a bit more useful.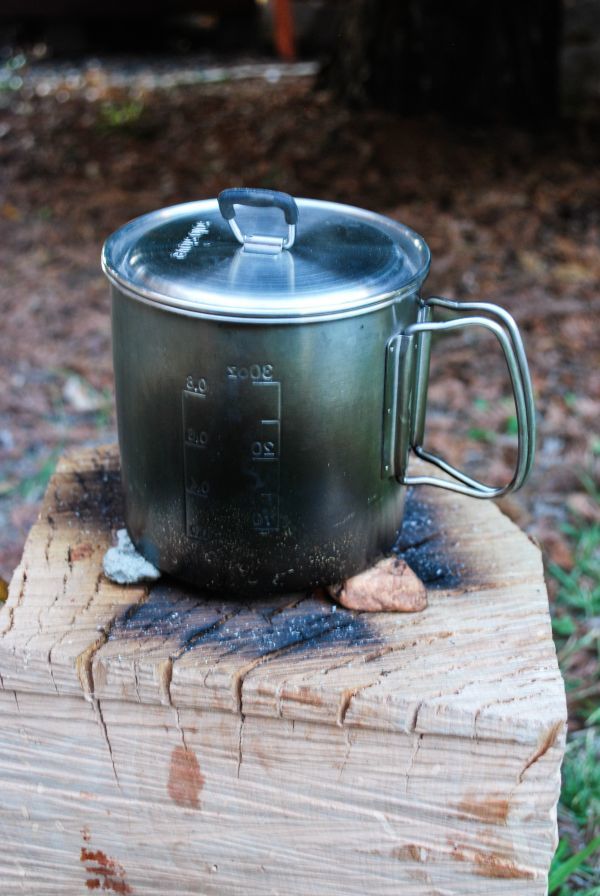
UPDATE AND LESSONS – So, I tried this out during a backyard cookout this weekend, and Madrone is a no-go. The fire took about 30 minutes to get going, and never really gave off much flame, but definitely smoked like crazy. In the end, it boiled water and got up to about 650 degrees in the center, but smoked way too much to be useful as a portable fire. The lesson? Use a soft sap wood like pine or fir to get the heat and flame without so much smoke, and to get up to speed faster. Also, make the side vent hole about 1/2 way from the top. At least I have a handle to carry it back over to my scrap pile.