How to Make the Ultimate Sanding Block
When it comes to sanding, the rules are simple. When you're dealing with curves and soft edges, you can use the contours of your hand to back up the sandpaper and naturally mimic the shape. But when it comes to flat surface: never sand without a sanding block. This keeps the paper flat, which means your final project will also stay flat.
I was in the bad habit of cutting a new one every time I went to finish a project, which sometimes meant I went against my best judgment and ignored the sanding block rule when working on flat panels and tabletops. (I know, I know.) So, I decided to spend an hour and whip up a block I'd be excited to use every time. One that's confortable, produces a great finish, and that makes best use of my sandpaper, minimizing waste.
Note: it's just as easy to make two or three of these as it is to make one, so we recommended crafting a handful of them in one go to have around whenever you need them.
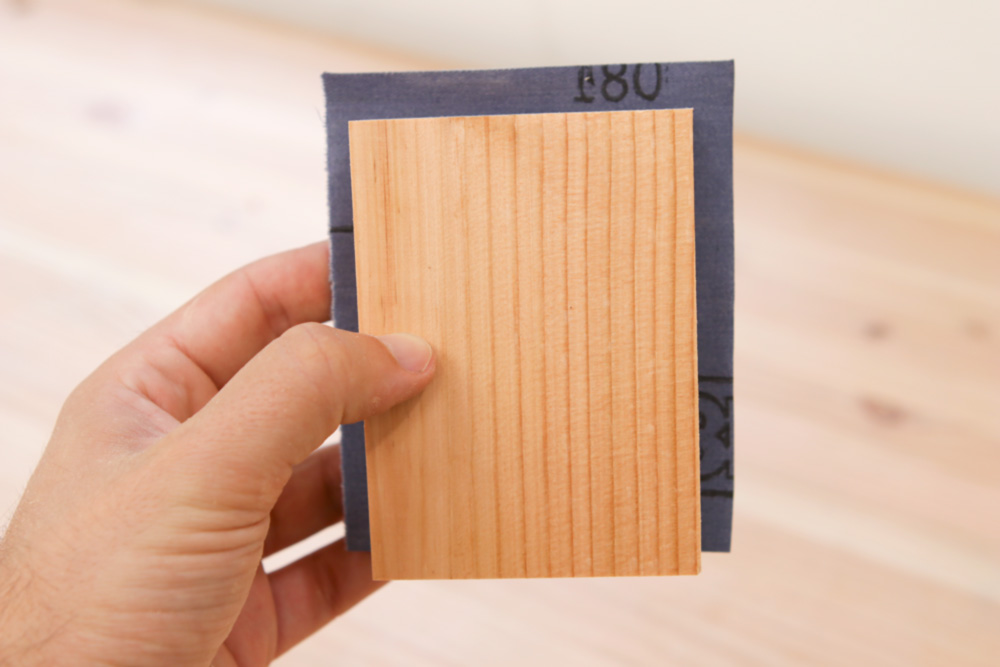
Step One: Determine your sandpaper size.
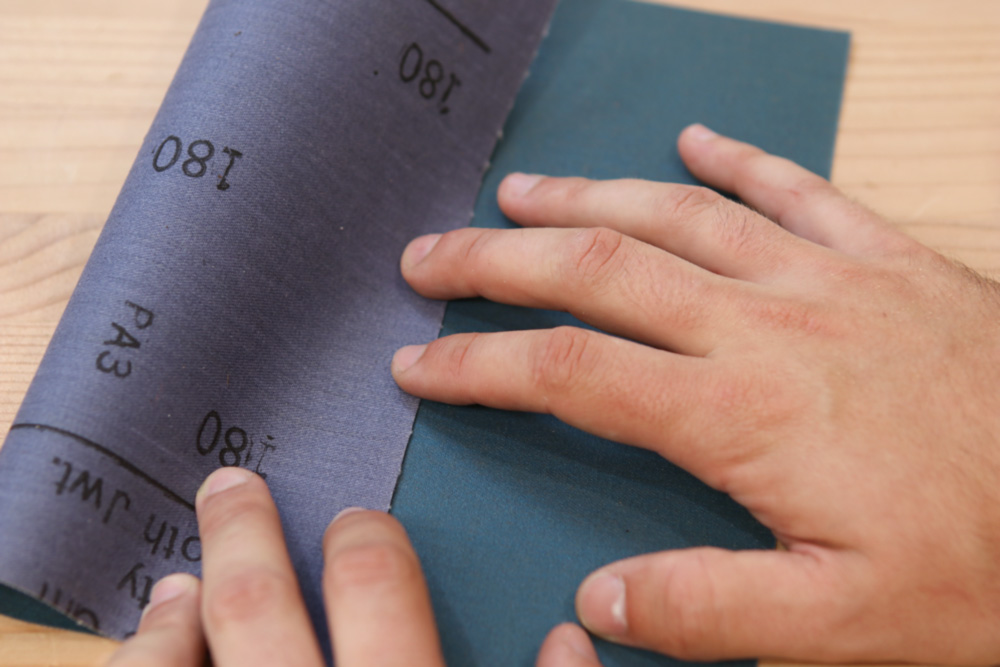
No one uses a full sheet of sandpaper at once. So, size your block to be as economical as possible. A standard sheet of sandpaper is 9×11″, and to make a block that can fit in your hand, it's best to either divide it into four pieces (one horizontal fold, one vertical) or into six (two horizontal folds to create thirds, one vertical).
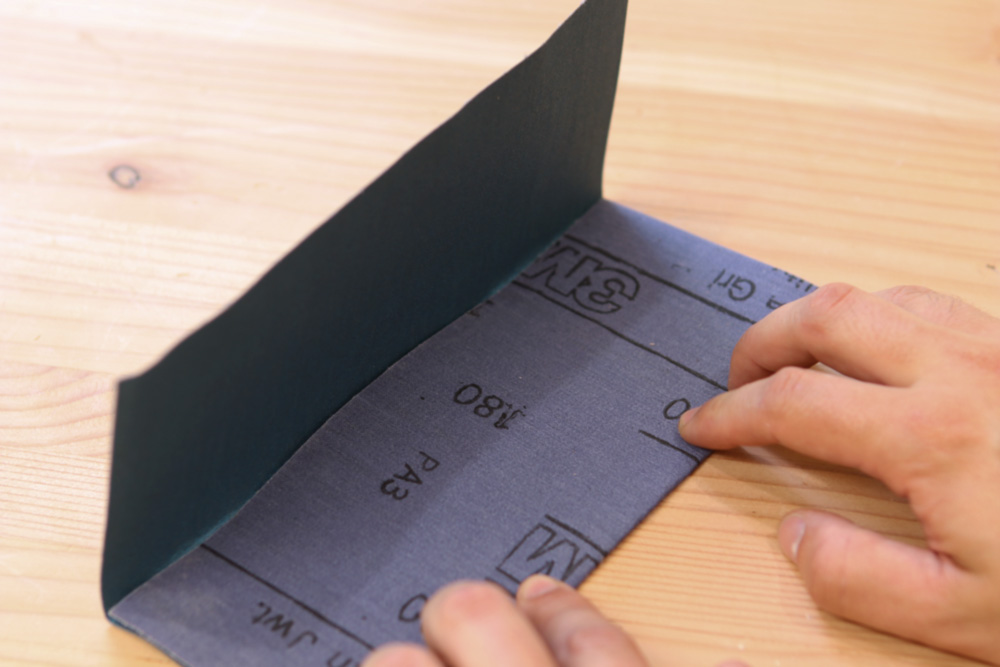
My block is designed to use the six piece fold, which makes for a more comfortable block to hold. I began by folding the sheet into thirds across the 11″ side, like a letter.
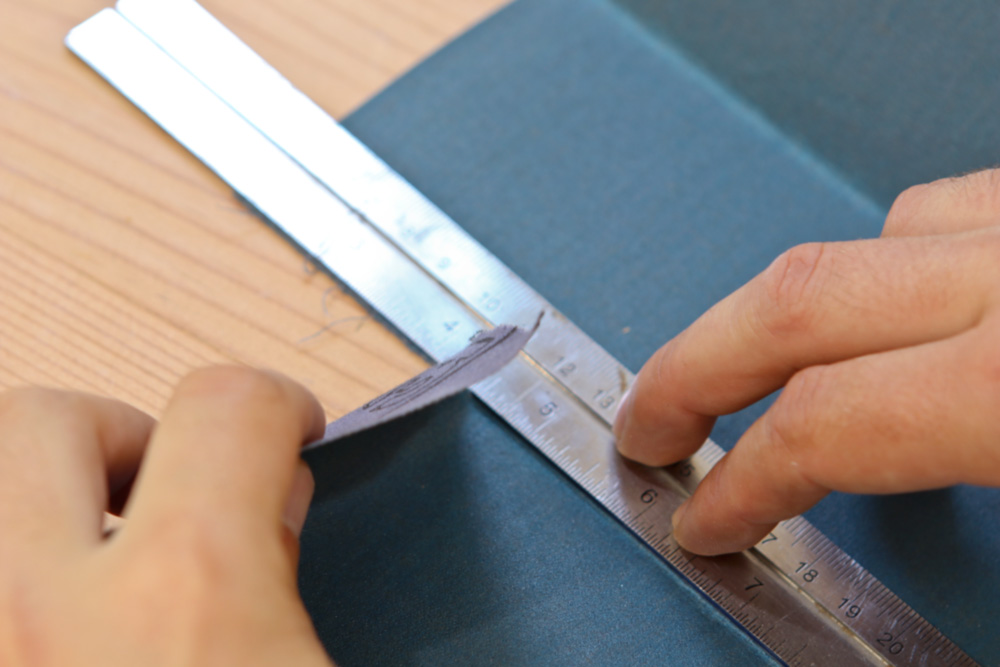
Then I placed a ruler on the folds and tore it into pieces. You can use scissors or a knife here, but you'll just bang up the blades. Once it was into threes, I folded each in half and ripped again. Six more-or-less even pieces.
Step Two: Cut the block to size.
The block itself is construction from “two-by” construction lumber. Here in the Northwest, that means the mighty Douglas fir, but it could be pine or even whitewood where you live. I used a scrap of 2×10 that I had, which had nice straight grain on the edges, which I could cut one the ends to essentially get quarter-sawn stock. By the time it was planed down smooth, it ended up being just north of 1 1/4″ thick.
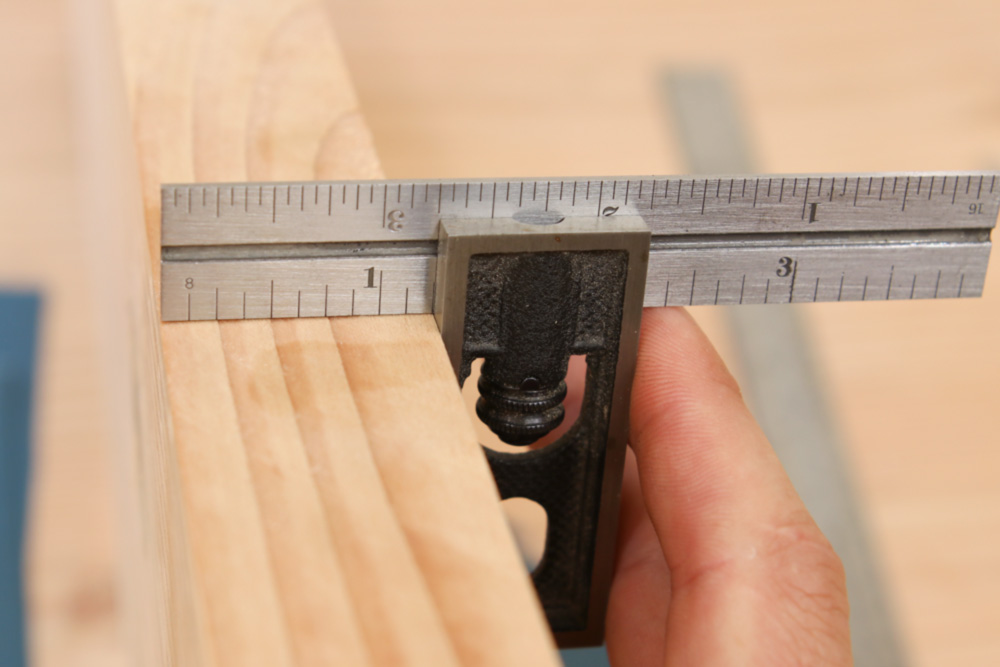
Next, I cut the strip so the sandpaper scraps would wrap around with a 1/4″ on each side, making the paper easy to hold while using. My final width was 2 7/8″.
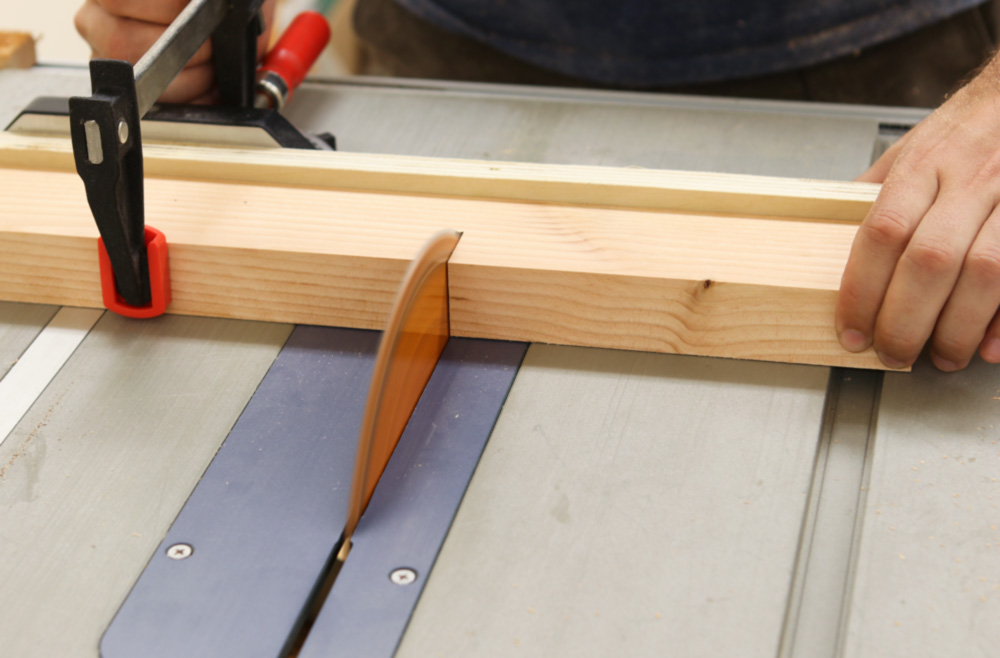
I then cut the strip into several 4″ blocks.
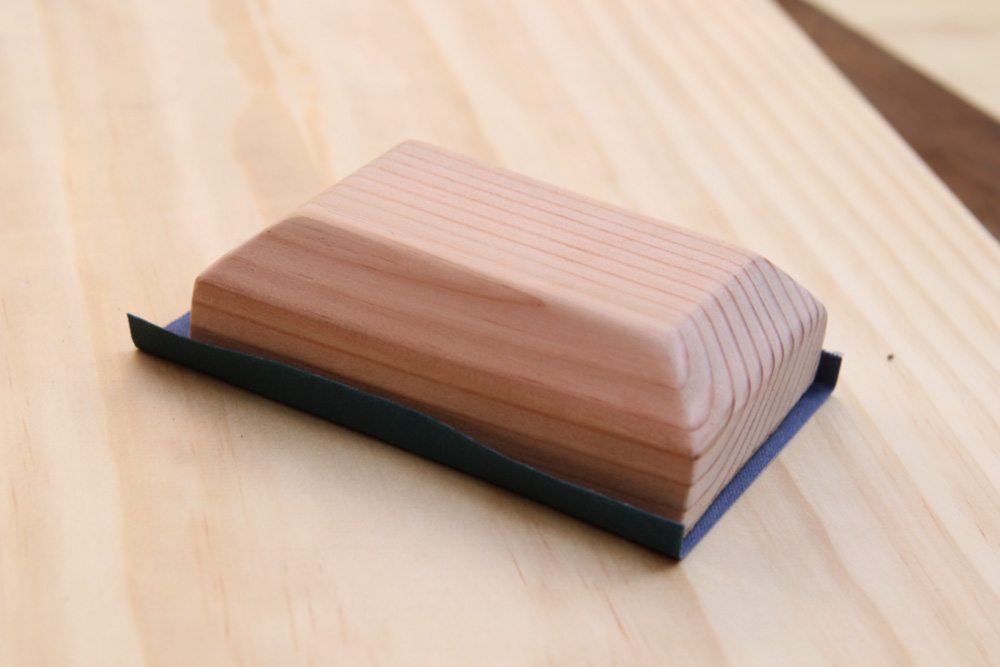
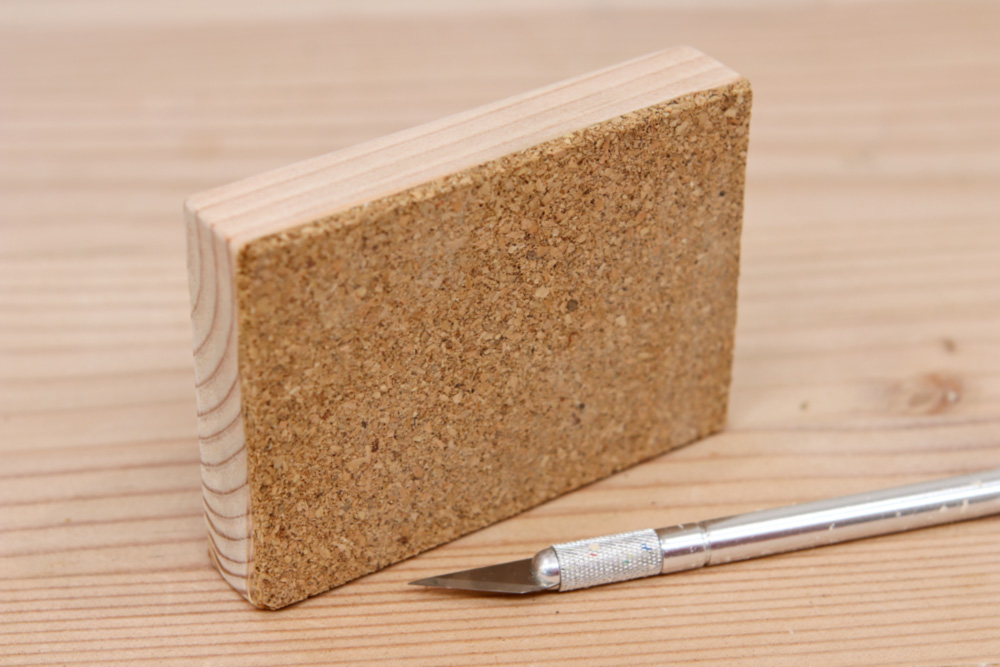
 Final block size = 1 5/16″ thick x 2 7/8″ wide x 4″ long. There's a nice even 1/4″ border of excess paper around the edges.
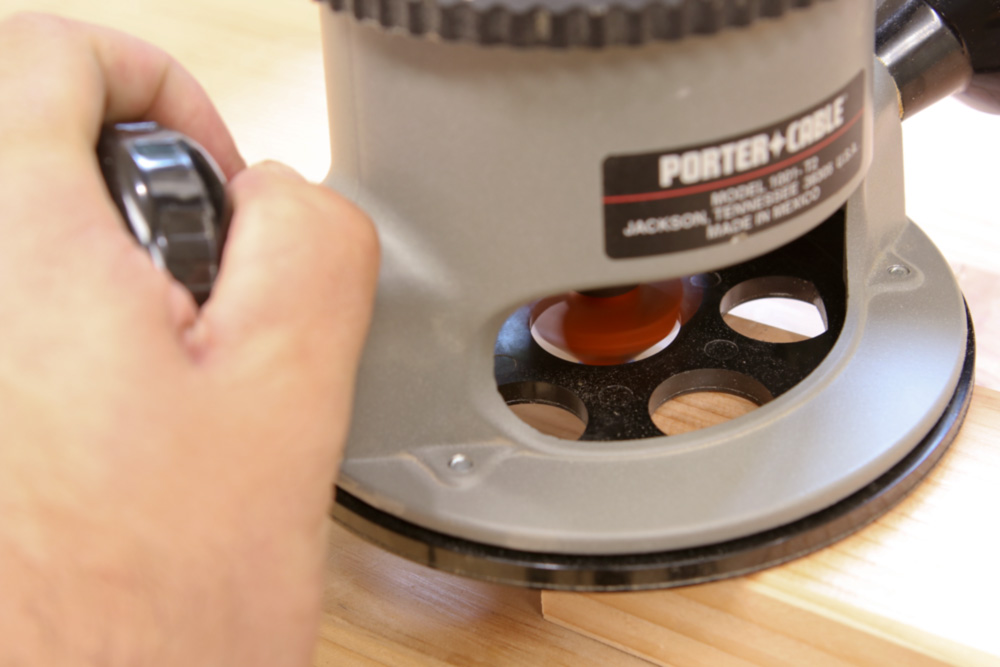
Step 3: Shape the block.
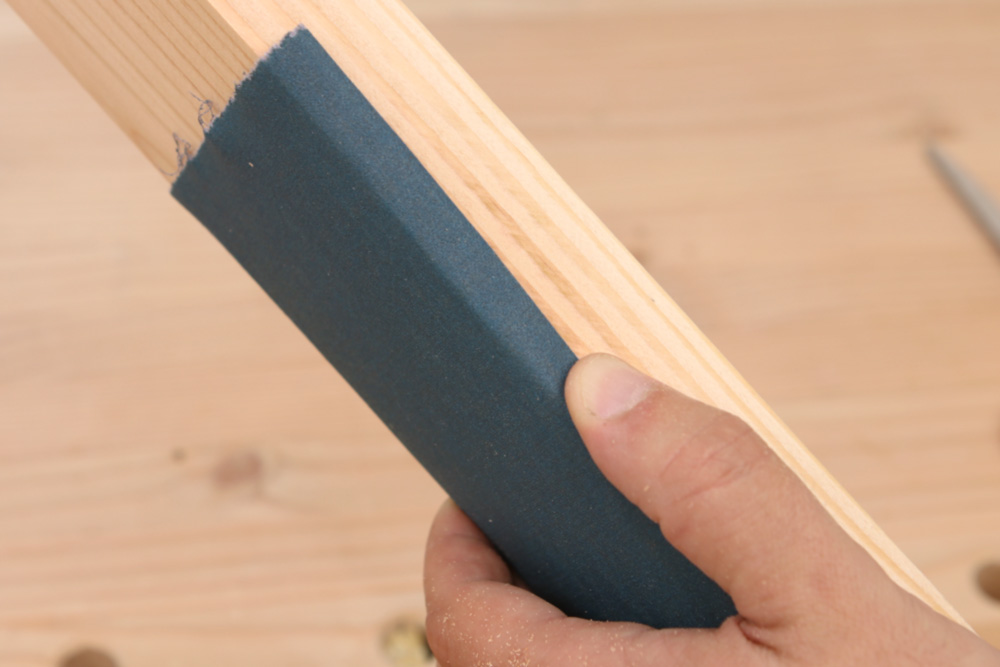
To make it more comfortable to use, I secured the block to my workbench, then put a wide 45° chamfer around the top edges. I did this with a router, but you could use a hand plane, or even a saw if you're careful.

Once the initial facets were cut, I smoothed over all the sharp corners and edges with sandpaper.
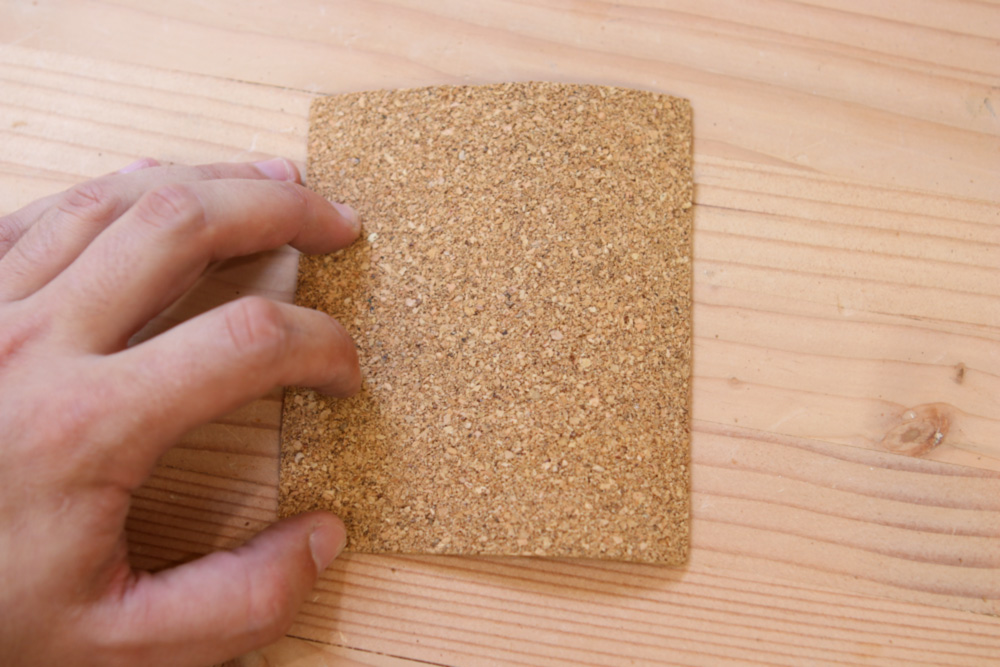
Step Four: Add the cork.
The final step is to attach cork to the bottom of the block. This allows the block to accommodate invisible ridges, valleys, and peaks in the wood. You can't see them now, but they'll greatly improve the quality of your final finish.
I have a roll of 3/32″ thick cork I use for a variety of projects, so I just used that. But you can buy 1/8″-ish thick cork from the craft store or Amazon. You can also use cork Con-Tact paper shelf liner, which comes with an adhesive backing.
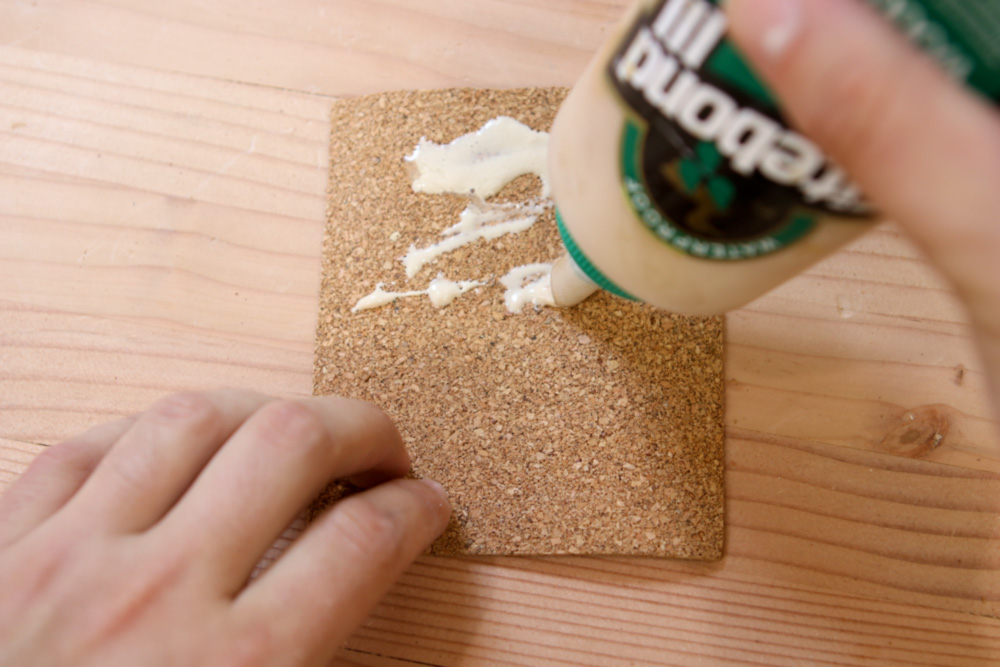
Whatever you use, cut it oversize at first. Spread a thin layer of yellow wood glue on both surfaces, allow it to become slightly tacky, then sandwich the glue sides together. Clamp or set something heavy on the block to ensure full contact.
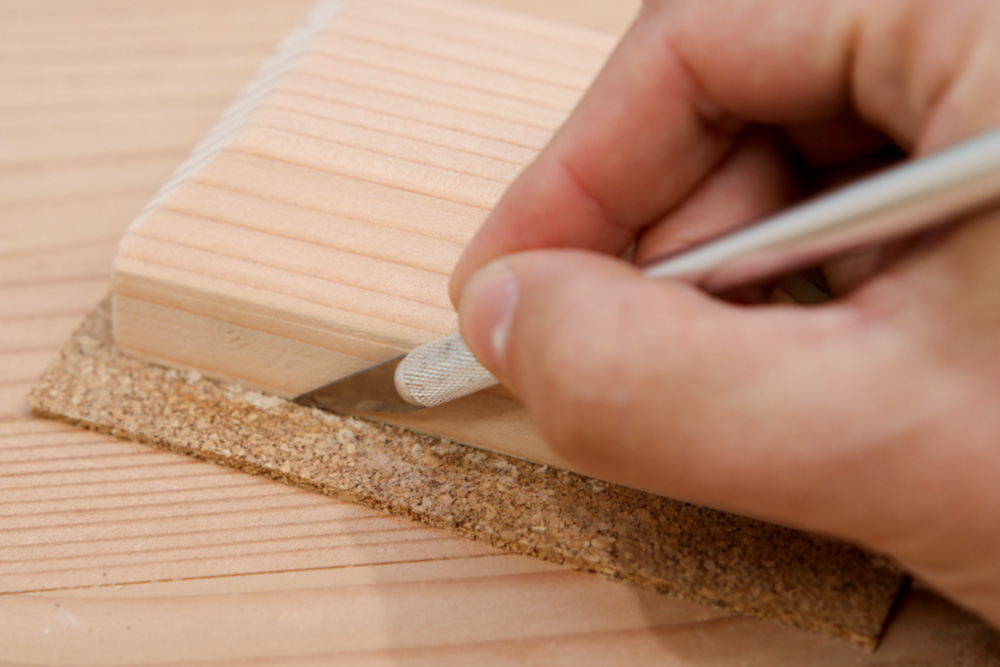
Once the glue has dried, use the sides of the block as a guide to trim the cork to size.
If you can, cut the cork at a slight bevel to ease the sharp edges a bit, then use some sandpaper to round everything over just a bit.
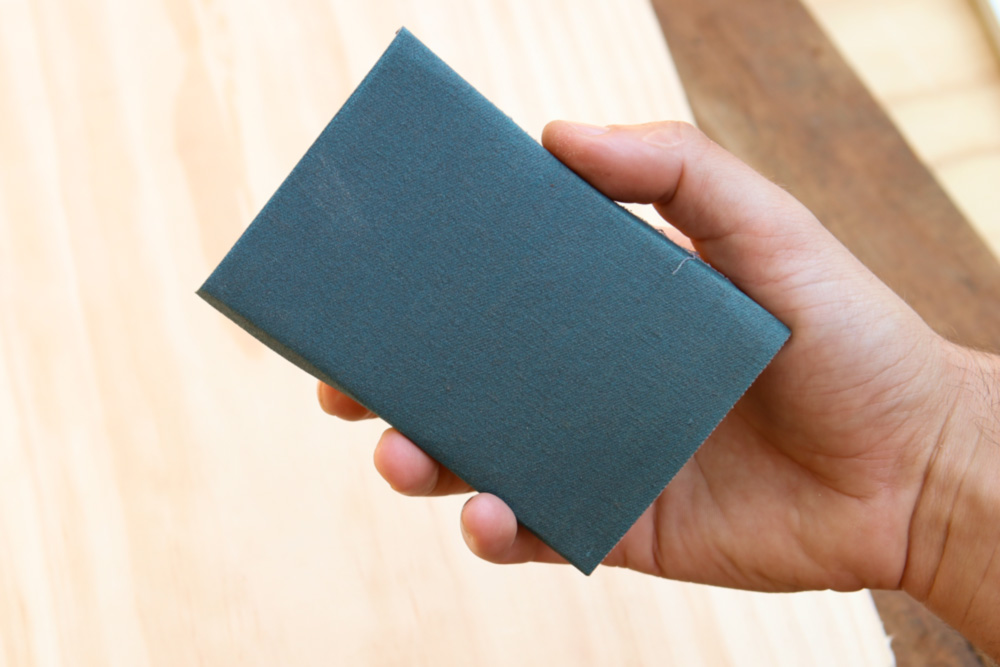
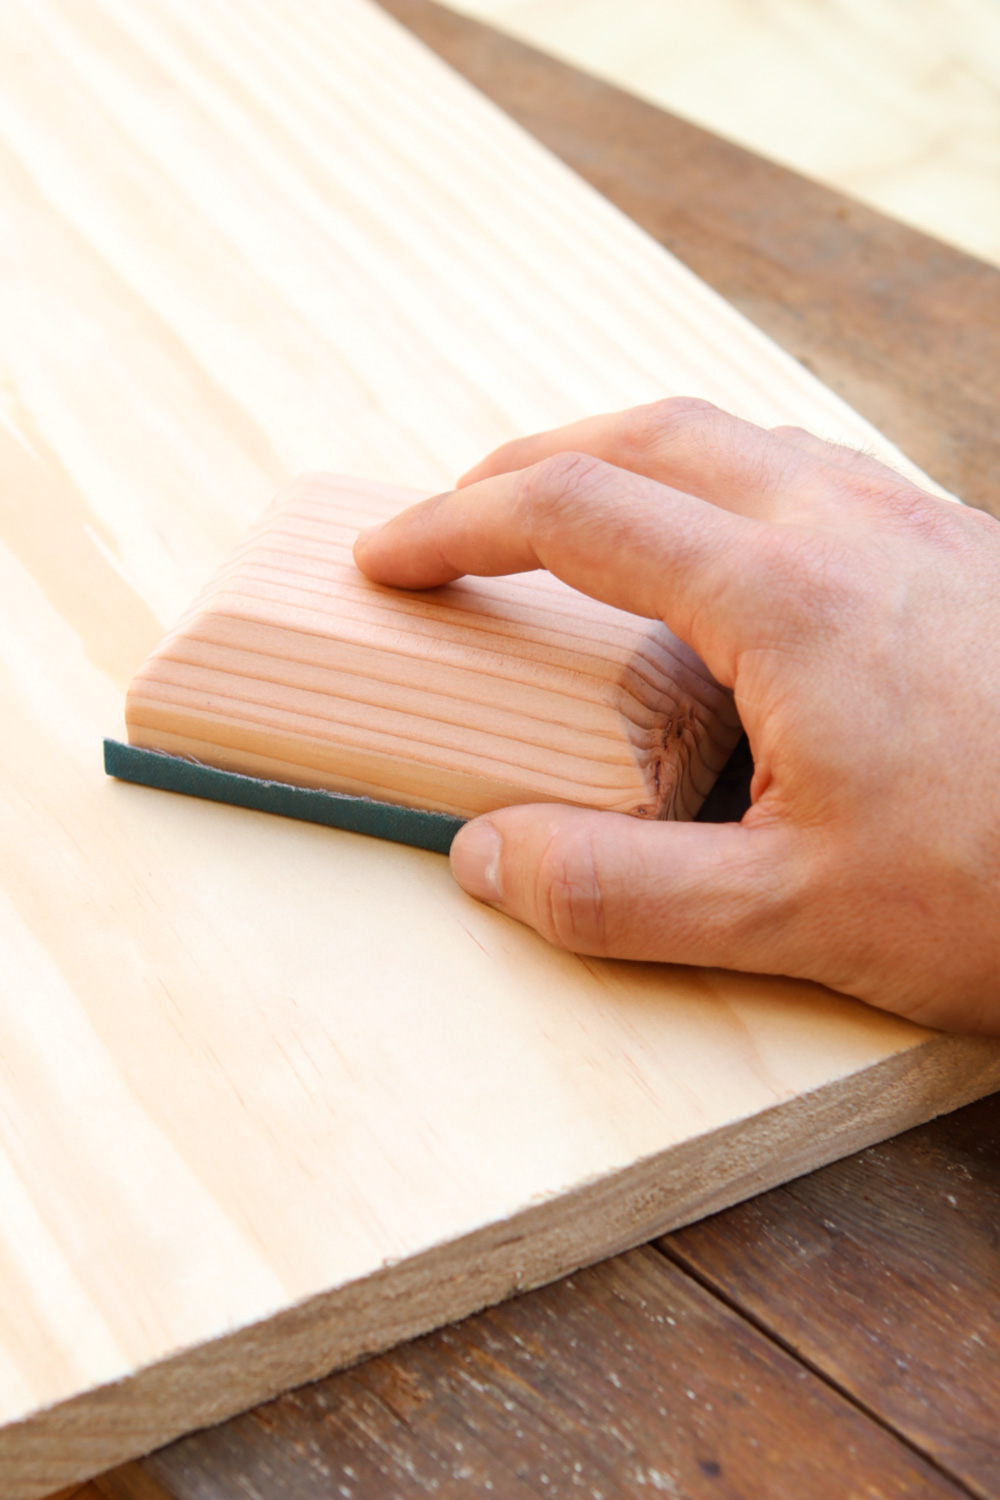
To use, wrap a piece of your sandpaper around the bottom, and hold it by the edges. Then, just sand away!
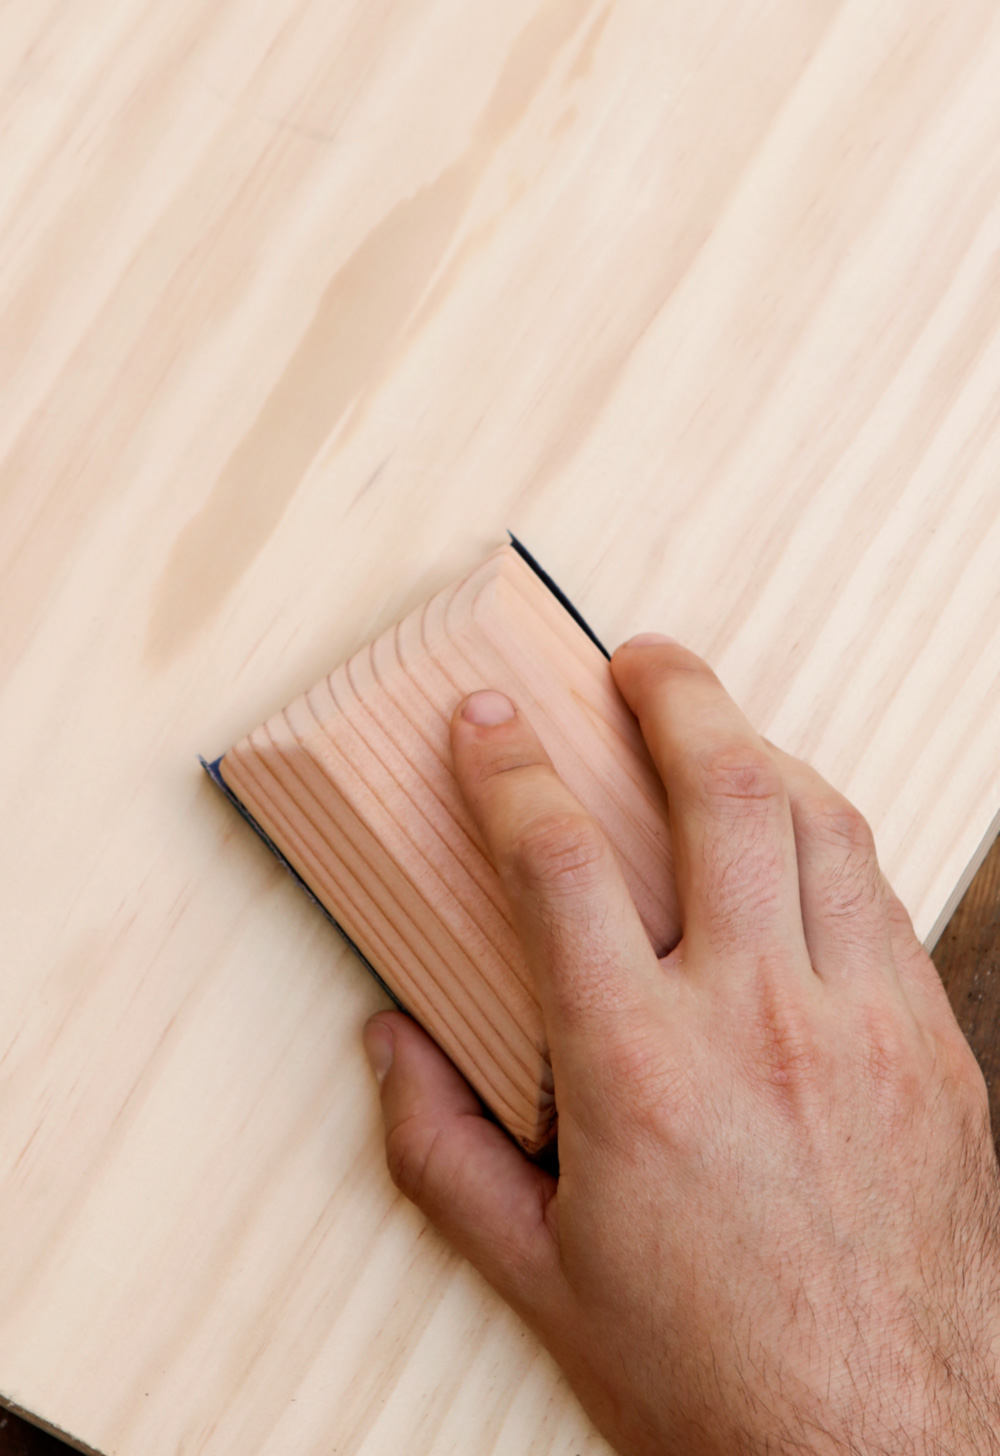
This thing is super comfortable to use, makes the best use of a sheet of sandpaper, and helps create a smooth finish. It makes sanding actually fun! Well…almost.