Fixing Up a Vintage Workmate Portable Workbench
I am grateful to have a dedicated workshop in our basement. It's a great place to both work on projects, and store tools and materials. And while my shop time is super important, there are a few things even more precious to me. Like my family.
So, I'm interested in learning more about some smaller wood projects that I can do in the evenings during family time. Projects like carving, whittling, and other non-furniture making projects that I can do while we watch a movie or reading time in the common areas.
So, I hit up Craigslist, and found this older model Workmate for a mere $10. And, in an afternoon, I turned it into a portable space to get creative and start making some chips… no noise or sawdust required.
Since its invention in 1968, the Workmate portable workbench/saw horse/tool stand/carpentry assistant has sold millions of units around the world. It's still for sale in home improvement stores, though the current versions contain lots of plastic and finicky bits that leave much to be desired.
But the vintage ones are all steel, and quite stout and secure. While not a substitute for a proper workbench, they make great secondary surfaces and a mighty fine place to set your miter saw when working at a job site. The integrated top and vise feature dog holes for workholding, and the twin screw design can pivot, allowing you to secure non-square materials. Nice.
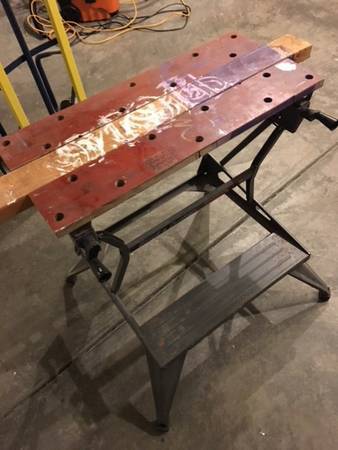
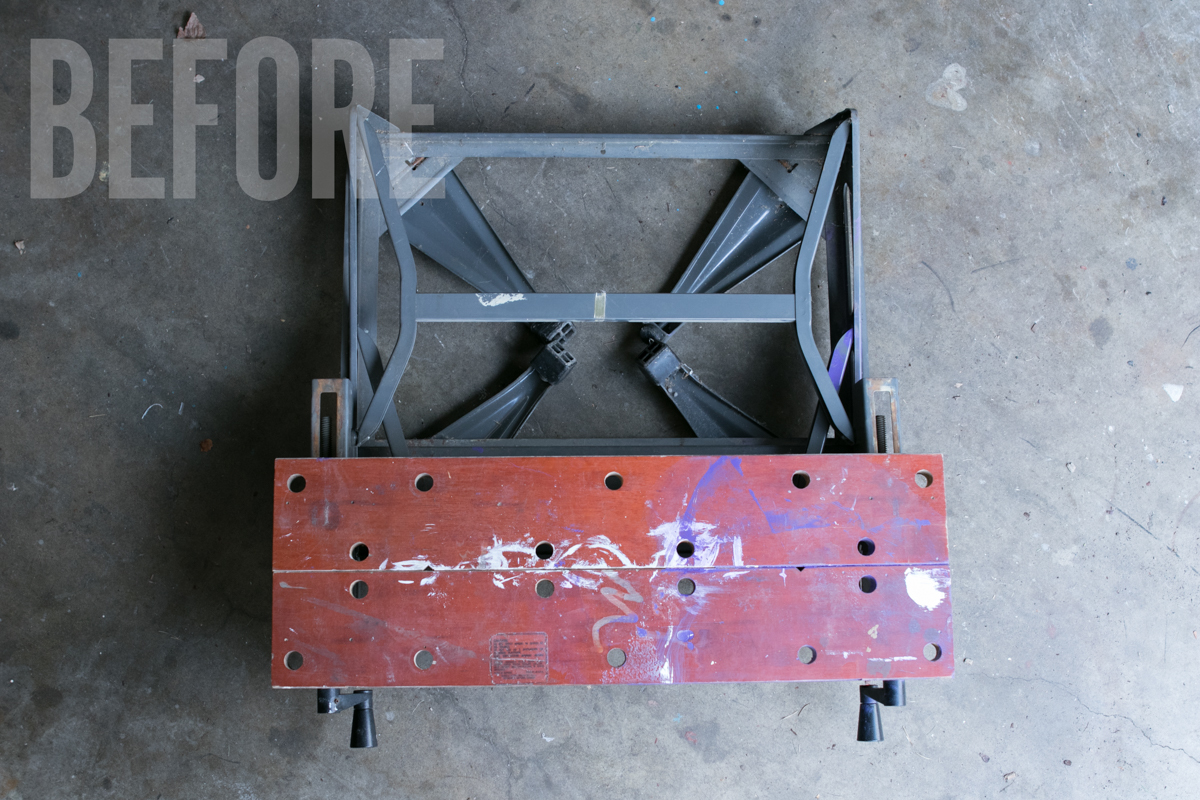
Here's the photo from the Craigslist ad. It belonged to the seller's father, who had passed away. She didn't realize that it folded up, or that the 2×4 in the middle wasn't part of the original design. She suspected it was from the early 80s, and it hadn't been in at least fifteen years. It had quite a bit of rust and purple paint over both the steel and the wood.
The Workmate Base
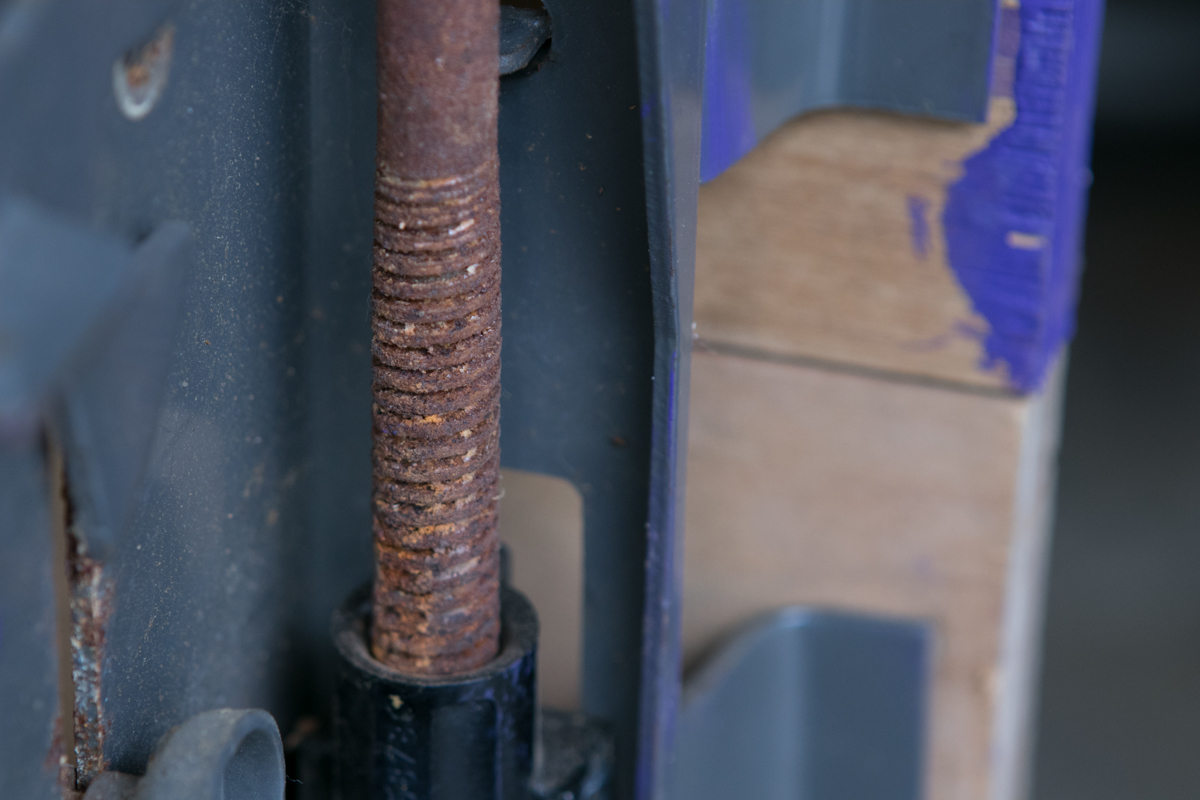
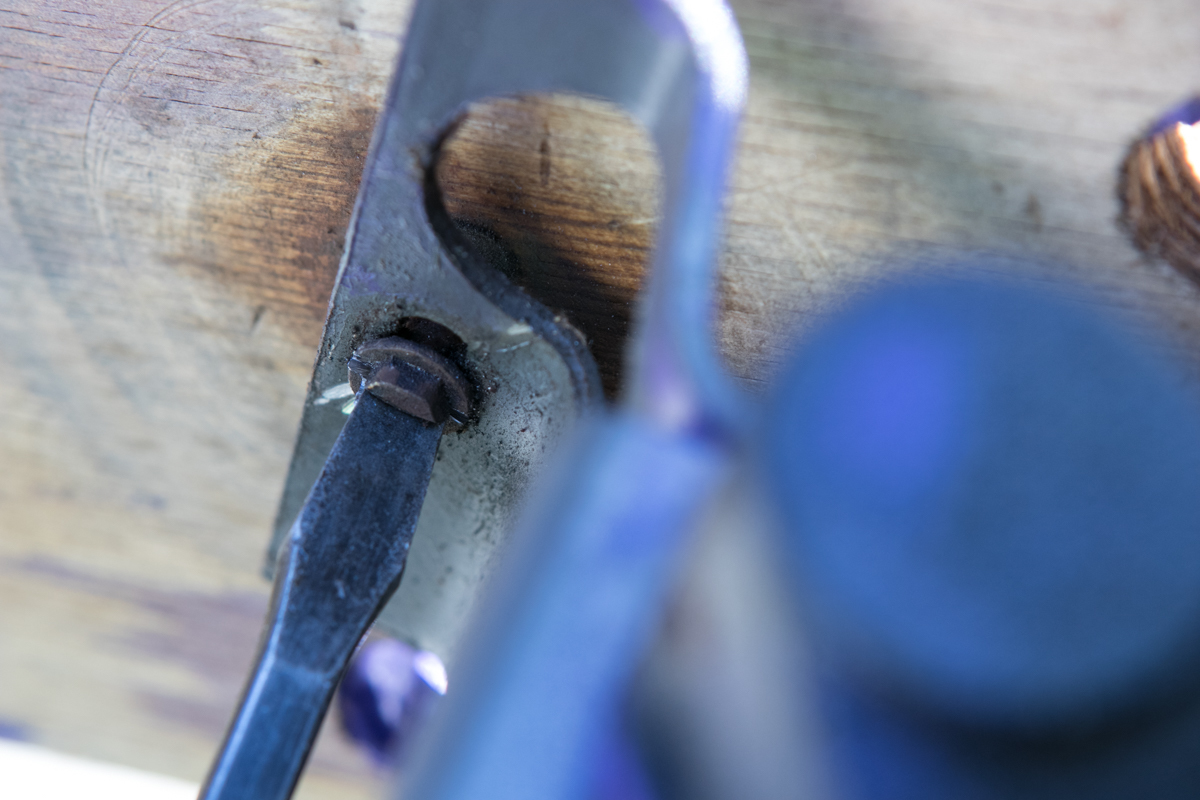
The vise thread screws were pretty corroded. It had stayed in that upright position with the 2×4 clamped inside, so one side was basically locked in place.
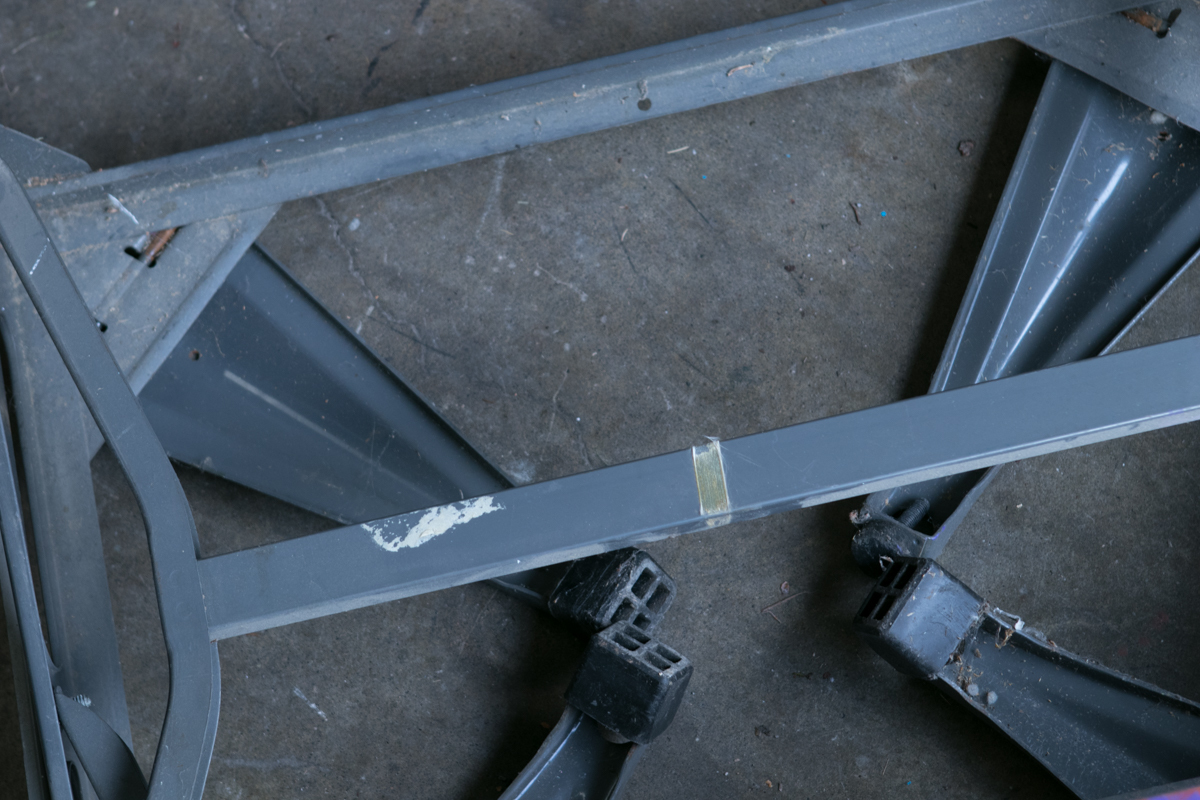
The rest of the steel was in pretty good shape, just rusted and covered in dirt and cobwebs. Had it not been for the purple, I probably would have just left the base alone. But, it was pretty bright and saturated, and not exactly inspiring for working with organic materials. So I decided to clean and repaint the base to help ward off additional rust, and replace the wooden benchtop pieces themselves.
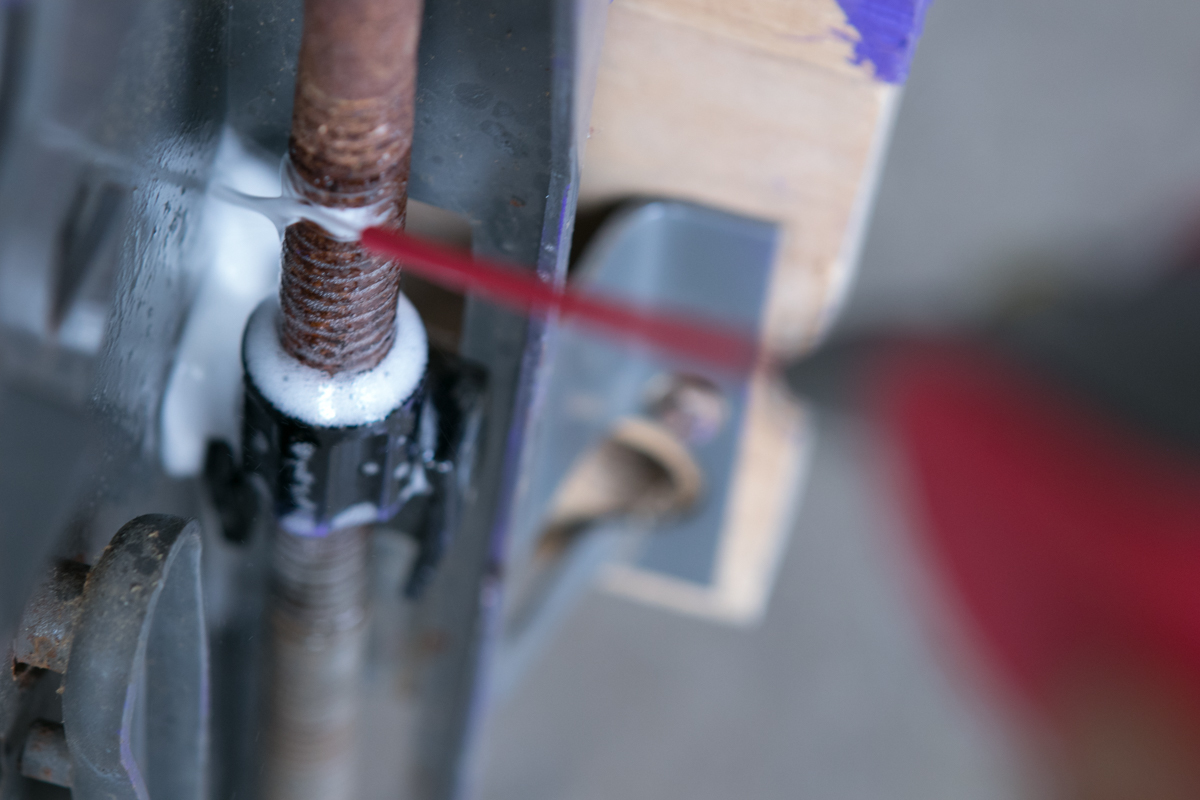
I began by spraying the hardware with WD40, which is both a solvent and a lubricant. I let it penetrate for a few hours.
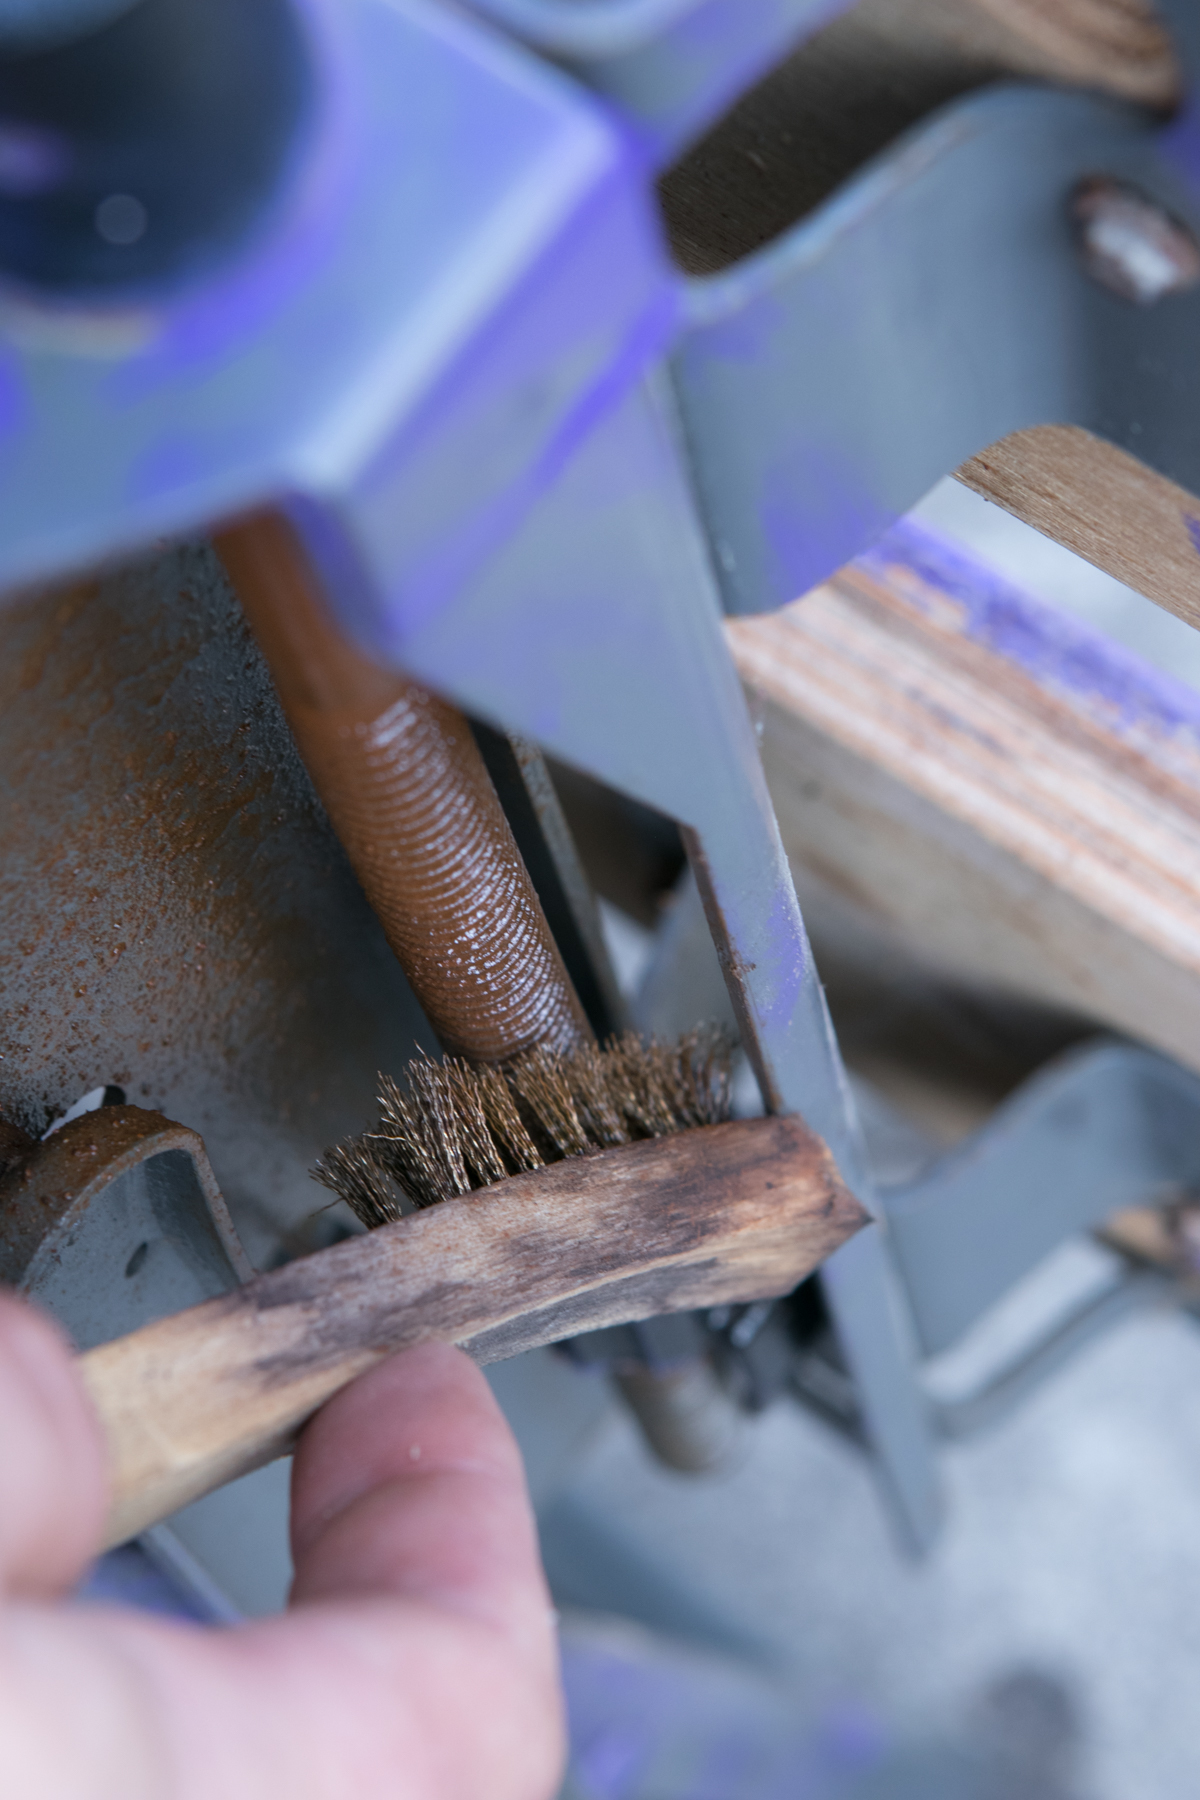
I removed as much rust as I could with a wire brush and a scribe, but there was still some pitting and nastiness in the threads themselves. I realized I could close the jaws nearly the whole way, save for about 1/4″ before it started grinding.
I'll address this with the new benchtop pieces below.
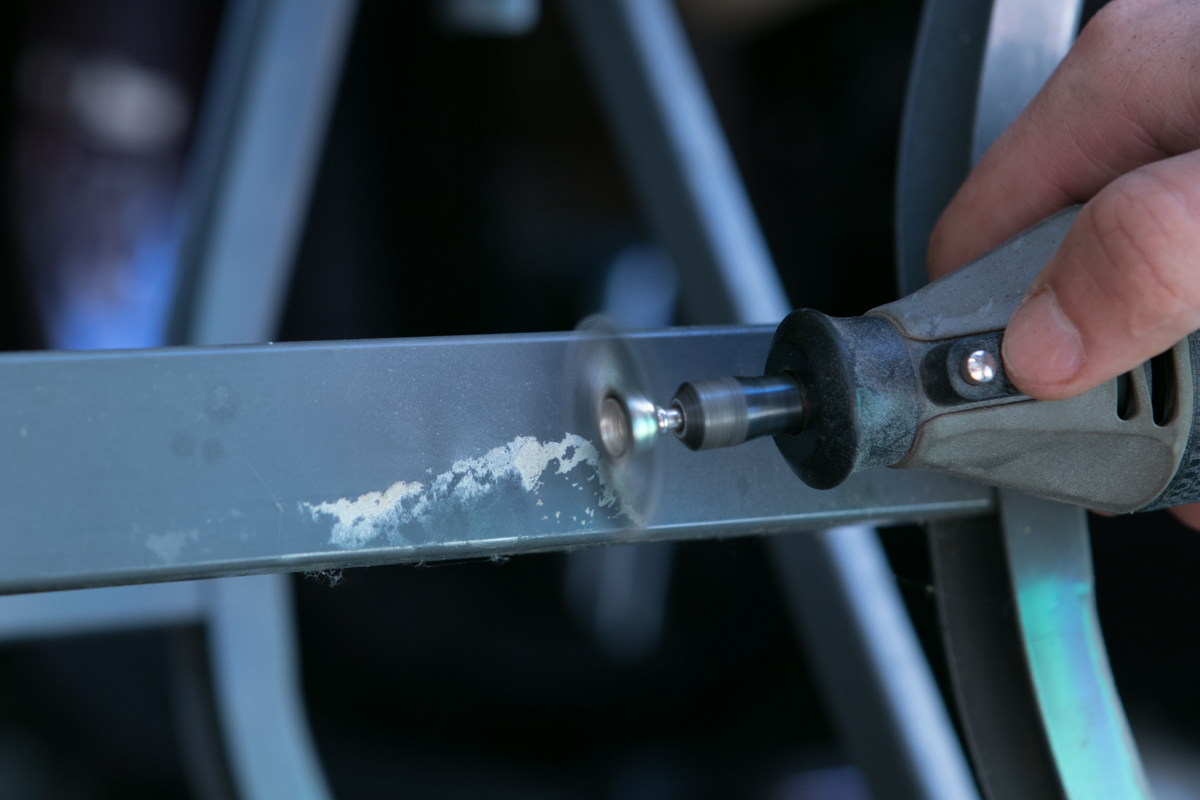
A wire wheel attachment to my rotary tool helped remove glue and paint and bits of rust that would affect the new paint.
The hardest part of this whole project was removing the old wooden tops. The machine screws were completely rusted in and the edges were rounded over, so I couldn't use a socket wrench to get them out. I ended up needing to cut slots into the heads with the Dremel, and then use a combination of screwdrivers and other tools to get them out.
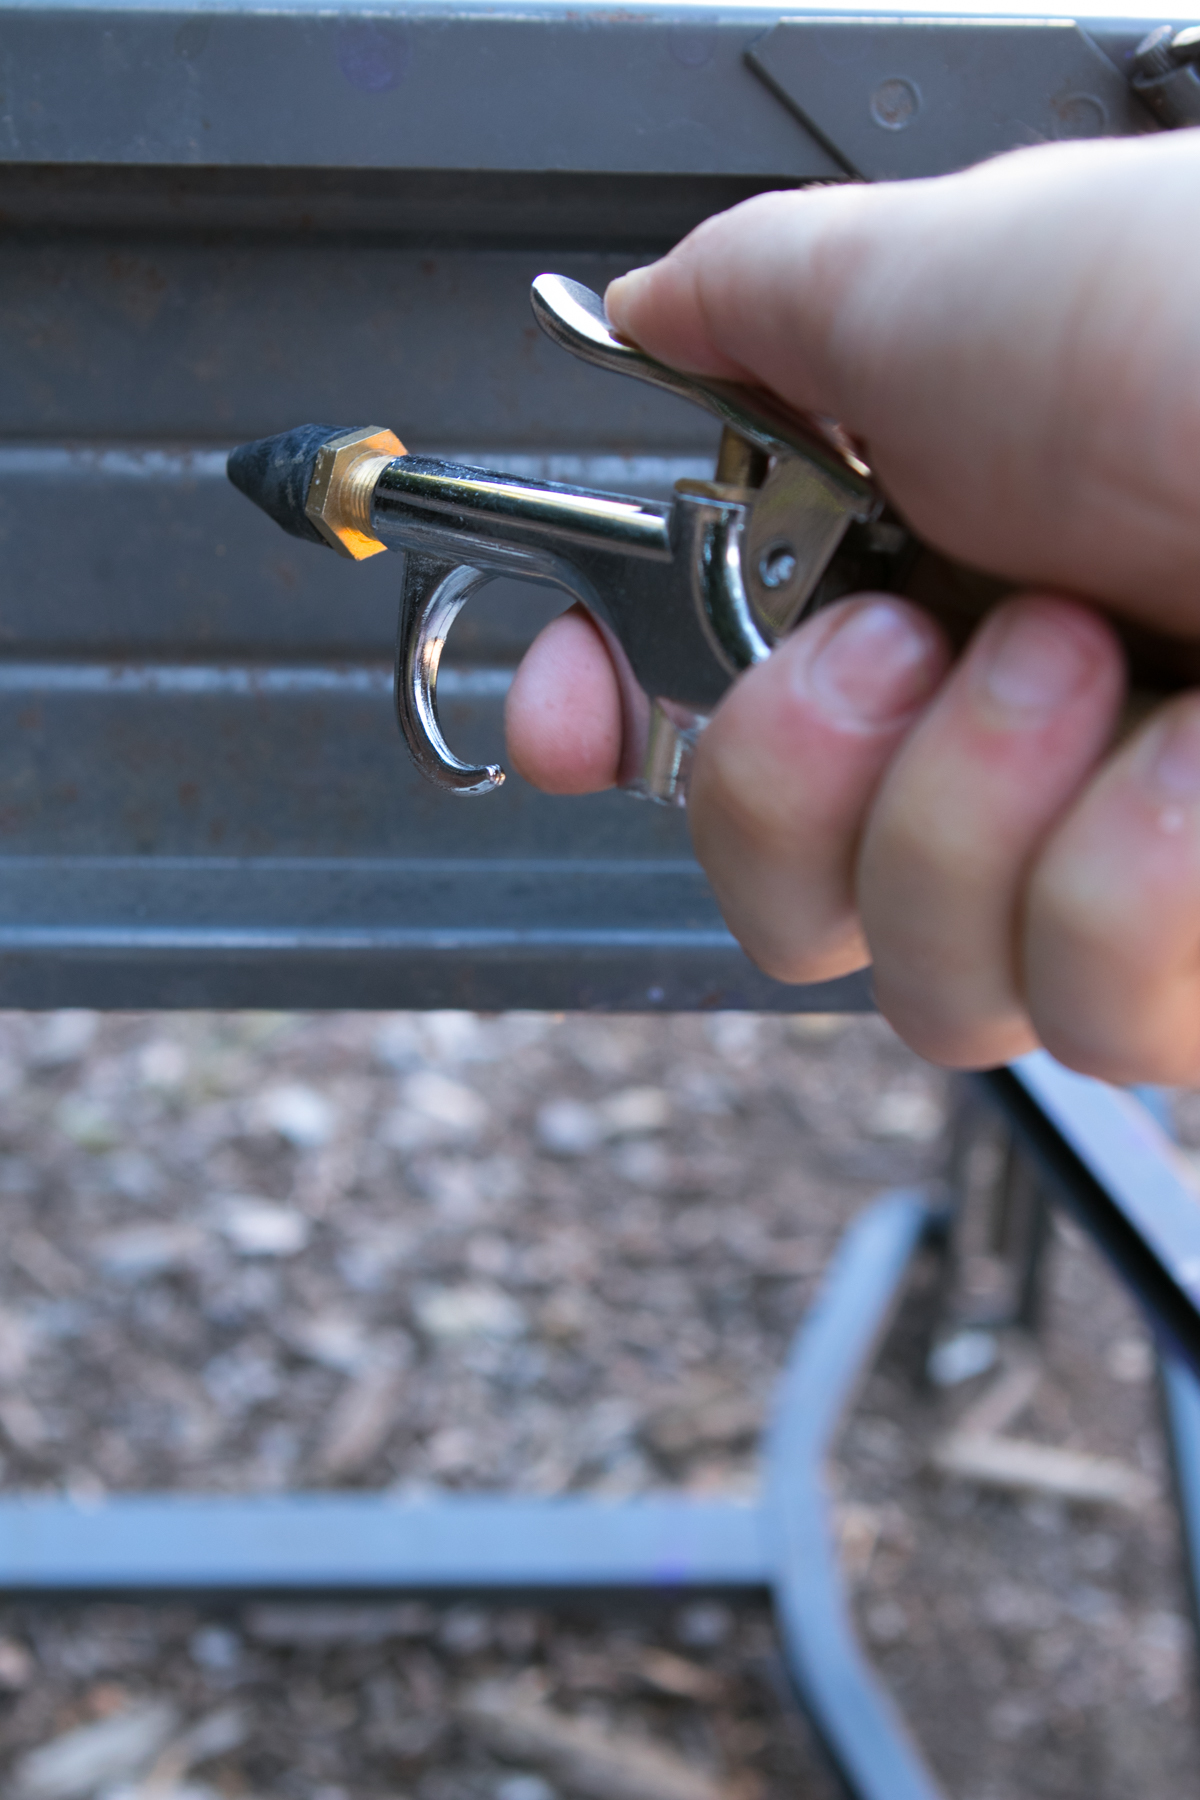
Next, I used compressed air to blow out the cobwebs and dust to get everything ready for paint.
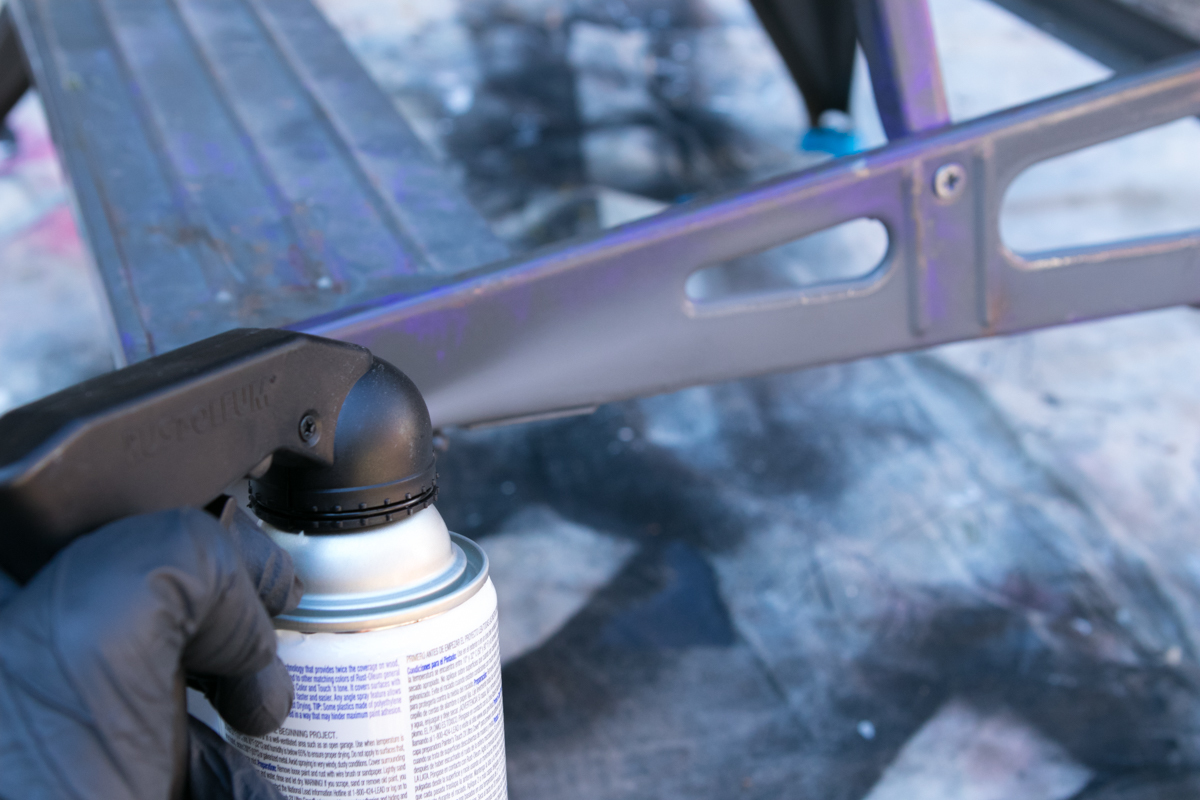
Spray painting went quickly. I picked up a rattle can in an industrial gray from Home Depot. One can was plenty. Since I was more worried about covering the purple and rusty parts, I mostly just spot painted. The colors were a close enough match that it didn't matter if I got every corner and the undersides of every surface.
While the paint dried, I went into the shop to work on the new (and not purple) wooden tops.
New Plywood Tops for the Workmate
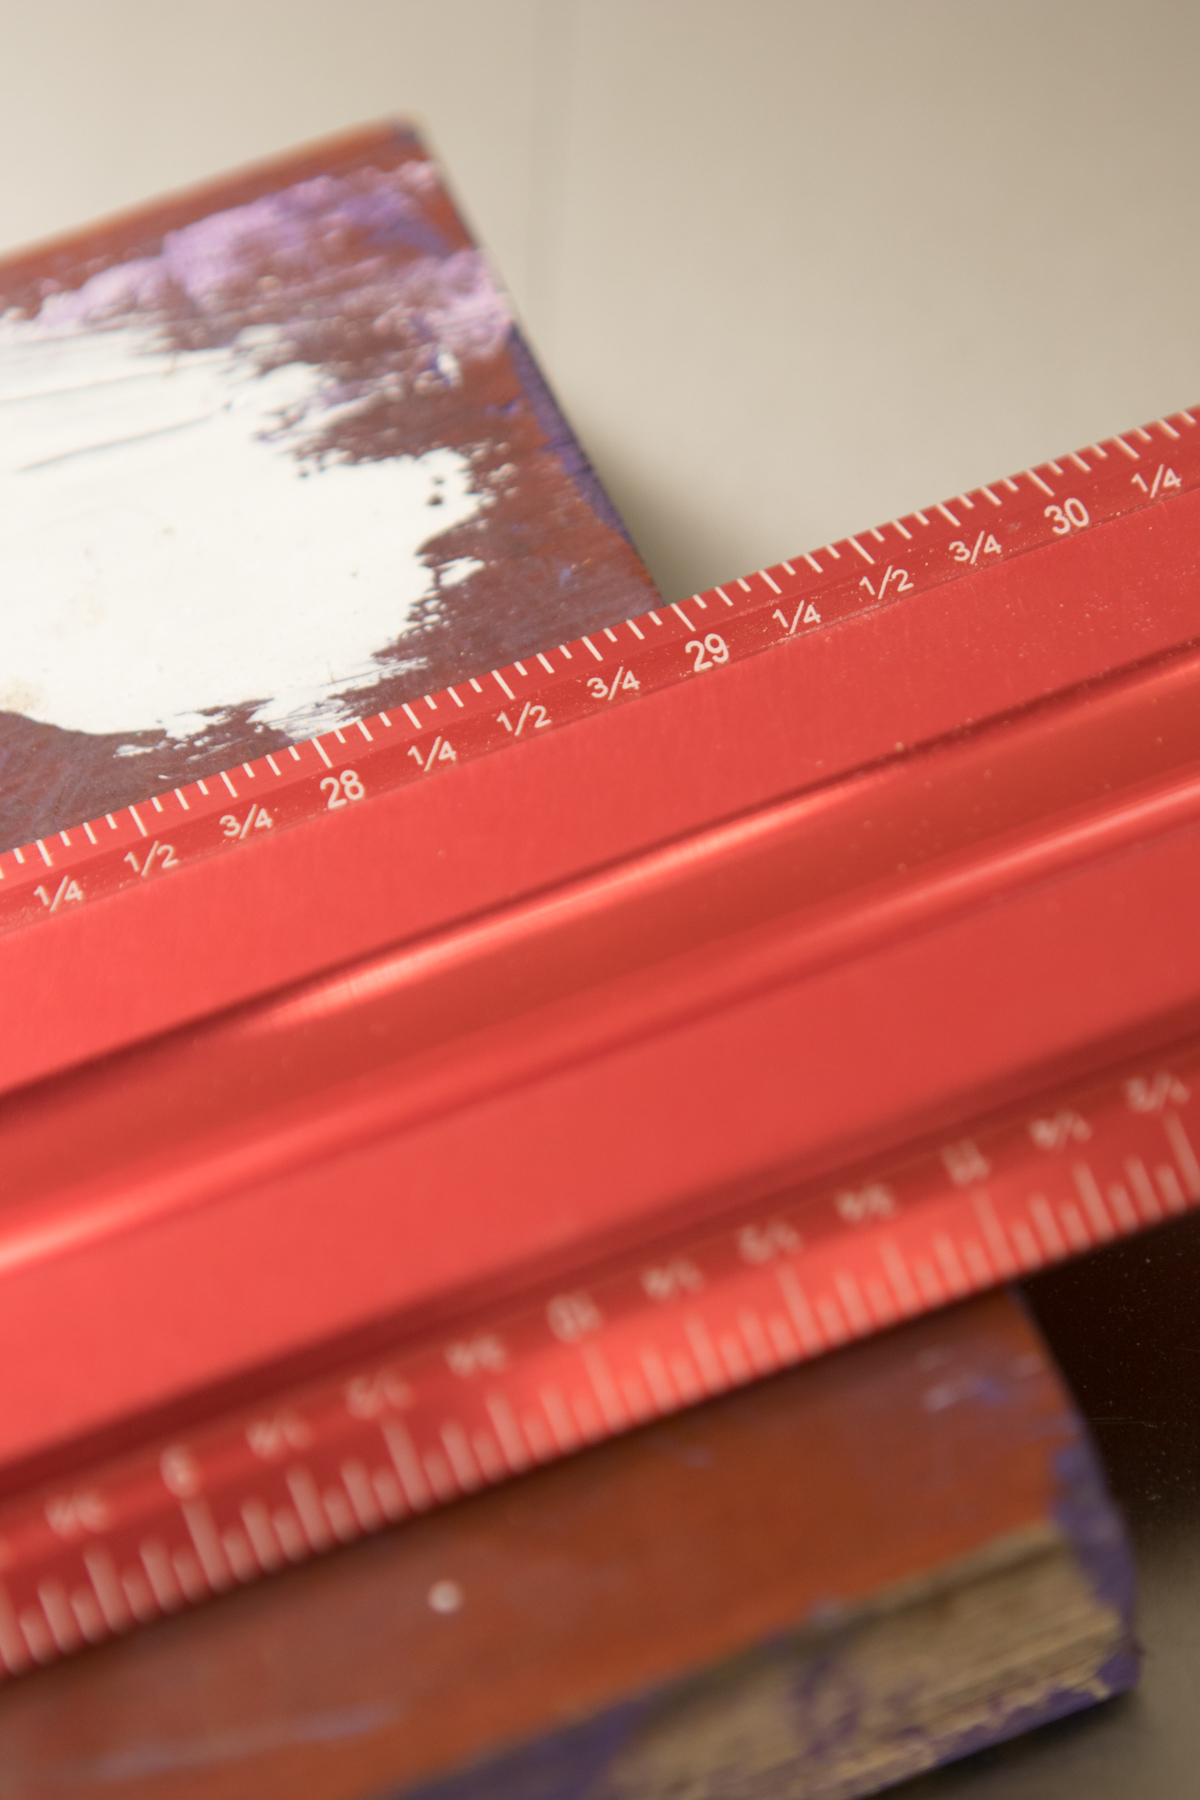
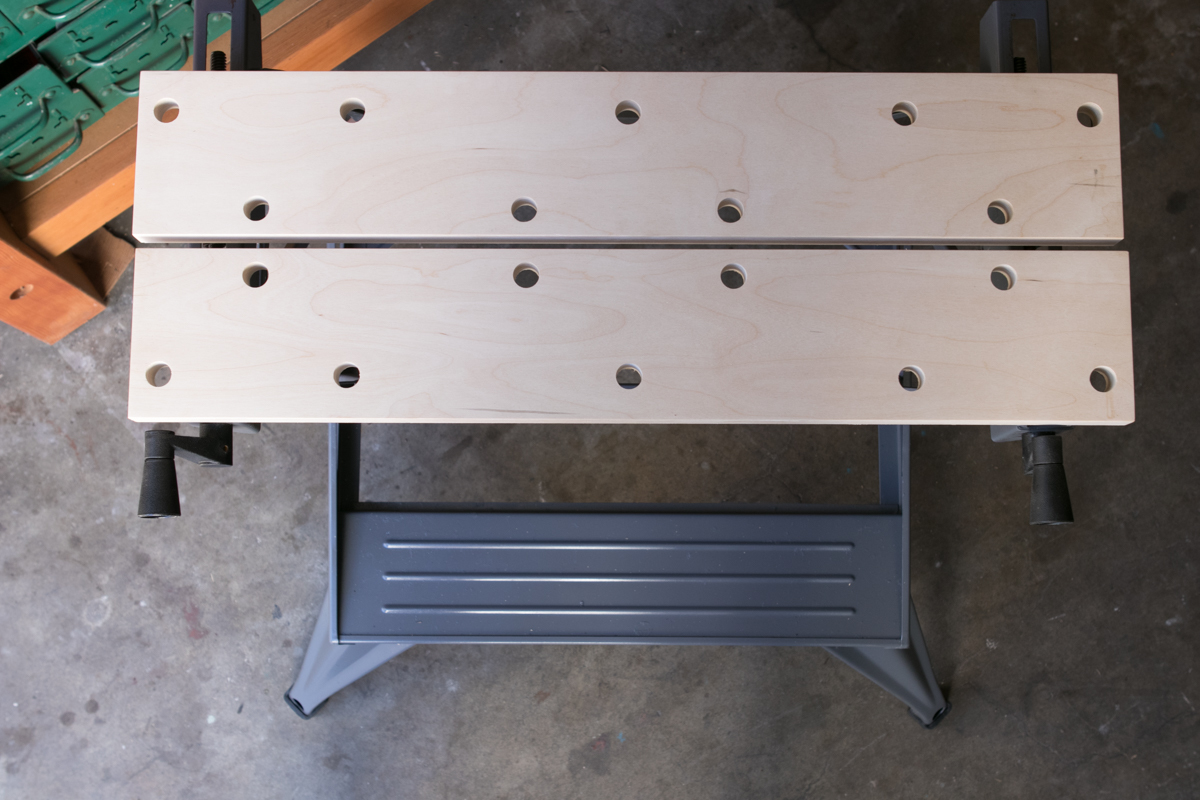
My goal here was to copy the existing plywood benchtops with new stock, with one exception: I made each piece 1/4″ wider to accommodate for that last bit of corroded screw thread that couldn't move cleanly. By reducing the amount of travel by 1/2″, I hoped to get them to close easily. (Spoiler alert: it worked).
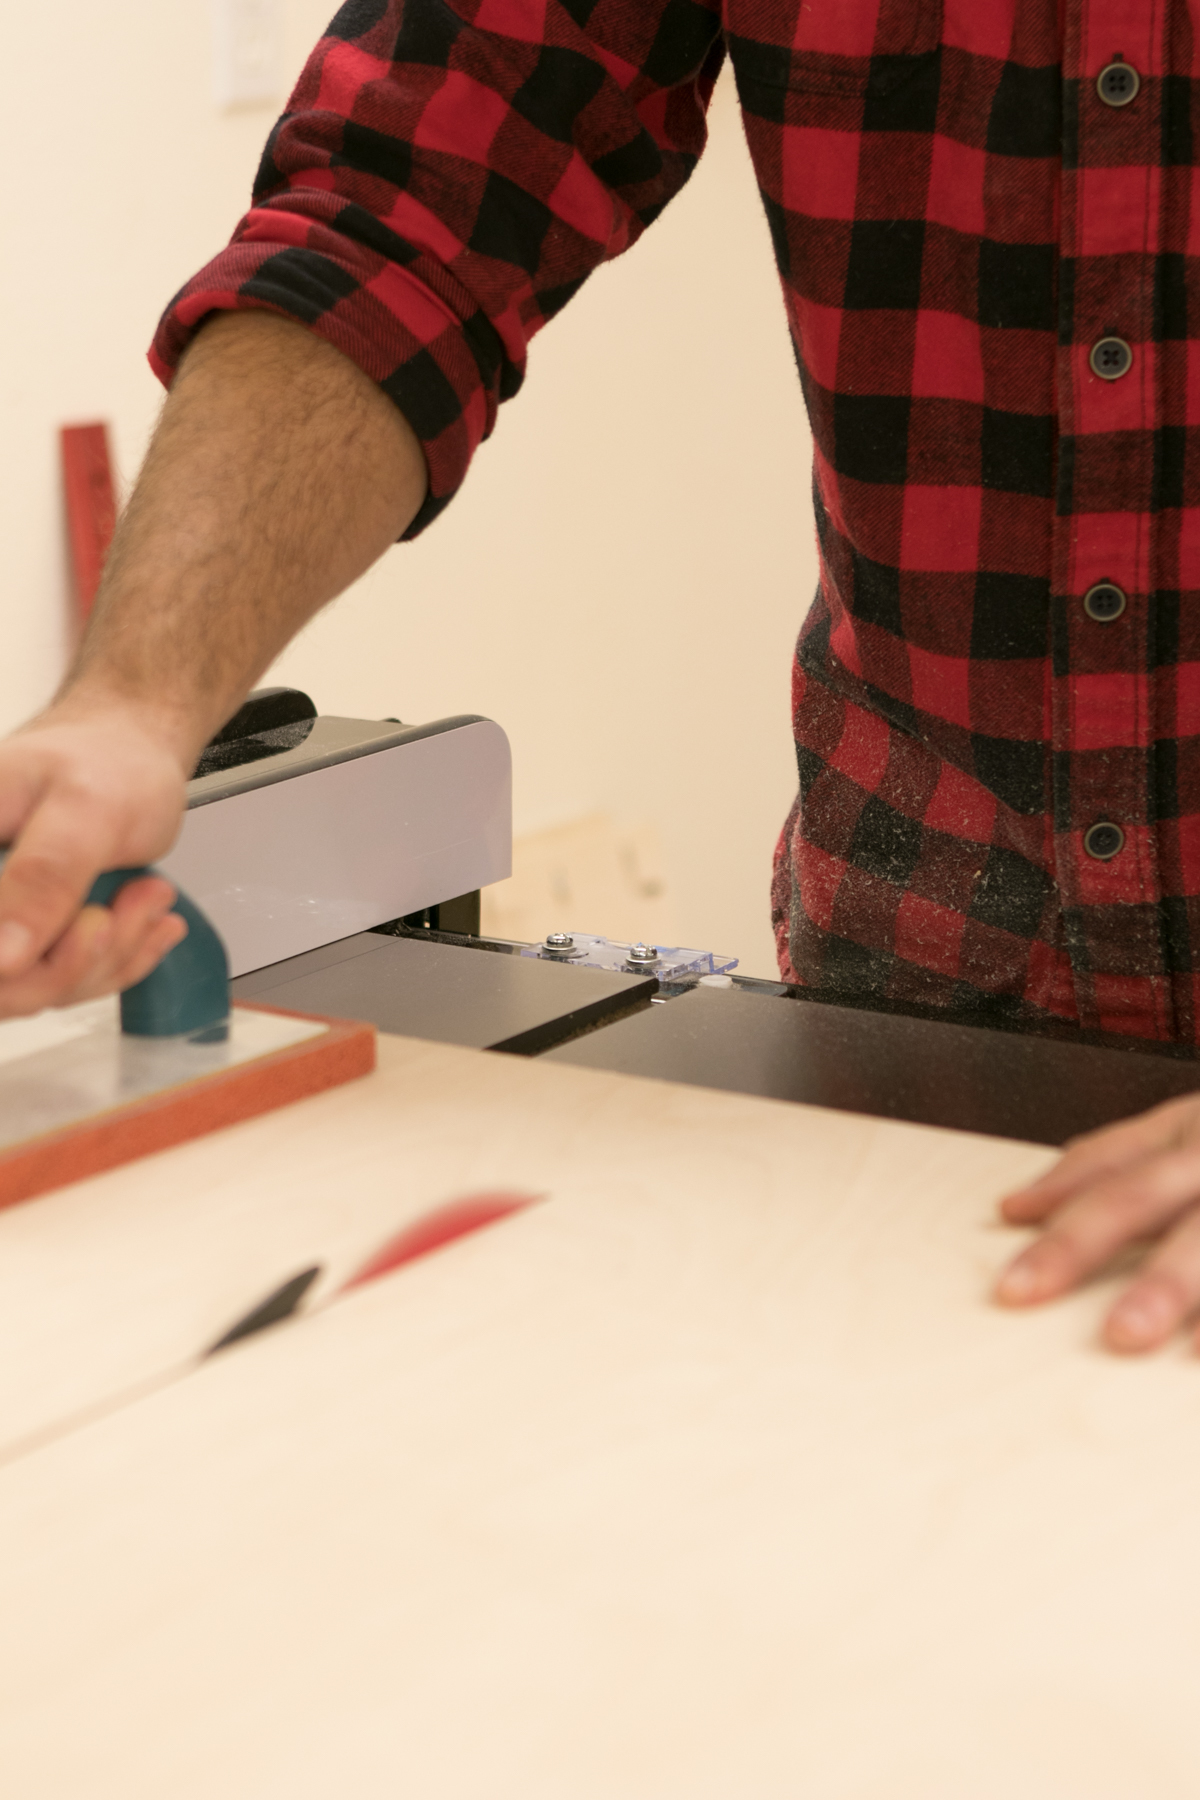
I had some 25mm Russian birch plywood (about 1″ thick) in my scrap pile that worked perfectly for the new wooden tops (the originals were roughly 7/8″). I ripped them to exact width on the table saw: 5 1/4″ wide.
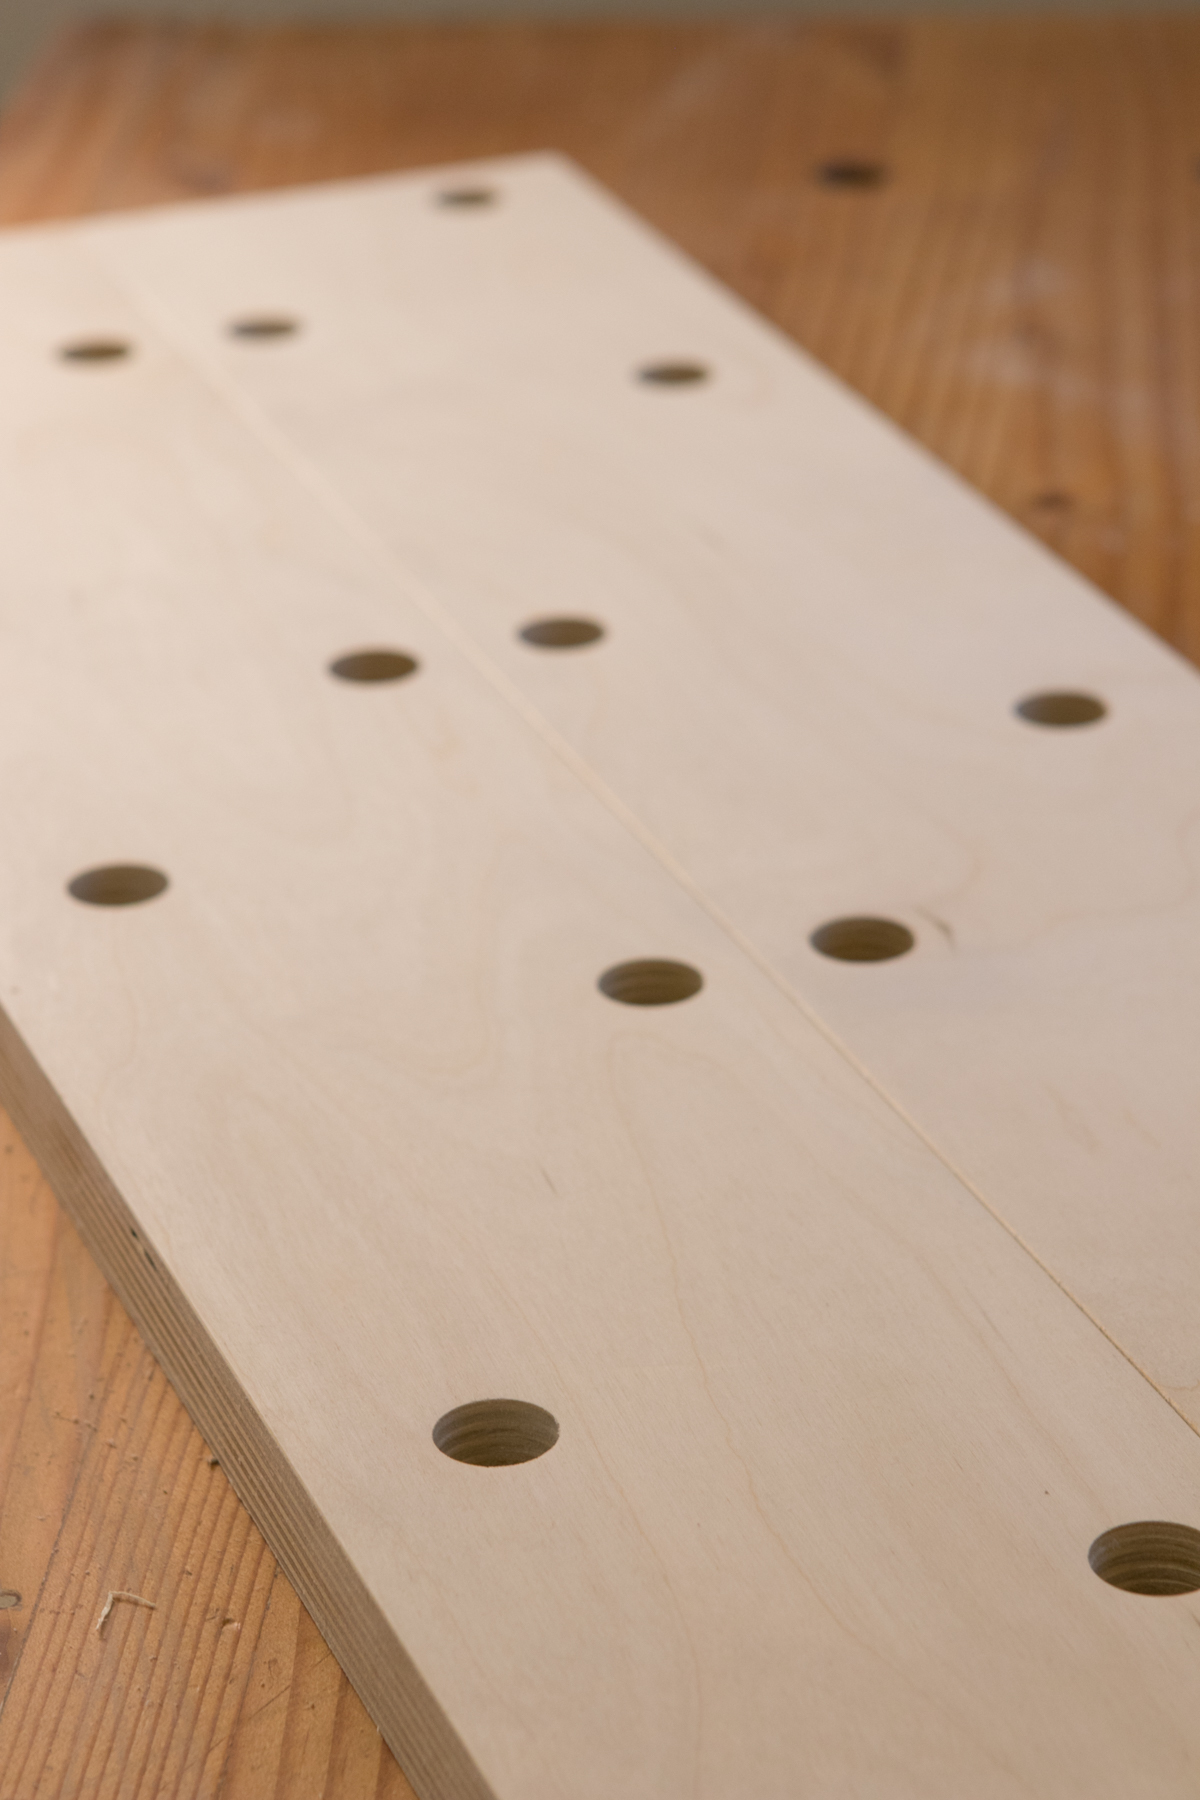
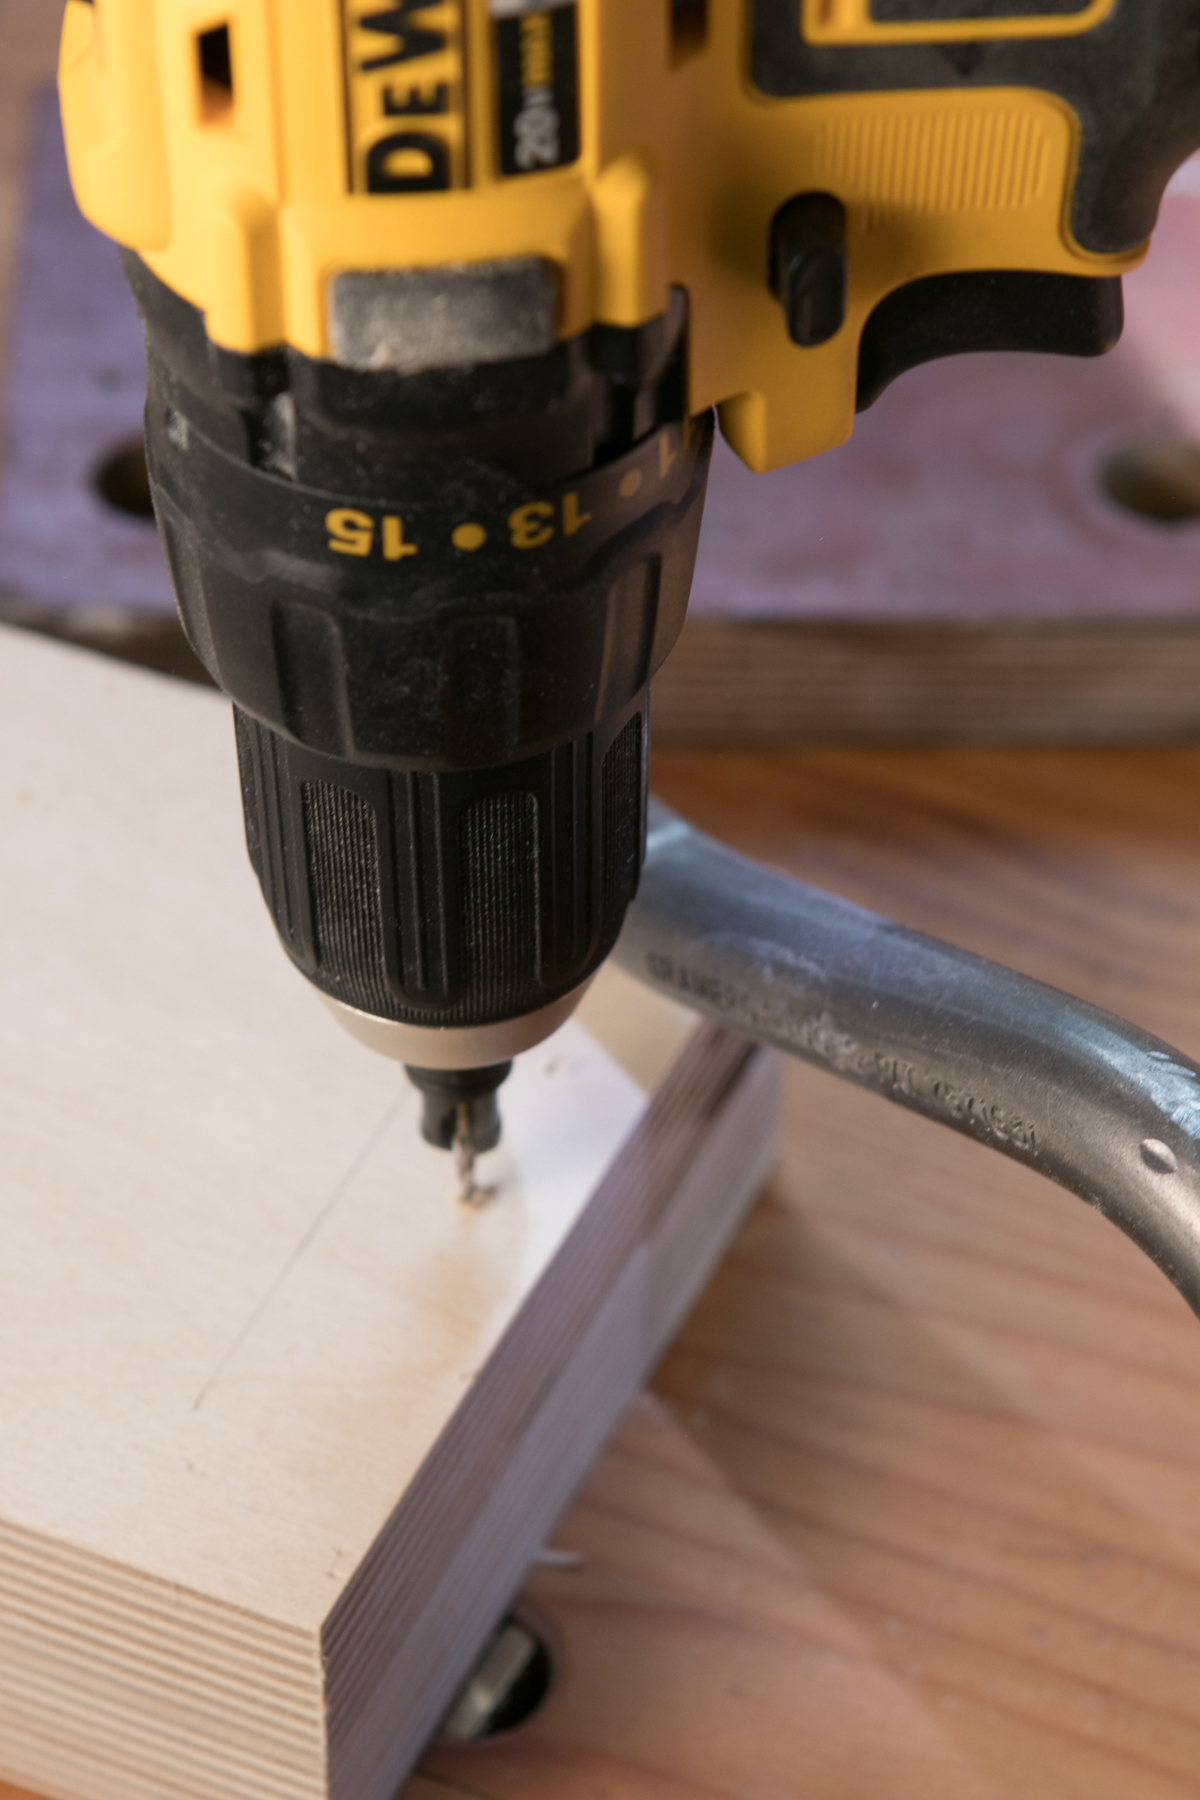 I intentionally left each piece 2″ longer than needed. This allowed me to screw them together so I could drill the dog holes at the same time for an identical layout.
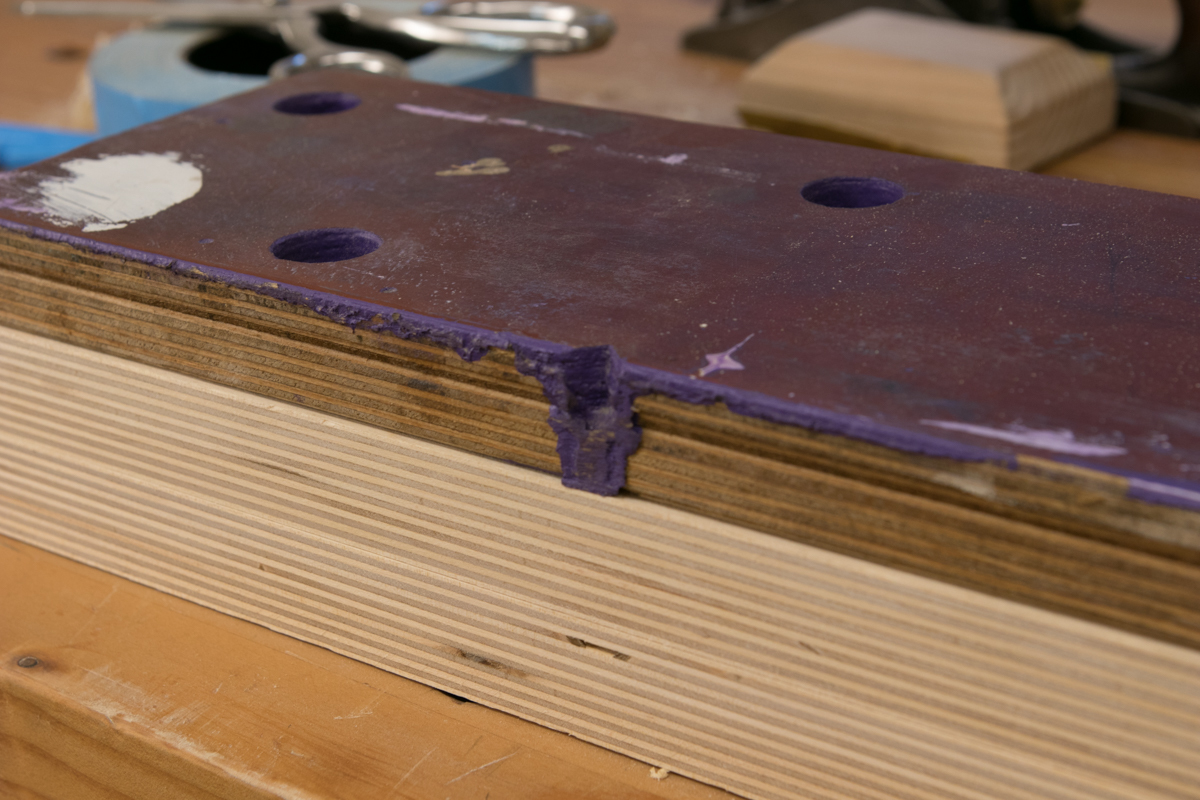
I used double stick tape to attach one of the old tops to use as a guide. You can see the extra 1/8″ wide on each side of the original here.
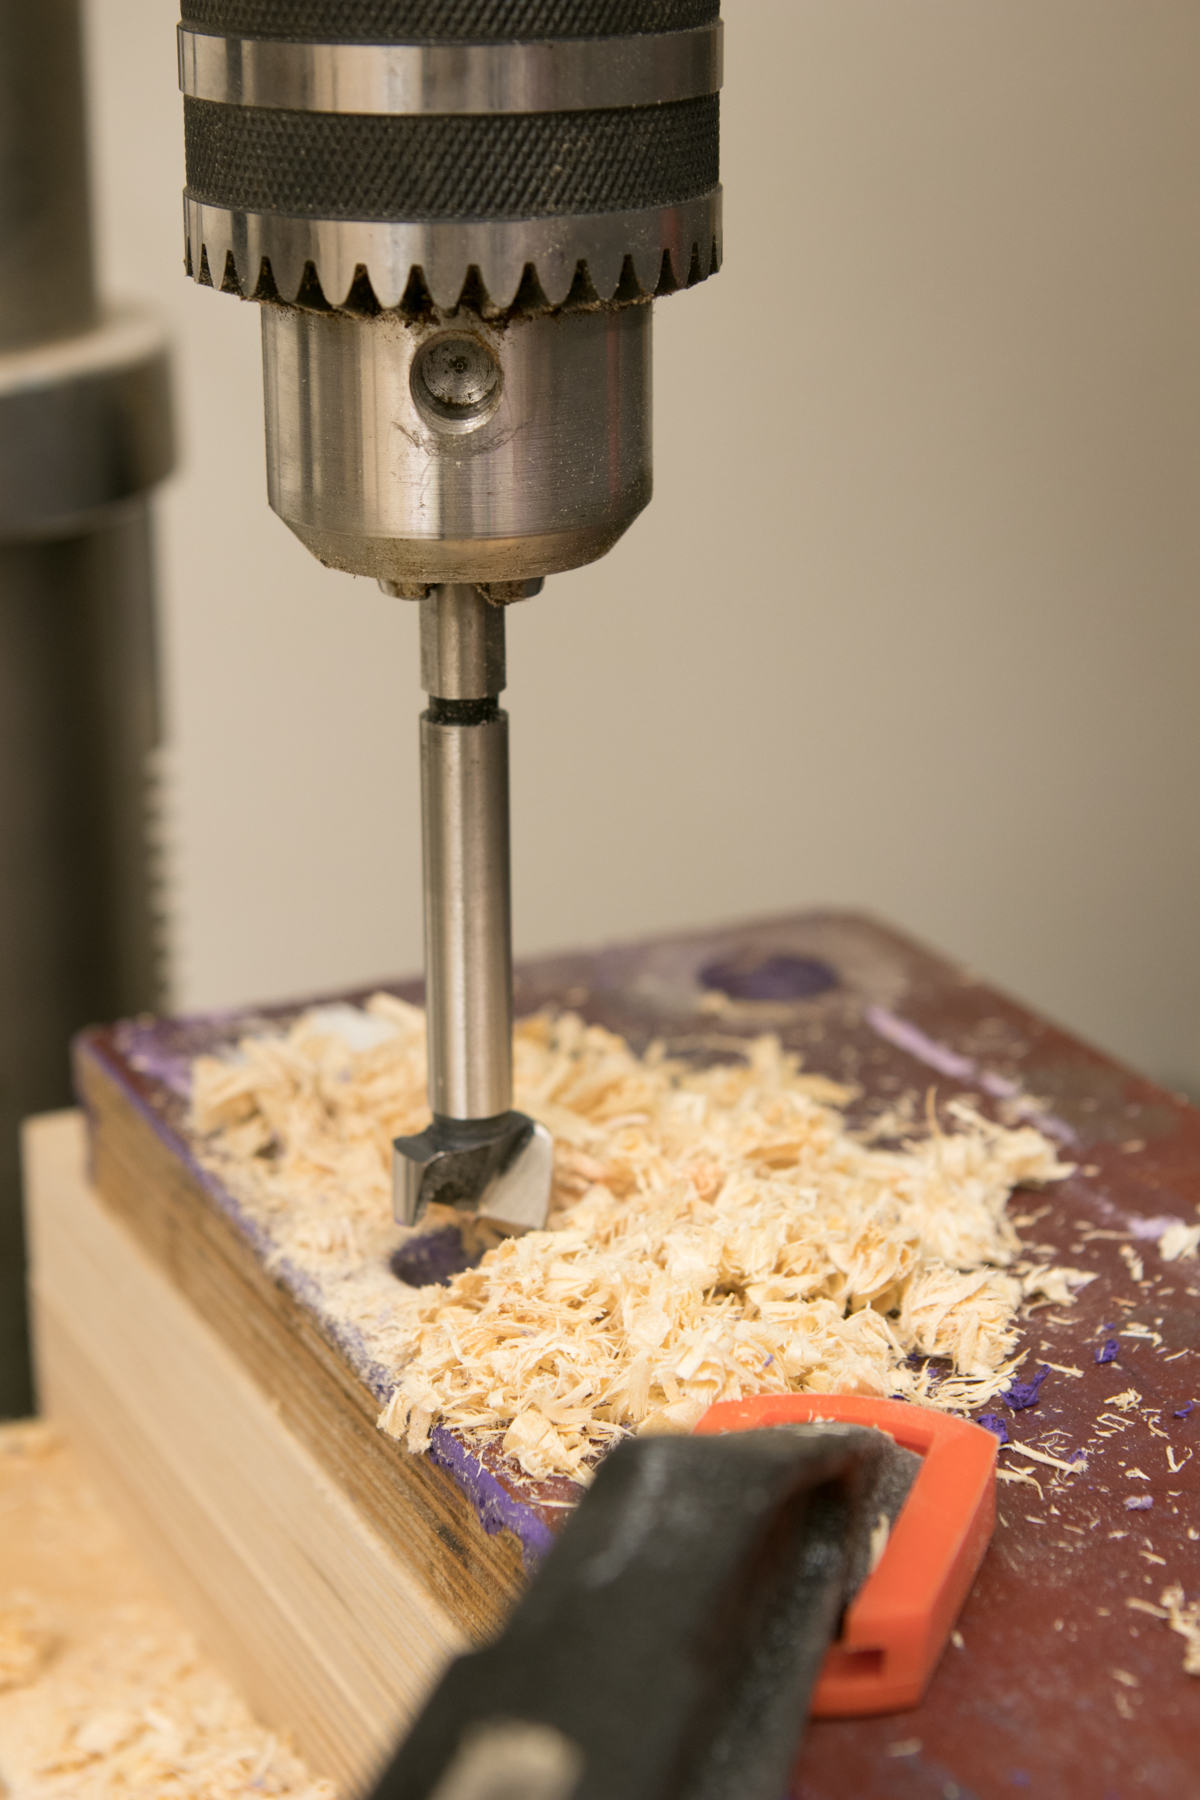
I set up a 3/4″ Forstner bit in my drill press, clamped things to the table with a backer board at the bottom, and drilled out all the holes. You could certainly do this with a handheld drill if you don't have a drill press – here are two ways to create vertical holes with a handheld drill: technique 1, technique 2.

With the dog holes drilled out, I removed the screws and sliced off the extra inch on each side.
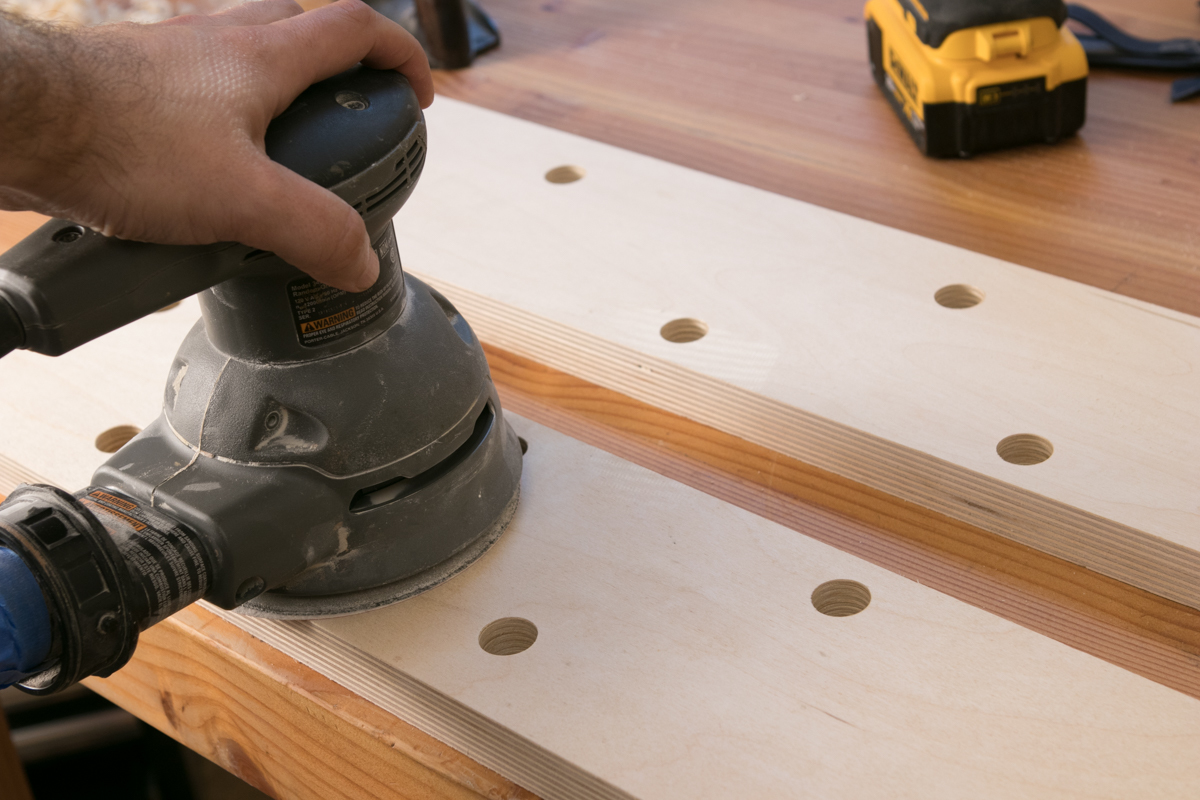
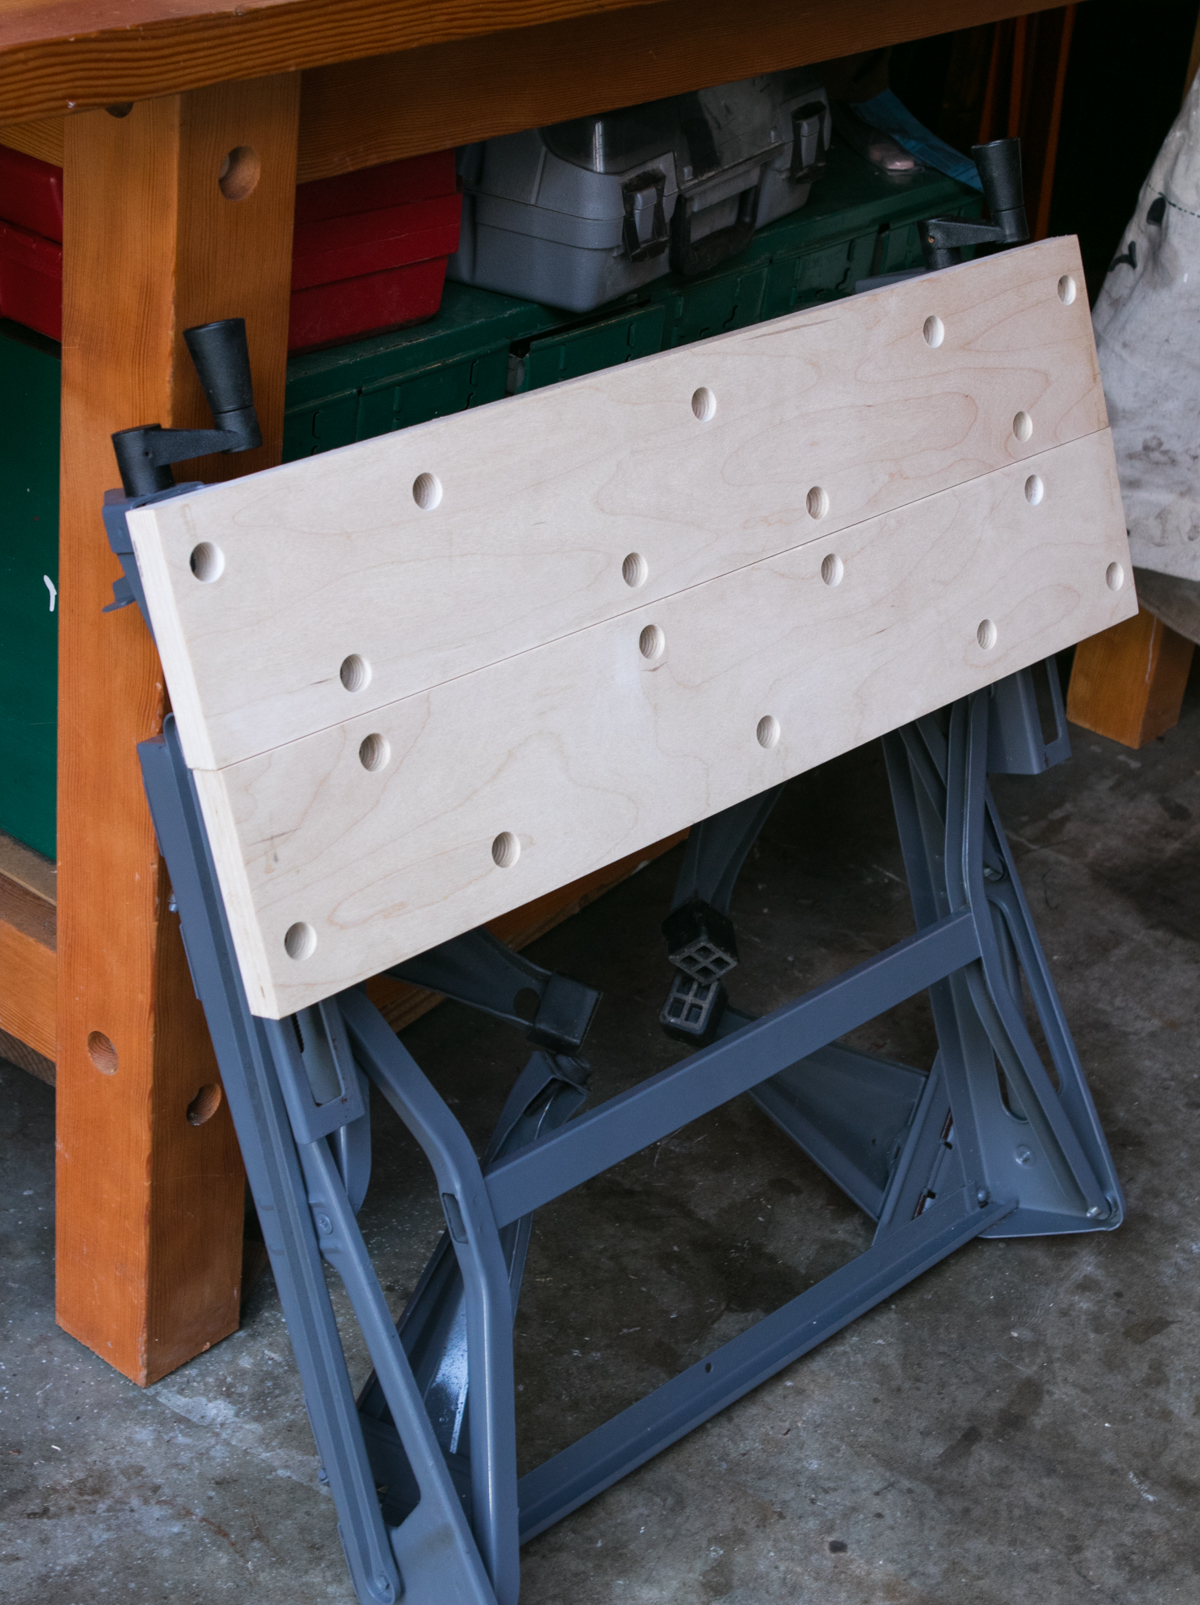
Lastly, I sanded the tops (mostly to remove the dirt and paint chips left from the old template board. These will get banged up, so they don't need to be pristine.) I finished with a few coats of paste wax.
And…we're done!
I bought some new machine screws to attach the tops back to the base. 80¢ well spent.
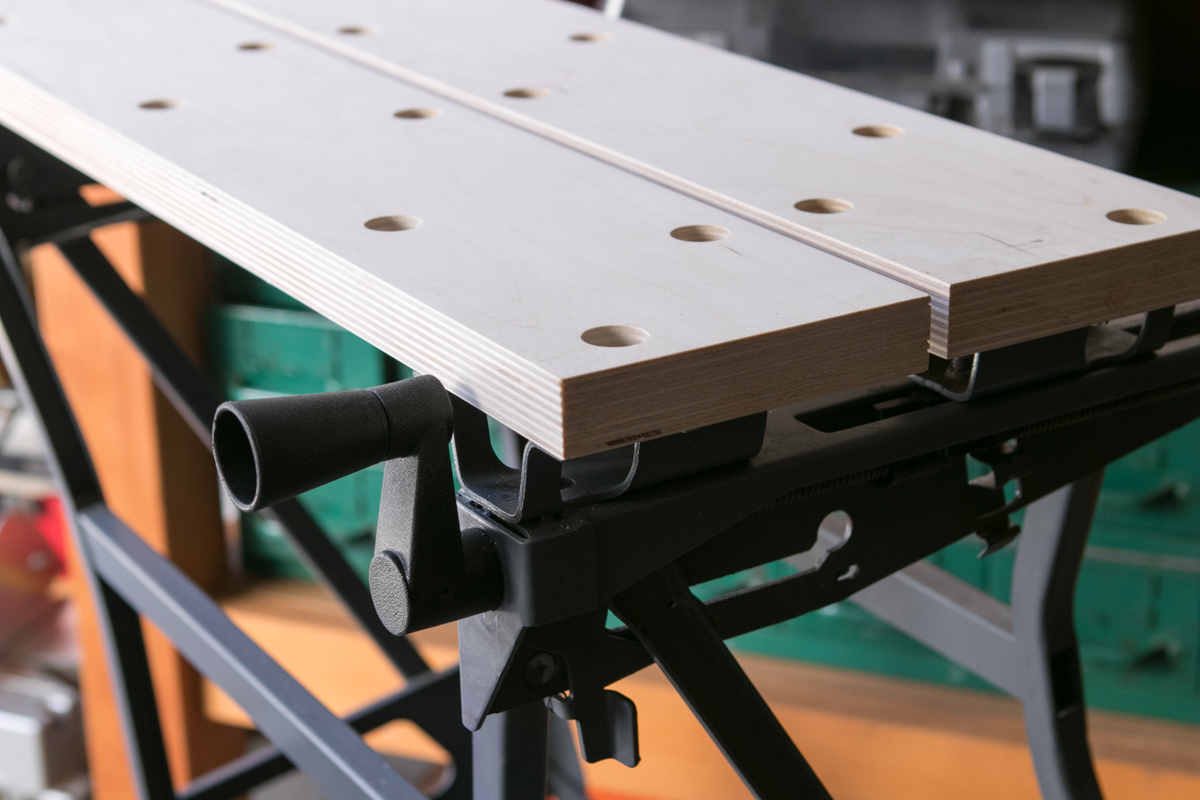
Im really happy with the results. This might seem like a lot of work for a workshop appliance, but seriously, it only took me about 90 minutes and one trip to Home Depot. I had the wood in my scrap pile. and the only cost was a can of spray paint and less than a dollar's worth of new hardware.
So, for about $15, I have a new, portable shop helper and mobile worksurface to use while I spend time with my family, and develop my craft. It's lightweight, folds up well, and easy to transport. It was sixty dollars less than a new workmate, and the quality is infinitely much better.
Oh. And its not purple.