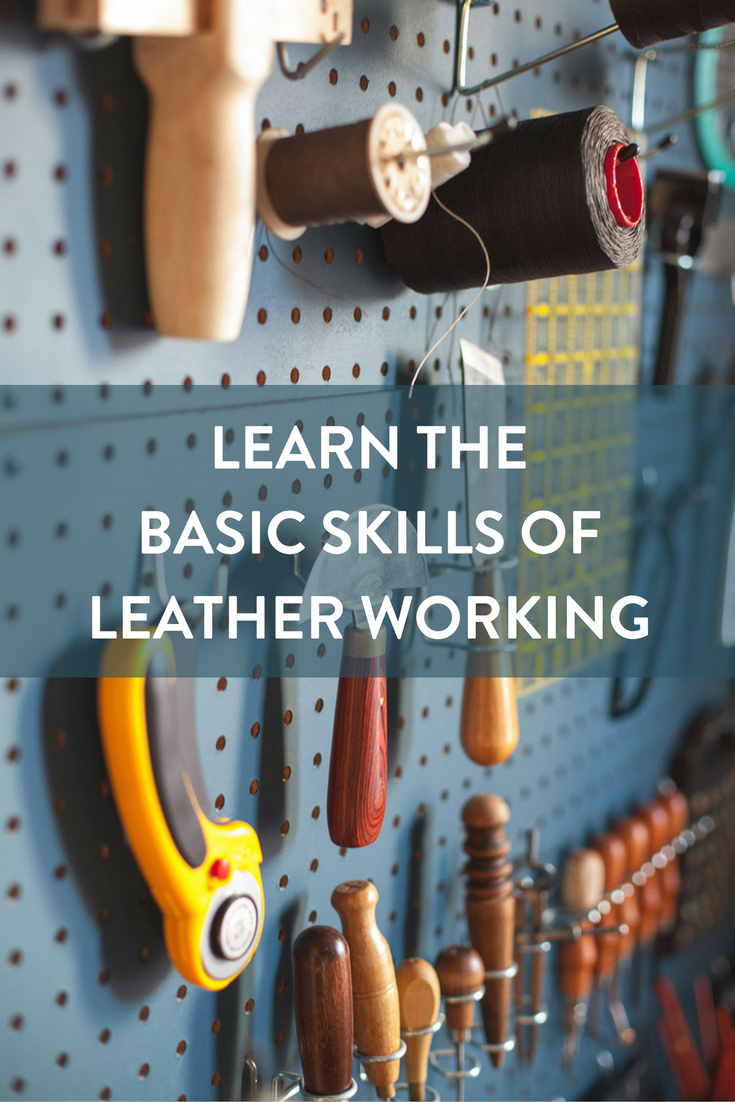
Beginner’s Guide to Leatherworking
Seriously, it didn’t take long before I was making leather items at a much higher quality than those boots, and it won’t take you long either. Even though leatherworking is a lot less common than, say, woodworking, it is actually super easy to get started. With starting costs being relatively low and easy to understand basic skills that are transferable to many projects, leatherworking is definitely a skill you should pick up.
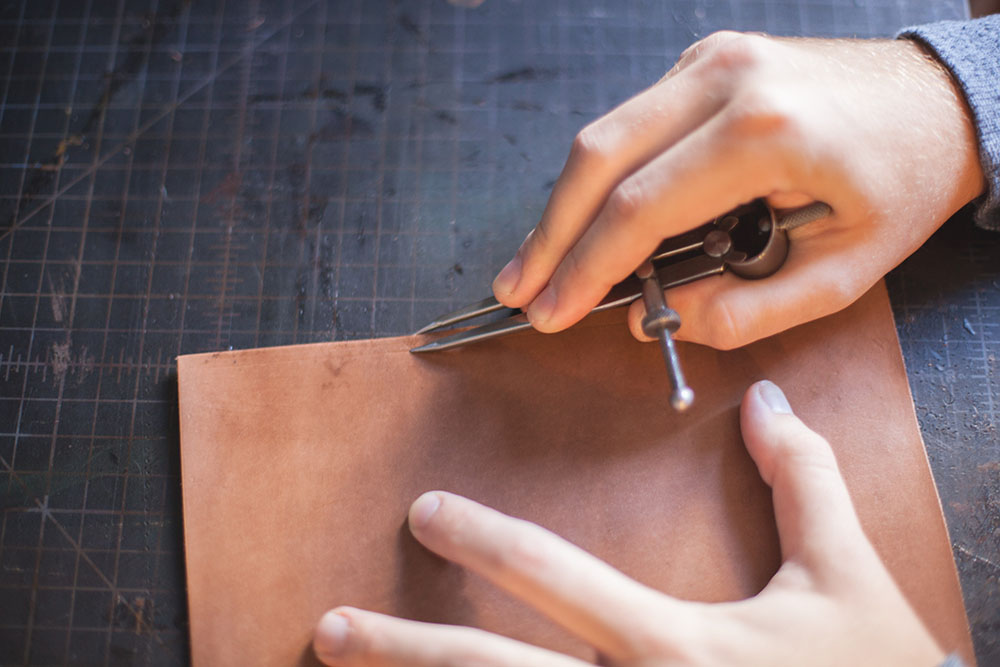
Cutting:
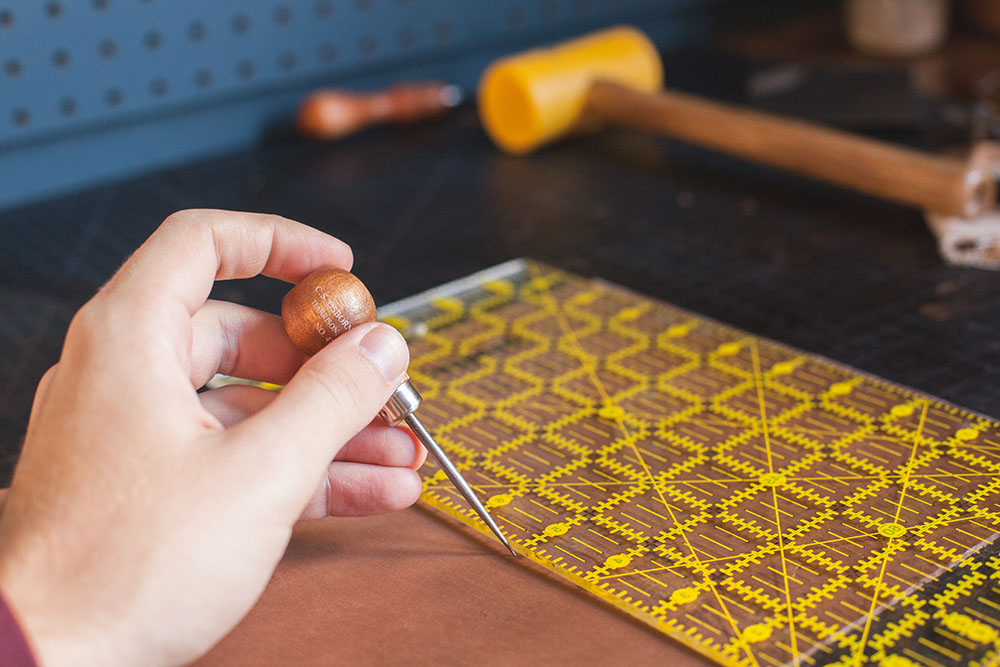
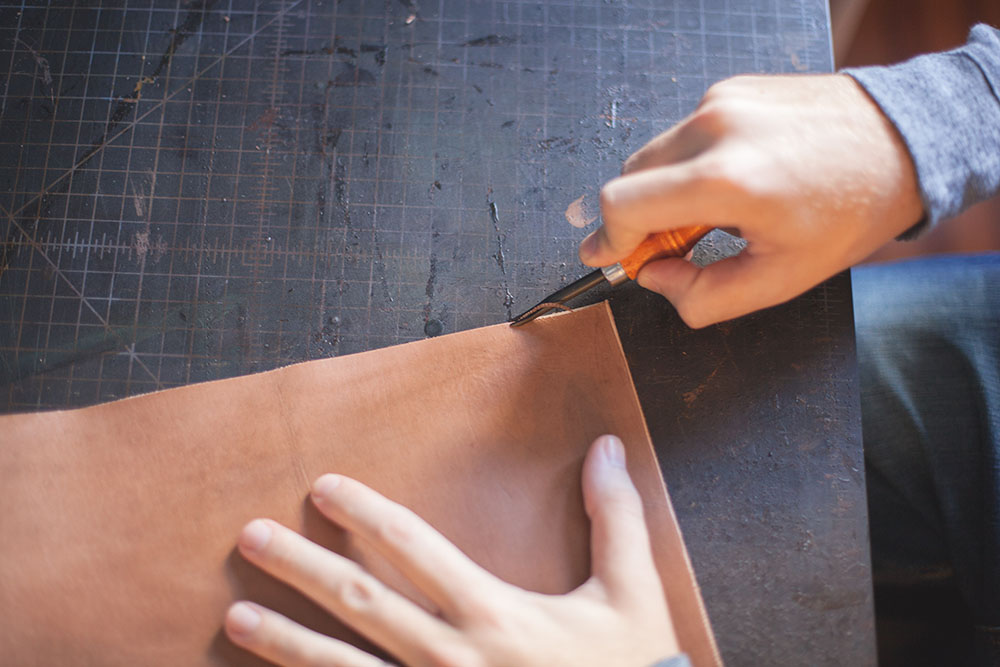
First, trace out your project onto the leather using a scratch awl and ruler.
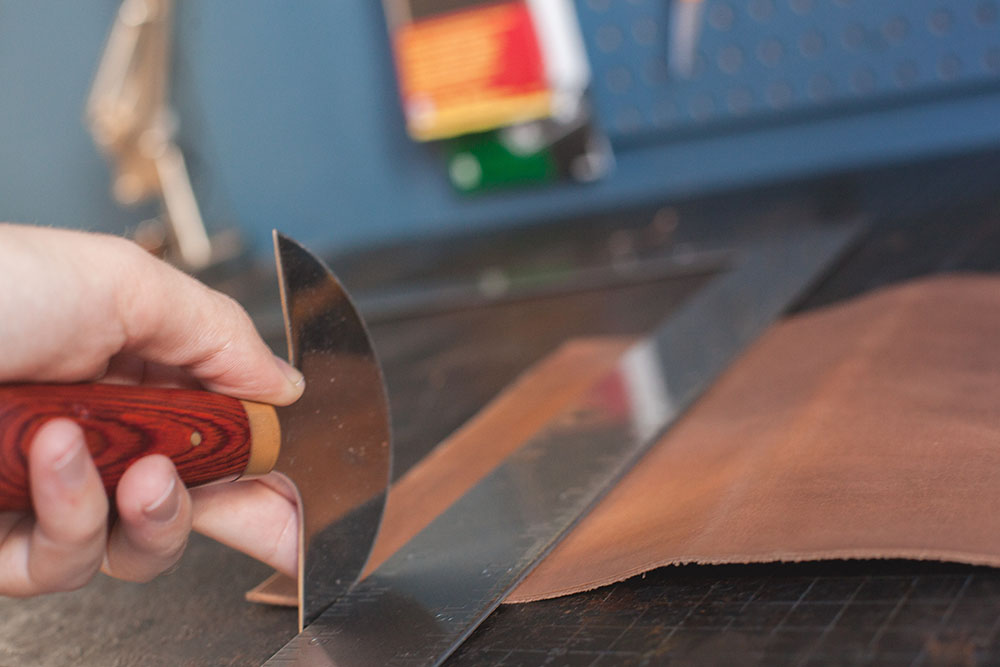
Next, cut out each piece with a knife and a heavier ruler that isn’t going to slip. There are a lot of different kinds of knives that work well when cutting leather. If you are just getting into leatherworking, rotary cutters work well.
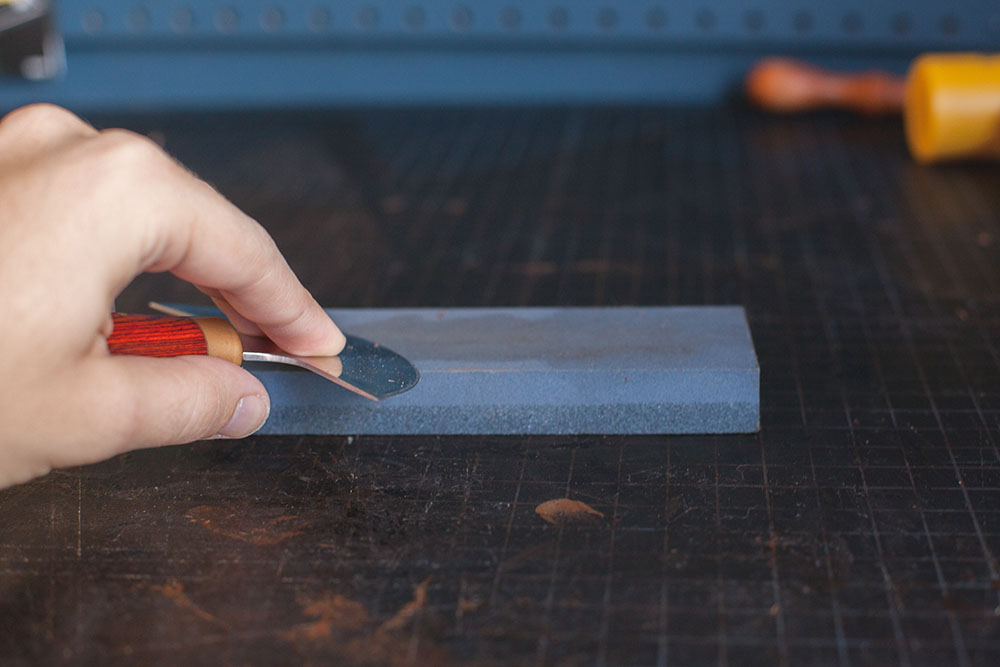
Finally, it’s insanely important to keep your knives sharp. Your cuts won’t be as clean and you’re prone to make more mistakes with a dull blade. Even if you’re using a rotary cutter, make sure to keep it sharp. You can buy a rotary blade sharpener or replace the blade frequently.
Gluing:
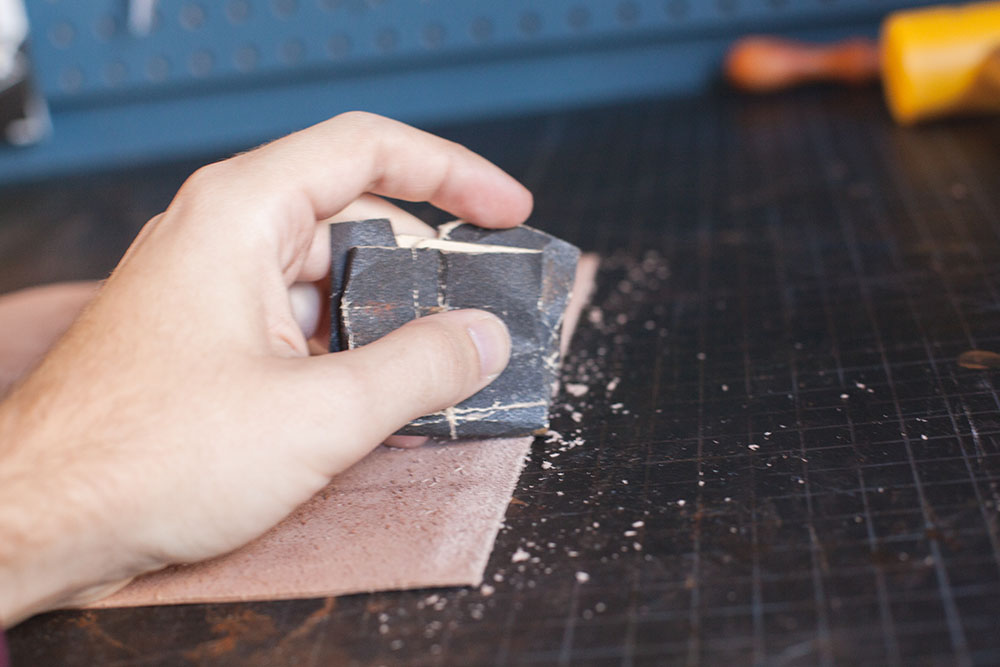
First, sand the area that you are planning on gluing, especially if it’s on the flesh side (surface or top side) of the leather. This will make it so the glue can sink into the leather a bit and adhere much better.
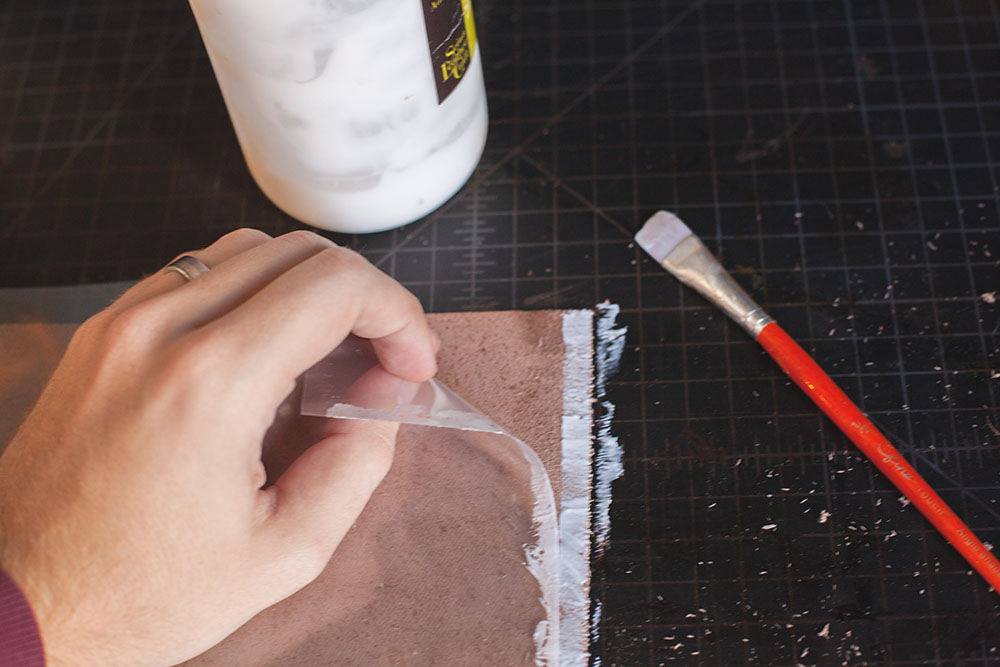
Next, lay down some wax paper and apply the glue with a paintbrush. Getting glue in the wrong spot is a serious pain to try and clean up, so use wax paper to keep the glue where it needs to be.
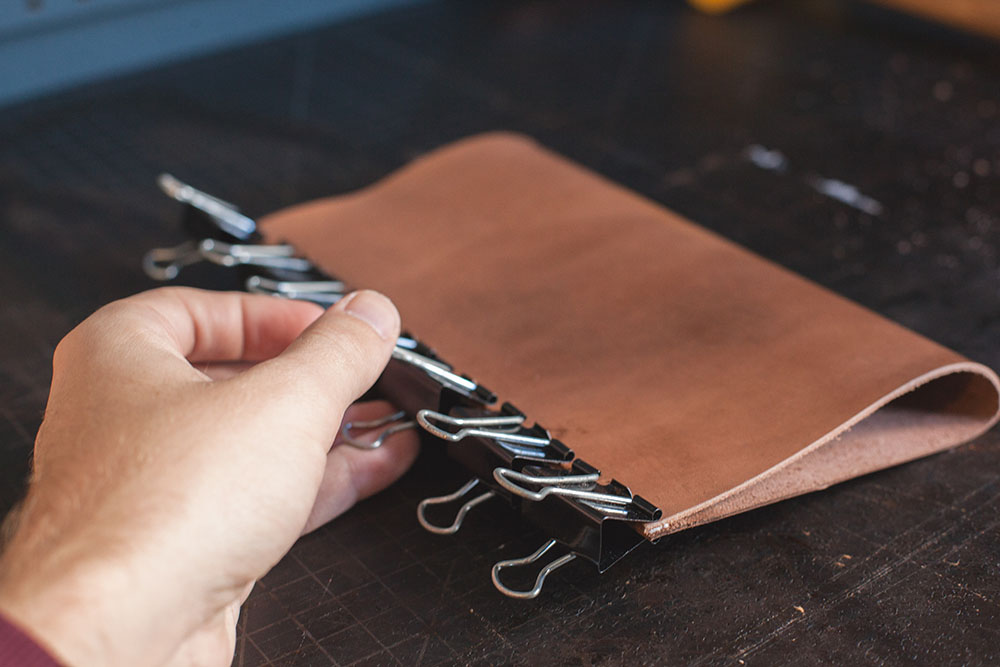
Finally, apply pressure while it dries. Often I will use binder clips, but make sure the leather you’re using for your project doesn’t get dented by the blinder clips. If that’s the case, just lay a cloth over the edge and then clip on the binder clips.
Hand Stitching:
First, mark your stitching lines with a divider. If you’re not sure how far to set your stitching in, a general rule of thumb is to have the distance between the stitching and the edge be the same as the thickness of the edge.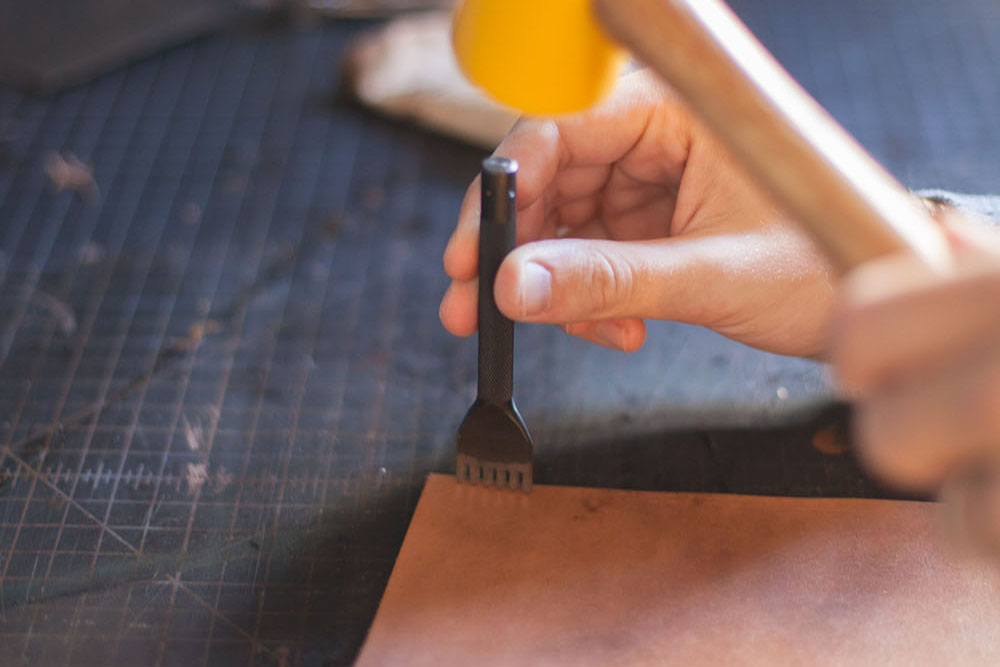
Next, punch your stitching holes using a diamond chisel. The only trick to this is to make sure that your chisel is perfectly perpendicular to the leather. A slight angle one way or the other will make it so the stitching on the backside doesn’t line up. This is especially a problem on thicker projects, like belts.
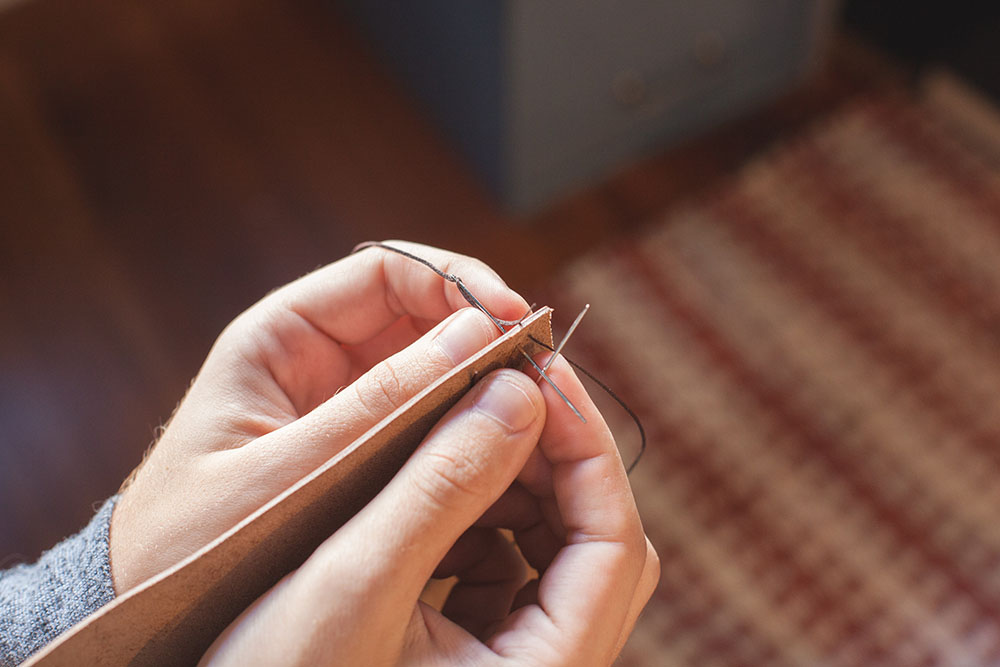 Now to the hard part: saddle stitching. Once you have the needles through the first hole, take the needle on the left side and push it through the leather. Then, with the right needle, come behind the left needle to make a cross.
Next, with the right needle still behind the left needle, pull the left needle through and rotate your hand toward you so that the left needle is now facing you and the right needle is facing the stitching holes.
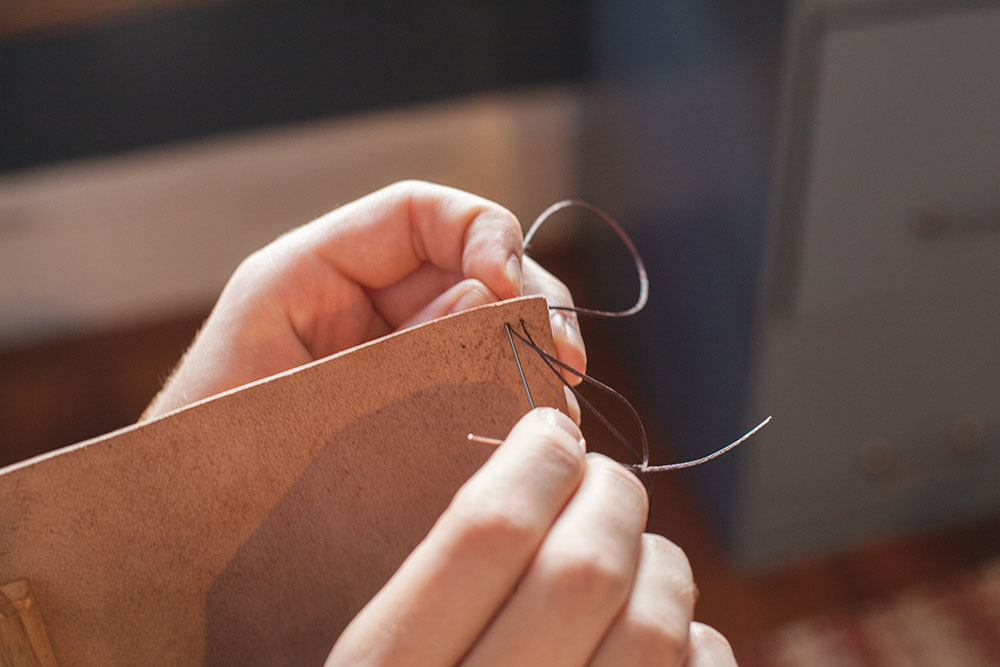
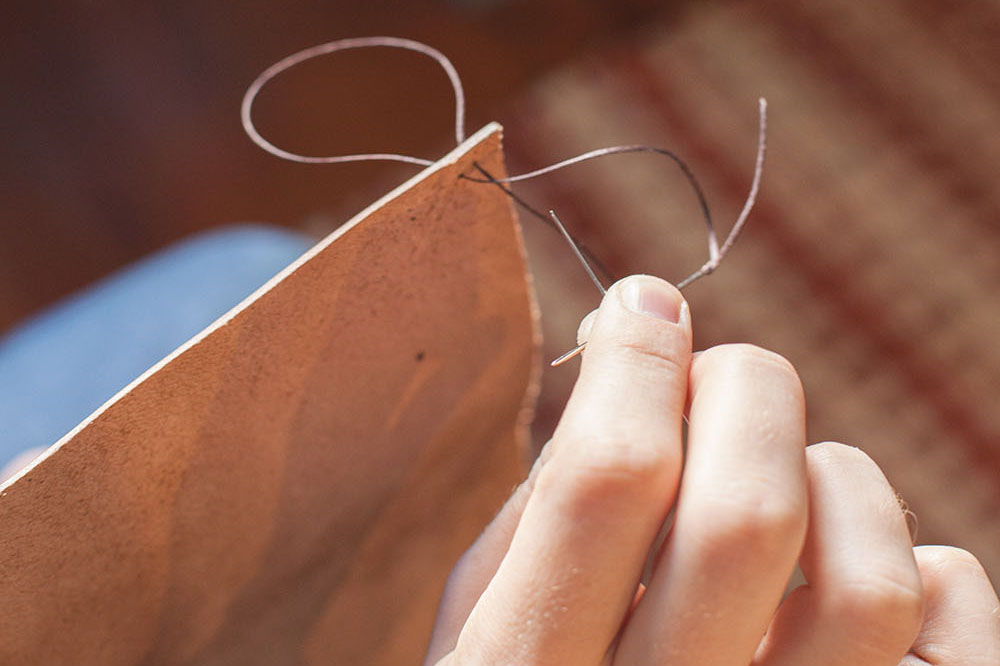
Finally, put the right needle through the same hole you just pulled the left needle through. If you used a diamond chisel, each hole will be a diamond shape. This means that each hole has a high point and a low point. For your stitching to look uniform you need to consistently put the right needle back through the hole at the same point in the diamond, ideally the point of the diamond that is closest to you. Once the needle is through, pull both tight. At that point, you’ve finished your first saddle stitch. On to the next one. Once you’ve completed your entire stitching line, you’ll need to backstitch. Back stitching is a saddle stitch that goes backwards two to three holes to make sure the thread won’t come lose.
If you’re trying to learn to stitch, it is ultimately a little bit hard to read how to do it. It’s just something you have to see. If you’re still having trouble understanding how to stitch (and I would be) you can check out this stitching guide, which also has a quick video to show you how to stitch.
Edge Finishing:
 First you’ll need to bevel your edges. The reason for this is that the surface of the leather will start to fold over as you sand the edge. Beveling basically removes that part that would fold over. Beveling is super easy. All you need to do is run the beveler along the edge with a moderate amount of force.
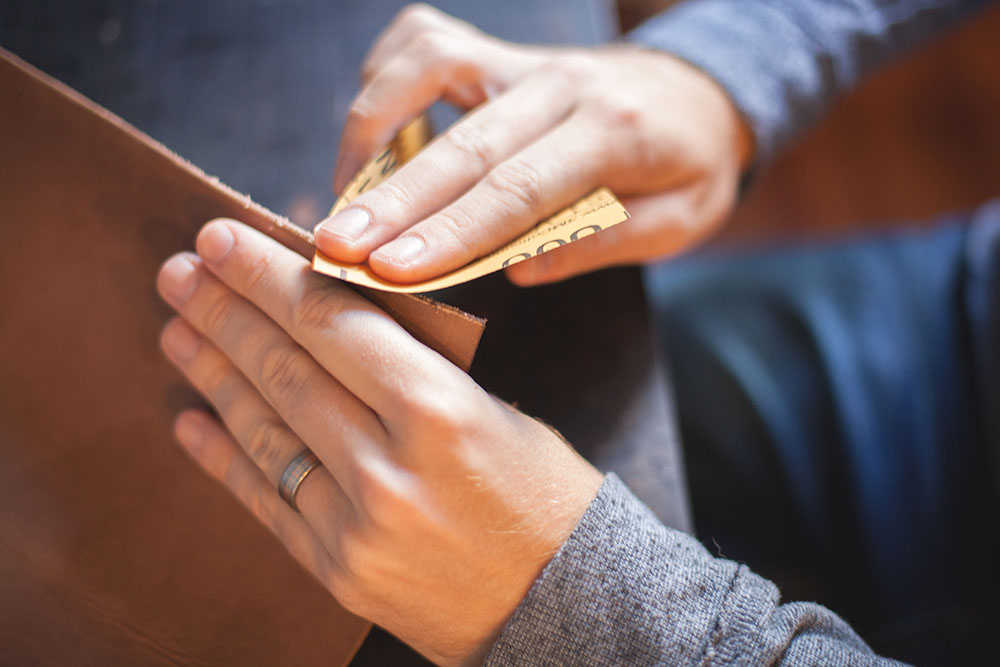
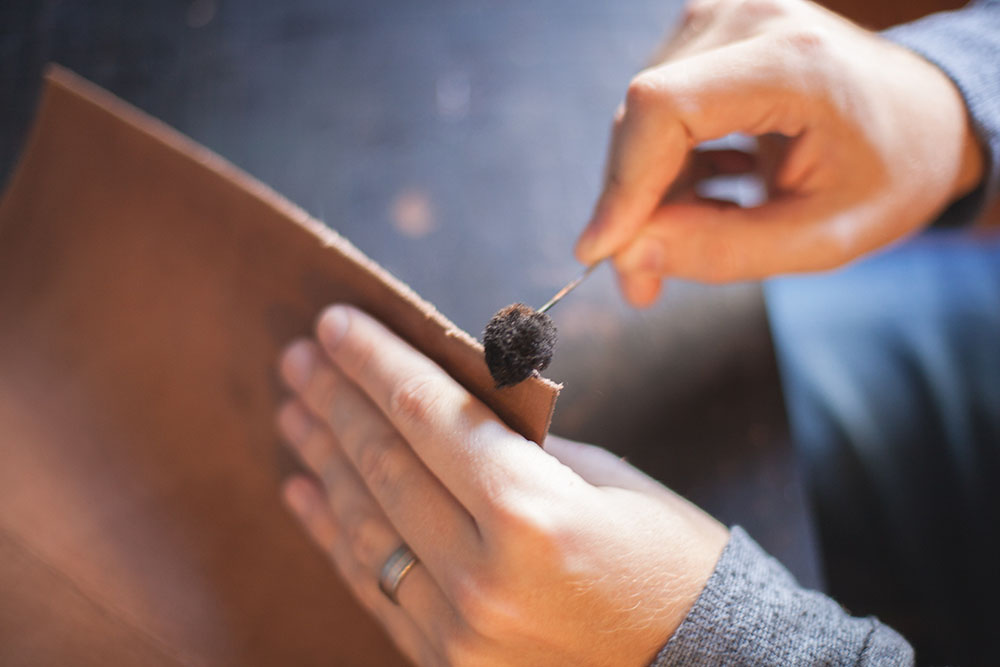
Once the edges are smoothed out, it’s time to dye the edge. I apply the dye with a wool dauber. But, dying the edge isn’t something you have to do. If you want your edge to be a natural color, then don’t dye it. Typically though, I will dye the edge with the same color I used to dye the surface. When you burnish the edges will naturally darken, so using the same dye provides a darker shade of the same color, which always looks good.
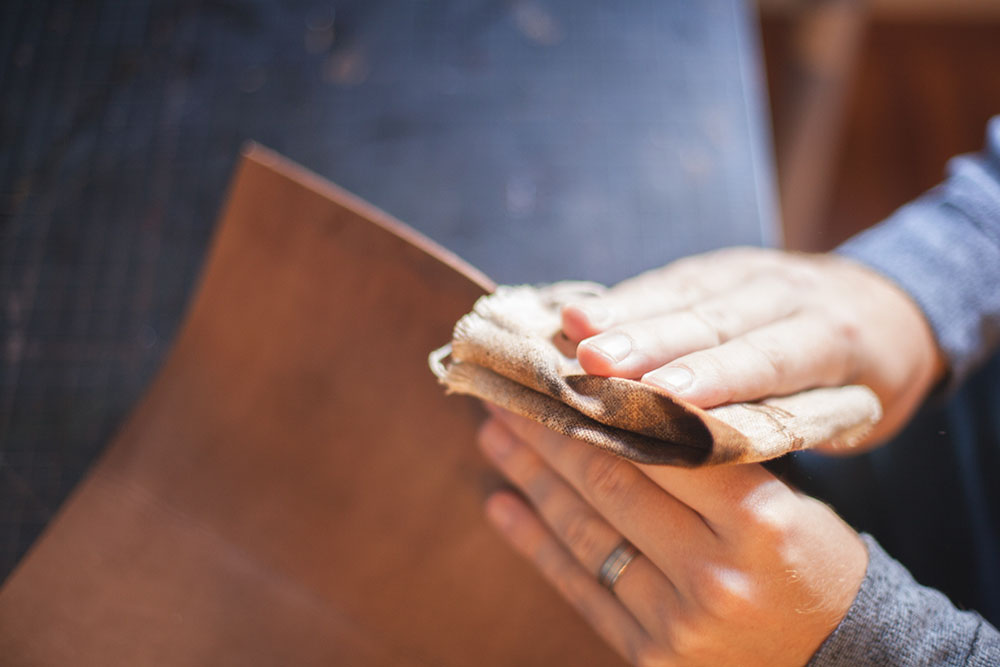
After the edges have been dyed, it’s time to actually burnish. To do this, dip your finger in water and lightly wet the edges. Make sure not to soak the edges though. Leather becomes very pliable when soaked and can be molded. This is great for other things, but not so much when your burnishing. Once you’ve put water on the edges, rub a canvas cloth across it briskly until the edges start to darken and shine. You’ll know you’re done when you start to hear a tacky sound.
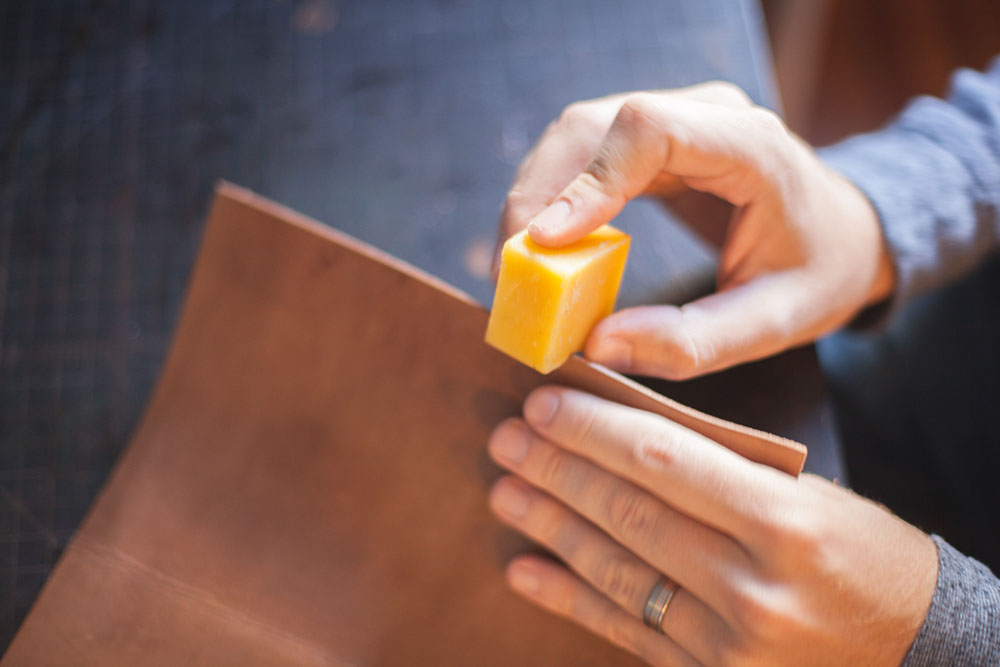
And finally, apply some beeswax to the edge. This helps keep the leather water-resistant and makes the edges look dang good. After putting on the beeswax, make sure to buff the edges again with a piece of canvas. Then you’re done.
See? It’s not so bad. With a basic grasp of these skills, you already have the knowledge you need for your first project. Now’s your chance to go make your first leather item.