Protect It: How and Why You Should Wax Your Workshop + Heavy Duty Fabric
I admit it: I'm pretty rough on my stuff, so when it matters, I like to make sure it lasts. Adding a layer of wax adds durability and helps to prevent water saturation, and shed stains and grease. Here are the simple steps to keep your fabric and canvas like new in the shop.
Waxing canvas and fabric has been around for centuries. Early sailors and outdoorsmen used grease, whale and fish fats to seal off their clothes, tents and sails from the elements. But animal fat tend to sour over time and nobody wants to smell like a beached whale. That's where beeswax, paraffin and similar materials come in. Heat them up a bit and they rub in nicely with a great vintage look that feels naturally worn and still well protected.
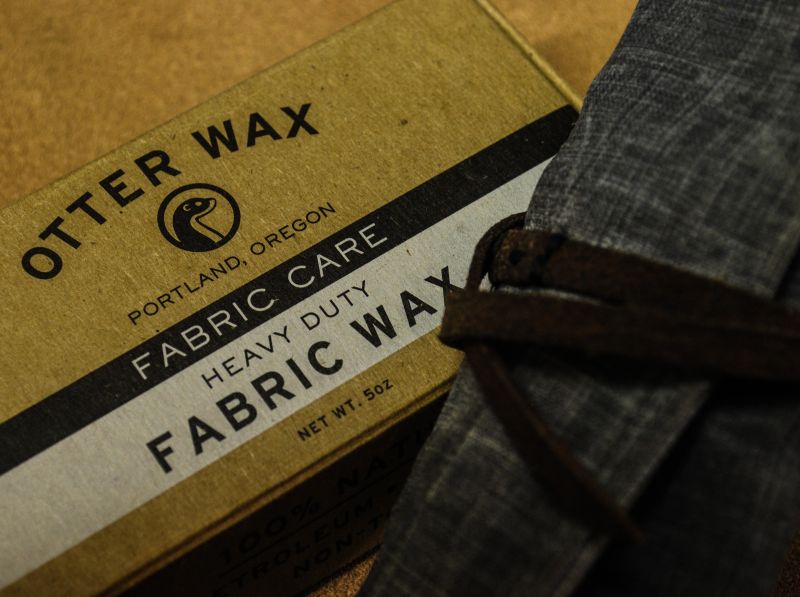
You can blend your own wax for the process, but getting a pre-made bar like this one makes it easy to get a layer of waterproof, flexible, and non-yellowing protection that will keep your gear looking great for years. I purchased the 5 oz bar, and barely made a dent in it on this project.
The Process:
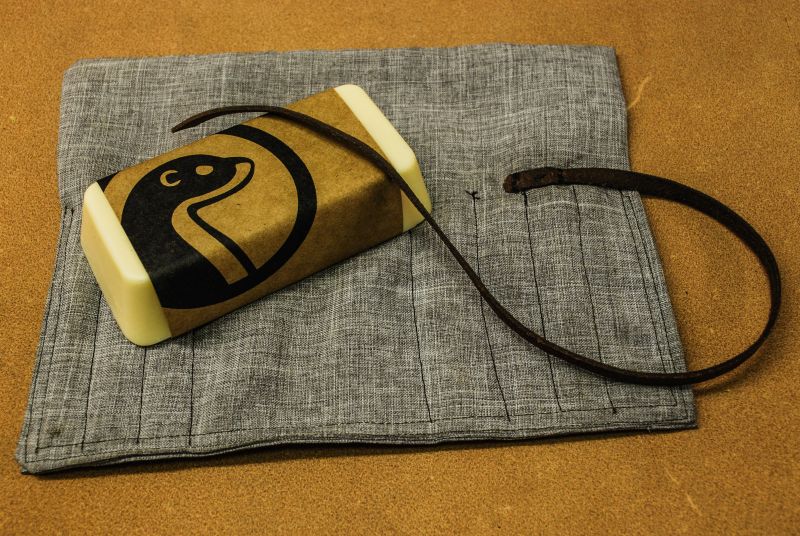
1. Make sure your materials are clean and dry.
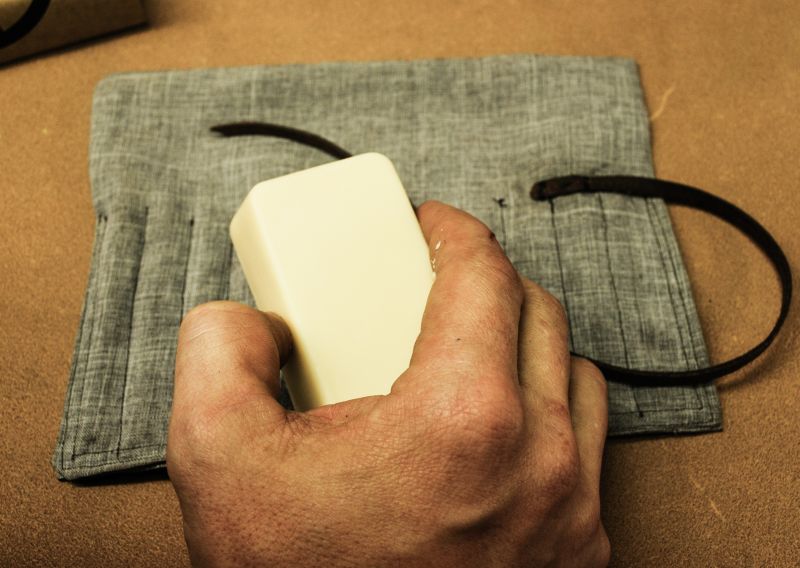
2. Rub the wax onto the fabric with even strokes warming up the wax with friction. Continue to rub on the wax until there is an even layer.
3. Heat the fabric with a hair dryer or heat gun to allow the wax to soak into the material.
4. Allow the wax to dry for 10-15 minutes, then heat up again and allow to fully dry.
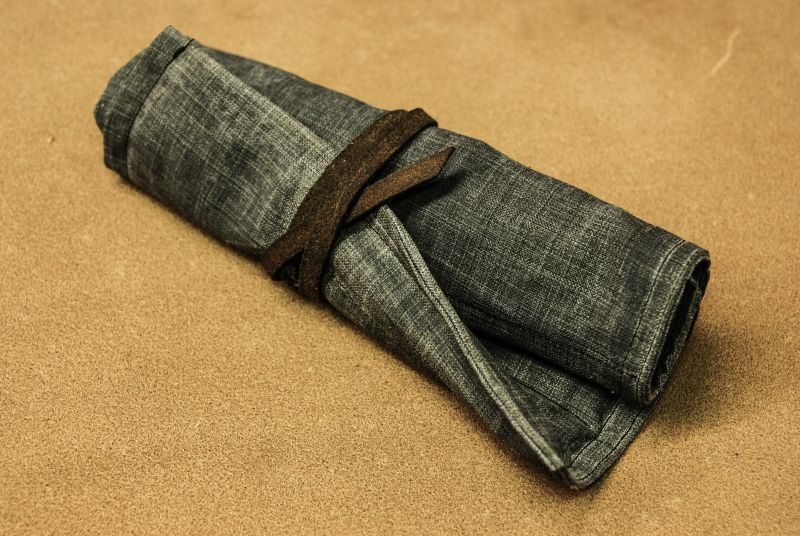
Once the material is fully dry, it should hold up to abuse for years to come. The picture above shows how seams and other areas have a vintage, worn color to them after application. If you need to, wash the material with soap and water. Don't ever put in the washing machine, that wax plays havoc on anything else in the load, just. . . trust me on that one. If you need another layer, repeat the steps from above.