7 Common Mistakes to Avoid When Using a Random Orbital Sander

The random orbital sander is one of the first tools any maker or DIYer should own. In fact, I can’t think of another powered tool that I use more, on nearly every project involving wood. The design is simple, and right there in the name – they move, in a random circular pattern, to sand wood.
What is a Random Orbital Sander?
A huge improvement over its predecessor, the pad or orbit sander, these guys use a specially shaped sandpaper disc to get your project smooth fast and with minimum swirl marks. Well, at least faster than sanding by hand, and with much less energy. But with great power comes great…opportunity to mess things up. These wonder tools work, but there are several tendencies and missteps that can be totally avoided with just a little know-how.
Click here to view our recommendations on which random orbit sander you should buy.
Common Random Orbital Sander Mistakes
1. Slow Down while Sanding
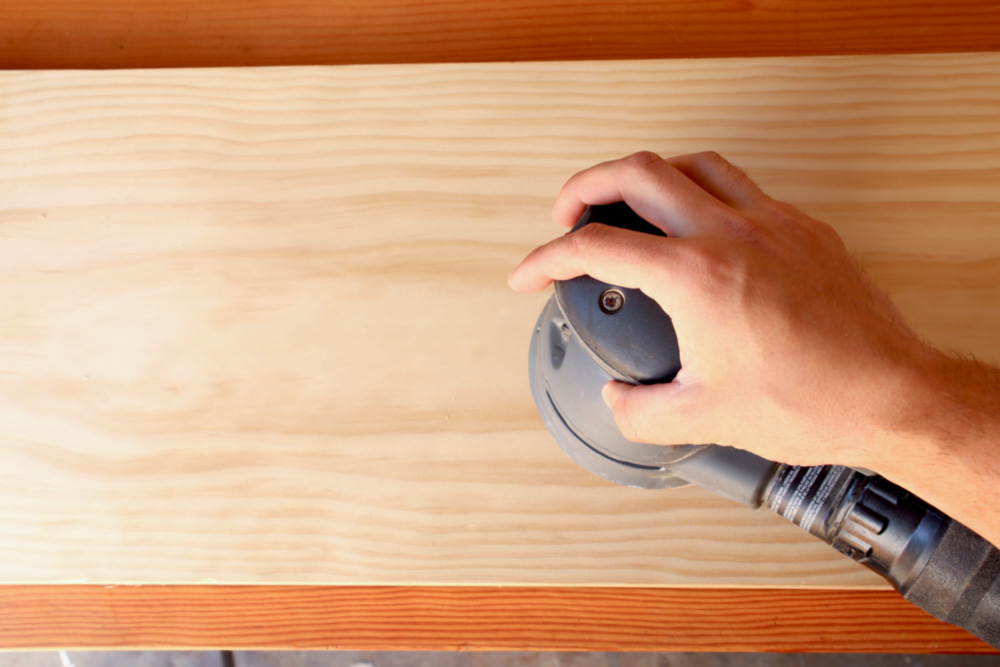
If you’re accustomed to sanding by hand or using a belt sander where you constantly keep things moving, this one can take a bit of a perspective shift to wrap your head around. But – random orbital sanders are designed to be used extremely slowly. Not quite a snail’s pace, but perhaps an ant’s.
So, what’s the ideal speed? About ten to twelve seconds per linear foot. About an inch per second. Really? Really.
This feels incredibly slow and tedious, and, admittedly, it is. But that’s what it takes to let the random oscillations do what they’re designed to do. This is the best way to reduce swirl patterns on the surface and get a uniformly smooth surface.
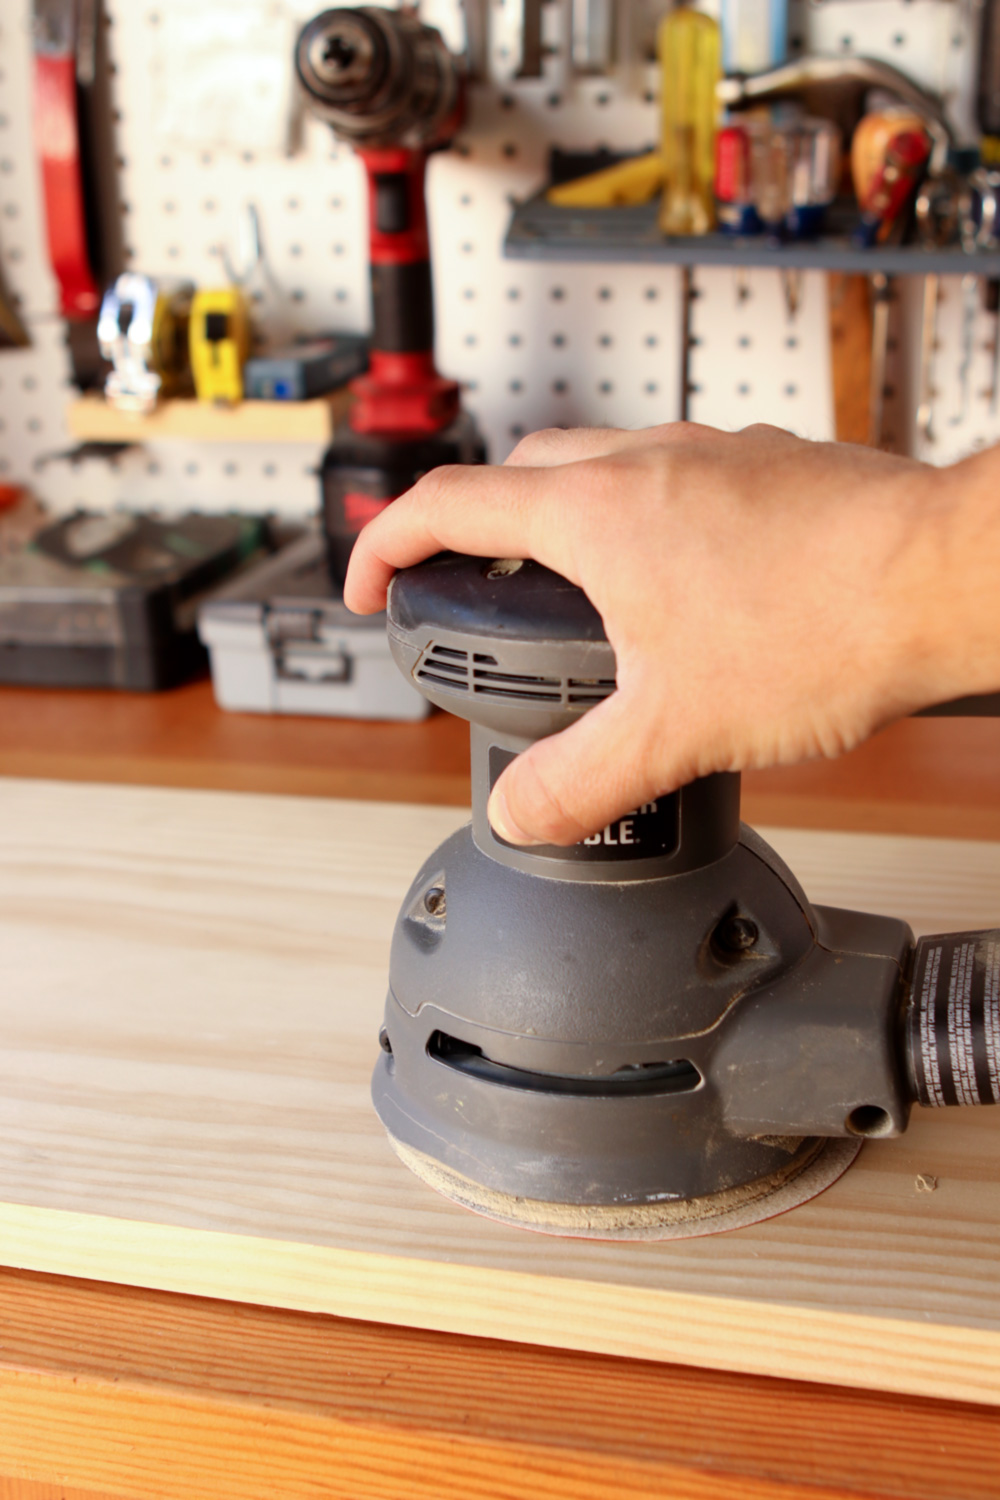
2. Don’t Press Down into the Wood
You do not need to add any pressure to the tool to make it cut properly. Don’t bear down, even the slightest bit. The weight of the tool and your hand is enough to get the results you want. In fact, pressing down can bog the motor, slowing down the process and harming the quality of your surface. Just let the paper do the work.
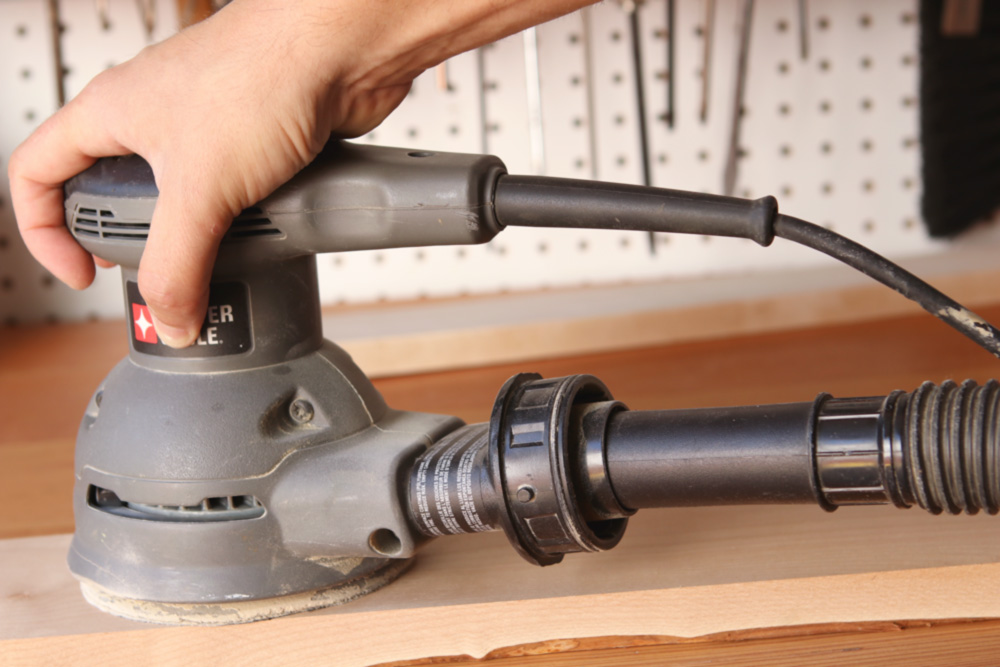
3. Use a Vacuum to Clean Up Dust. Every. Single. Time.
Connecting the random orbital sander to a shop vacuum not only cuts down on airborne dust in your workspace, but it can also actually help improve your random orbital sander’s efficiency. By keeping the suction going, you reduce the layer of dust that sits in between the wood and the paper. This allows the grits to be constantly in contact with your project, not the dust that you just removed. That means you can work faster, and get to smooth quicker.
4. Don’t tilt your sander. Ever.
We’ve all done this, and we’ve all regretted it. When you see a high spot or a burn mark, it’s natural to want to angle that sander a bit and bear down on the problem area to get it gone fast.
Avoid the temptation. Random orbital sanders are designed to do one thing: make a flat plane uniformly smooth. (Or, technically, since the sandpaper is an abrasive, uniformly rough). Anything else, and you’re just asking for a forehead slap. Don’t do it.
Instead, use hand sanding or, if you have one, a hand plane to tackle inconsistencies. It doesn’t take any longer, and your work will be divot-free.
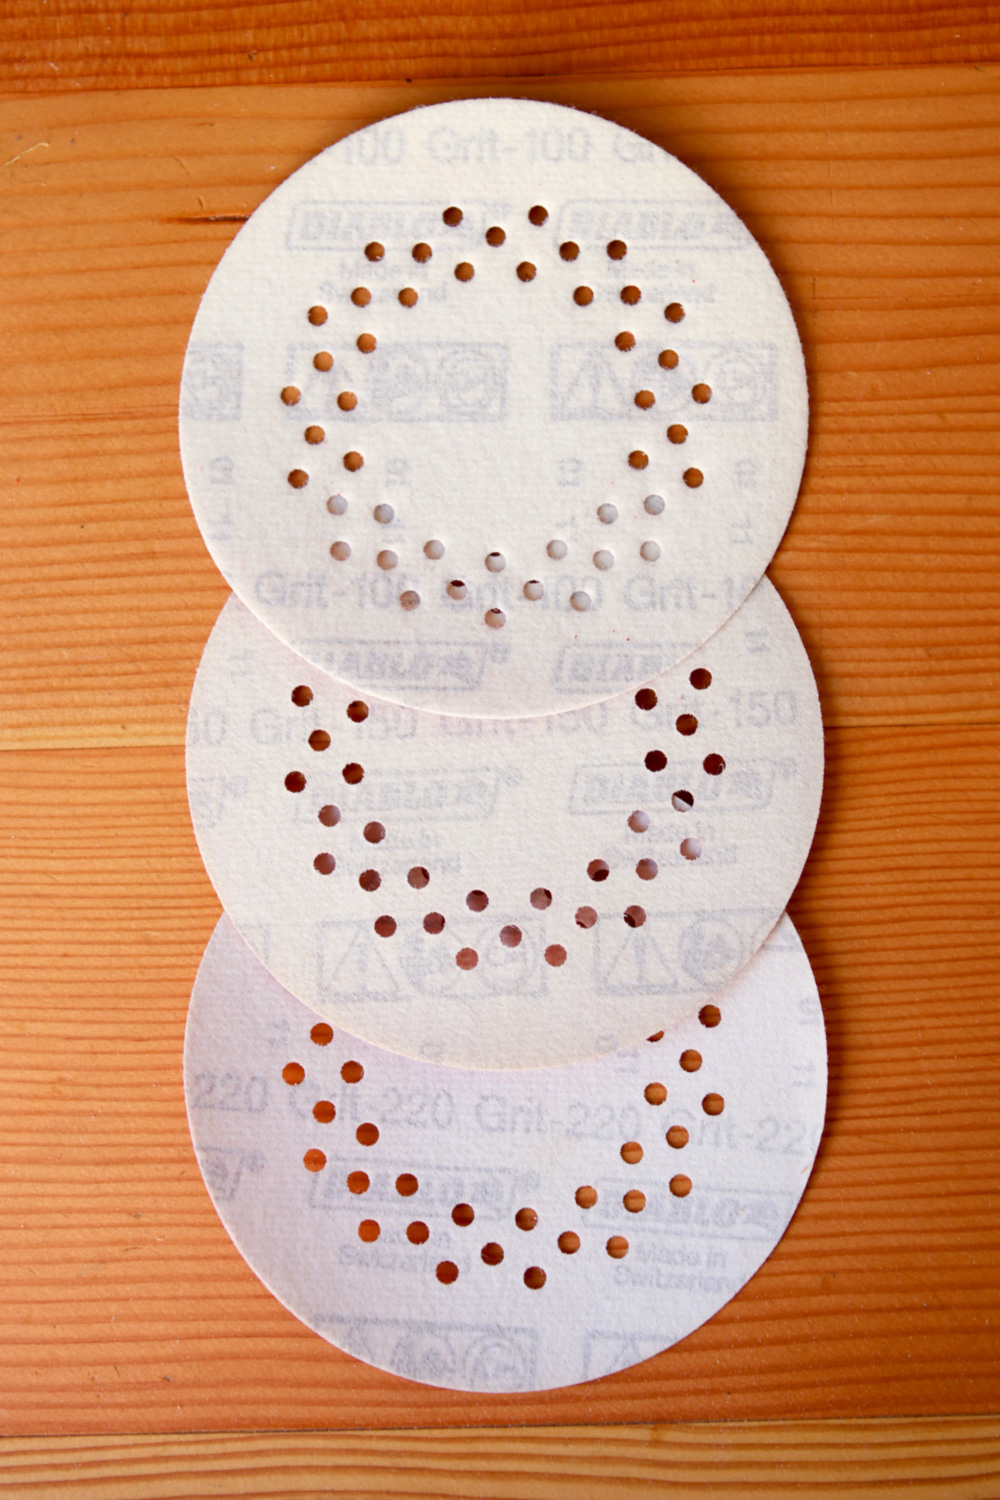
5. Use a variety of grits, but not all of them.
Sandpaper grits are designed to be used as a team, where each progressive grit removes the scratch pattern from the last one. This means you can’t just toss on a super fine grit disc and get a finish-quality surface without working your way up.
But you don’t need to go all the way through 80-100-120-150-180-220-320. Buy your sanding disks in 100, 150, and 220. You can use the medium 100 for quicker stock removal, and the finer grits to prep the surface for finish.
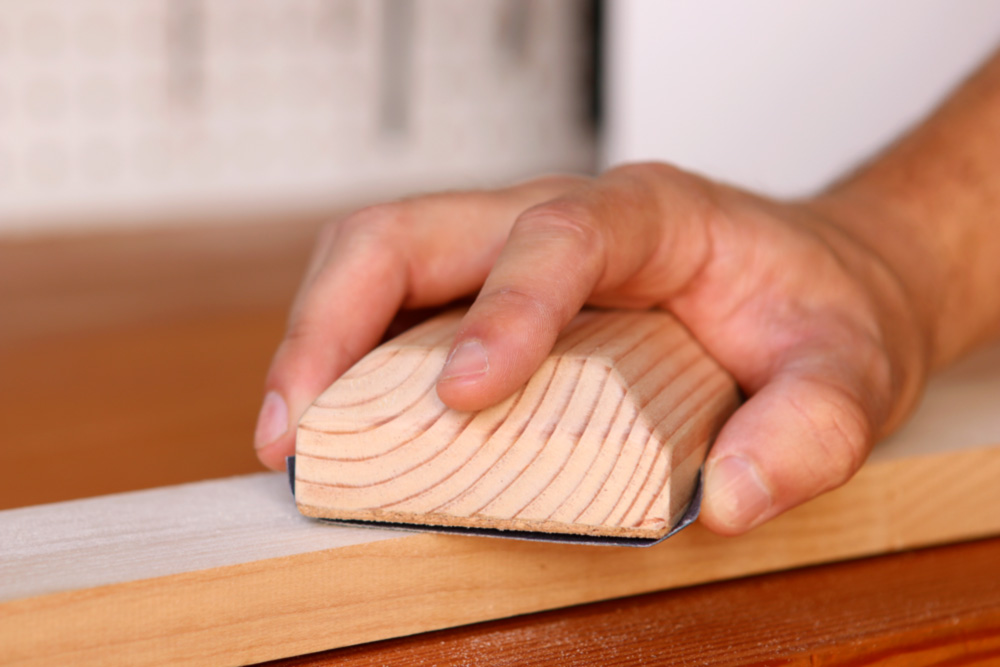
6. Always finish with sanding by hand.
You’re never going to get a finish-quality surface with a sanding machine, at least on most hardwoods. Random orbital sanders leave subtle swirl marks that can appear under the finish even if you follow all the steps above.
Once you’ve taken your project to 220 with the sander, finish with the same grit by hand using a flat sanding block. Sand with the grain only. If you need some, here’s our quick and easy tutorial for making the ultimate sanding block.
7. Don’t ask too much, or too little, from your sanding discs.
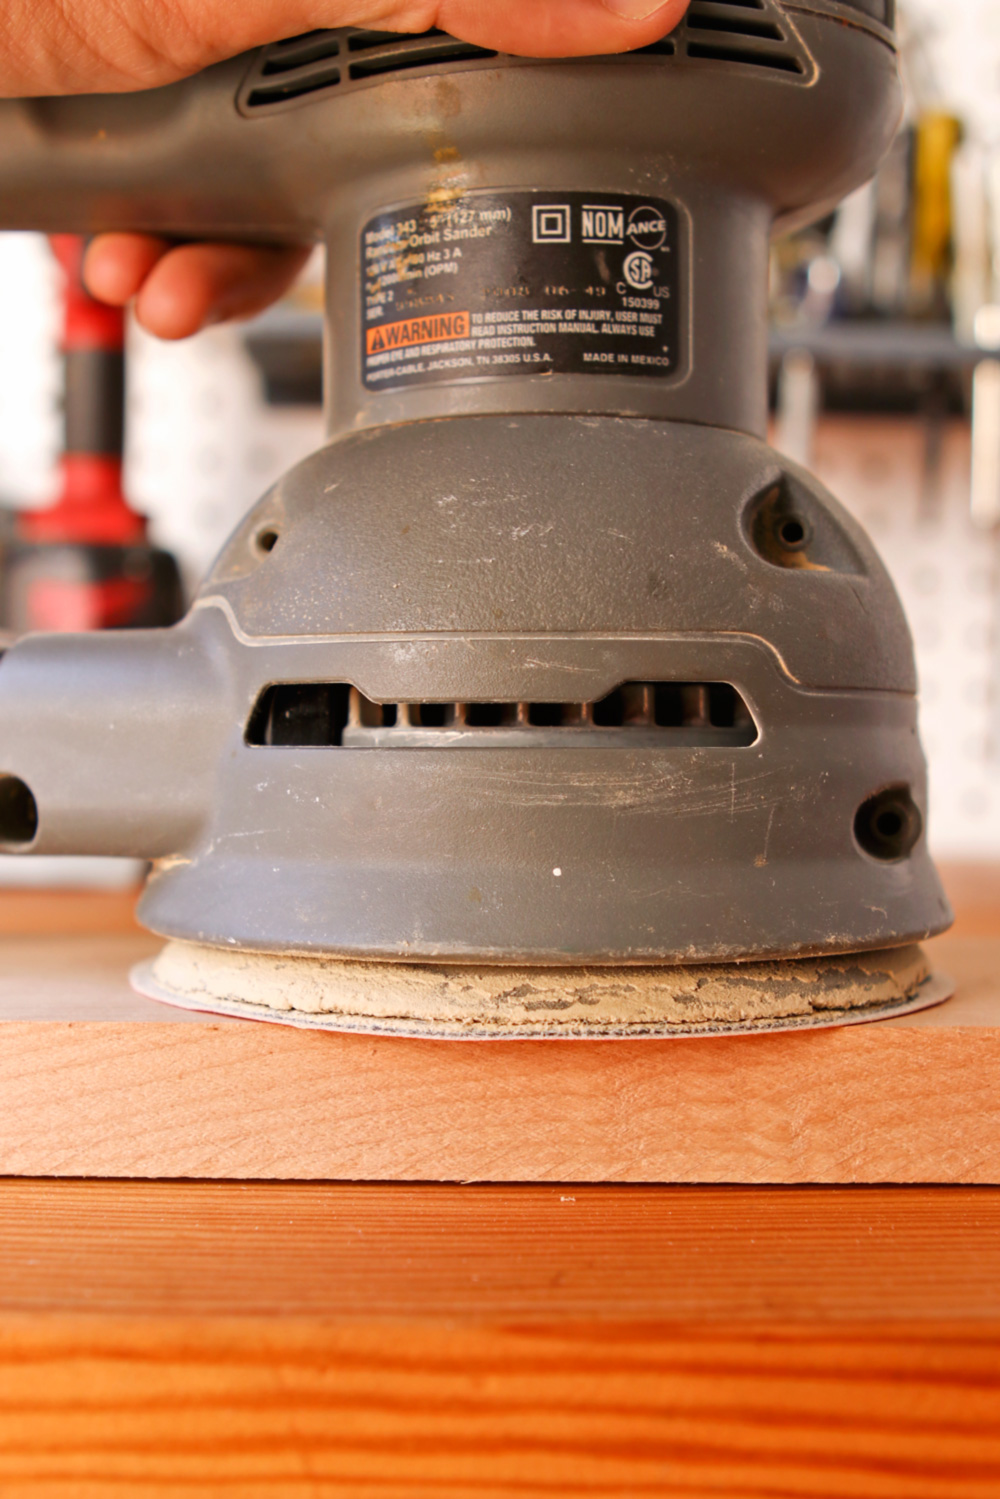
Sanding discs only cost around 50¢ each. They’re not precious, and certainly cost less than the wood used to make the project. Therefore, don’t expect them to do more than they can. Once they’ve stopped cutting and have filled with dust, take them off the sander and replace them. The time you spend moving sandpaper around that doesn’t work anymore is much more valuable than the couple of dimes you paid for the disc. The good news is: you’ll know when they’ve given their all. The results will start to speak for themselves.
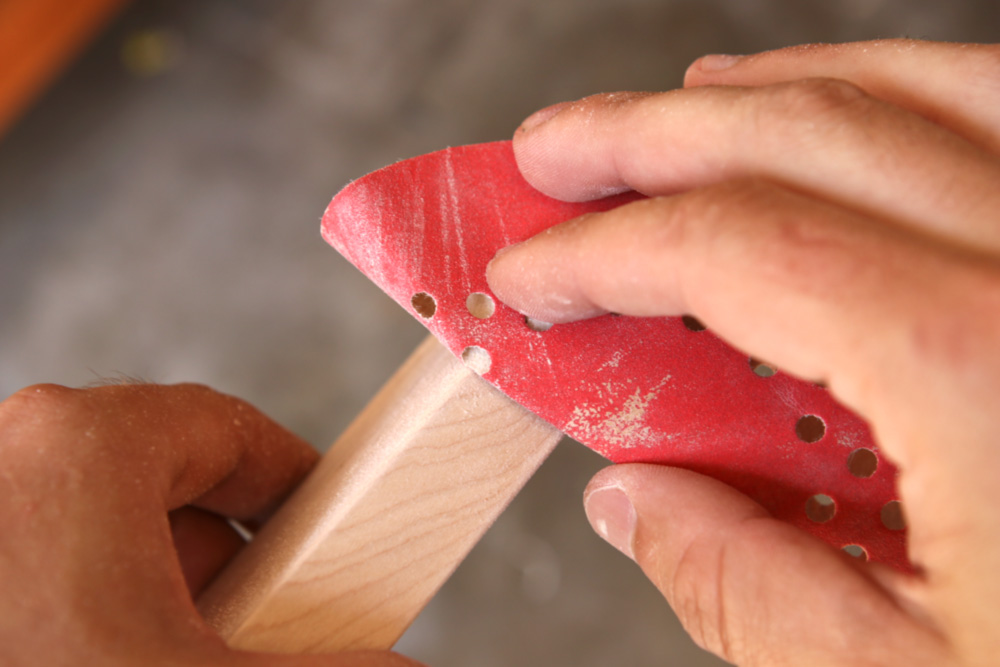
Of course, you shouldn’t toss them immediately. They’ll have a second life for targeted sanding projects, such as sanding curves and rounded surfaces by hand, and they especially work well on projects turning the lathe. I keep a pile around and use them whenever I don’t have a sheet of paper already torn up, and I find they’re often all I need for little tasks.
A random orbital sander is an essential tool, even for the hand-tool-only woodworker, and with a little care, it’ll produce excellent results and save you the workout and hand cramps.
What are your favorite tips for using sanding machines?