Ultimate Guide: How to Fix Carpet Wrinkles Like a Pro
Though hardwood flooring is all the rage these days, don’t overlook the value that carpeting can offer. Not only is it softer on the feet, but carpeting can provide far more color choices to give you aesthetic diversity for your home.
Unfortunately, one of the more annoying things that can happen with carpets is wrinkles. Though they may not seem like a big deal, carpet wrinkles can play more havoc than you realize. There are thankfully a few steps that can be taken to get those wrinkles out and get your carpeting looking better than ever before.
Why do Carpets Wrinkle?
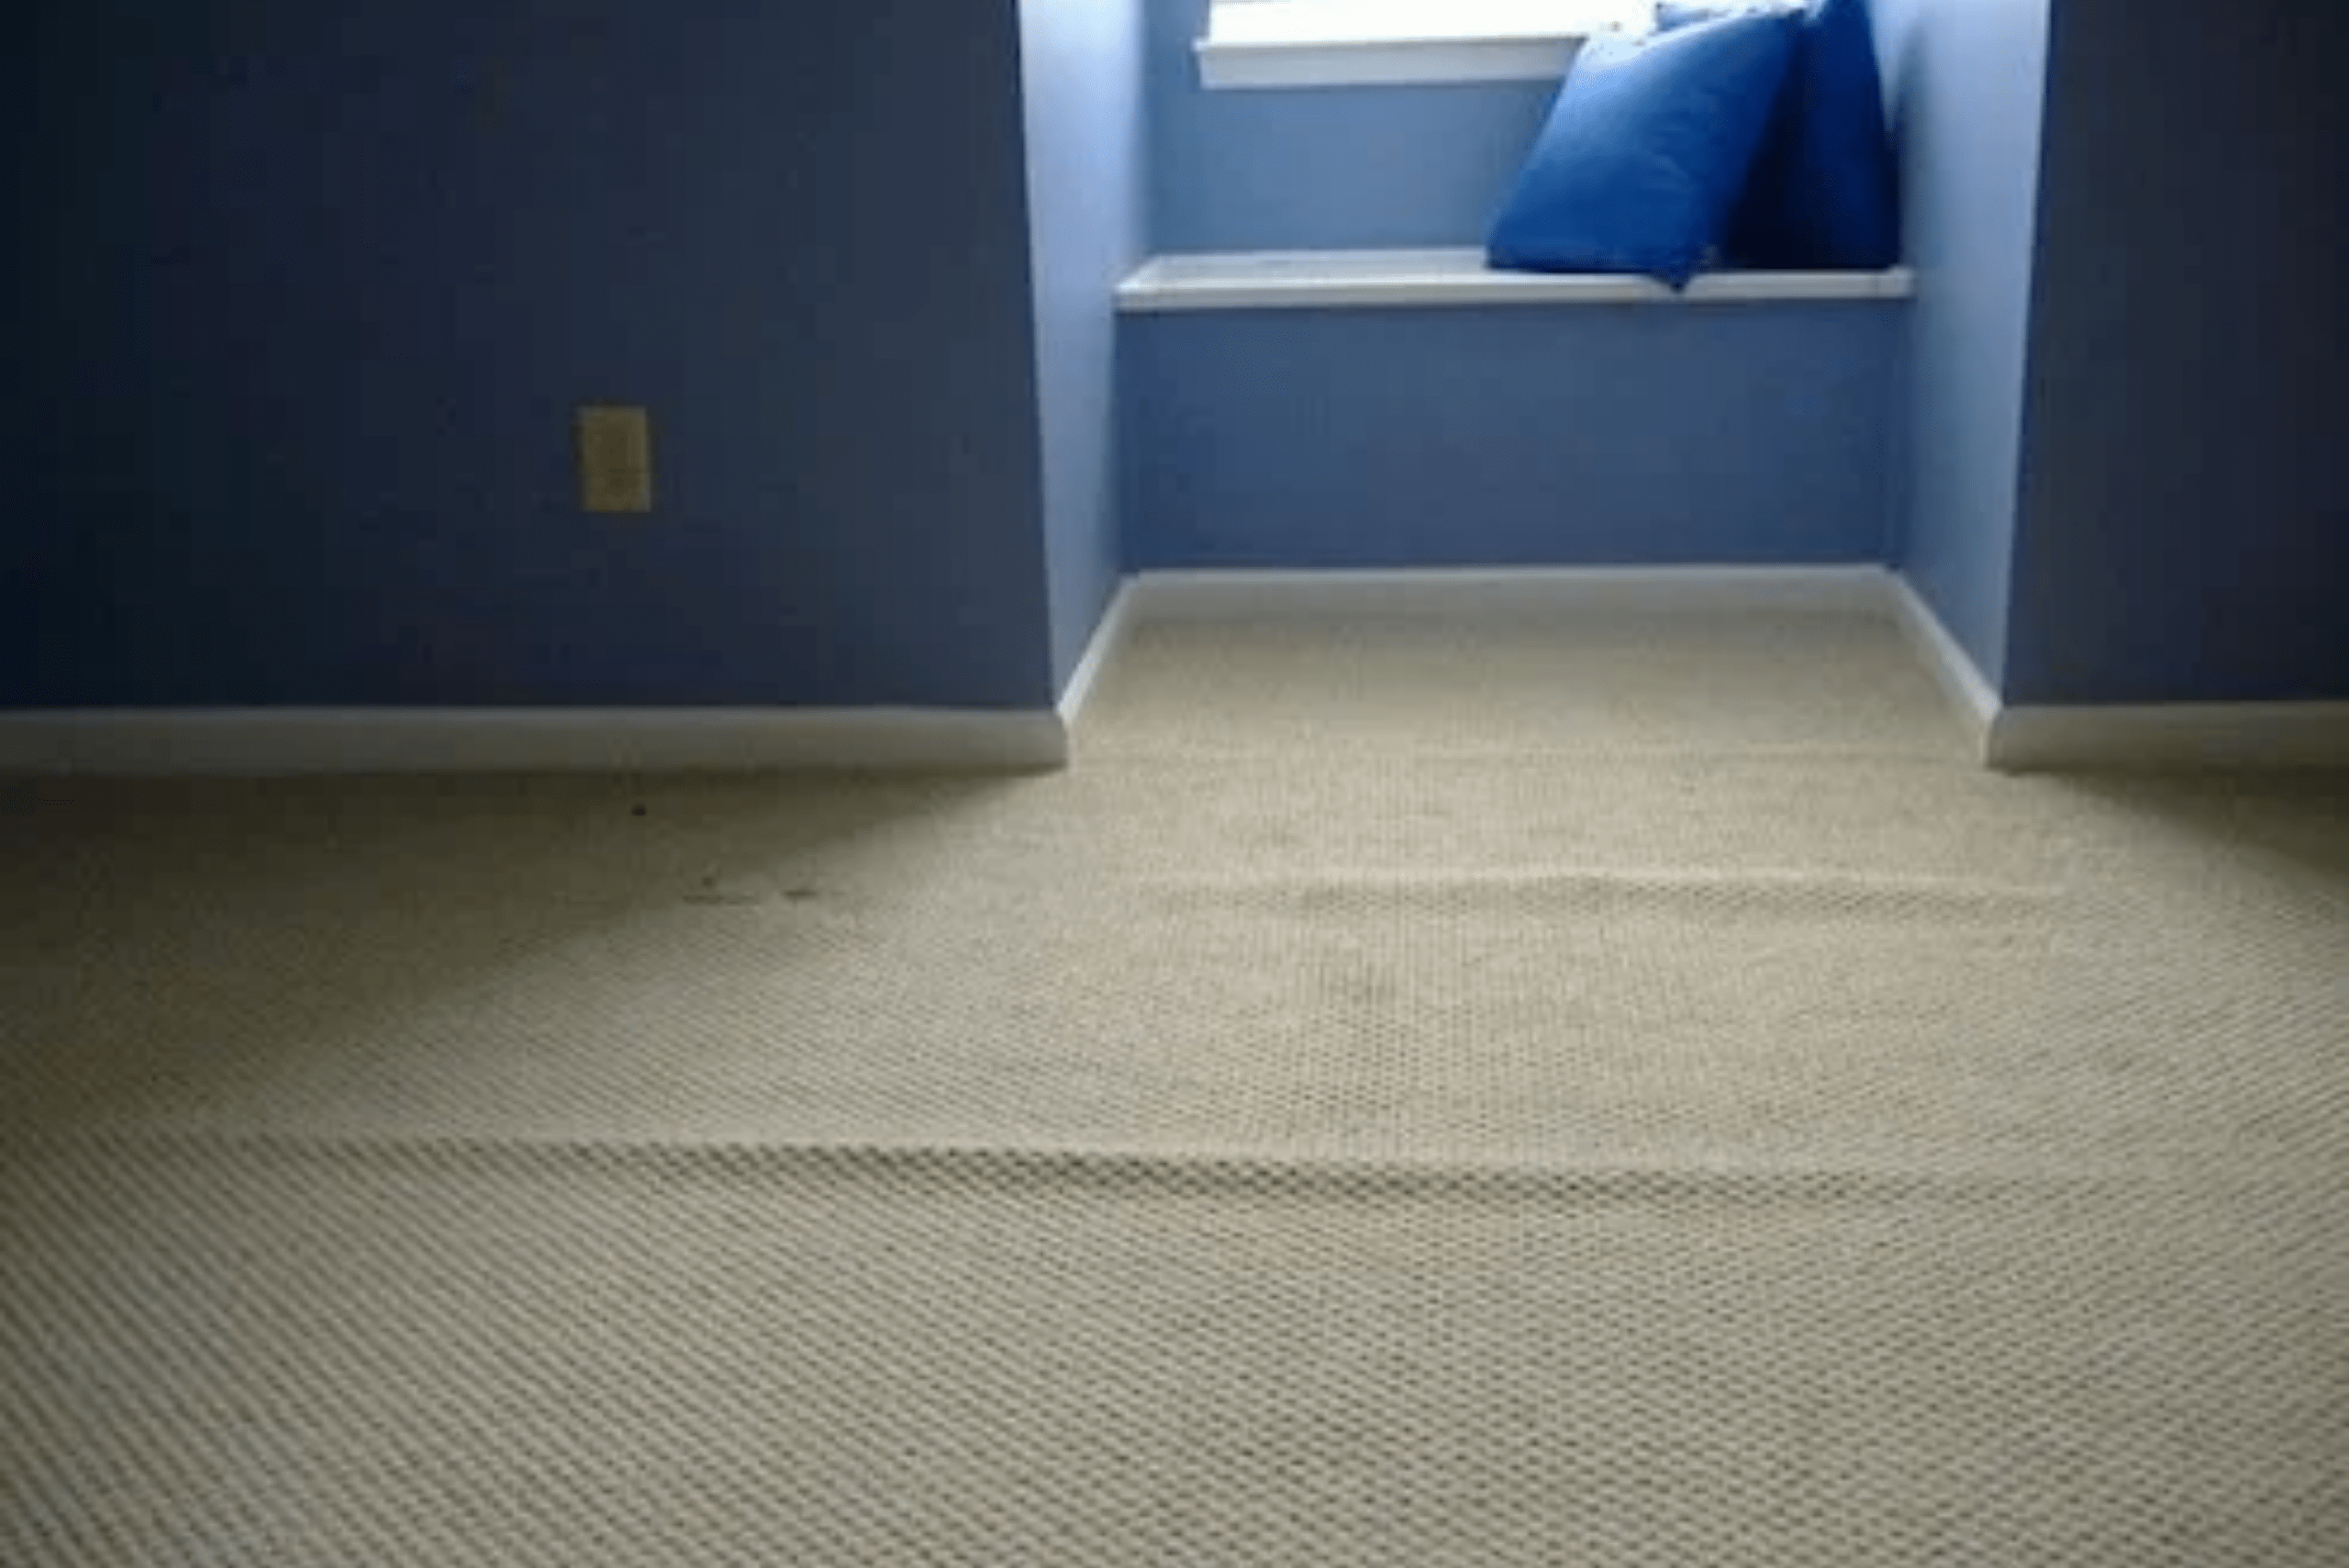
The question becomes, “why do carpets wrinkle in the first place?” It depends on the situation but there are a few common reasons why this happens. Let’s take a look at each of them and why it happens.
Improper installation. While it is easy to point to other issues, one of the most common causes is due to a bad installation. Rushing through the installation can lead to wrinkling on a more frequent basis and cause other issues down the line.
Humidity. Humidity is the enemy of many things, like your hair. As it turns out, humidity can also cause wrinkles in your carpeting. Keeping the temperature in your home under control, humidity included, can help keep those wrinkles at bay. A good rule of thumb is that you want the humidity in your home to be in the 30-50% range.
Heavy objects. Another common reason that you may be seeing wrinkles is due to heavy objects. Rolling or pushing things like heavy toys, handcarts, and more can stretch the carpet out and lead to wrinkles. Padding beneath the carpet that isn’t equipped to handle that extra weight can become stretched out.
Why is it Important to Fix Wrinkles?
There are three reasons why it is important to fix those wrinkles before they become a regular occurrence. The first is that wrinkles, over a period of time, can cause permanent damage to the carpet. The greater the damage, the more it detracts from the aesthetic appeal of the carpet. Before long, you will need to replace the carpet because the damage will be too great to fix.
The second reason to fix those carpet wrinkles is because they can become tripping hazards. The last thing that you need is a pronounced wrinkle in your carpet to send you toppling head over heels. Fixing them creates a safer environment, not to mention it will look a lot better.
The third reason is due to the overall durability of your carpet. The more wrinkles there are, the more damage that gets done. The more damage incurred, the greater impact it has on the carpet over a long period of time. If you don’t want to replace your carpet anytime soon, make sure to work those wrinkles out.
How to Prevent Wrinkles From Happening
In order to avoid the annoyance that comes with carpet wrinkles, there are three things that can be done. Make sure that the installation is performed properly, invest in a higher quality of carpeting, and keep the space dry and clean. Let’s get further into each of these.
Proper Installation
A lot of things can go wrong when the carpet installation is done the wrong way. Doing it yourself or not using the right equipment can lead to further complications down the line. Turning to a pro is usually the best option, as they have the experience and tools needed to do the job the right way.
If a carpet is not properly installed, it can lead to things like ripples, wrinkles, and loosening. Carpets nowadays are a bit stiffer than they used to be, which means that more powerful installation tools are required to do the job properly.
Better Quality Carpeting
The old saying is, “you get what you pay for.” When you go with low-quality padding and carpeting, it might save you upfront but will cost you in the long term. Make sure that you choose both carpeting and padding that is compatible with your living situation to prevent wrinkling and buckling.
Choosing adequate quality carpeting becomes even more important if you are looking to install it in a high-traffic area in your home or business. Anything that might put force on the carpet will contribute to accelerated wear and tear, making it essential to have a carpet that’s well-suited to handle such abuse for maximum longevity.
Keep the Carpet Dry
Moisture is the enemy of the homeowner for many reasons. As it relates to your carpet especially, wet carpeting can lead to buckling, wrinkling, bad smells, and even mold. Keeping the area dry is of the utmost importance for a litany of reasons.
If you have dealt with a leak or flooding, act quickly. Replace the padding no matter what, but plan on calling a professional. Turn the electricity off to prevent possible electrocution, and get a water extractor, carpet blower, and dehumidifier if you plan on tackling the job yourself.
Do You Need a Carpet Stretcher?
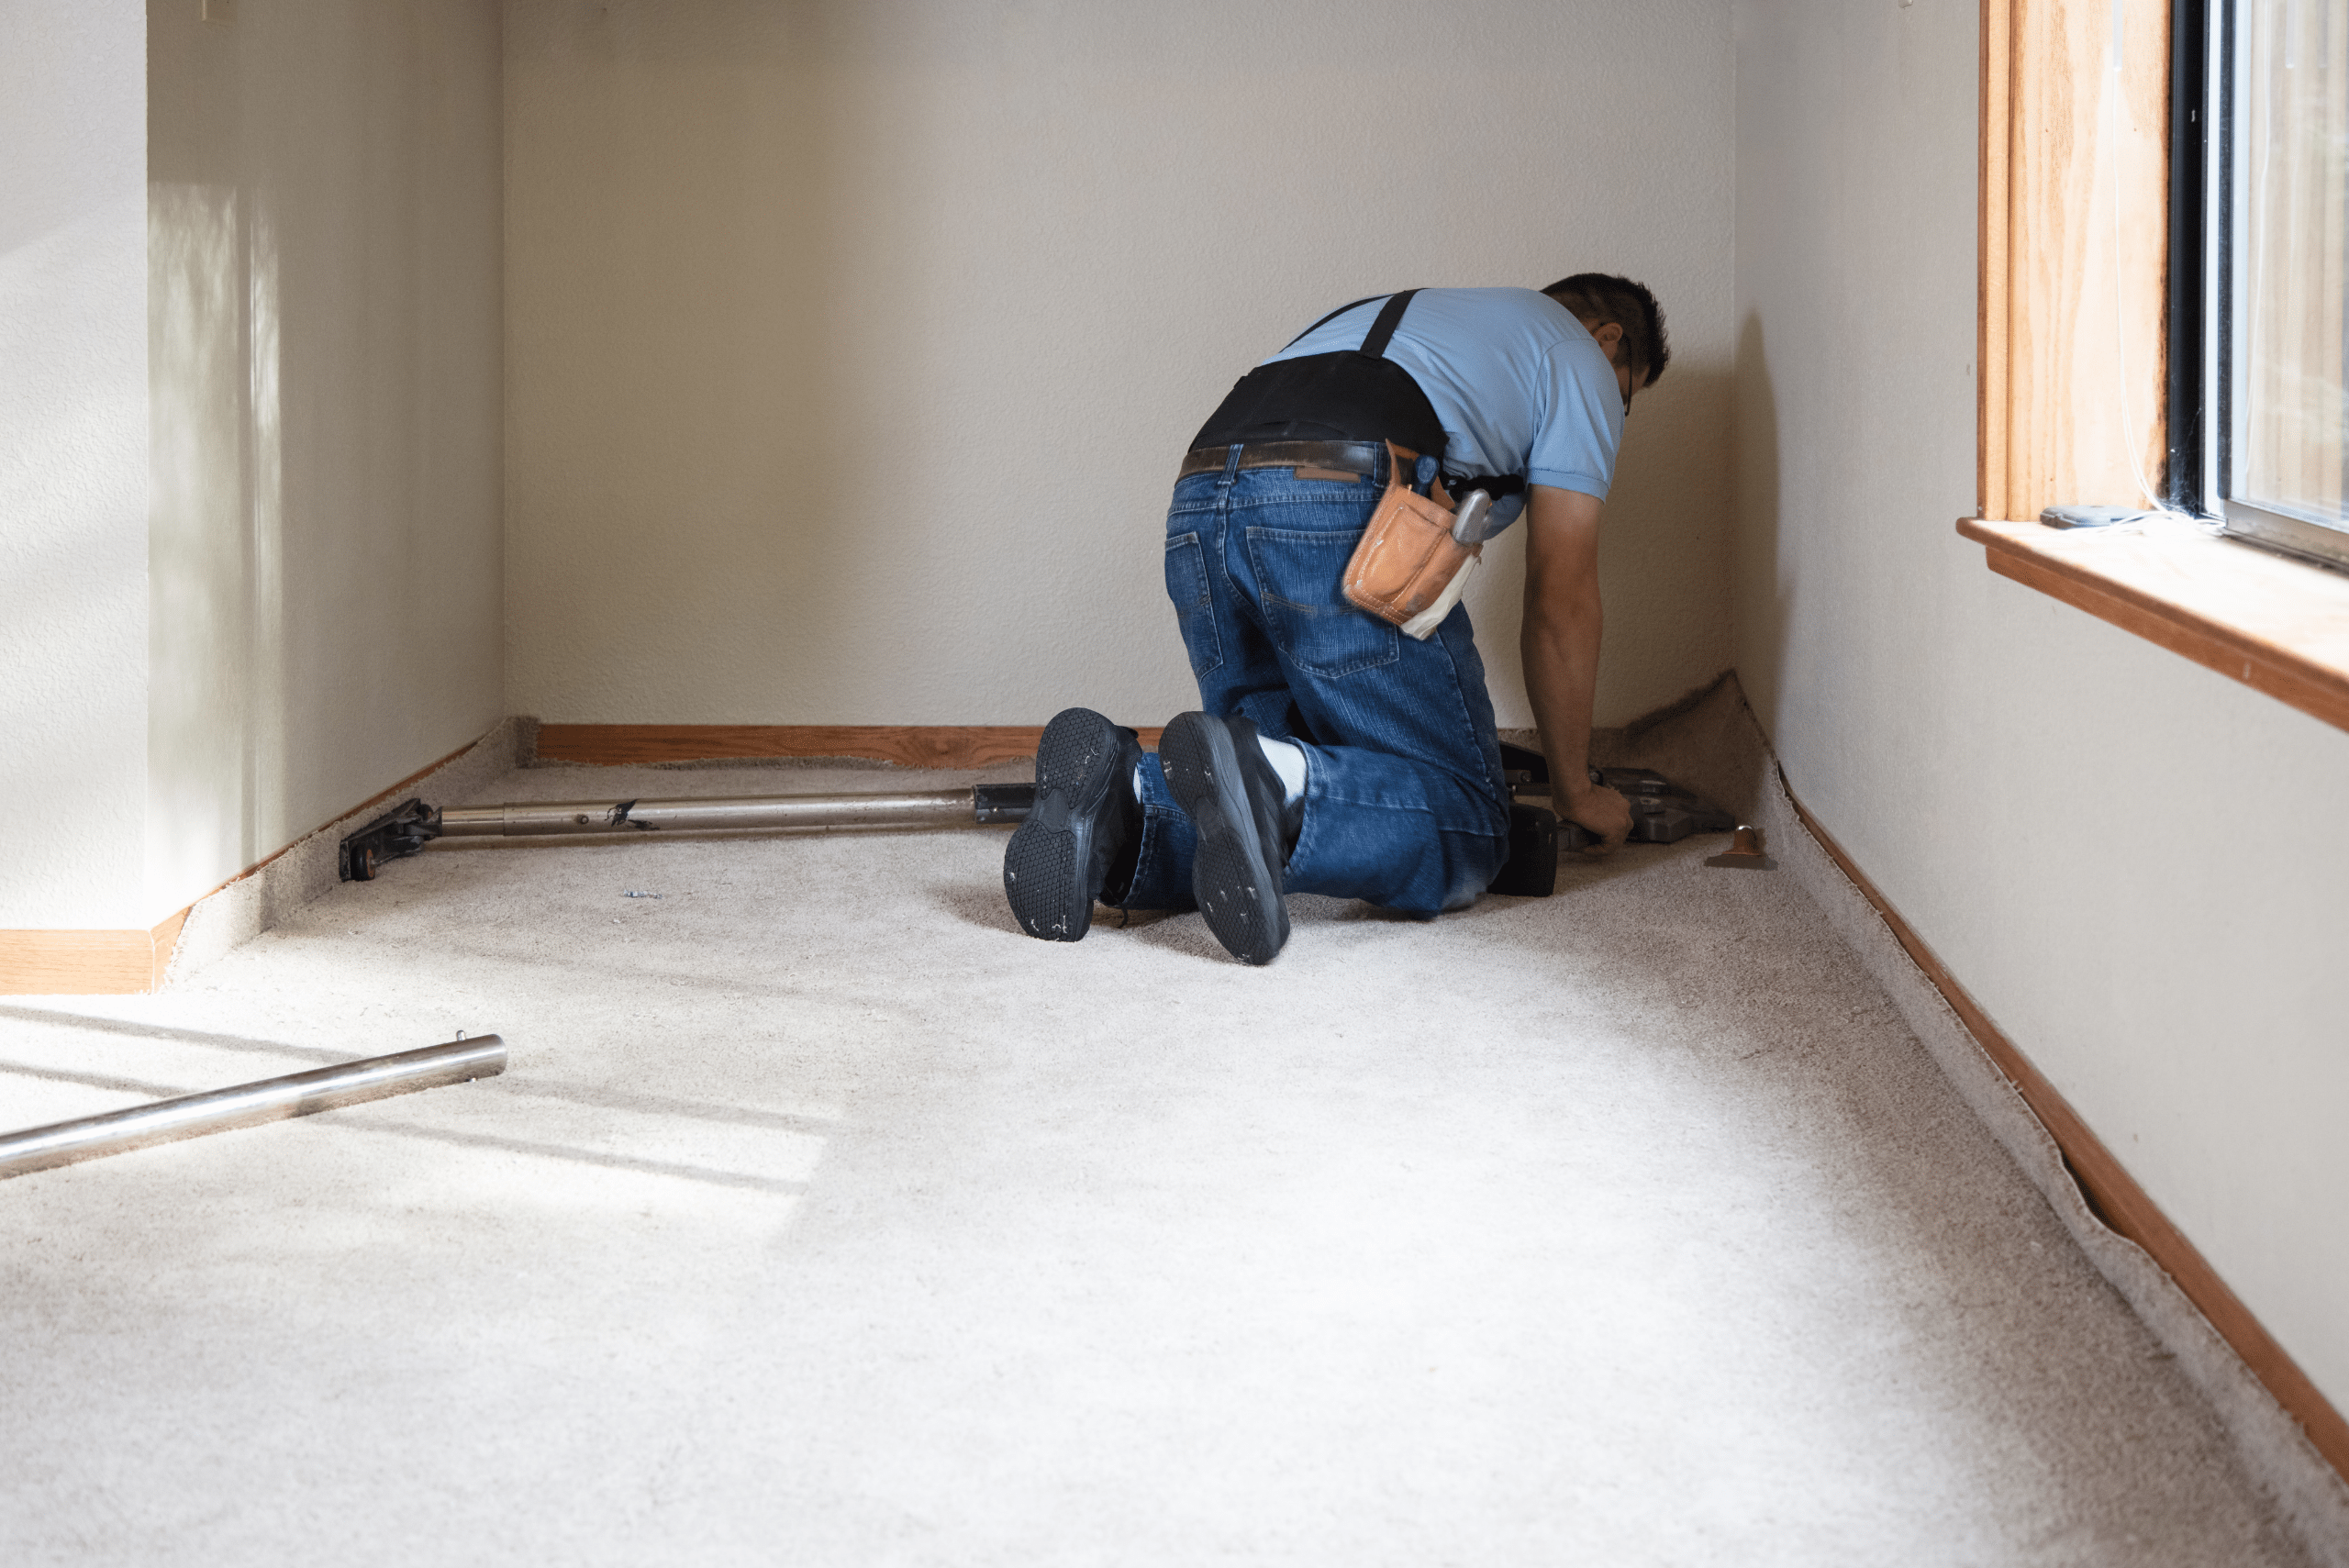
One of the most common tools used to re-stretch your carpet will be the carpet stretcher. That said, it isn’t absolutely necessary. As a matter of fact, you can flatten, iron, steam, and even apply ice to the carpet in order to get those wrinkled areas out. However, those methods can be inconsistent and ineffective from time to time. In the worst-case scenario, these fixes can lead to further damage.
Stretching the carpet is the surest way to get rid of those wrinkles and ripples. To do this, you need to get to the outermost edges and pull, stretching the wrinkles and ripples out of your carpet. A power stretcher is the best option since it pulls the carpeting across the entire width and length of the floor.
The problem is that stretchers can be expensive to own (rentals are fine), and it takes a little time to get used to using them the right way. If you plan to do your own re-stretching, a carpet knee kicker is probably the best bet. The jump method can work, too, so long as you really know how to execute it. Momentum is key with the jump method, so it may take a few tries to ensure that you generate enough force to properly stretch the carpet.
How to Prepare Your Carpet to be Fixed
Before attempting to fix wrinkles in your carpeting, there are a few steps that must be taken in order to prepare the space. Working around furniture and other objects will not only create serious frustration but likely lead to a subpar job.
Start by moving any objects off of the carpeting. Furniture like chairs, sofas, couches, bookcases, etc. should all be moved into another room. Not only does it allow for easier access to the carpeting, but you can also avoid working on a wrinkle that cannot be otherwise fixed.
It is also helpful if you remove the wall trim. Prying away shoe molding and baseboards allows you to access the very edges of the carpet easily. Just make sure that you make marks on the back of the trim so that you know where it is supposed to go later on.
How to Fix Carpet Wrinkles
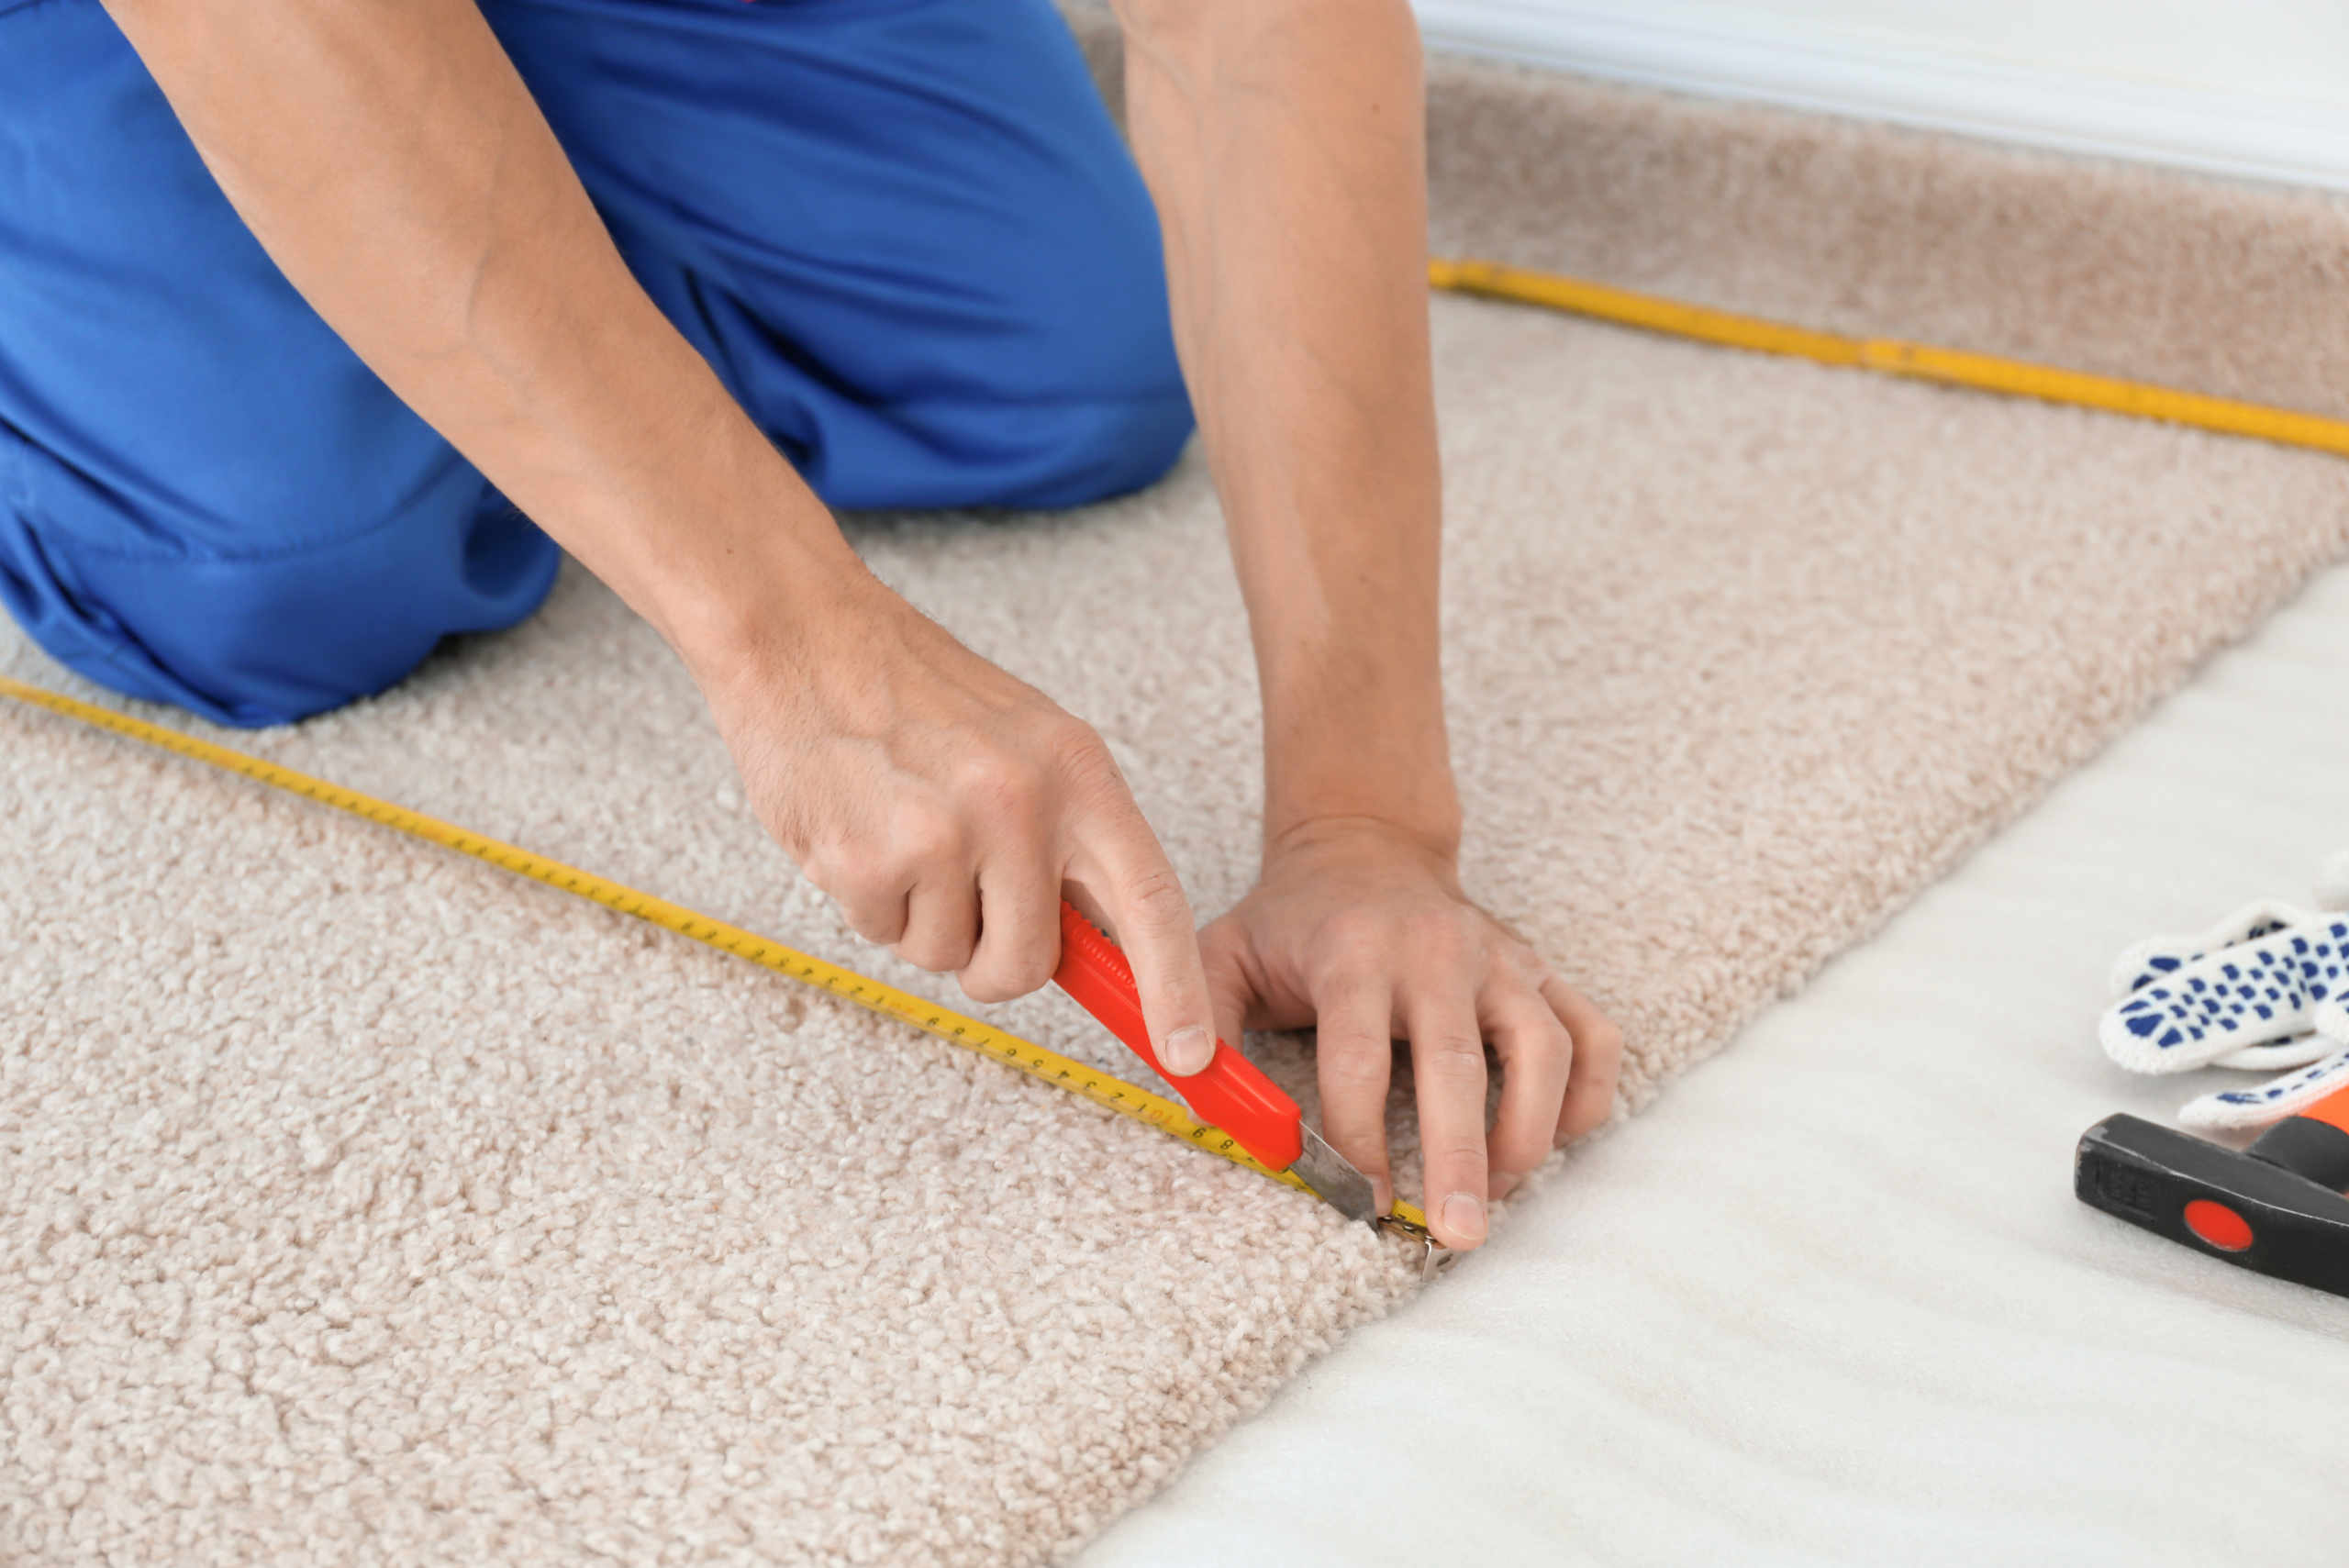
Now comes the moment of truth. How do you fix wrinkles in your carpet like the professionals would? The process takes a few tools and a little bit of know-how, but just about anyone can get the job done with a little bit of help.
Step 1: Get the Right Tools
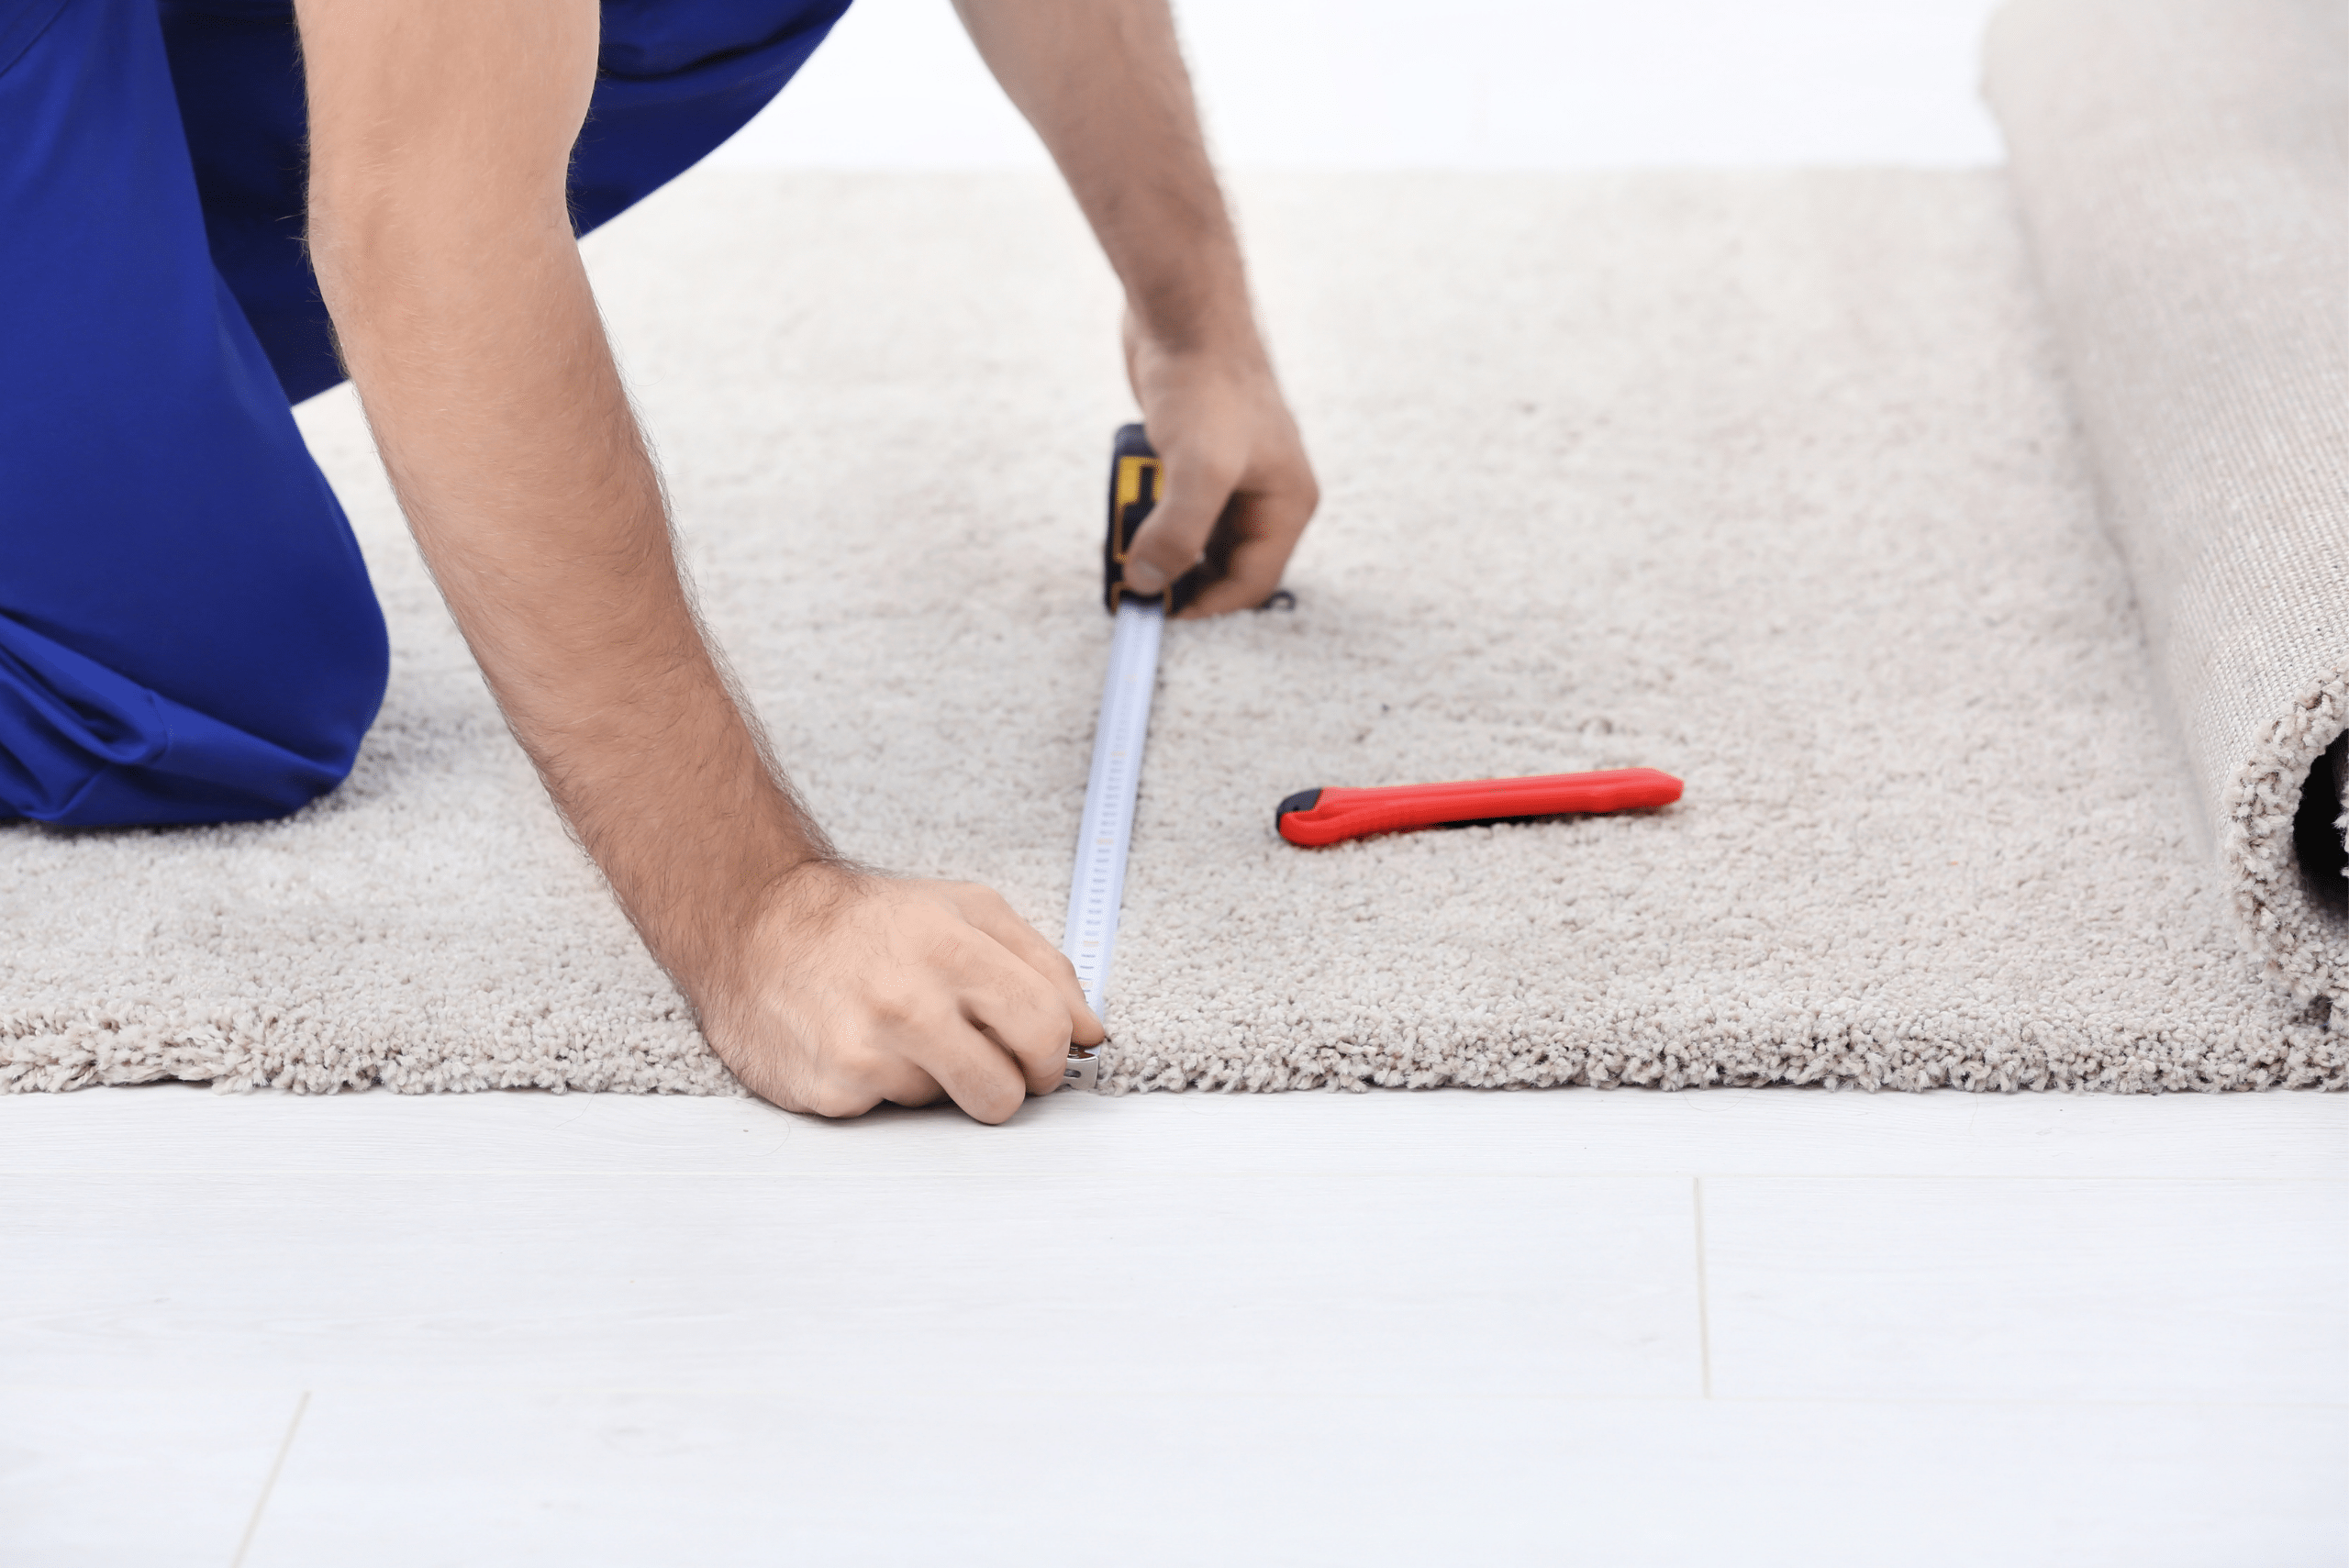
After moving furniture and taking off the wall trim, it is time to make sure that you have all of the proper tools and materials. For materials, you will need finish nails and tack strips. As for equipment and tools, a pry bar, carpet or utility knife, carpet knee kicker, hammer/cordless nailer, pliers, and measuring tape.
Though it is possible for the more skilled DIYers out there to get away with hodgepodge items, it will make the job a lot more difficult. Come prepared and you will be ready to handle any of the issues that may come your way.
Step 2: Pull Up Carpeting
With the baseboards and trim removed, you now have access to the edge of the carpeting. Find that edge perpendicular to where the ripples and wrinkles are. Use your pry bar or lift the edge of the carpeting yourself and gently loosen it from the tack strip.
Don’t just torque on the carpet because it can not only do damage to the carpet but potentially break the tack strips as well. If you are having a really tough time getting the carpet up, use a pair of pliers in order to grab the carpet.
Step 3: Replacing Missing Tack Strips
During this part of the process, you may notice that some of the tack strips are missing. The tack strips are meant to run the perimeter of your carpeting, and you should not reattach the edges of the carpet with any major gaps.
You will need to measure out the length of any gaps and cut a section of tack strip in order to replace it. Use your finish nails here to hammer down the tack strips. However, just make sure that the nails are pointing upward so that the carpeting has something to grab onto.
Step 4: Stretch the Carpet
In order to get the wrinkles out of the carpeting, you need to ensure that it can be stretched tightly enough. There are two ways that you can stretch the carpet: with a knee kicker or using the jump method.
Knee-kicker. If you are using a knee-kicker – which is on your knee, as the name implies – make sure to put the head of the kicker between the wall and the wrinkles. Use your knee to kick the cushioned bumper pad, stretching out the area with the wrinkles.
Jump method. You can also opt to go with the jump method. This involves jumping on the carpeting but using enough forward motion that it will force the carpet’s edge to move closer to the wall. Just make sure that you are wearing shoes that are not only clean but have a good grip on the bottom. Take a step or two forward, jump across the wrinkles, and land on the carpet between those wrinkles and the wall. This should allow the carpeting to move outward.
Step 5: Attach Carpeting to the Tack Strip
Again, there are two methods in which you can attach the carpeting to the tack strip. Remember that the nails should be facing up so that the carpeting has something to grab onto. The knee-kicker method is usually the best option, but the jump method is fine as well.
With the knee kicker, make sure that you maintain pressure on the kicker using your knee. Then, reach forward, attach the carpeting to the tack strip, and make sure that you apply enough pressure to get the carpet to attach properly. With the jump method, stand on the carpeting to keep it in place as you attach the edge to the strip.
Step 6: Cut the Carpet and Reinstall the Trim
After attaching the carpet to the tack strip, it is time to cut the excess carpeting away. Use your carpet or utility knife to make as clean a cut as you can. Go around the perimeter of the room and cut away the excess carpeting so that you can re-attach the trim.
Pull the wall trim and baseboards back up by using your finishing nails and nailing them into place. You can use either a hammer or cordless nailer to get the job done and your carpet should look brand-new again.
Basic Tips for Removing Carpet Wrinkles
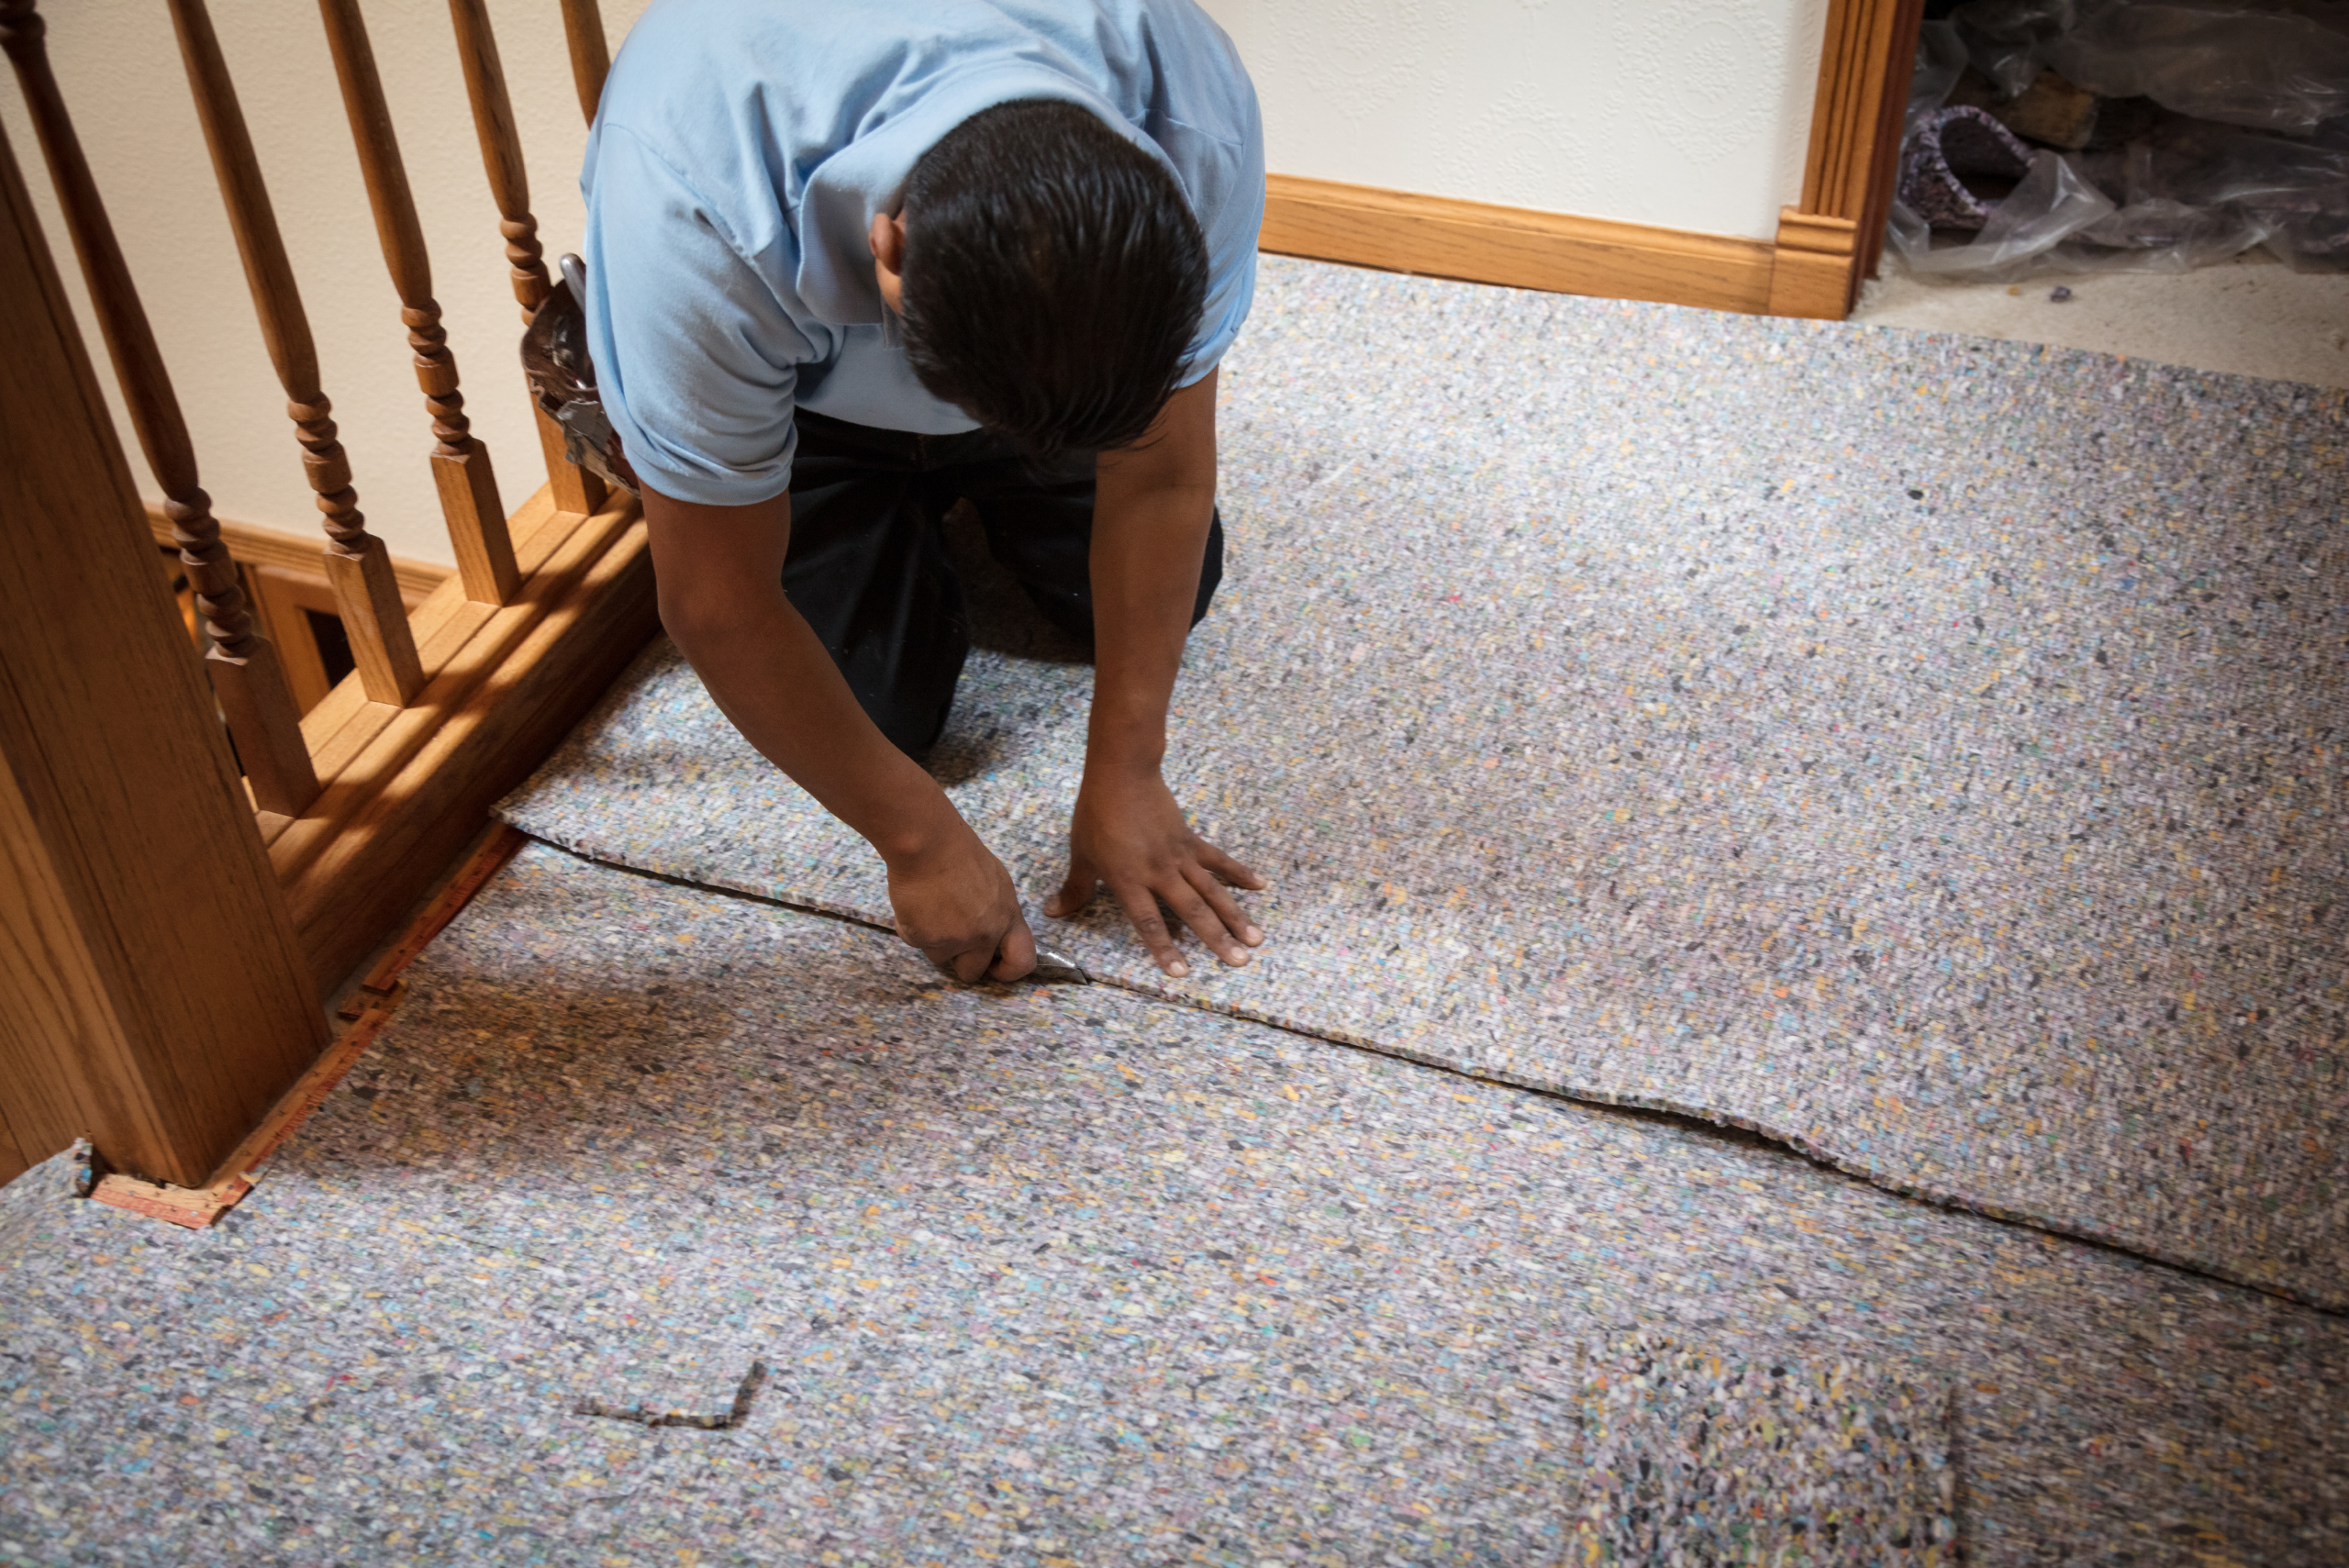
While the step-by-step process is certainly helpful, there are times when a few basic tips will go a long way. It may seem like removing carpet wrinkles is a simple thing, but it can turn out to be anything but. For starters, if you notice that the padding, not the carpet, is wrinkled, pull the carpet back and focus on stretching out the padding.
Some wrinkles and ripples are more subtle than others. Just because you can’t see it at first glance does not mean that it isn’t there and won’t be a problem in the near future. Take a light and shine it at a low angle. This will help you to locate some of those tougher-to-find ripples and wrinkles that can eventually develop into a larger problem. When working around the tack strips, make sure that you wear thick gloves. The tacks themselves are quite sharp and the last thing that you need is to have your hand catch the wrong end of one.
Finally, you don’t have to spend full price to buy all of the equipment that you need. That can be quite expensive for something that you might not use on a regular basis. You can rent things like a carpet knee kicker for anywhere from $10-$20 per day, depending on where you get it from.
Benefiting from Carpet Re-Stretching
If you have a carpet that suffers from regular rippling, bubbling, or buckling, it may be time to invest in a re-stretching service. This is typically a professional service where the pros will come out and give new life to your old carpeting.
The cost will depend on the service, the area, and the size of the room. Earmark roughly $60 per hour for this service, though the estimate could come in above or below that mark. Re-stretching won’t fix creases, which generally means that your carpet is probably at the end of its lifespan. It can help smooth them out some, but you may want to think about replacing the carpet altogether.
The longer that your carpet has to deal with wrinkles and ripples, the more damage it incurs. The more damage that it incurs, the shorter the lifespan that it will have. Moreover, it will be exponentially more difficult to get out those wrinkles and ripples without a re-stretch from time to time.
When it Might be Time to Call in the Pros
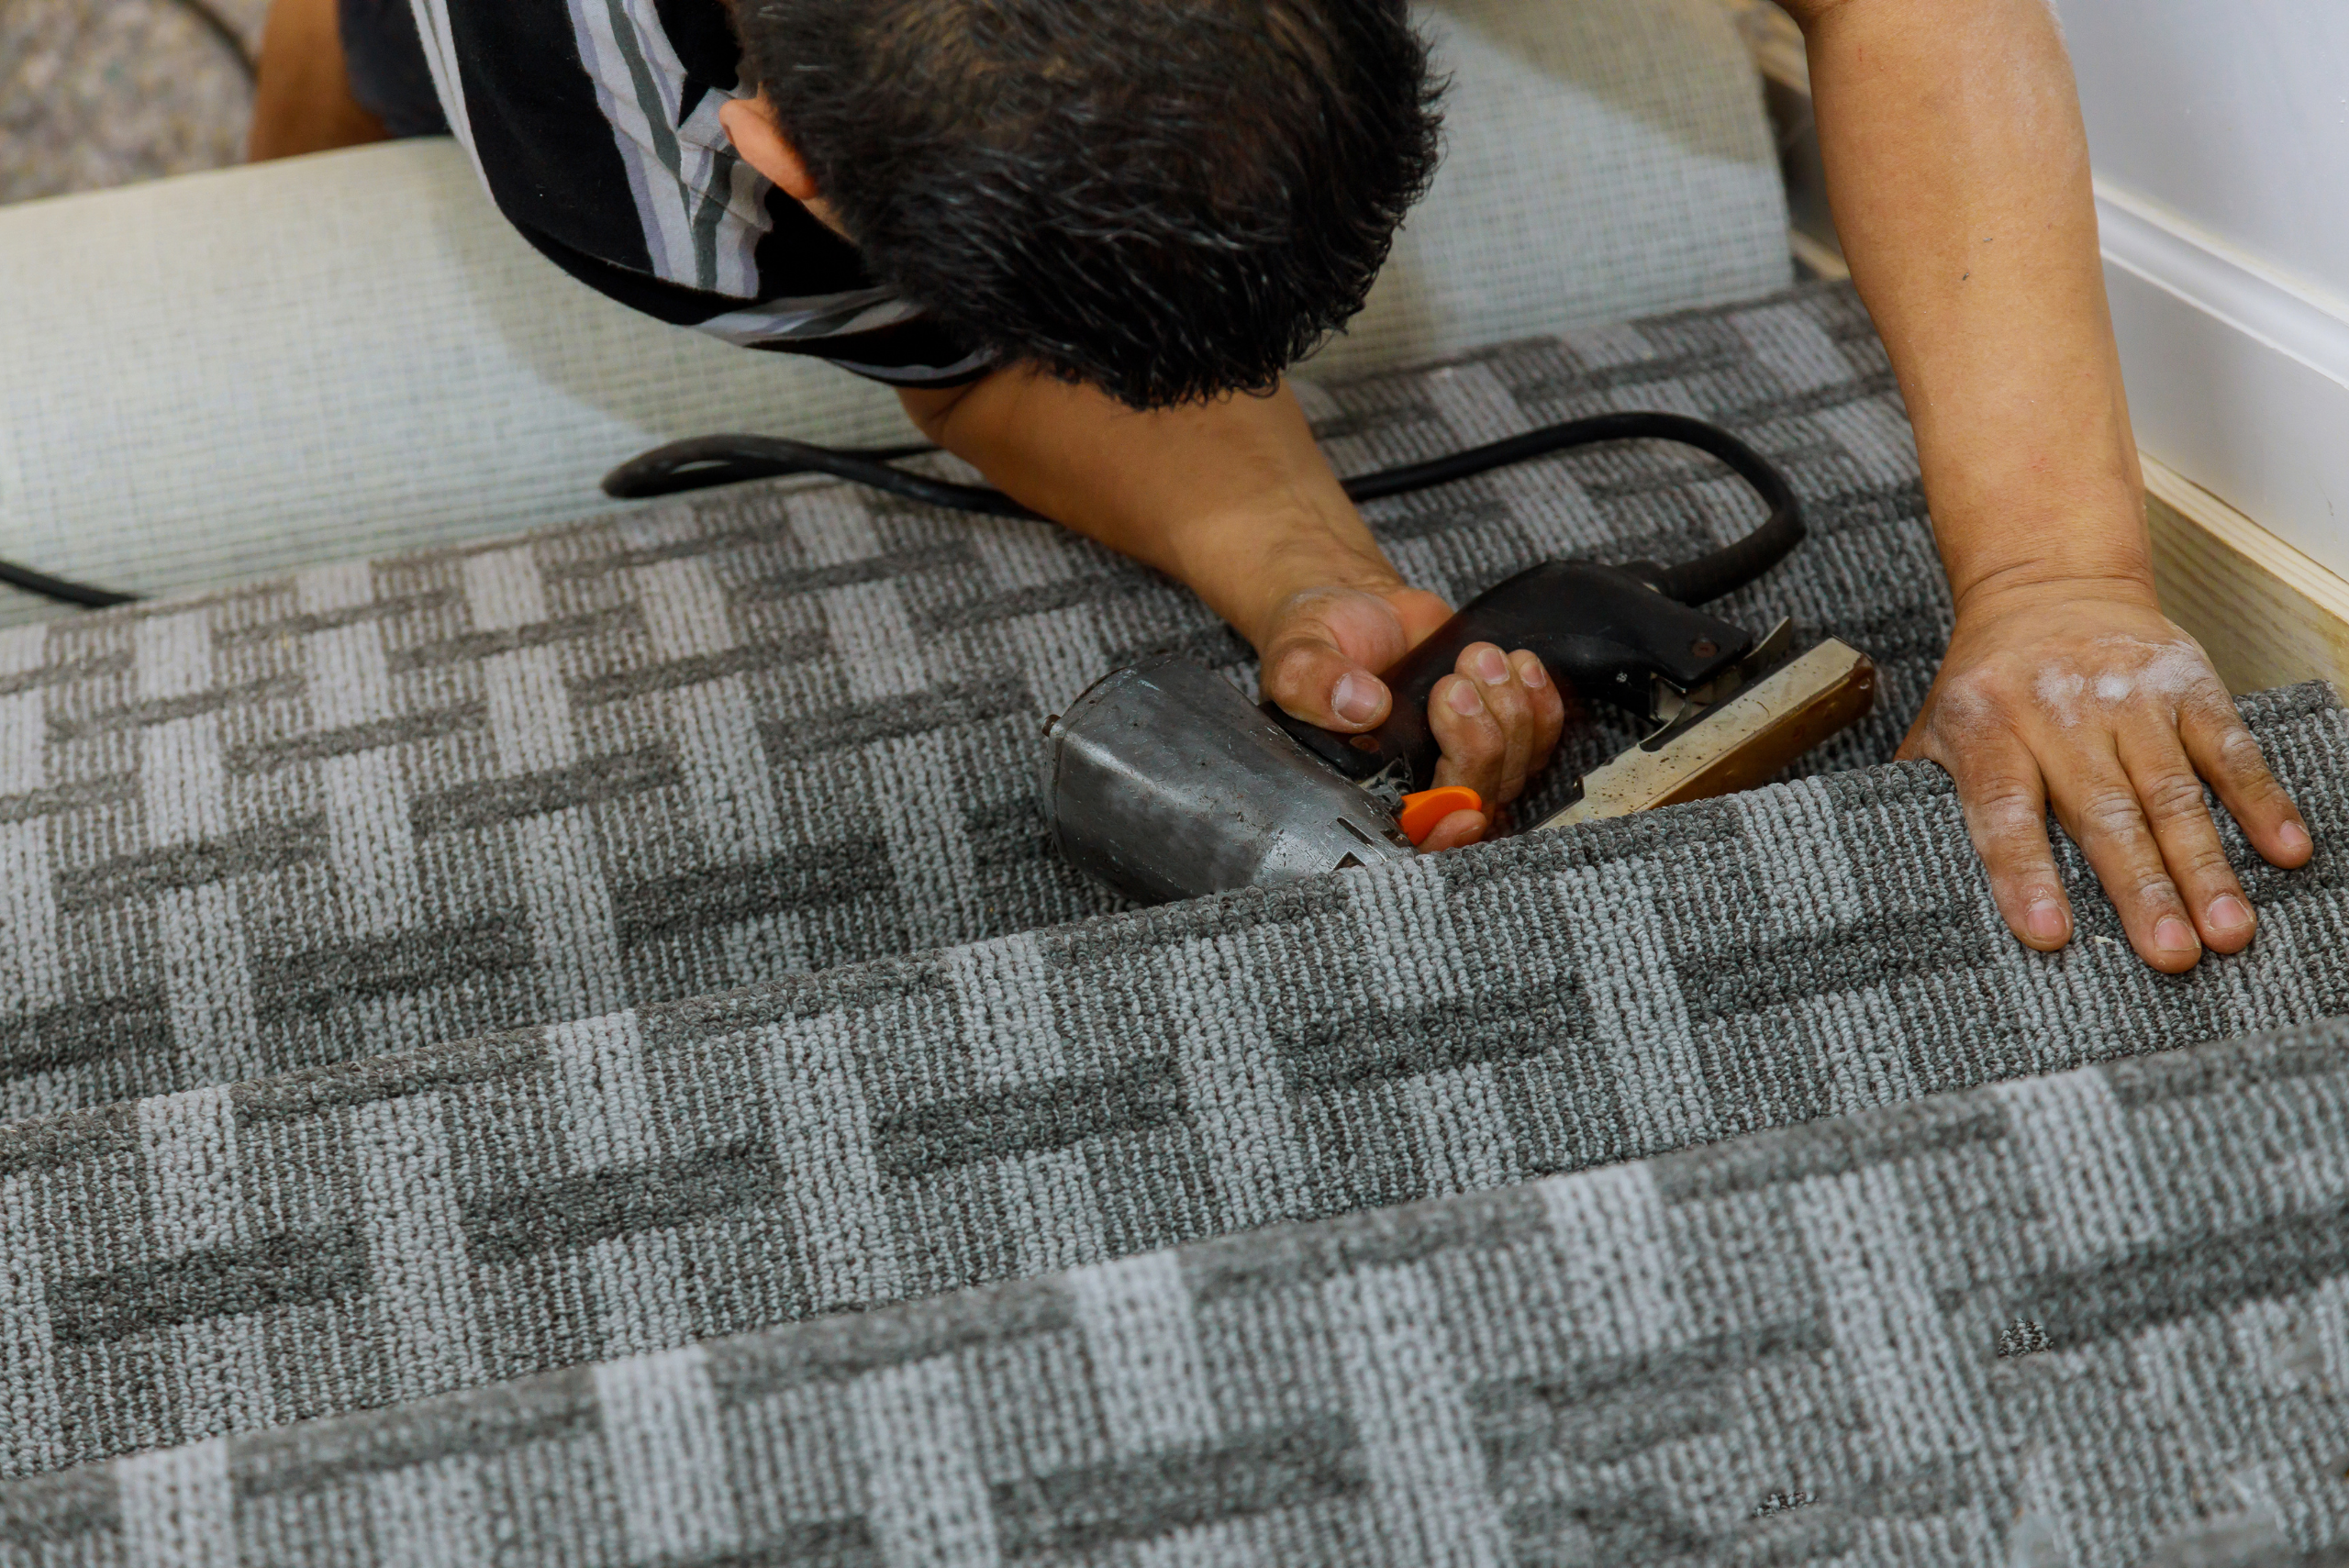
Taking things on in a DIY manner can sound like a great idea, especially if you are looking to save a few bucks. The problem is that you may not have the skills, experience, or equipment needed to do the job the right way.
There is nothing wrong with bringing in the pros. They do this kind of thing for a living so you can have peace of mind in knowing that the best of the best is on the job. You won’t ever have to wonder about the quality of work being done.
Regardless of which direction you might choose when fixing a wrinkled carpet, always pay attention, keep yourself safe, and seek advice before trying something new. Nothing is worse than choosing to DIY this type of fix and then ending up either ruining the carpet or injuring yourself, so make sure not to rush and enjoy the process.

