Step-by-Step Guide For A Seamless Storm Door Installation
Choosing to go ahead with a storm door installation can significantly enhance your home’s functionality and aesthetic appeal. These specialized doors act as an additional layer of protection, shielding your primary entry from harsh weather conditions while also improving energy efficiency.
They come in various styles and materials, such as full-view, mid-view, and high-view options made from wood, aluminum, or vinyl, allowing you to customize them according to your home’s existing styling.
Installing a storm door is not only about adding an extra layer of security but also about maximizing the natural light and ventilation in your home without compromising on comfort or energy costs.
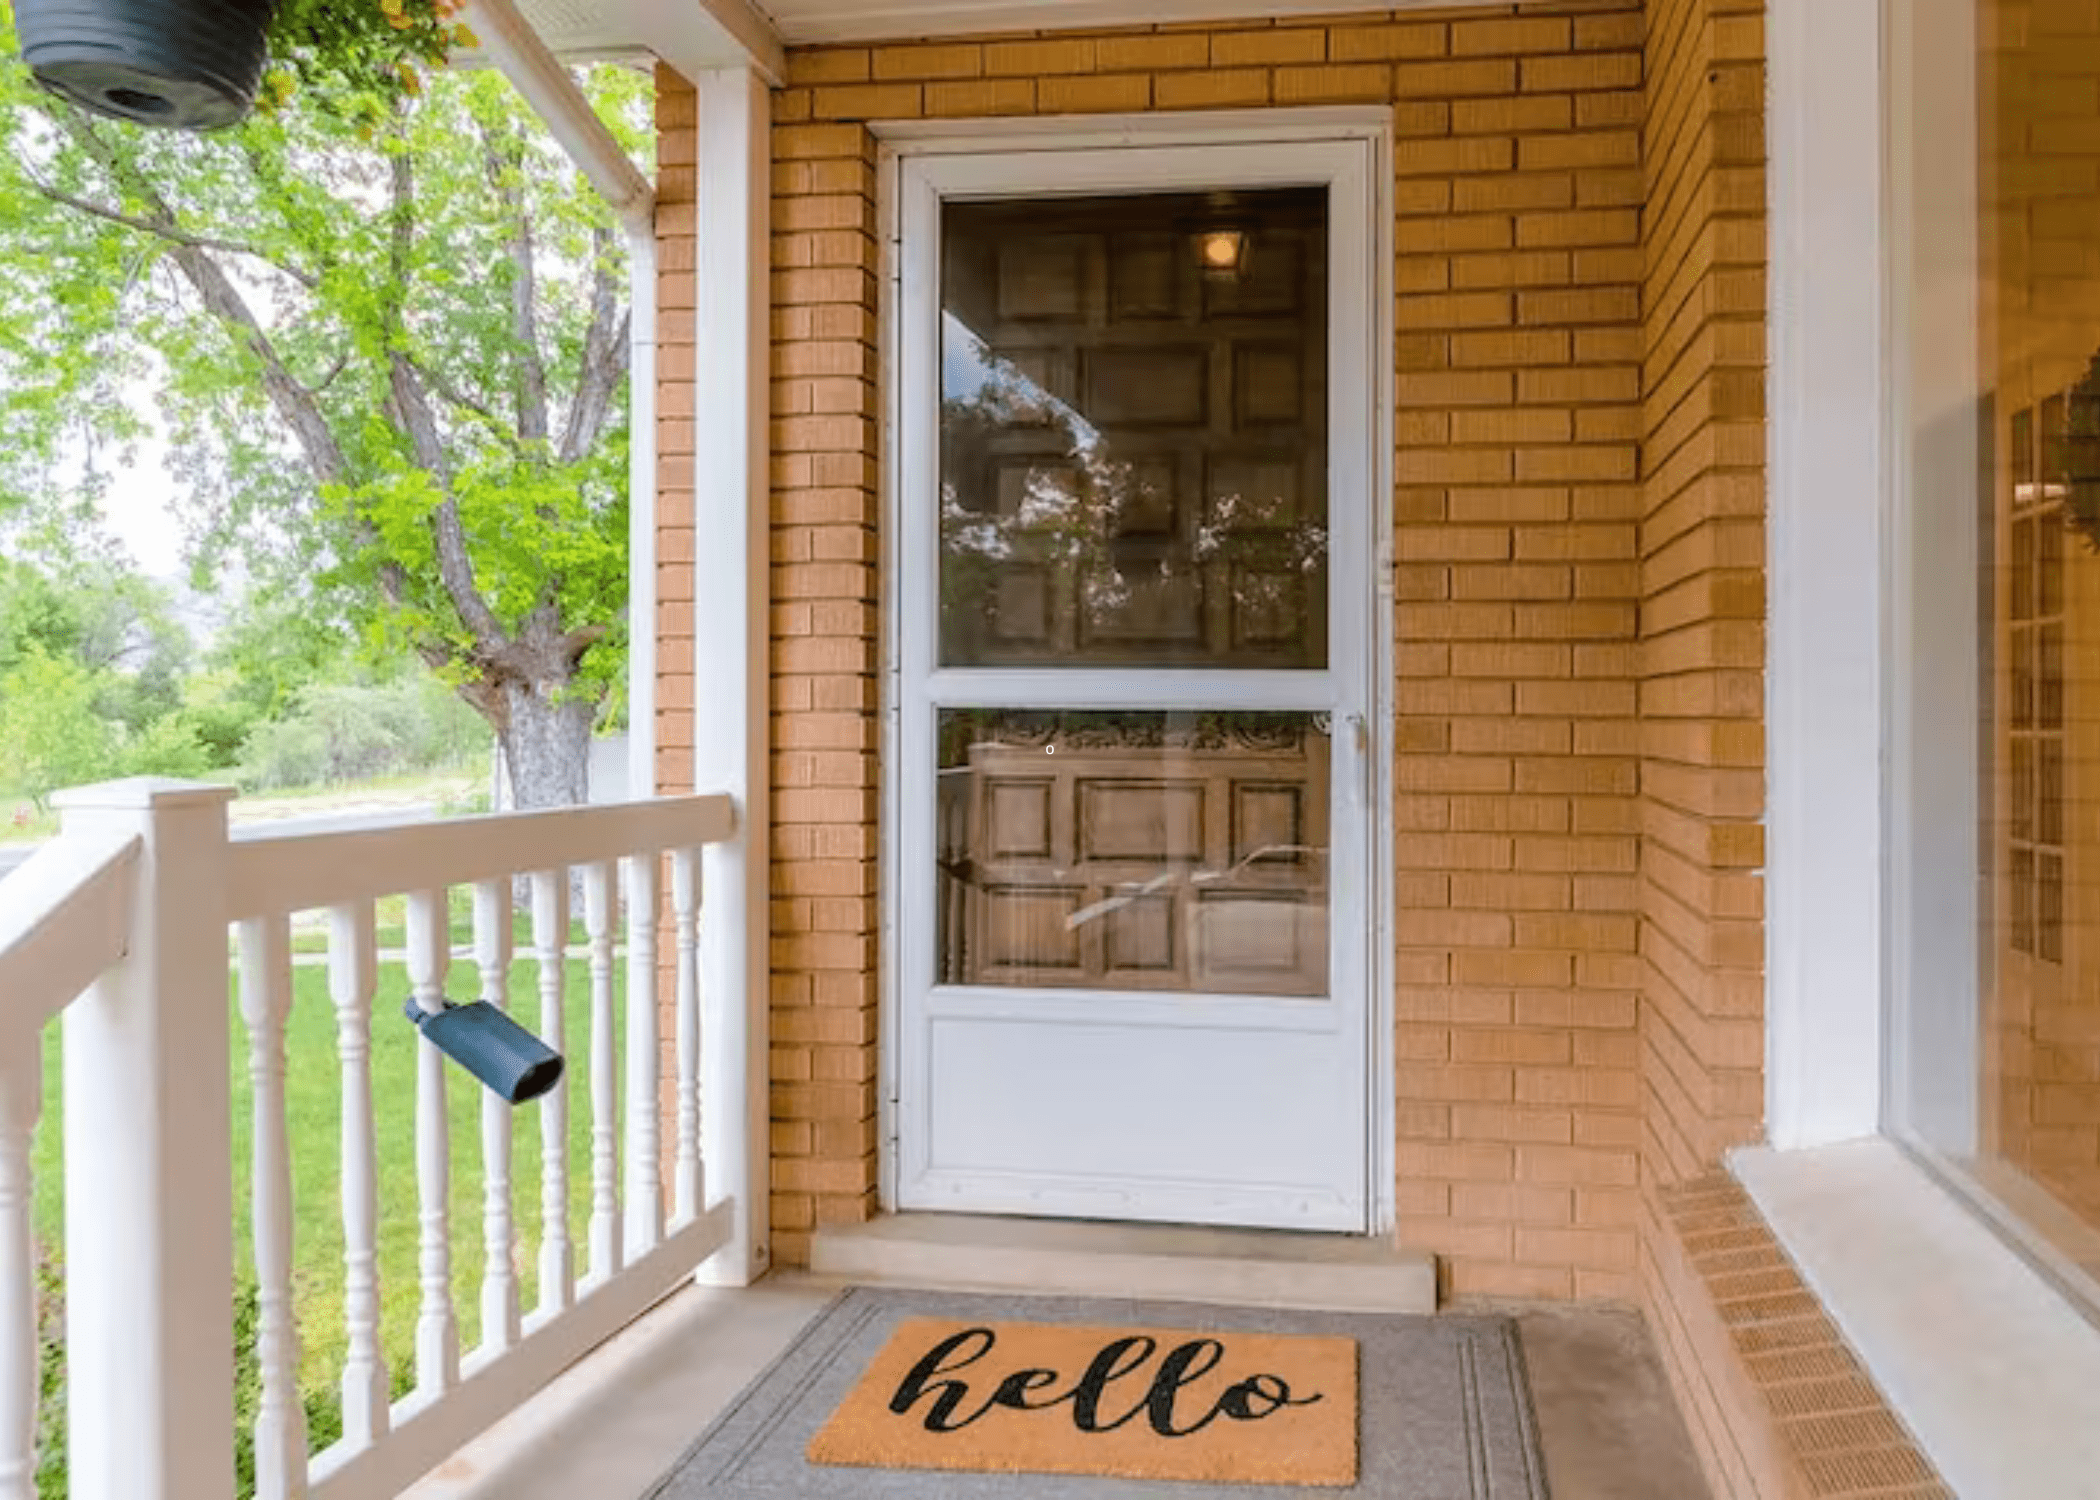
The process involves precise measurements and some knowledge of hardware, which is why many homeowners opt to consult professionals. By choosing the right type of door and ensuring it’s properly installed, you can enjoy the benefits of increased insulation, enhanced visibility, and improved air circulation throughout the year.
Preparing for Your Storm Door Installation
As you gear up for your storm door installation, it’s crucial to first ensure your doorway is ready to accommodate the new addition.
Start by measuring the height and width of your door frame to confirm that the storm door you’ve selected will fit perfectly. It’s also a good idea to inspect the wood trim around the door frame for any signs of rot or damage.
Replacing or repairing any deteriorated wood will provide a solid base for your new door, ensuring it can perform effectively and last for years.

Next, consider the tools and materials you might need for the installation. Typically, a drill, screwdriver, level, and tape measure are essential for a smooth installation process.
Check if the storm door kit includes all necessary hardware, such as screws and mounting brackets, to avoid any last-minute trips to the hardware store.
Clearing the workspace of any obstacles and laying down a protective covering can help prevent damage to your flooring and make the process more efficient. With these preparations in place, you’re ready to move forward with installing your new storm door, enhancing both the security and aesthetic appeal of your home.
Step-by-Step Guide on Installing a Storm Door
Once you’ve gathered all the necessary tools and materials for storm door installation, it’s time to begin the actual process. Start by carefully measuring the door opening to ensure that your new storm door will fit properly.
It’s crucial to measure both the height and width of the door frame, as well as the depth of the doorway. This ensures that the door will not only fit snugly but also function smoothly without hindrance.
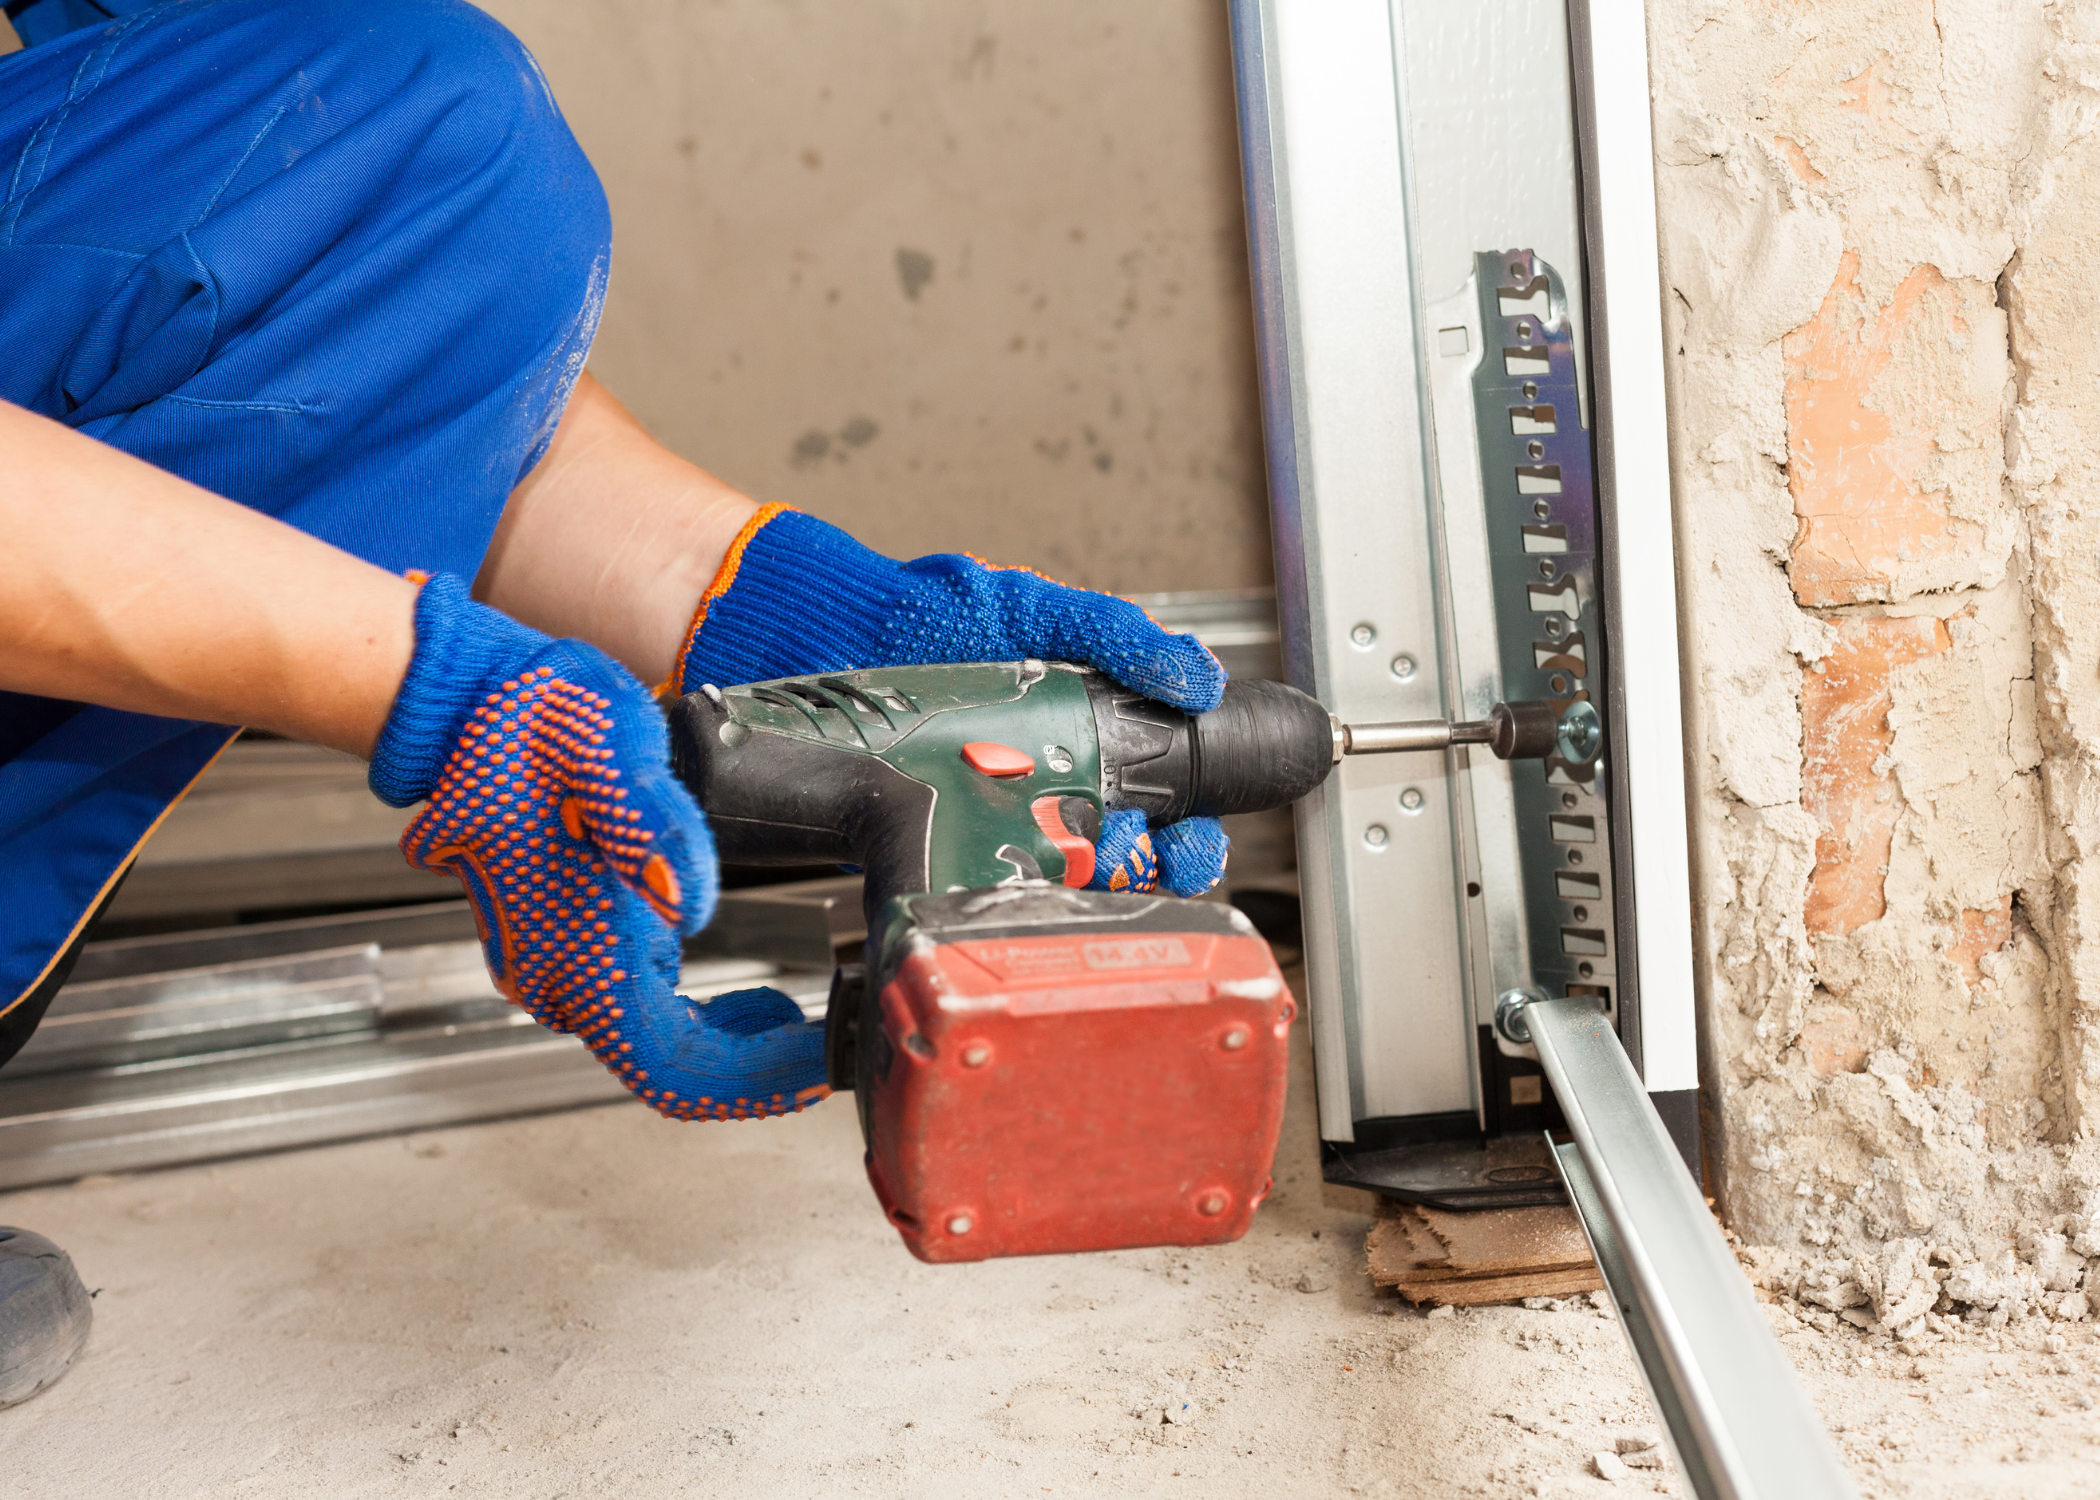
Next, align the door’s hinge rail with the hinge side of your door frame. This is a good moment to double-check that your door swings open and closed freely without any obstructions.
After securing the hinge rail, you’ll continue by attaching the rest of the mounting hardware, including the expander sweep and the latch-side rail. Make sure that each piece is aligned and level to prevent future issues with the door’s operation.

Lastly, install the door’s handle and lock mechanism according to the manufacturer’s instructions. This might require some additional tools and a bit of patience to ensure everything is tight and secure.
Once everything is in place, open and close the door several times to check for any adjustments needed. Remember, a properly installed storm door not only enhances your home’s security but also boosts its energy efficiency by creating an additional layer of insulation.
Troubleshooting Common Issues During Storm Door Installation
When tackling storm door installation, it’s not uncommon to encounter a few hitches along the way. One frequent issue arises from improper alignment.
This can prevent the door from closing correctly, leading to potential security risks or weather damage. To address this, ensure that the hinge side of the door frame is perfectly vertical. Using a level can help verify this.
If adjustments are needed, shims can be employed beneath the hinges to achieve a true alignment, ensuring that the door operates smoothly.
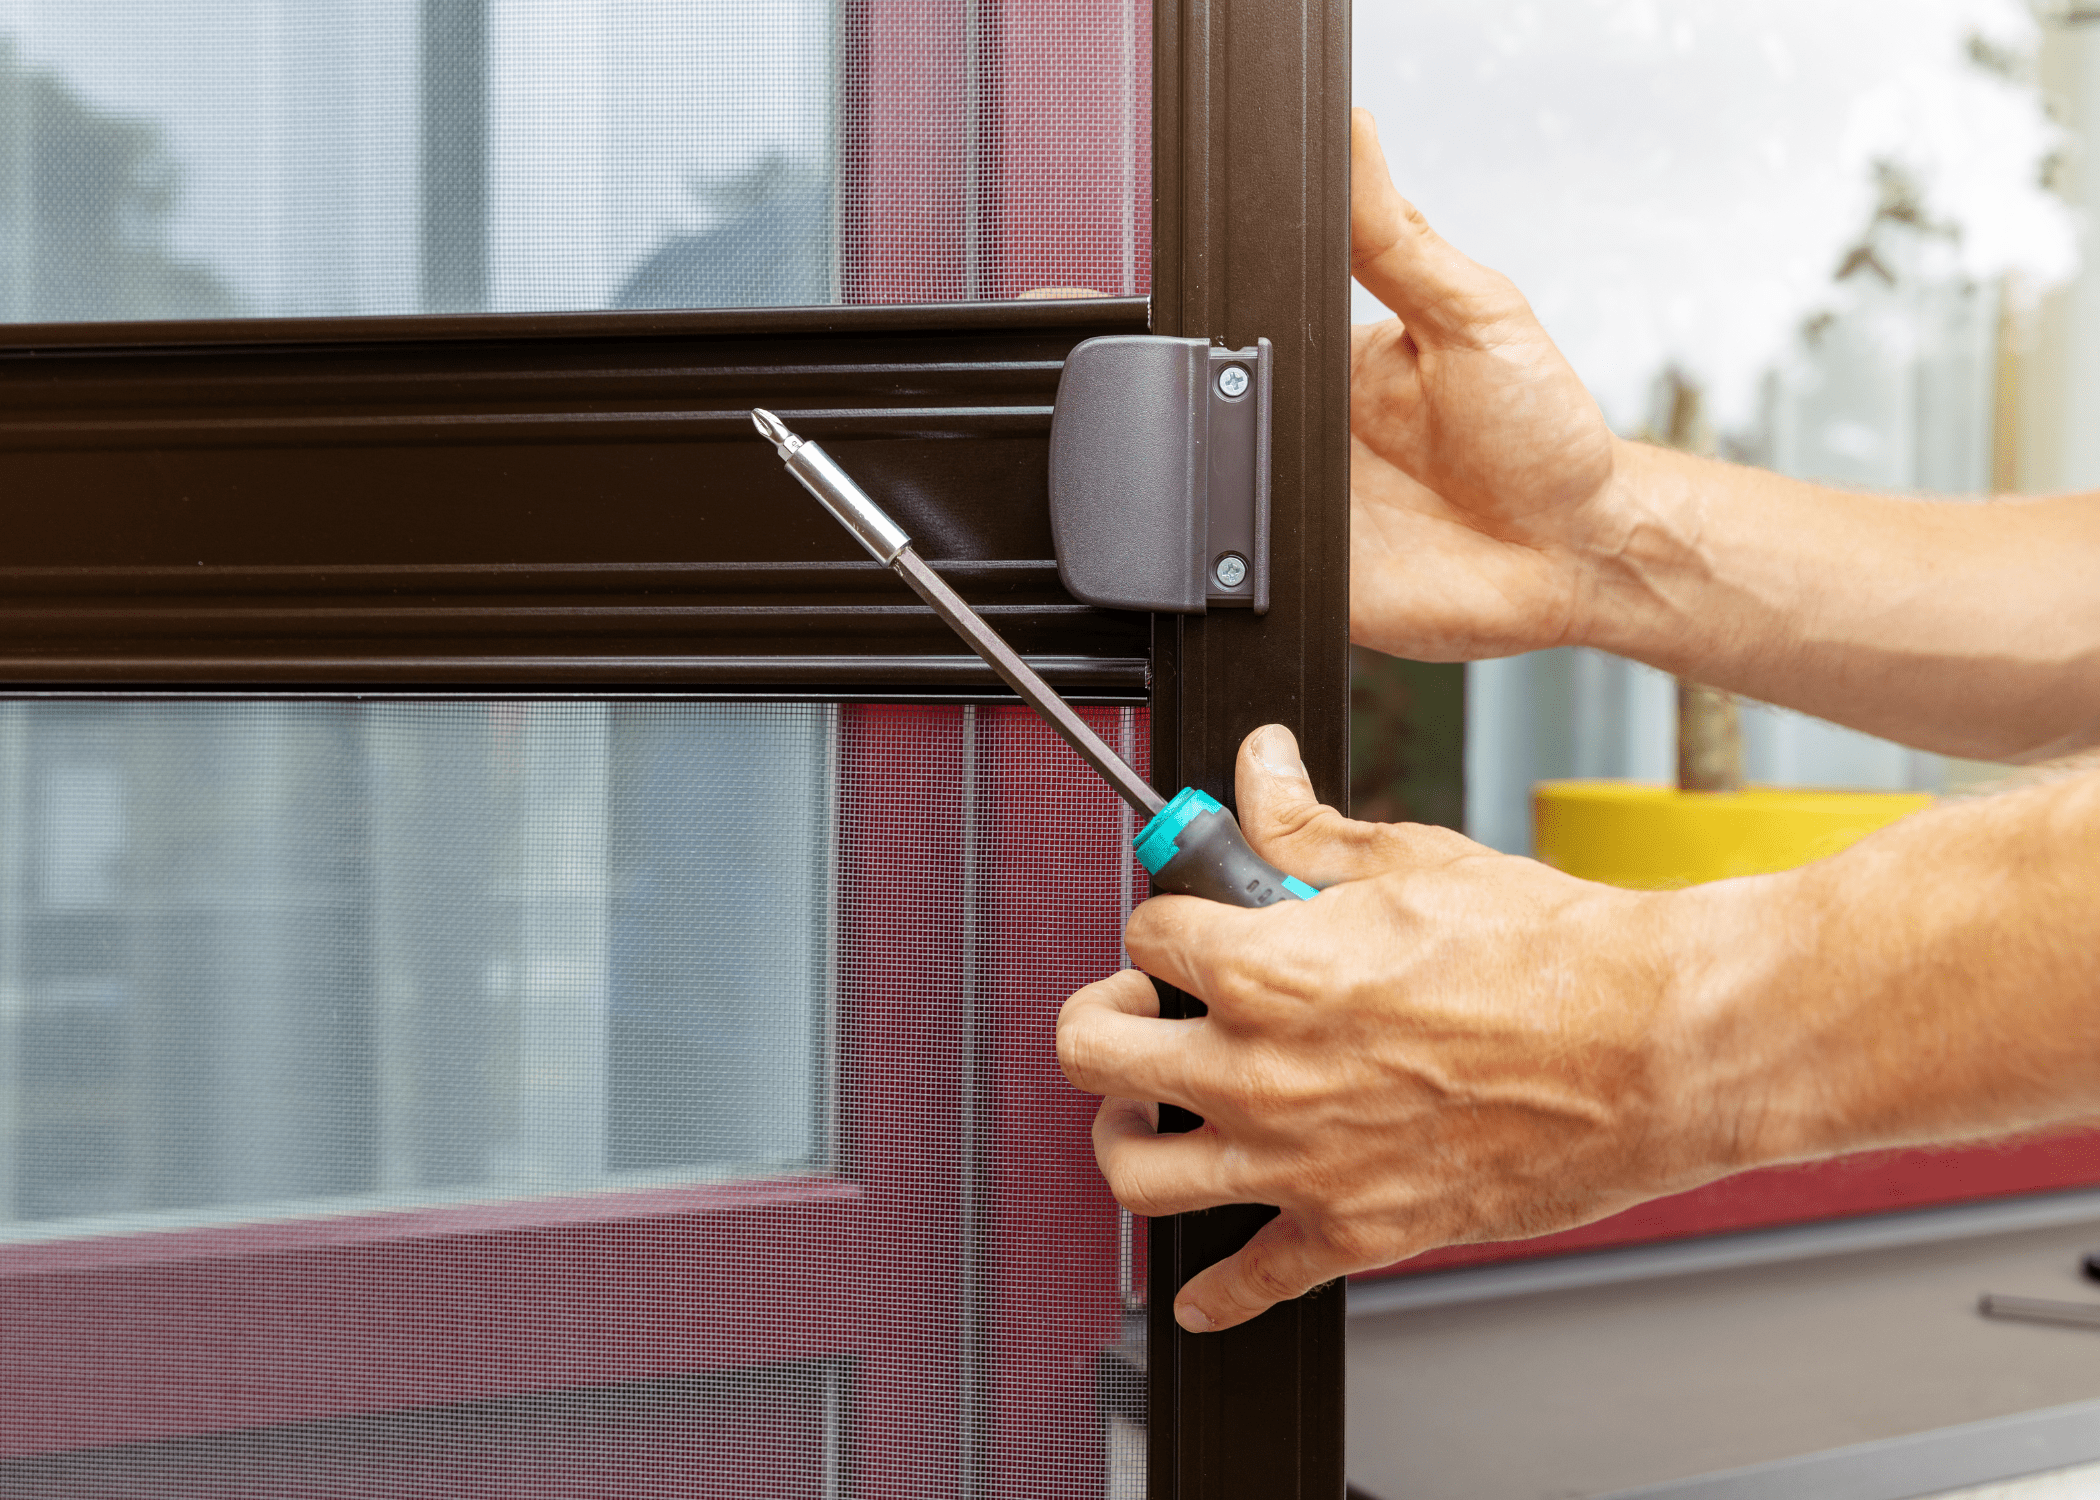
Another challenge might be with the door handle or lock mechanisms, which can sometimes be tricky to install. If the handle isn’t functioning properly after installation, double-check that all components are correctly aligned and tightly secured.
It’s also worth reviewing the installation instructions to confirm that no steps were missed or hardware misused. In some cases, slight adjustments or the repositioning of the hardware may be necessary to get everything working just right.
Keeping a patient and meticulous approach during storm door installation can prevent these common issues, leading to a more satisfying and secure outcome.
Maintenance Tips After Installing Your Storm Door
After successfully completing your storm door installation, it’s important to consider the maintenance that will keep your door functioning well and looking great for years to come.
Regular checks are crucial; ensure that the hinges are always tight and the door seals properly when closed. Over time, the weatherstripping may wear down, so replacing it when necessary can prevent drafts and energy loss. Additionally, keeping the door’s tracks clean will ensure smooth operation and prevent any damage caused by debris.
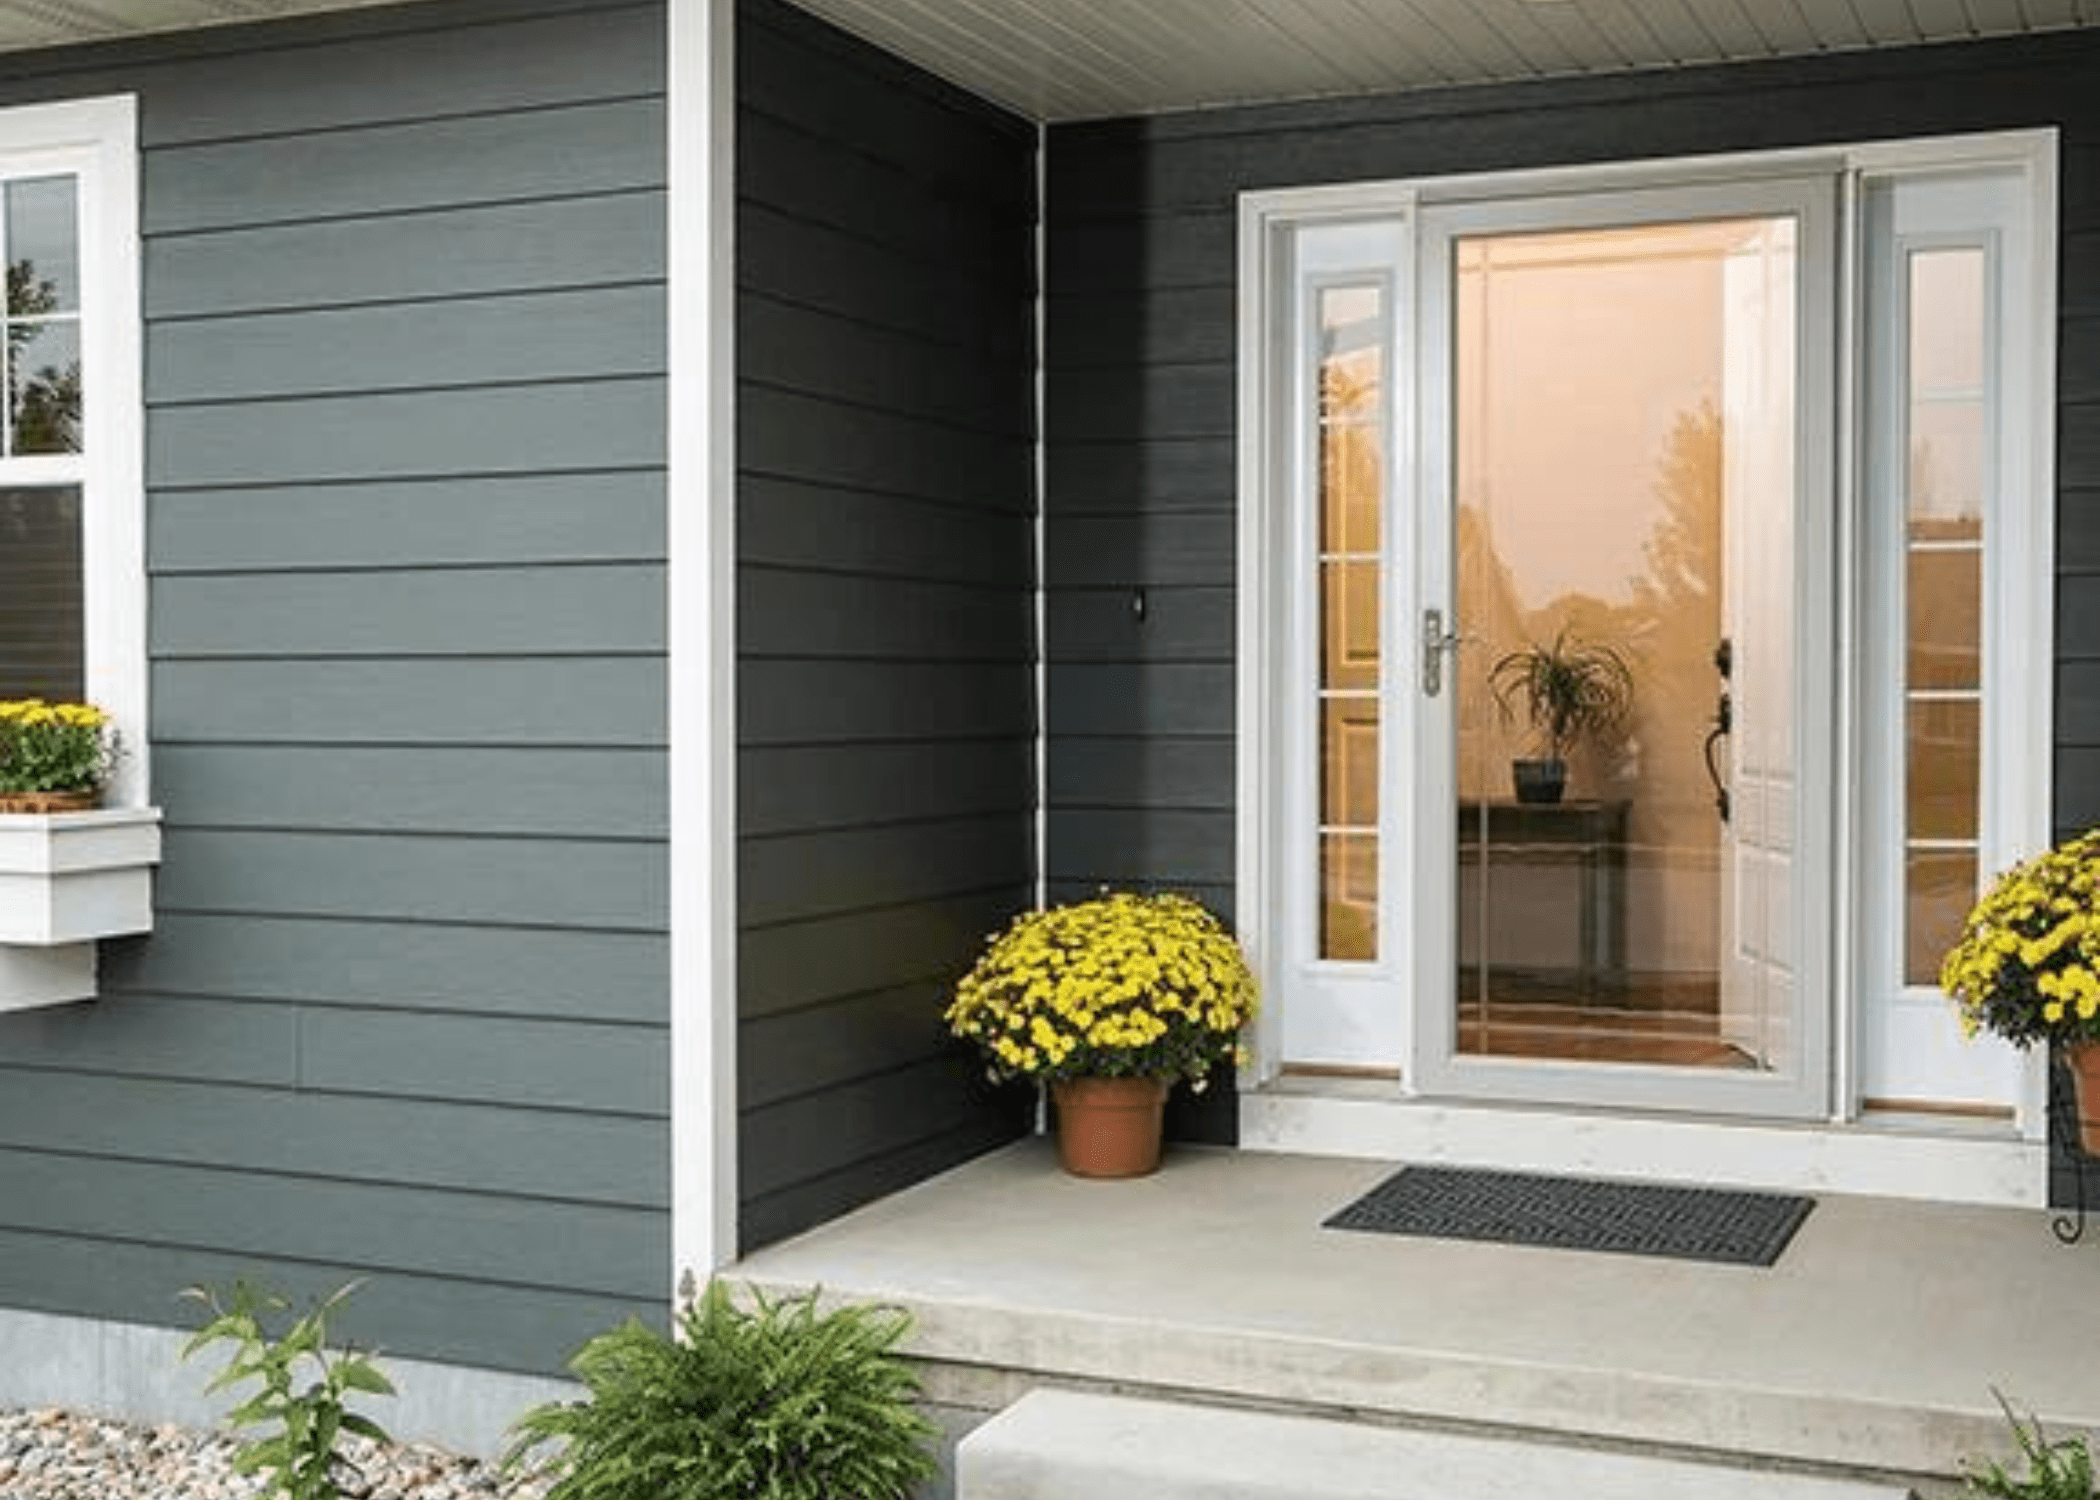
Maintaining your storm door also involves a visual check of its overall condition. Look for any signs of rust or corrosion on the metal parts, especially if you live in a humid or coastal area. If your door has a screen, inspect it for tears and mend or replace the screen as needed to keep insects out and ensure good ventilation.
By performing these simple tasks, your storm door will continue to enhance your home’s energy efficiency and security while maintaining its aesthetic appeal.
Related Articles
- How to Replace A Garage Door Seal Quick and Easy
- Improve Your Home’s Ventilation and Air Quality by Installing a Screen Door
- How to Install Door Weather Stripping to Seal Your Home
Ready to start your next project? Join our DIY community to receive tool tips, how-to guides, and exclusive creative insights. Subscribe to the ManMadeDIY newsletter now!
Frequently Asked Questions (FAQs)
What is a storm door, and why should I install one?
A storm door is an additional outer door installed for protection against bad weather, and to improve insulation. It also allows ventilation in warmer months while keeping insects out. Installing a storm door can enhance energy efficiency, protect your main entry door, and increase home security.
Can I install a storm door myself, or should I hire a professional?
While many homeowners with basic DIY skills can install a storm door, it requires precise measurements, tools, and an understanding of door mechanics. If you’re not comfortable with the installation process, hiring a professional ensures the correct fit and function, which is crucial for the door’s performance.
How do I choose the right storm door for my home?
Selecting the right storm door involves considering the door’s material (aluminum, wood, or vinyl), the type of glass (full-view, mid-view, or high-view), and the ventilation options. Think about your climate, the style of your home, and your specific needs, like pet access or enhanced security features.
How much does it cost to install a storm door?
The cost varies depending on the door model, materials, and whether you’re installing it yourself or hiring a professional. Typically, the door itself can range from $100 to $400, with professional installation adding an additional $200 to $400 to the total cost.
What are the steps involved in installing a storm door?
Installation involves several steps: measuring your doorway to choose the correct size, preparing the door opening, installing the hinge and latch mechanisms, attaching the door to the frame, and finally, installing any additional features like door closers or handles. Precise alignment is key to ensure smooth operation.
How long does it take to install a storm door?
For those with some DIY experience, installing a storm door can take anywhere from 2 to 4 hours. If you’re hiring a professional, it might take less time due to their experience and efficiency. The time can vary based on the complexity of the installation and any adjustments needed for a proper fit.
What maintenance is required for a storm door?
Regular maintenance includes cleaning the door and glass, lubricating the hinges and lock mechanism, and checking for wear and tear. Depending on the material, you may also need to repaint or reseal the door periodically to protect against the elements and ensure its longevity.


![DIY Auto Detailing [10 Must-Haves for your Garage]](https://www.manmadediy.com/wp-content/uploads/sites/52/2021/03/car-sponge-81861-269x170.jpg)
