How to Replace A Garage Door Seal Quick and Easy
If you’ve ever noticed a draft in your garage or found leaves and debris sneaking under the door, it might be time to consider replacing the garage door seal. This is an essential maintenance task that not only helps in keeping out unwanted elements but also improves energy efficiency in your home.
A worn or damaged seal can lead to increased heating and cooling costs, as it allows air to escape, making your garage more susceptible to outside temperatures. Replacing the seal on your garage door is also crucial for protecting the contents of your garage from water damage and pests. A good seal ensures that moisture, dirt, and critters stay outside where they belong.
Identifying the Type of Garage Door Seal You Need
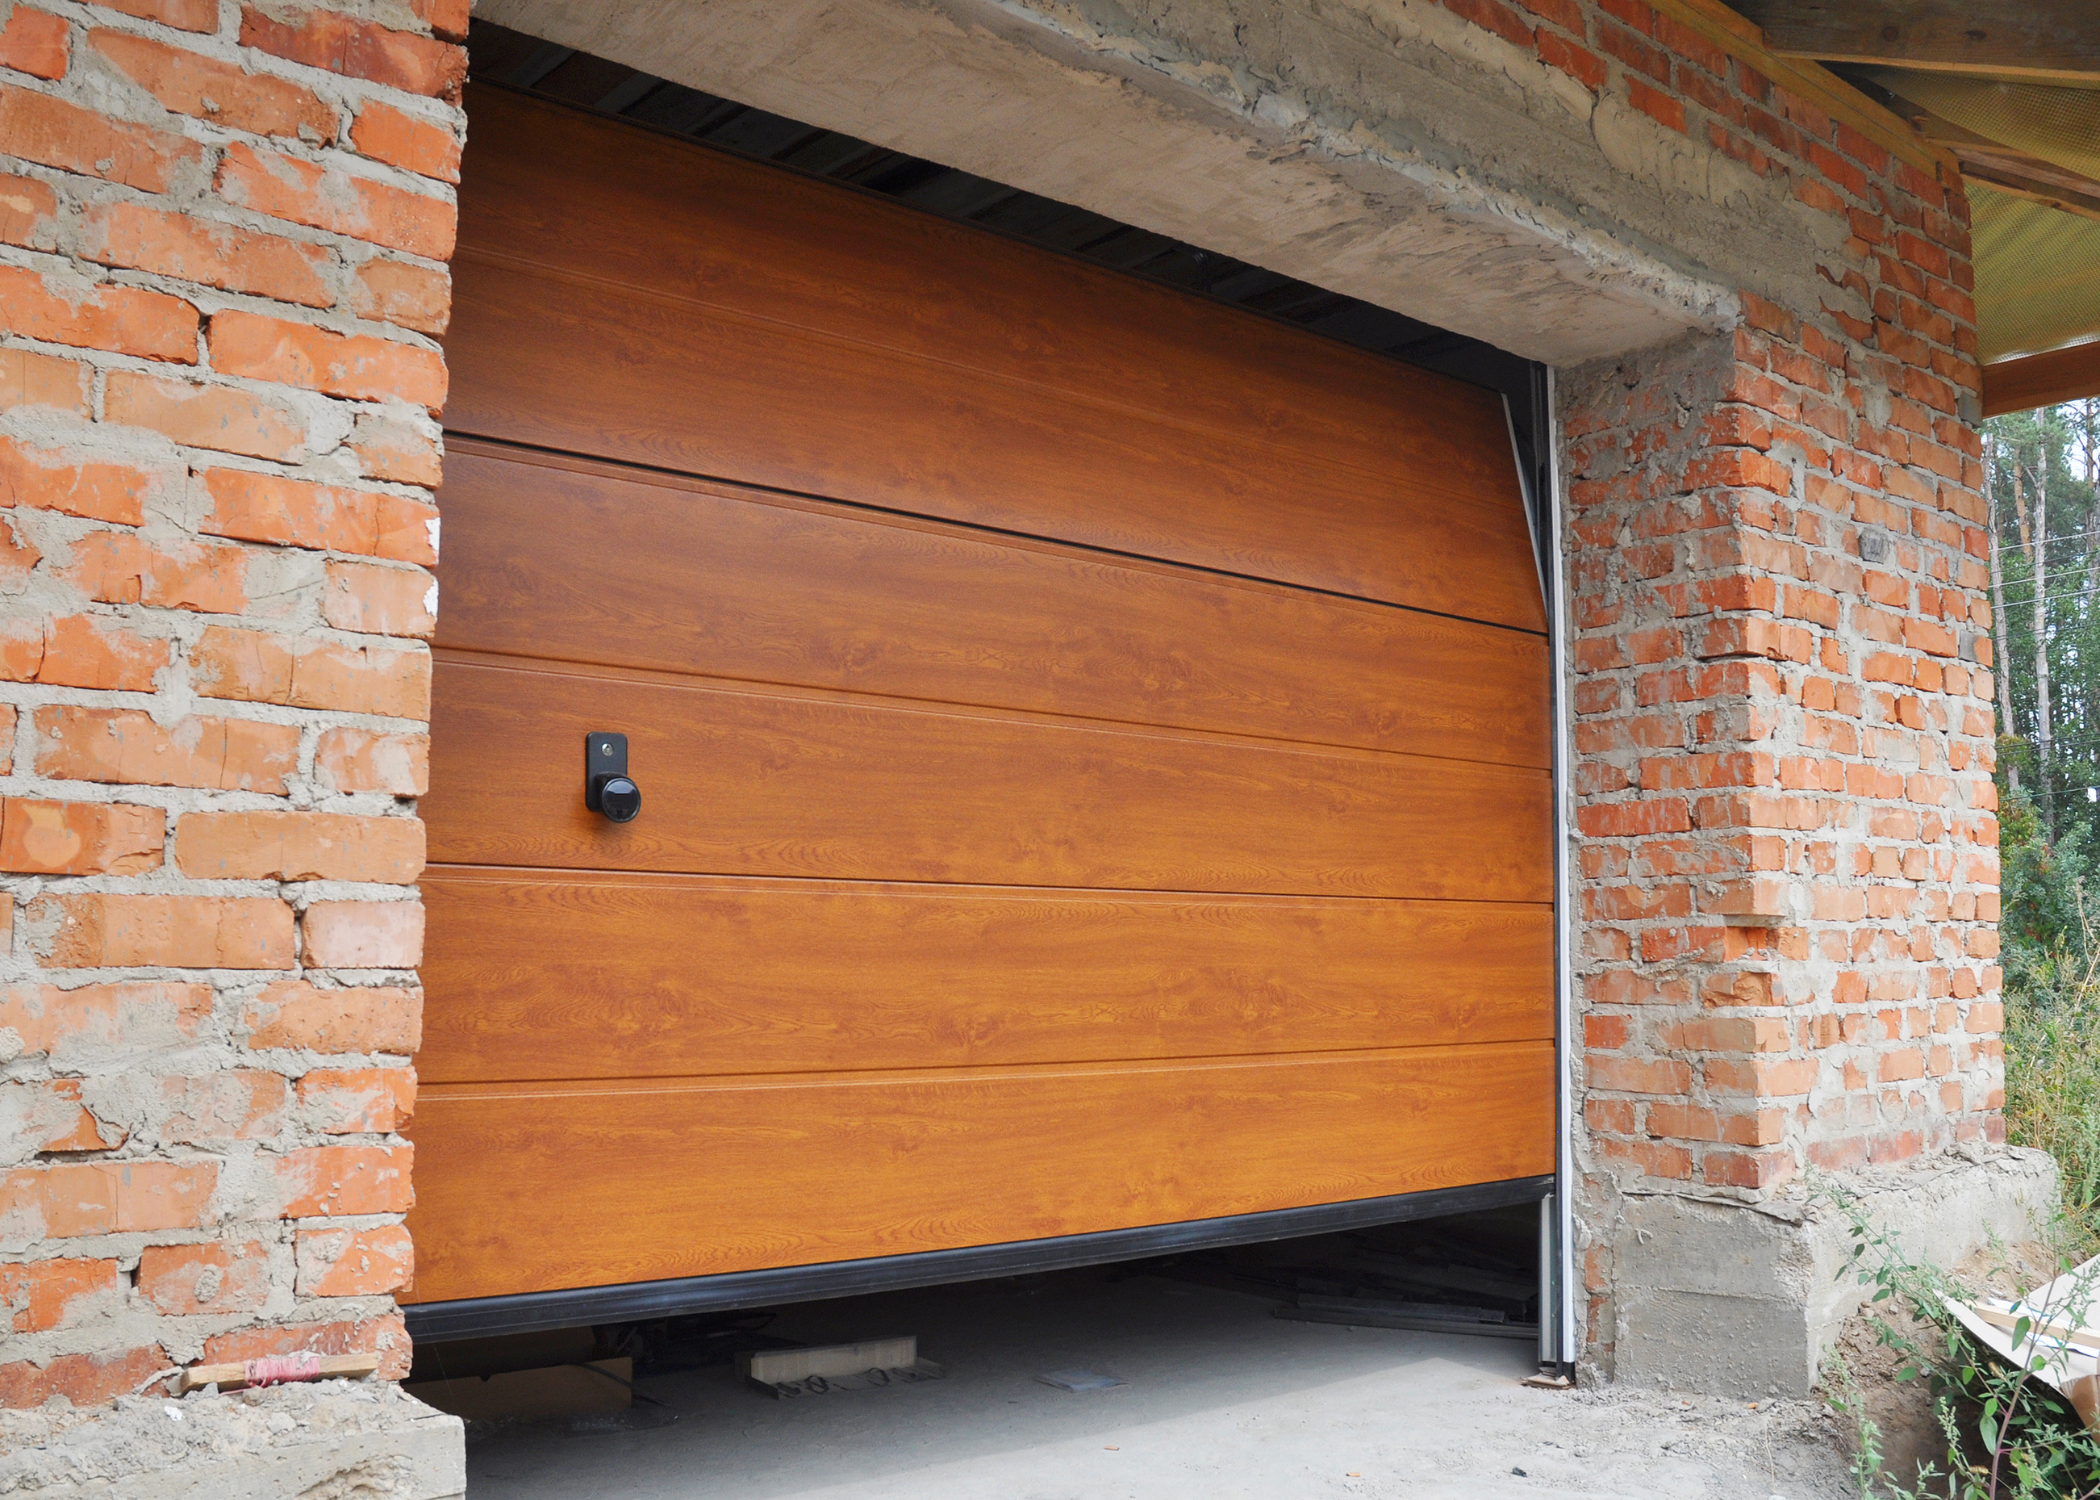
When considering how to replace a garage door seal, it’s crucial to start by identifying the right type of seal that fits your garage door. Each garage door might require a different seal based on its design and the way it interacts with the floor and walls of the garage.
Typically, seals come in materials like rubber, vinyl, or even brush-based forms, each serving a unique purpose. Rubber seals are highly durable and great for uneven surfaces, while vinyl is preferred for its resistance to weather-related degradation. Brush seals can be ideal for doors that face a lot of external debris, as they help in sweeping away leaves and dust as the door operates.
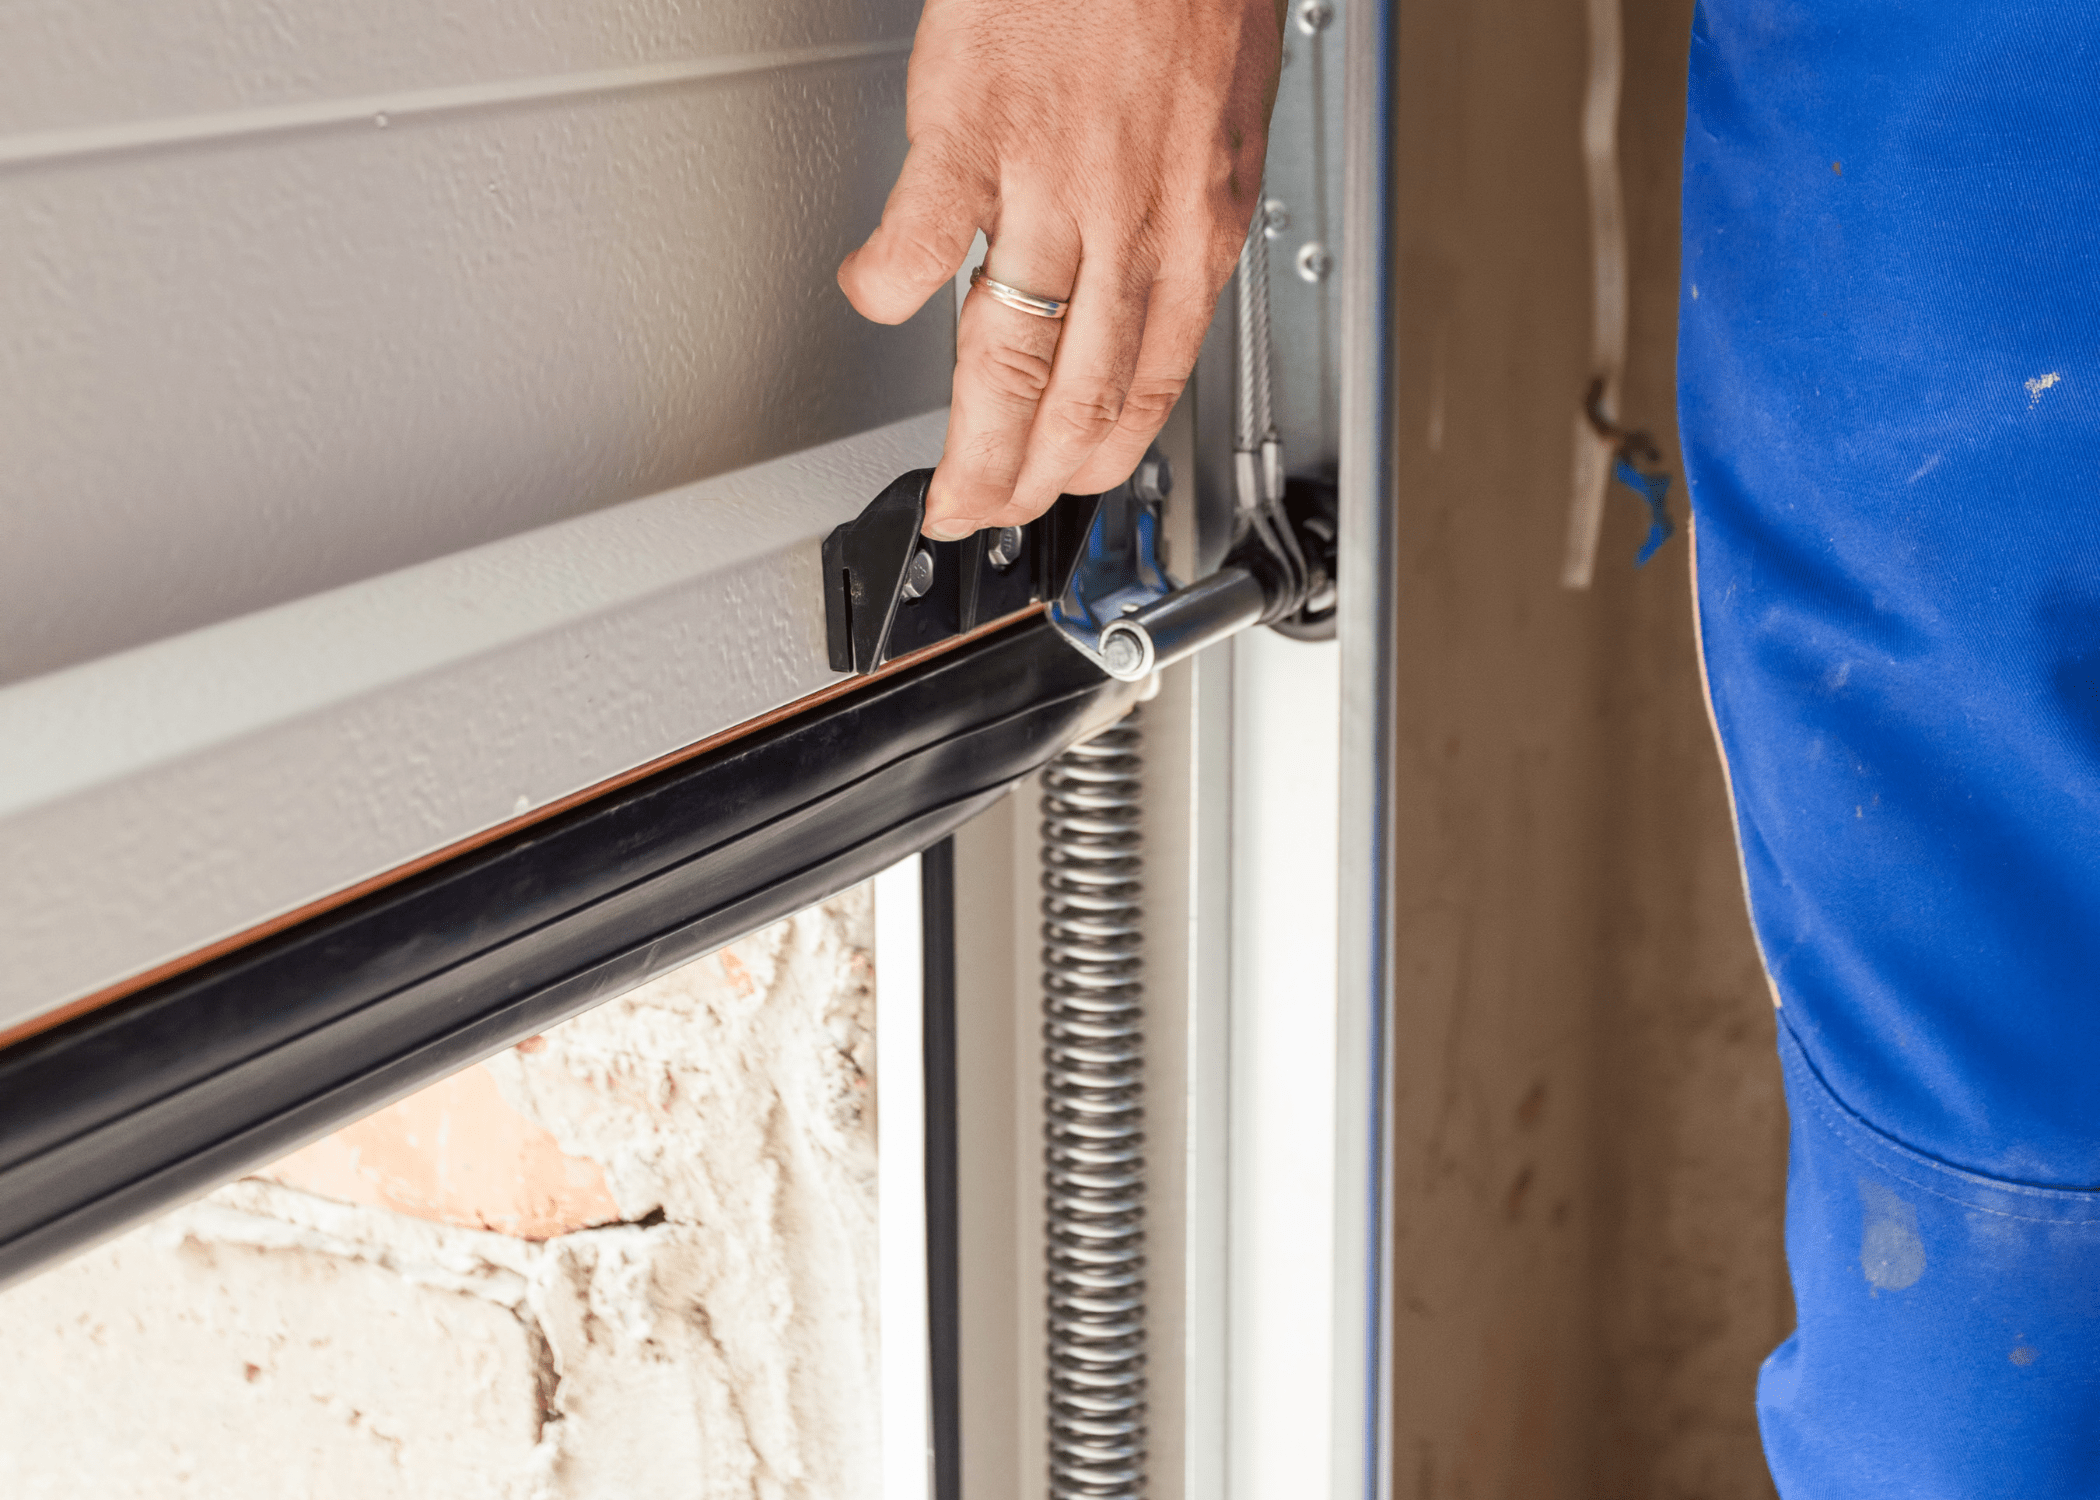
It’s also essential to consider the specific configuration of your garage door. Some doors work best with bottom seals attached directly to the door, while others might require a threshold seal that adheres to the floor.
Checking the existing setup can guide you in choosing the appropriate seal type that ensures maximum protection from the elements and pests. Understanding these distinctions will facilitate a smooth process when you decide to replace your garage door seal, ensuring that it fits perfectly and provides optimal performance.
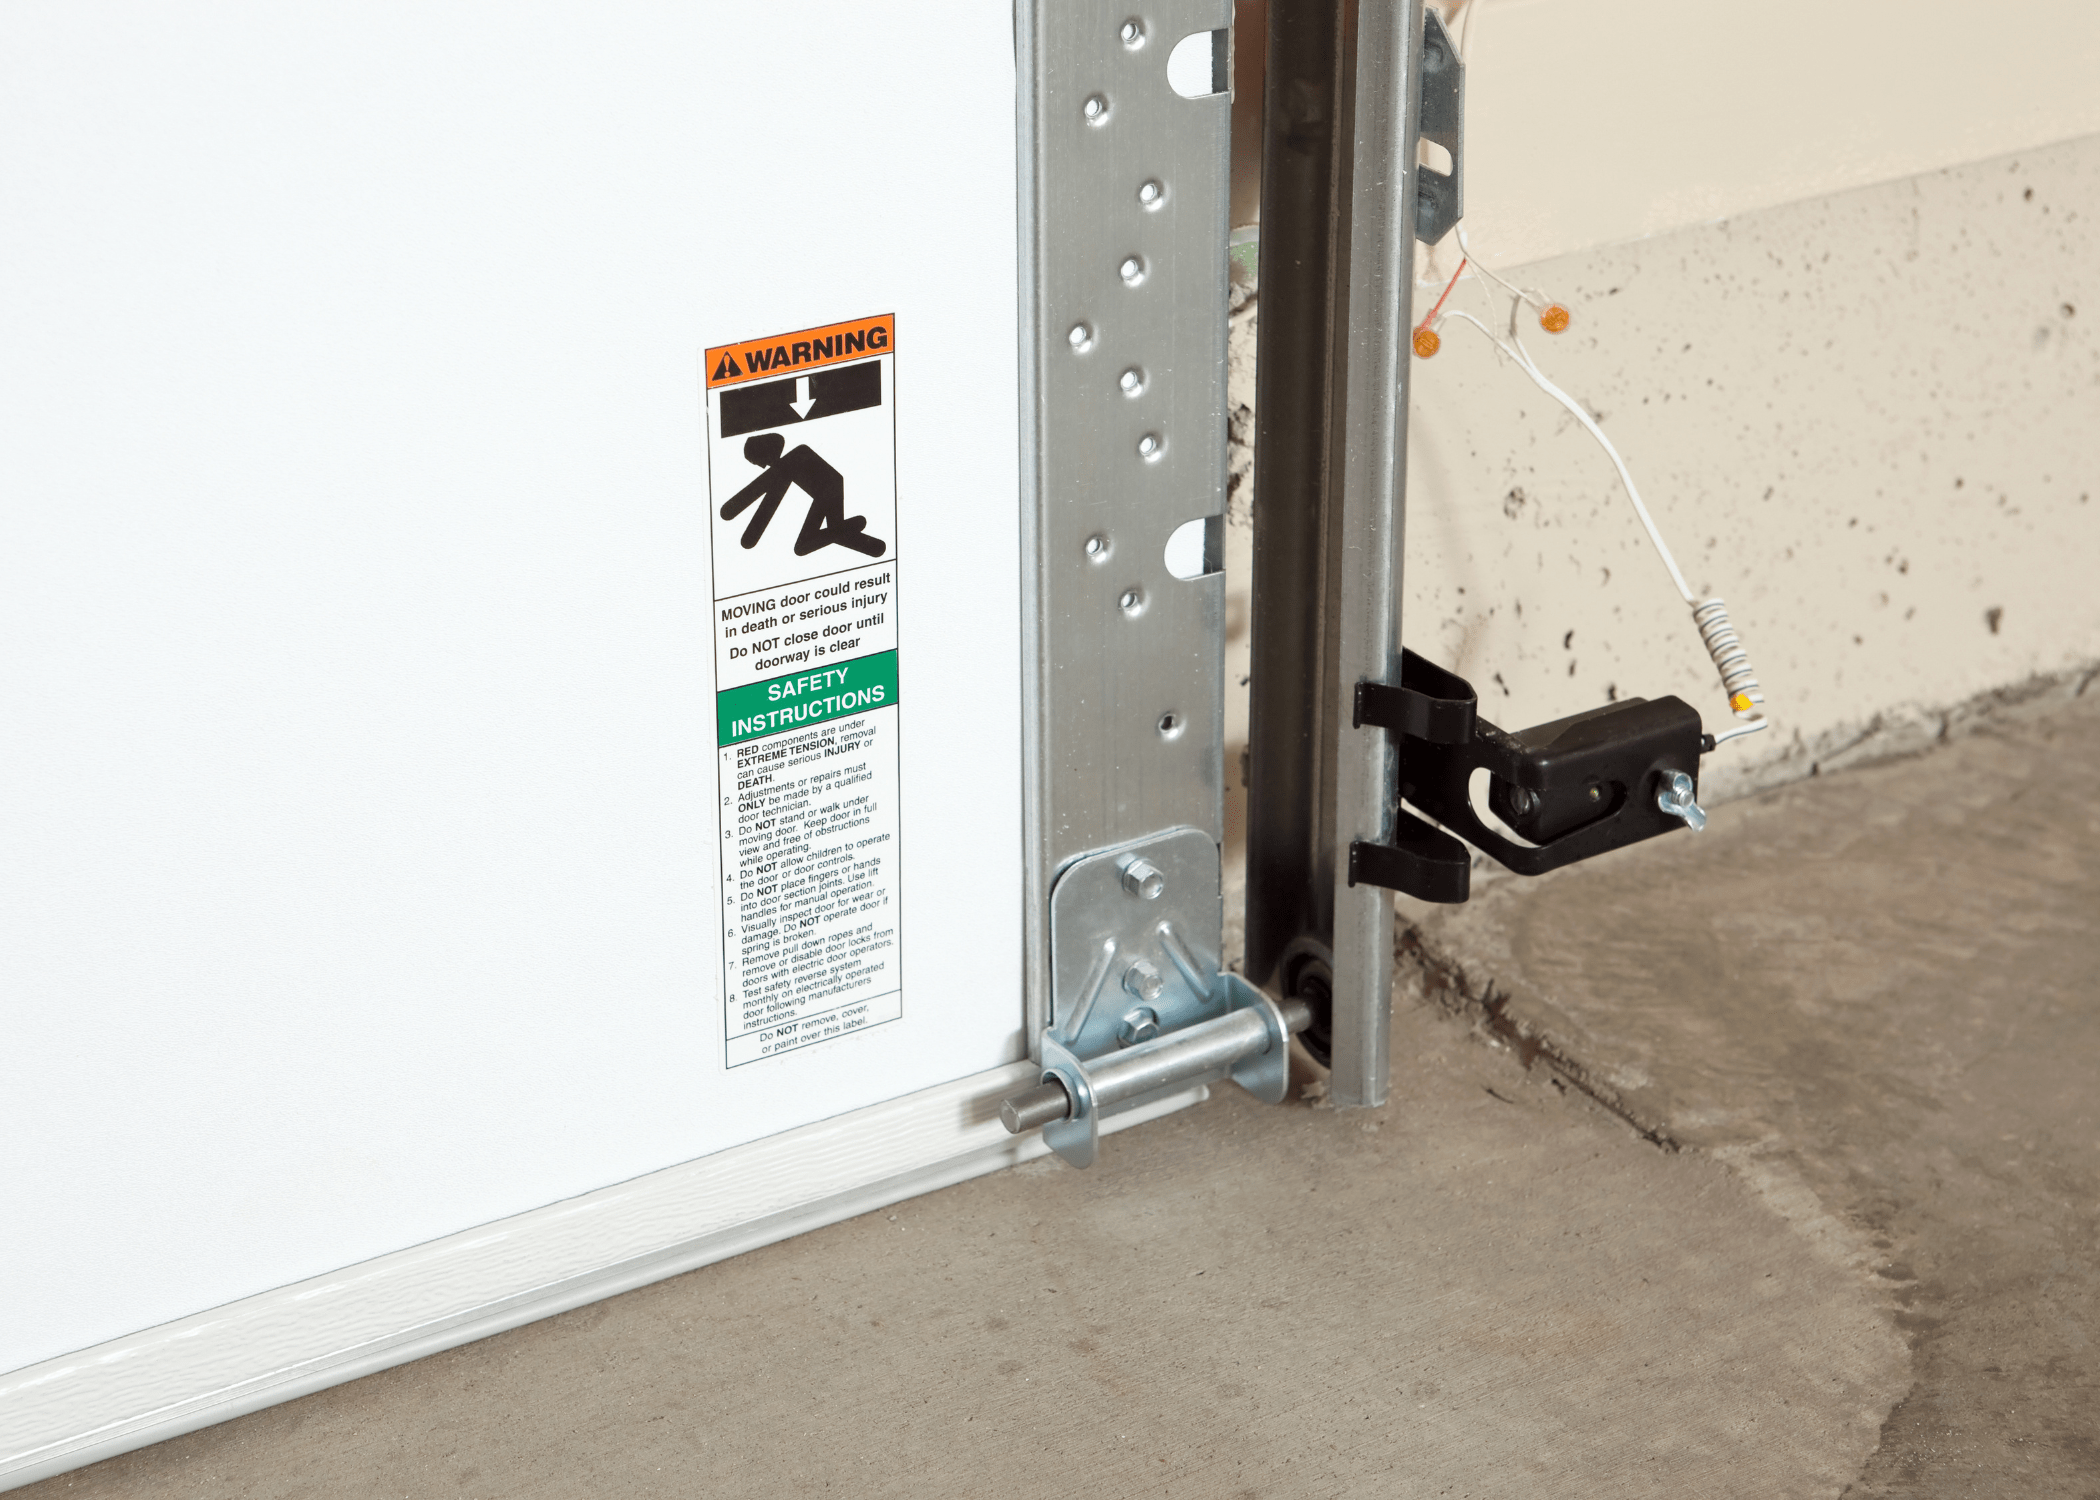
Tools and Materials
You’ll primarily need a reliable tape measure, which is essential for determining the exact length of the seal required. A good pair of scissors or a utility knife also comes in handy to cut the seal to the right size.
Additionally, having a flathead screwdriver or a pry bar will help you remove the old seal with ease, ensuring that the surface is clean and smooth for the new installation.
On the materials side, the new seal itself is, of course, the star of the show. Make sure to choose a seal that matches the specific type and size of your garage door, as they can vary significantly.
Weatherstripping adhesive or a sealant specifically designed for garage doors might also be needed to secure the seal in place and enhance its durability against the elements.
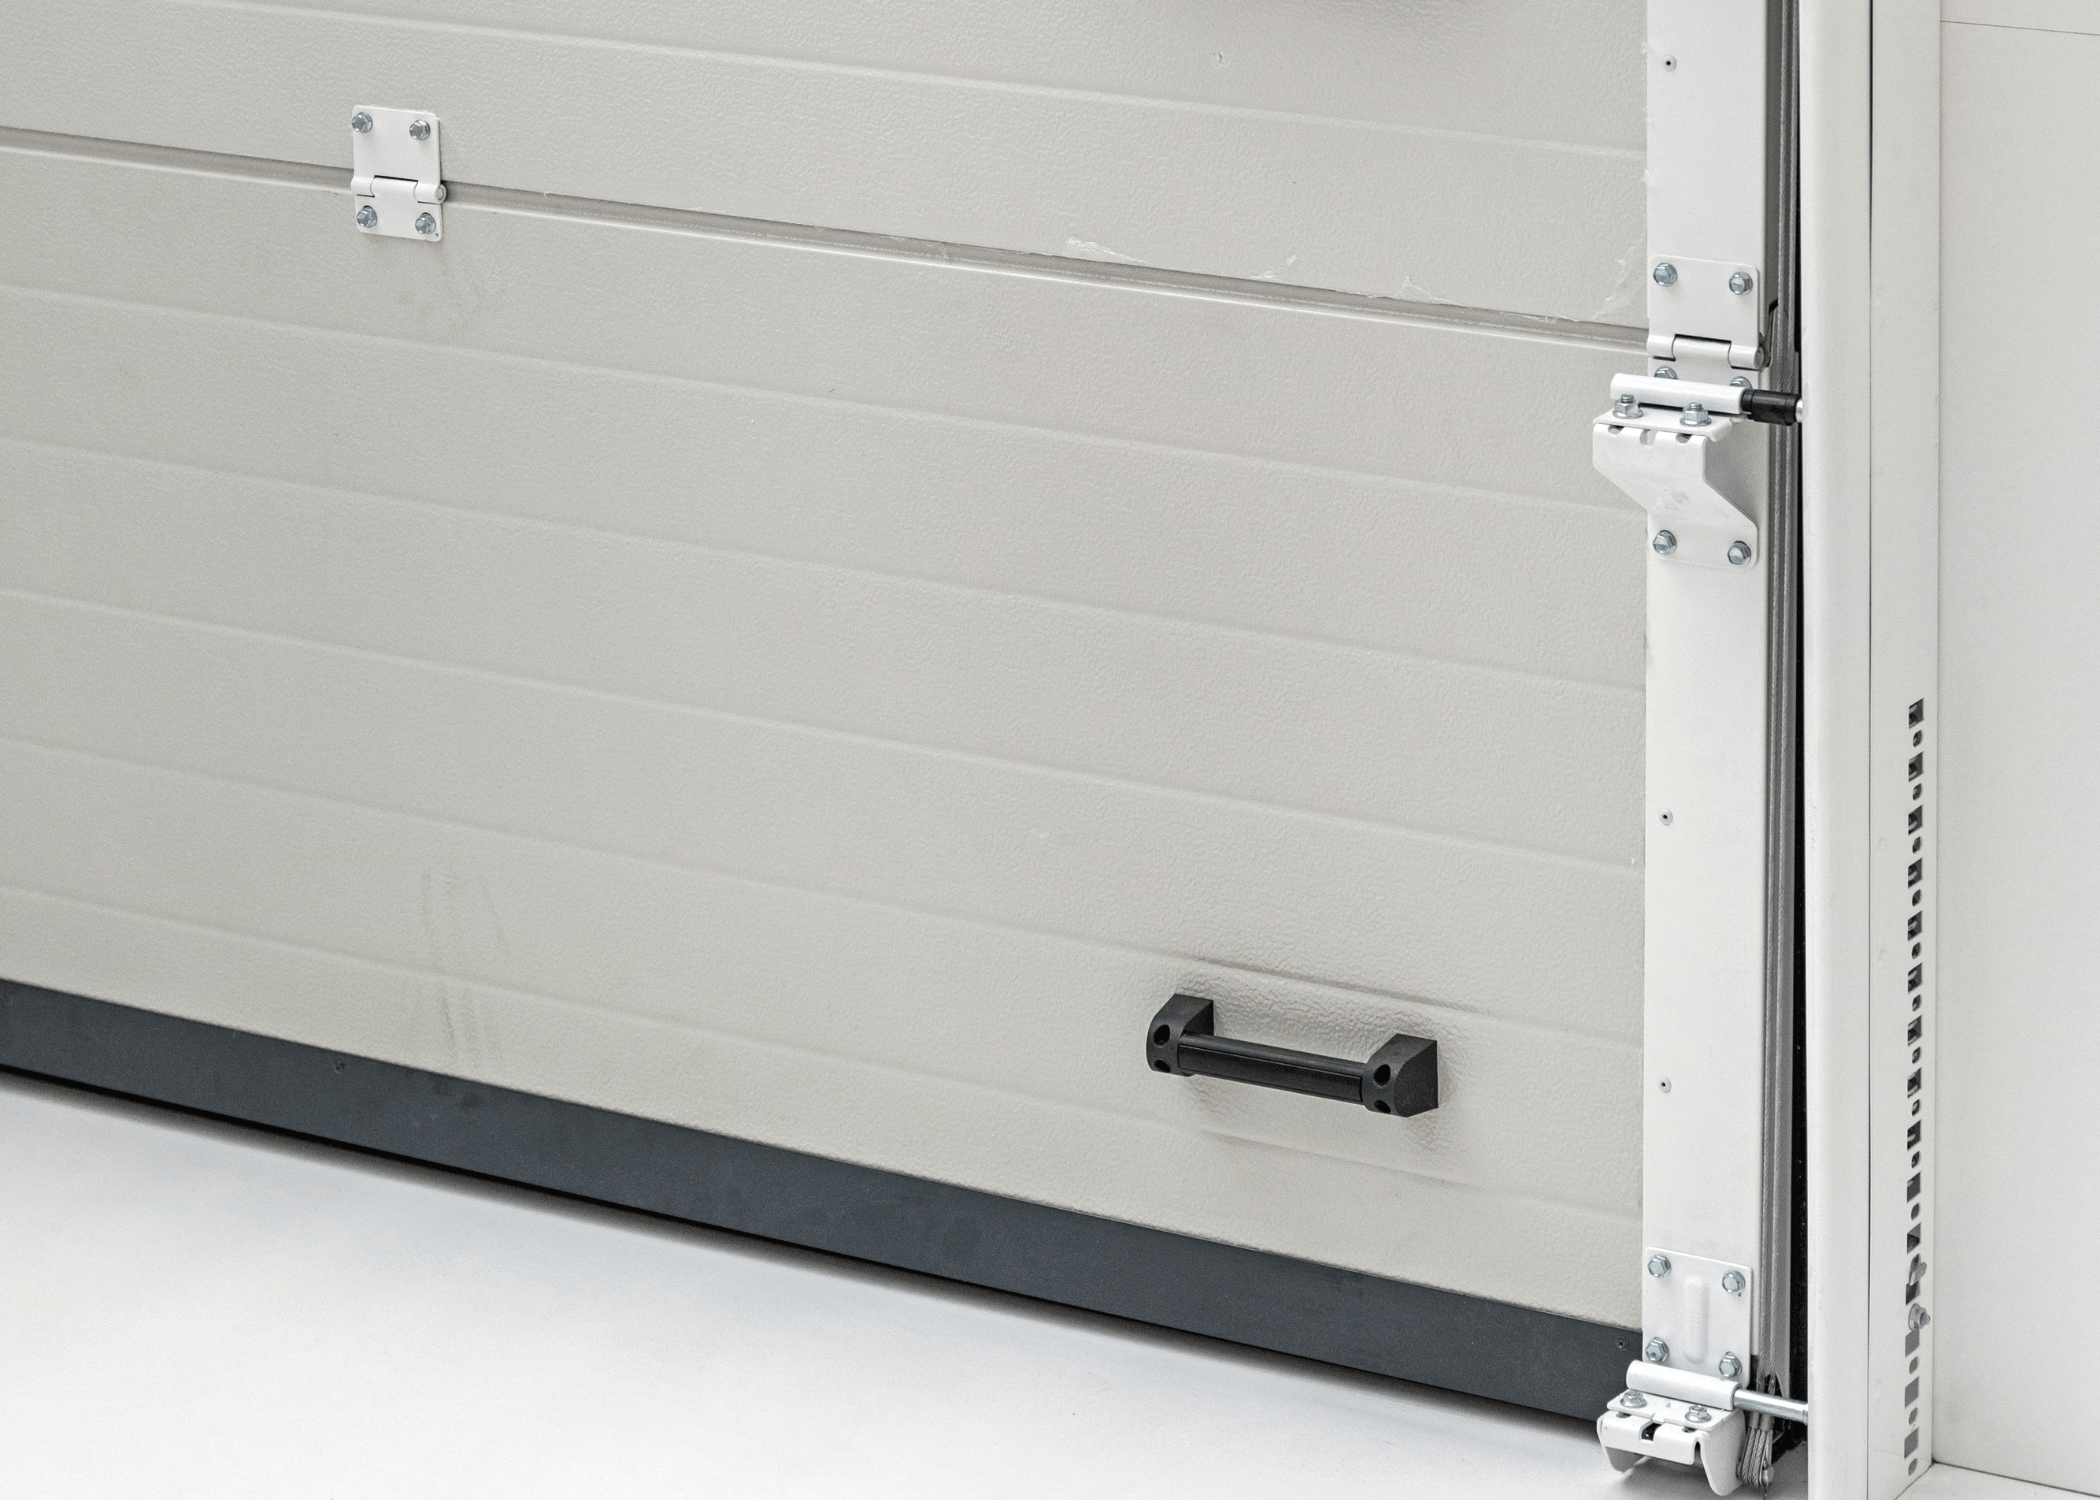
How to Remove the Old Garage Door Seal
It’s important to start by cleaning the area around the bottom of the garage door. This ensures that no debris or dirt interferes with the removal and installation process.
Once you’ve cleared the area, carefully inspect how the existing seal is attached to the door. Many seals are fitted into a track with retainers, while others might be nailed or screwed directly onto the door.
Next, gently pry the old seal away from the door. If it’s fitted into a track, use a flathead screwdriver or a similar tool to loosen the seal from the retainers. Be patient and work your way along the door to avoid damaging the track.
For seals that are nailed or screwed in, you’ll need a suitable tool to remove these fasteners. Once all attachments are removed, the old seal should come off easily. Make sure to dispose of it properly before moving on to installing the new seal, which will provide a fresh barrier against the elements.
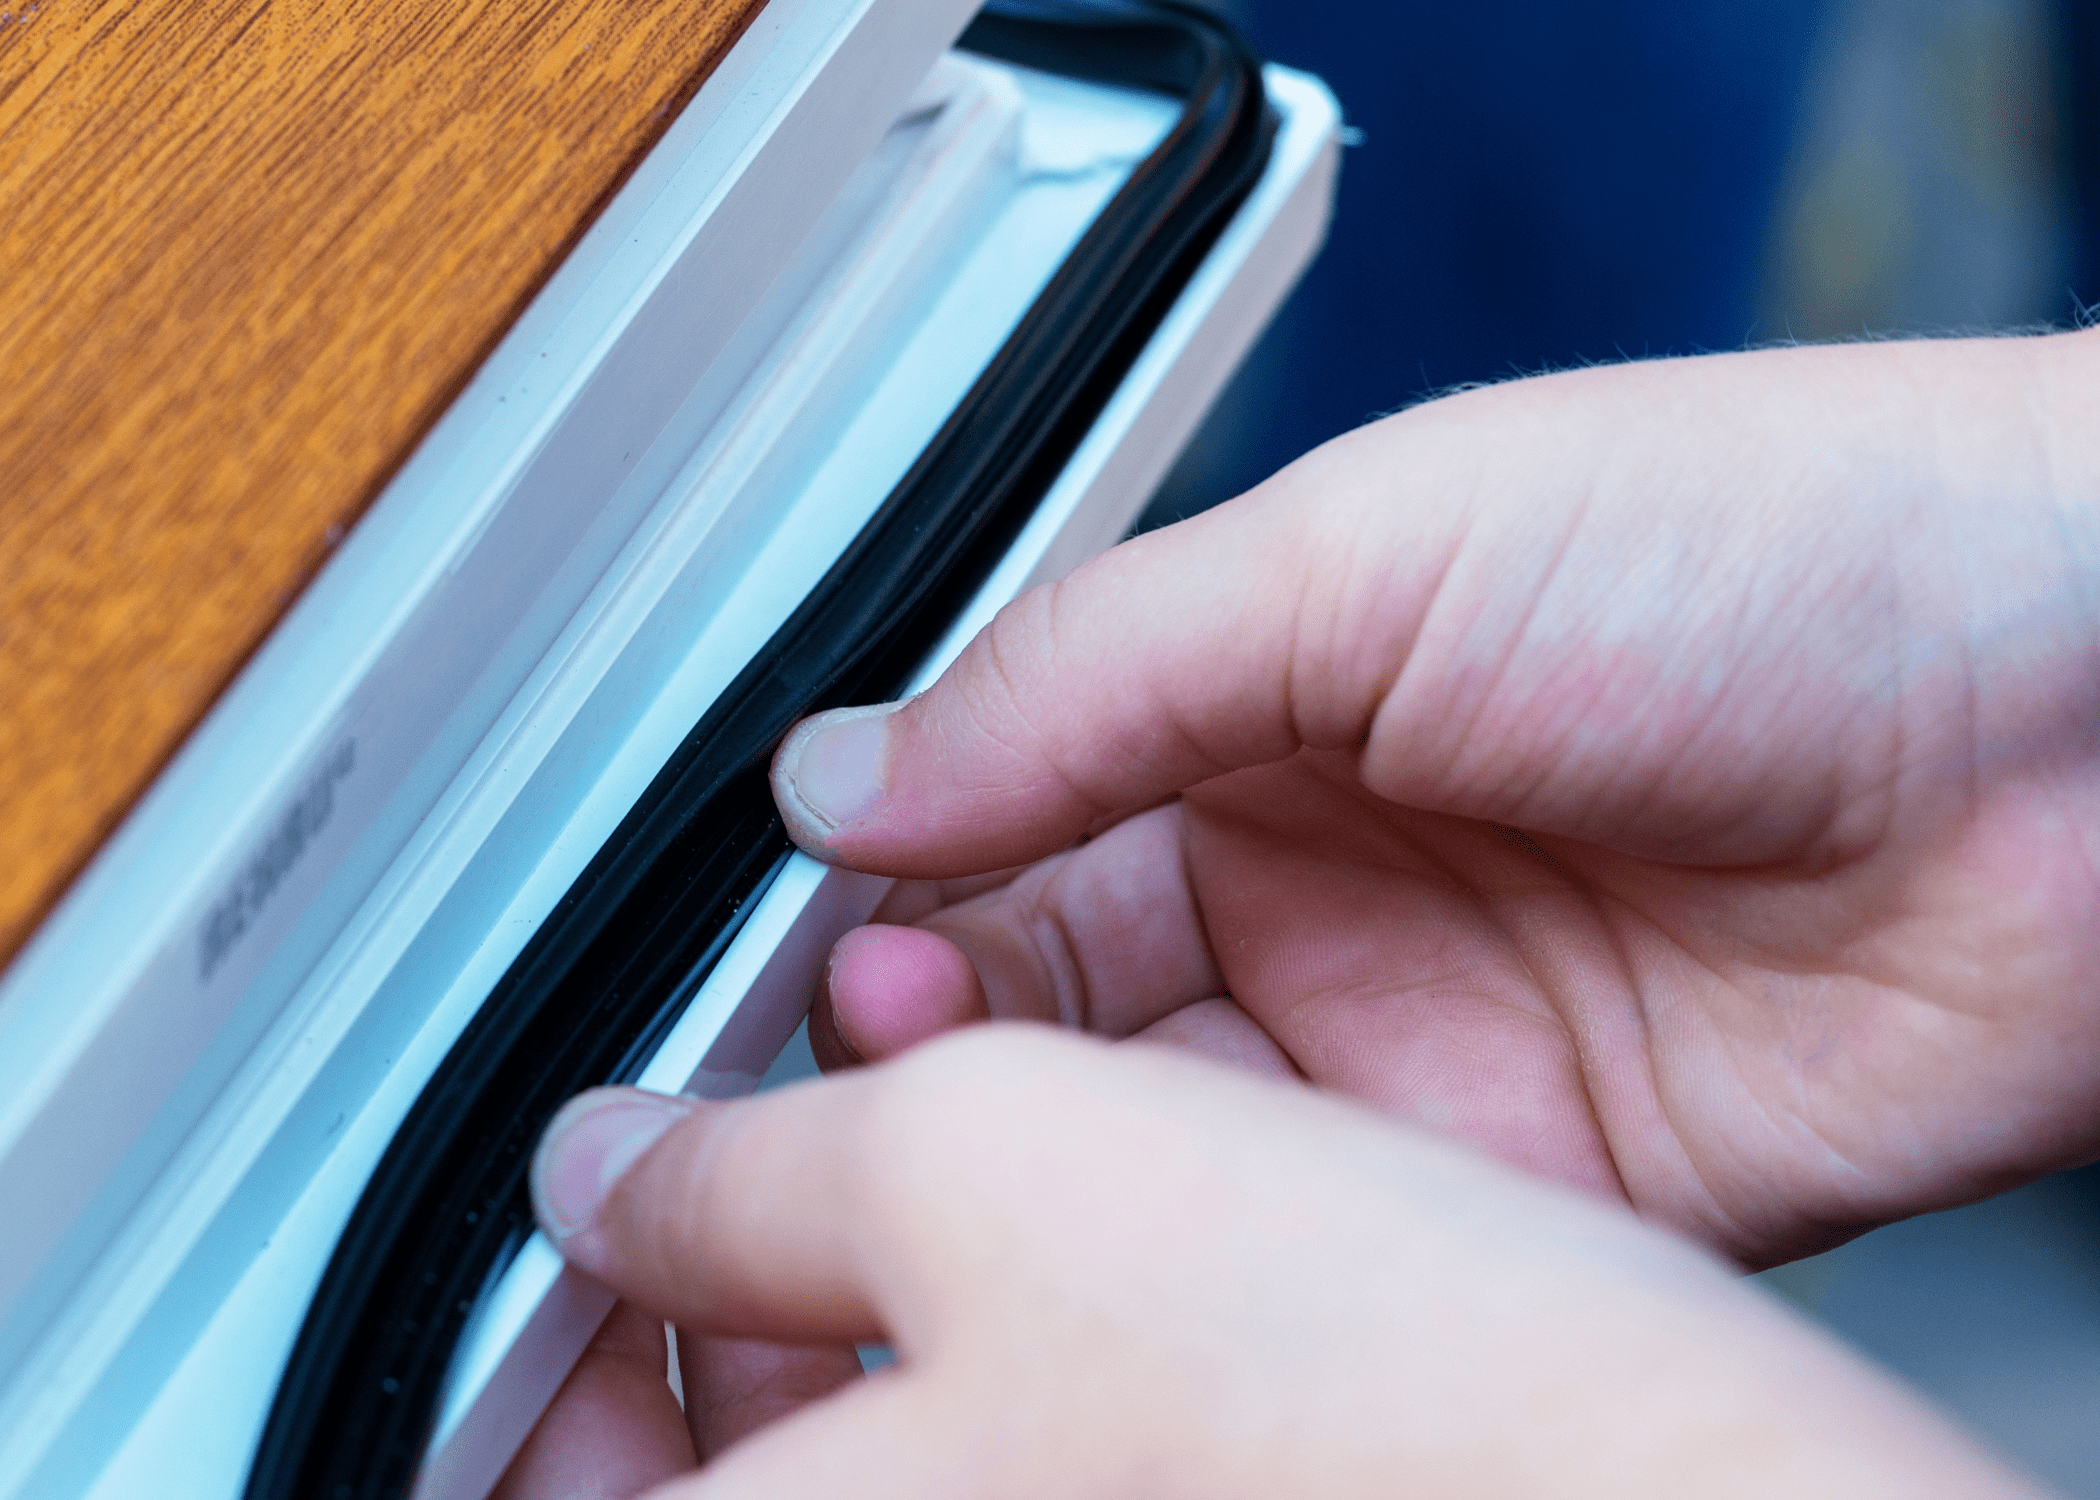
How to Install the New Garage Door Seal Properly
The first step is ensuring you’ve chosen the right type of seal for your garage door. Whether it’s a bottom seal, threshold seal, or weatherstripping, each type serves a specific purpose in keeping out elements and pests.
Gently slide the new seal into the track or press it into place if it’s an adhesive type. For some seals, you might need to use a rubber mallet to tap the seal into the track securely.
Once the seal is in place, check along its length to make sure there are no gaps or bumps. If your garage door has a manual closing mechanism, it’s a good idea to close and open the door a few times to ensure that the seal is perfectly aligned and functions correctly.
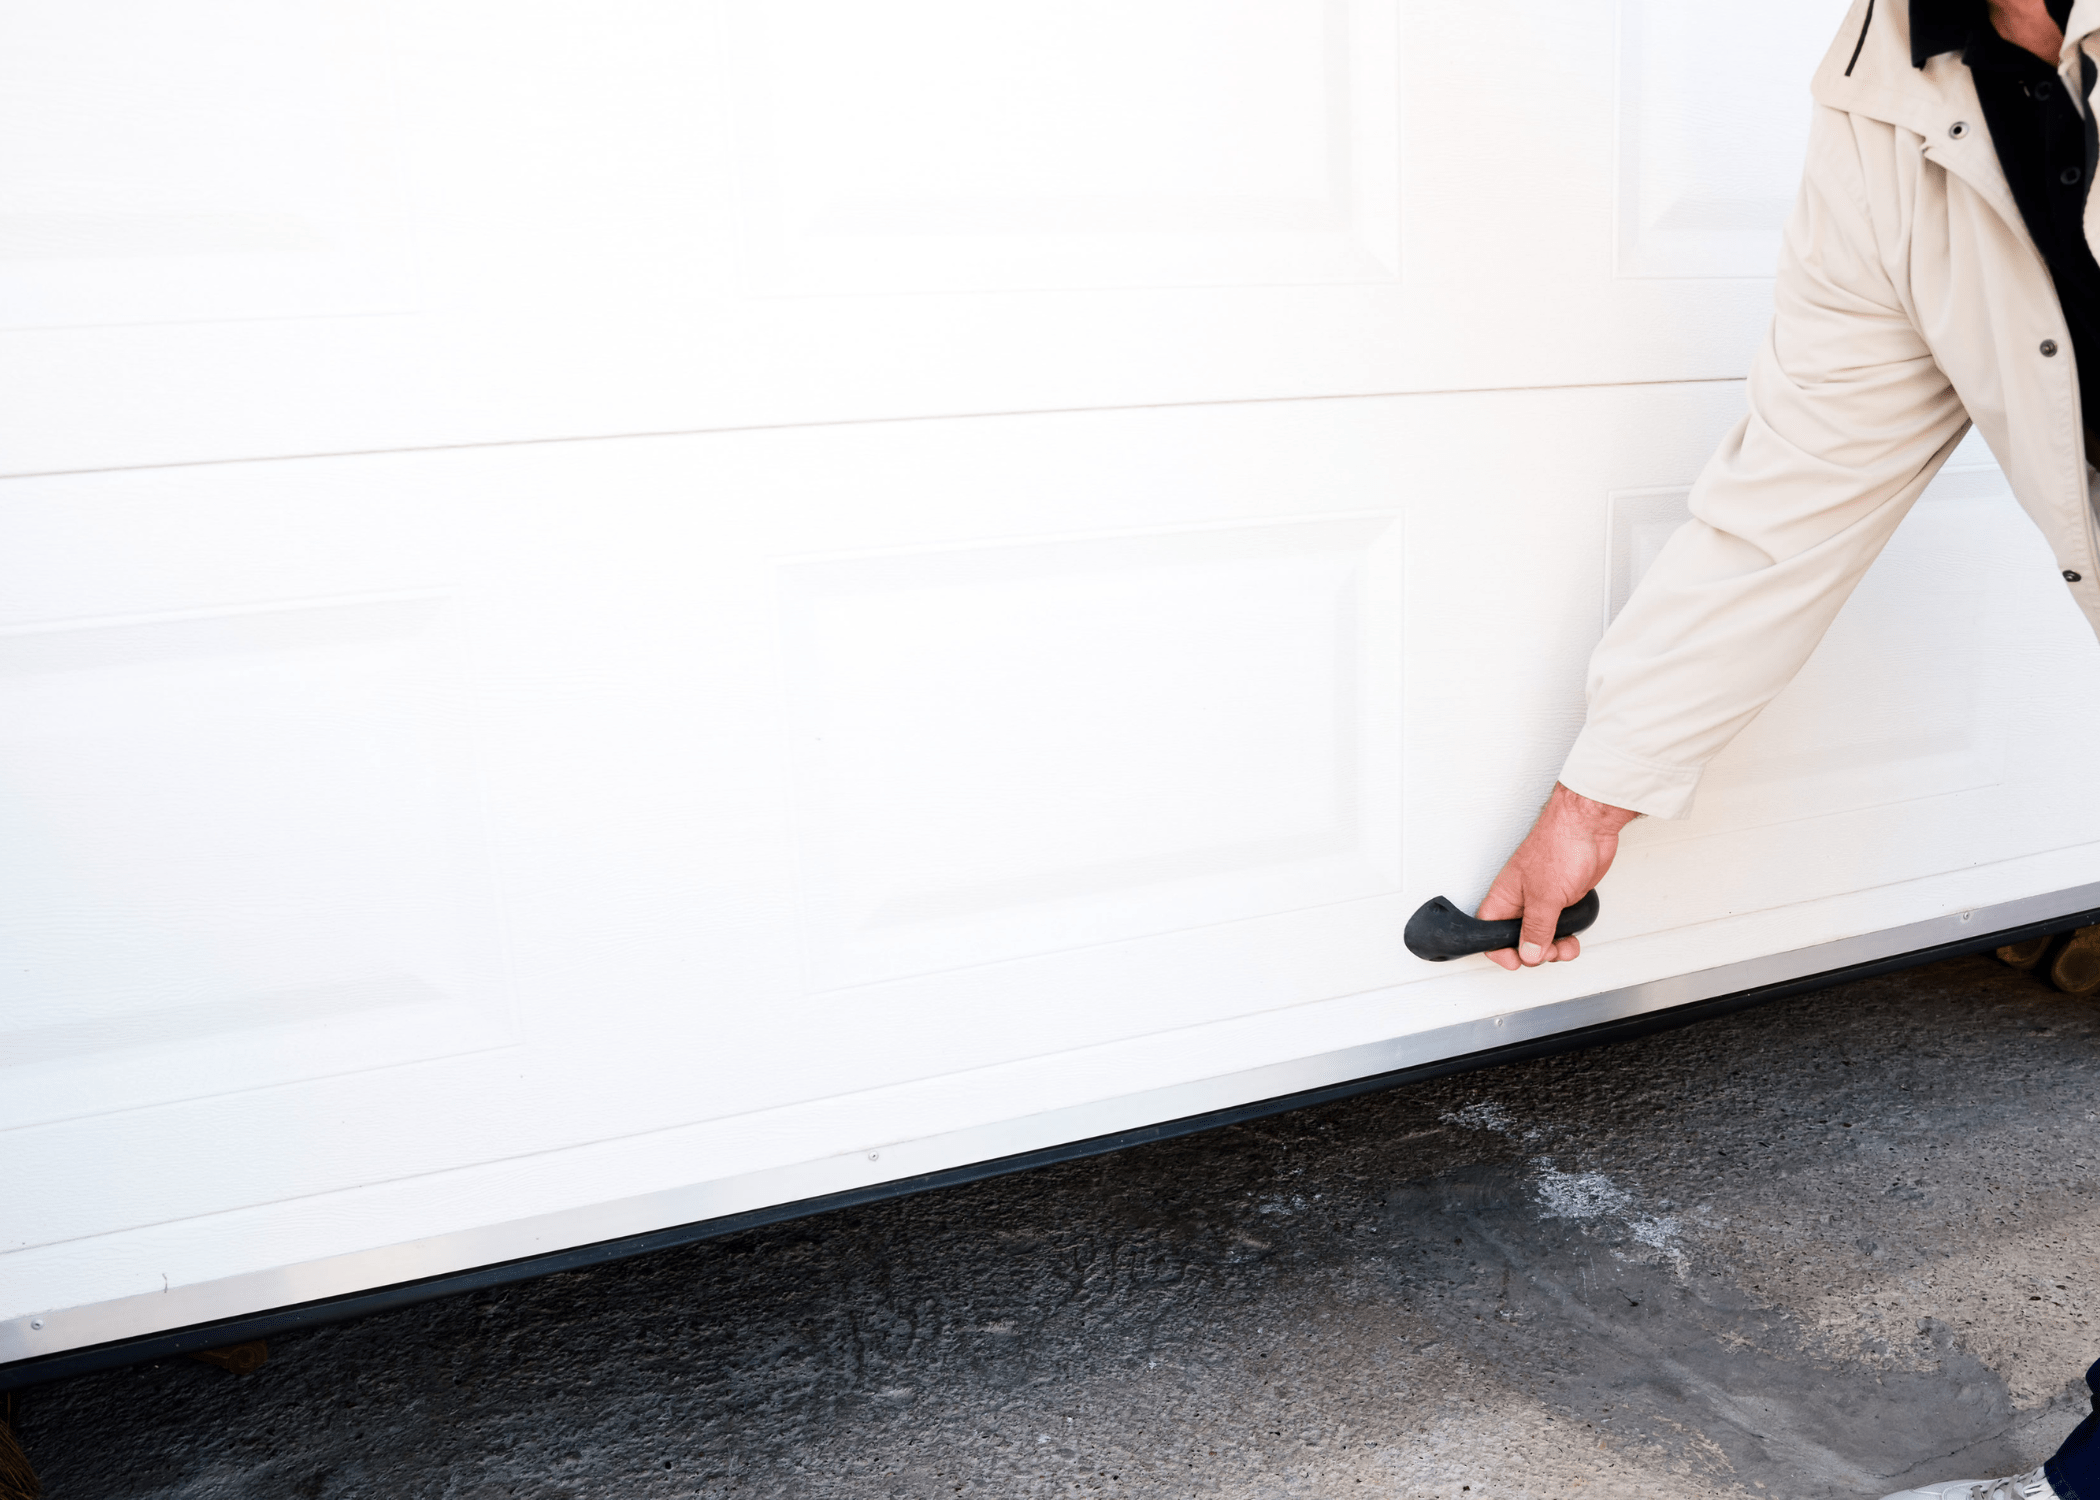
Tips for Maintaining Your New Garage Door Seal
If you’ve recently learned how to replace a garage door seal, ensuring its longevity is crucial to maintaining the integrity of your garage. Regular inspections of the seal can prevent major issues from arising. At least once every season, take a moment to check for any signs of wear and tear, such as cracks or hardening of the rubber.
This routine check will allow you to identify any problems early on, thereby extending the life of the seal and keeping your garage better protected against the elements.
Keeping the area around the garage door clean is vital. Debris, like leaves, dirt, or stones, can get trapped in the seal and cause it to break down over time. After a thorough cleaning of your garage door tracks and the surrounding area, gently wipe down the seal with a mild soap and water solution to remove any dirt or grime buildup.
This not only helps preserve the seal’s material but also ensures it provides a tight, effective barrier against pests and outdoor weather conditions. Regular maintenance like this will keep your new garage door seal functioning optimally for years to come.
Frequently Asked Questions (FAQs)
What are the signs that I need to replace my garage door seal?
Look out for visible wear and tear, such as cracks or splits in the seal. If you notice water, dirt, or pests getting into your garage or feel drafts coming from under the door, it’s likely time for a replacement.
What types of garage door seals are available?
There are several types, including bottom seals, threshold seals, and weatherstripping for the sides and top of the door. Bottom seals come in various shapes, such as T-type, bulb, and bead, and materials like rubber and vinyl.
How do I measure and buy the right size seal for my garage door?
Measure the width of your garage door and the gap between the door and the ground. Also, identify the type of seal currently installed and its dimensions. Purchase a seal that matches these specifications or consult with a professional or retailer if unsure.
Can I replace a garage door seal myself?
Yes, most homeowners can replace their garage door seals with basic tools. However, the process may vary depending on the type of seal and garage door. Always follow the manufacturer’s instructions, or consider hiring a professional if you’re not comfortable with the task.
What tools will I need to replace my garage door seal?
Typically, you’ll need a screwdriver, utility knife, measuring tape, and possibly a rubber mallet. The exact tools can vary based on the type of seal and installation method, so check the instructions that come with your new seal.
How do I install a new garage door seal?
Generally, for bottom seals, you’ll need to remove the old seal, clean the track or area where the seal will be placed, cut the new seal to size, and then insert it into the track or attach it to the bottom of the door. For weatherstripping, you’ll adhere or nail it to the sides or top of the door frame. Always refer to the specific instructions for your seal type and door.
How often should I replace my garage door seal?
It depends on the material of the seal and the weather conditions in your area, but generally, inspect your garage door seal annually and expect to replace it every few years. Signs of wear or functional issues are clear indicators that it’s time for a new seal.
Ready to start your next project? Join our DIY community to receive tool tips, how-to guides, and exclusive creative insights. Subscribe to the ManMadeDIY newsletter now! Click here to unlock a world of hands-on inspiration.

