How to Cut Plywood Without Splintering Using a Circular Saw – aka, the Best Way to Cut Plywood
Plywood is awesome. It’s affordable, easy to work, and, when used properly, looks great. Plywood is especially great for a beginner DIY-er who wants to try a few different projects but doesn’t want to spend the money on anything high-risk.
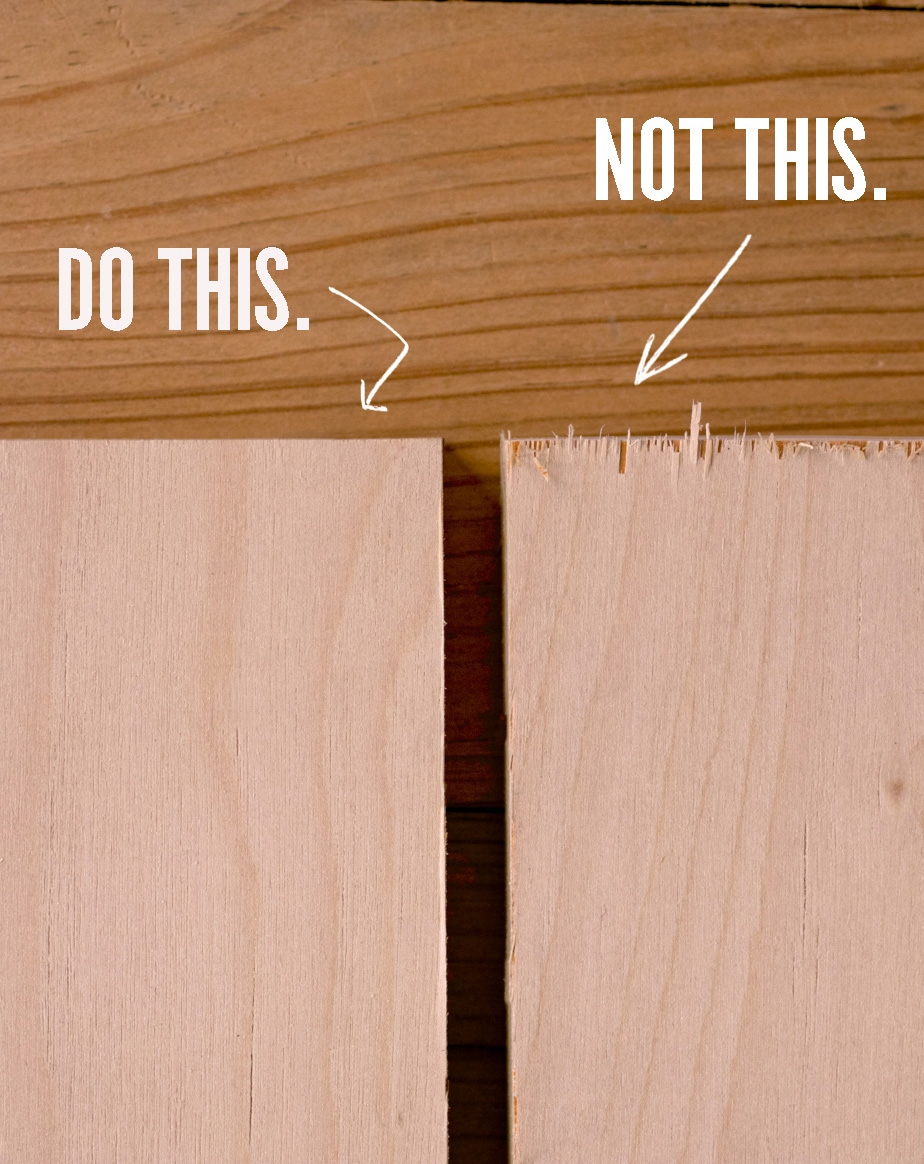
Plywood also brings its share of headaches, specifically, tearout: the rough, jagged edges that result from cutting through the thin veneers. It’s frustrating, and it looks absolutely terrible. Any woodworker who’s ever used it can speak its woes, which can ruin an otherwise high-quality project. That alone can leave a bad taste in a beginner DIY-er’s mouth and here at ManMade we want to give you the tools to keep doing it yourself.
So, my friend, it doesn’t have to be this way. Whether you’re building a simple shop project or a full fleet of custom kitchen cabinets, you, too, can virtually eliminate tearout.
Let’s make some crosscuts.
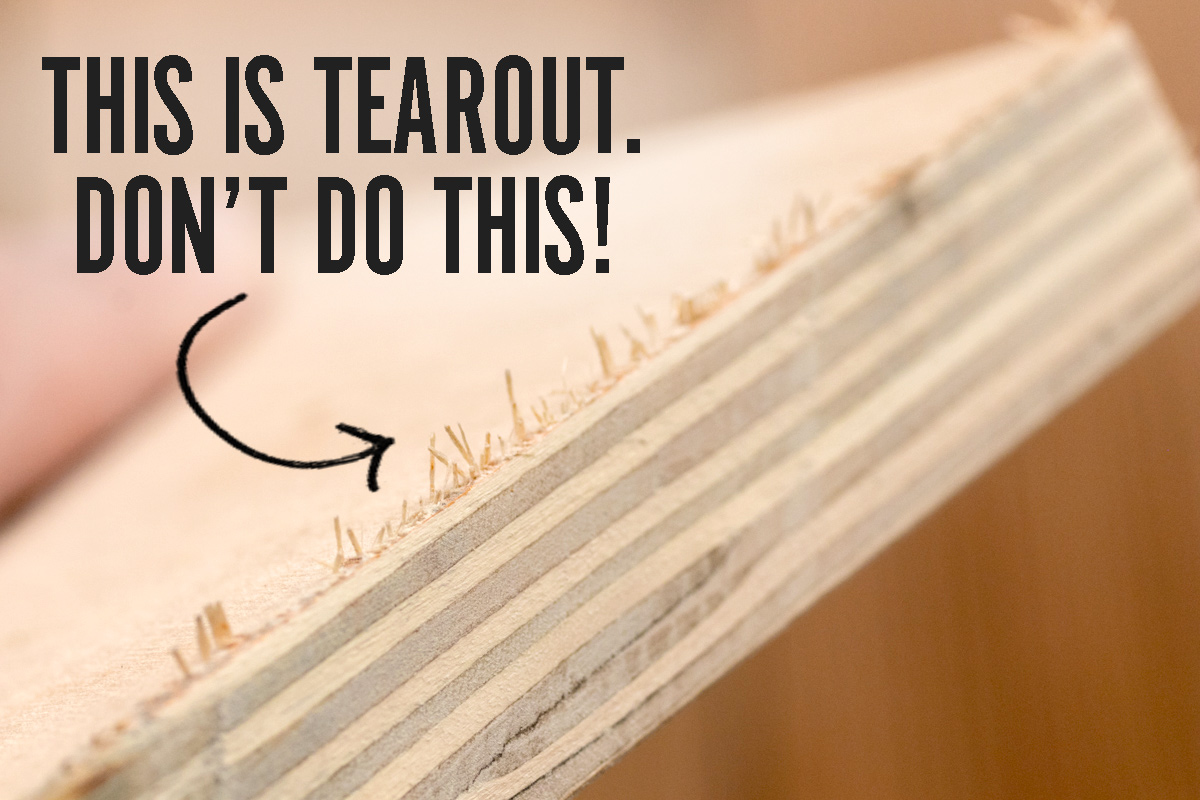
What is tearout?
Tearout happens when you cut across the grain. Here, the fibers aren’t supported by those next to them, so, when they take an impact, they naturally flex themselves. This gets them out of the way, taking your nice clean edge with them.
So, to get rid of tearout, we need to adjust two things in that equation: how well the fibers are supported, or, how intense the impact to the fibers are. We’ll do both in the steps below.
First things first: Choose the right blade. Choose the right face.
Naturally, you’ll want to select a fine tooth blade that works well to cut plywood. These tend to have more teeth per inch, as well a higher bevel angle that can slice through the wood. For a circular saw, you can easily pick up a plywood blade for $20 at any home center, and it will work magic on your cuts. On the table saw, you might not need an expensive specialty blade, though they can help. Just make sure you’re using a high-quality combination blade with at least forty tooth blade.
ManMade Reccomends: DEWALT 60-Tooth Circle Saw Plywood Blade
Secondly, you want to cut the wood so that blade enters the wood on the show face. For a circle saw, this means placing the good side down, and on a table saw, the good side up.
Always use a zero-clearance insert.
No matter what tool you’re using, the best way to reduce tear-out is to surround the blade or bit with a zero-clearance surface. This is equally important on the band saw, drill press, miter saw, or table saw. A zero-clearance insert creates the smallest amount of open area around the blade to support the wood fibers surrounding the cut as much as possible. Hopefully, you’ve dealt with this in your shop, but if you’re still using the stock throat plate, it’s time to make or purchase an upgrade.
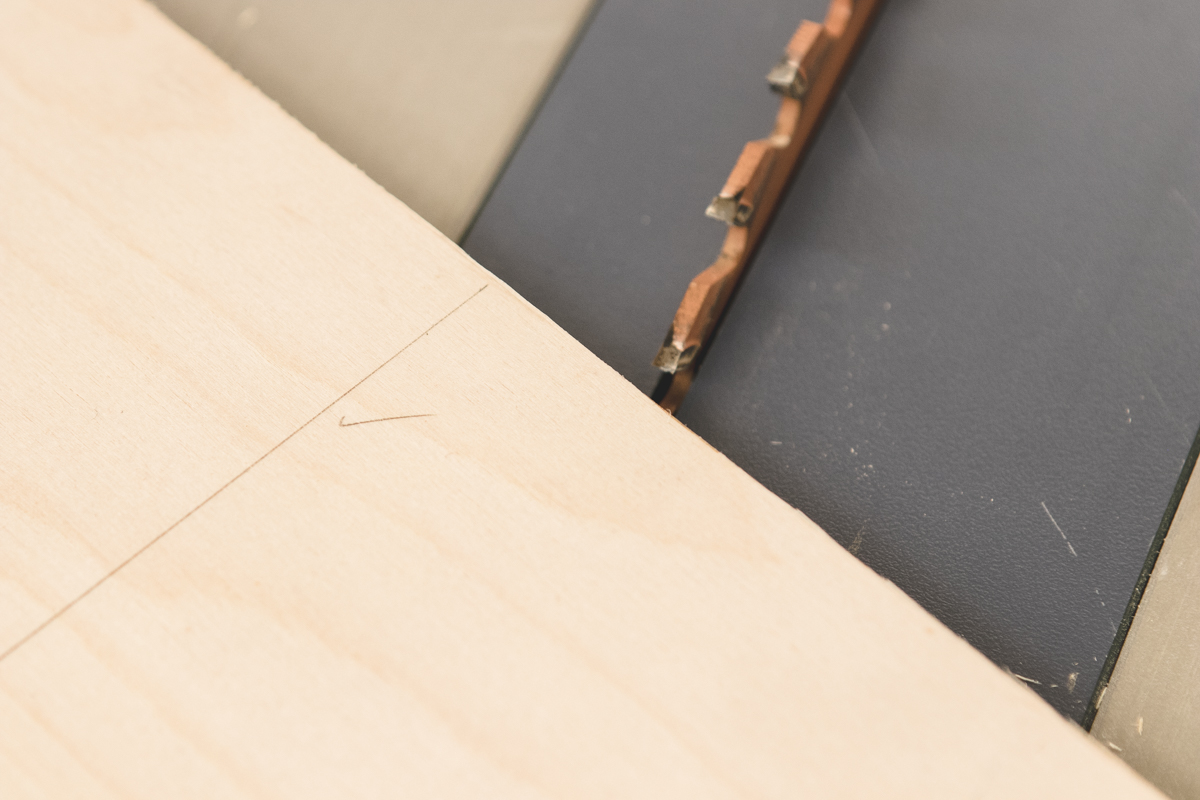
Score the cut line first.
Tearout looks so shaggy because the top and bottom veneer get snapped off in unpredictable ways when they take an impact. So, one way to prevent the rough edges is to intentionally cut the fibers where you can control them. They’re going to snap somewhere, so you might as well tell them where to do so.
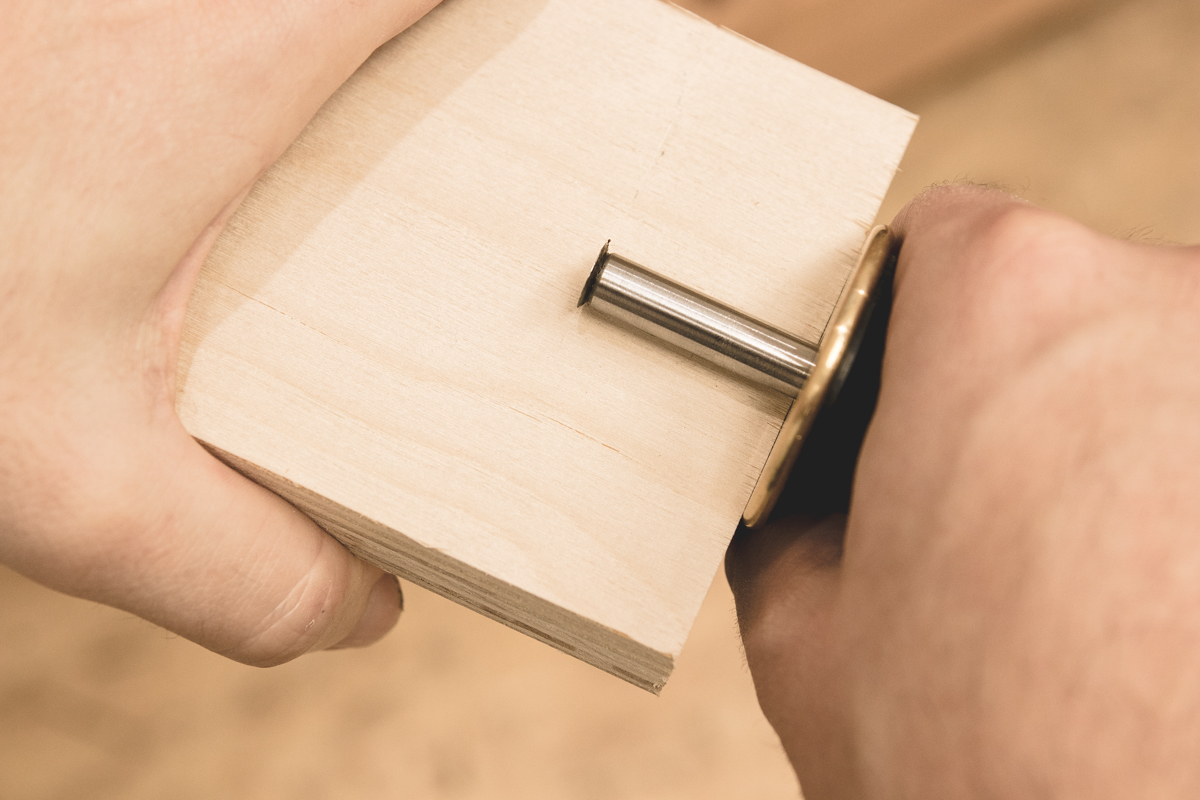
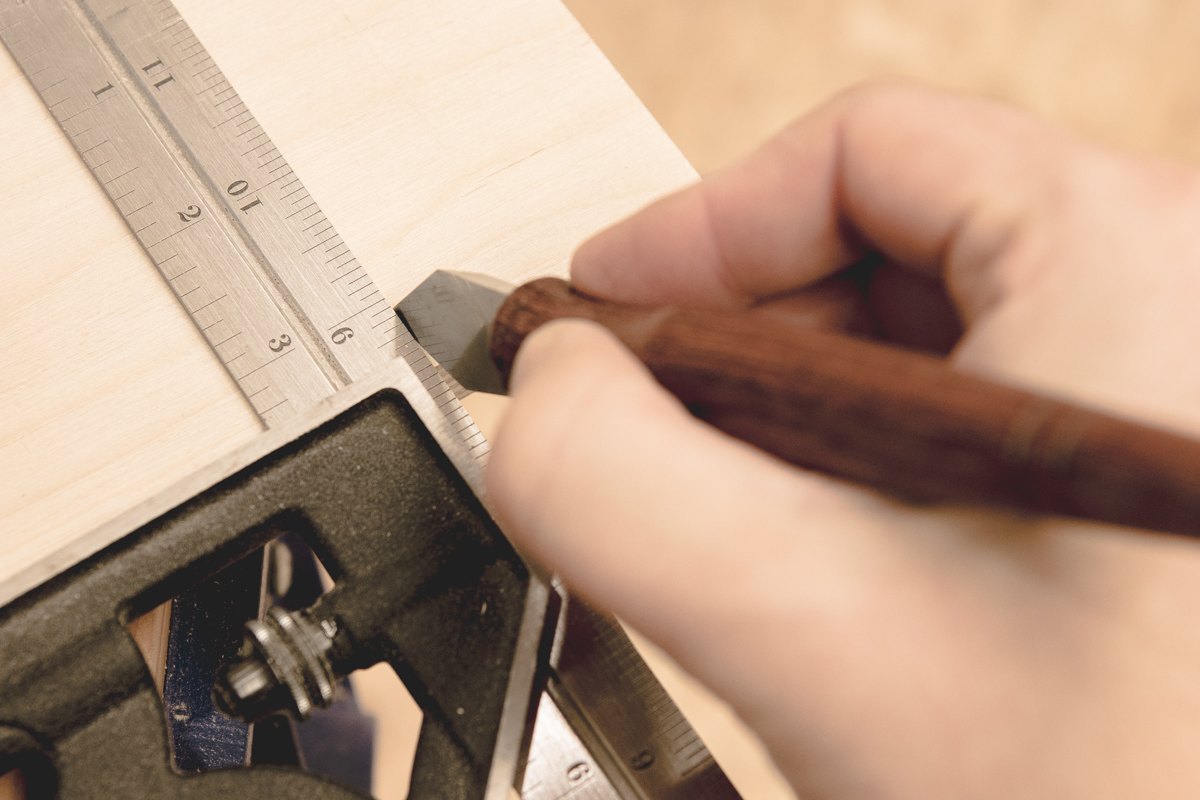
You can cut across the grain with a straight edge and sharp blade, or if your cut is close enough to an edge, a marking gauge makes quick work of this step. You can even cut your parts oversized, score, then go back and make your final cut to size.
Since you can only score one side of the kerf, make sure you set up your cut so that the “good” side sits at the intended side of the blade.
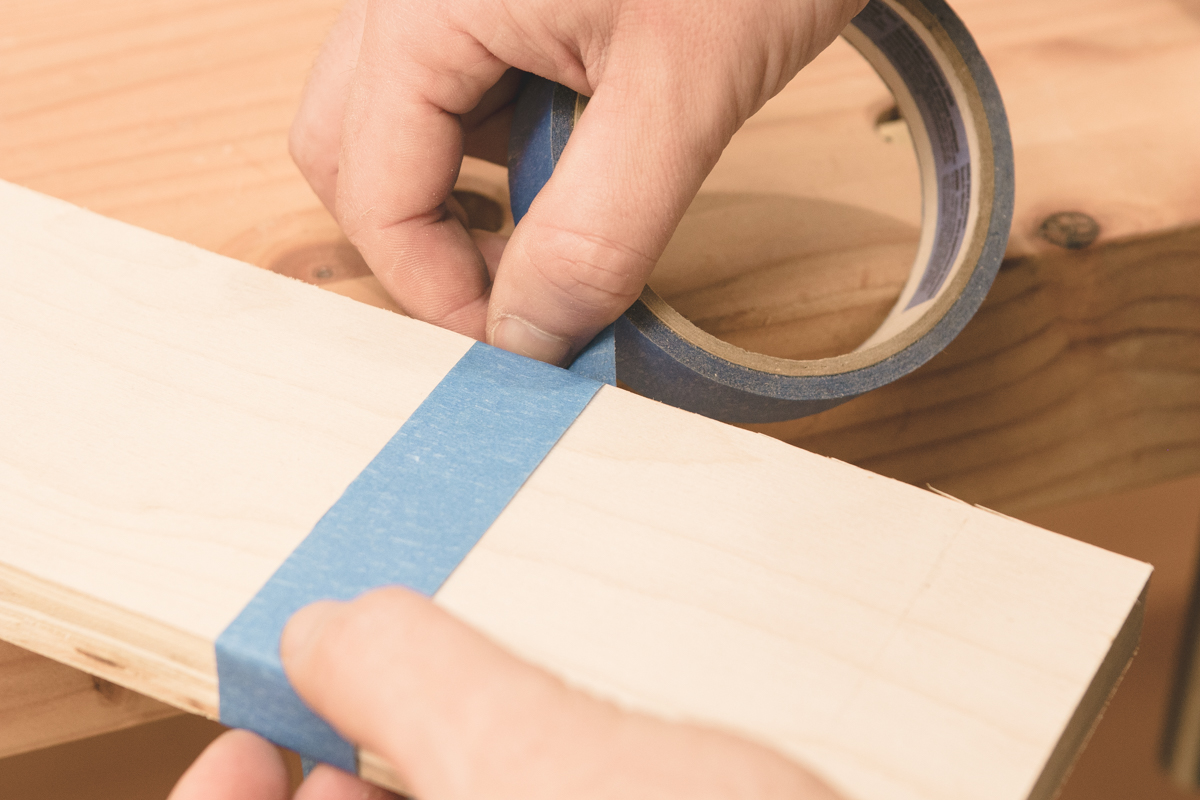
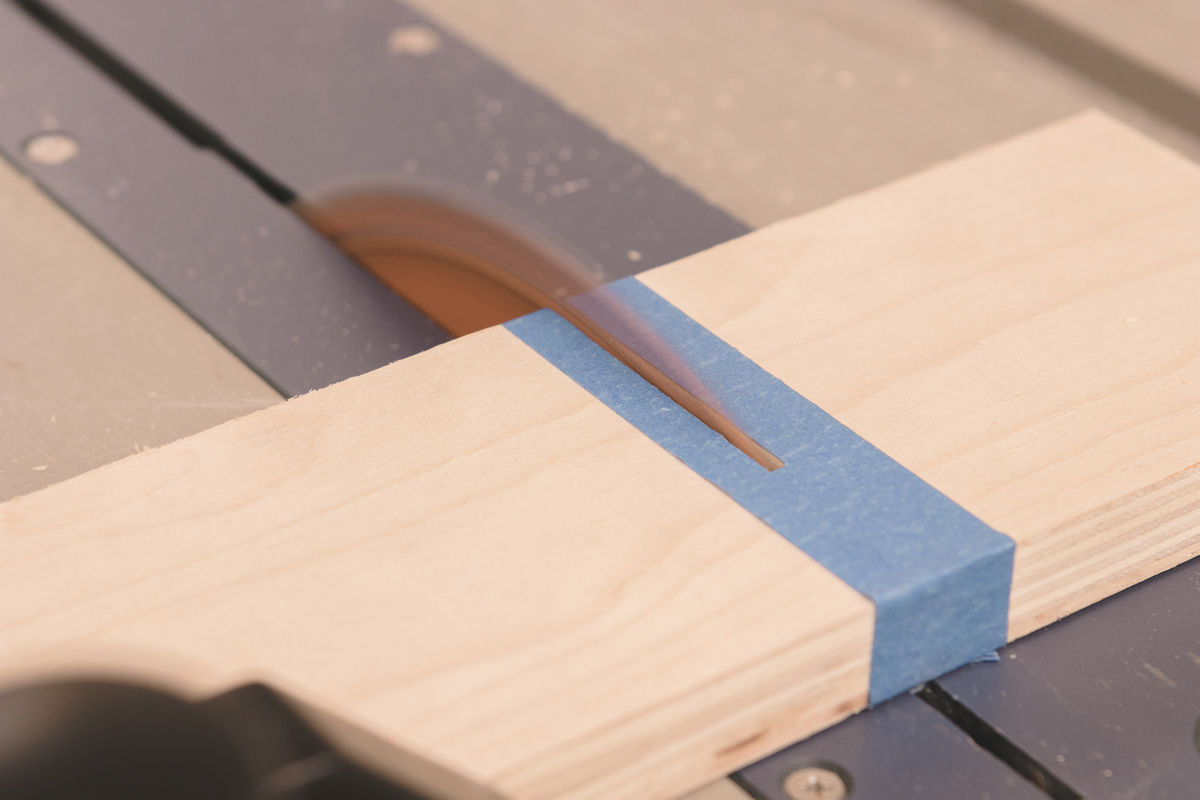
Support the wood fibers around the cut with tape.
Since tearout occurs when the fibers get pushed in all directions, you can help these stay in place by placing painter’s tape over the cut line.
I’ve had a lot of success with this method on simple shop projects, jigs, etc, so it’s worth the extra couple of seconds and the cost of the tape whenever you’re crosscutting plywood. I keep a roll of blue tape on my table saw cart so I never have to decide whether it’s worth it or not.

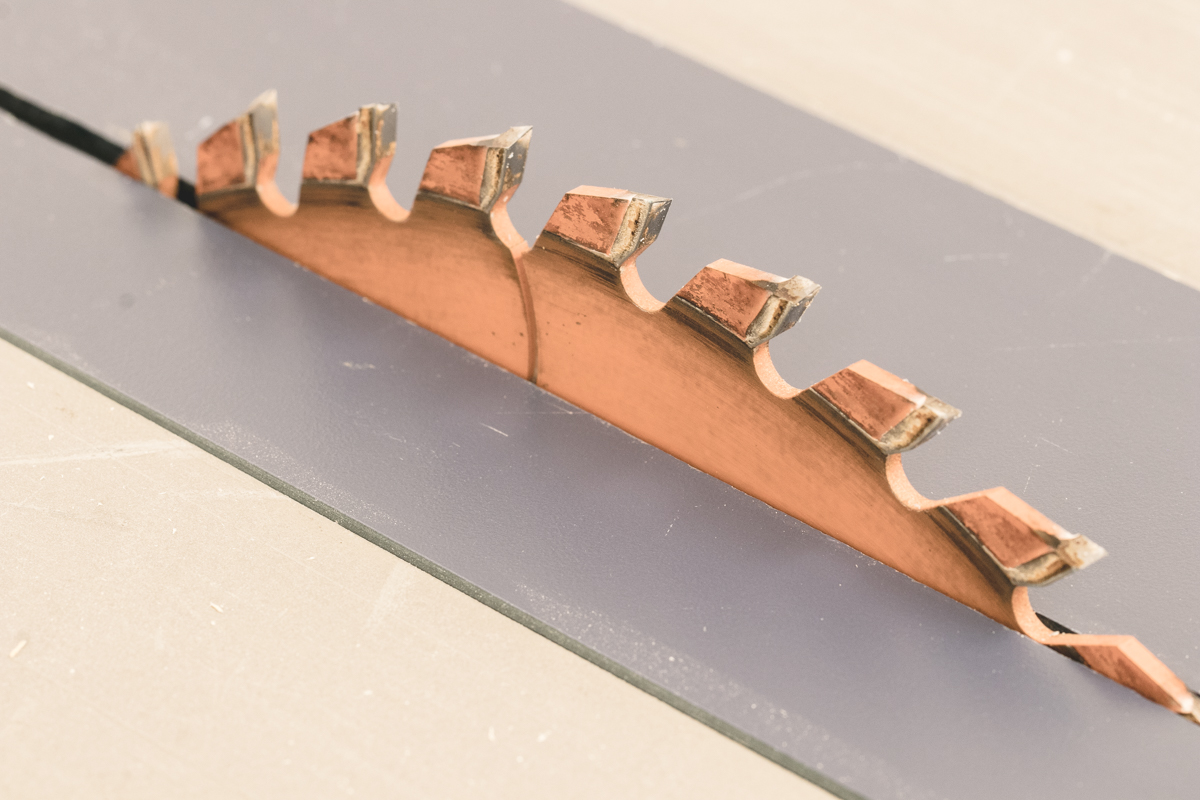
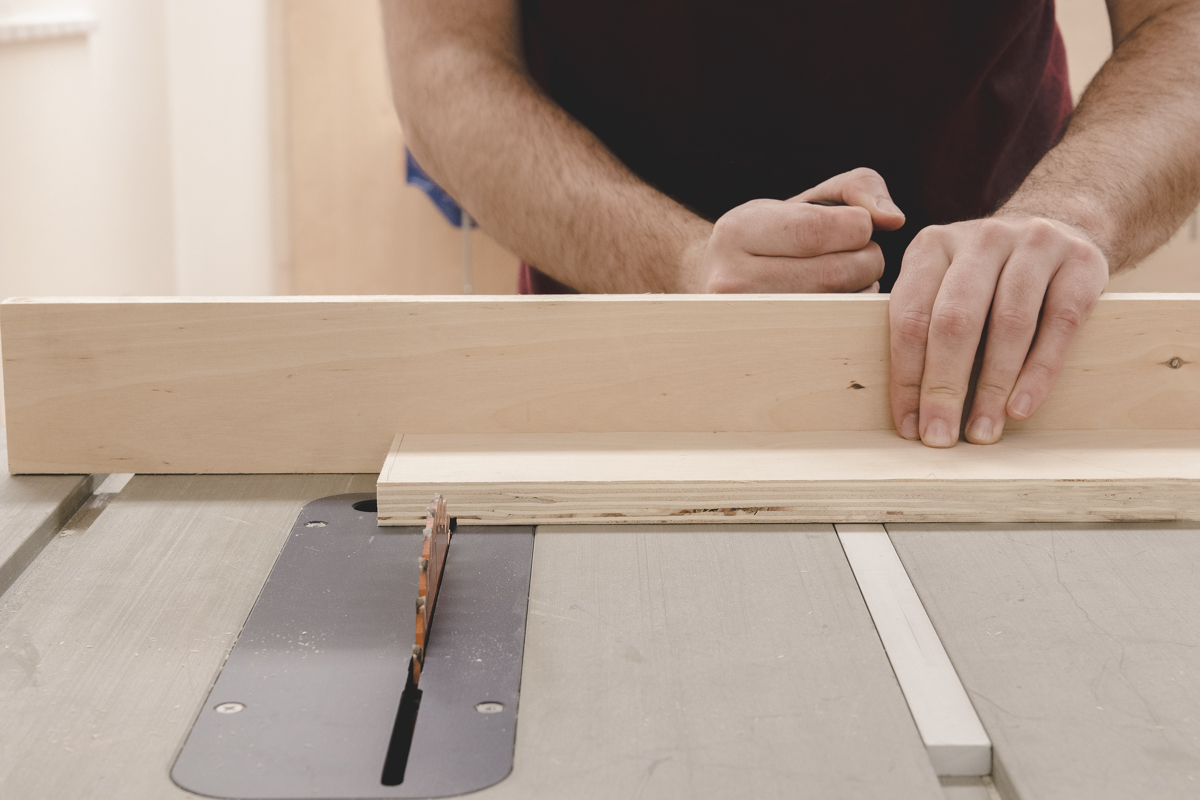
Make Two Passes on the Table Saw
Whenever you’re making furniture-quality cuts, or perhaps you’re working with melamine or some large panels, tackle the cut in a two-step process. Many cabinet shops even have table saws with two blades, one for scoring and one for through-cutting. This does the exact same thing, but you just take a full pass for each cut.
To make the initial scoring cut across the bottom of the wood, set your blade about 1/16″ above the table, and make a complete pass.
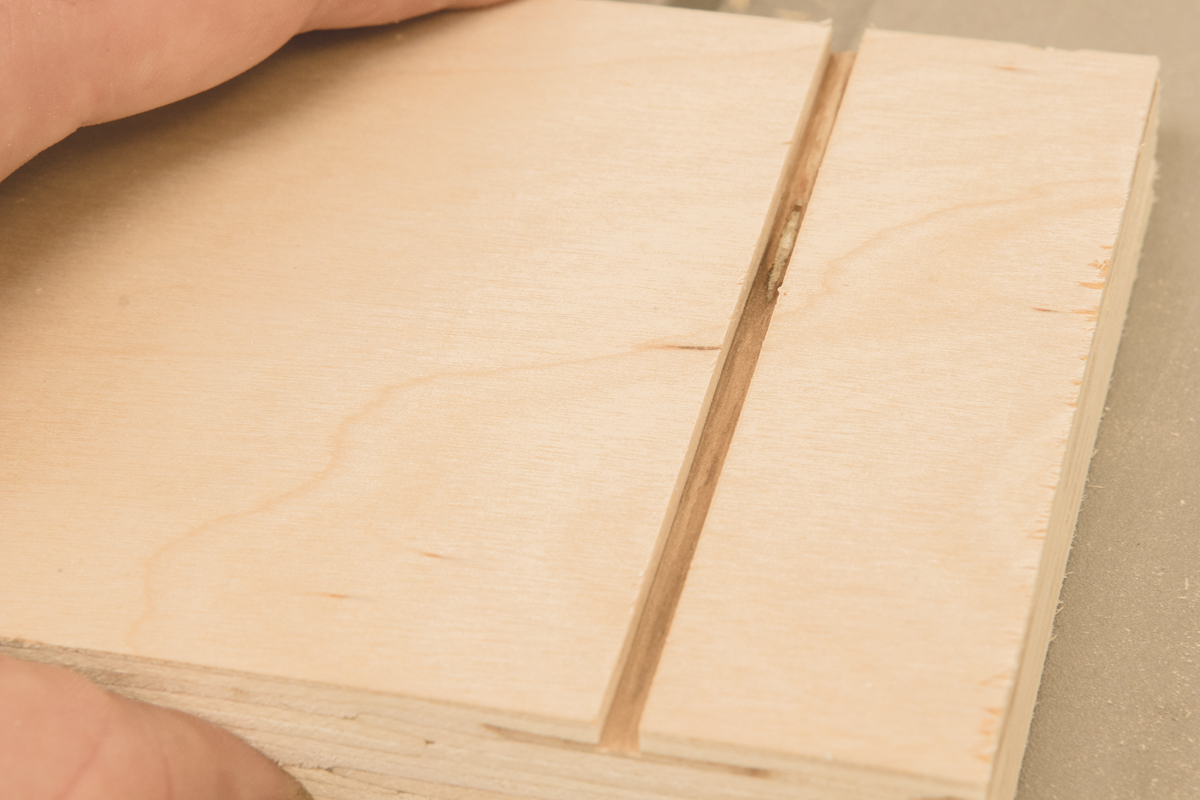
Here, there’s not a lot of downward pressure from the blade, so it doesn’t impact the fibers as much, and leaves a nice, clean surface. (If you’re setting your alignment with a fence or stop-block, you could even hack this system by first making a scoring cut on the show face, then flipping it to make your final cut.)
Next, raise the blade to the appropriate height to cut to size. By creating this scoring relief cut, you’re reducing the impact to the fibers, keeping them where they belong.
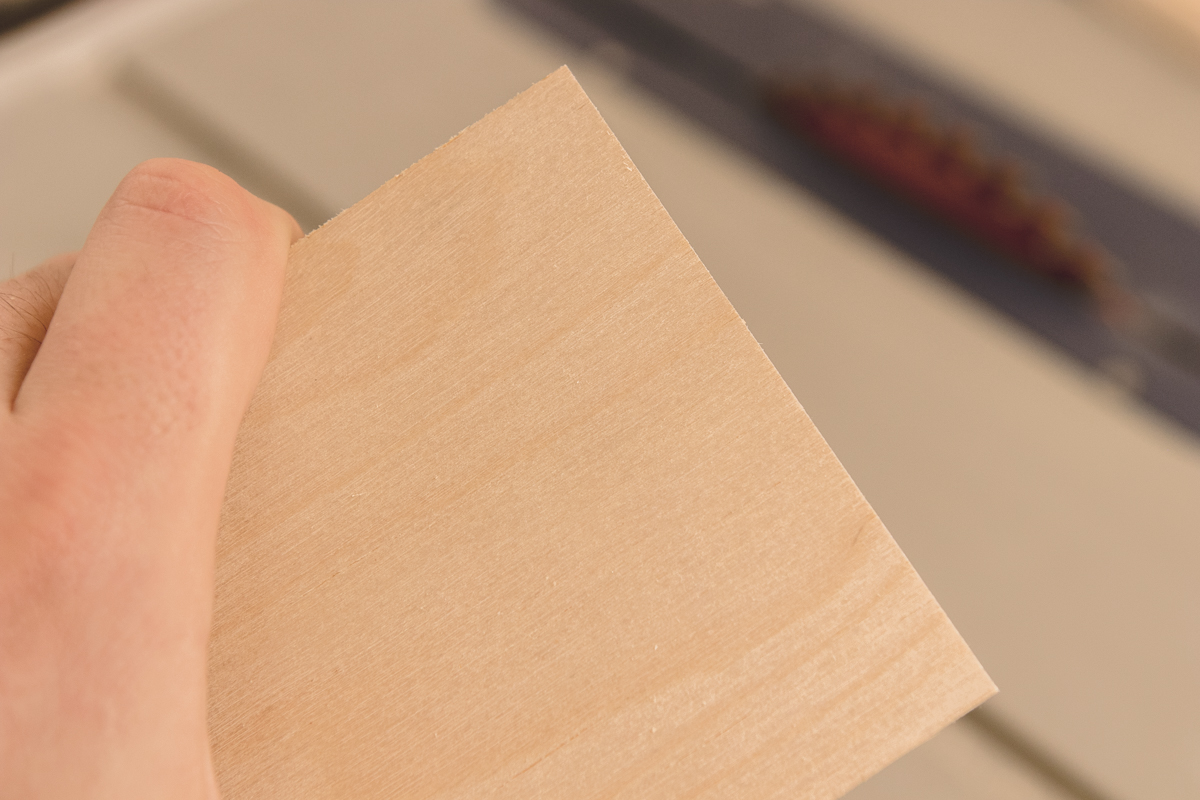
Each of these methods work, so try them with a scrap of your particular sheet of plywood and tool/blade setup to see which gives you the best results. You’ll end up using each idea, or a combination, for different approaches, so commit them to memory, and save the frustration for another part of the project.