How To Repair A Broken Toilet Seat Hinge
Household repairs can arrive unexpectedly. An appliance, hinge, door, or window works flawlessly for decades, then one afternoon, it doesn’t. Repairing these unexpected problems doesn’t have to be difficult, or expensive if you use a little ingenuity rather than simply paying a high cost to replace the damaged item.
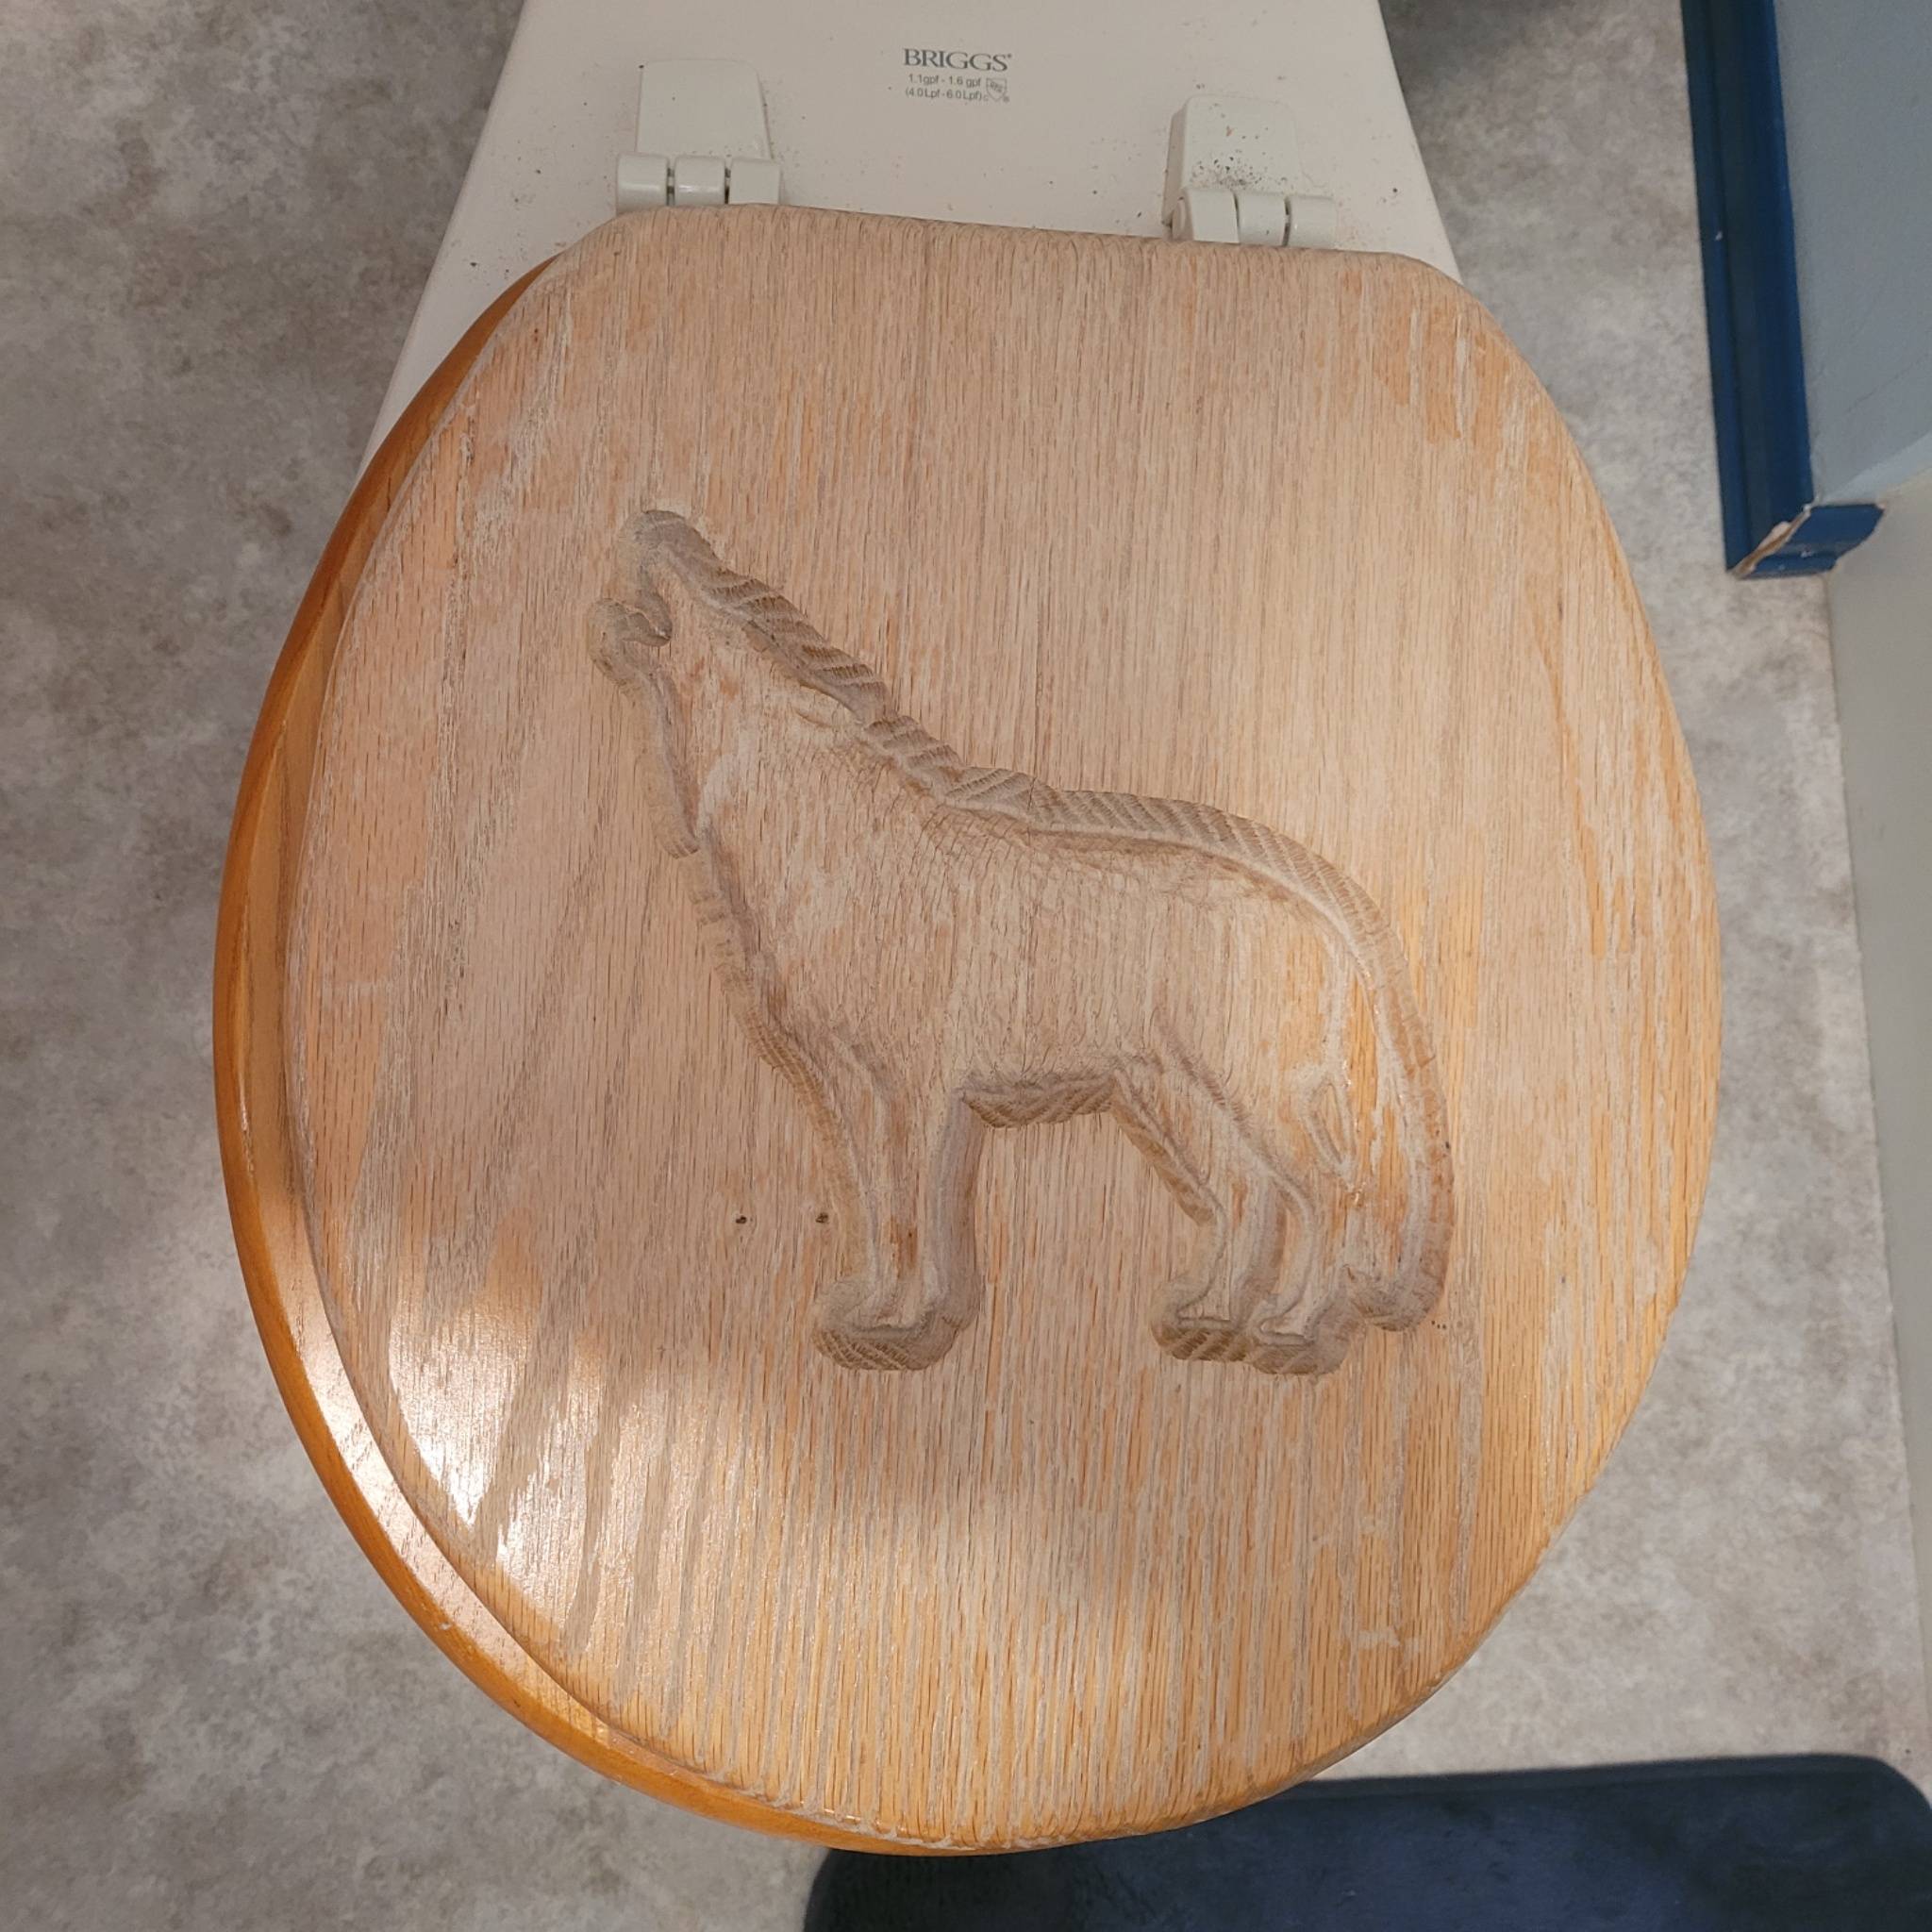
Toilet seats are things that suddenly break, often at the most inopportune times. The only moving parts on the seat and cover are the hinges, and that’s where you’ll find the damage.
Toilet seats are often inexpensive, made of wood laminated with an acrylic coating, if you have one of these, your best option is just to replace the entire assembly.
More stylish wooden toilet seats, often made of oak or hickory are much more expensive and worth the effort to repair. These wooden seats usually have lightweight brass hinges, and the brass will eventually begin to develop stress cracks, and eventually will fail. When this occurs, you’ll discover that there are no replacement parts available for your specific toilet seat.
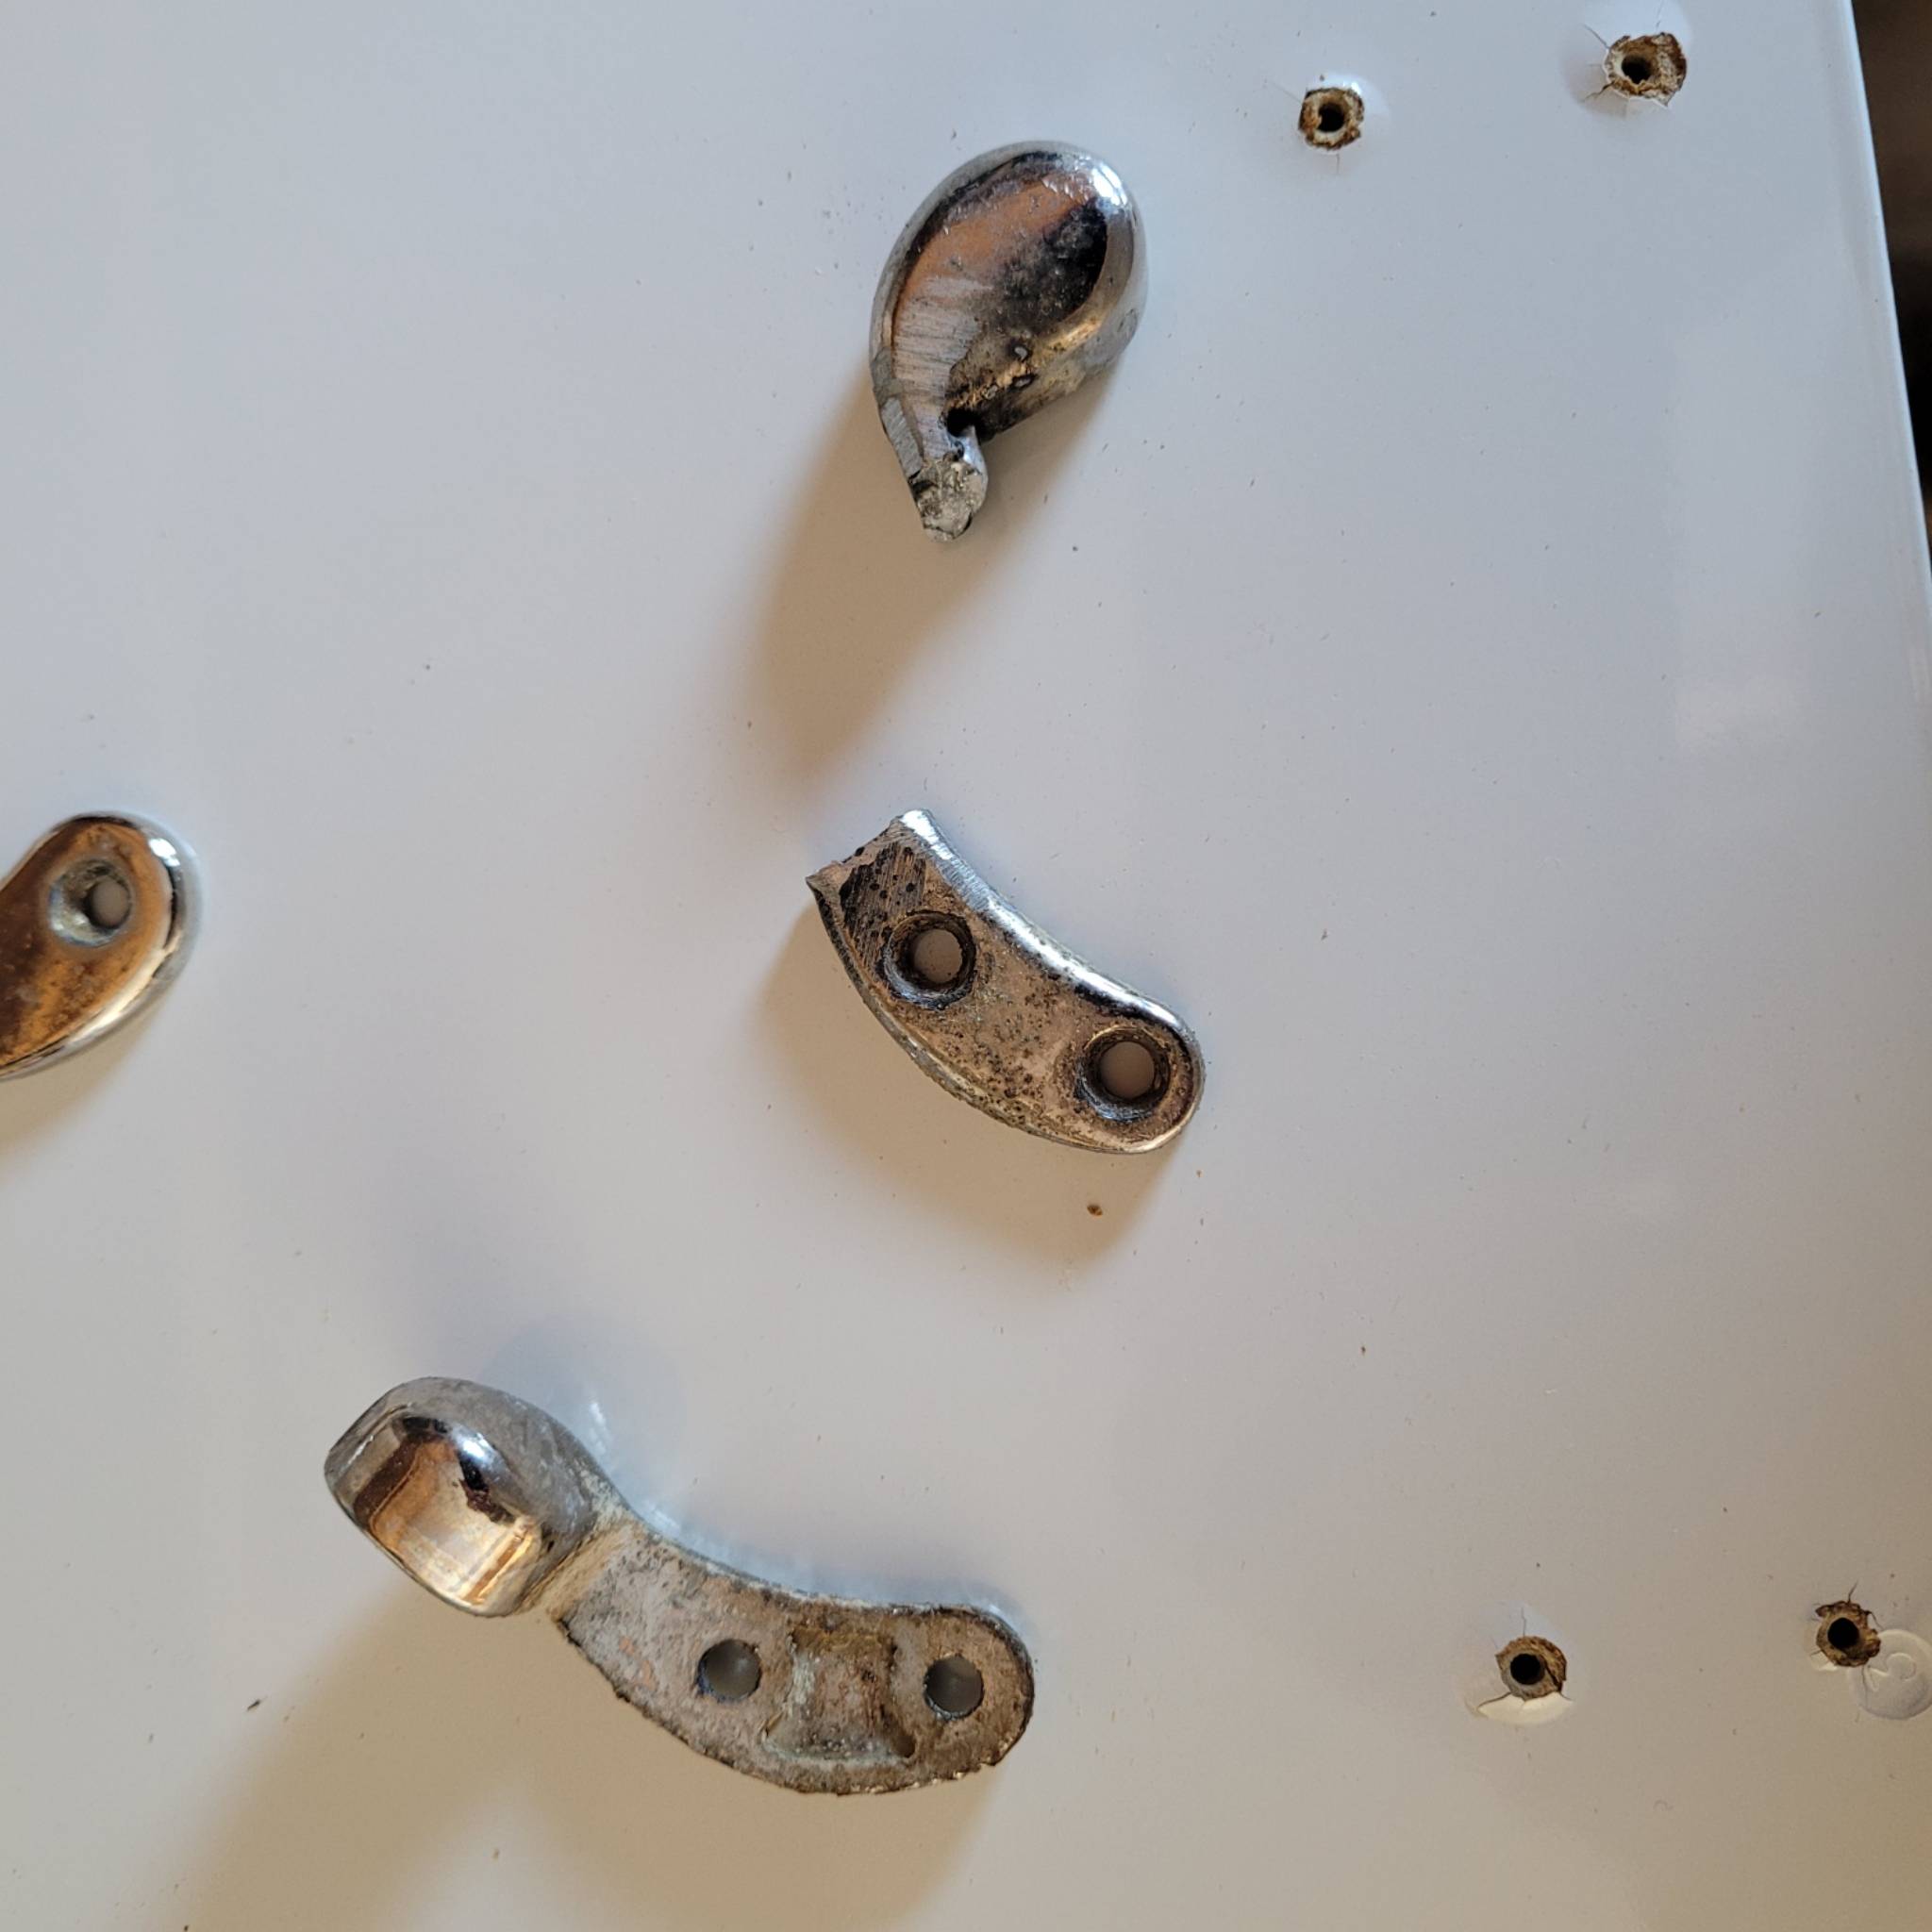
An online search will reveal thousands of hinges, but unless you’re a frequent lottery winner, the odds of you finding a hinge to replace the broken one are long at best. The good news is that you don’t have to find the exact hinge to bring your toilet seat back to functionality. You don’t even have to buy a set of hinges at all if you’re creative and have a home supply store near you.
Here is a simple, low cost solution to repairing a broken toilet seat hinge.
Remove The Seat
First, remove the seat assembly. To do this you’ll need a Phillips screwdriver and pliers. Lift the lid and locate the caps covering the mounting screws for the toilet seats. Inside you’ll find a large Phillips head bolt. It is usually brass but could be plastic.
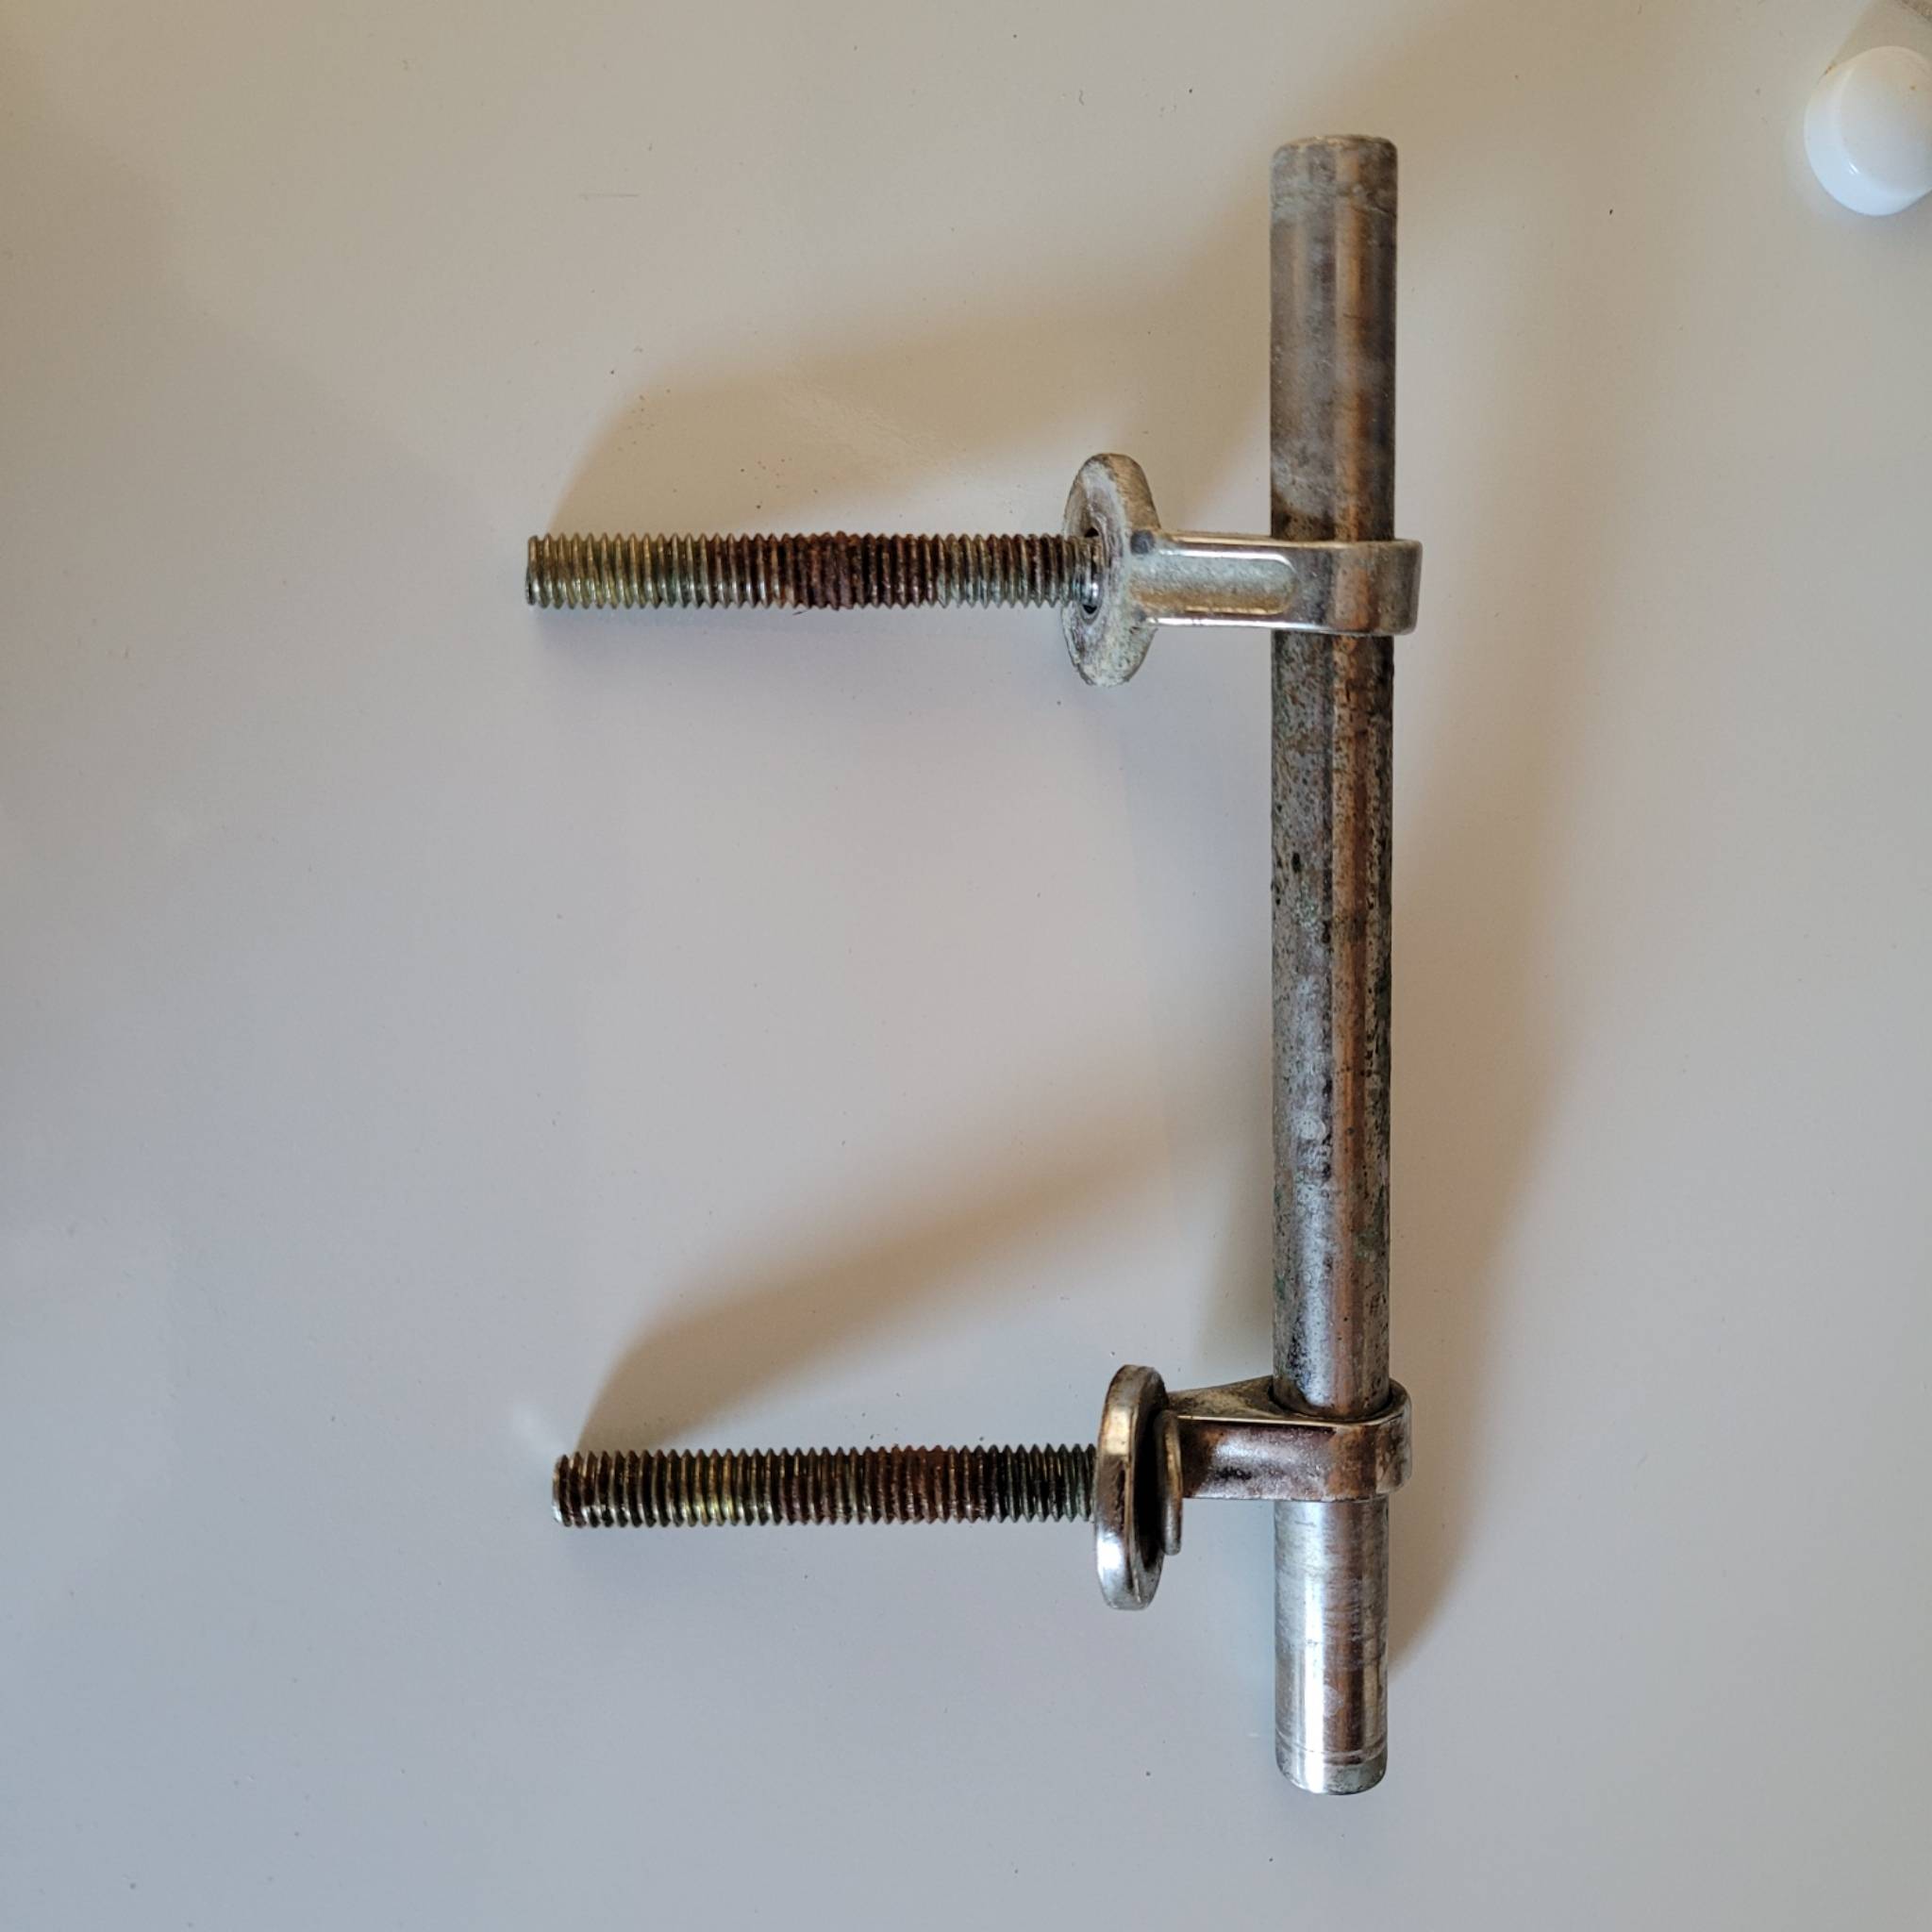
Reach under the back of the toilet right below the Phillips head bolt and find the lock nut. It will usually be made of plastic with wings attached to hold it securely. Unscrew the bolt with the screwdriver while holding the nut with the pliers.
When both mounting bolts are removed, lift the toilet seats off the stool and take them to a workbench.
Remove all the hardware on the lid and the seat. You’ll have a few small screw holes where the hinges are located but they’ll soon disappear.
Purchase A Cheap Toilet Seat
Replacement hinges are expensive, often $30 or more per set. A replacement oak seat assembly will run you $55 or more, but a plain, white toilet seat sells for under $10 and the hinges are included.
Purchase an inexpensive toilet seat and remove the hardware. Most have heavy duty plastic hinges and they’ll work just fine on your oak toilet seat.
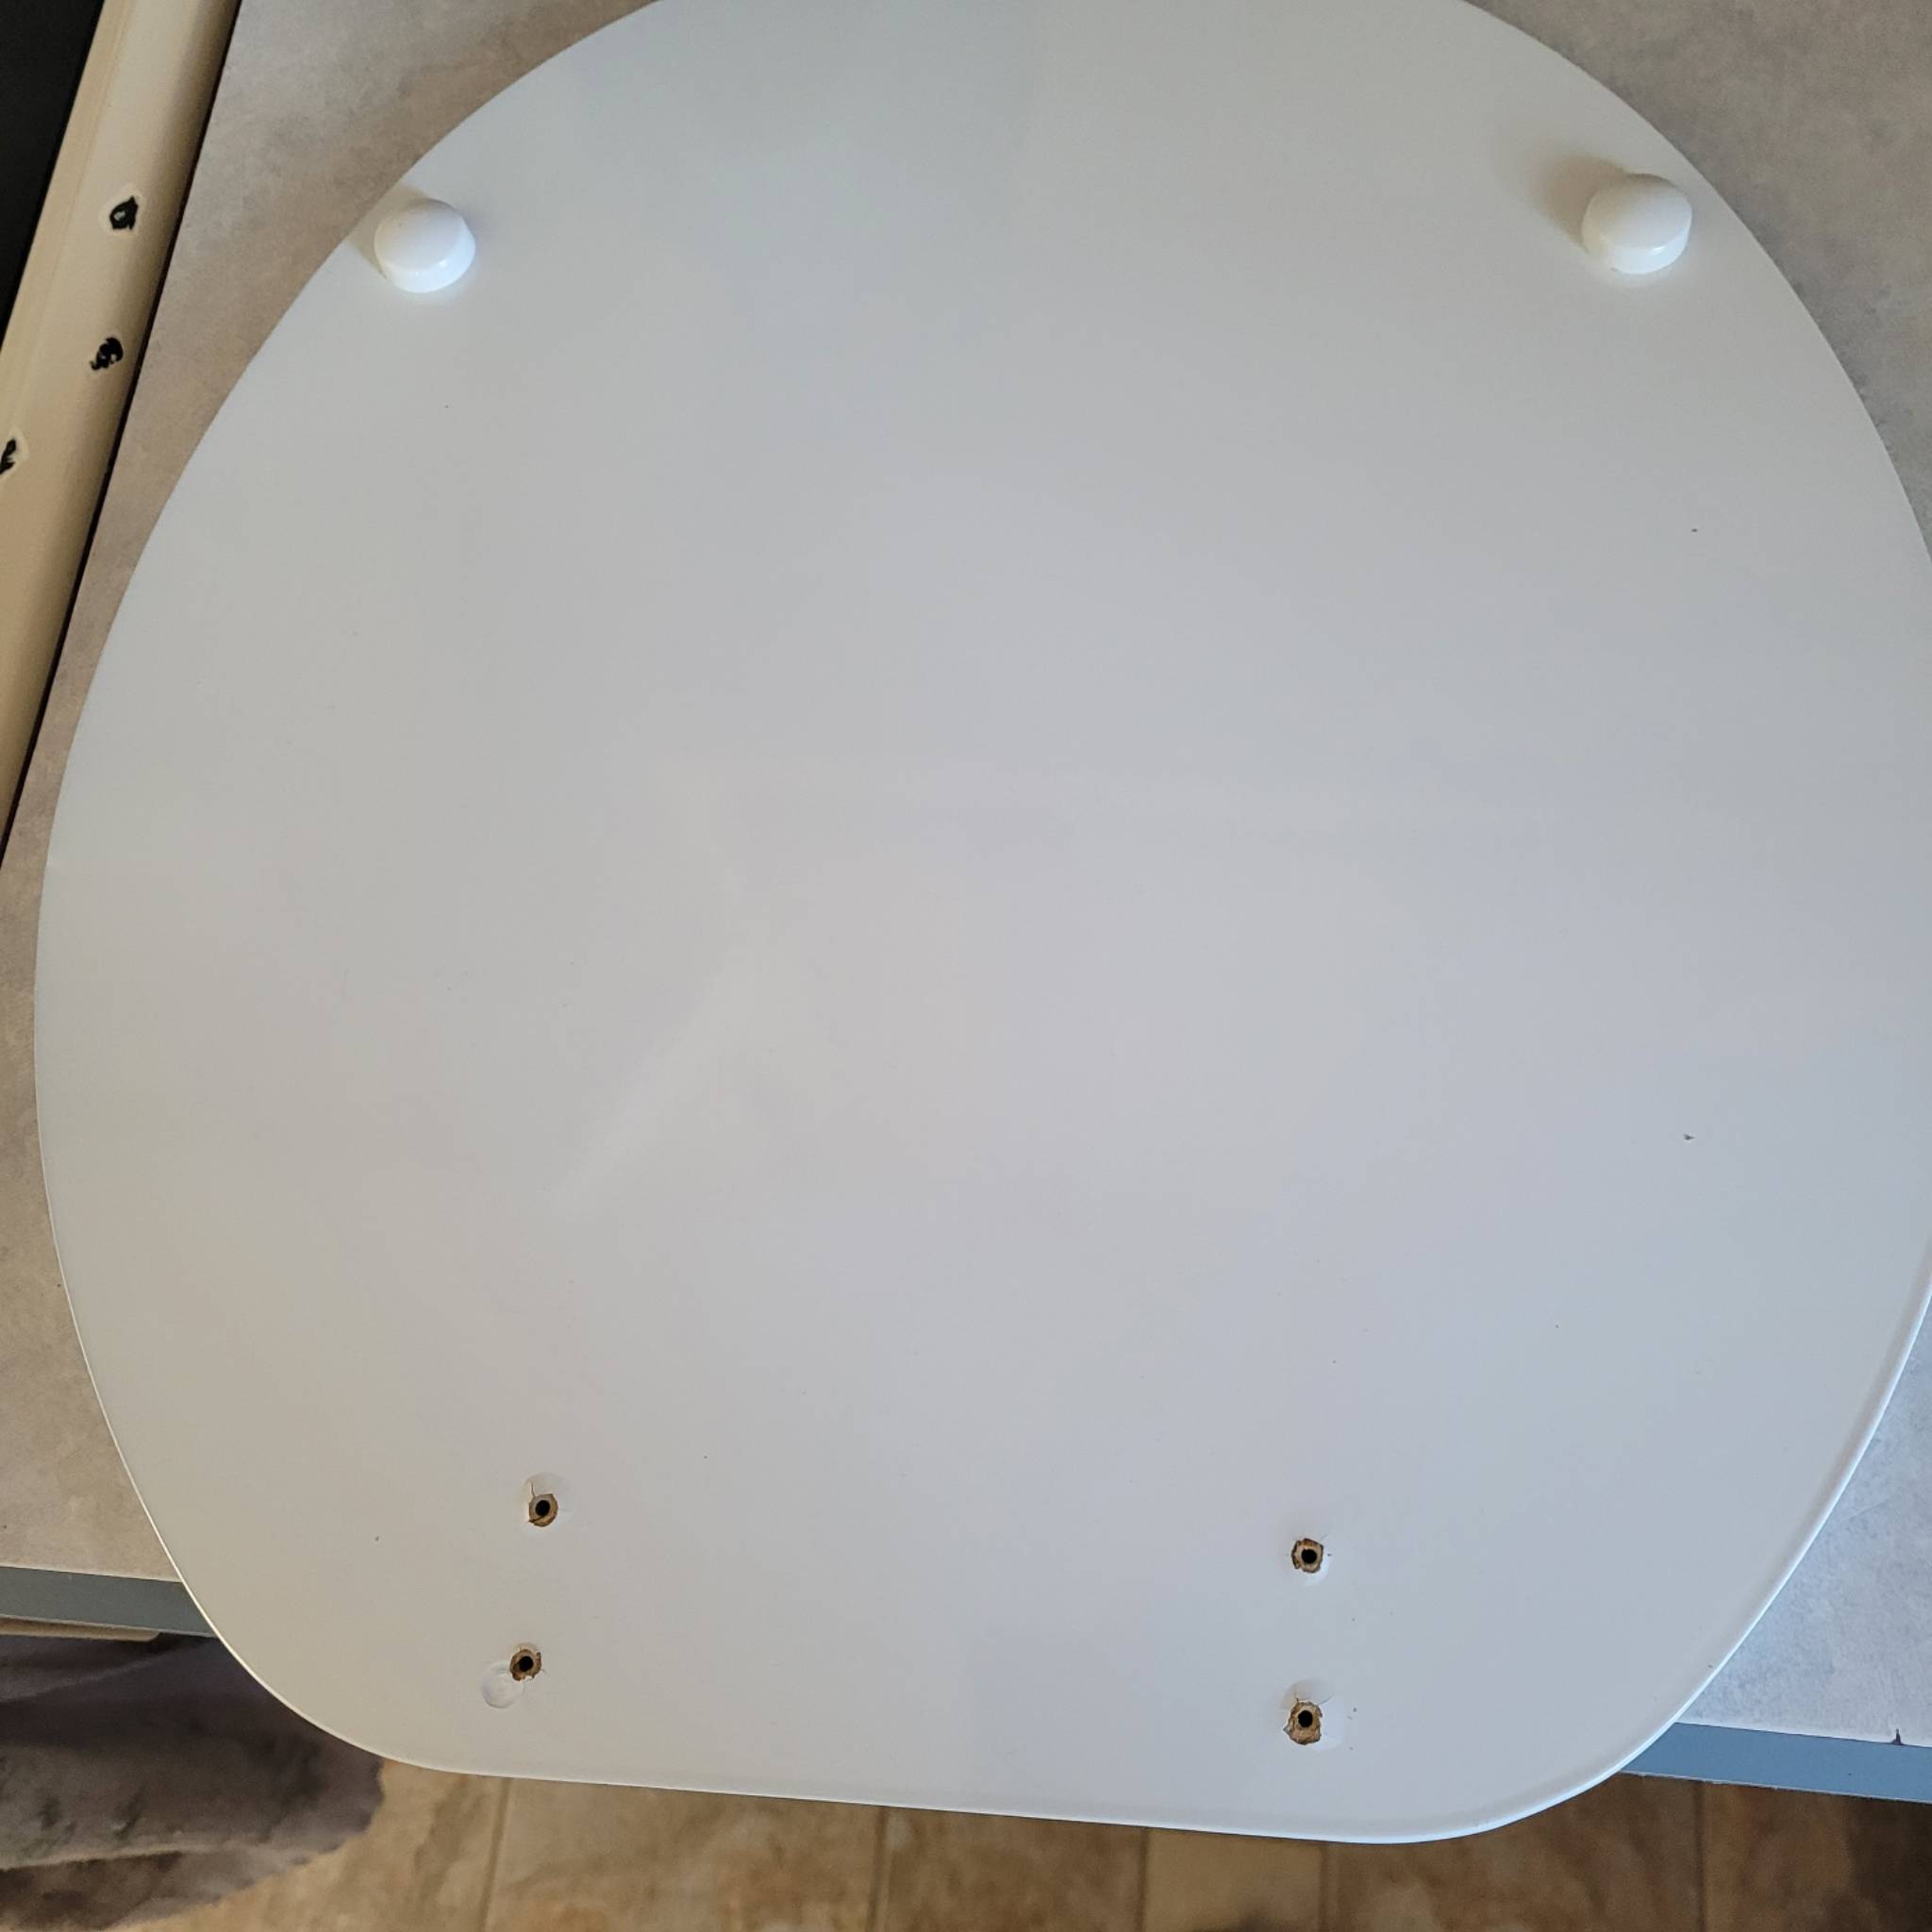
Remove the hinges from the new toilet seat, save the screws, and take the bag of mounting hardware with you. You can throw the new toilet seat away.
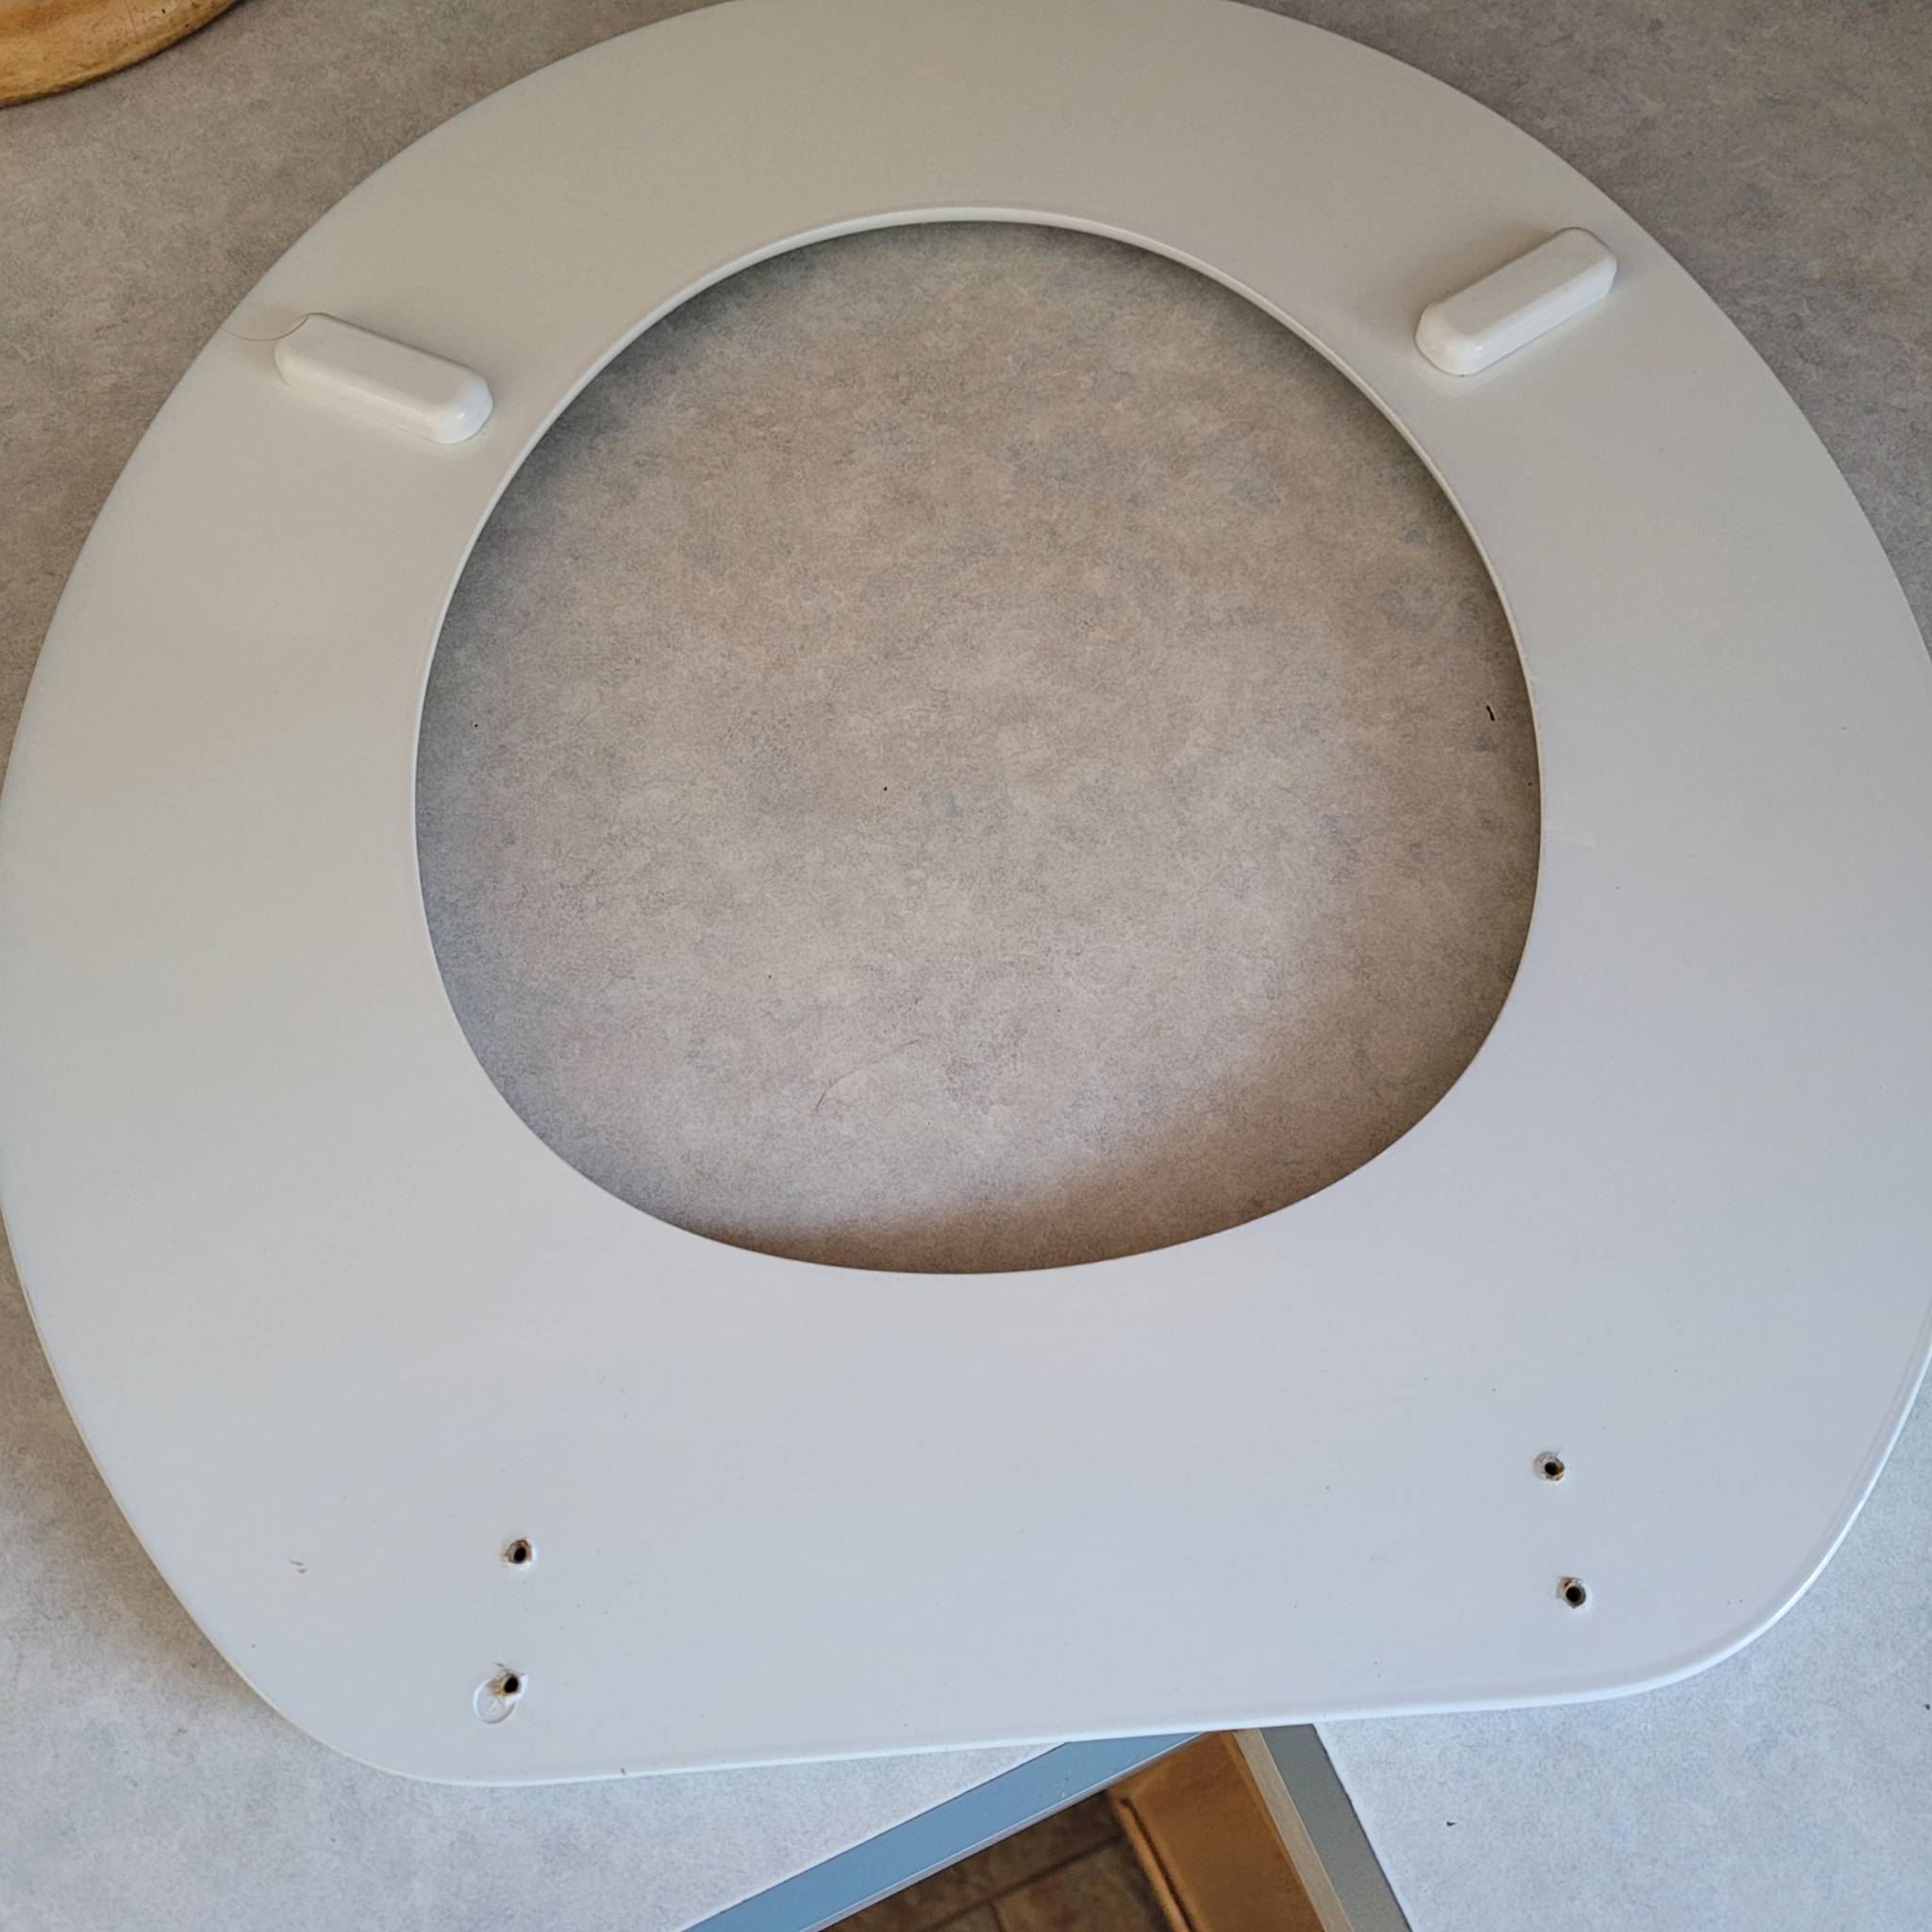
Secure The New Hinges To The Seat
Mount the hinges onto the stool and secure them firmly, but not so tight that you can’t move them side to side with a little force.
Place the hinges down as if the seat assembly were closed and lay the oak toilet seat on top of the hinge. Align the seat with the stool and mark with a pencil where the seat overlays the hinge. With a partner, lift the hinge and have them hold the seat in place while attaching the mounting screws to the oak seat. A cordless drill with a screwdriver attachment works best for this job.
Repeat the process with the lid.
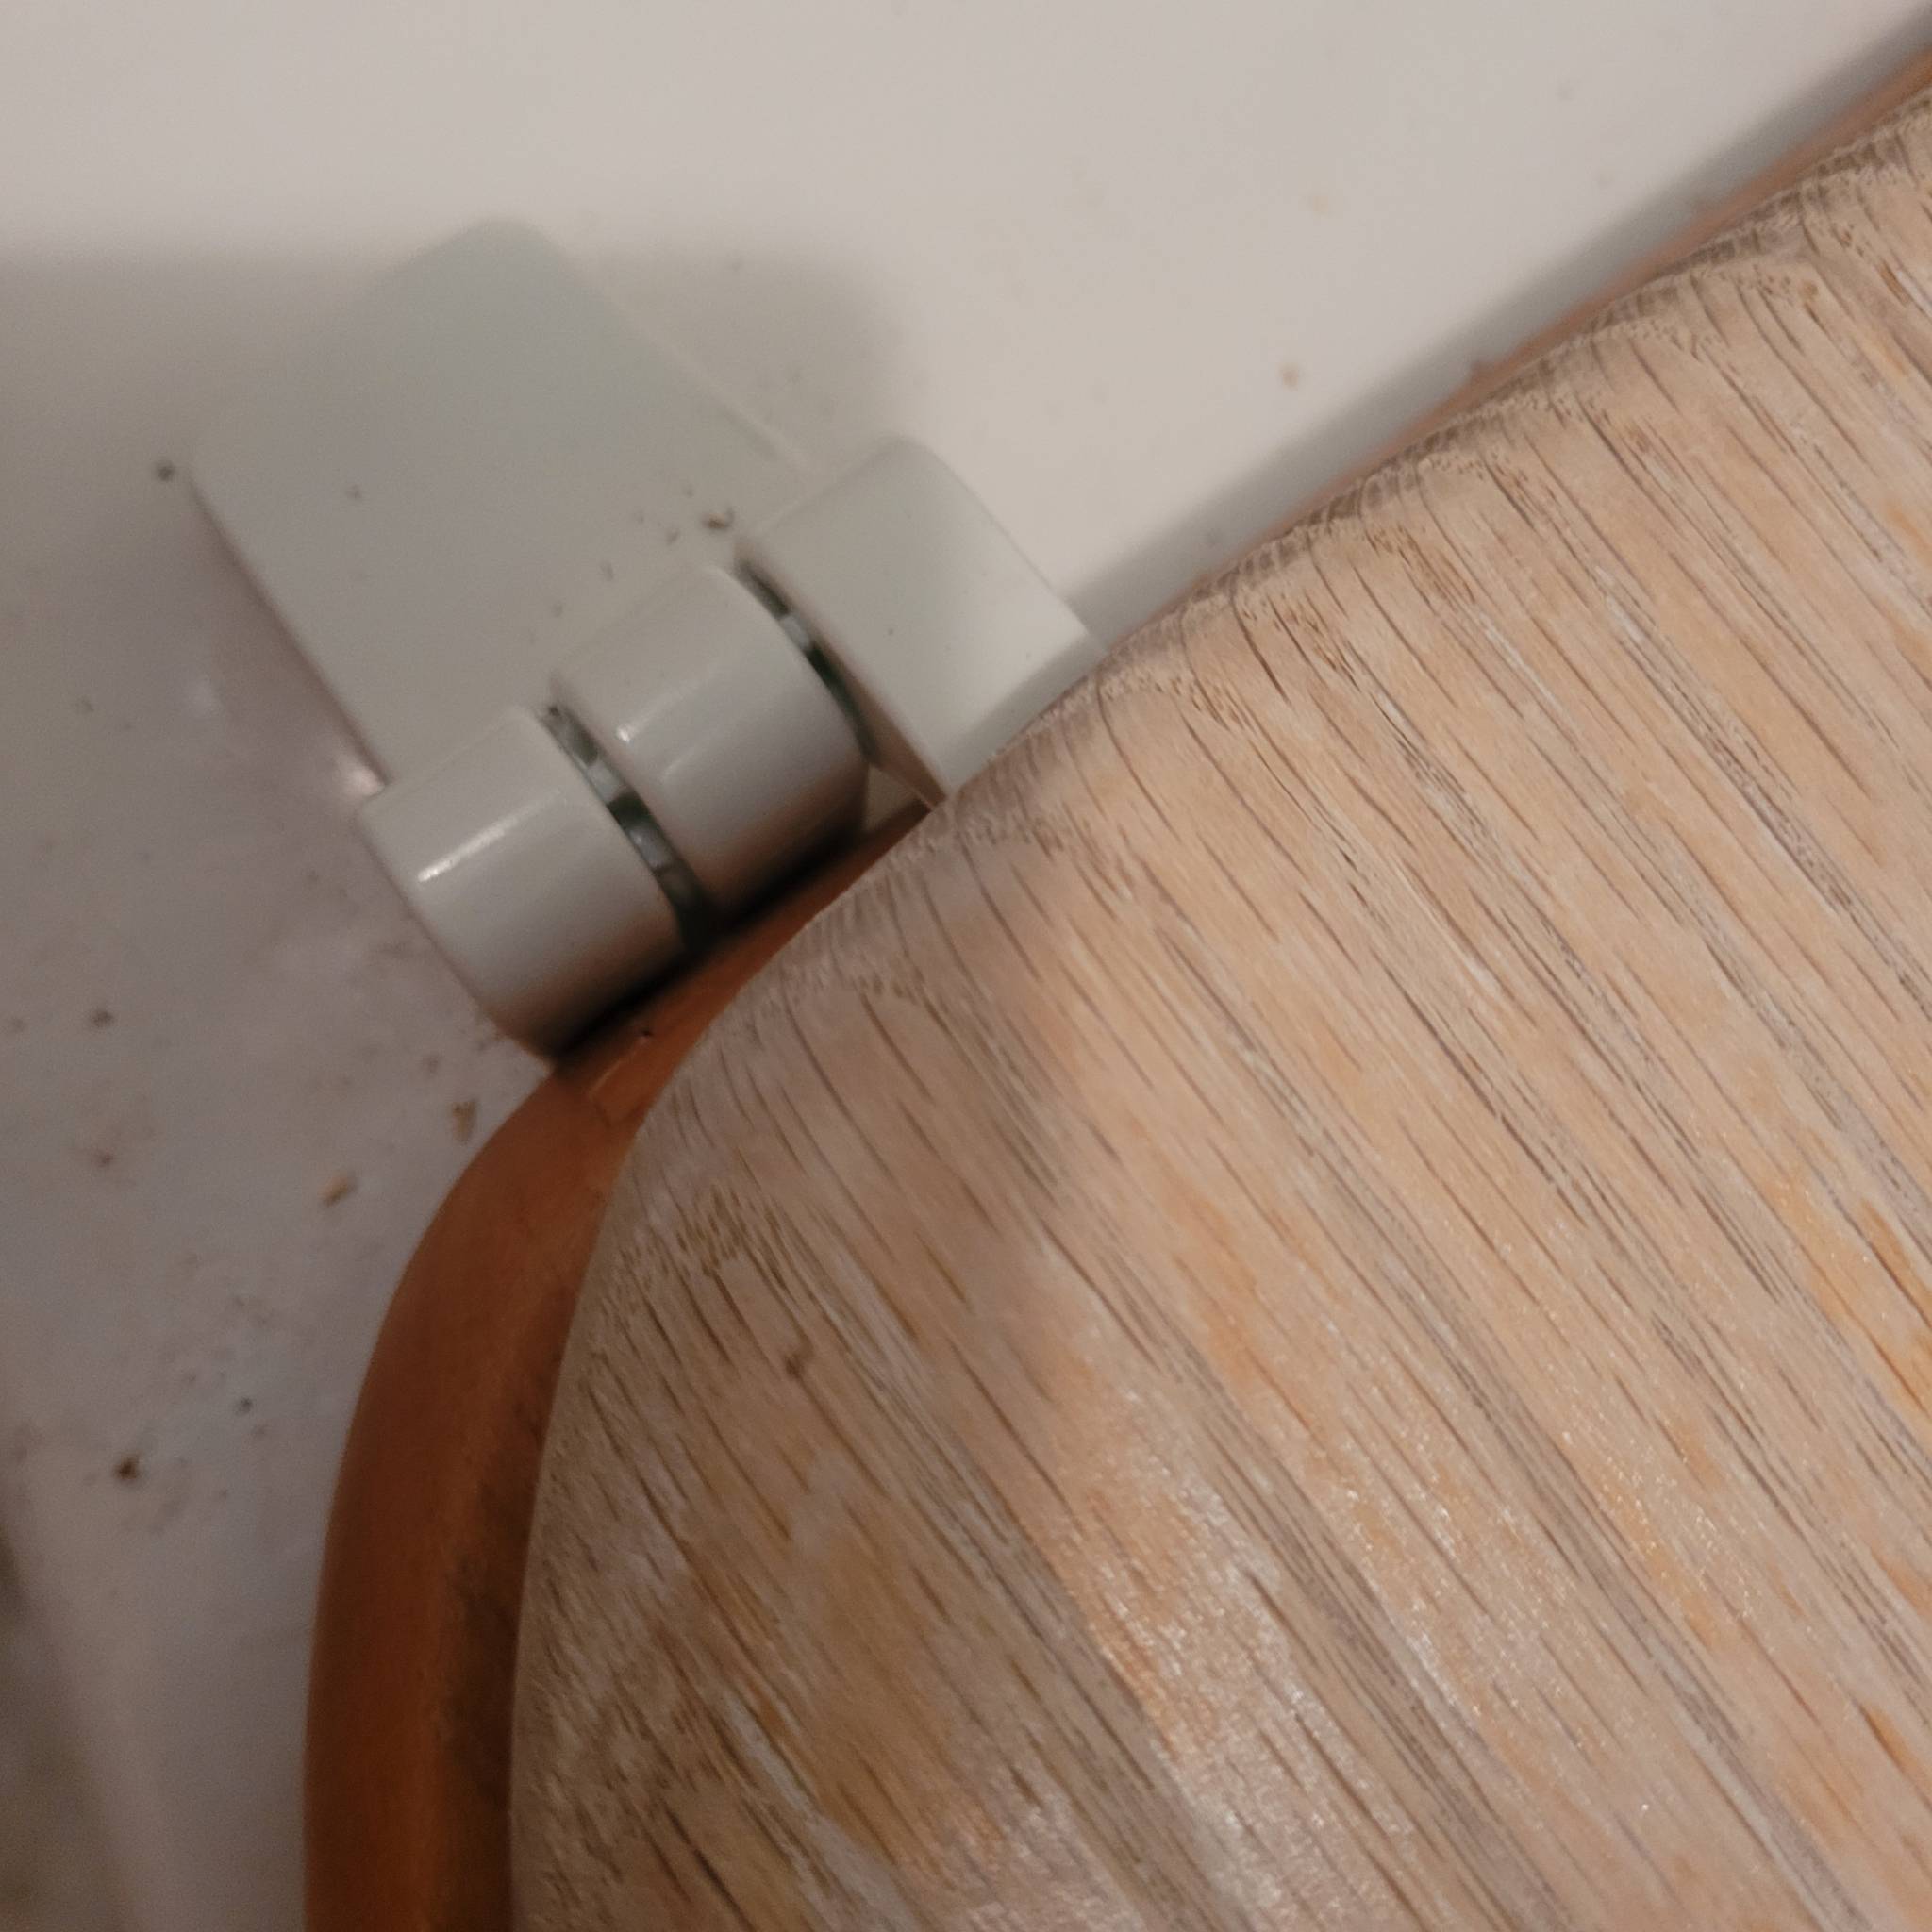
Test both the seat and the lid for alignment. Tighten the mounting screws firmly, clean up, take your tools back to the shop and your job is finished. You’ve just added a decade or two to a custom oak toilet at less than 20% of the replacement cost.

![How To Clean Patio Pavers [Without a Pressure Washer!]](https://www.manmadediy.com/wp-content/uploads/sites/52/2024/06/broom-15377-238x170.png)


