How to Paint Your Front Door Without Removing It
Painting your front door can give your home an instant facelift, but the thought of removing it from its hinges can feel daunting. The good news is you can skip that step! With the right prep and technique, you can achieve a flawless finish without ever taking your door down. Here’s how to paint your front door the easy way.
1. Clean and Prep the Door
Before you even think about paint, start by giving your door a thorough cleaning. Dirt, dust, and grime can prevent paint from adhering properly. Use a mild soap and water solution or a degreaser for tougher spots. Don’t forget to clean around the edges and any decorative trim.
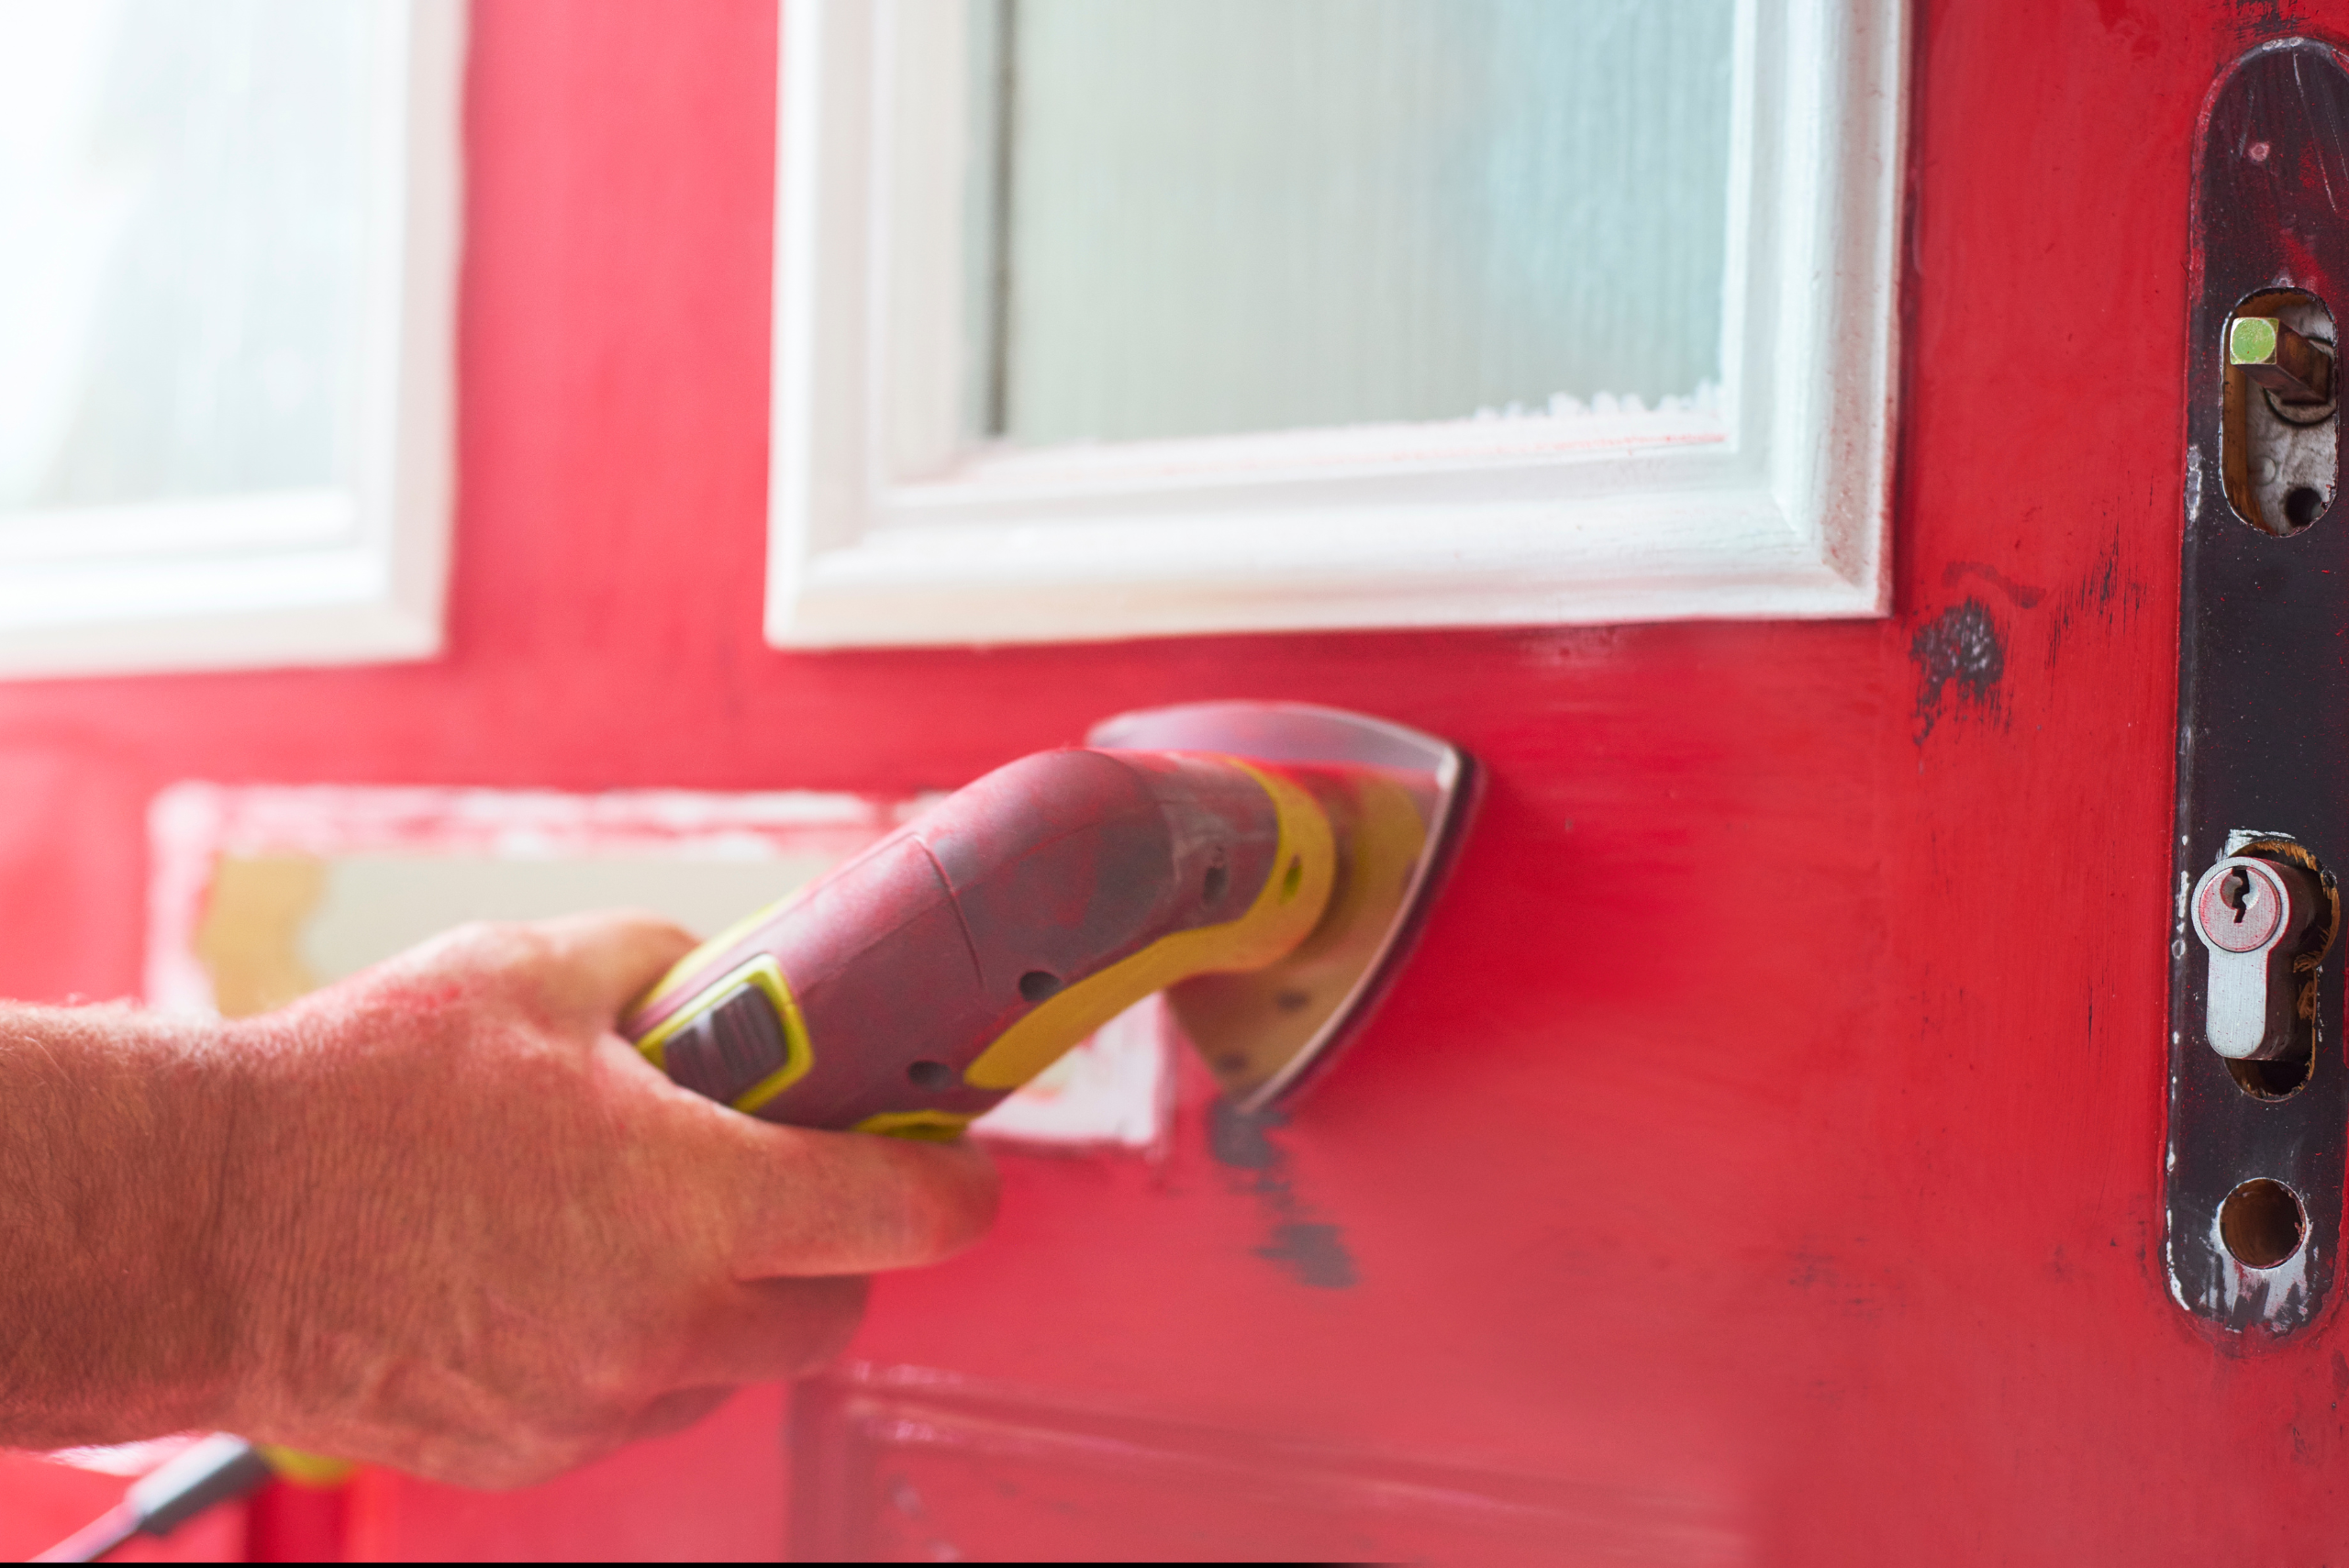
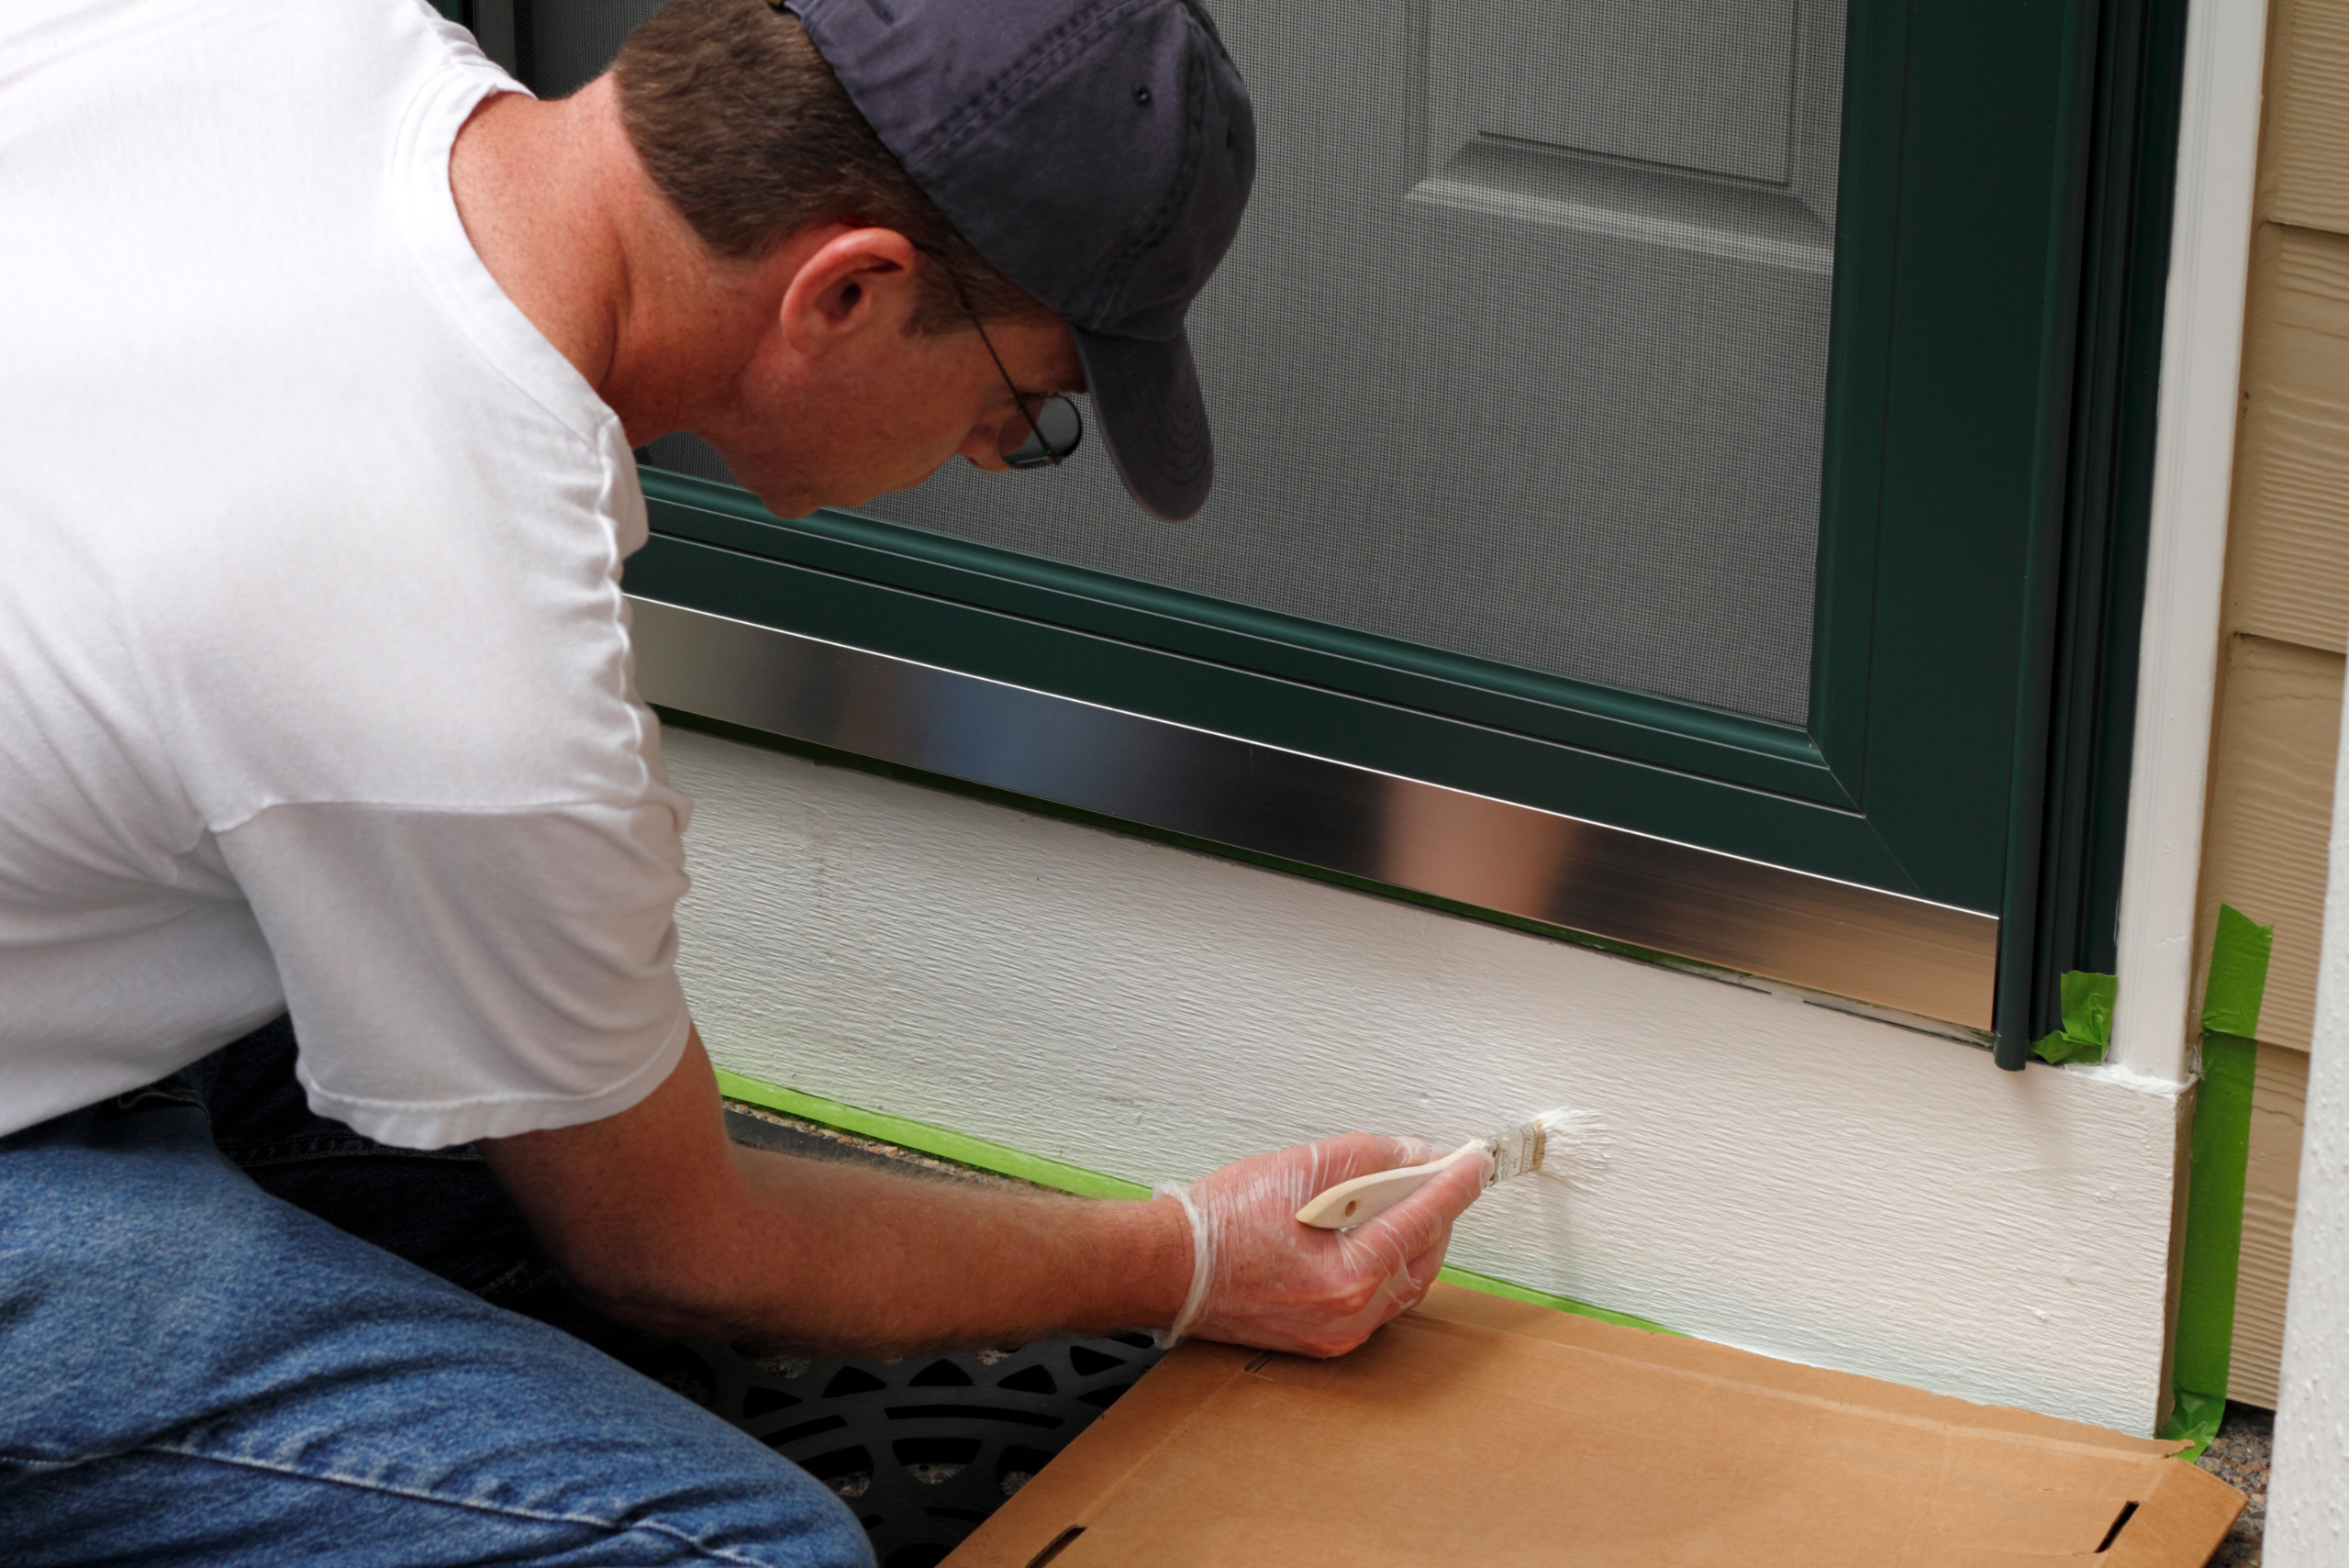
Once clean, lightly sand the surface with fine-grit sandpaper to remove imperfections and create a smoother base. Use painter’s tape to protect the door frame, hardware, and any glass panels. Taking your time during prep will save you headaches later.
2. Choose the Right Paint and Tools
For exterior doors, choose a durable, weather-resistant paint with a semi-gloss or satin finish. These finishes are easier to clean and hold up better to outdoor elements. A high-quality angled brush will help you reach corners and grooves, while a small roller will give you smooth coverage on flat sections.
Consider using a paint with built-in primer to reduce the number of coats needed. If your door is a dark color and you’re switching to a lighter one, applying a separate primer may be necessary for better coverage.

3. Remove or Protect Hardware
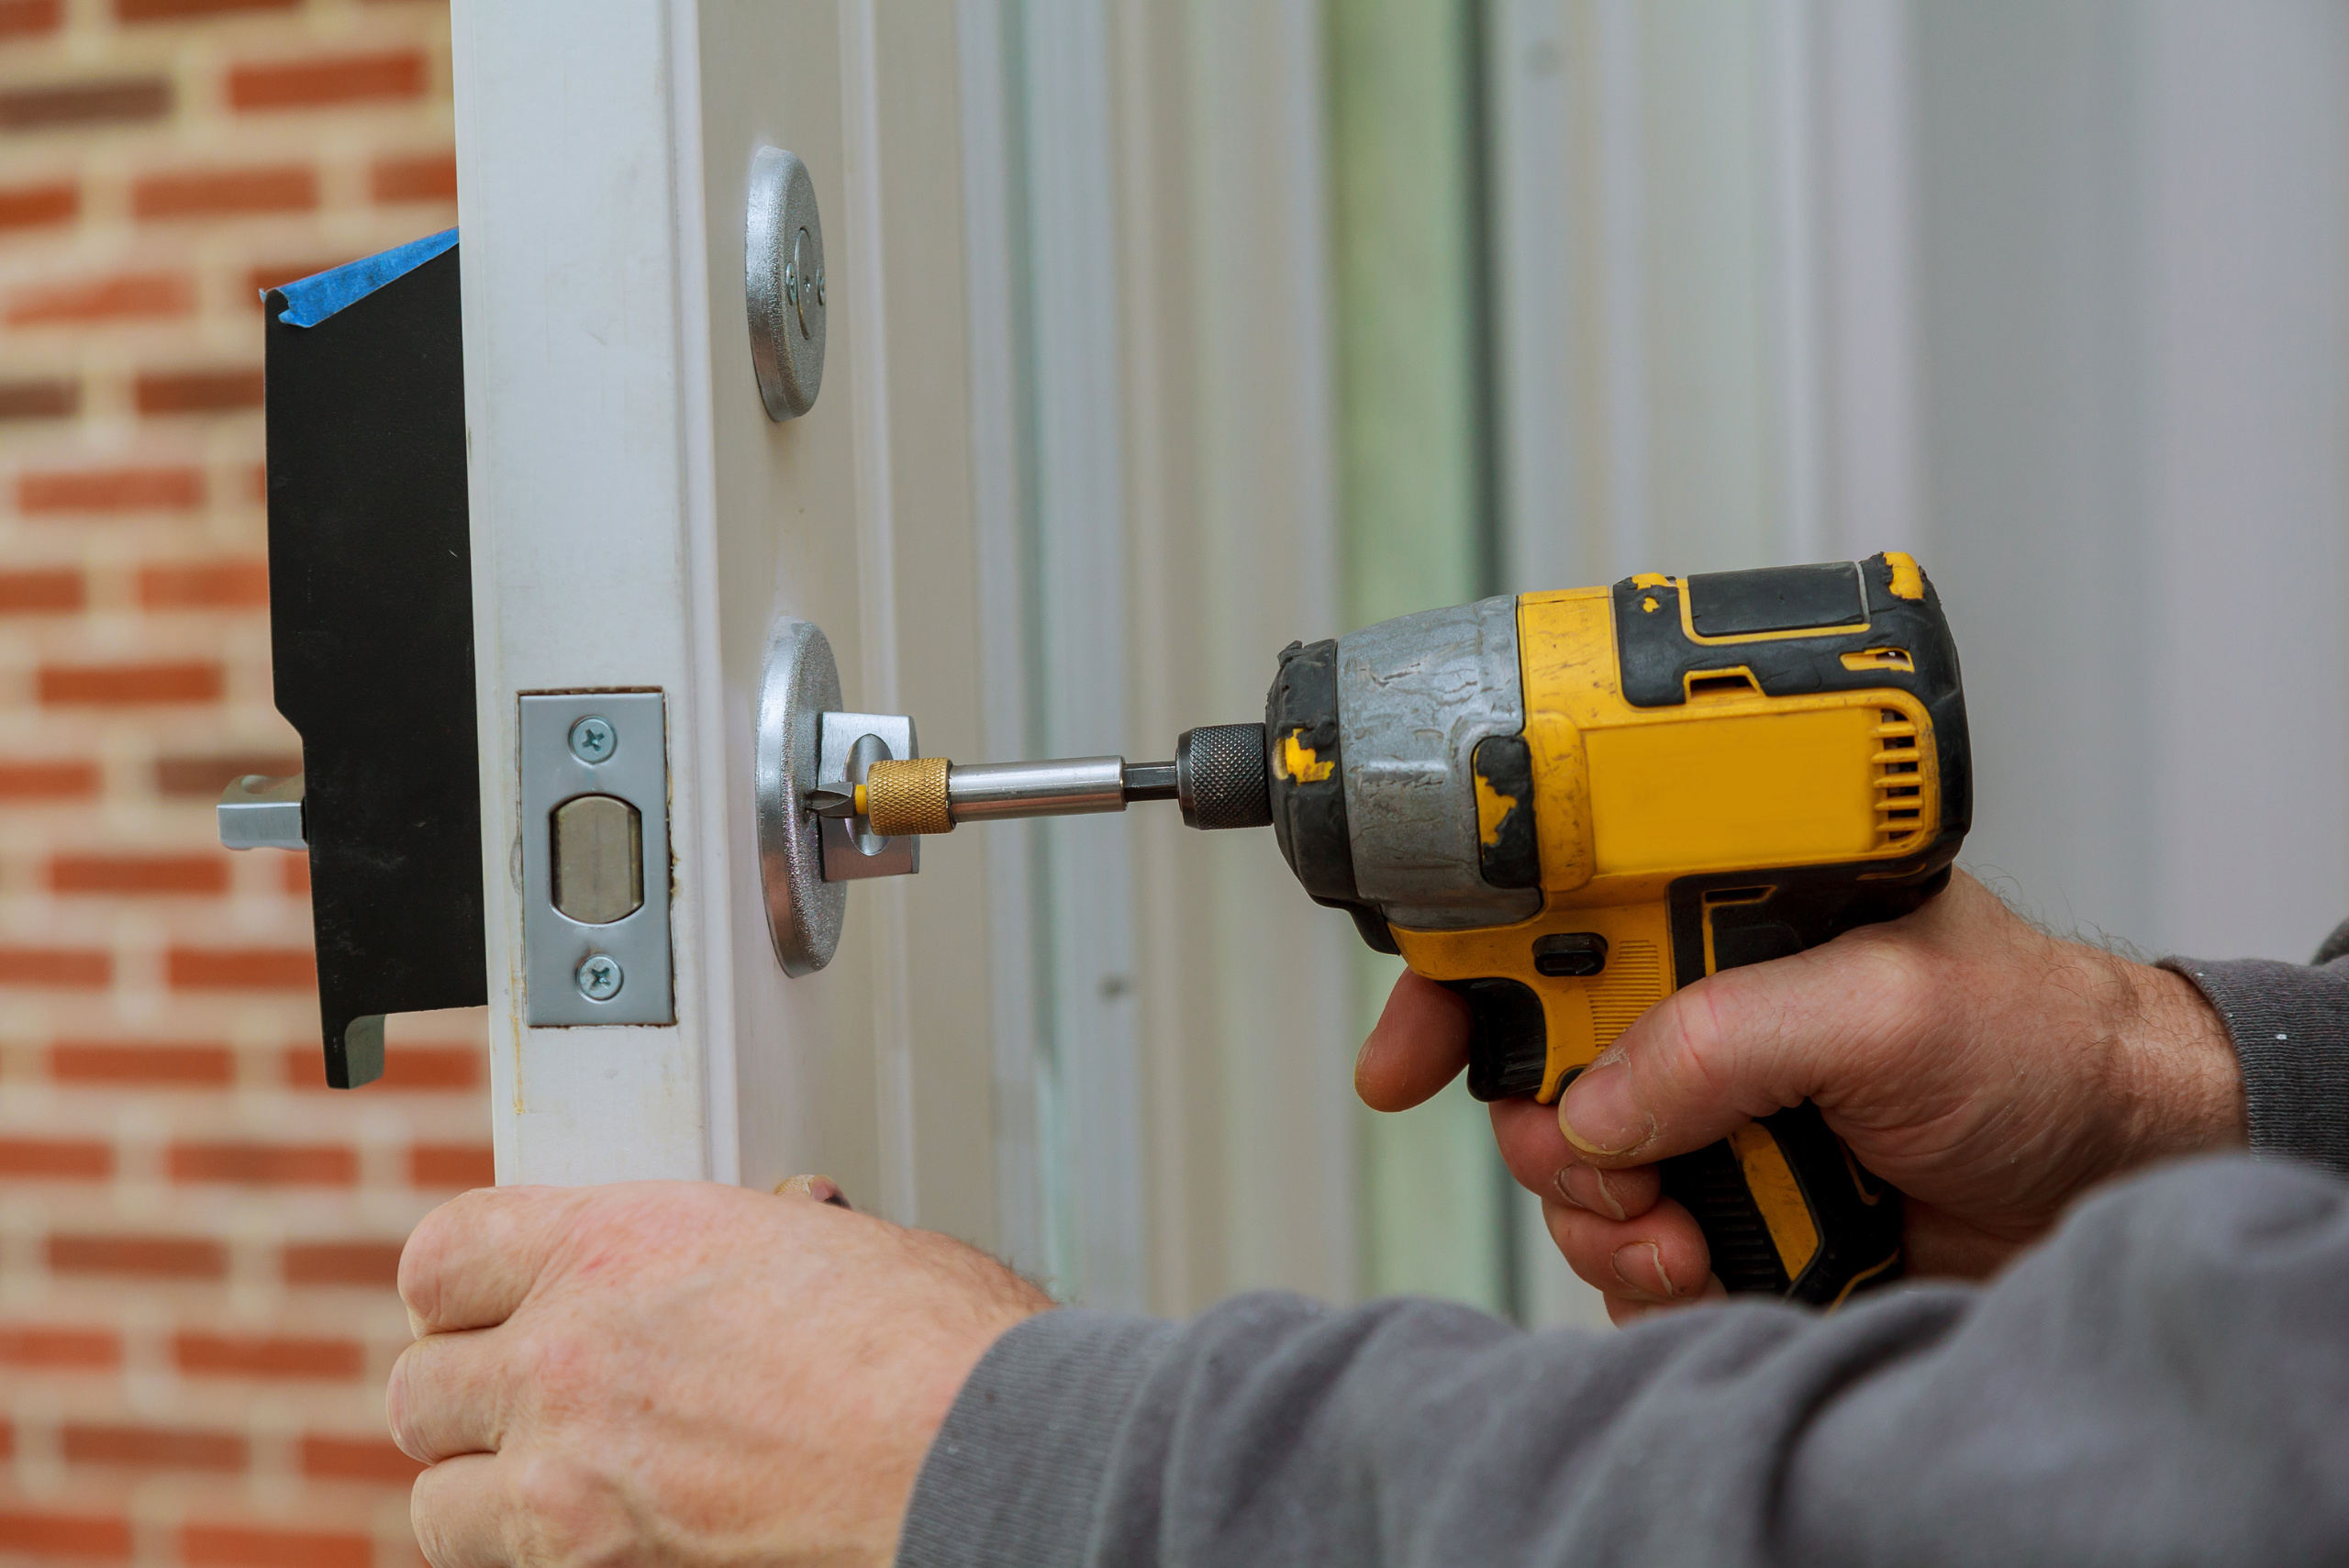
While you don’t need to remove the entire door, taking off the hardware is still a smart move. Unscrewing the handle, lock, and any decorative plates will give you cleaner lines and easier access to the surface. If you prefer not to remove them, cover each piece securely with painter’s tape.
To ensure paint doesn’t seep into the cracks around hardware, use a utility knife to press the tape down firmly. This simple step will keep your finished product looking crisp and professional.
4. Paint in Sections for a Smooth Finish
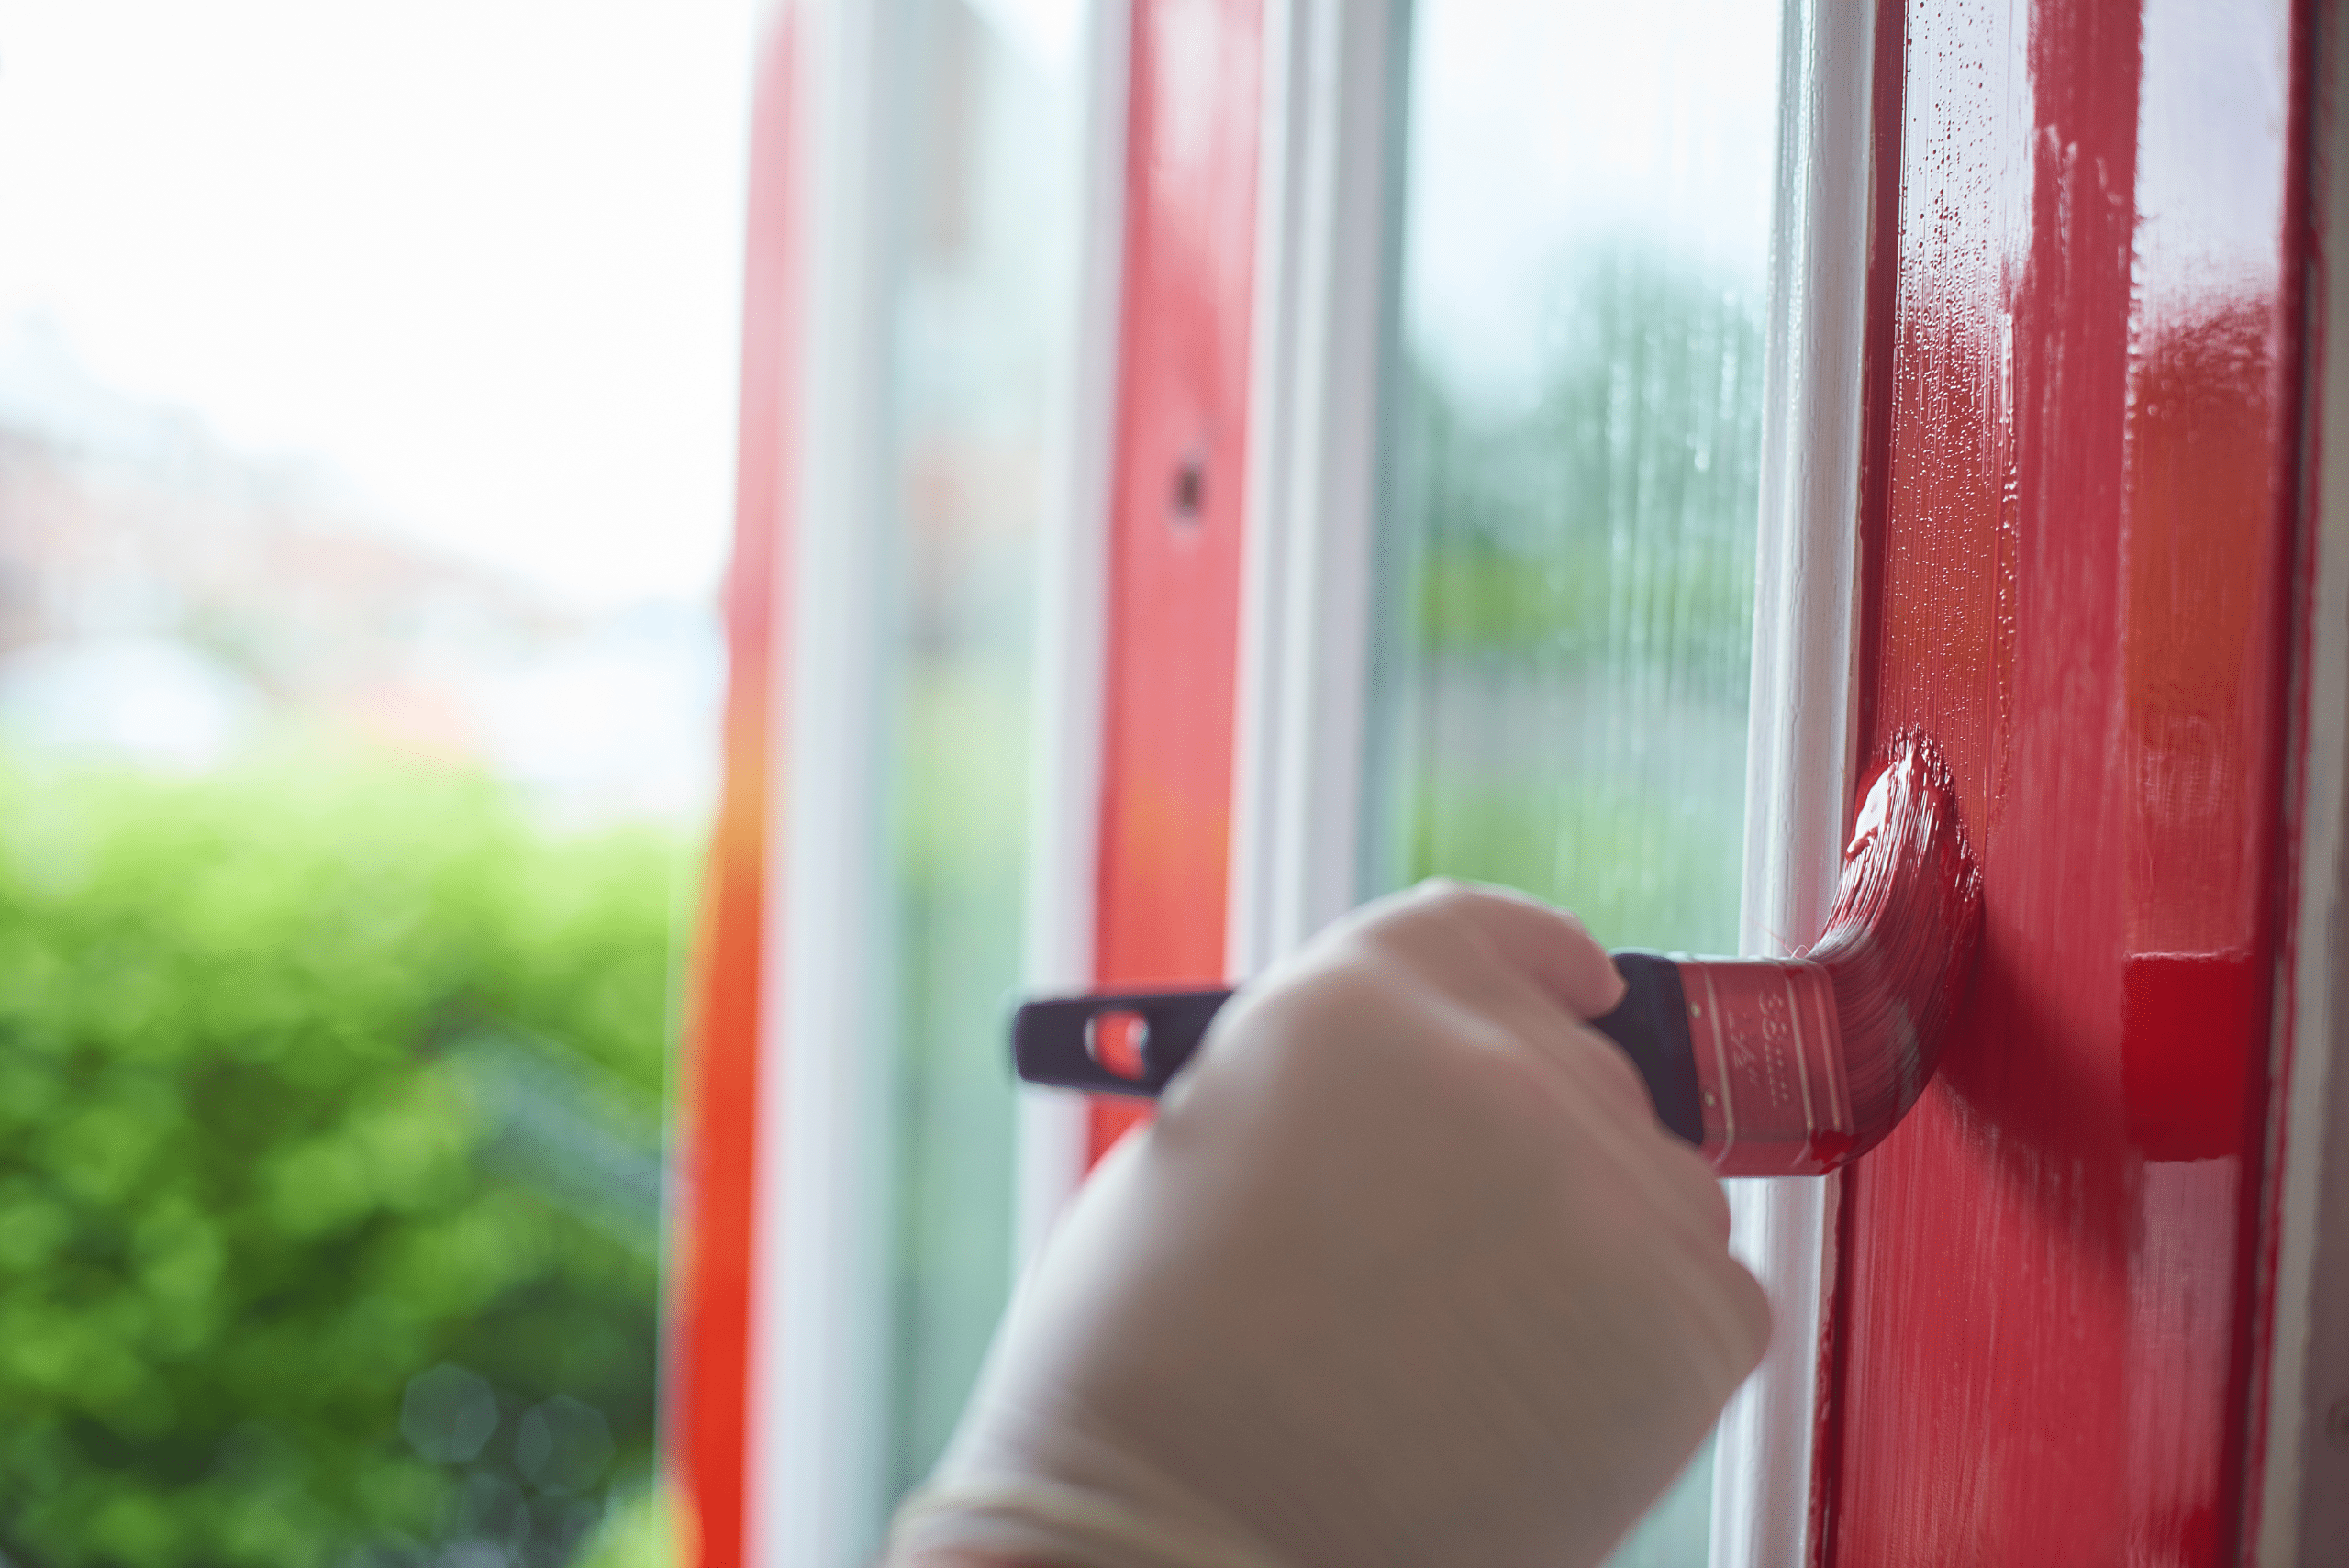
Painting in sections will help you avoid streaks and ensure a smoother finish. Start with the recessed panels or decorative trim using a brush, then use a roller for the flat parts of the door. Always work with the grain of the wood or follow the natural lines of the door’s design.
Apply thin coats rather than thick layers to avoid drips. Allow each coat to dry fully before adding the next. Depending on your color choice, you may need two to three coats for full coverage.
5. Allow Proper Drying Time
Drying time is key when painting a door that’s still in place. Keep the door slightly ajar to prevent it from sticking to the frame. Placing a doorstop or wedge at the base will keep it steady while drying.
Check the paint can’s recommended drying times, and avoid closing the door completely until the paint is fully cured. This step is crucial to avoid tacky paint smudging or sticking.
6. Reinstall Hardware and Touch Up
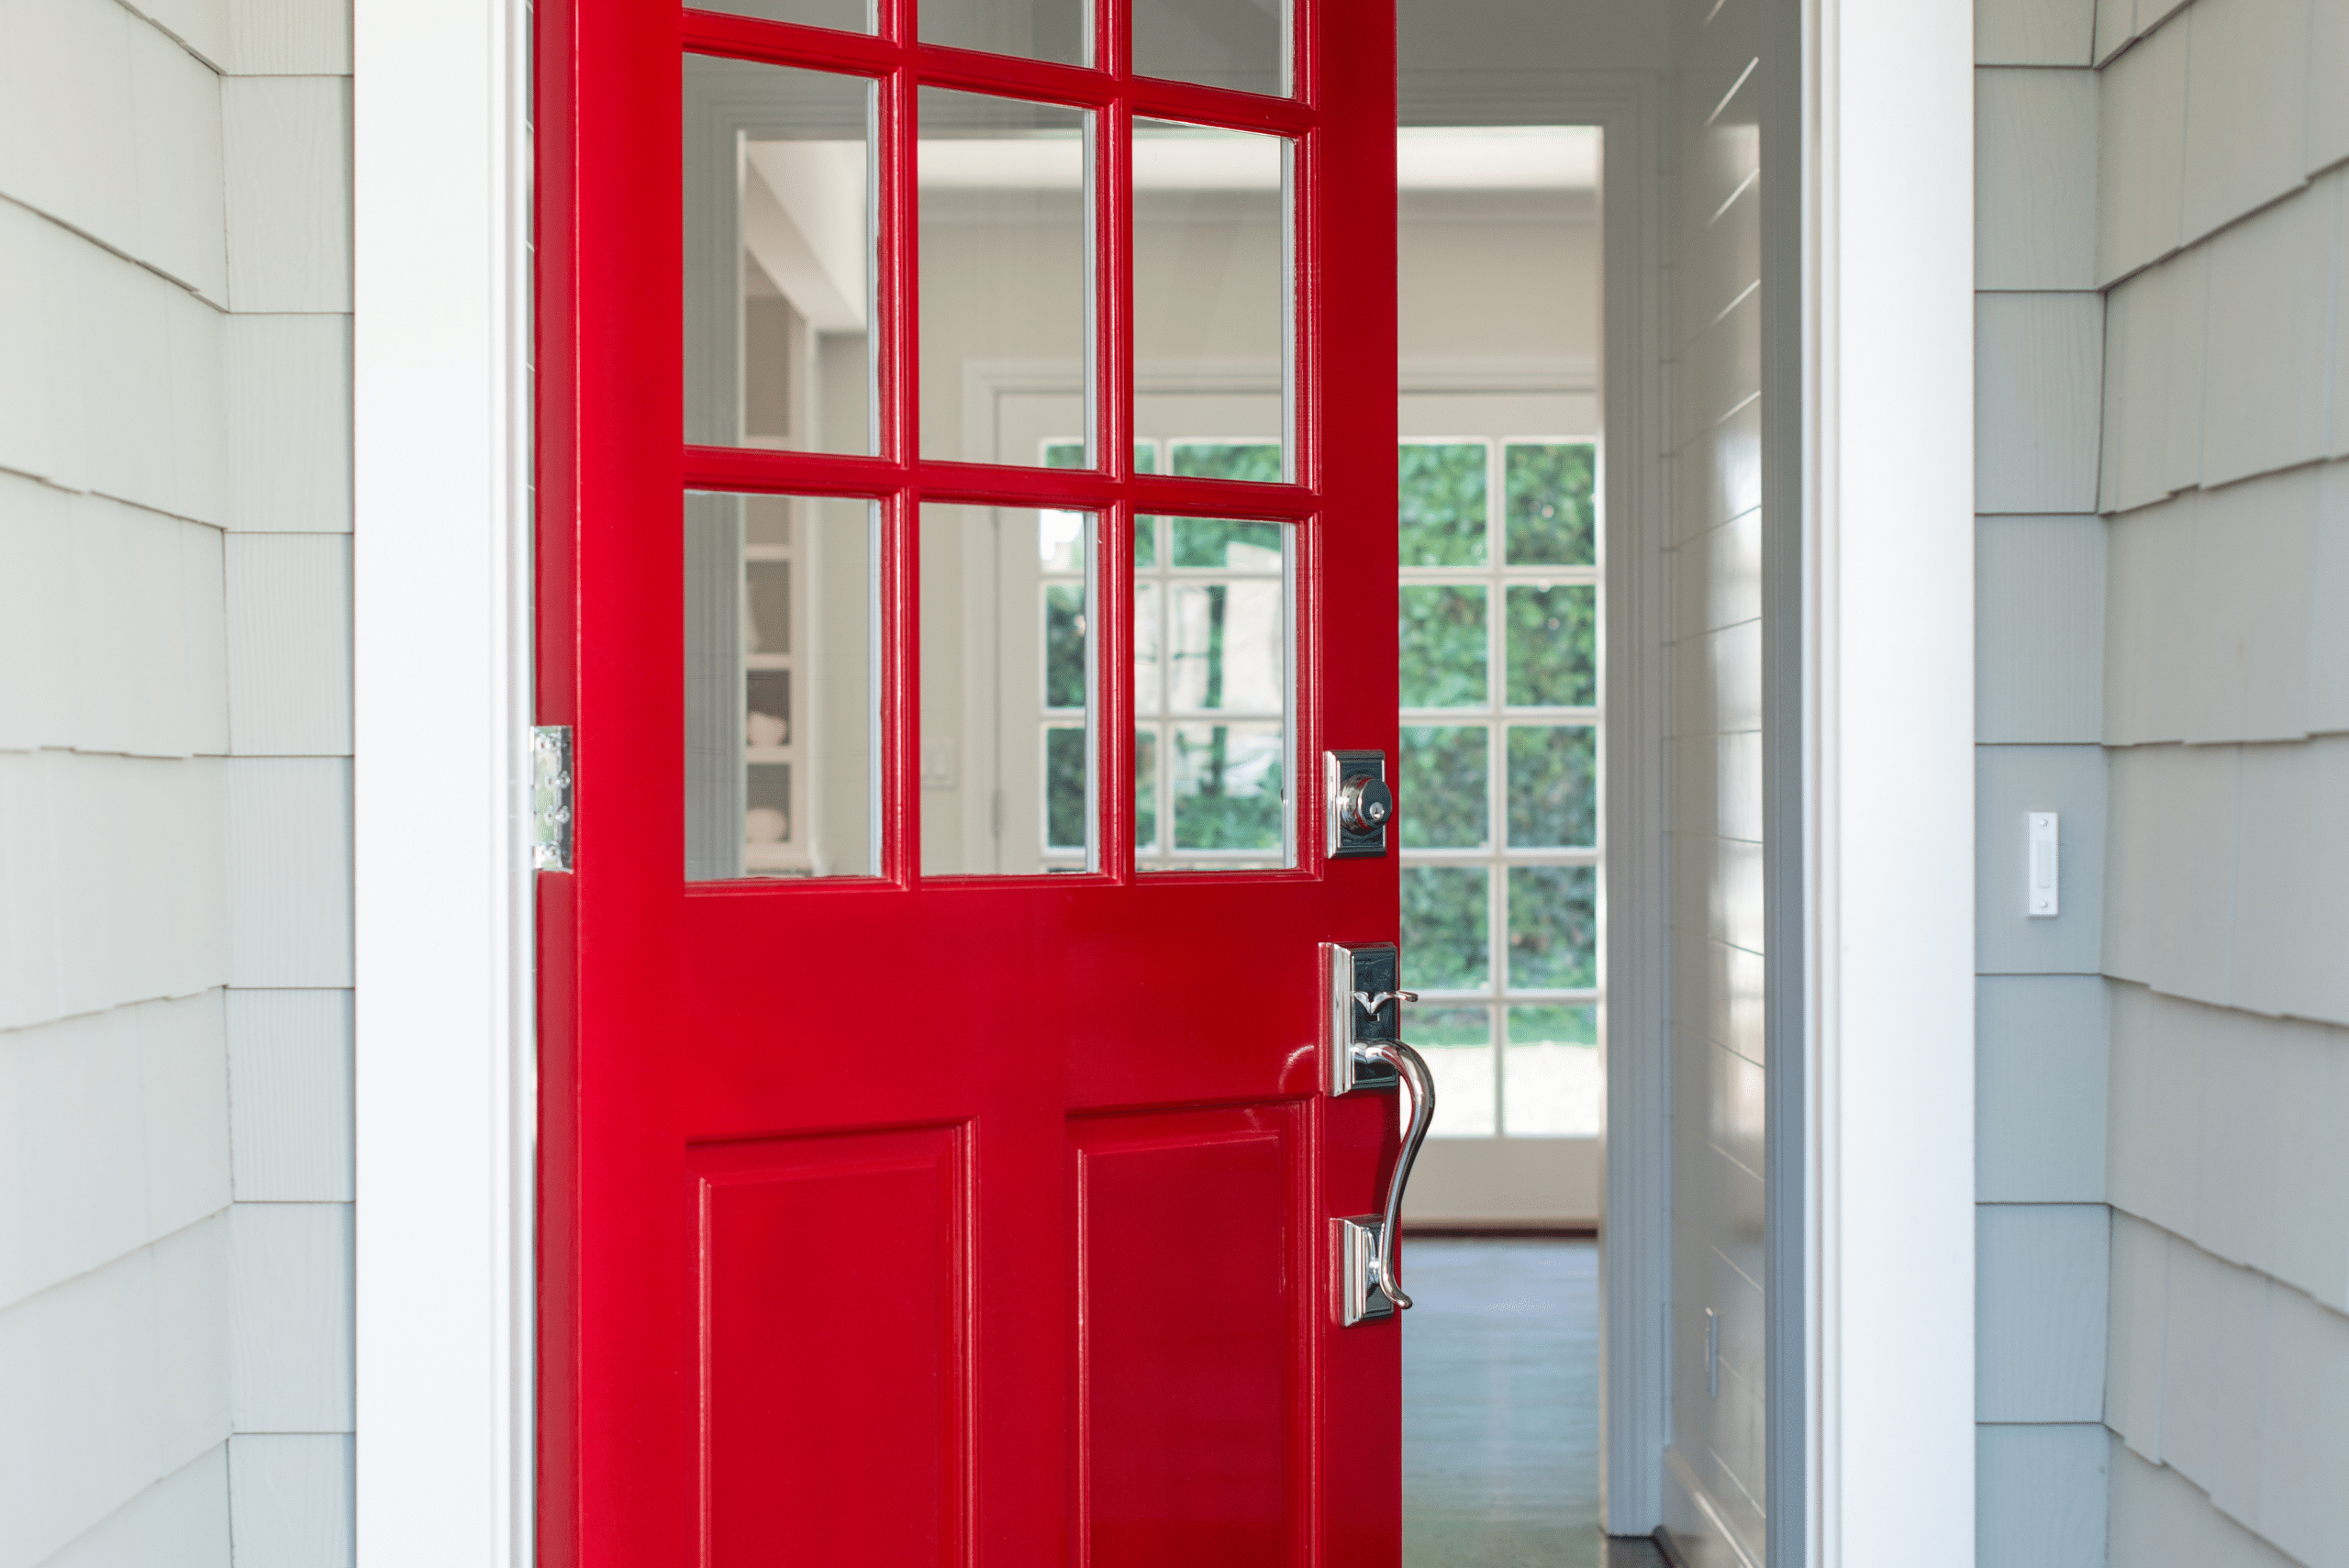
Once the paint is dry and you’re satisfied with the coverage, reinstall your door hardware. Carefully remove any painter’s tape and touch up any missed spots or uneven edges with a fine brush.
For added protection, consider applying a clear sealant or topcoat to ensure your new paint job holds up against weather, sun, and daily wear and tear.
Related Articles
- How to Unstick a Paint Lid That Won’t Open
- What to Do When Your Paint Starts Peeling
- How to Remove Paint From Paint Brushes and Rollers Efficiently
Painting your front door without removing it is a simple yet impactful way to refresh your home’s curb appeal. With careful prep, the right tools, and a little patience, you can achieve a professional-looking finish with minimal hassle. So grab your paintbrush and get ready to wow your neighbors with a front door that shines.


