What to Do When Your Paint Starts Peeling
Peeling paint is more than just an eyesore; it’s a sign that something is wrong beneath the surface. Whether it’s moisture, poor surface prep, or old paint reaching the end of its lifespan, understanding the cause is the first step toward a lasting fix. Ignoring peeling paint can lead to further deterioration, making repairs more difficult and costly down the road.
1. Identify the Underlying Cause
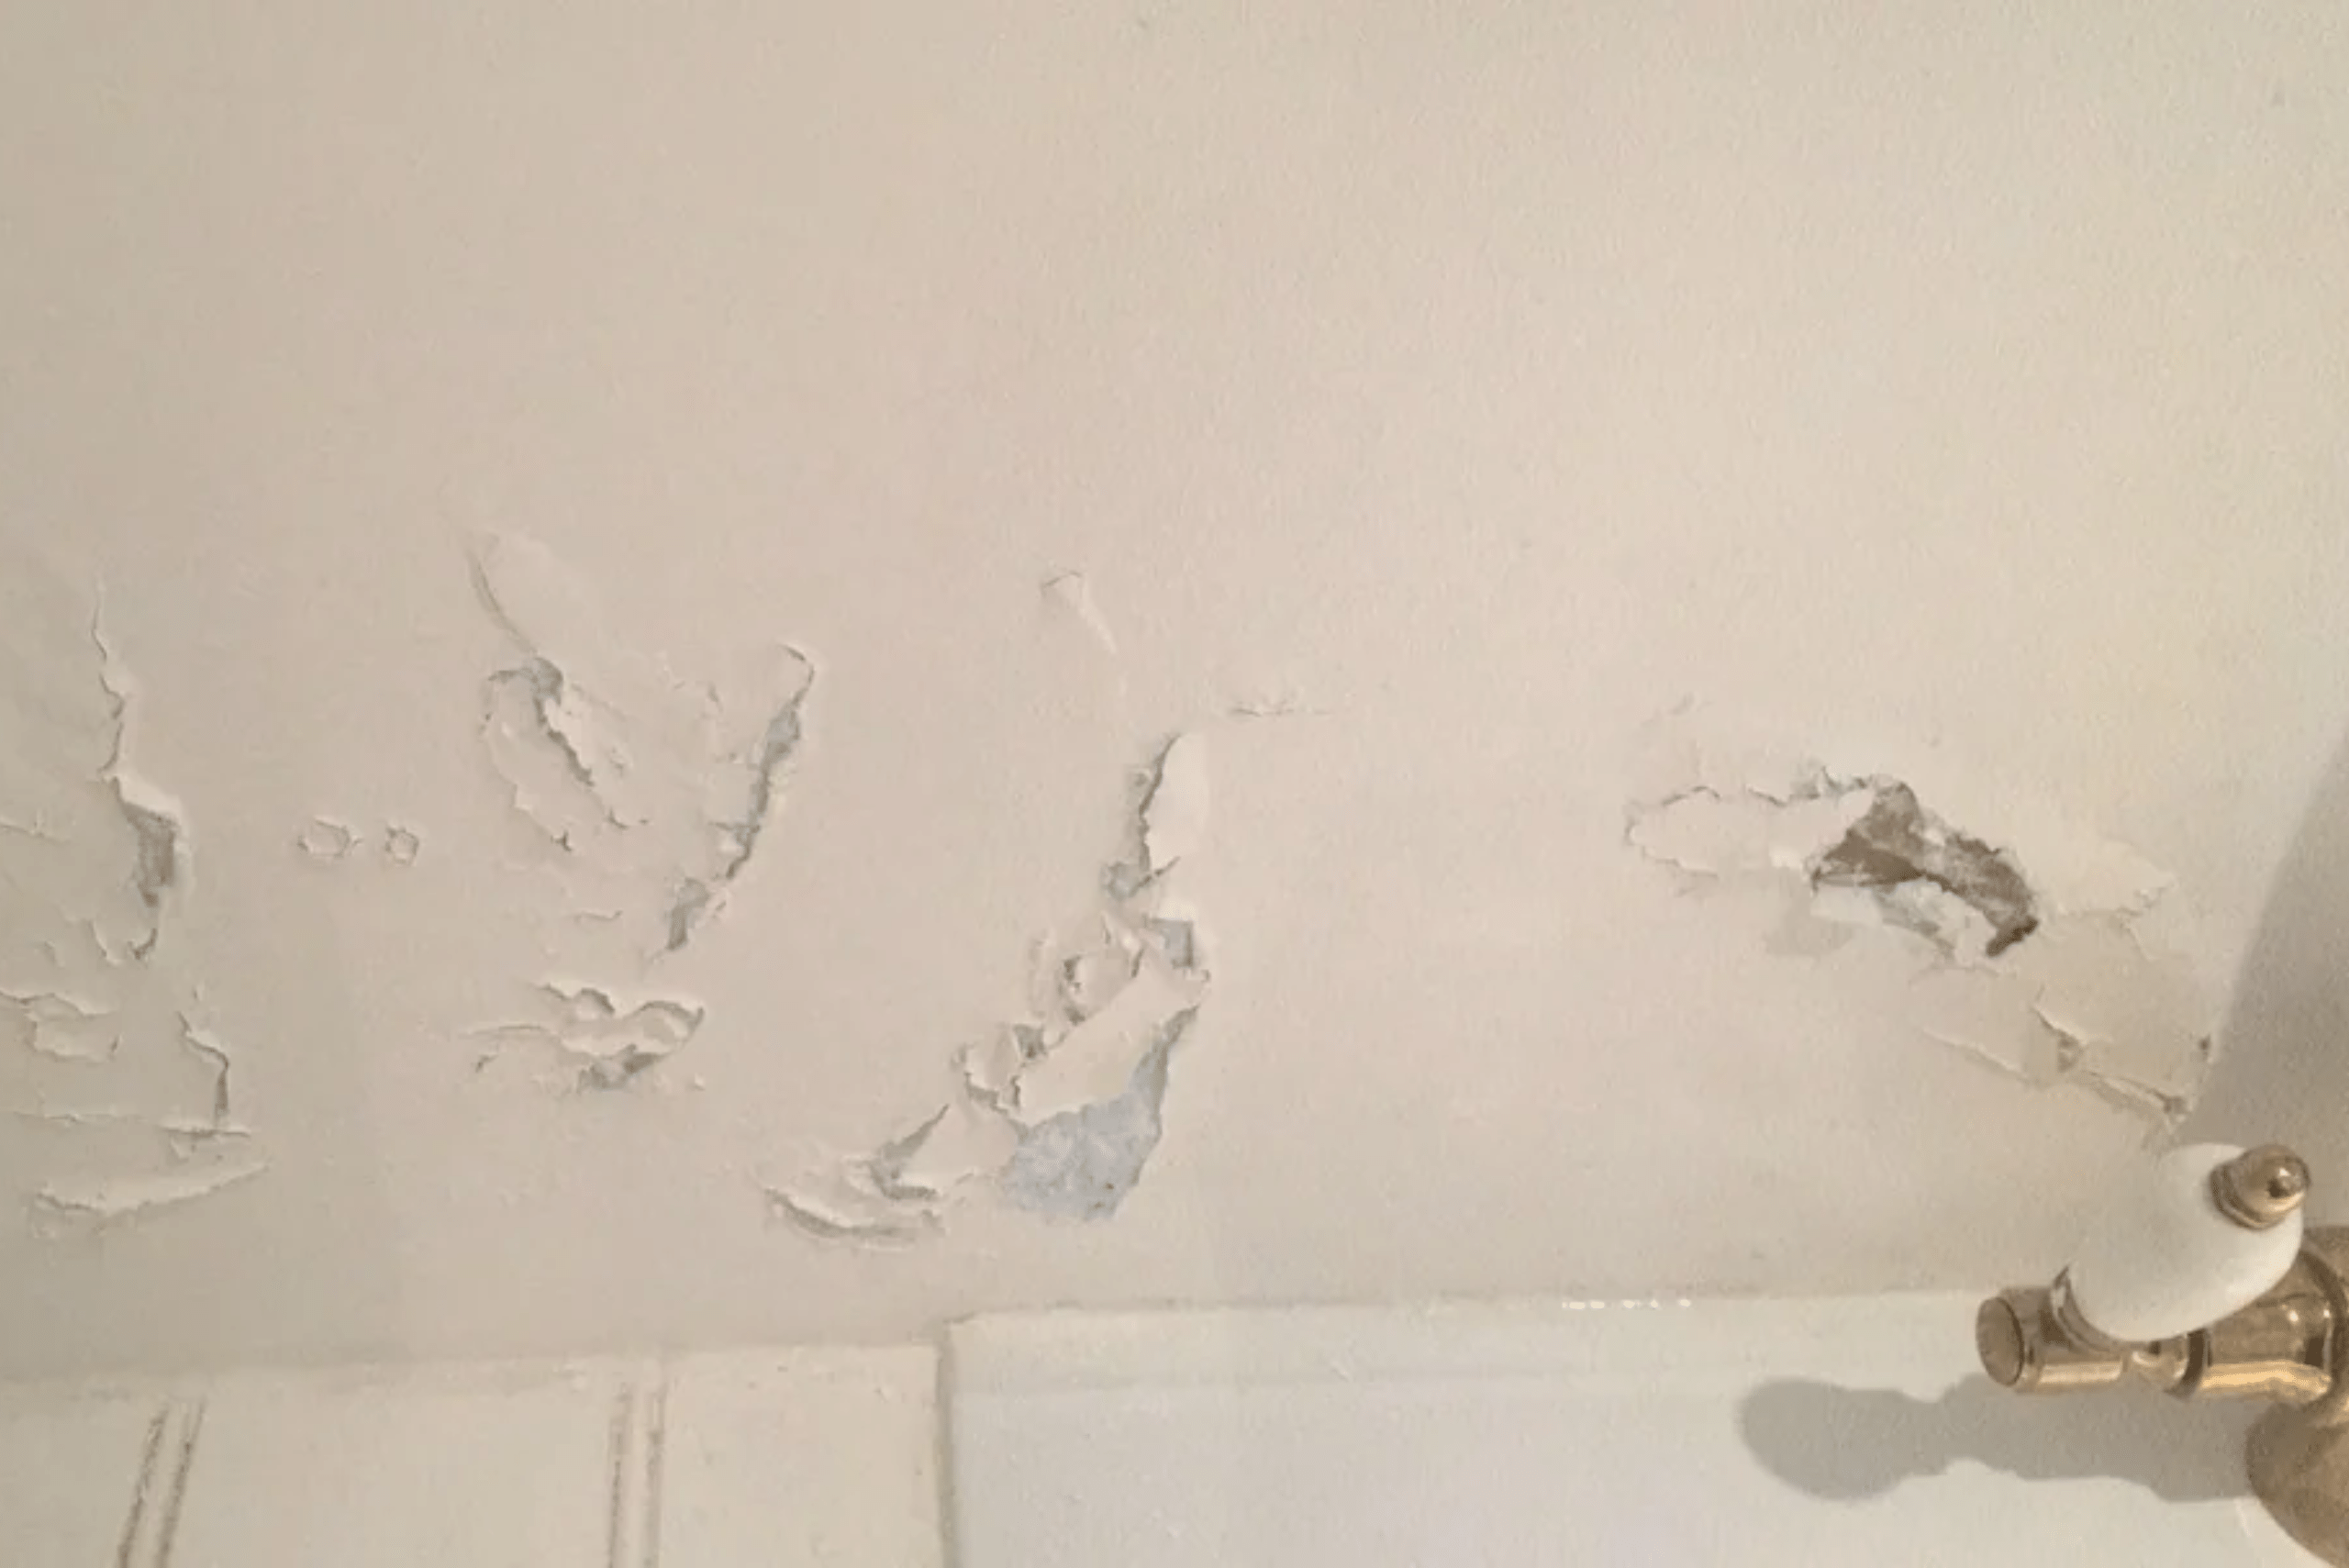
Before jumping into repairs, it’s crucial to determine why your paint is peeling. Moisture is a common culprit, especially in bathrooms, kitchens, and exterior walls exposed to harsh weather. Poor adhesion due to painting over dirty or glossy surfaces can also cause premature peeling. If your home is older, lead-based paint may be involved, requiring special handling for safety.
2. Remove Loose and Flaking Paint
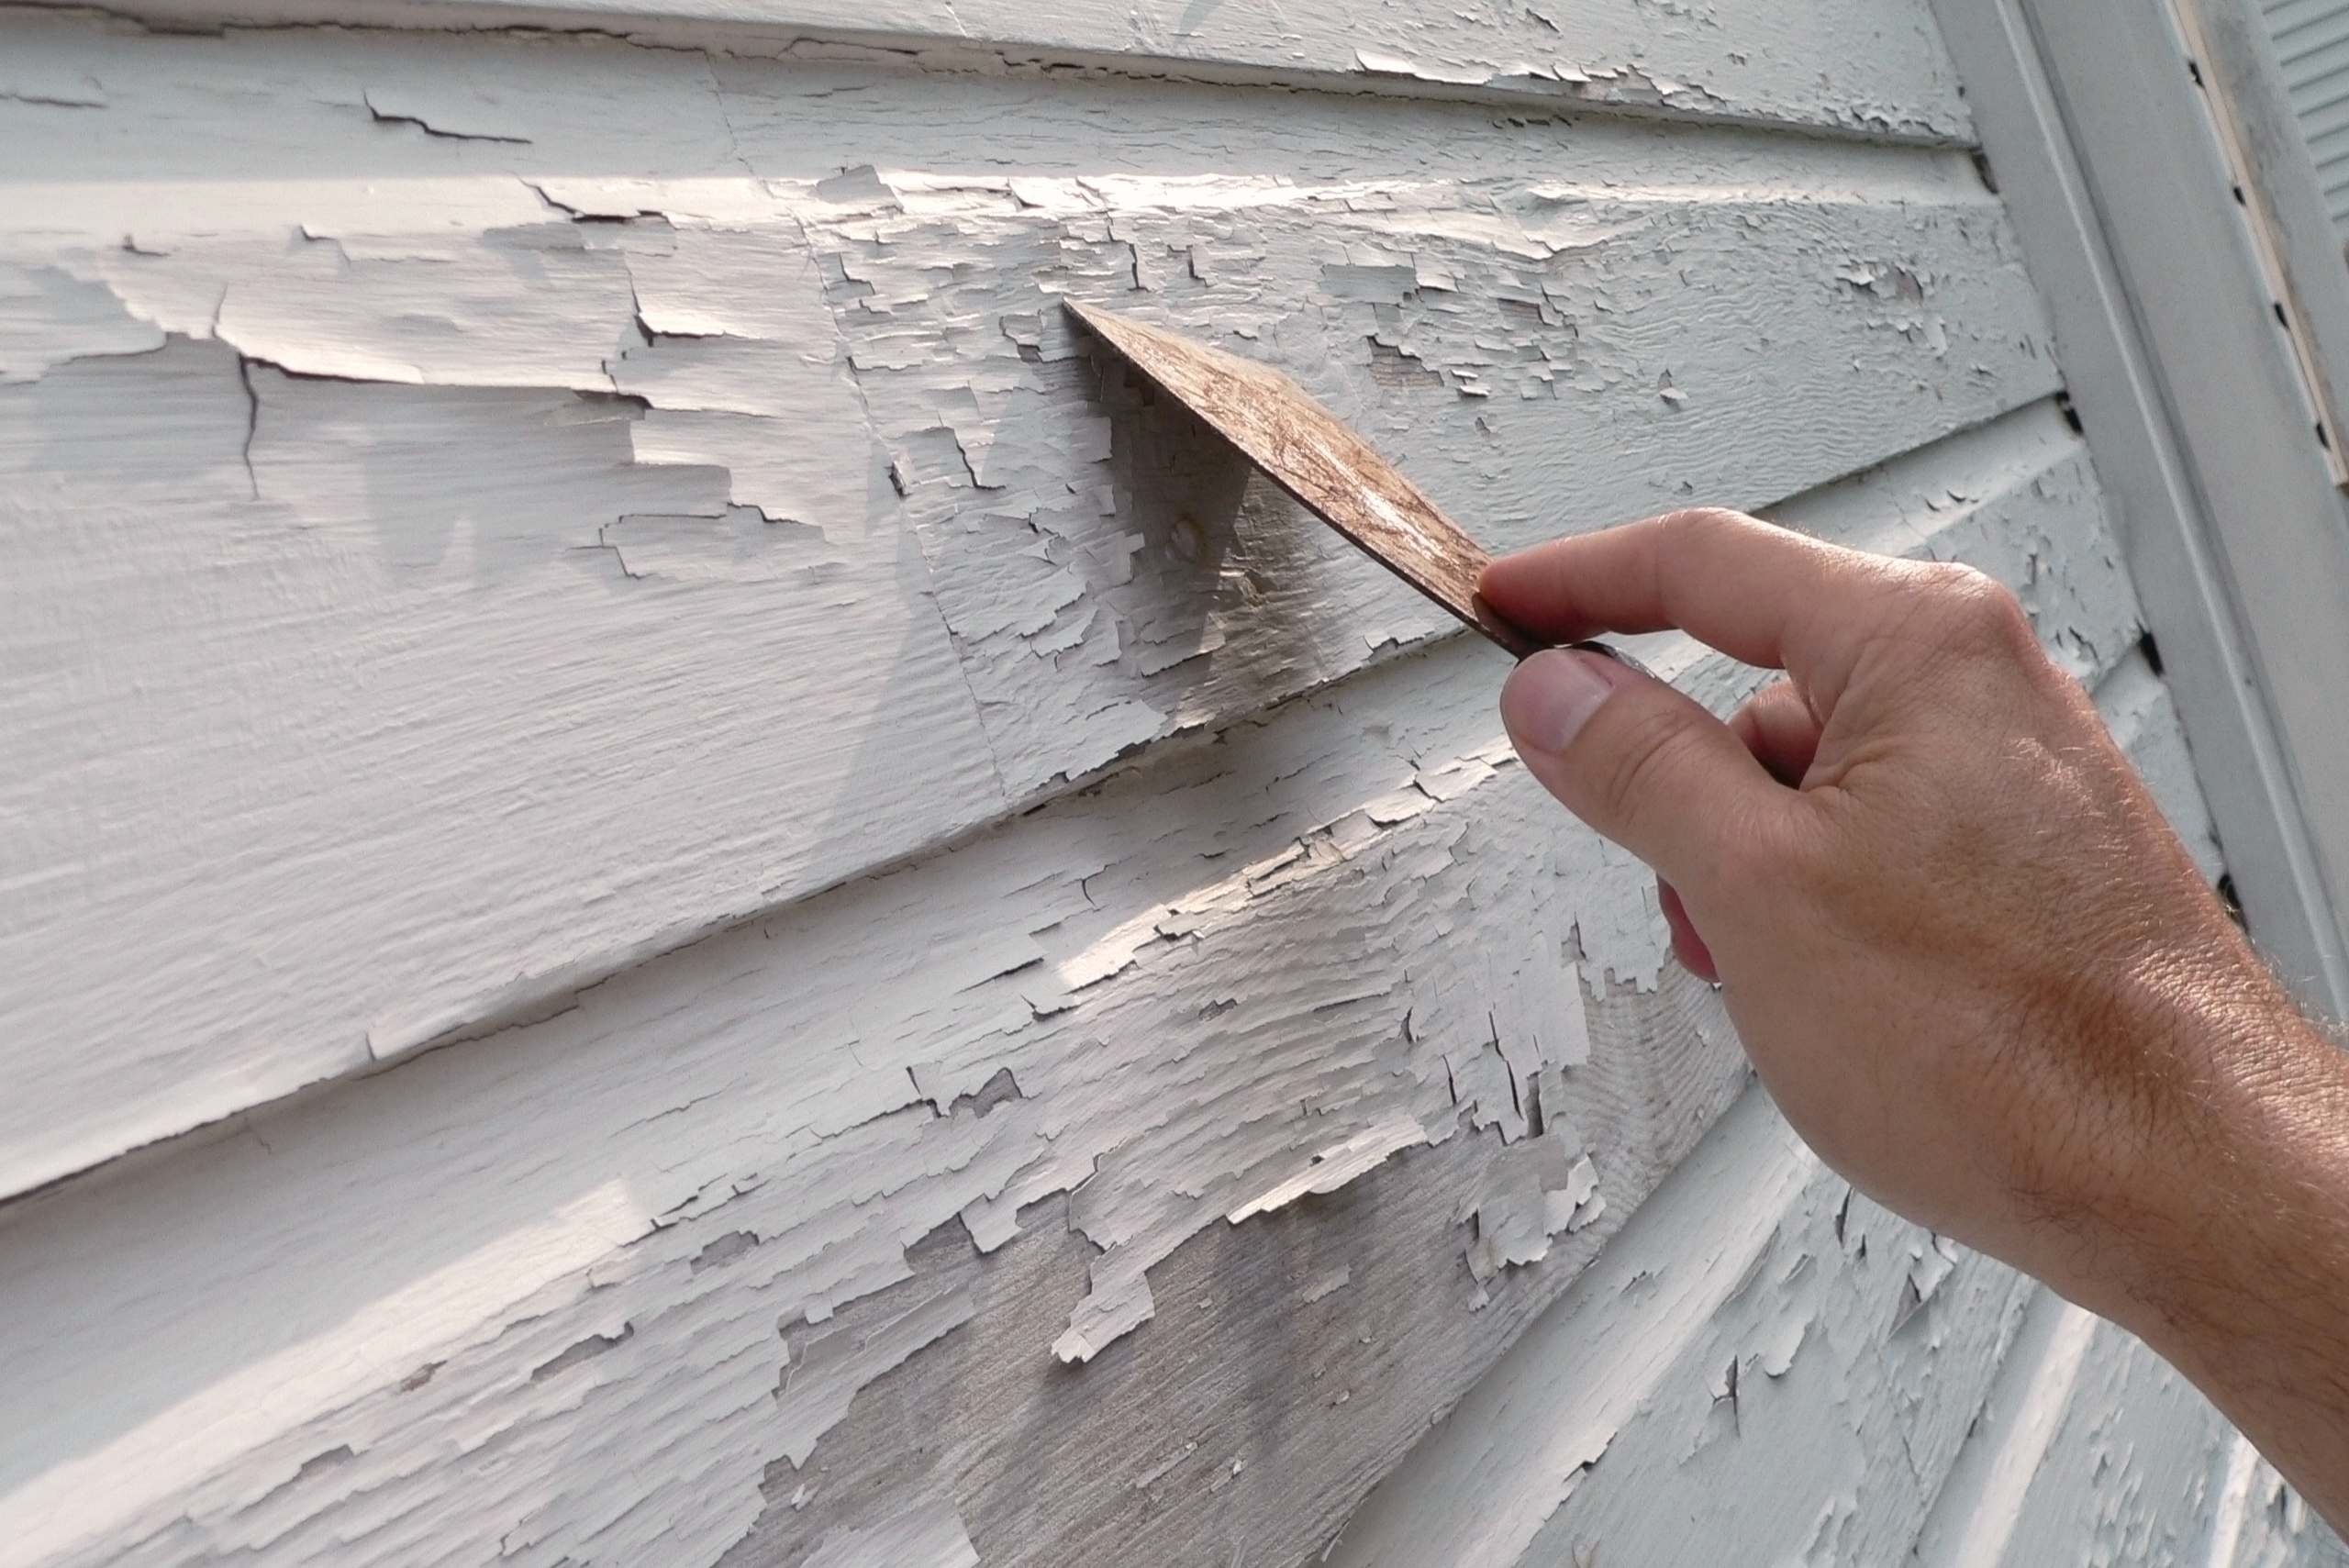
Once you know the cause, start by scraping off all loose paint. Use a putty knife or paint scraper to lift peeling sections, being careful not to gouge the surface. For stubborn areas, a heat gun or chemical paint stripper may be necessary. Sand the edges of the remaining paint to create a smooth transition and avoid visible ridges once repainted.
3. Repair Surface Damage
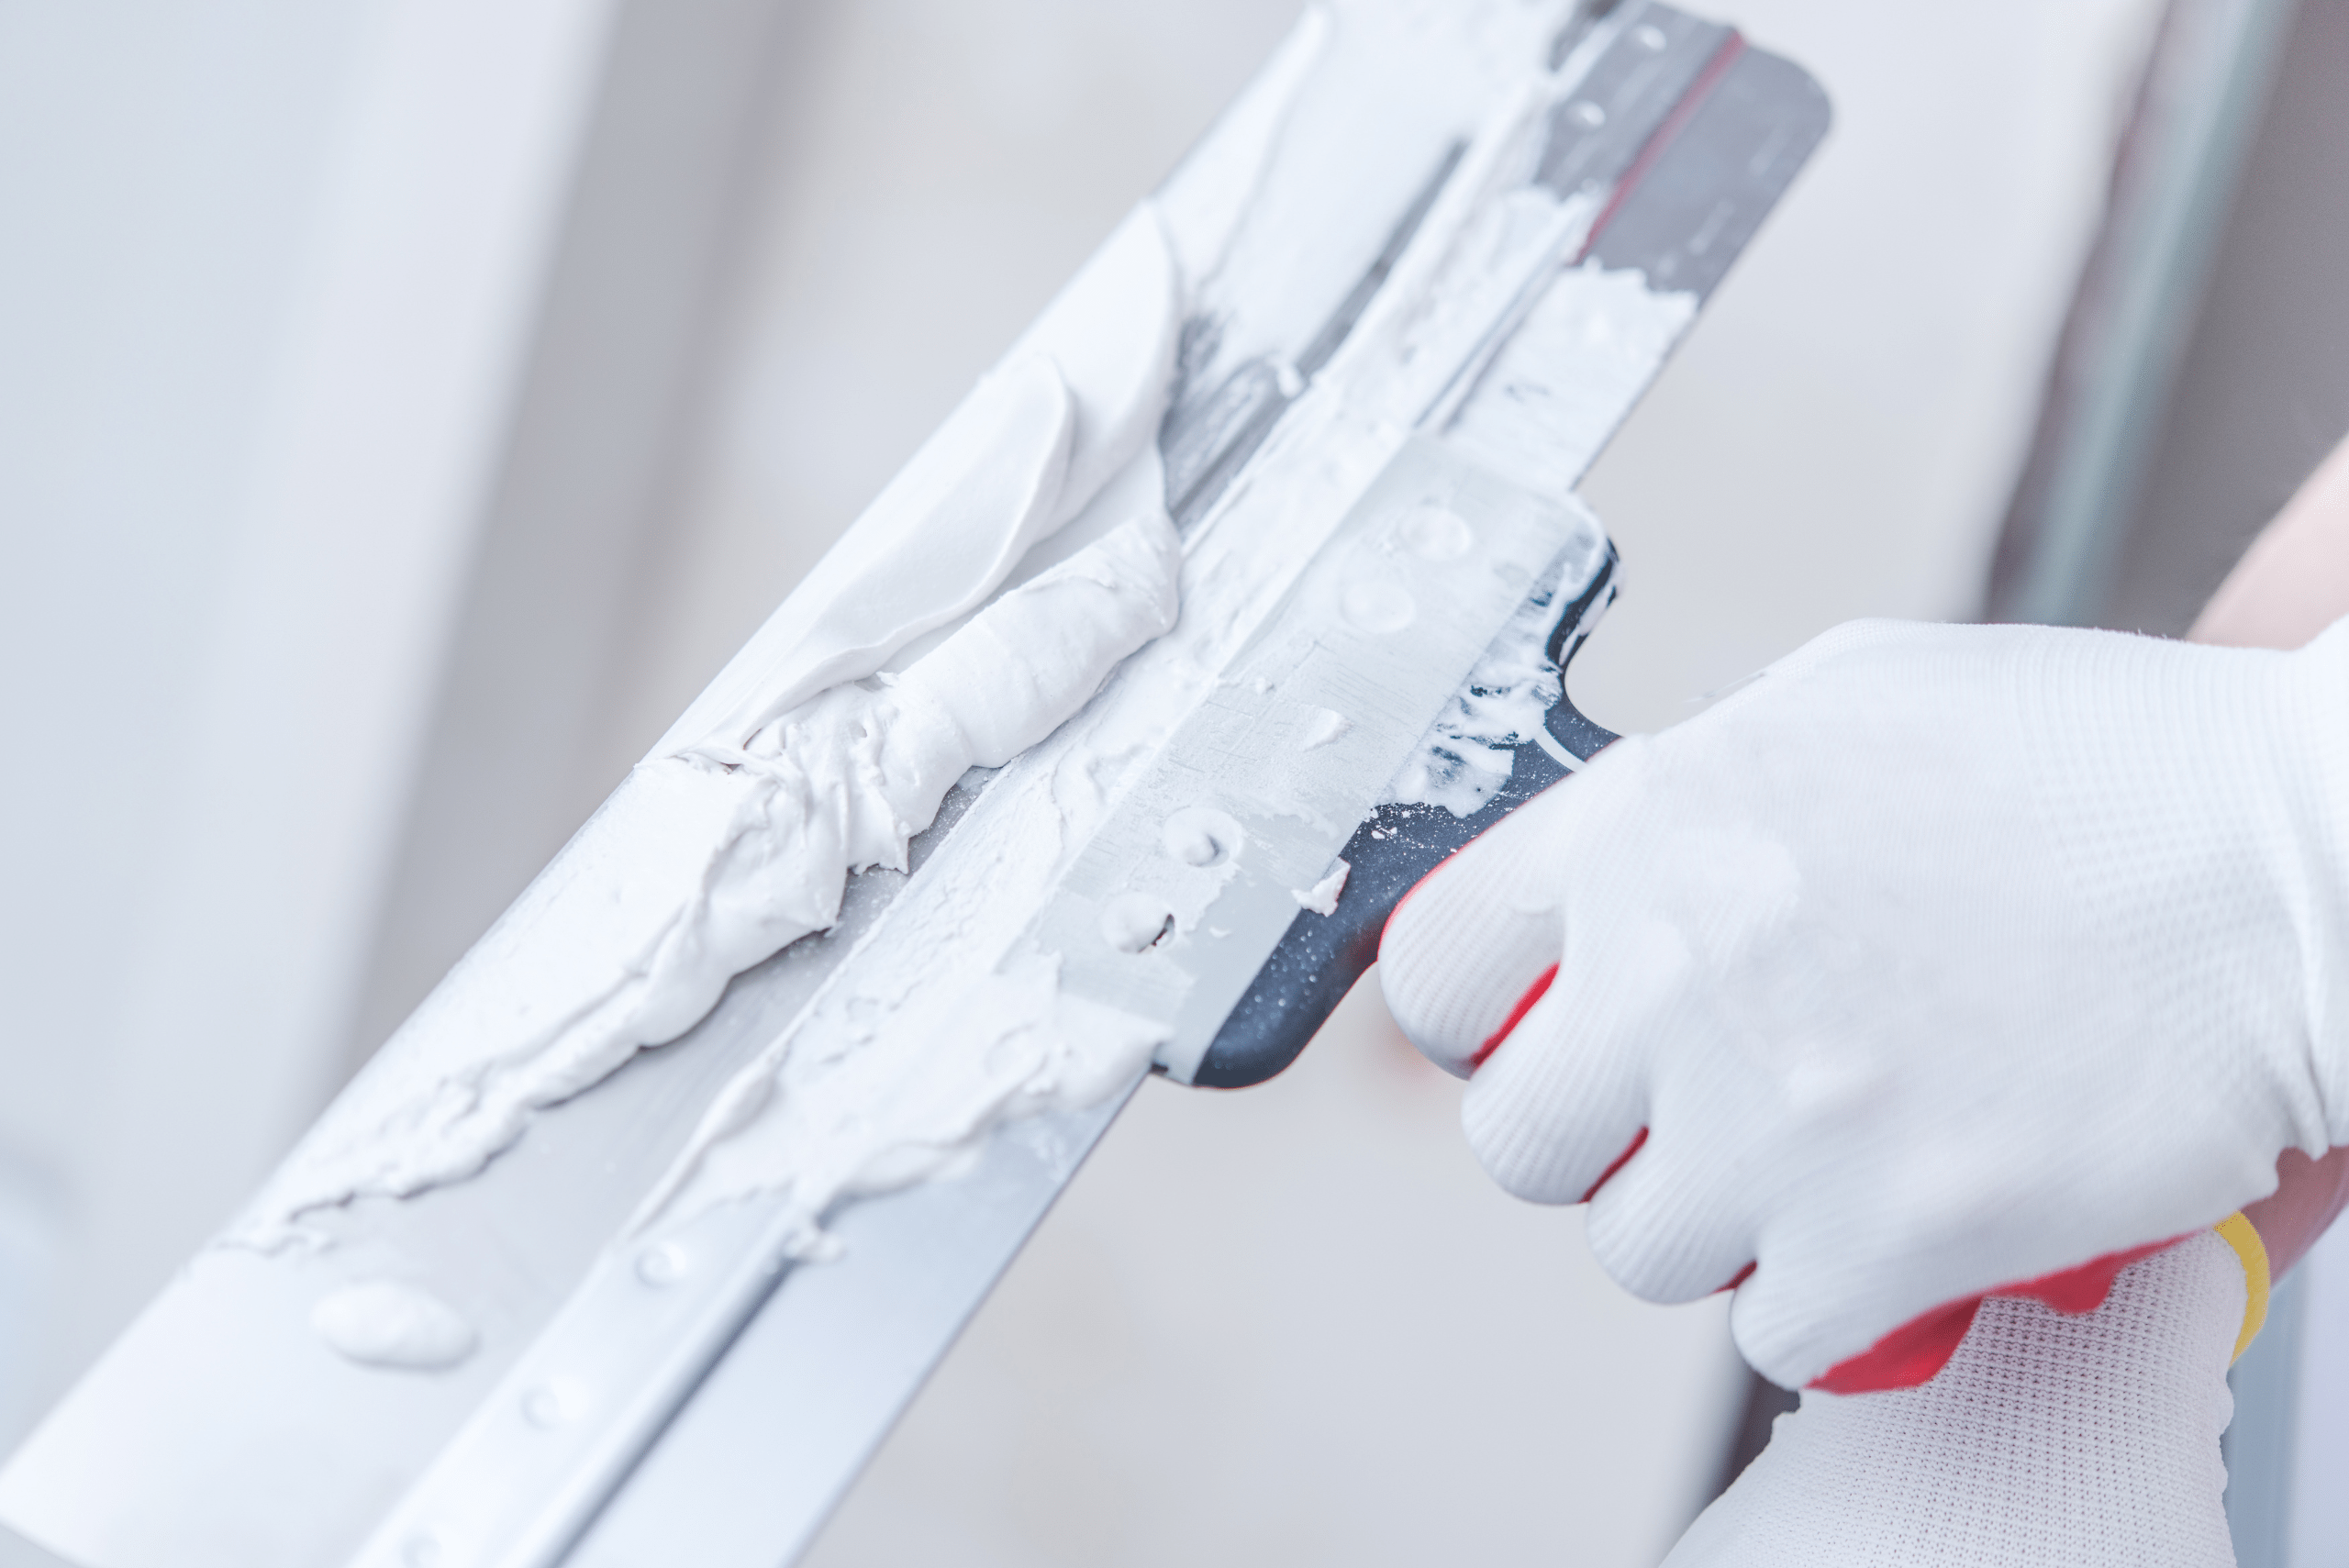
After scraping, check for underlying issues like cracks, holes, or moisture damage. Fill any gaps with spackling or wood filler, then sand the area smooth. If moisture is the problem, address leaks or ventilation issues before moving forward, otherwise, the paint will just peel again.
4. Prime for Better Adhesion
A high-quality primer is essential for ensuring your new paint adheres properly. Choose a primer suited to your surface type: stain-blocking for water damage, bonding primer for slick surfaces, or mildew-resistant for humid areas. A good primer not only improves adhesion but also helps create a uniform surface for a flawless finish.
5. Choose the Right Paint and Apply Properly
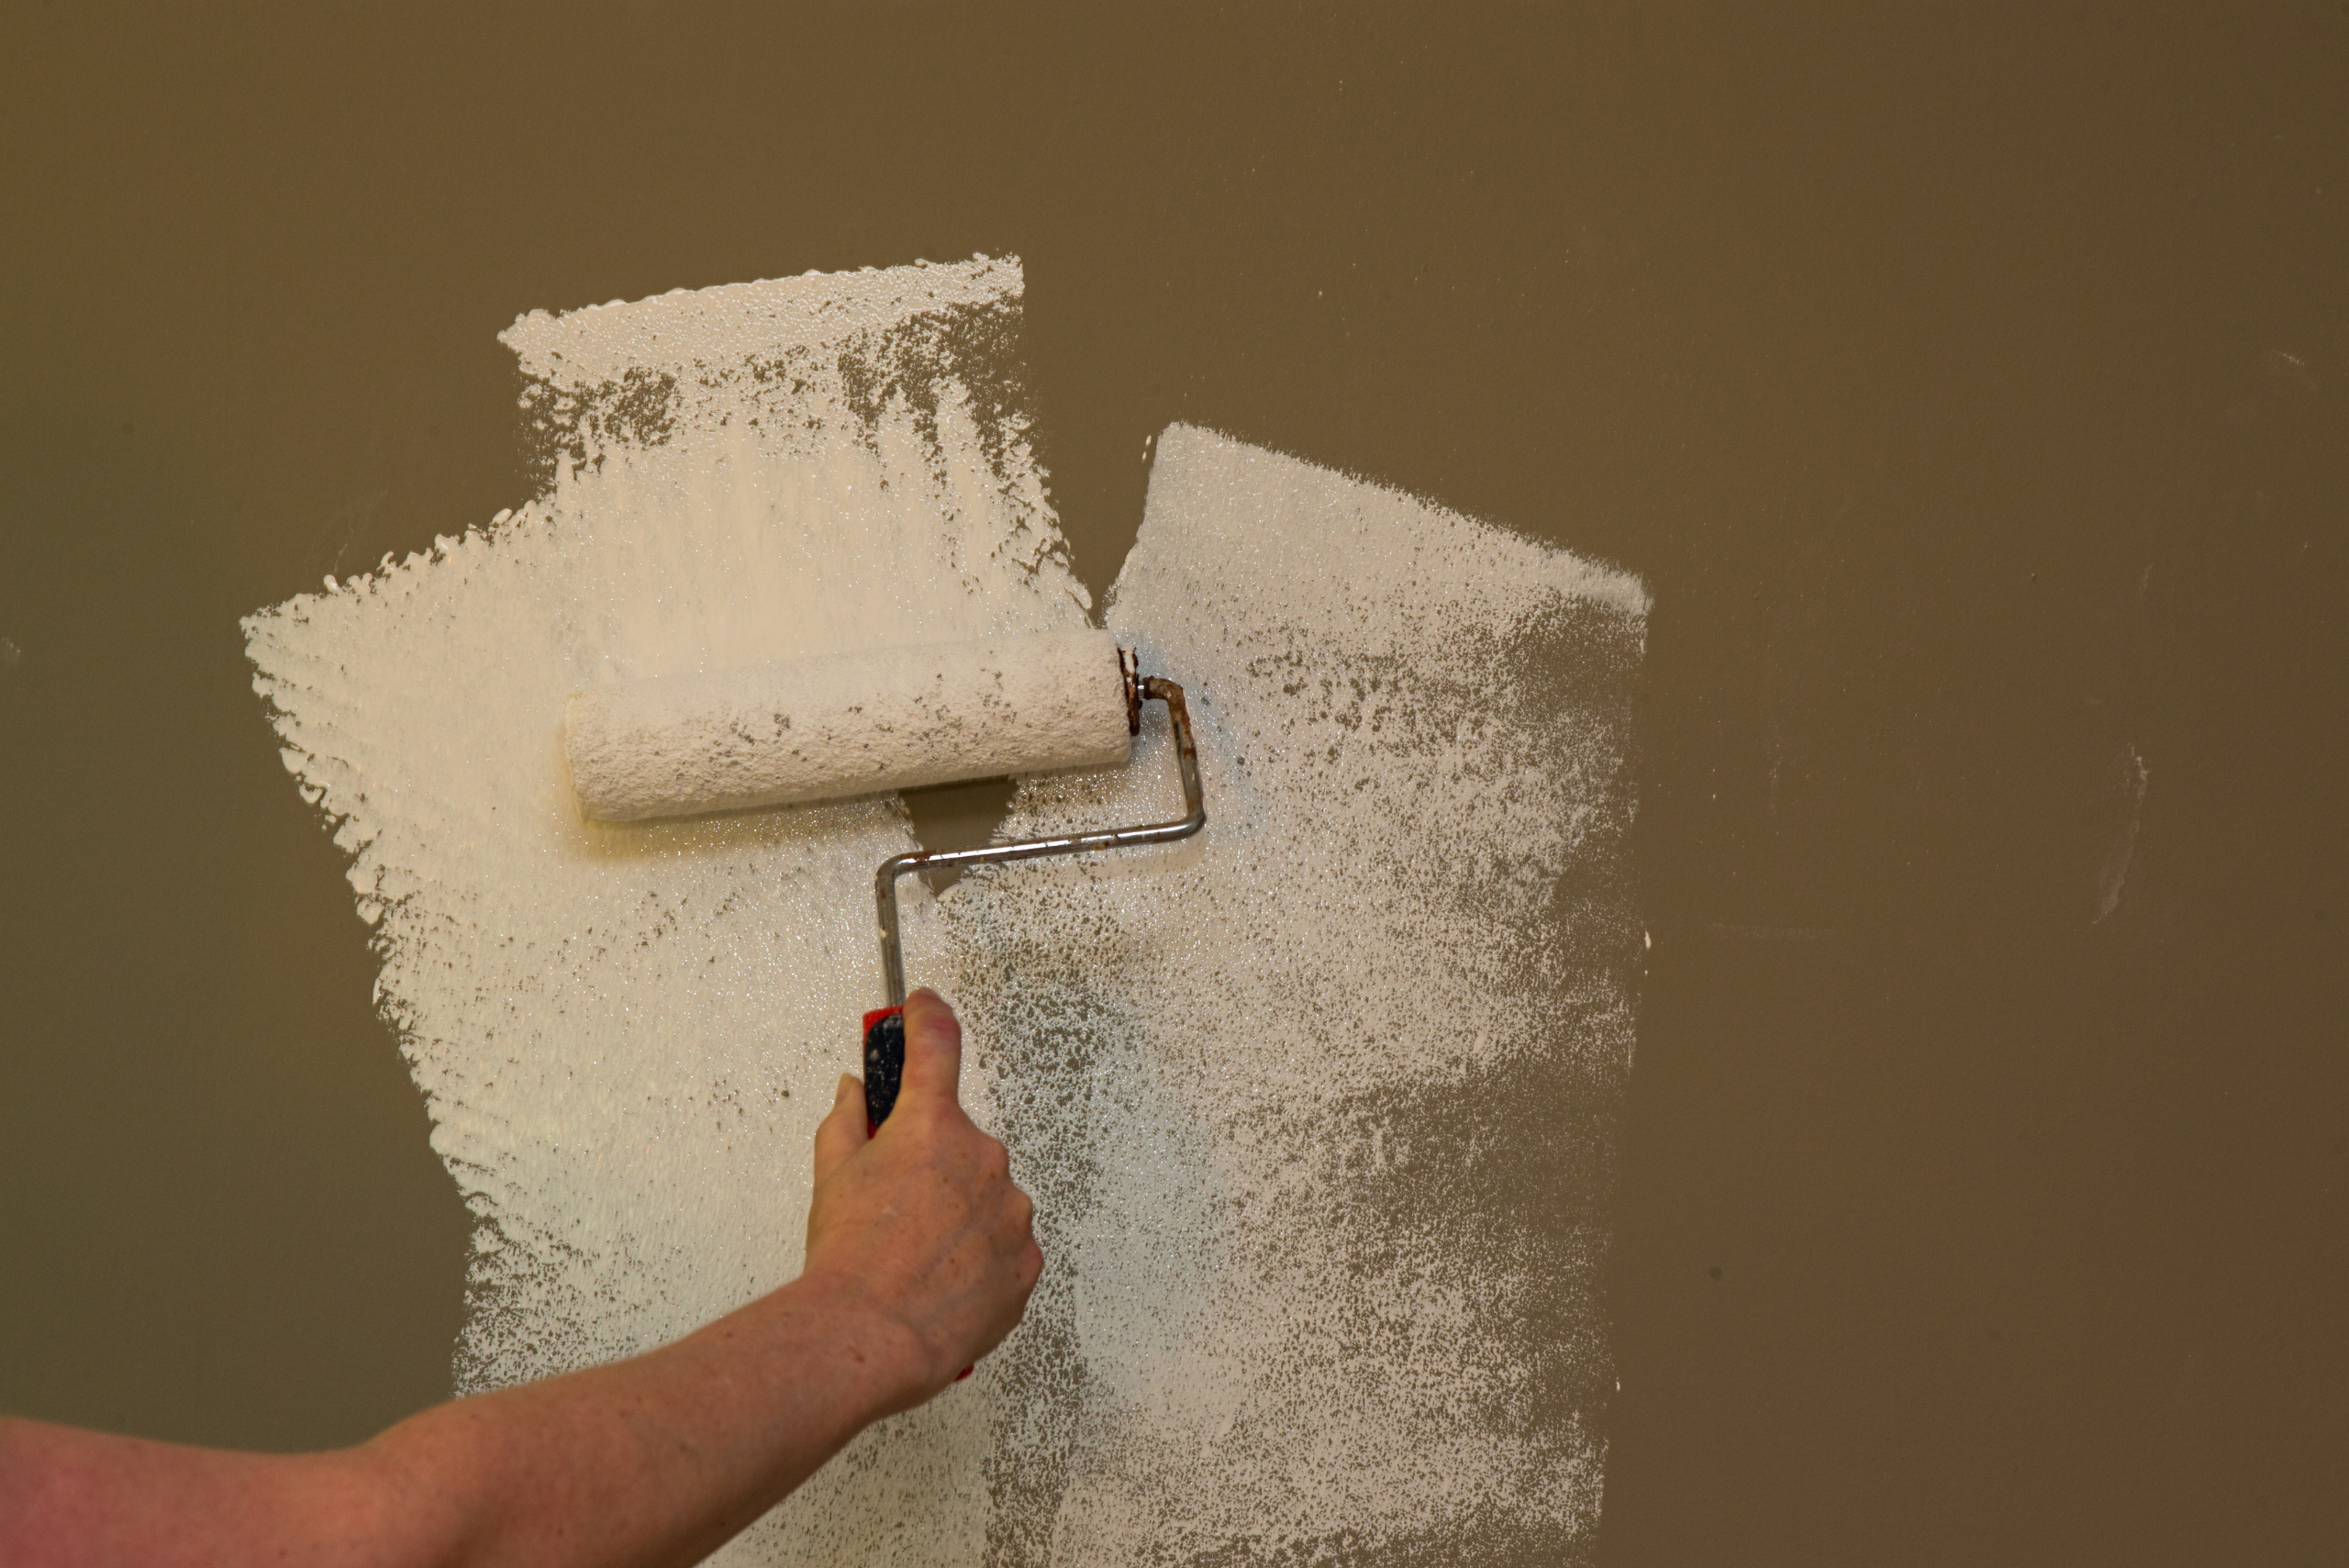
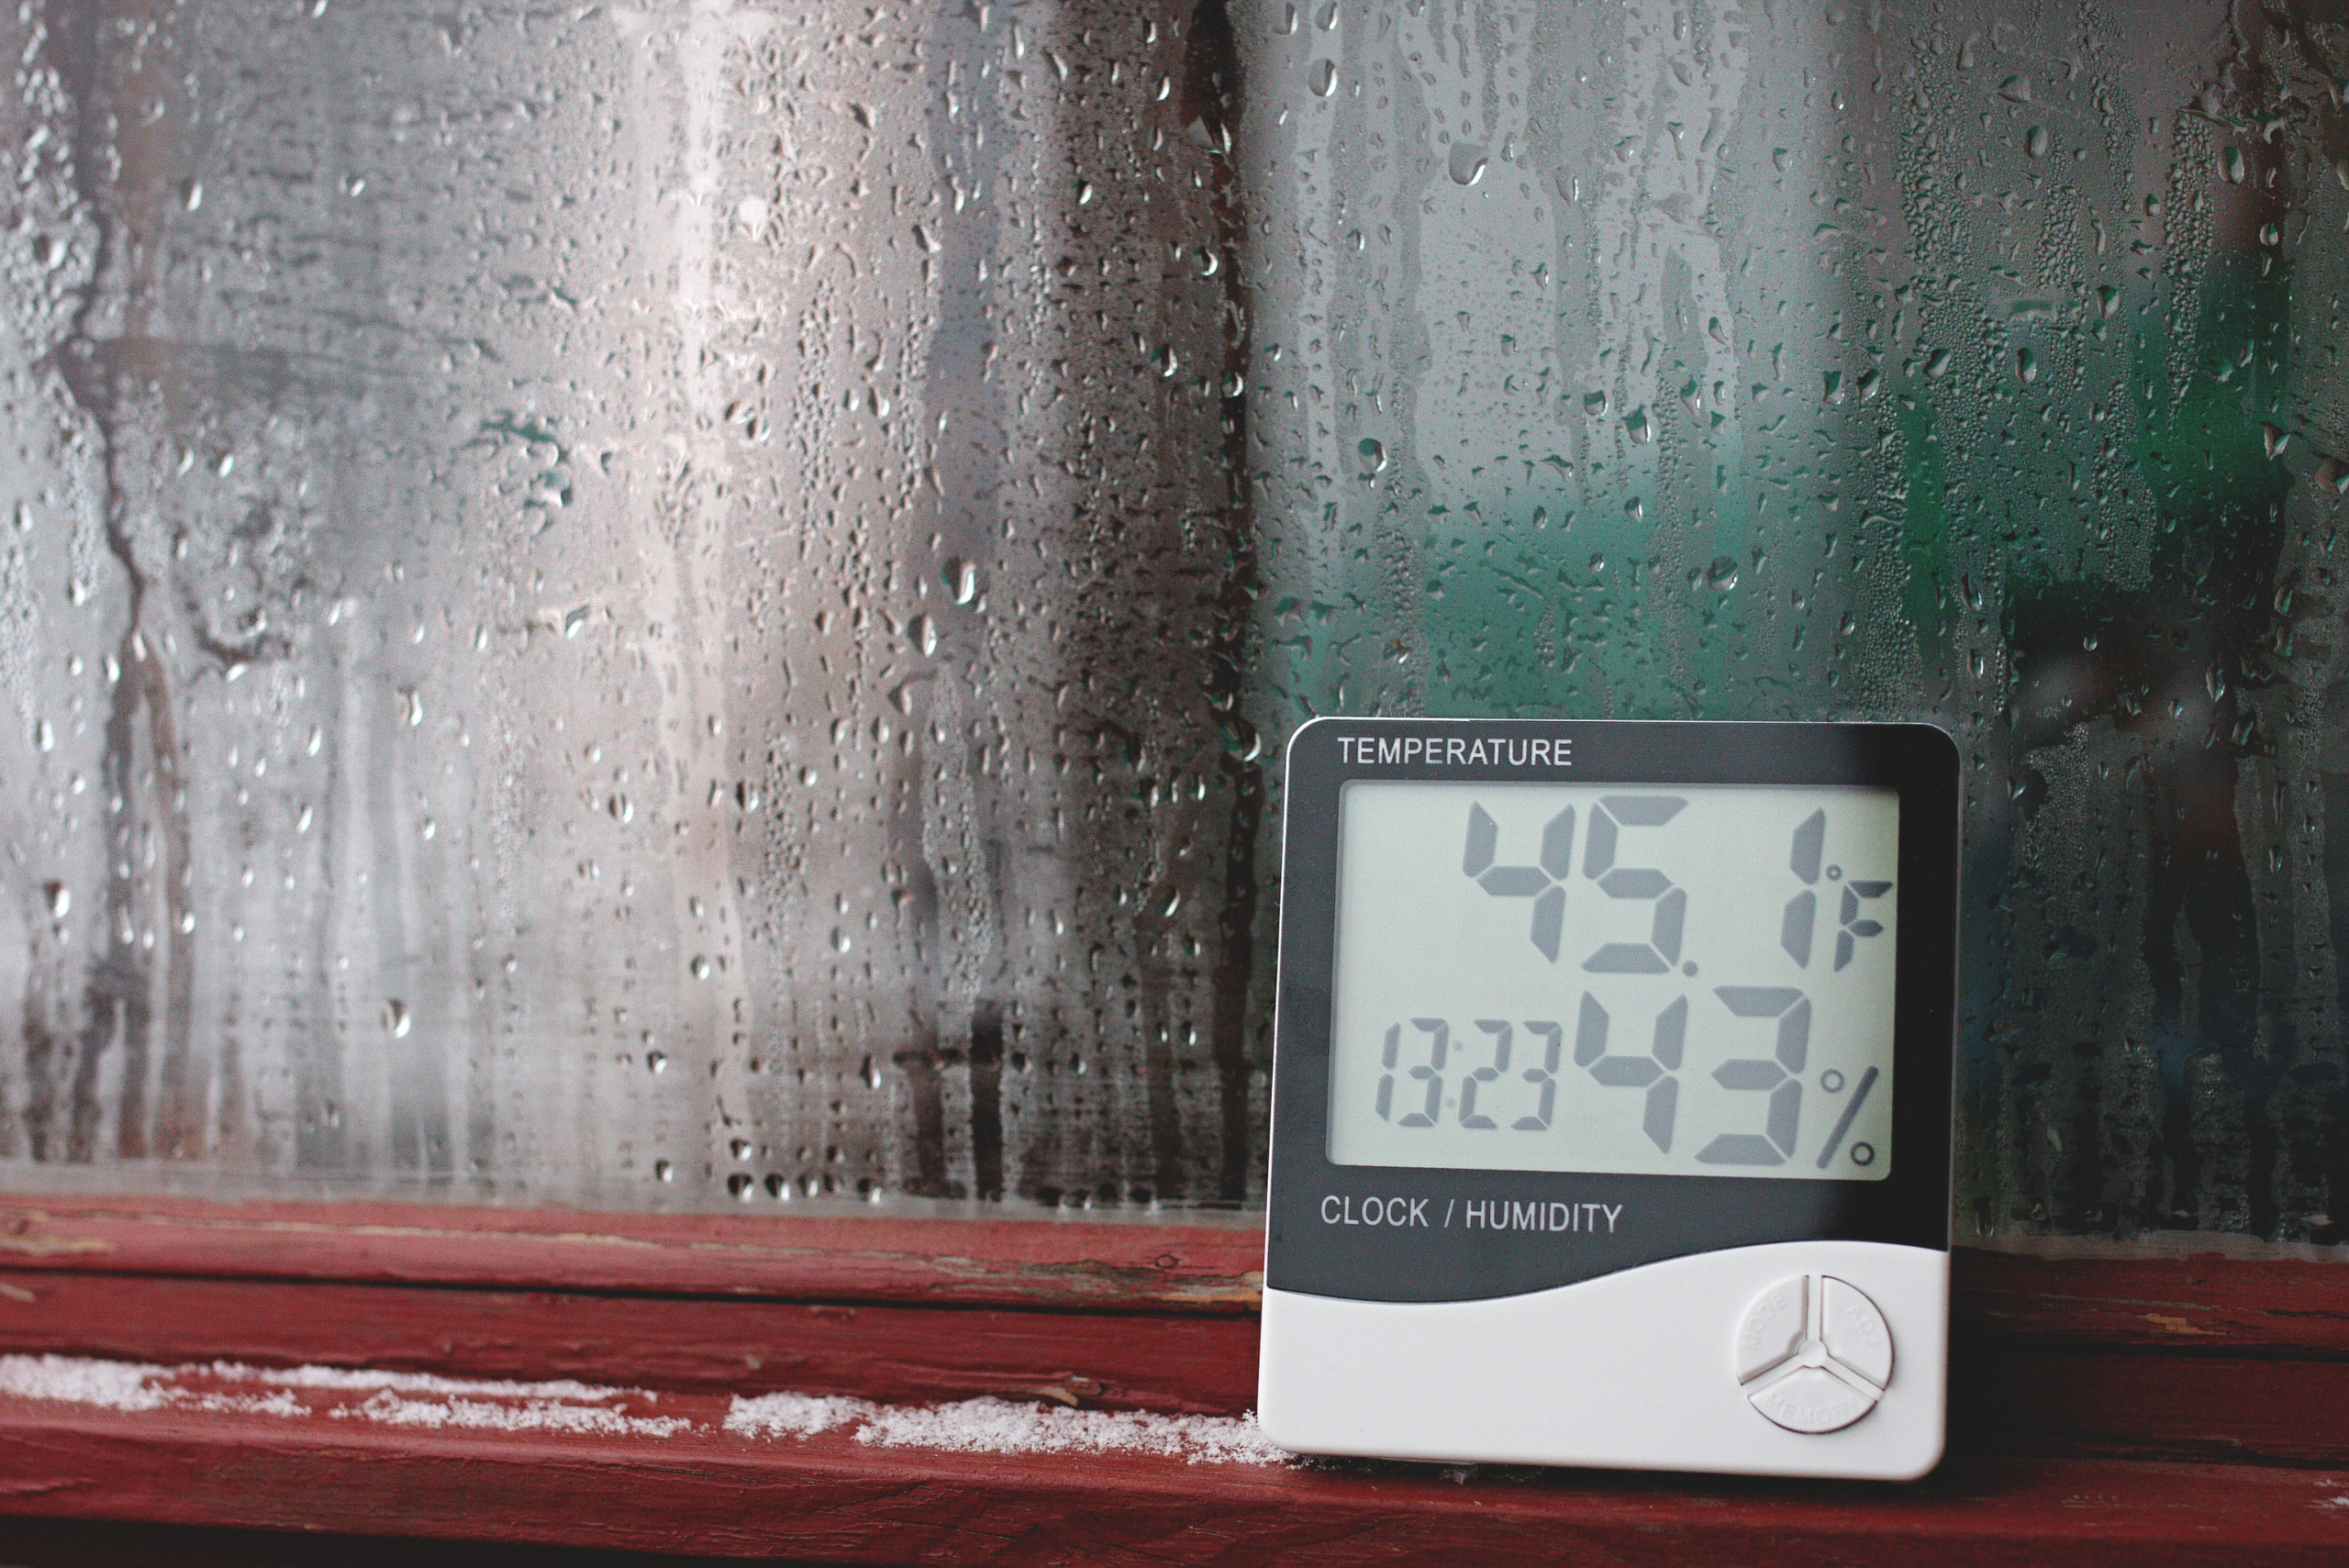
Not all paints are created equal. For high-moisture areas, opt for mold- and mildew-resistant formulas. Use high-quality latex or oil-based paint, depending on your surface type. Apply at least two coats with a brush or roller, allowing proper drying time between each layer. Painting in the right conditions, which should be low humidity and moderate temperatures, also helps prevent peeling.
6. Prevent Future Peeling
Once your fresh coat is in place, maintenance is key. Keep humidity levels in check with proper ventilation, especially in bathrooms and kitchens. Regularly inspect for leaks, and touch up paint as needed to prevent small issues from becoming bigger problems. Properly cleaning and prepping surfaces before any future paint jobs will also ensure long-lasting results.
Related Articles
- How to Remove Paint From Paint Brushes and Rollers Efficiently
- The Genius Reason For Adding Sand to Paint
- How to Unstick a Paint Lid That Won’t Open
Peeling paint doesn’t have to mean a complete overhaul. By identifying the cause, properly prepping the surface, and choosing the right materials, you can restore your walls to their former glory. With a little effort, you’ll have a smooth, durable finish that stands the test of time.


