How to Sand and Stain Wood Floors For Best Results
A cost-effective method for restoring your home’s appeal and value is sanding its wood floors and then using a stain finish for a premium appearance. You can not only give your floors a brand-new look, but you will also have the freedom to choose the finished color while repairing any imperfections along the way.
However, there are many mistakes that commonly happen when sanding and staining wood floors, making it important to get a more comprehensive idea of what to look out for when starting on your own wood floors. Prepare your wood floor refinishing project for success, and read on to get a good idea of how to get the best results.
How to Sand and Stain Wood Floors
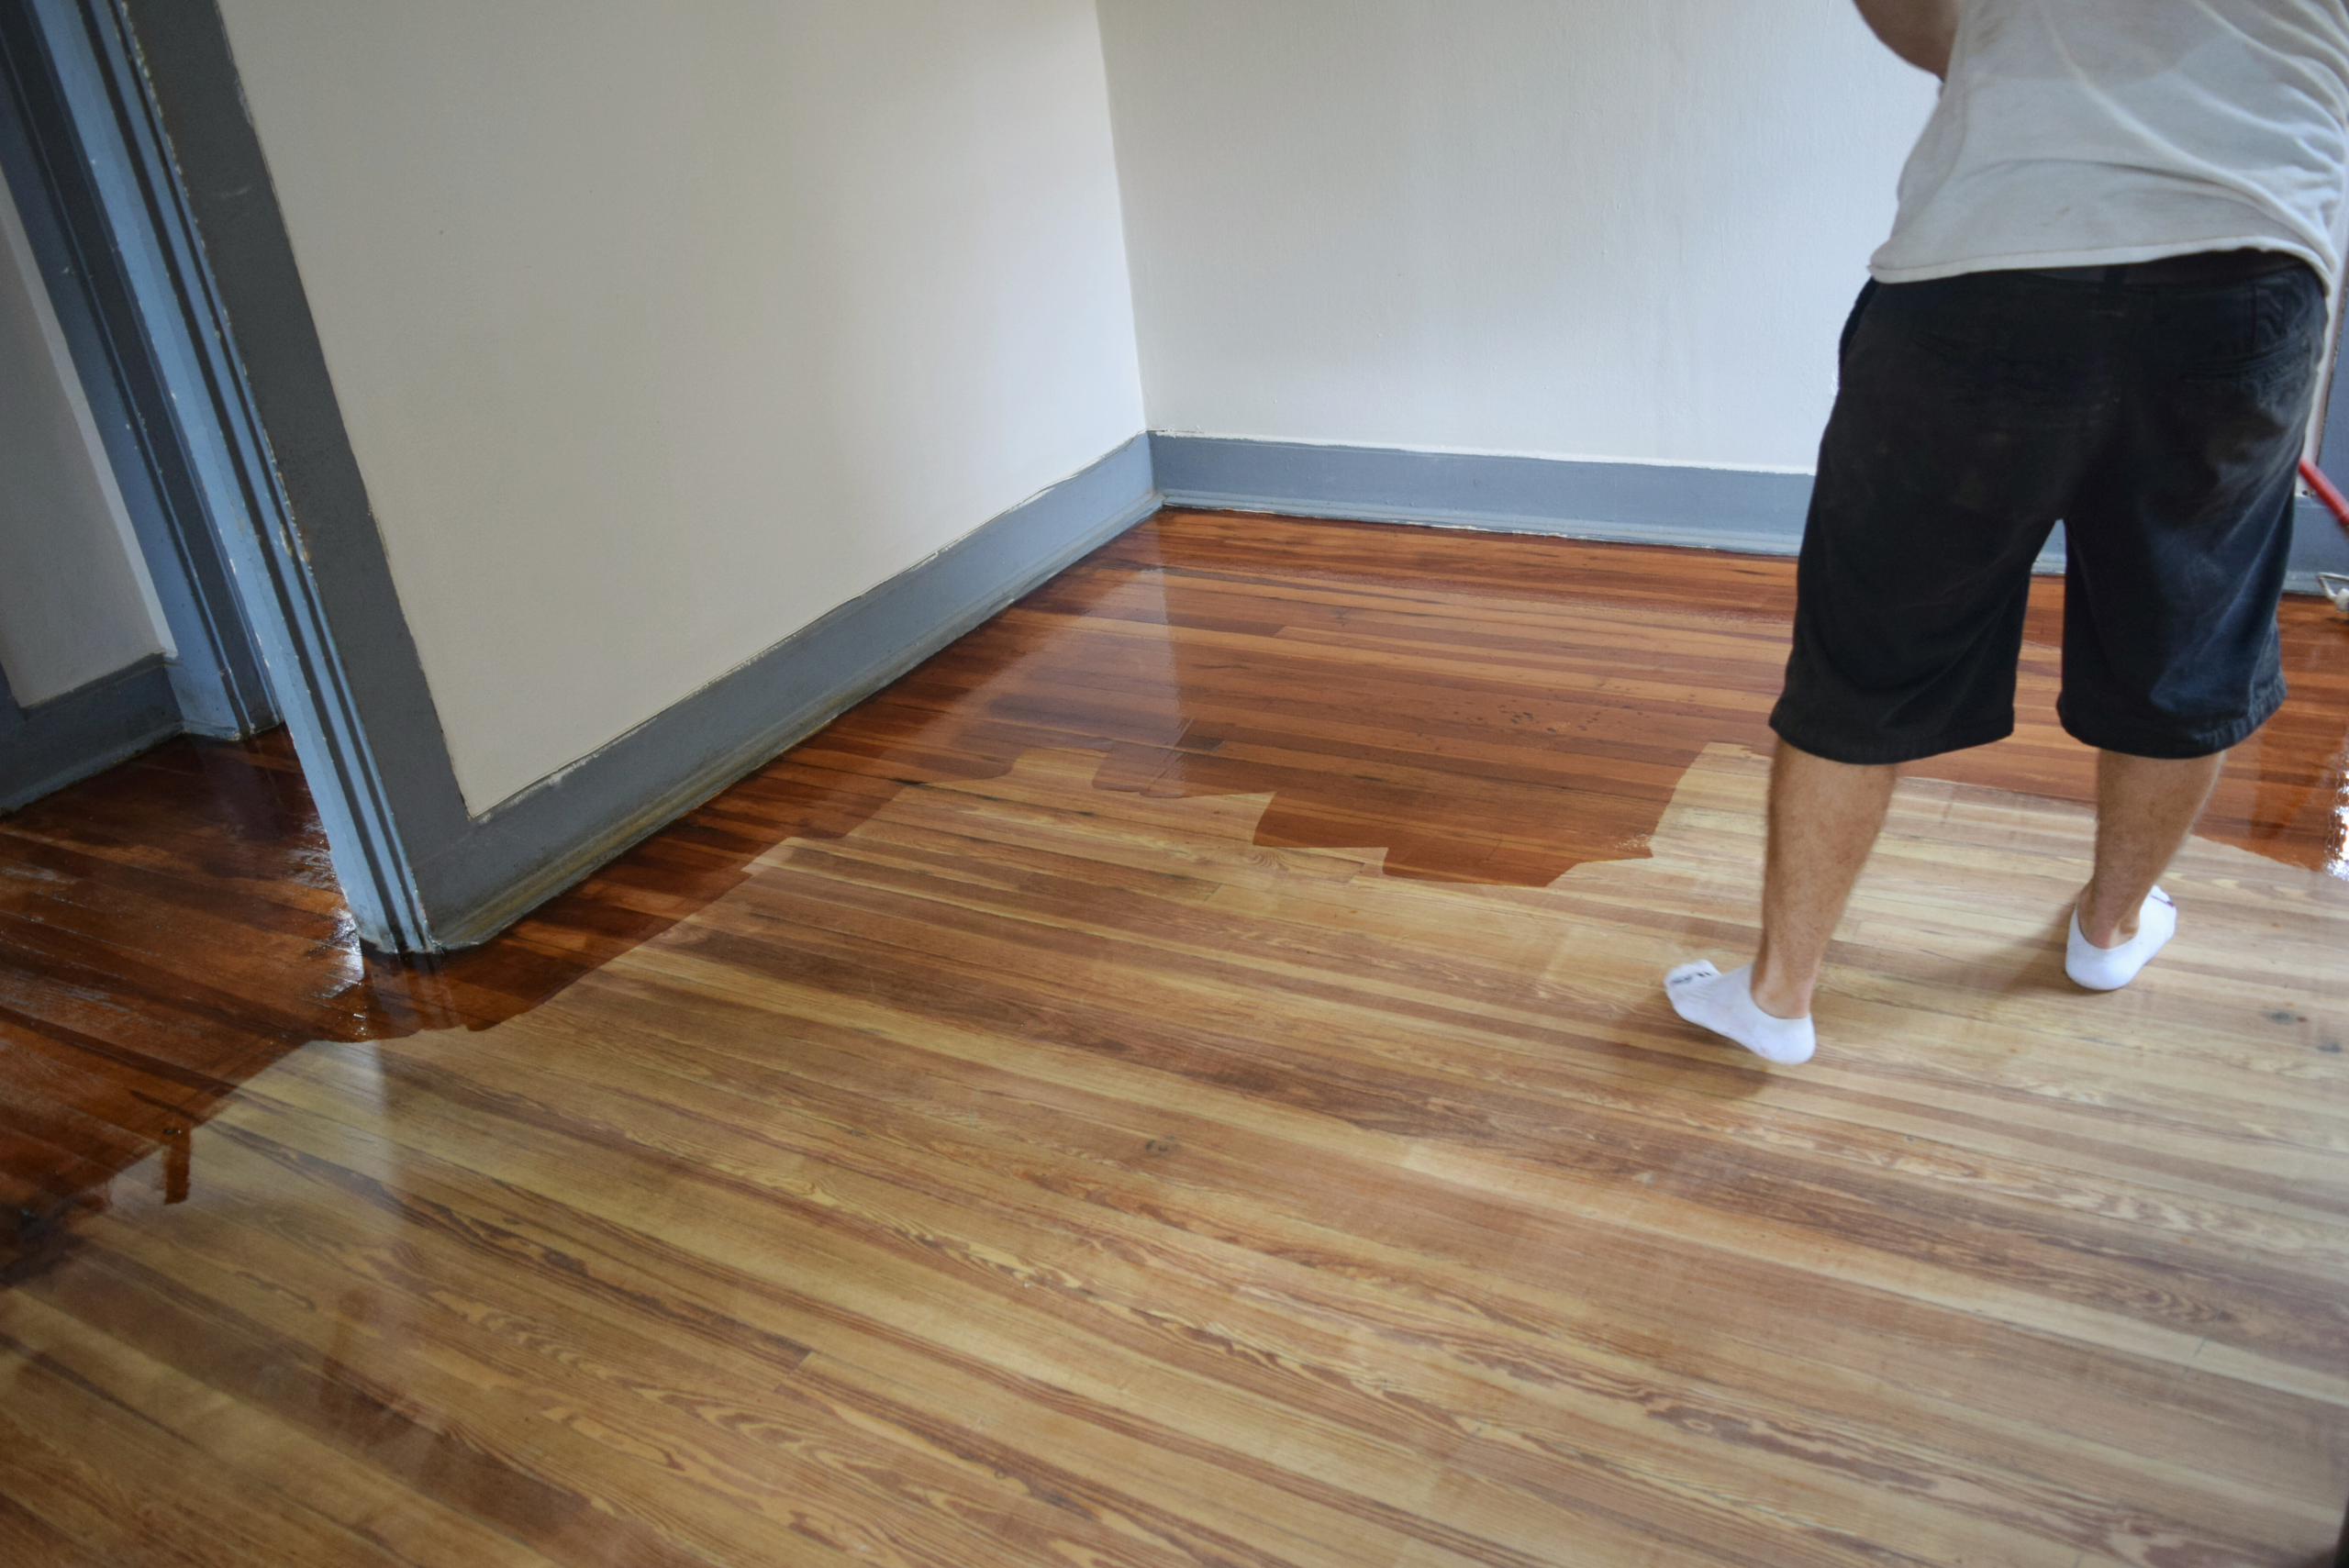
The most common solution for scratches is to sand the area in question and stain it, matching up with the color of the rest of the flooring. After all, scratches generally only happen in a small area unless you are buying an old home. In that case, it might be best to take a sander to the entire floor and stain it all.
No matter how much of the space you plan on going after, there is a method to the madness. Here is how to sand and stain your wood floors so that they can look their best, restoring a deep yet rich appearance that will surely elevate your home’s overall appeal.
1.) Prep the Room
Before you can worry about doing anything else, it is time to get the room ready for sanding and staining. Begin by getting all the furniture, rugs, and window treatments out. The dust kicked up can get everywhere if you let it.
Any vents or electrical boxes should be covered using painter’s tape in order to keep dust from getting into the electrical work and ducts. For single rooms, a plastic sheet can be used to seal the doors. If you are doing the entire property, don’t worry about that part.
Any base molding can be gently removed using a pry bar; make sure to get any quarter round as well, leaving the baseboards in place. You should use a pencil to number the molding pieces so you know where they go when re-installing them. Make sure to nail down loose boards and pull up any staples and nails that may be sticking out.
2.) Patching and Repairing
With the room properly prepared, it is time to check for any damage. Cracks or larger holes should be repaired using wood filler. If there is heavy damage done to the flooring, then a trowel filler may be the best option for getting most of the holes covered.
Lesser damage can be done using wood patch filler where necessary. Just make sure that it has the time to dry before you begin the next step. Give the floor a wipe using a damp rag so that all of the dust and dirt will be pulled up.
An alternative solution can be replacing parts of the flooring with new pieces, which sometimes can be left over from the original installation. However, you might also be lucky enough to find a source that stocks identical wood flooring to yours, which can save time but might cost more than scratch repairs.
3.) Time to Sand
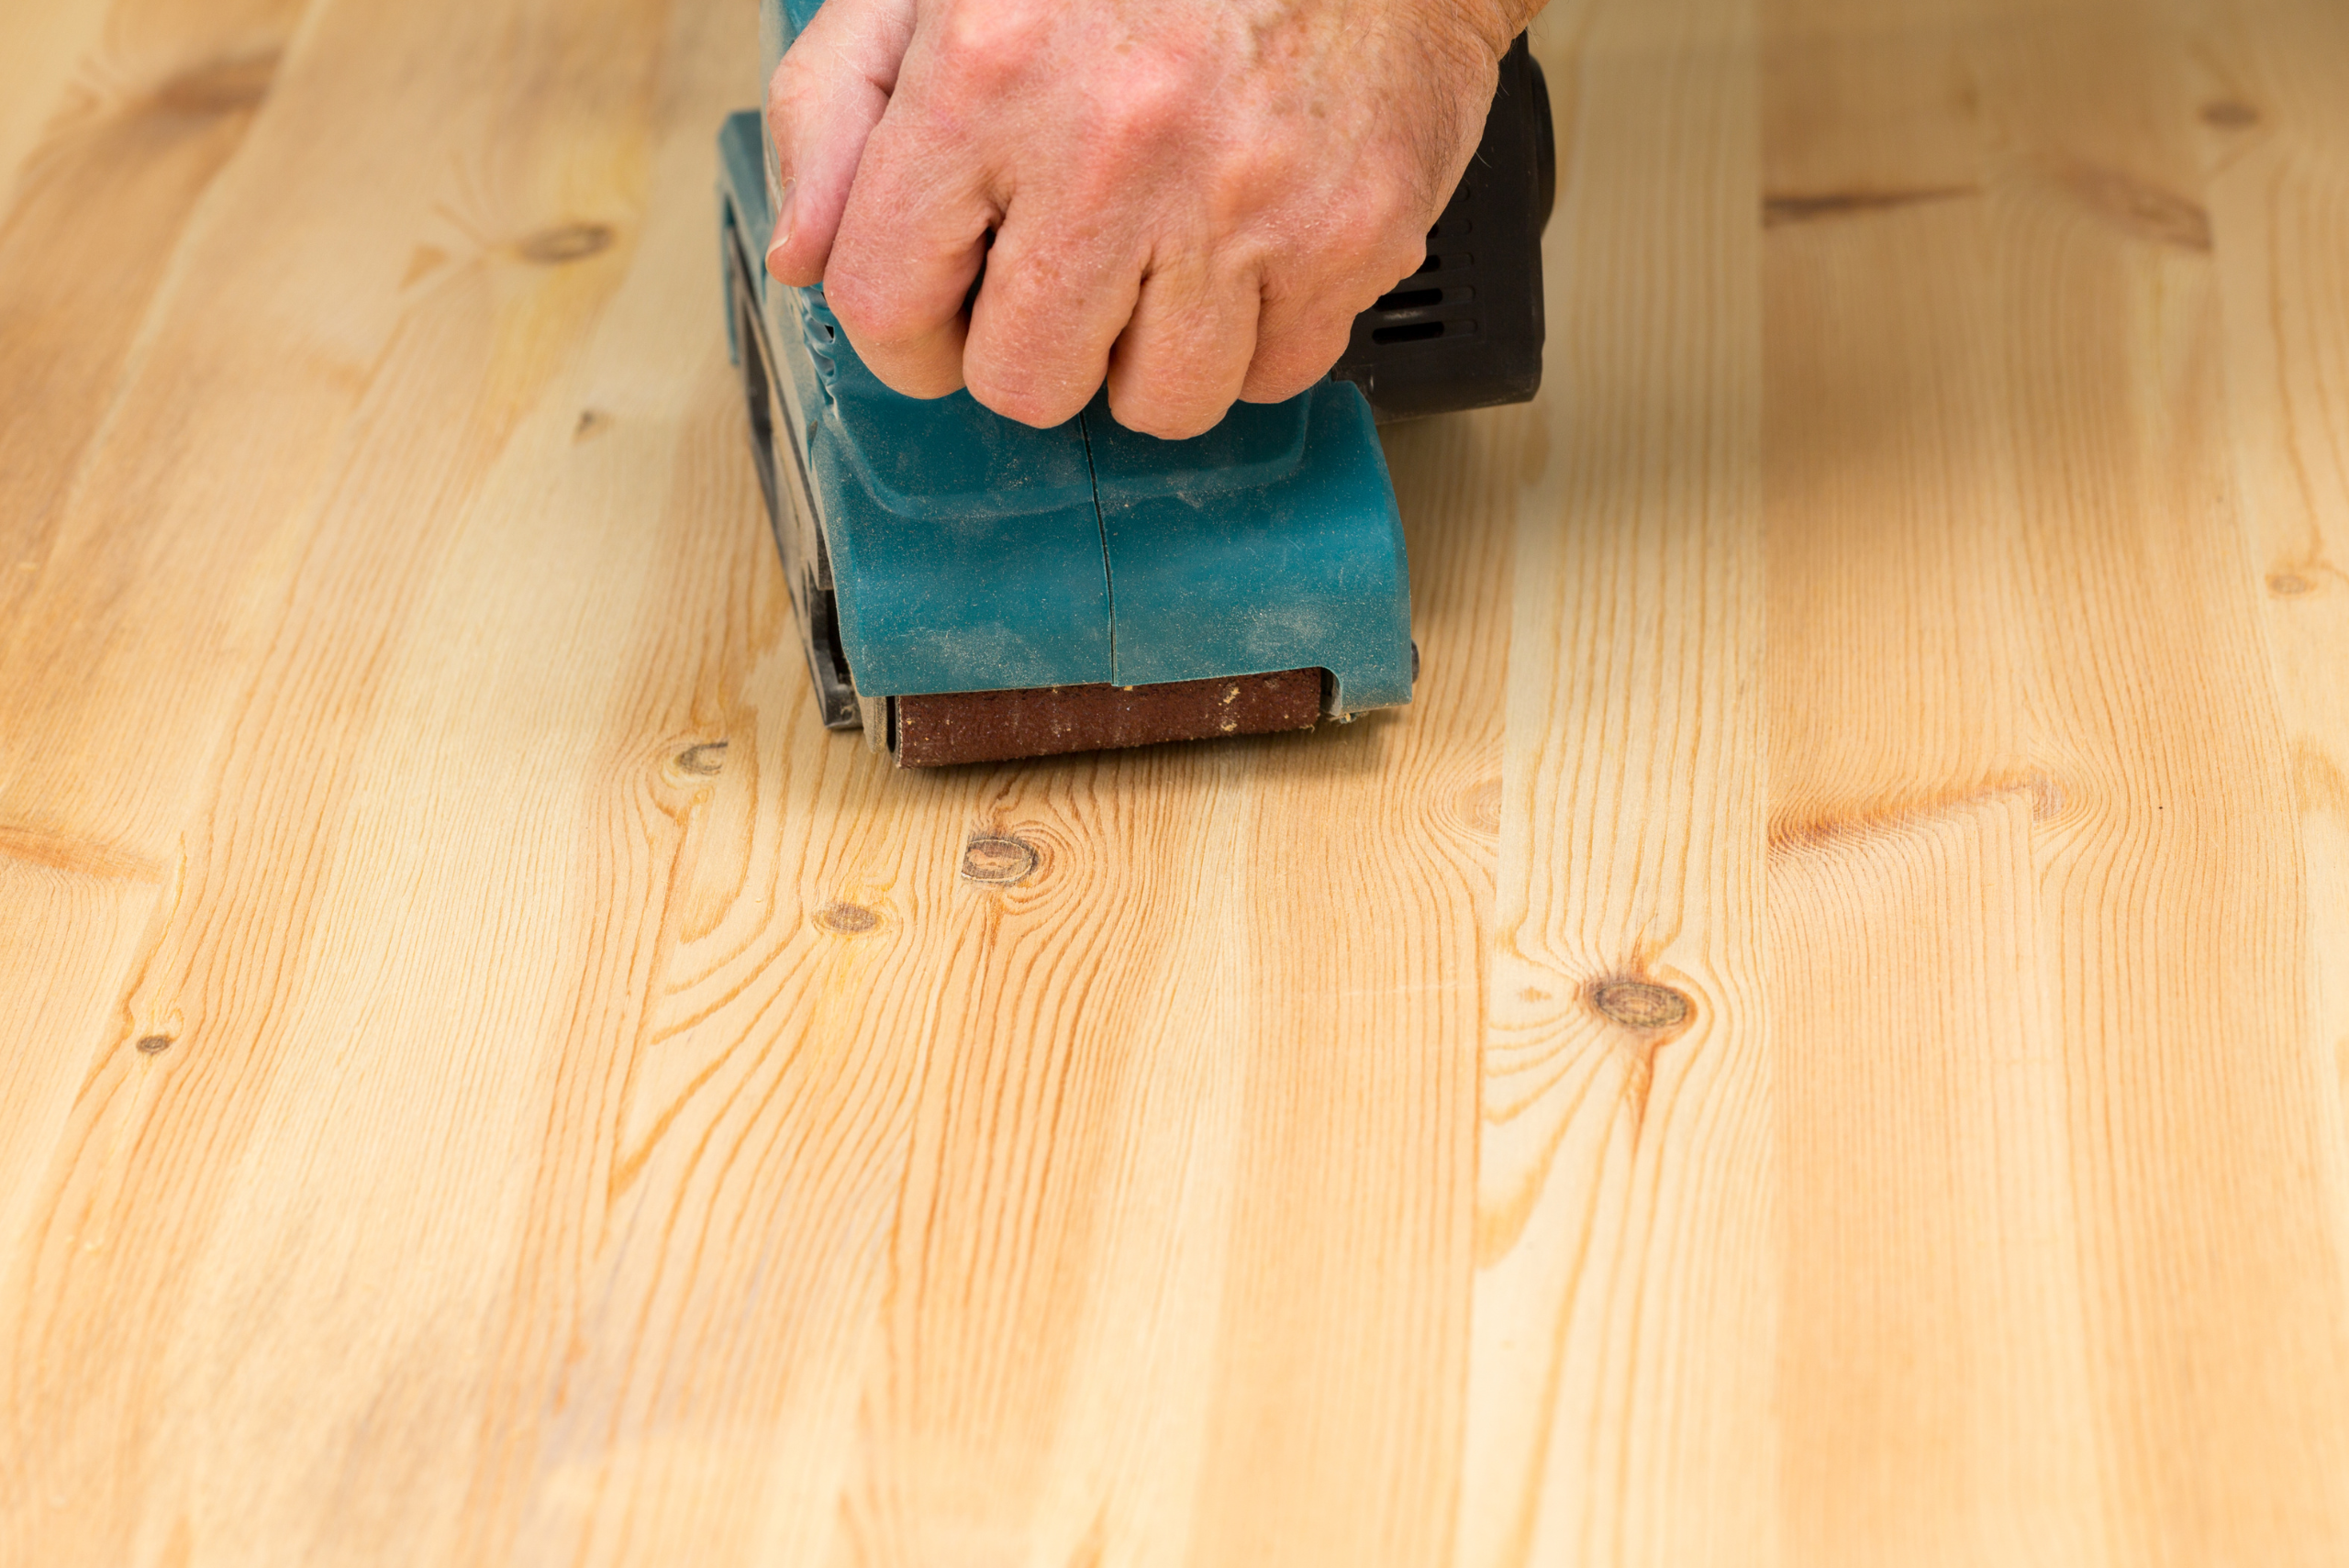
It is time for the most labor-intensive portion of the project. For very small areas, you can get away with handheld sanders or even sandpaper. But for larger areas, a drum sander will be necessary to get the job done. That said, a drum sander can present real challenges when it comes to control, so make sure to ask for a quick tutorial and maybe a few pointers when renting it. Practice on a big sheet of plywood until you feel like you have the hang of how to use it.
Start slowly, moving forward in slow, deliberate strokes. Using 40-grit sandpaper, you can remove a lot of dings, scratches, and the old finish in no time. The goal is to rough the space up so that all of those blemishes are totally removed. Move with the grain of the wood, keeping your sanding into sections of about 3 or 4 feet. Move at a steady, slow pace, and do not stop. Stopping can lead to permanent marks that can’t really be changed. Make sure that you overlap your rows by one board and keep track of your space.
Every 20 square feet or so, change out your piece of sandpaper. Keep checking regularly, changing out the sandpaper as needed. Also, make sure to empty the dust bag to keep dust and dirt from kicking back into the air. When you get to the edge of the room, a drum sander will be too big to manage. Just make sure that you use the same grit of sandpaper all the way up to the wall; continue going until the floor is totally and completely uniform. Going once will not be enough. Repeat the process, using the same movements, again using 60-grit, 80-grit, and 120-grit paper.
4.) Buff it Out
When you have finished sanding, grab a shop vac to thoroughly vacuum up all the dust and wipe everything down completely. Finally, go over everything with fine-grit sandpaper to get the kind of finish you want, making it ready for buffing. With the heaviest of the work behind you, it is time to work towards the finishing steps.
Buffing is meant to get rid of some of the smaller sanding marks that can appear as you sand down the entirety of the floor. It is also what creates the smooth finish that you will see when all is said and done. Some tend to go with an industrial floor buffer, but a pole sander can make for a great option as well.
The pole sander can wind up taking a bit more time, but it is easier to control than the industrial floor buffer, not to mention a lot more affordable as well. It is recommended that you use a 120-grit sanding screen here, buffing along every single board and moving back and forth while going with the grain to create the most optimal buffing experience.
5.) Preparing for Sealing
Make sure that the floor and room at large are totally clean. Any small debris, be it hair, dust, etc., can have a drastic impact on the finish of the floor. Give the walls a wipe as well; you don’t want to clean everything just for contaminants to fall to the floor.
When you are ready to stain, you need it to penetrate into the wood. Spray down a mixture of one part denatured alcohol and two parts water. This helps the wood grains rise up, accepting the stain more effectively.
You should also consider reading the label of the stain and/or sealing product that you are going to use and following the steps for preparing the floor. Don’t start the staining process unless you have the floor prepared correctly since the final result will heavily depend on your preparation of the wood floor.
6.) Stain and Seal
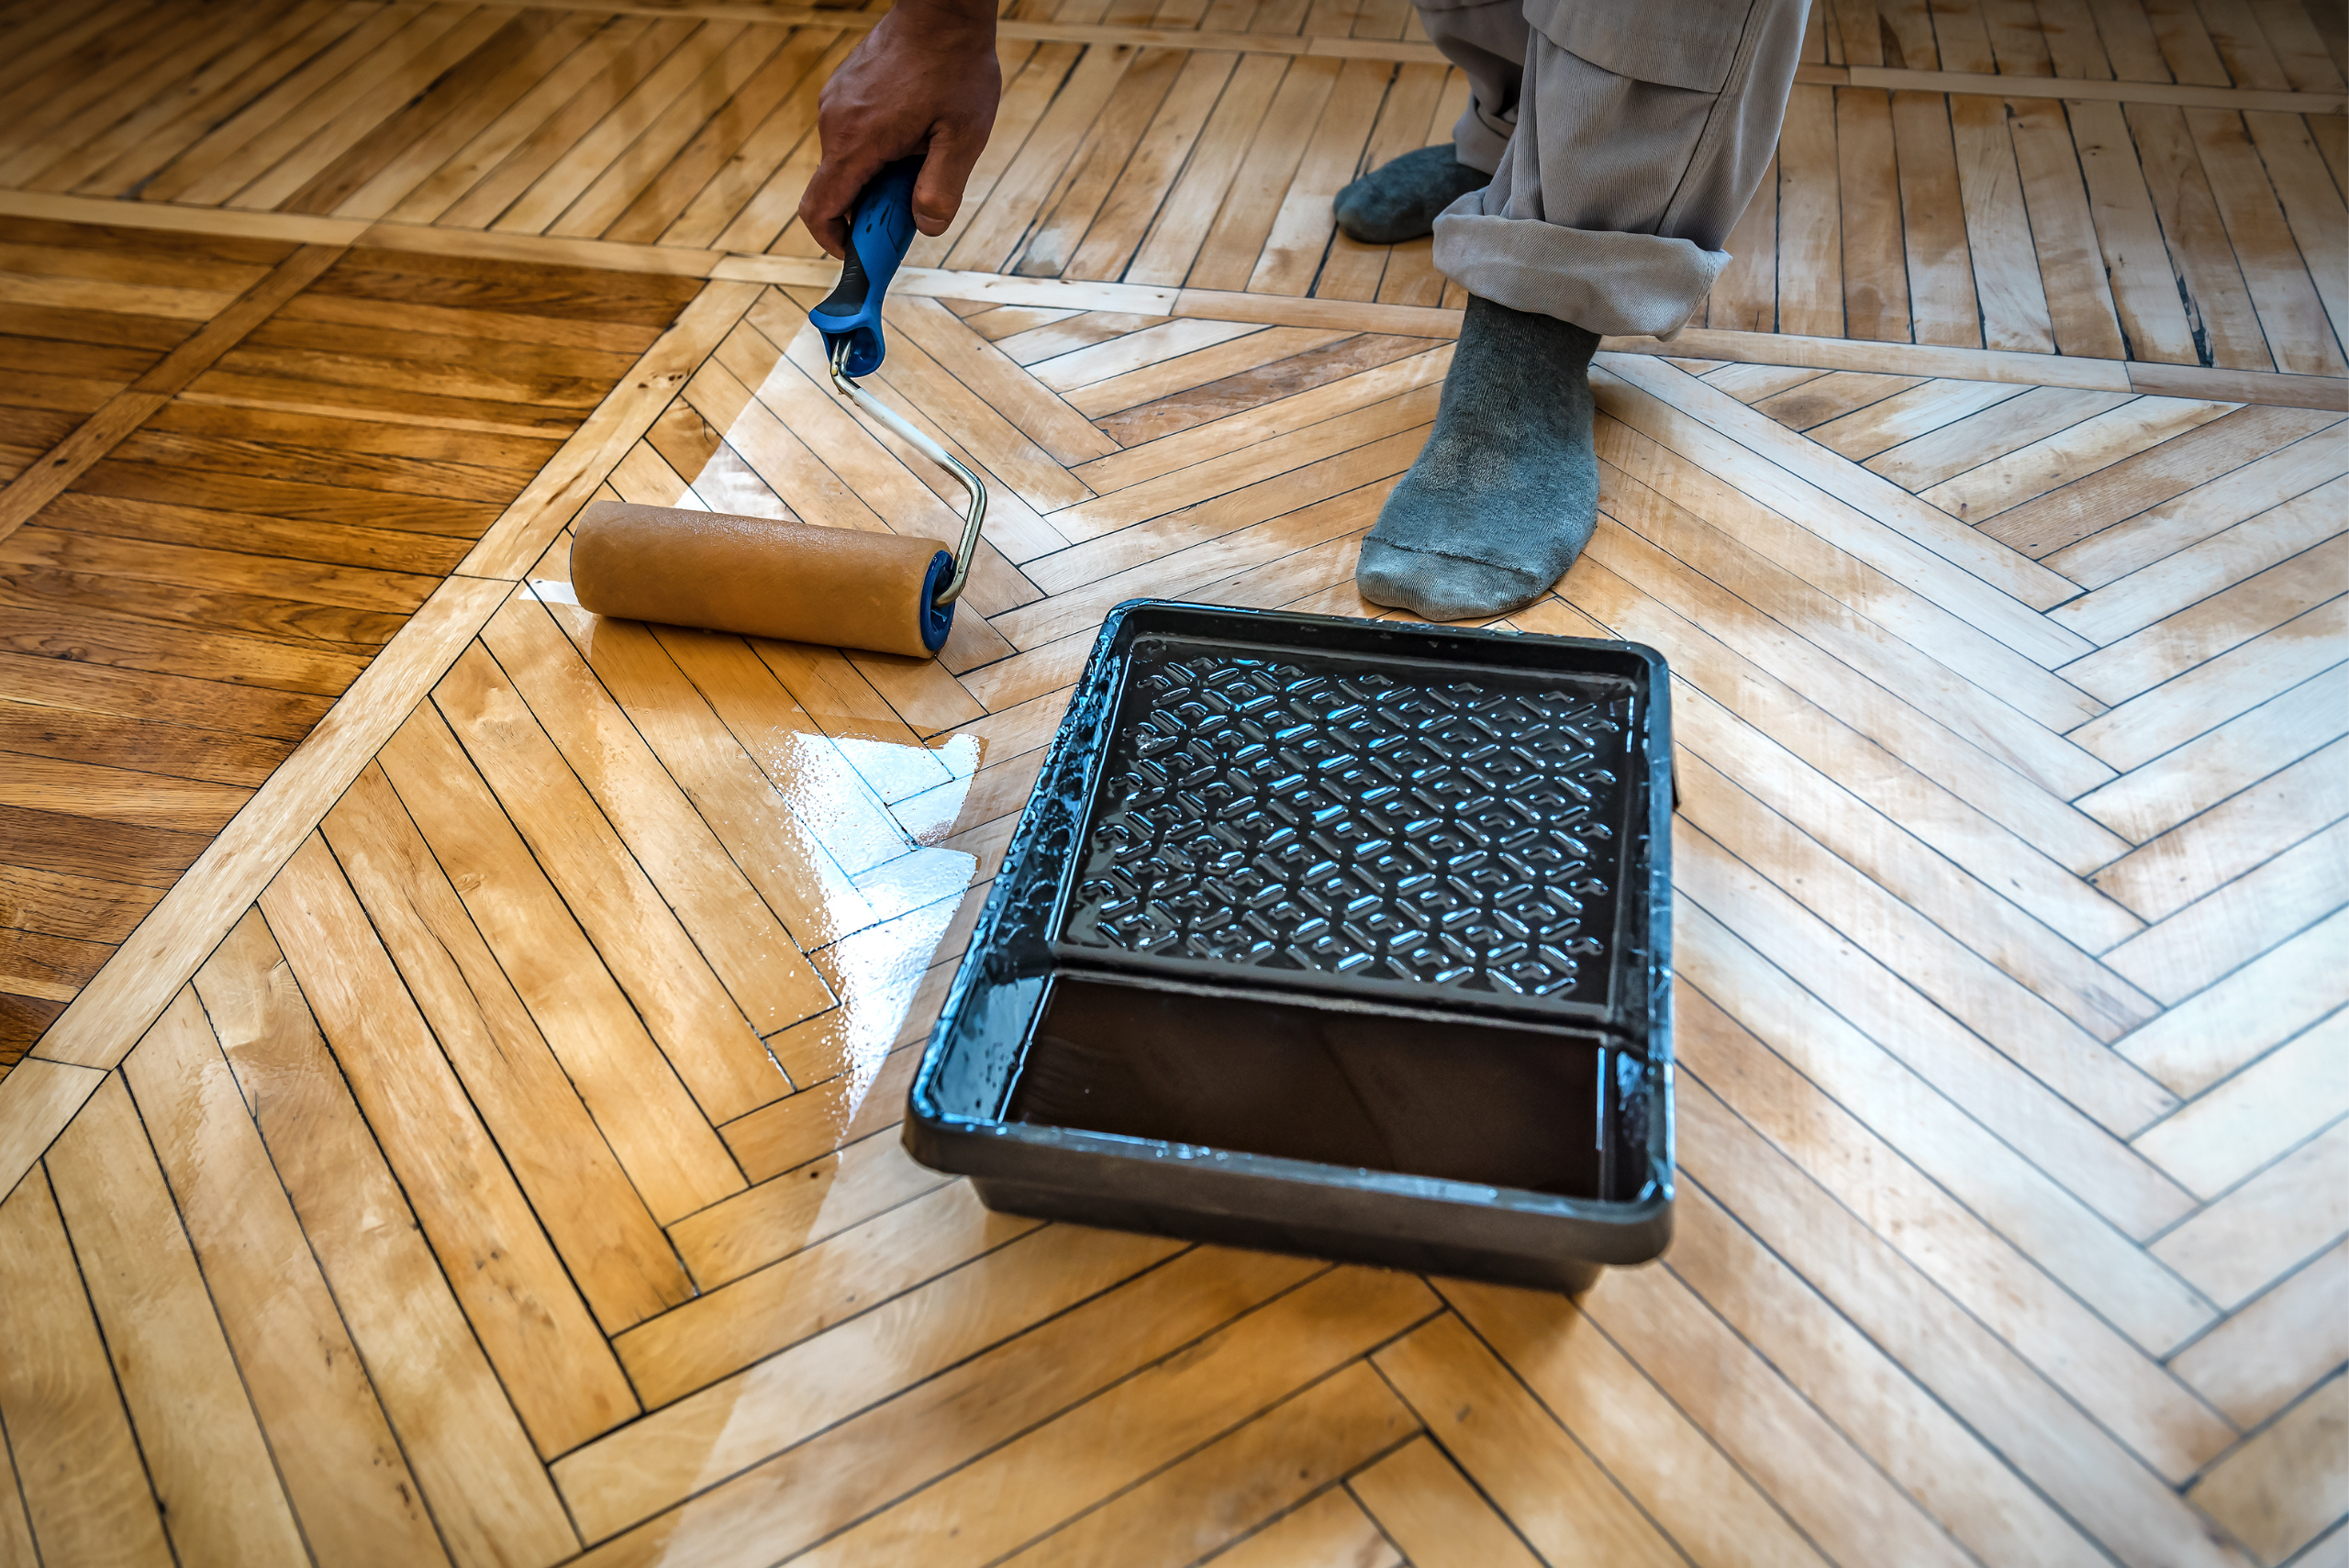
Staining the floor is optional. It all comes down to what color you want the floor to be in the end. If you are only doing repair work, matching the stain can wind up being difficult to mimic since there are many options available that will have varying results once dry.
The most important part that you shouldn’t skip is sealing your floor. Whether you have stained or not, sealing the floor is what protects it from future dings, scratches, and water damage, providing a certain shine that can really accentuate the beauty of the wood.
To ensure the best results, you should do your research to get a good idea of which products are the most suitable, giving you the desired look once finished and dry. The best option for most types of wood is a polyurethane sealer, which is available in both oil- and water-based products. It doesn’t soak in, providing a layer of protection from scratches and water alike with minimal upkeep.

