How to Properly Clean Leather Car Seats
When it comes to our vehicles, there are certain factors that can take the visual appeal to another level. Leather seats are one of those factors. When comparing leather seats versus fabric seats, there really is no comparison.
But when those leather seats become dirty, they require a special touch to get clean. So, how do you clean leather car seats? After vacuuming up the loose dirt and debris, do a wipe down to remove any residue that may be leftover and apply some conditioner to properly treat the leather.
The Caveat About Leather Seats

Leather seats definitely look better visually than fabrics seats do. There really is no question about that. But they also require a good bit more work than fabric seats. With leather seats, you want to keep them looking their best.
The good news is that you can keep your seats clean with relative ease. Just be sure that you don’t neglect them. When that happens, dirt and dust can become common enemies. In a worst-case scenario, your leather seats can even start to harden and crack.
How to Clean Leather Car Seats
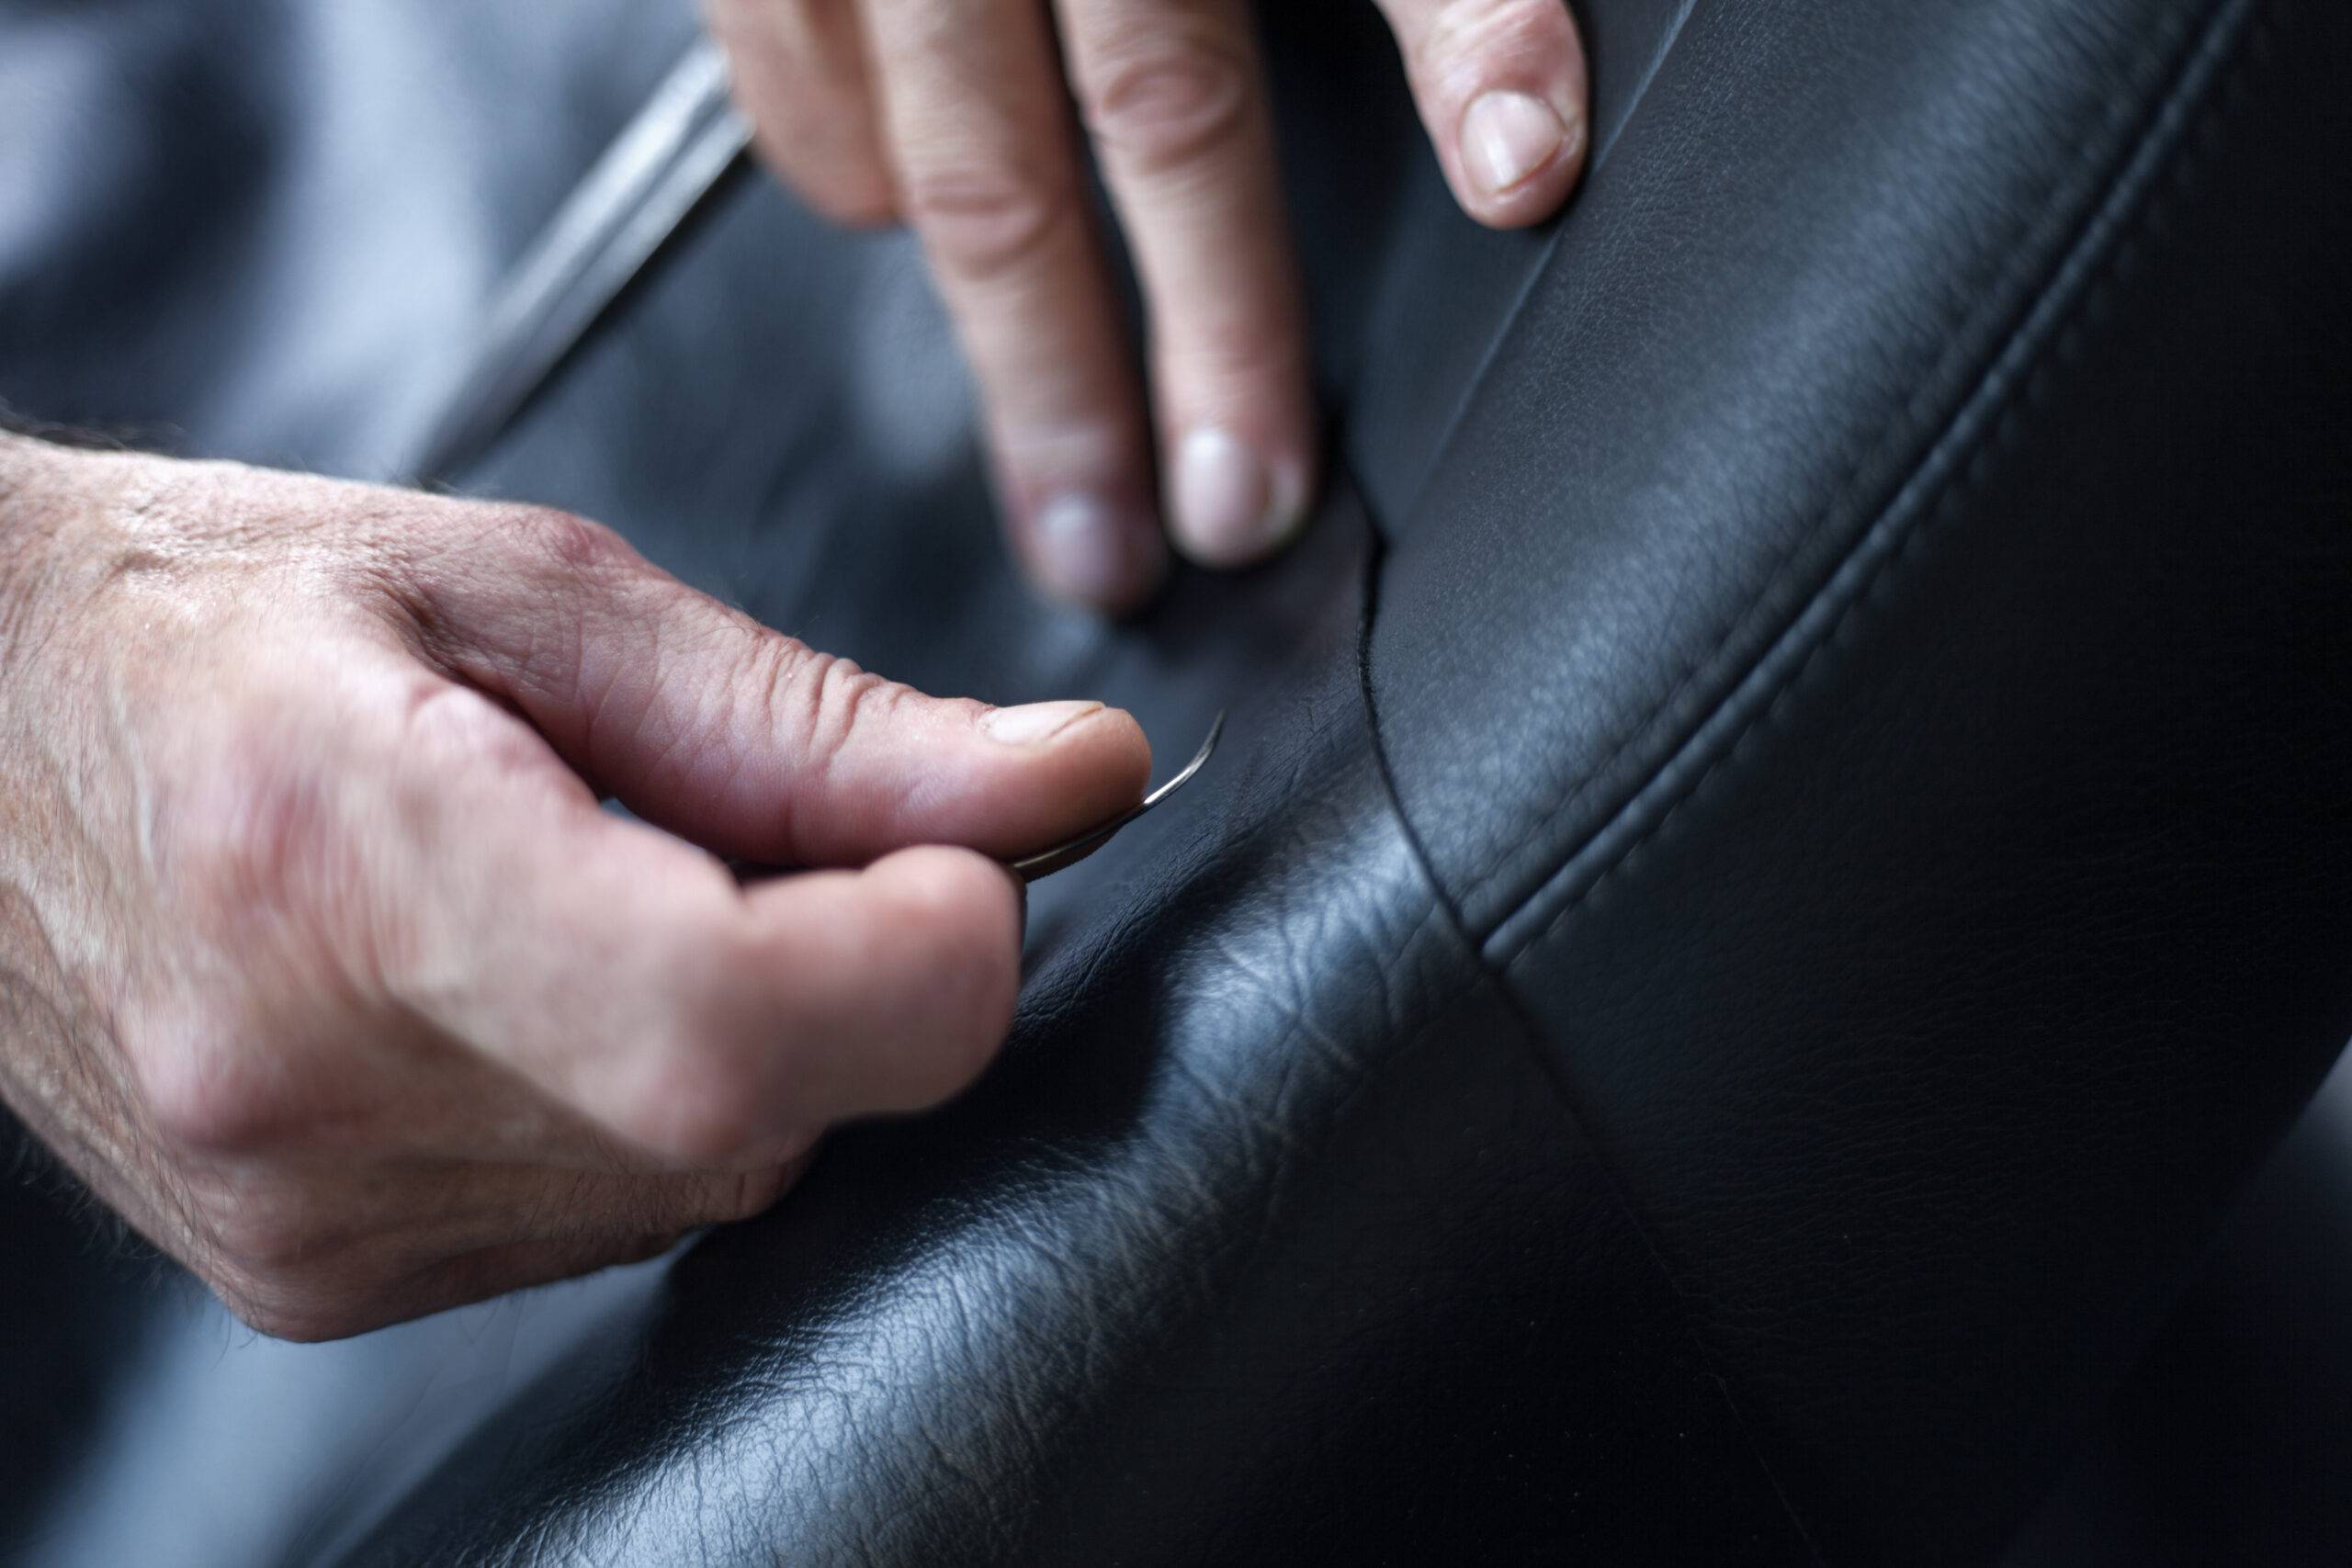
The good news is that you can keep your leather car seats clean with these simple steps. Really, you only need to clean your car seats once every few weeks to keep them looking good. If you can avoid spills and other potentially damaging instances, all the better. Follow our step-by-step directions to learn how you clean leather car seats.
Tools & Materials
- Microfiber cloth
- Soft-bristled brush
- Vacuum
- Non-toxic leather cleaner (or natural solution of one part vinegar to two parts linseed oil)
- Leather conditioner
Step 1: Check for Holes
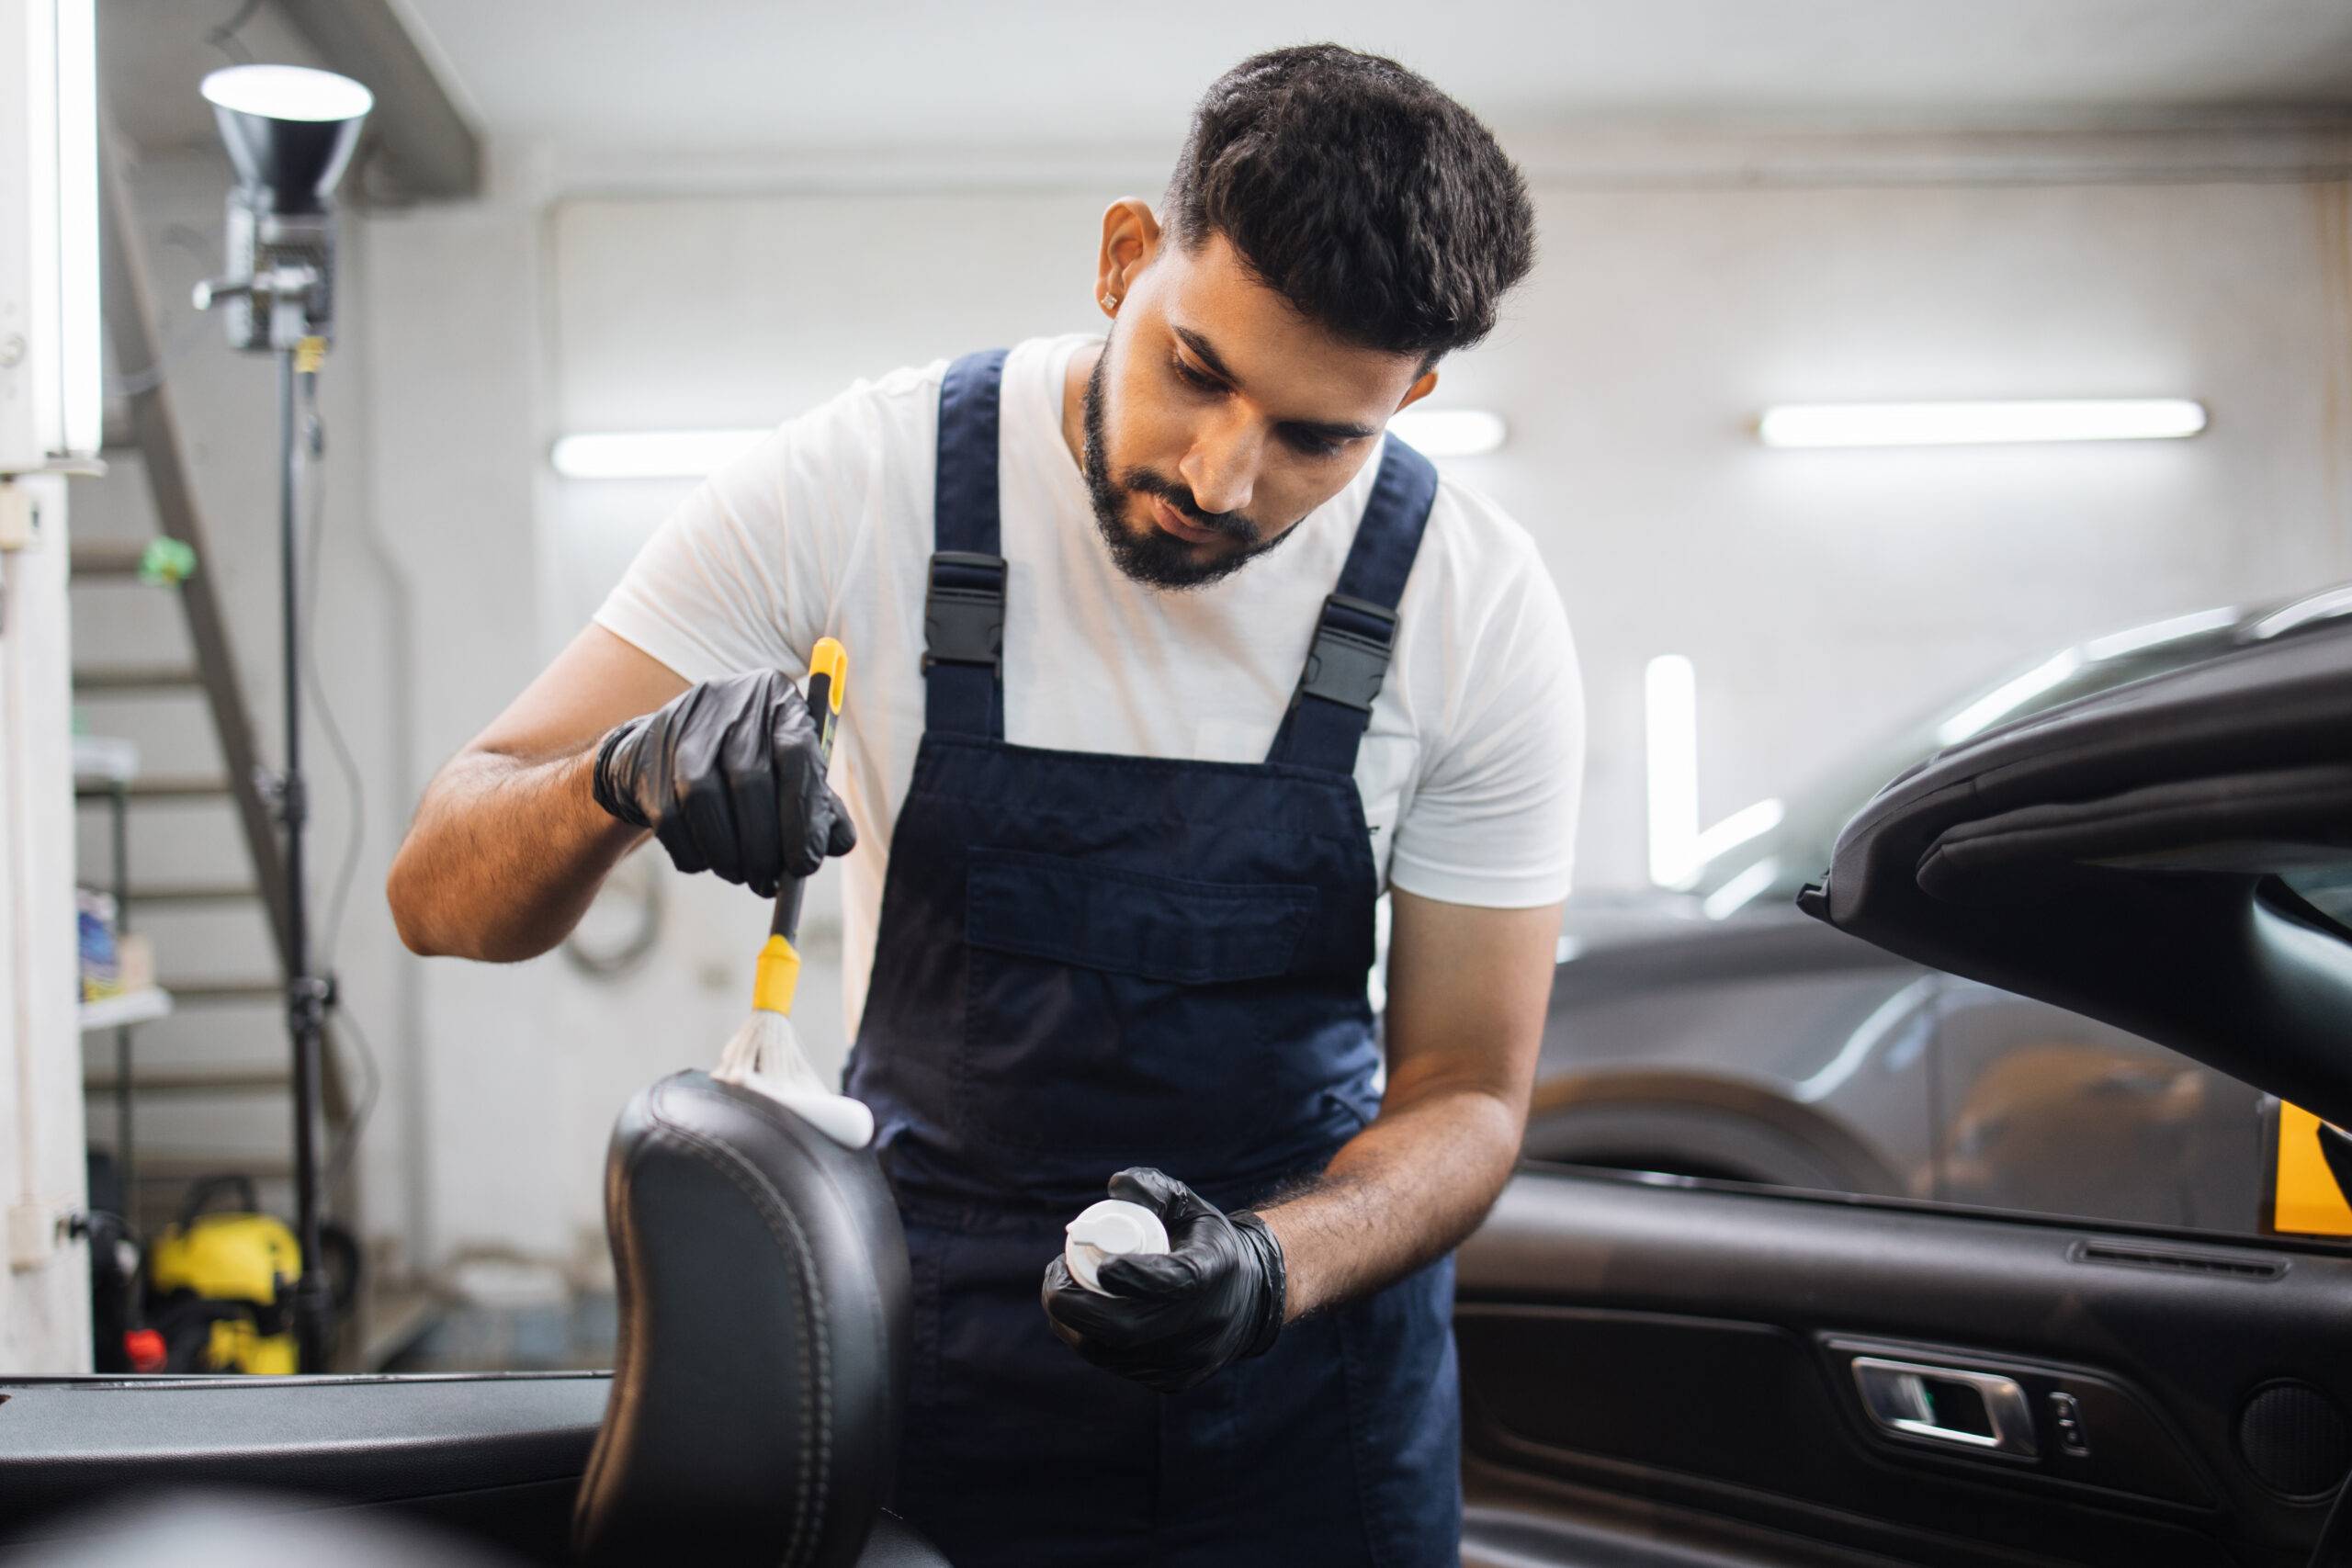
The first thing to do is look for holes in your leather car seats. If they are nicked or scratched up, or worse they have become perforated, then you should avoid using liquid cleaning products. When there are holes in your leather, the liquid can get into the holes in the seats and potentially damage the leather even further.
Should you see holes, squirt your liquid cleaner onto a bristle brush and gently brush the entirety of the leather. This will help you keep excess liquid from seeping into the holes in your leather. When you are finished, use a microfiber cloth to wipe the area dry.
Should you get any excess moisture into the holes, act quickly. Dry them out as soon as you can using a dry cloth or even a hairdryer for tougher to reach spots. By acting quickly, you can prevent the moisture from doing any further damage to the leather.
Step 2: Vacuum
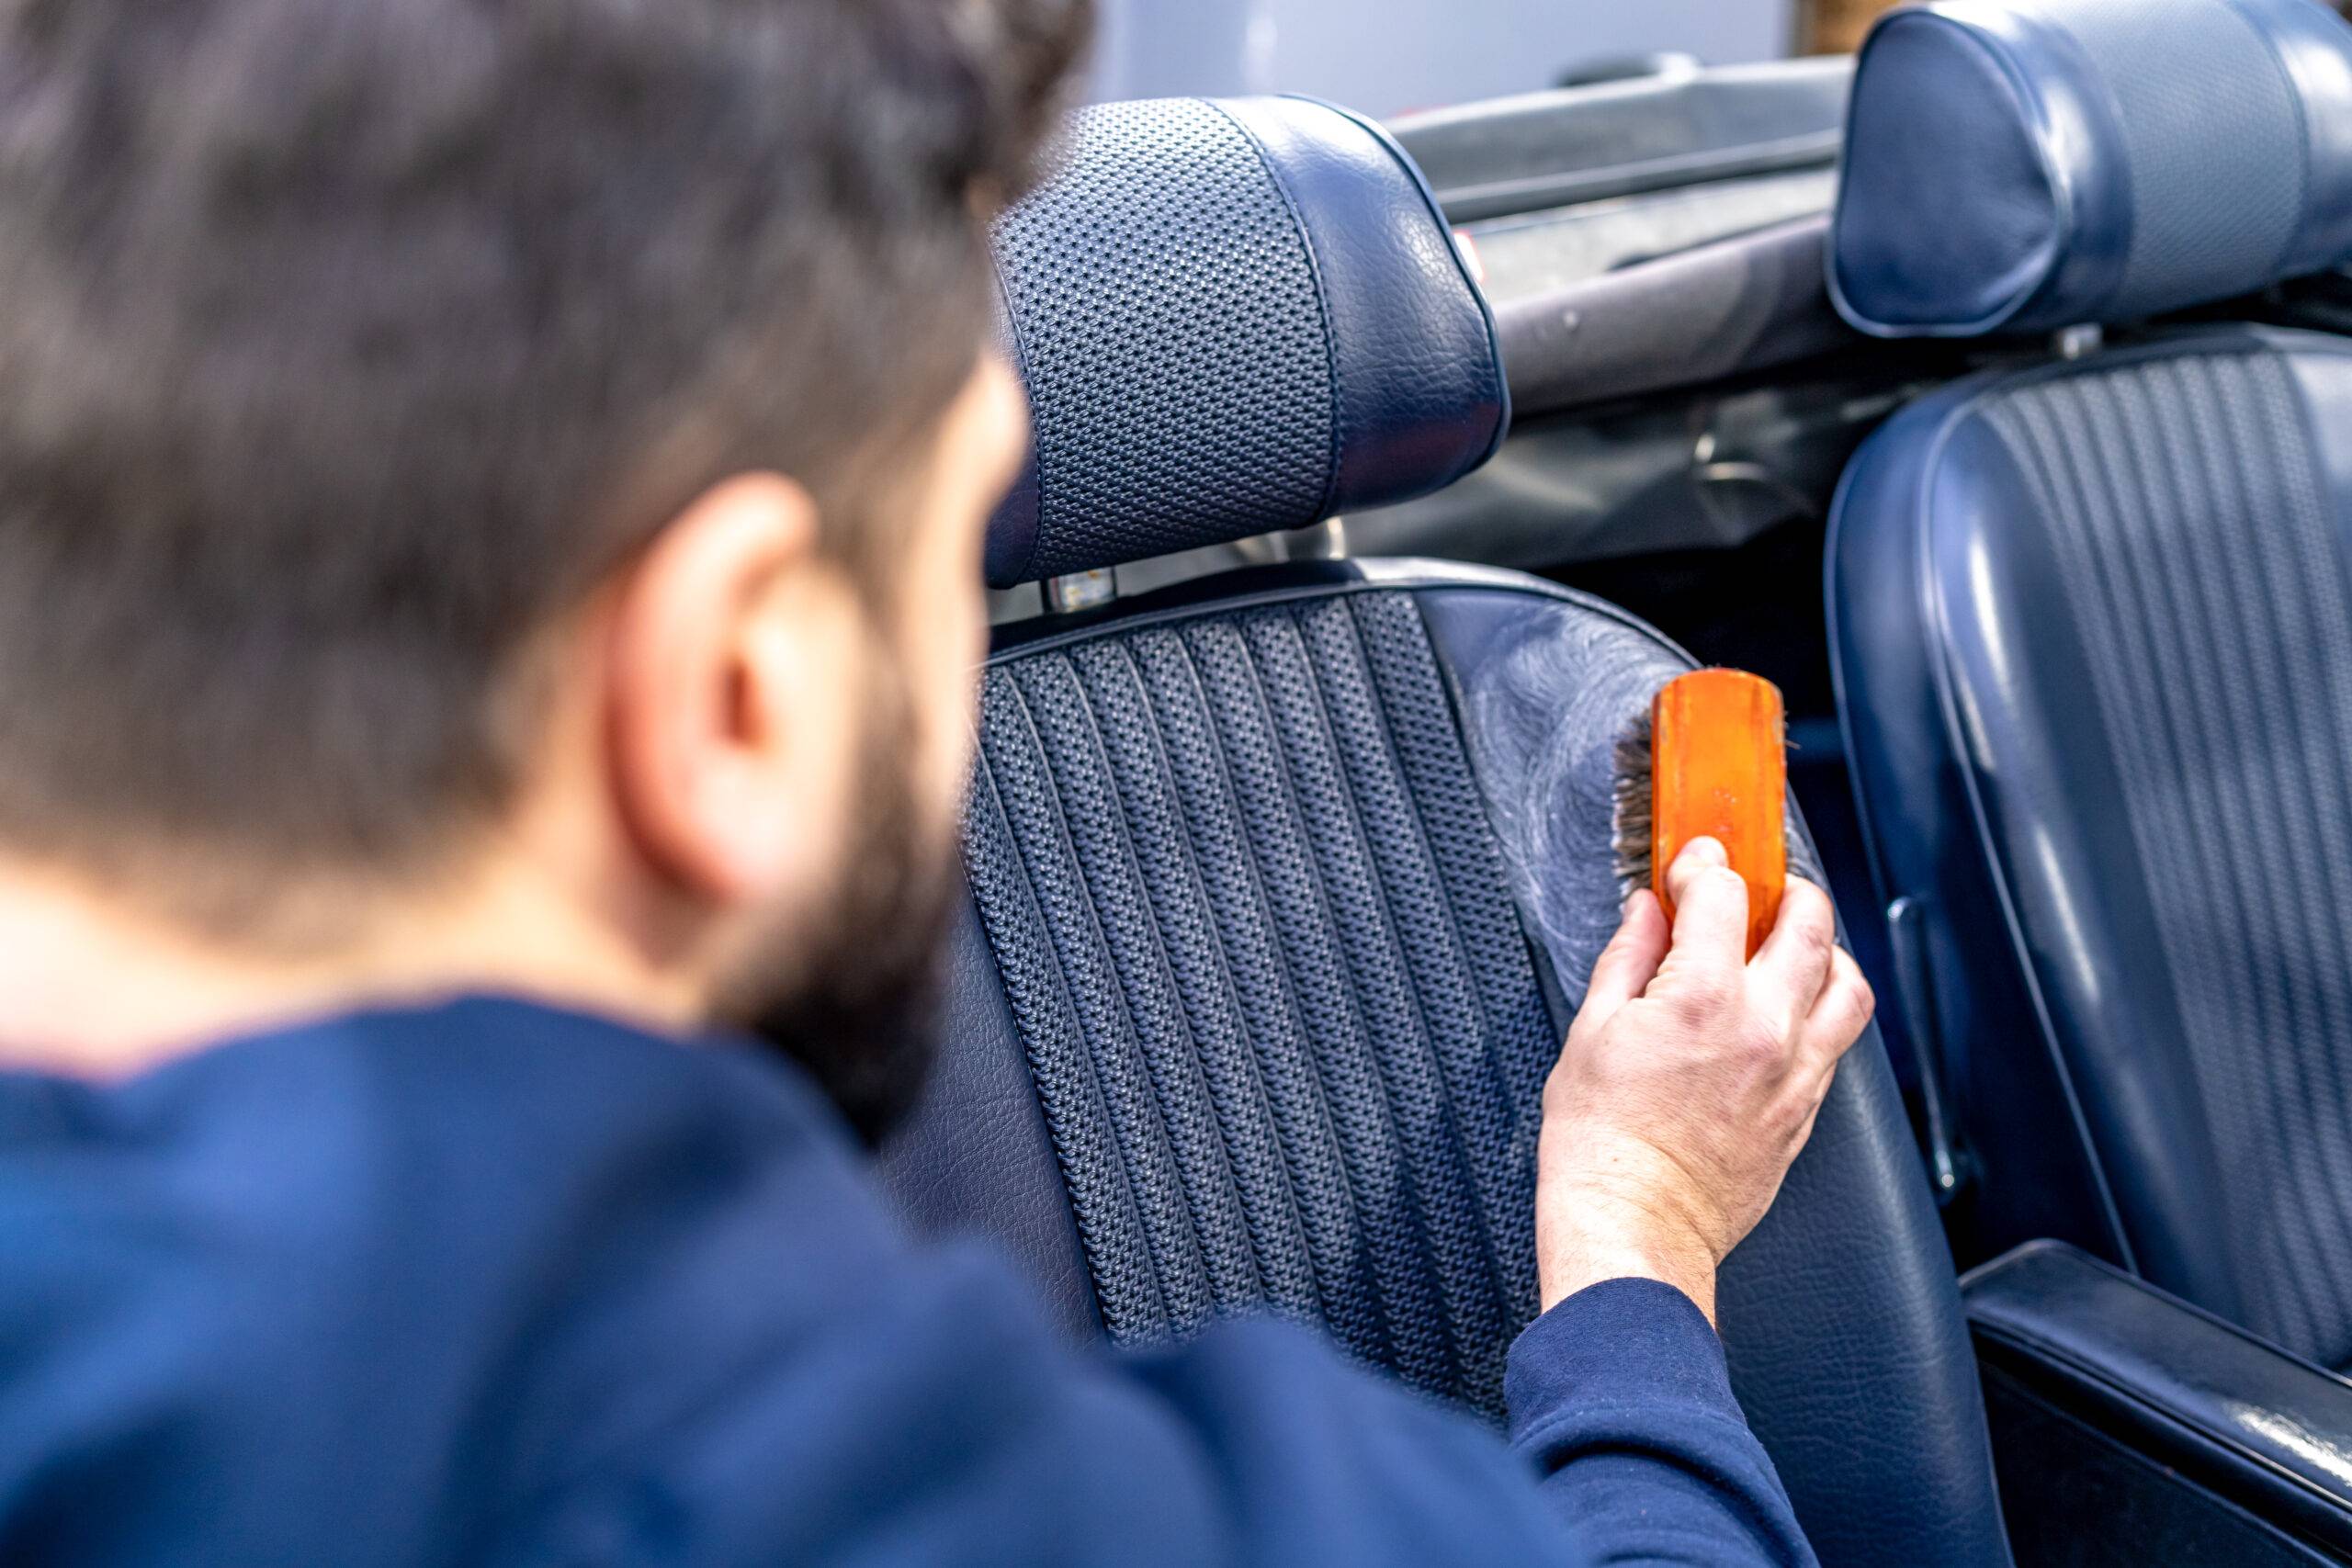
Before you can start wiping or cleaning in earnest, you need to do a quick pass with the vacuum. Vacuuming away dirt, dust, and other debris is essential before you start wiping down your leather car seats.
Should you start to wipe with dust and dirt in place, you run the risk of scratching the seats. The finer and more supple the leather is, the greater the risk of doing damage through scratches.
As you go, use your suction hose to get into those tougher to reach areas. Just make sure that you don’t apply too much pressure when vacuuming. Just like the dust and dirt, you are more than capable of scratching your leather seats with your vacuum.
Step 3: Cleaning Dirt and Stains
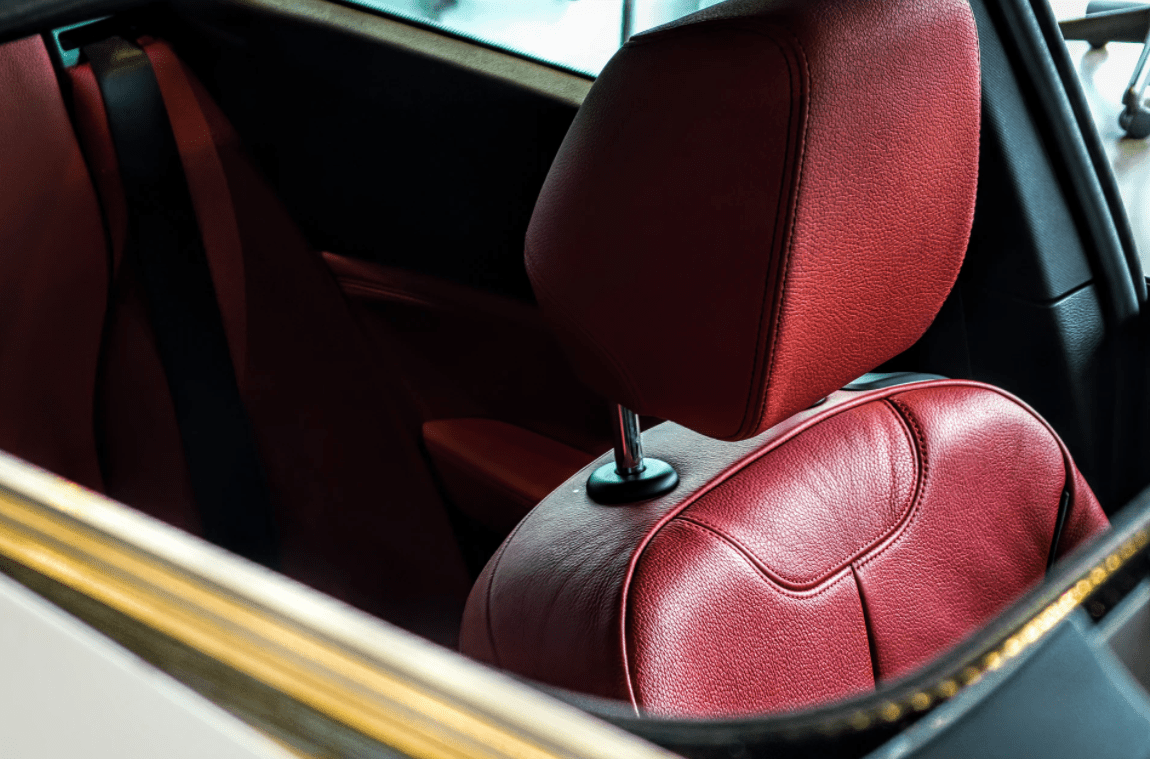
The vacuum is meant to get the loose layer of dust and dirt that can build up on your car seats. Go over the surface again after you have vacuumed. Look for any layers of dirt or perhaps stains that may have been missed before.
Getting that accumulated grime off now becomes the goal. The good news is that you have options. For one, you can buy a leather cleaner from your local hardware or auto parts store. For two, you can make your own mixture with one part vinegar and two parts linseed oil mixed together in a bottle or bowl.
Saturate your cloth with your cleaner of choice. Make sure that you have enough moisture but that it is not overly saturated. Wipe away at the spots until they disappear. Depending on the severity, you may have to work at them for a few minutes to get them to come up.
For stains that are deeply embedded, you will have to break out other tools. Either a toothbrush or a soft-bristled brush should do the trick. Gently scrub the stain to work it out. Just make sure that you do not spray your mixture directly onto the seats, especially if you noticed holes during your earlier inspection.
Even if you don’t notice holes, applying the spray directly leads to the potential for soaking. And when your mixture soaks into the leather seats, the potential for damage only rises. Go the safe route and spray onto your rag instead.
Step 4: Wipe Down
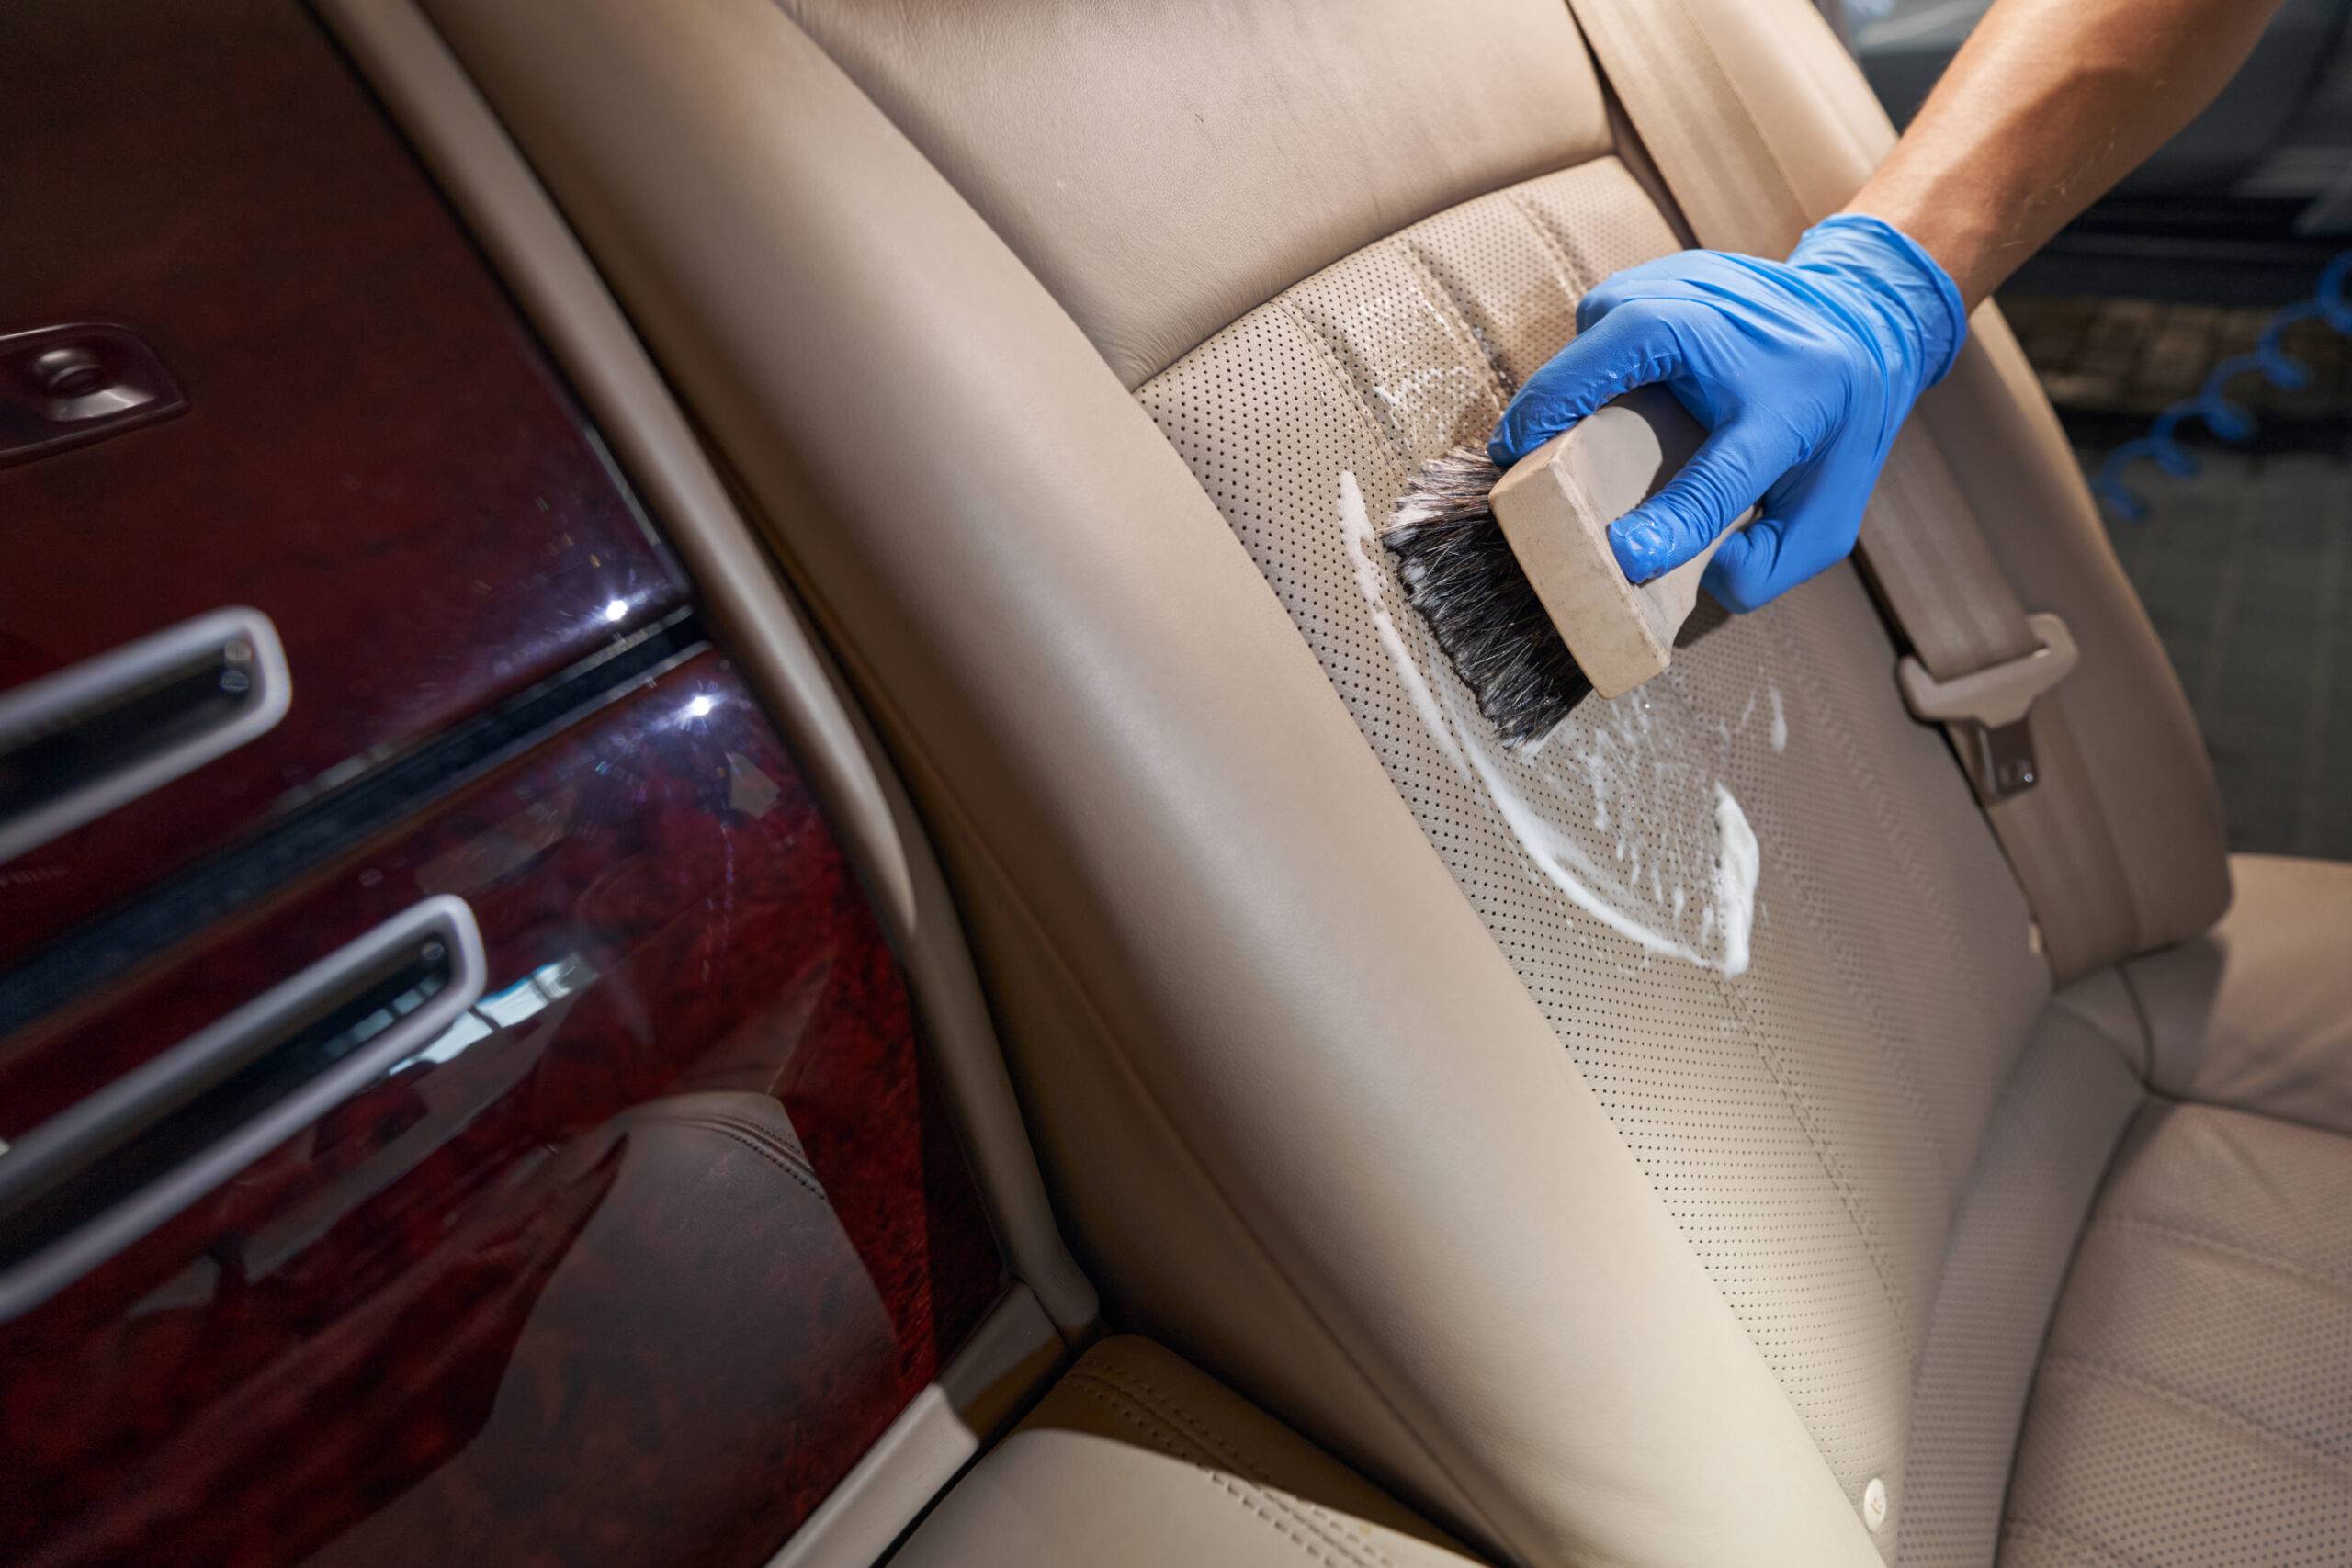
After thoroughly working out the aforementioned stains, it is time to dry the area. Use a clean, dry microfiber cloth to remove any leftover residue from your cleaning mixture. Doing another wipe down will also help you to remove any loose dirt that may have somehow been left over after cleaning.
It may take a time or two to get all of the residue and dirt off. It really all depends on how dirty your seats were before you cleaned them. That is partially why keeping up on your cleaning can make processes like these shorter and easier on the hole.
Step 5: Applying a Leather Conditioner
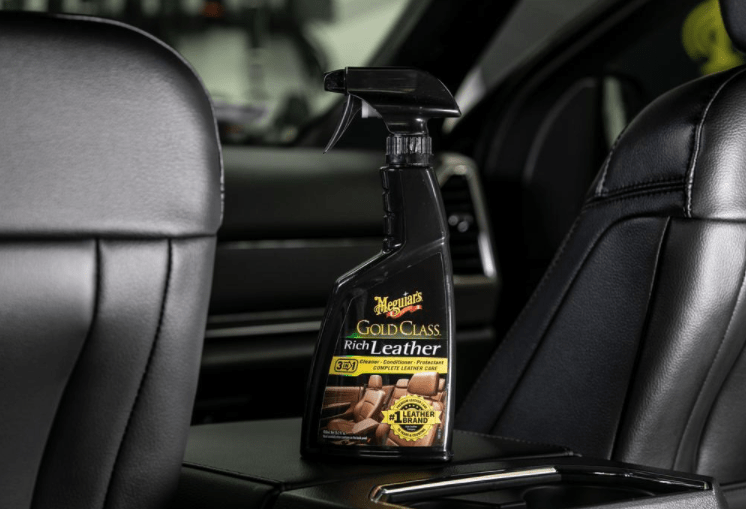
Applying a conditioner helps to restore the natural oils to the leather. Regular conditioning can add moisture back to the leather, restoring the vibrancy and essential oils that it needs to look healthy and prevent cracking.
Make sure that you get a water-based, high-quality leather conditioner. You want to steer clear of the ones that have chemicals like petroleum distillates in them. You want to replenish the natural oils within the leather, getting the best overall aesthetic.
To apply, do a spot test for starters. You want to make sure that the conditioner that you have chosen doesn’t stain or discolor your seats. Use a spot that isn’t easily seen, gently rubbing it into the leather with a microfiber cloth.
So long as everything goes according to plan, you can then apply the rest of the conditioner to your seats. Do so evenly, pouring a small bit onto your cloth. You don’t want to get overly generous with your conditioner as it can leave a greasy, wet residue all over your seats.
Step 6: Allow the Conditioner to Soak in
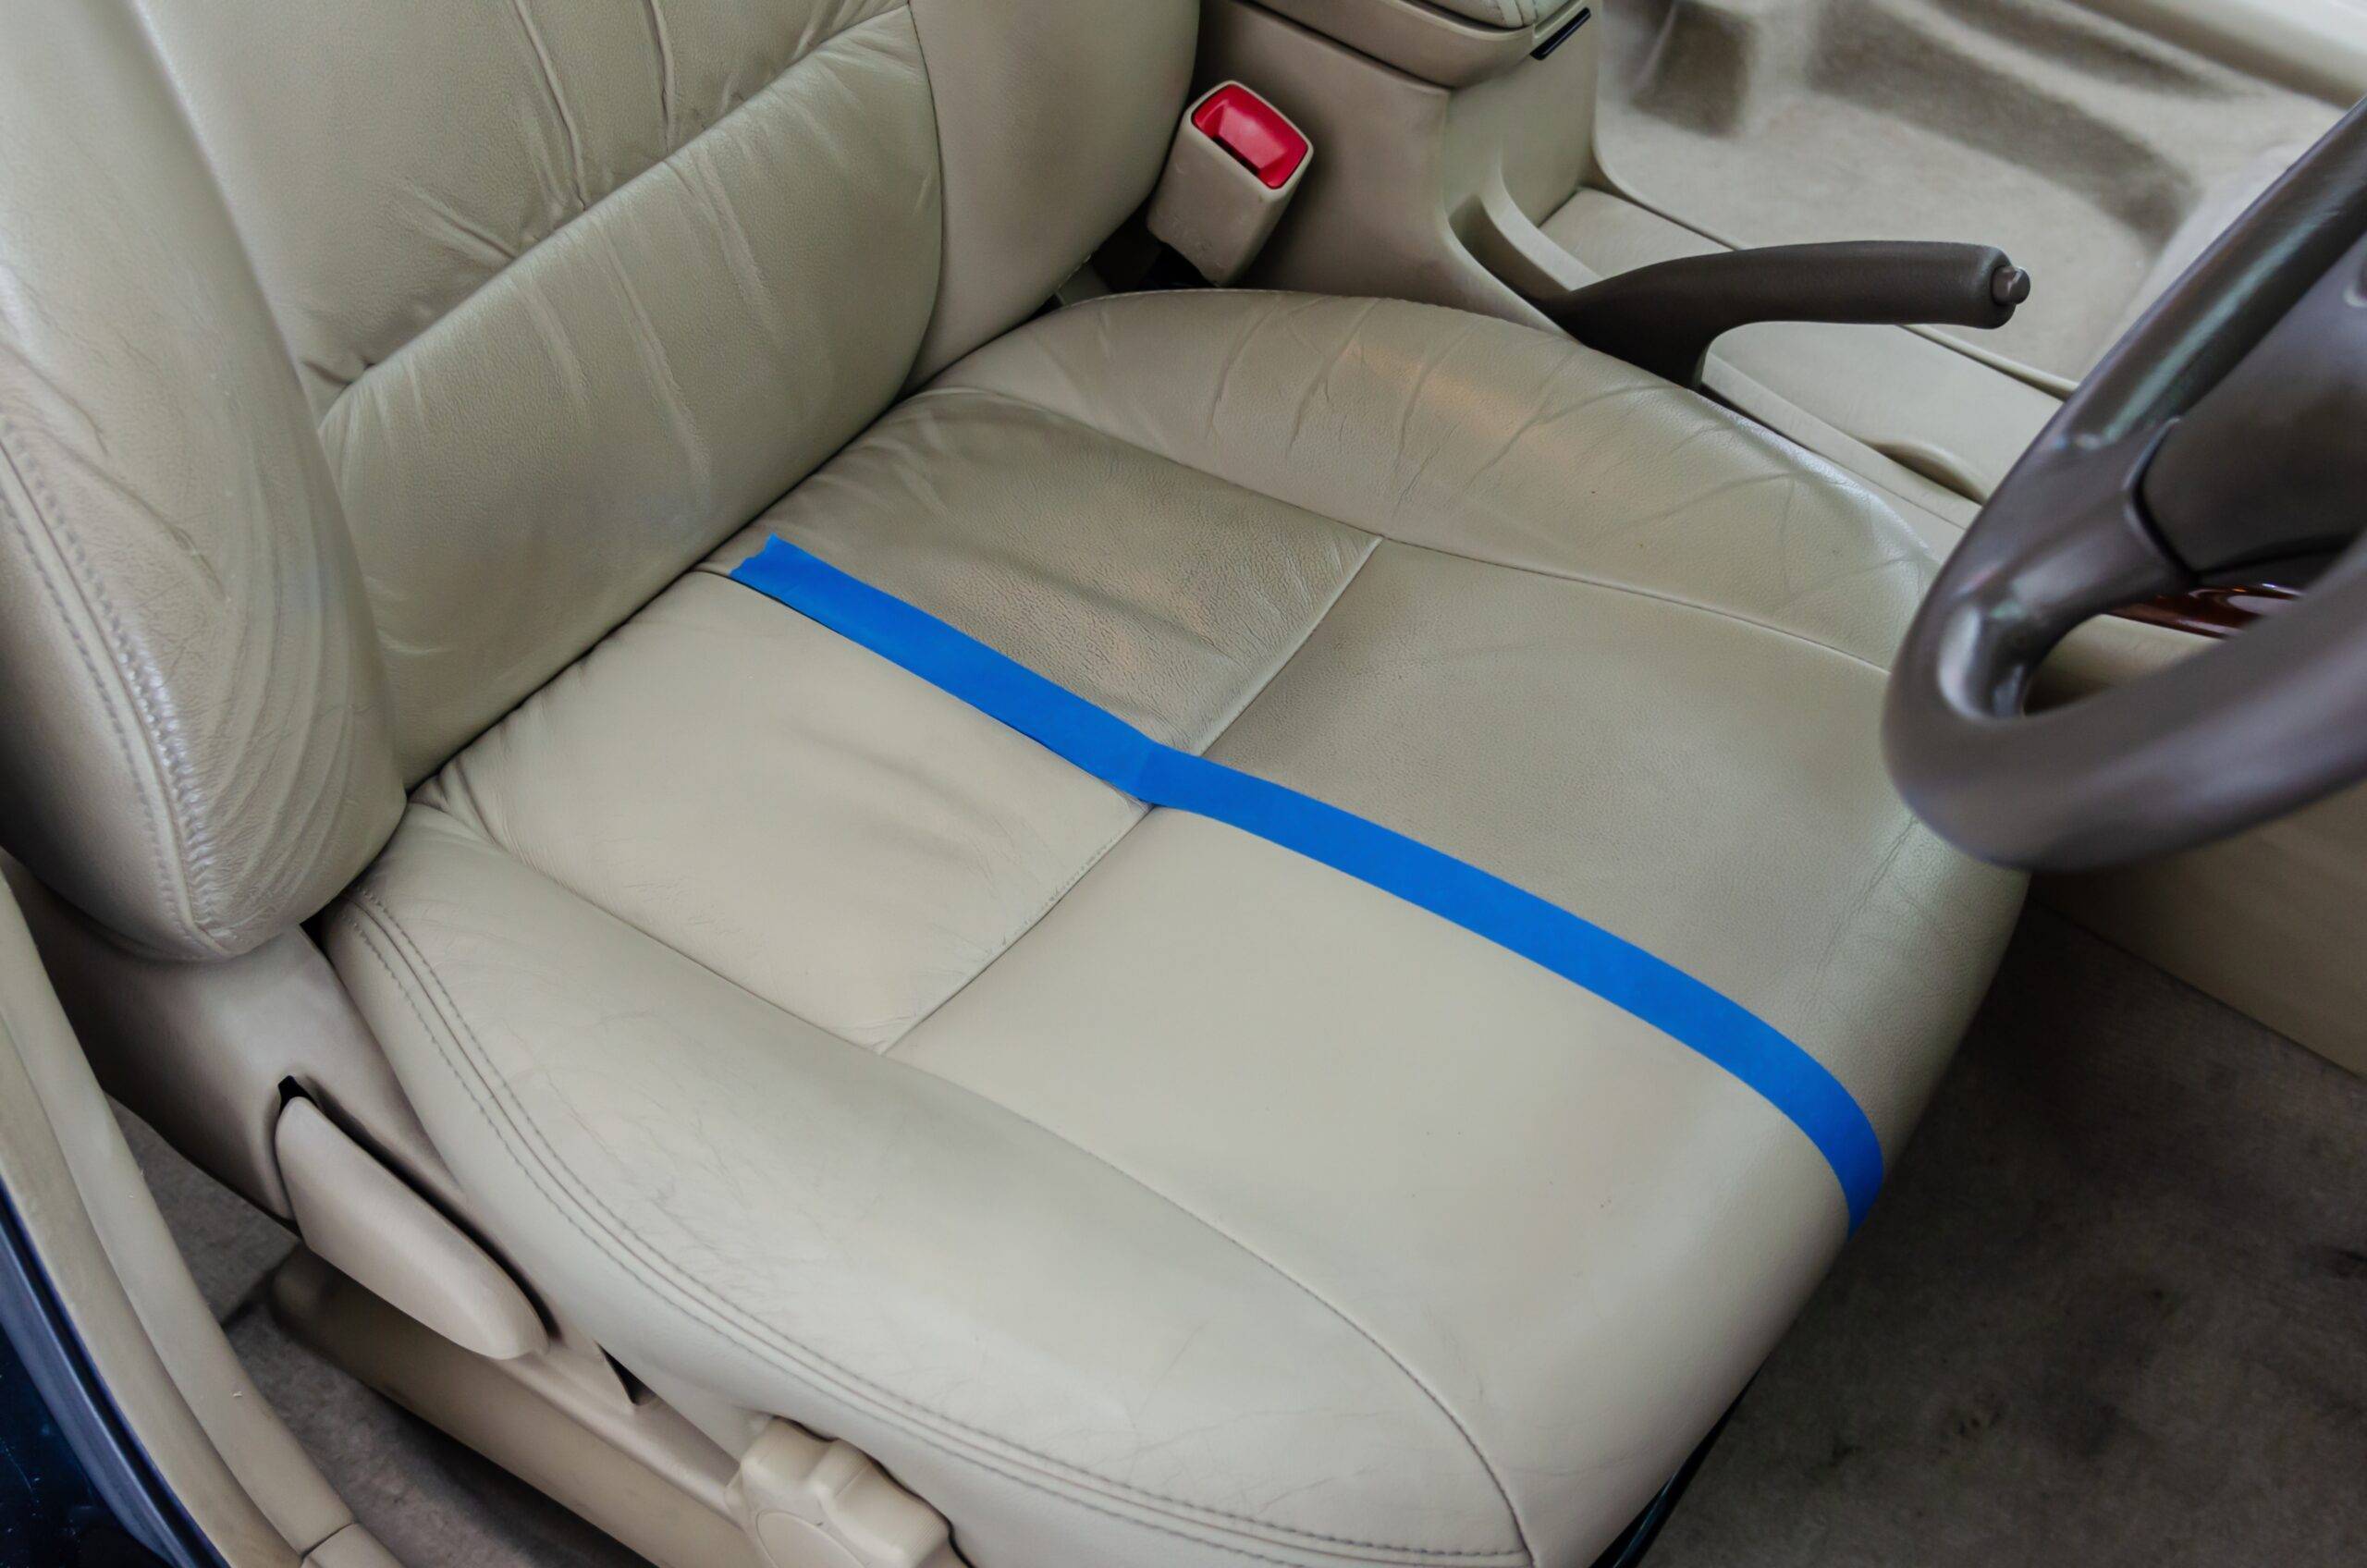
The one downside to using a conditioner is that the impacts are not instantaneous. When you are finished wiping down your leather car seats, make sure to put it in the shade. You don’t want excess sunlight to interfere with the soaking process of the conditioner.
Give your car an hour or more – really, it is up to the manufacturer’s specifications – to properly soak the conditioner in. By soaking into the seats, it really gets into the leather, fortifying it with the moisture and essential oils that it needs.
Step 7: Final Wipe
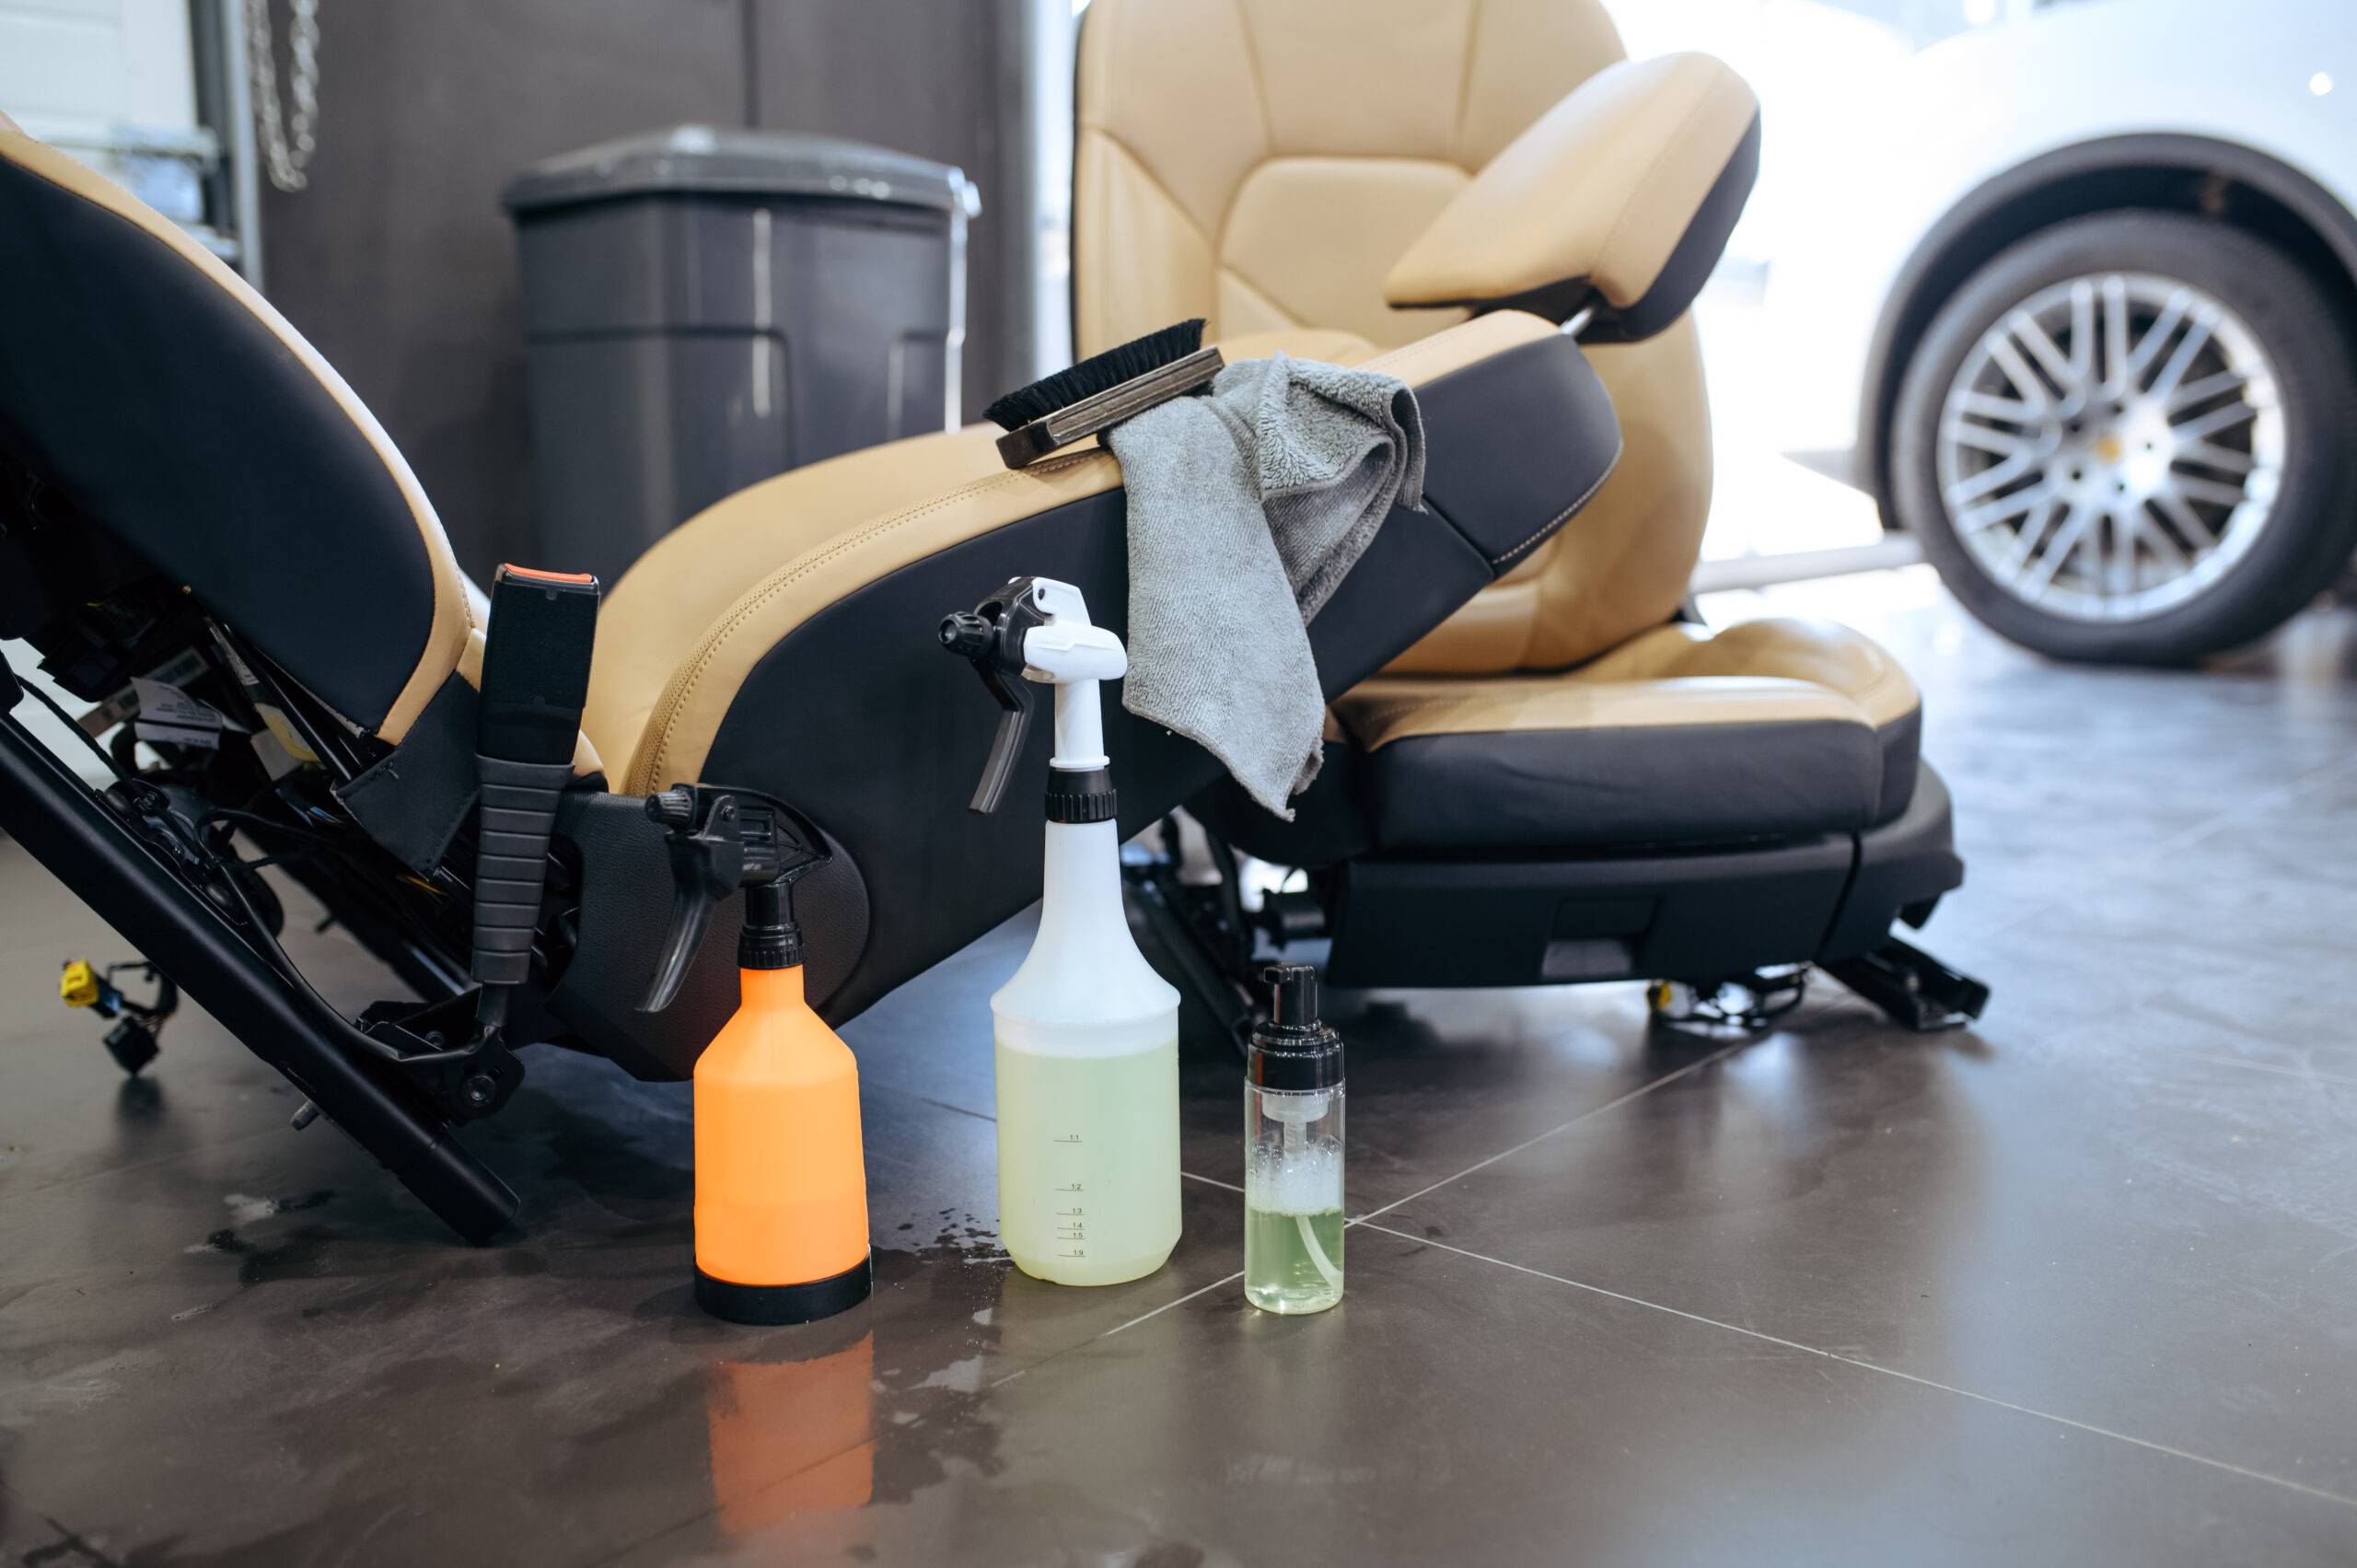
After the conditioner has properly dried, you can then break out the microfiber cloth once more. Use it again, wiping gently, to make sure that you get off any excess residue that may have been left over by the conditioner.
Make sure you give the seats a final once over as well. This is going to be your best opportunity to find stains or other imperfections that may have been missed along the way. You now have completely clean, shining leather seats waiting for you.
What About Smells in Leather Seats?
When leather seats are really treated improperly, they can develop more than an unappealing aesthetic. They can develop a certain funky smell that can be hard to ignore, too. Which presents you with the problem of getting that smell out.
The good news is that it is also a relatively simple process. Basically, when your leather starts to smell, it is an indication that there are bacteria growing within. Some leather cleaners also act as a bacteria deterrent, killing the bacteria growth within and helping to mitigate or eliminate the smell.
If you don’t want to head to the store in order to find another cleaner, you can develop one on your own. Mix one part white vinegar into a spray bottle with two parts water. White vinegar is a great, versatile cleaning agent that you should have in your house regardless. Still, it is highly acidic and water is needed to cut down on that acidic effect.
You can spray your seats, just don’t soak them. Let the spot sit for five or so minutes so that the acidity of the vinegar can work to break down the odor. Wipe down when it is done, checking to see if the smell remains. Should the smell remain, then you can just repeat the process of spraying and wiping it down until you are satisfied.


