How To Install Tile Floors—It’s Easier Than You Think!
Tile flooring might seem like a job that can only be done by professionals, but don’t count yourself out. With a bit of planning, the right tools, and a realistic mindset, installing tile floors can absolutely be a DIY project. Whether you’re updating a kitchen, bathroom, or entryway, this guide breaks the process into clear, manageable steps. Here’s how to get it done from start to finish.
1. Know What You’re Getting Into
Before picking up a single tool, understand the full scope. Installing tile takes time, attention to detail, and some physical effort, it’s definitely not a 30-minute makeover. You’ll need a solid day or two at least depending on the space size. You’ll also want to factor in drying times and cleanup. This isn’t something you want to rush, you’ll want to take your time. Planning ahead will keep the stress down and the results better.
2. Pick the Right Tile for the Job
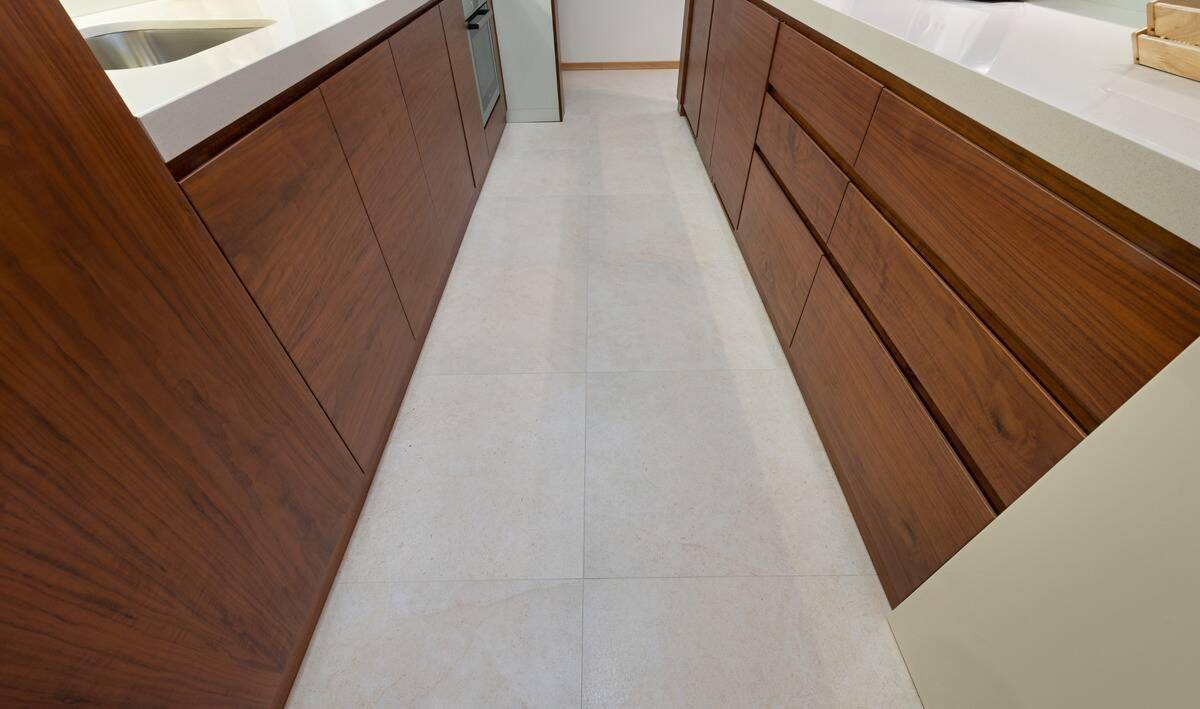
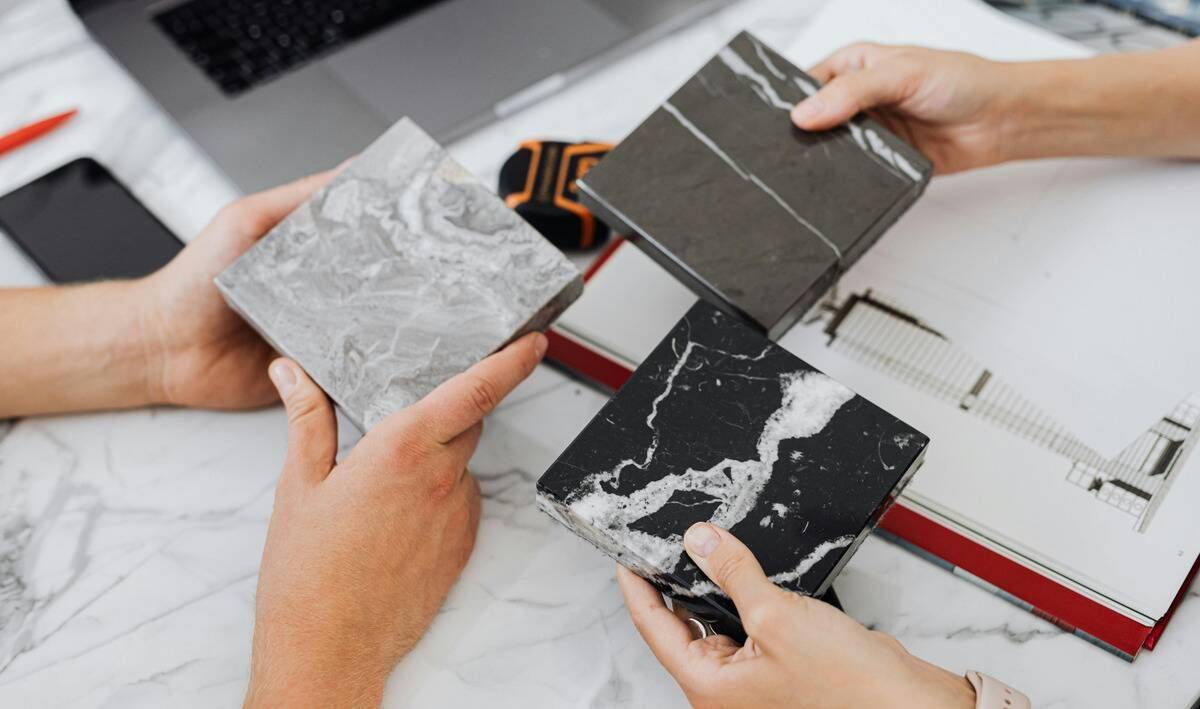
Not all tiles are made equal. Porcelain is durable and water-resistant, good for bathrooms and kitchens. Ceramic is affordable and easy to cut, ideal for dry areas. Natural stone looks great but takes more care. Think about foot traffic, moisture, and how much maintenance you’re willing to do. Always check if your subfloor can support your tile choice too, especially for heavier options like stone.
3. Prep the Subfloor Properly
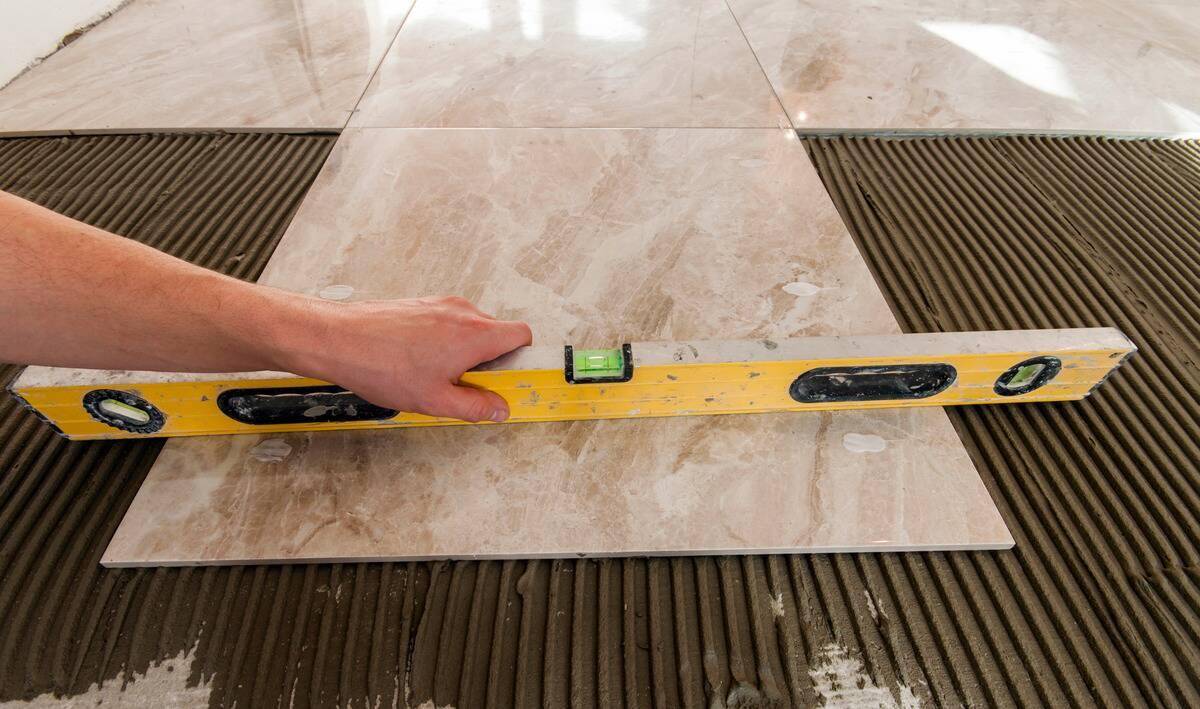
The subfloor needs to be clean, level, and solid. If it’s uneven or damaged, your tiles won’t sit flat, and they might crack later. For wood floors, you’ll usually need a cement backer board. For concrete, fill any cracks and clean thoroughly. Don’t skip this step. A good tile job starts with a solid base. The prep might feel boring, but it saves you a lot of trouble down the line.
4. Measure Twice, Lay Once
Use a chalk line or tile spacers to dry-fit your tile layout before mixing any adhesive. This step shows you where cuts will go and helps you center the layout so it looks even. You might need to readjust things slightly to avoid awkward slivers of tile along the walls, and that’s much better to figure out beforehand. than while you’re working. Taking time to visualize the final layout first can make the installation look more polished.
5. Mix and Apply the Adhesive
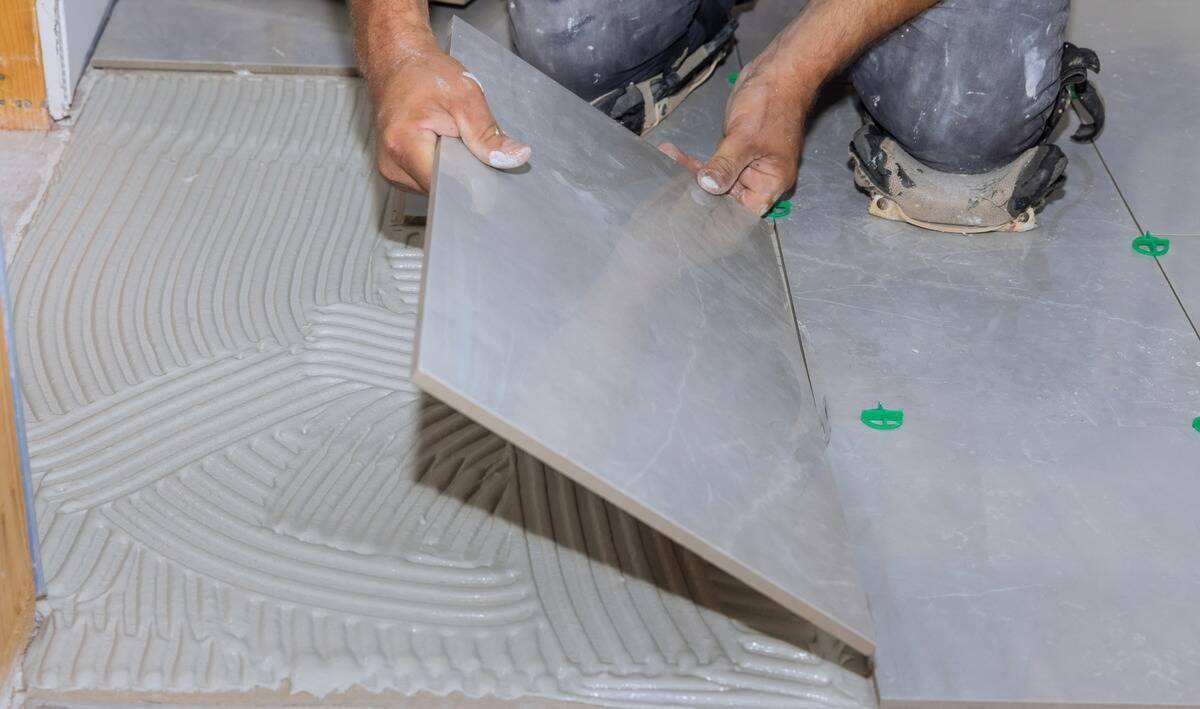
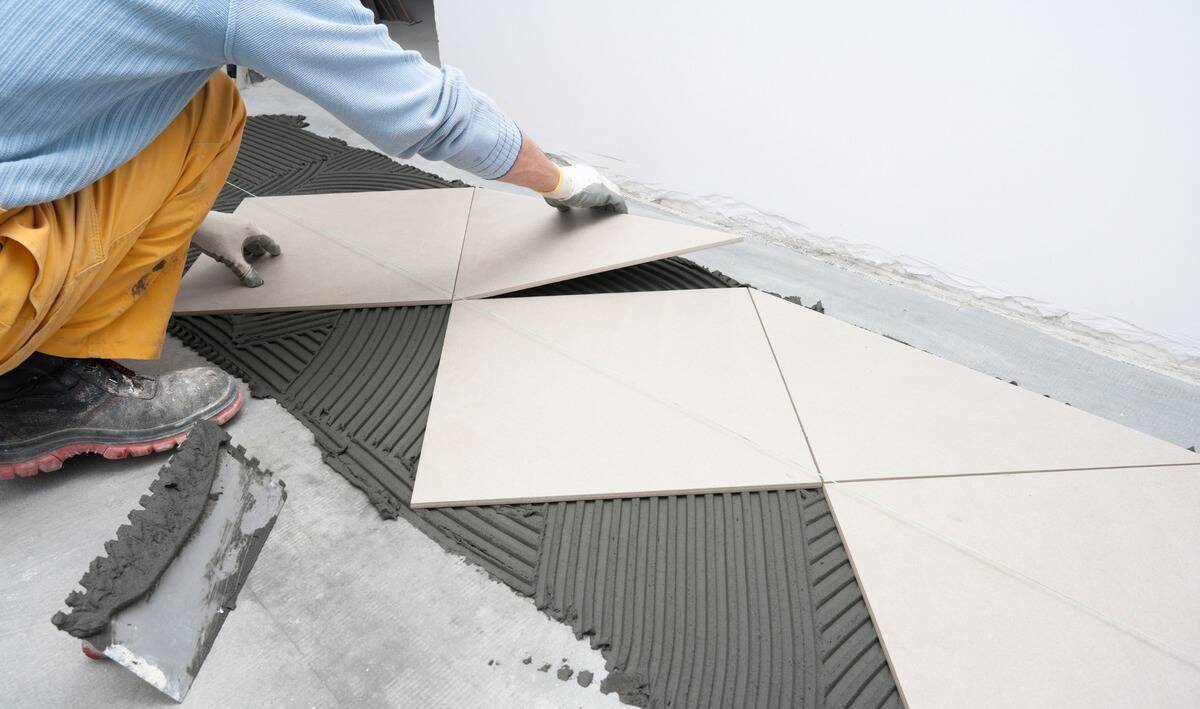
Use a notched trowel to spread thin-set mortar evenly across a small section of floor. Only work in areas you can tile within 15–20 minutes, or it’ll dry out. Press each tile down firmly, giving it a small twist to lock it in place. Keep the spacing even by using plastic spacers between each tile, and keep a wet sponge nearby to wipe off any adhesive that squeezes out between them.
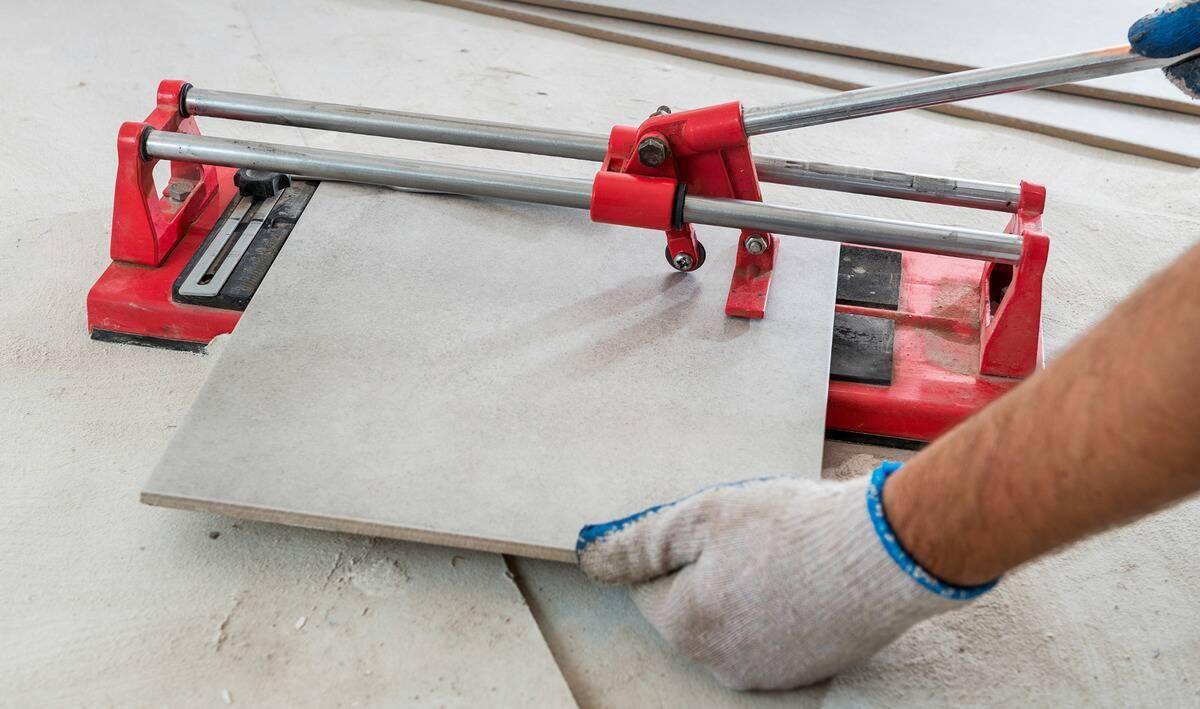
6. Make Your Cuts Carefully
7. Finish Strong with Grout and Sealant
After letting the tile set (usually for 24 hours), remove the spacers and mix your grout. Spread it across the surface with a rubber float, pushing it into the joints. Wipe away excess grout with a damp sponge as you go, then let it cure. Once dry, apply a grout sealer to prevent stains and moisture damage. Don’t skip the sealing, it keeps your hard work looking fresh for years.
Related Articles
- How to Cut Tile – A Step-by-Step DIY Guide for Home Projects
- How to Fix Cracked Grout Without Pulling Tiles
- How To Paint Tile Correctly
Doing your own tile floors is definitely an undertaking, but it’s not impossible for novice DIYers, so long as you take your time and follow the right steps. You’ll also learn along the way, and that’s part of the value. With some care, patience, and a willingness to adjust, you’ll end up with a floor that not only looks great, but also reminds you that yes, you can do hard things (and end up with a beautiful new floor in the process!).


