How to Cut Tile – A Step-by-Step DIY Guide for Home Projects
Tackling DIY projects around the home can be both a rewarding and practical endeavor, particularly when it involves learning how to cut tile. This skill is invaluable for homeowners who are keen on tackling renovations themselves, from updating a bathroom to adding a kitchen backsplash. Mastering tile cutting not only boosts your DIY repertoire but also saves money that would otherwise be spent on professional services. It’s a process that might seem daunting at first, but with the right tools and a bit of practice, anyone can become proficient.
Understanding the basics of how to cut tile is essential for achieving those custom fits and finishes that elevate a space from good to great. Whether it’s creating a stunning mosaic for your entryway or simply replacing a cracked tile, the ability to cut tiles to size is a game-changer. It empowers homeowners to not only repair and maintain their spaces but also to inject a personal touch into renovations. Also, it’s a skill that, once acquired, can be applied to numerous projects around the home, making it a smart and versatile addition to your DIY skill set.
What You Need to Know When Selecting Tools for Cutting Tile
When embarking on the journey of learning how to cut tile, one of the first steps is understanding that not all tools are created equal. The choice of the right equipment can make a significant difference in the precision, ease, and safety of the task at hand. For those stepping into the world of DIY tile projects, it might seem like a daunting task, but fear not; selecting the right tools is simpler than it appears. The key lies in recognizing the type of tile you’re working with and the size of the project.
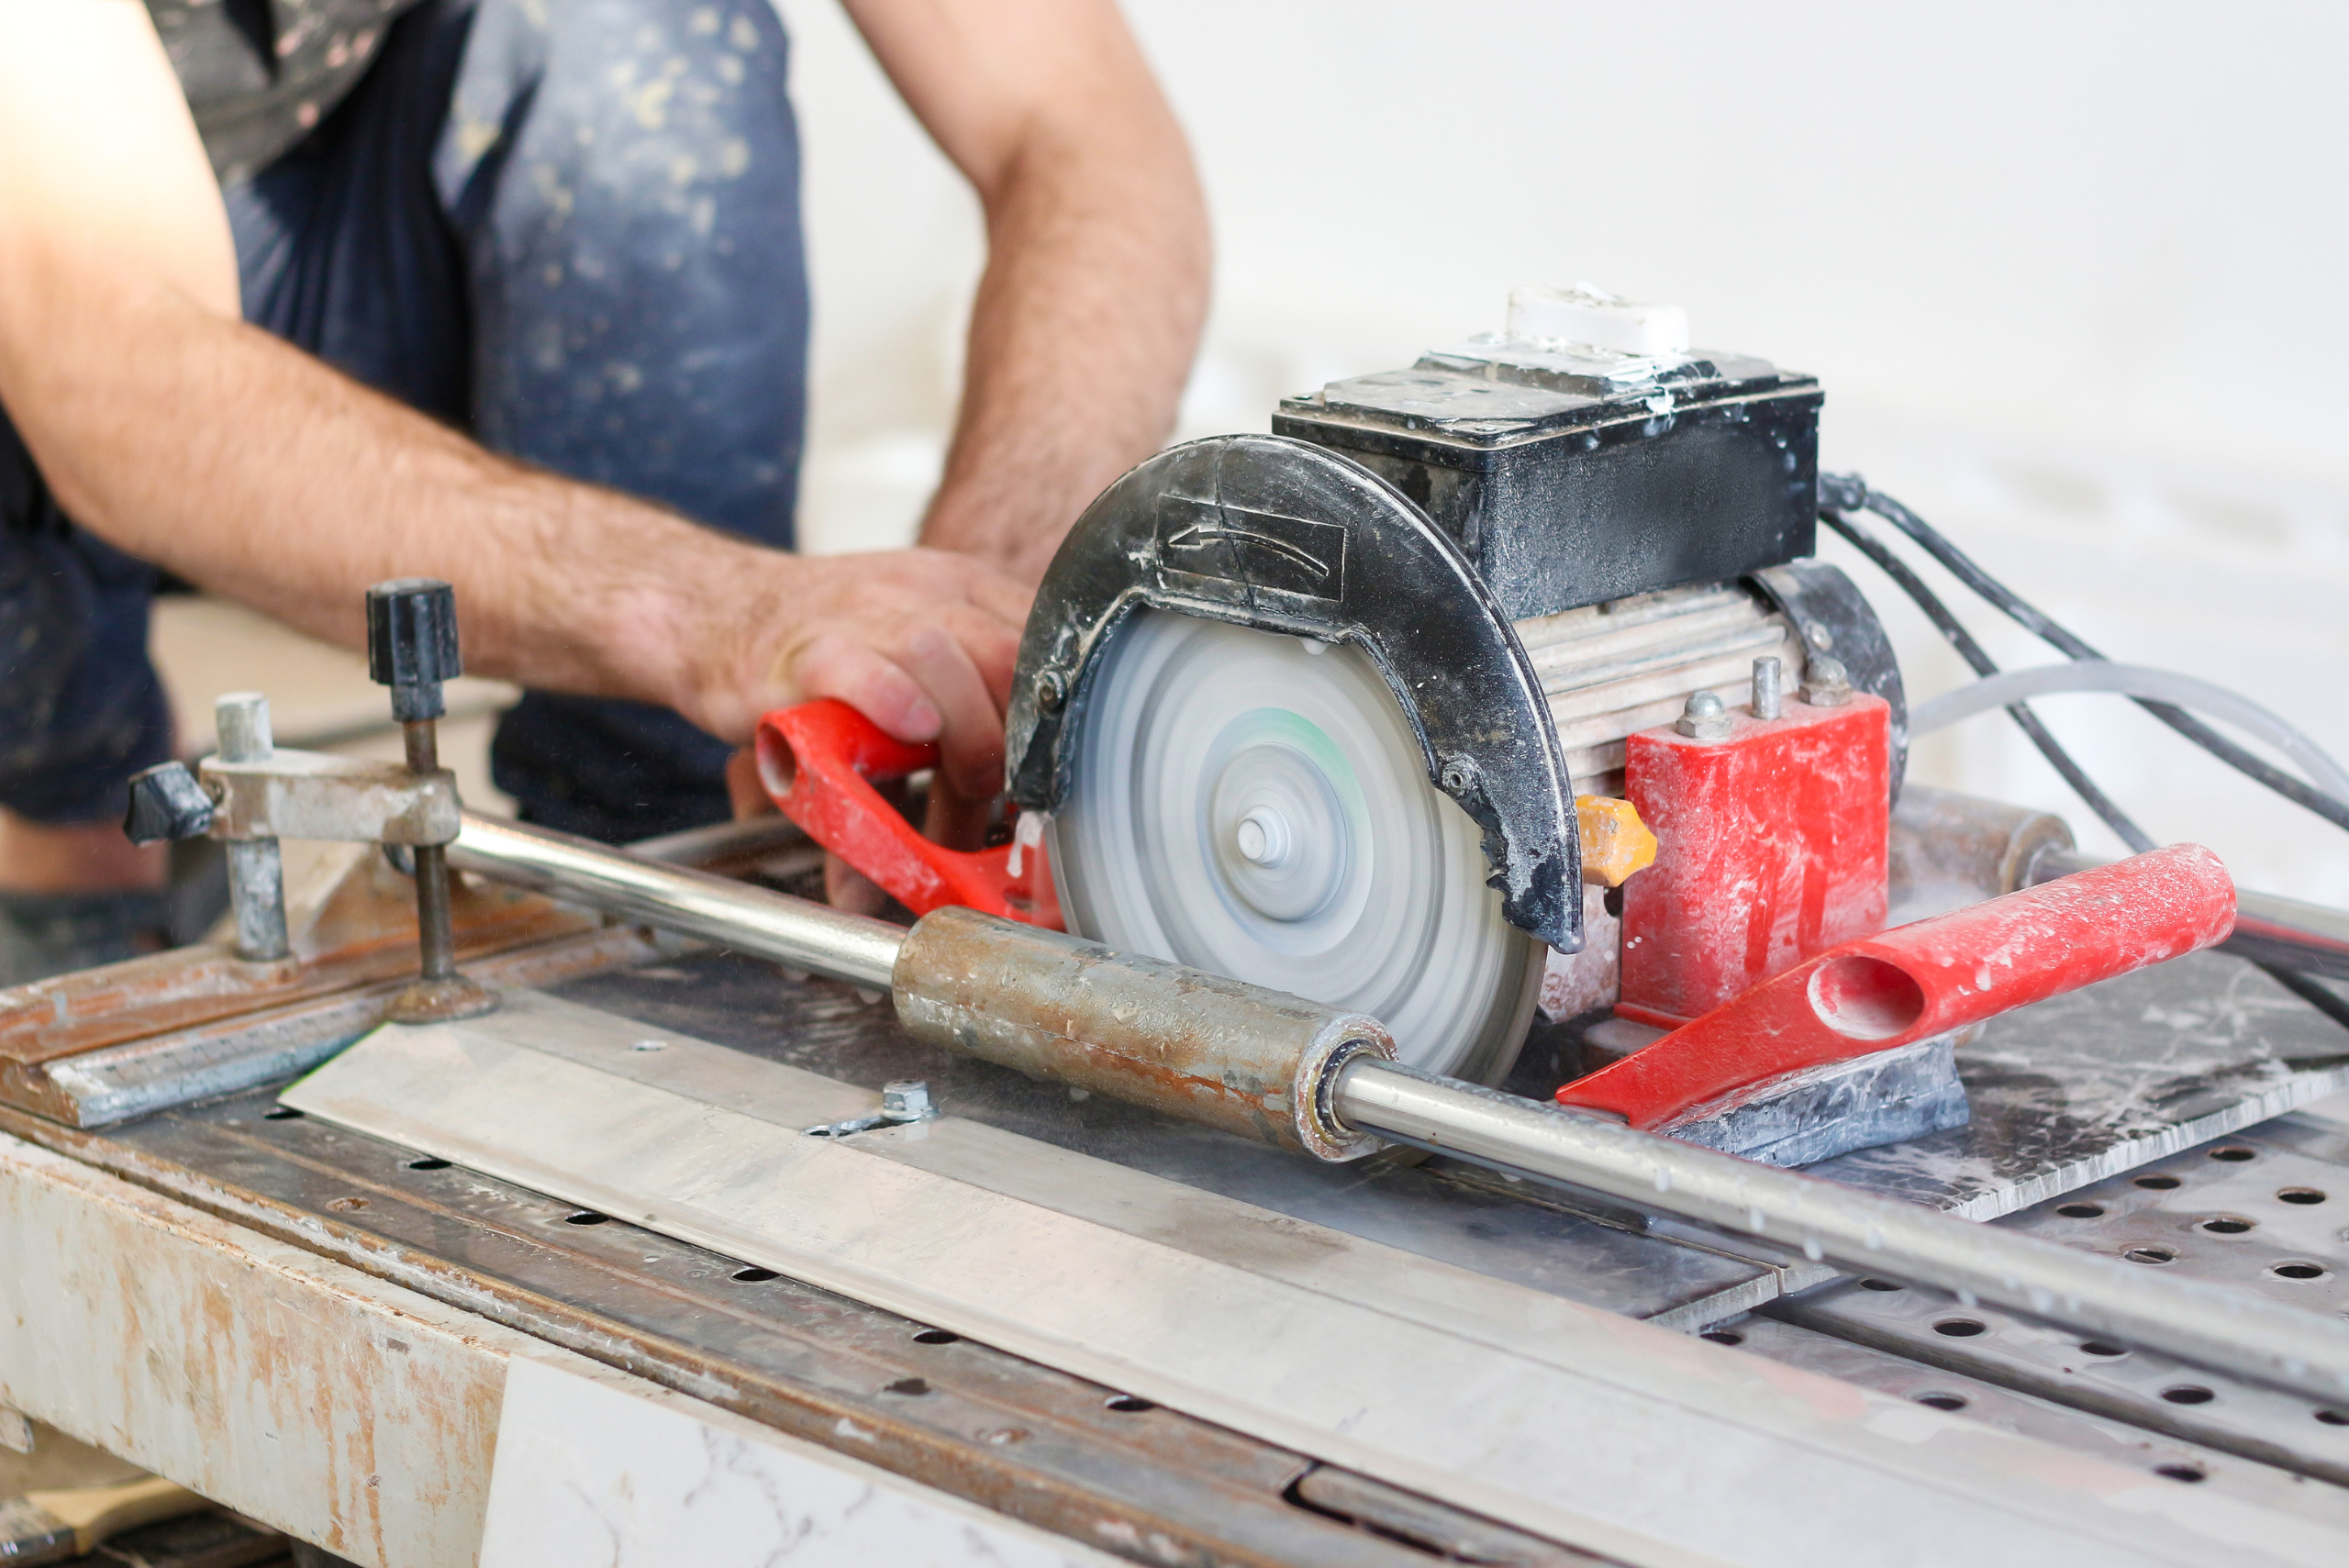
For smaller, more intricate work, a manual tile cutter might just be your best friend. It’s perfect for making straight cuts and requires a bit of manual effort. On the flip side, if you’re dealing with tougher materials like porcelain or stone, or if you’re working on a larger area, an electric wet saw is indispensable. This tool not only ensures precision but also keeps the dust down, making your tile-cutting experience smoother and cleaner. Remember, wearing protective gear, such as gloves and safety glasses, is crucial regardless of the tool you choose, ensuring your tile-cutting project is both successful and safe.
Essential Steps For Preparing Your Workspace and Tile for Cutting
Embarking on the journey of how to cut tile starts with setting up an inviting workspace and preparing your tile for the task ahead. First, ensure your chosen area is well-ventilated and dust-free to keep those pesky particles at bay. A clean, flat surface is paramount for precise cuts, so clear away any clutter. Some might opt for a specialized cutting table, but any sturdy, flat surface will do as long as it supports the entire tile. Safety can’t be overstated here; make sure to wear protective gear like gloves and goggles. They’re not just accessories; they’re necessities that shield you from potential mishaps.
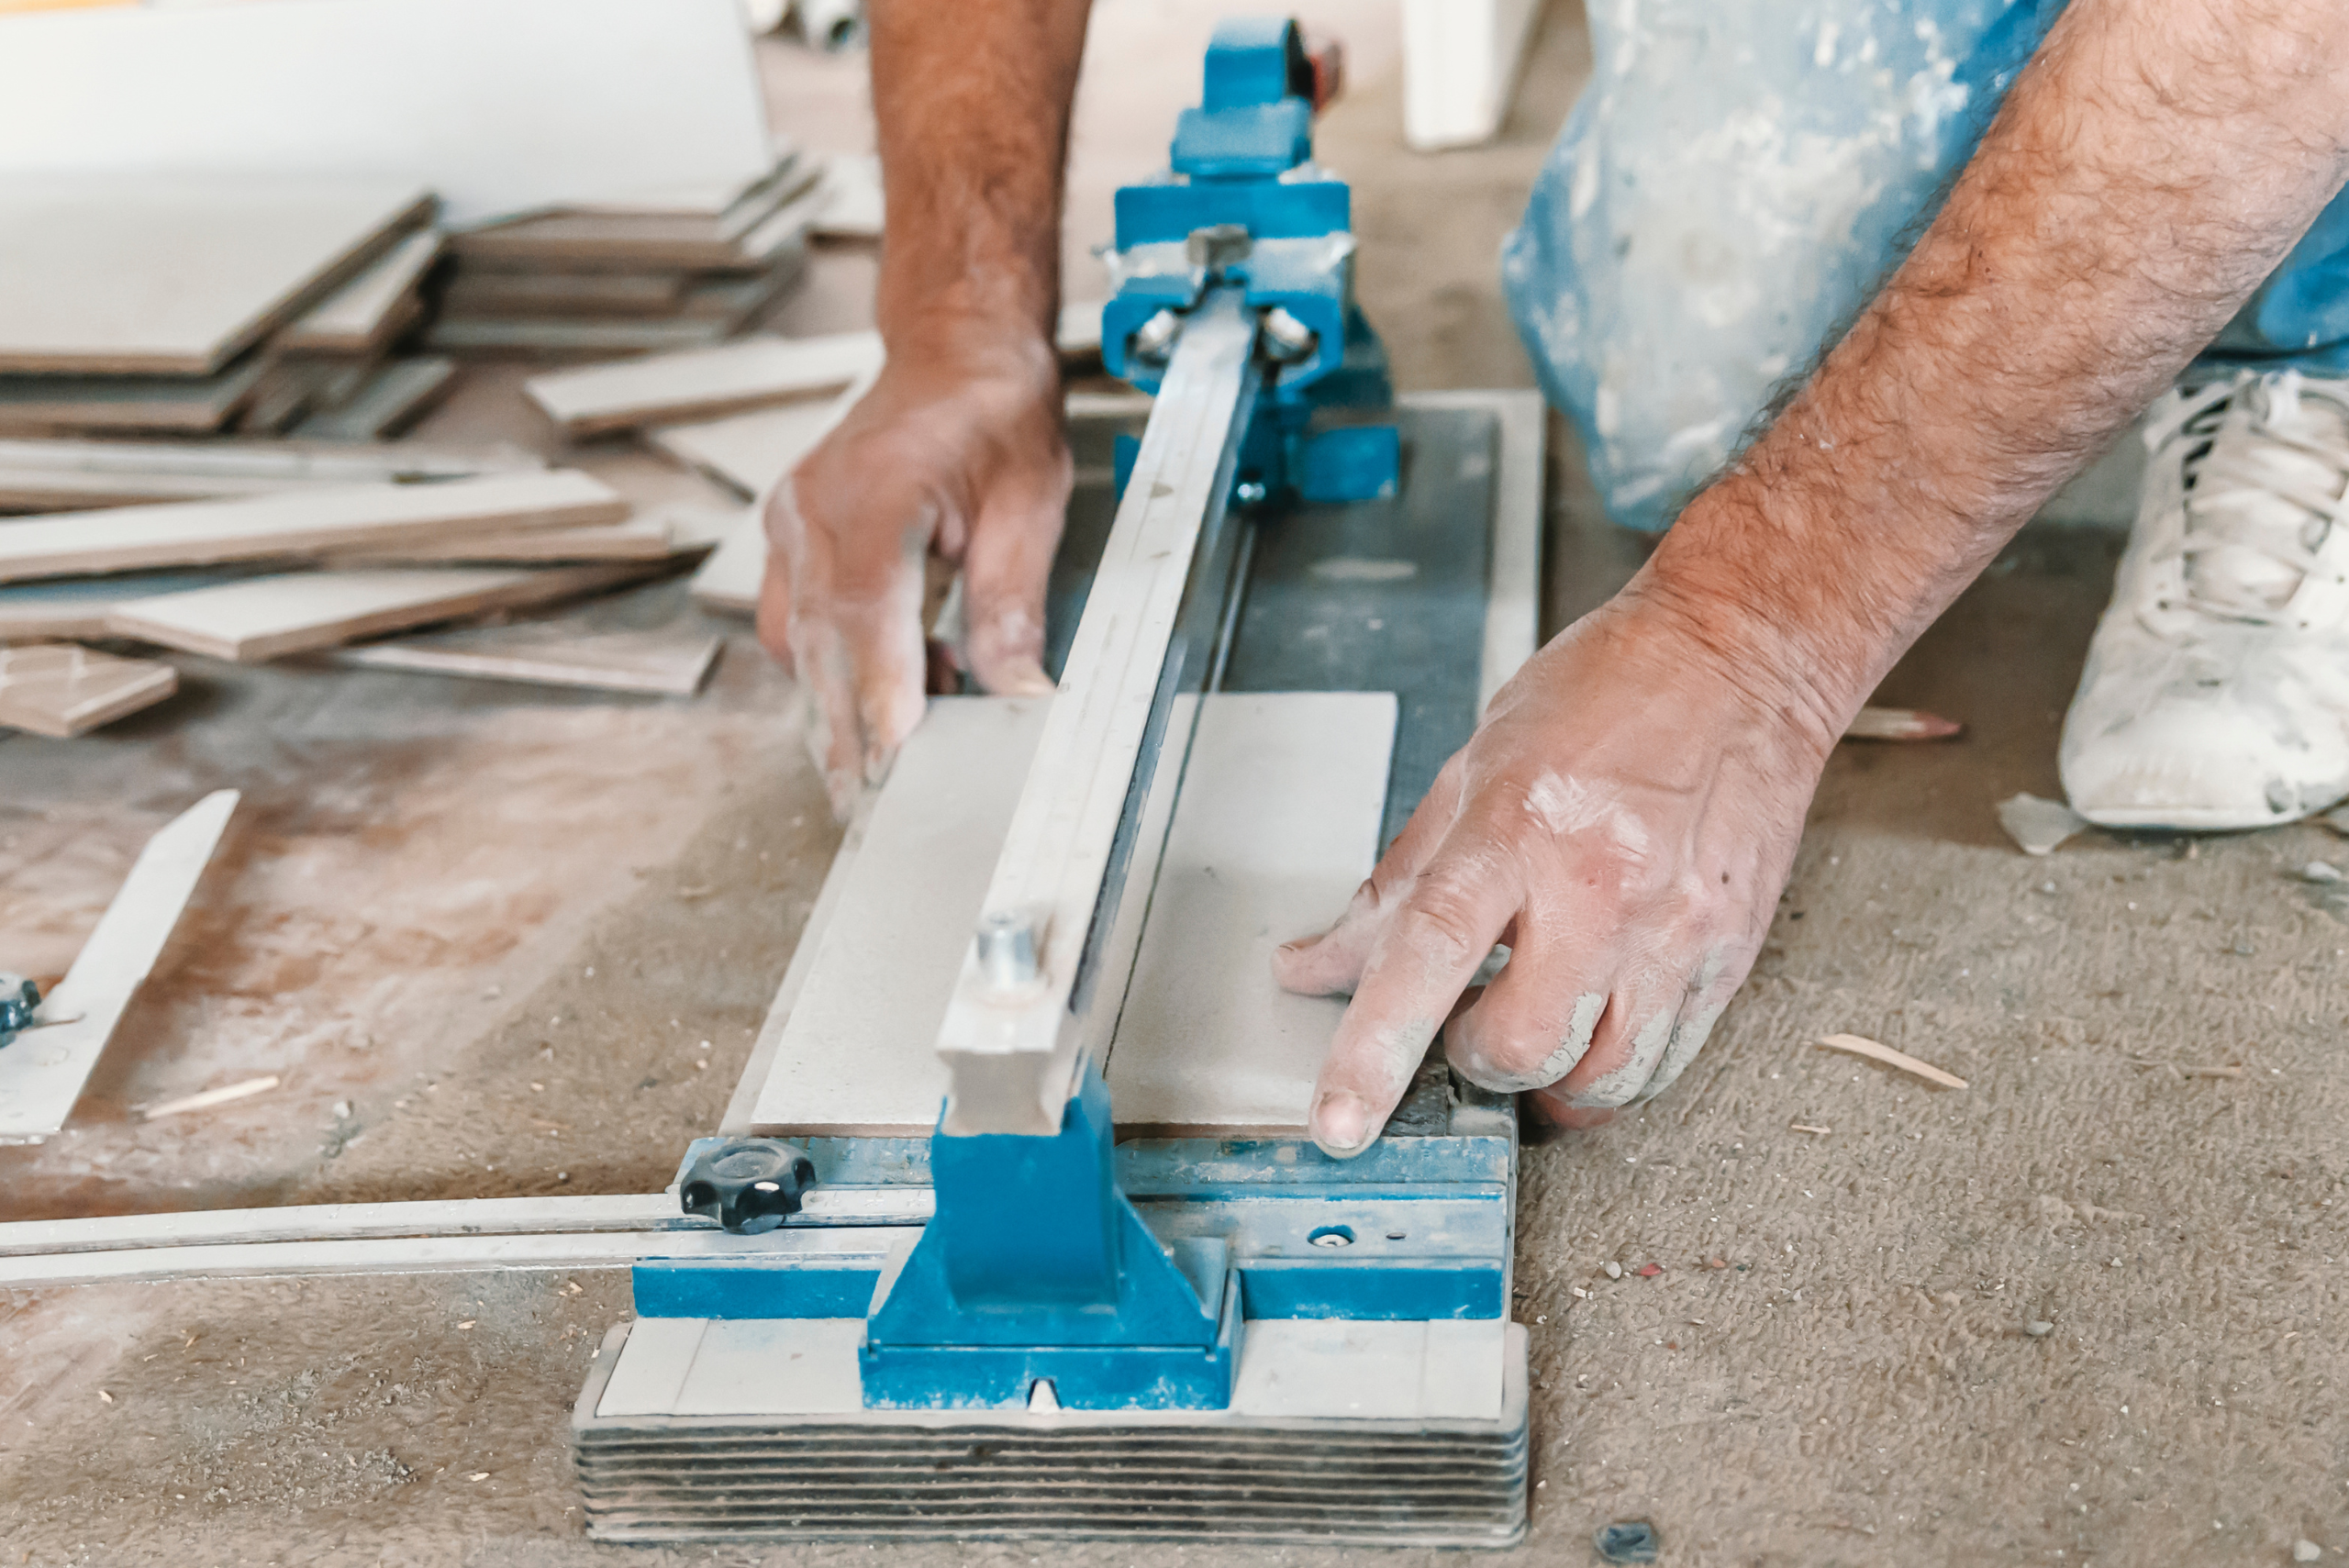
Now, turning our attention to the tile itself, a crucial step before making that first cut is to measure and mark your tile accurately. A common saying among craftsmen, “measure twice, cut once,” has never been more relevant. Using a pencil and a ruler or a tile marker can help in achieving those precise lines that guide your cutting tool, be it a manual tile cutter or a wet saw. Remember, the goal is to make the tile fit perfectly in its destined space, not just to separate it into pieces. With your workspace and tile prepared, you’re now set to tackle the cutting process, transforming those ceramic beauties into the exact shapes and sizes you need for your project.
Techniques for Cutting Tile Straight – A Guide for Beginners
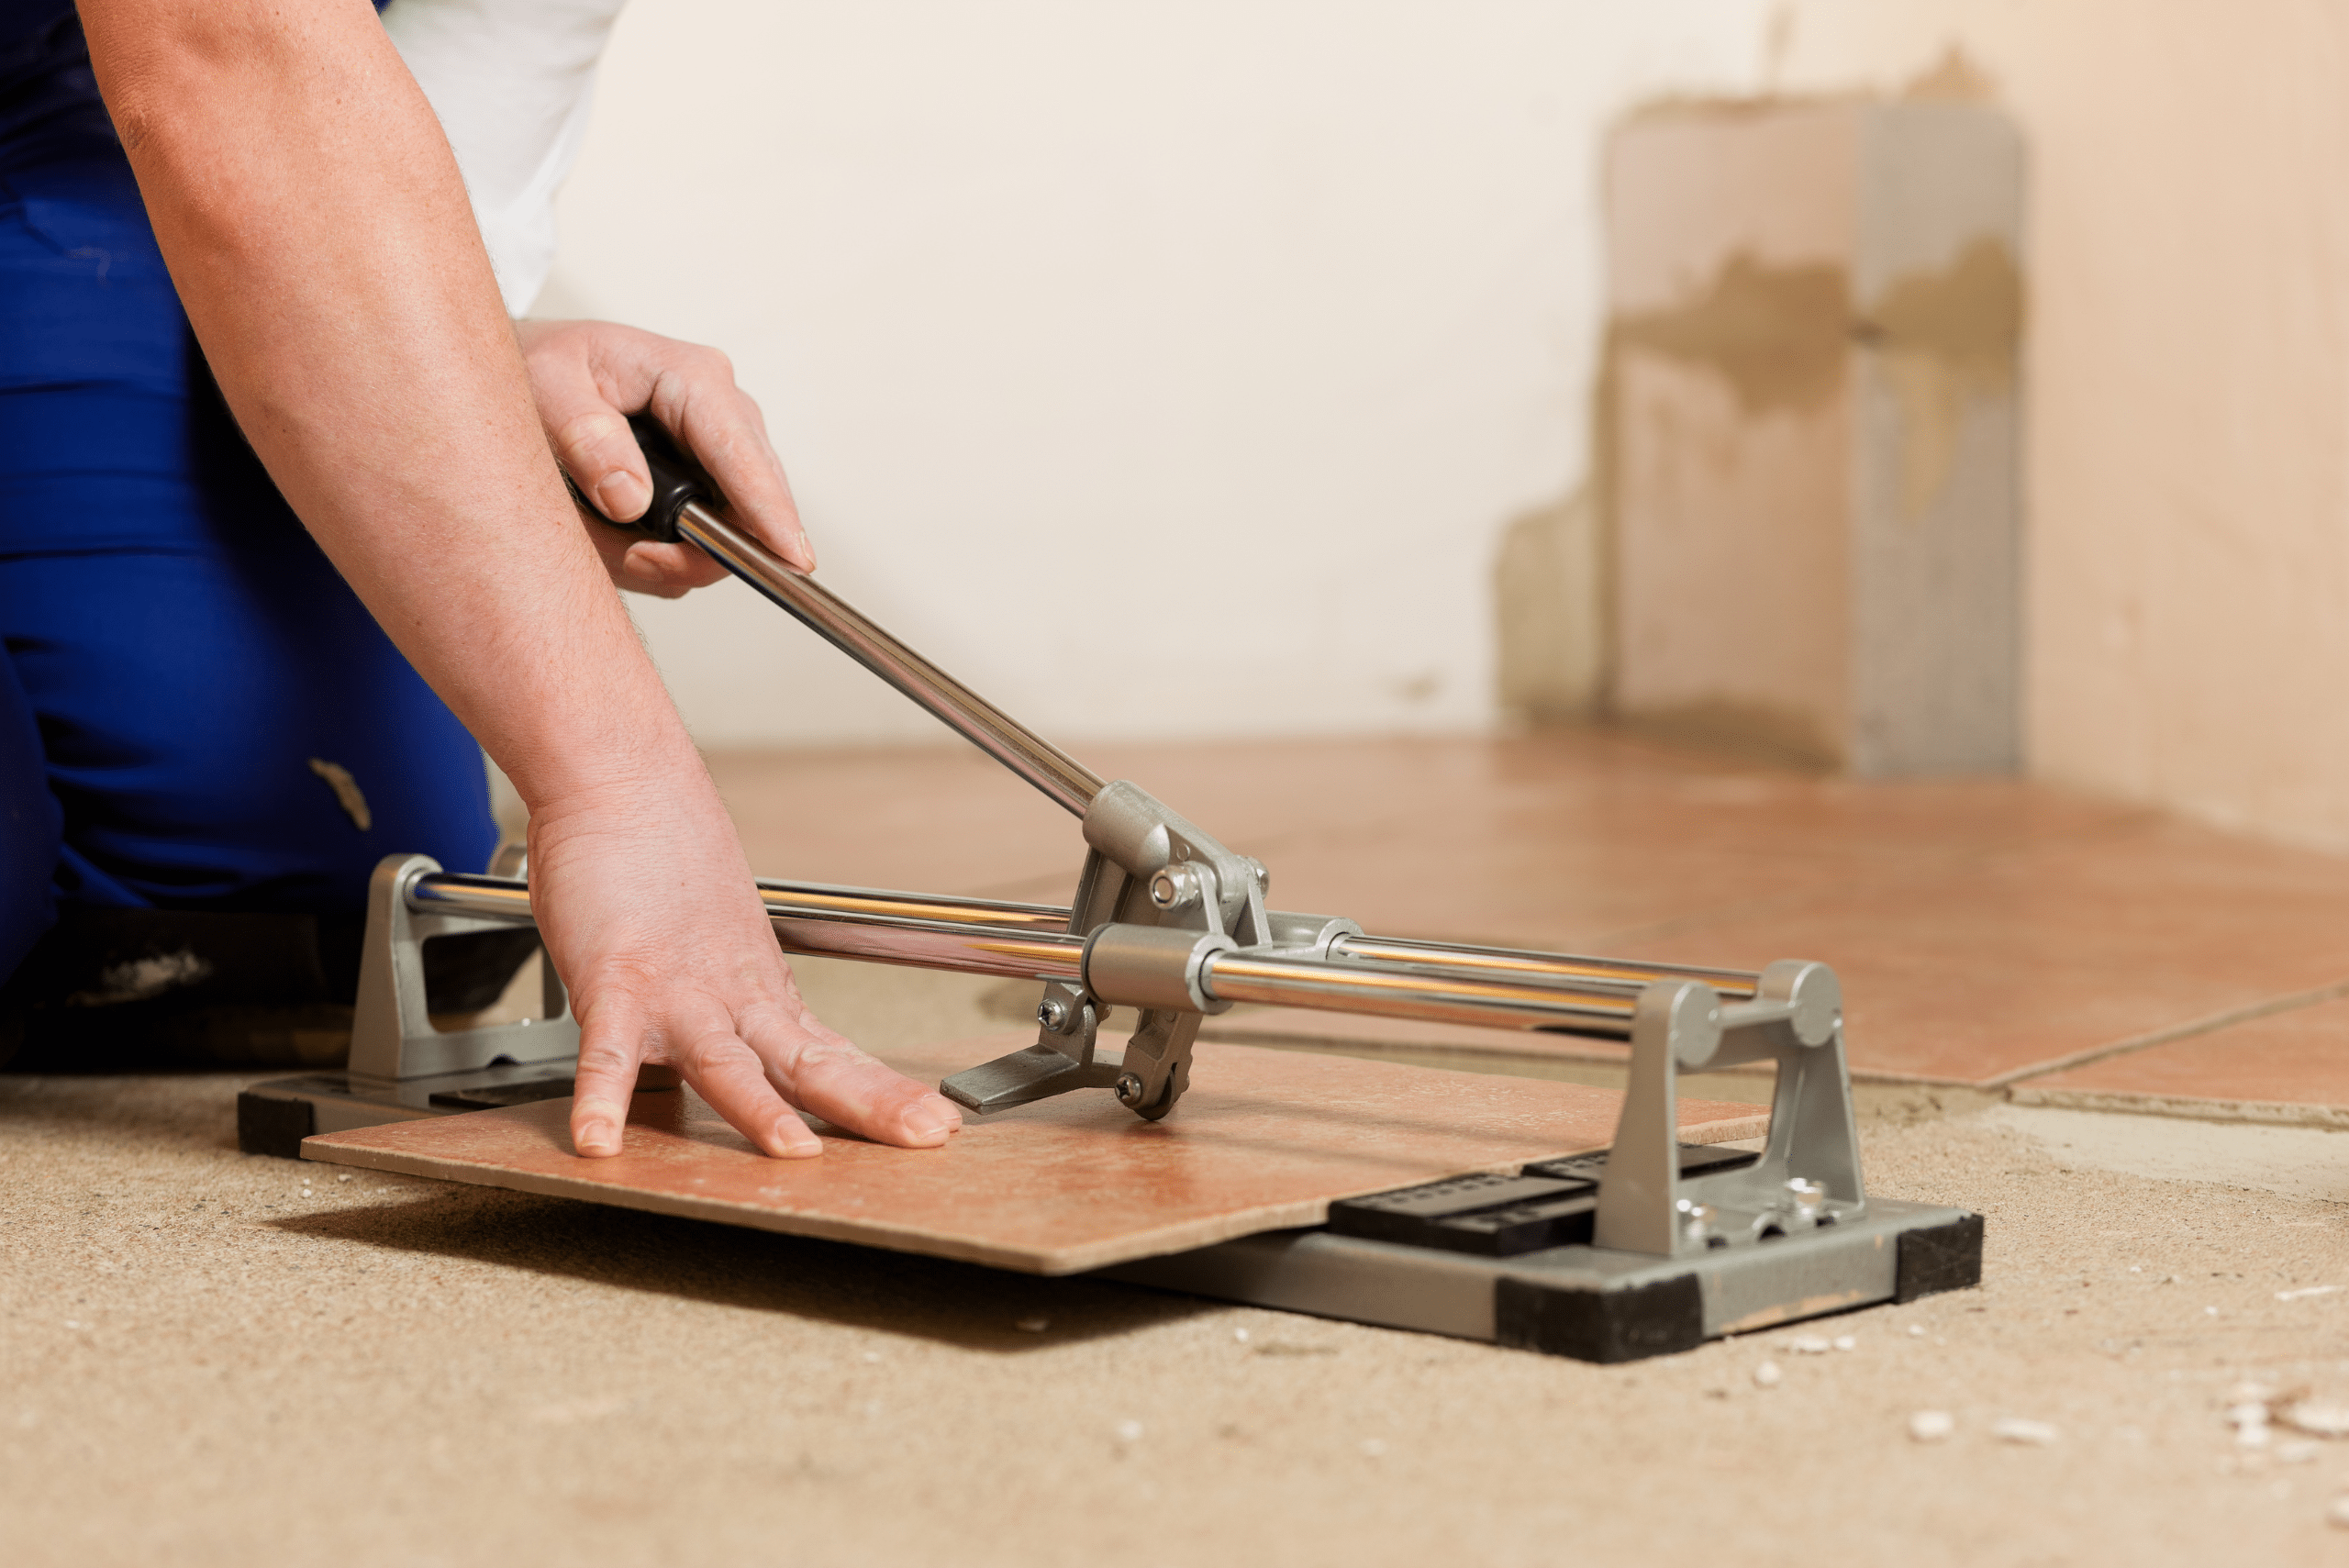
Embarking on a tiling project can seem daunting for beginners, but mastering how to cut tile straight is a fundamental skill that will boost your confidence and the quality of your work. The process begins with the right tools: a manual tile cutter for straight cuts on ceramic tiles and a wet saw for tougher materials like porcelain or stone. When using a manual cutter, score the tile with firm, even pressure along your measured line. This action creates a weak point in the tile. Then, by simply pressing down on the handle, the tile will snap cleanly along the scoreline. This technique requires a bit of practice to perfect, but it’s incredibly satisfying once you get the hang of it.
For those trickier materials that demand precision and a smoother edge, learning how to cut tile with a wet saw is invaluable. The wet saw uses water to cool the blade, reducing dust and preventing the tile from cracking or chipping. Before making your cut, ensure the tile is secure, and the cut line is aligned with the blade. Start the saw and gently push the tile towards the blade, keeping your hands safe and the movement steady. This method might seem intimidating at first glance, but with patience and careful handling, you’ll find it’s a straightforward way to achieve professional-looking results. Remember, practice makes perfect, and soon, cutting tile straight will feel like second nature.
How to Cut Tile for Complex Shapes and Corners – Advanced Tips
Mastering how to cut tile for those intricate shapes and tight corners can really elevate your DIY project from good to great. When dealing with complex patterns or snug fits, precision is key. One technique that often comes in handy is using a wet saw with a diamond blade. This tool allows for smoother, more precise cuts, reducing the risk of chipping or breaking your tile. But remember, safety first!
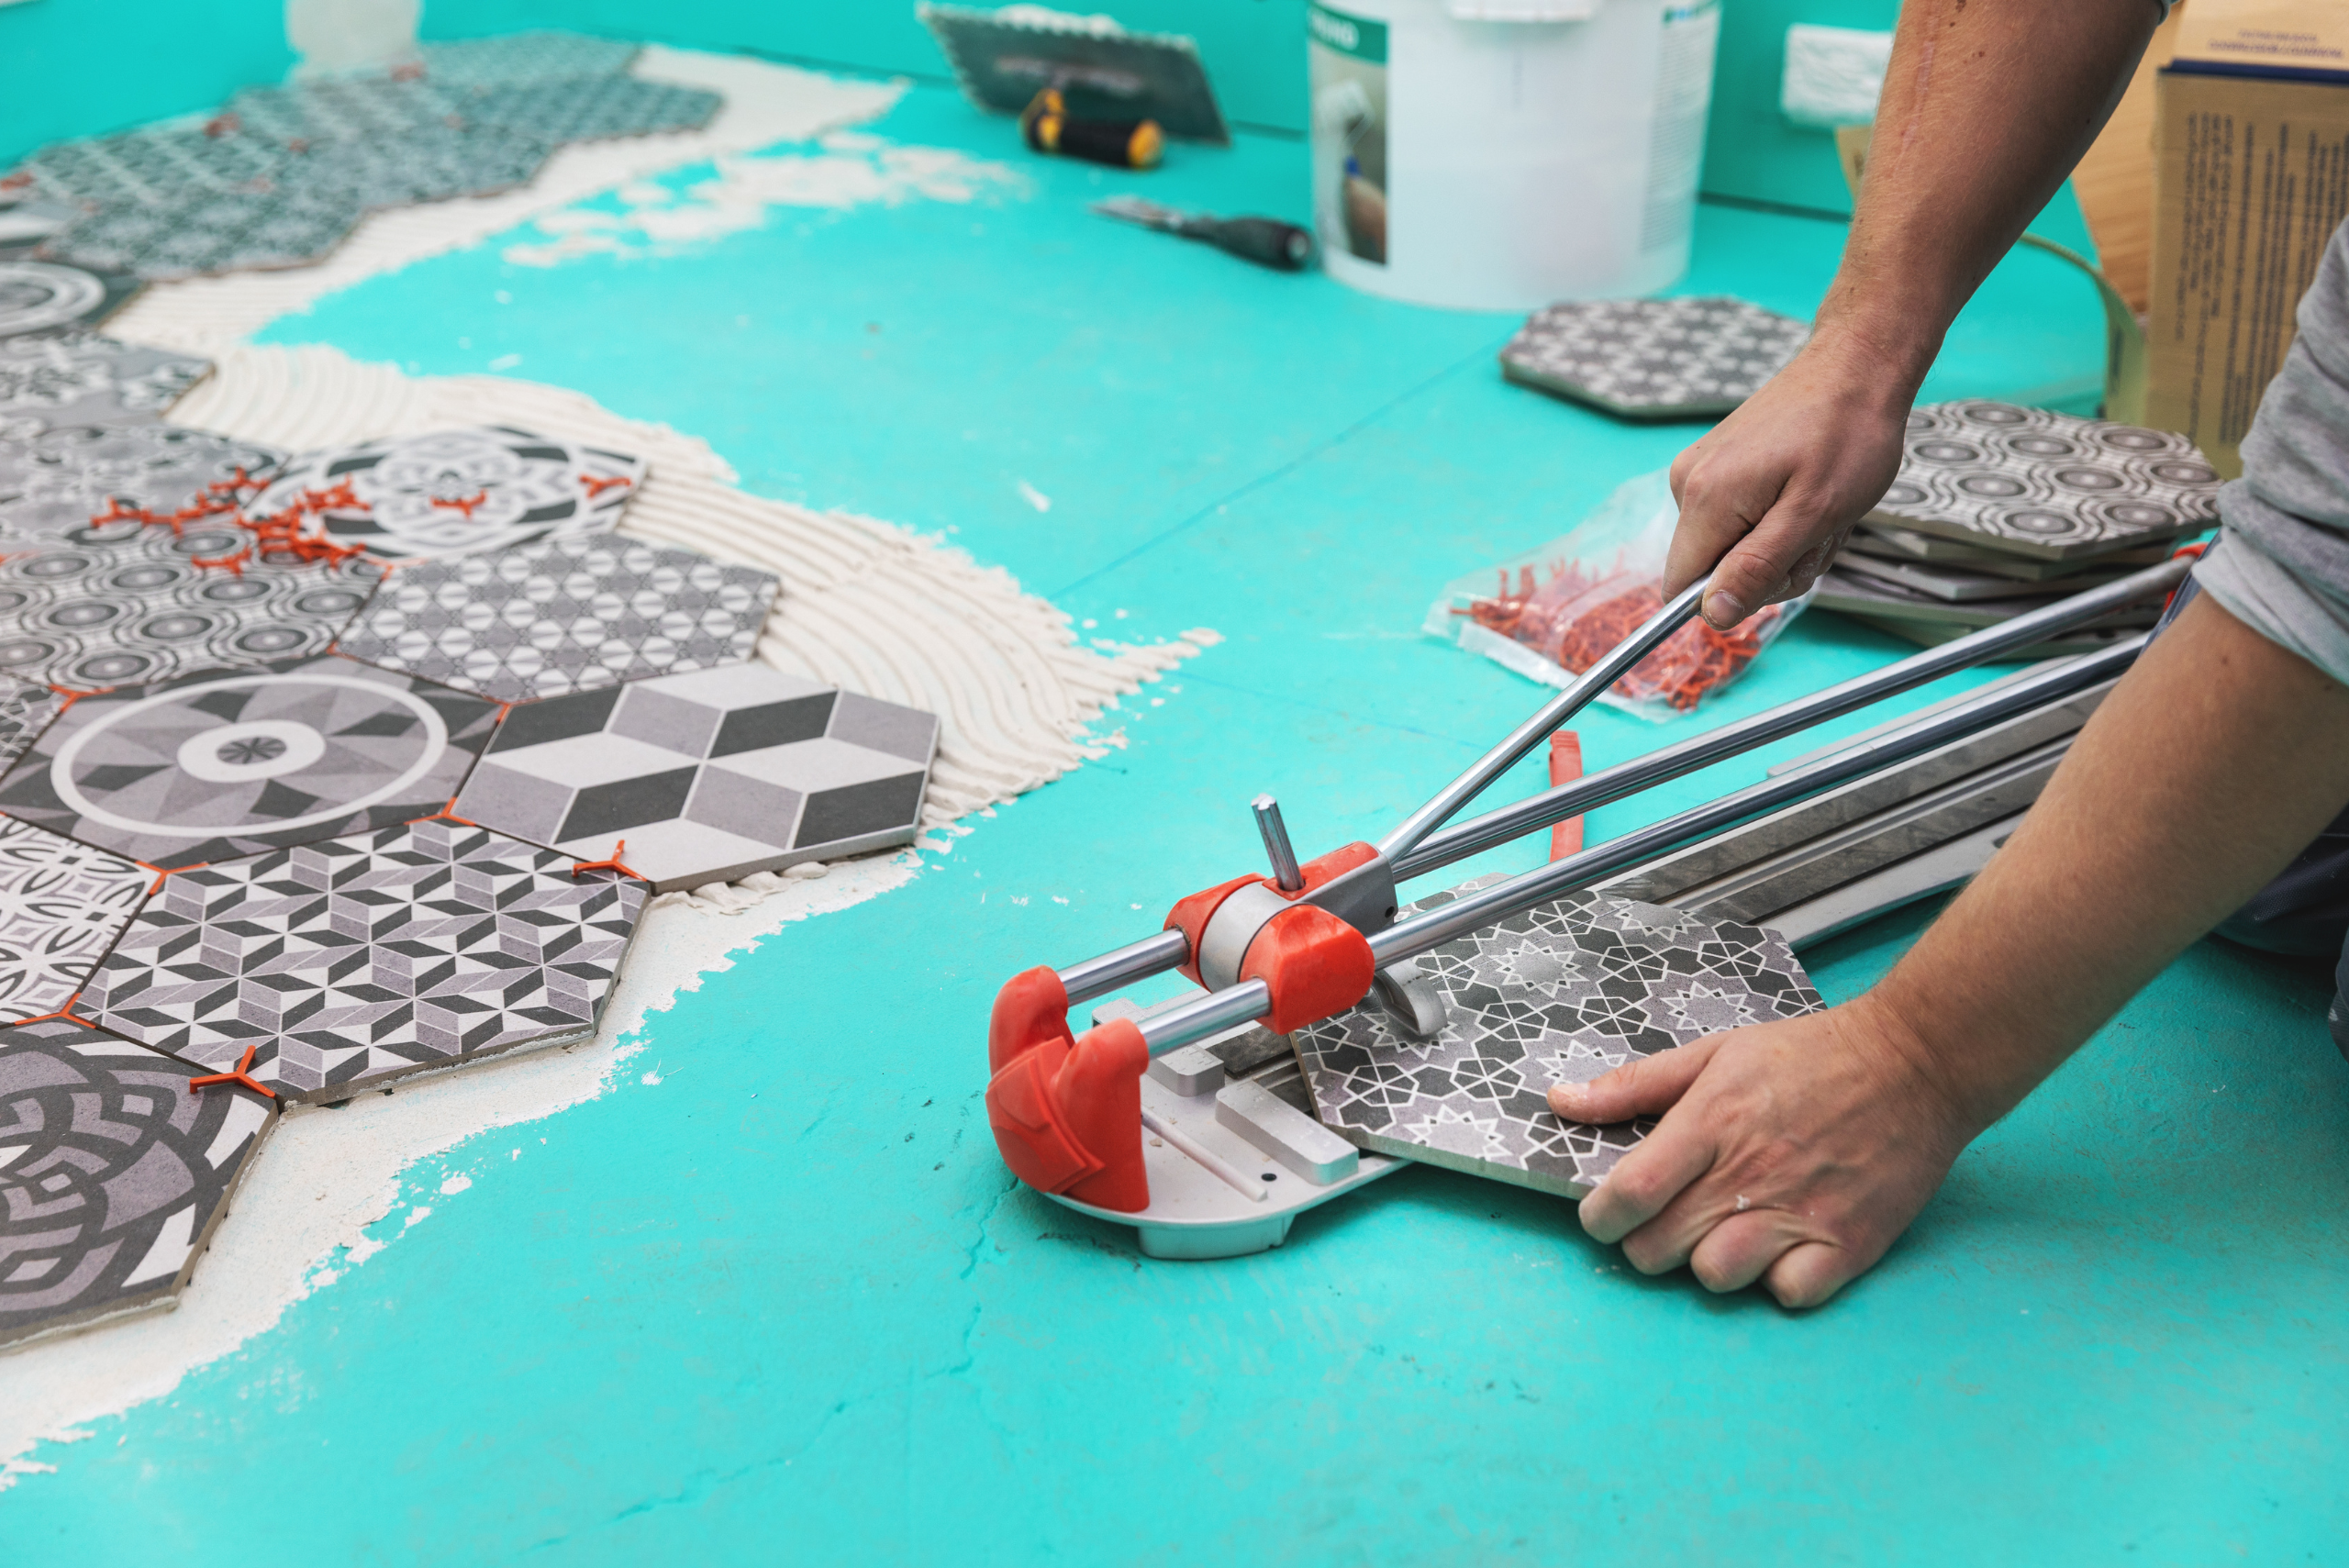
For those really tricky cuts, such as curves or circles, a manual tile cutter might not be enough. That’s where tile nippers and a bit of patience come into play. Start by scoring your desired shape with a glass cutter, then carefully nip away the excess tile with your tile nippers, working slowly to avoid cracking the tile. It might take a bit of practice to get the hang of it, but the effort is well worth it when you see your perfectly cut tile fitting snugly into its designated spot.
Related Articles:
- How To Paint Tile Correctly
- How to Clean Floor Grout Without Scrubbing
- How To Grout Tile Without All The Mess
As we wrap up our discussion on how to cut tile, it’s clear that mastering this skill can significantly elevate your DIY projects from good to great. The precision and care involved in cutting tile correctly can’t be overstated. Whether you’re working on a backsplash, flooring, or a custom wall piece, the ability to accurately cut tile allows for a professional-looking finish that truly stands out. It’s about transforming your space with confidence, knowing that every piece fits perfectly because you’ve honed your technique.
Ready to start your next project? Join our DIY community to receive tool tips, how-to guides, and exclusive creative insights. Subscribe to the ManMadeDIY newsletter now! Click here to unlock a world of hands-on inspiration.


