How to Caulk – Tips, Tricks, and Complete Guide
For DIY enthusiasts eager to improve their homes with a touch of finesse, mastering how to caulk is essential. This simple yet versatile task is the secret weapon for achieving a clean, finished look on various projects. Whether you’re sealing a bathtub or weatherproofing windows, caulk is the go-to material for filling gaps and preventing moisture intrusion. But before you dive in, it’s important to understand the basics of different caulk types and where each is most effectively applied.
Knowing how to caulk not only improves the appearance of your projects but also extends their longevity by protecting surfaces from water damage and wear. The process begins by selecting the right caulk for your specific job—be it silicone for wet areas or acrylic for paintable surfaces. Preparing the surface is just as crucial; it should be clean and dry to ensure the caulk adheres properly. Once you cut the tip of the caulk tube, the real artistry begins. Applying a smooth bead requires a steady hand and patience, but with practice, you’ll find that caulking can be as satisfying as it is functional.
Essential Steps Before You Start to Caulk
Before you start to caulk, it’s crucial to get the area ready to ensure the best outcome. The first step is to clean the surface thoroughly. Any dust, old caulk, or grease can prevent the new caulk from adhering properly, leading to a less effective seal. A putty knife or a caulk removal tool can be handy here for scraping away old caulk. After scraping, use a cloth dampened with isopropyl alcohol or a specialized cleaning solvent to wipe down the surfaces. This step will help remove any residual particles and create a clean canvas for your new caulk to bond with.
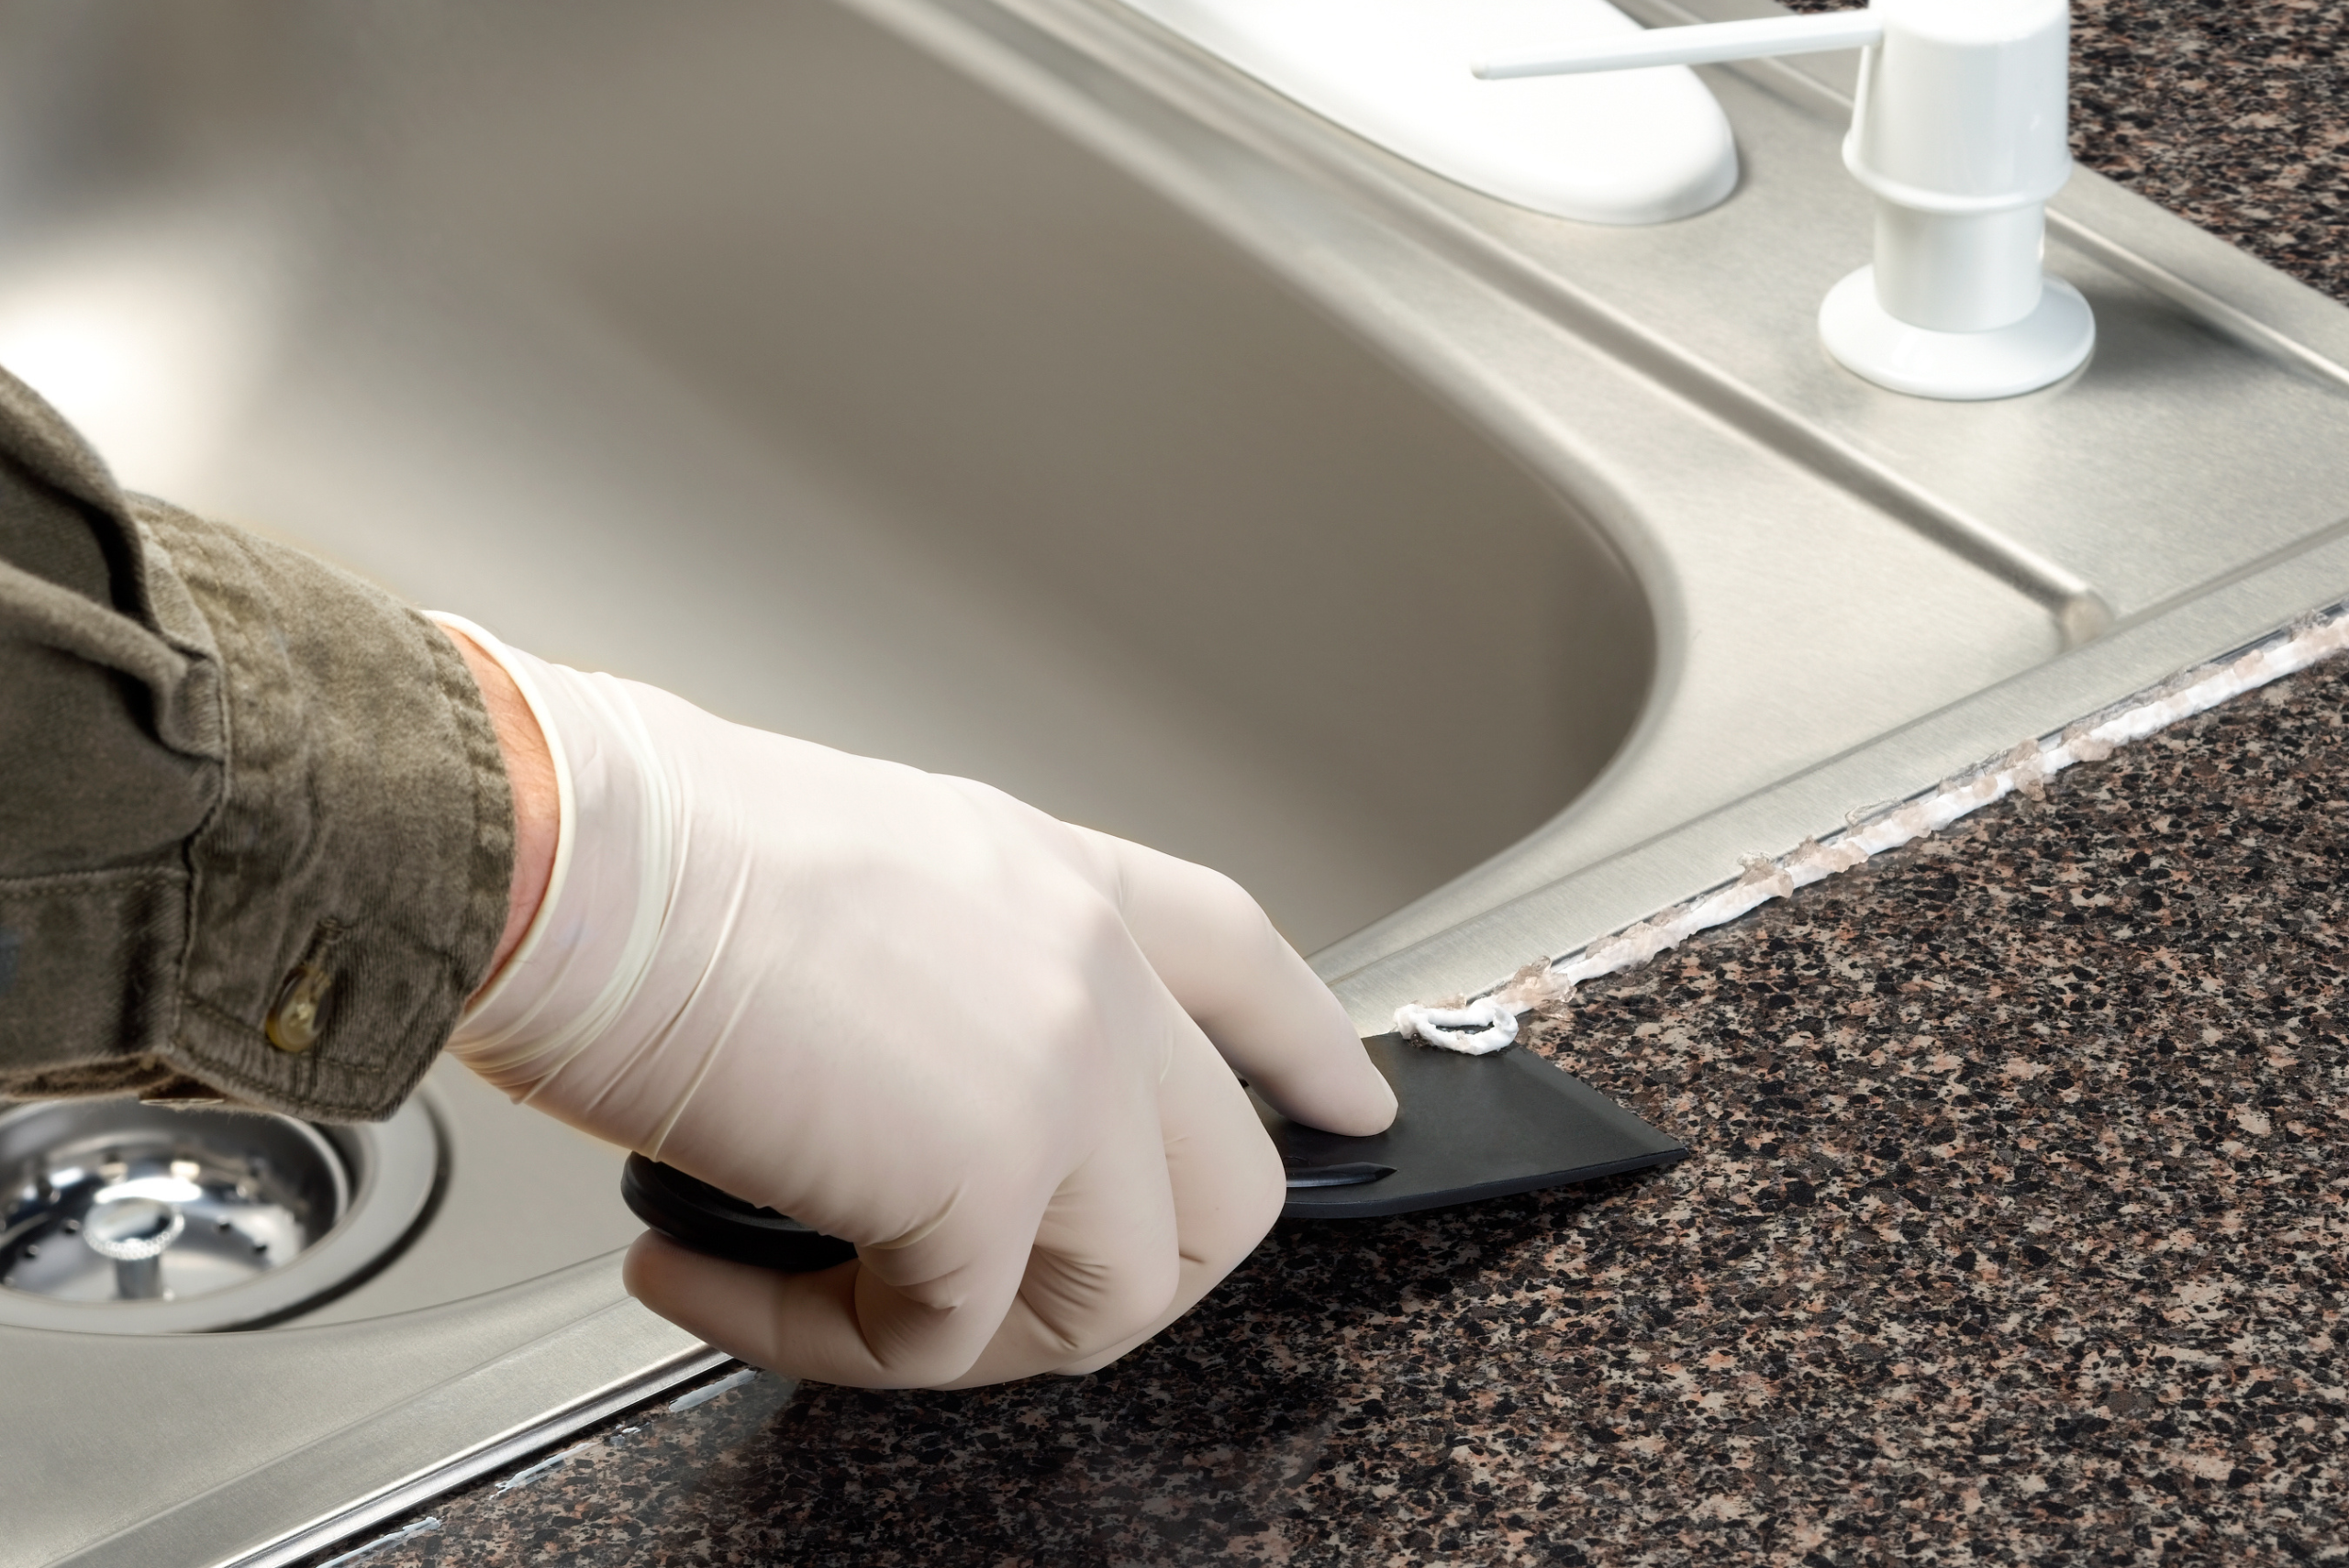
After the area is clean, it’s time to assess whether you need to use a backer rod. If you’re dealing with larger gaps, inserting a backer rod before you start to caulk can provide better structure and depth for the sealant to adhere to. It also helps you use less caulk, which can save money and reduce the risk of overfilling the space. Once the backer rod is in place and the area is clean and dry, it’s time to cut the tip of the caulk tube. Remember to cut the tip at a 45-degree angle and to start with a small cut — you can always make it larger if needed. This angled cut will help you guide the caulk into the joint smoothly as you apply it.
Selecting the Right Caulk For Each Job
When embarking on a DIY project, understanding how to caulk is as crucial as selecting the right materials and tools for the job. The choices can be overwhelming, but a little know-how goes a long way. For instance, silicone caulks are a go-to for wet areas like bathrooms and kitchens because of their waterproof and mold-resistant properties. On the other hand, acrylic latex caulk is paintable and works well for sealing gaps in interior spaces where moisture isn’t a big concern.

Now, how to caulk like a pro starts with having the right tools in hand. A reliable caulking gun is the linchpin of the operation, providing you with the control needed for a smooth application. Look for one with a smooth pressure rod for ease of use and minimal hand fatigue. A caulk finishing tool can also be a game-changer, helping to smooth out the bead for a clean, professional finish. Remember, the key to a successful caulking job is not just in the application but also in the preparation and the precision with which you select and utilize your materials and tools.
Step-by-Step Guide For Mastering Caulking Techniques
When it comes to mastering the art of caulking, the key is in your technique and the quality of your tools. A steady hand and a keen eye for detail are paramount. First things first, ensure that you’ve chosen the right type of caulk for your project—silicone or latex—and have a good-quality caulking gun ready. Before you start, cut the tip of the caulk tube at a 45-degree angle, which allows for a smoother application. When you’re ready to begin, hold the gun at a consistent angle and apply even pressure as you glide the tip along the seam. Remember, how to caulk is not just about the action; it’s about the flow and rhythm you develop.
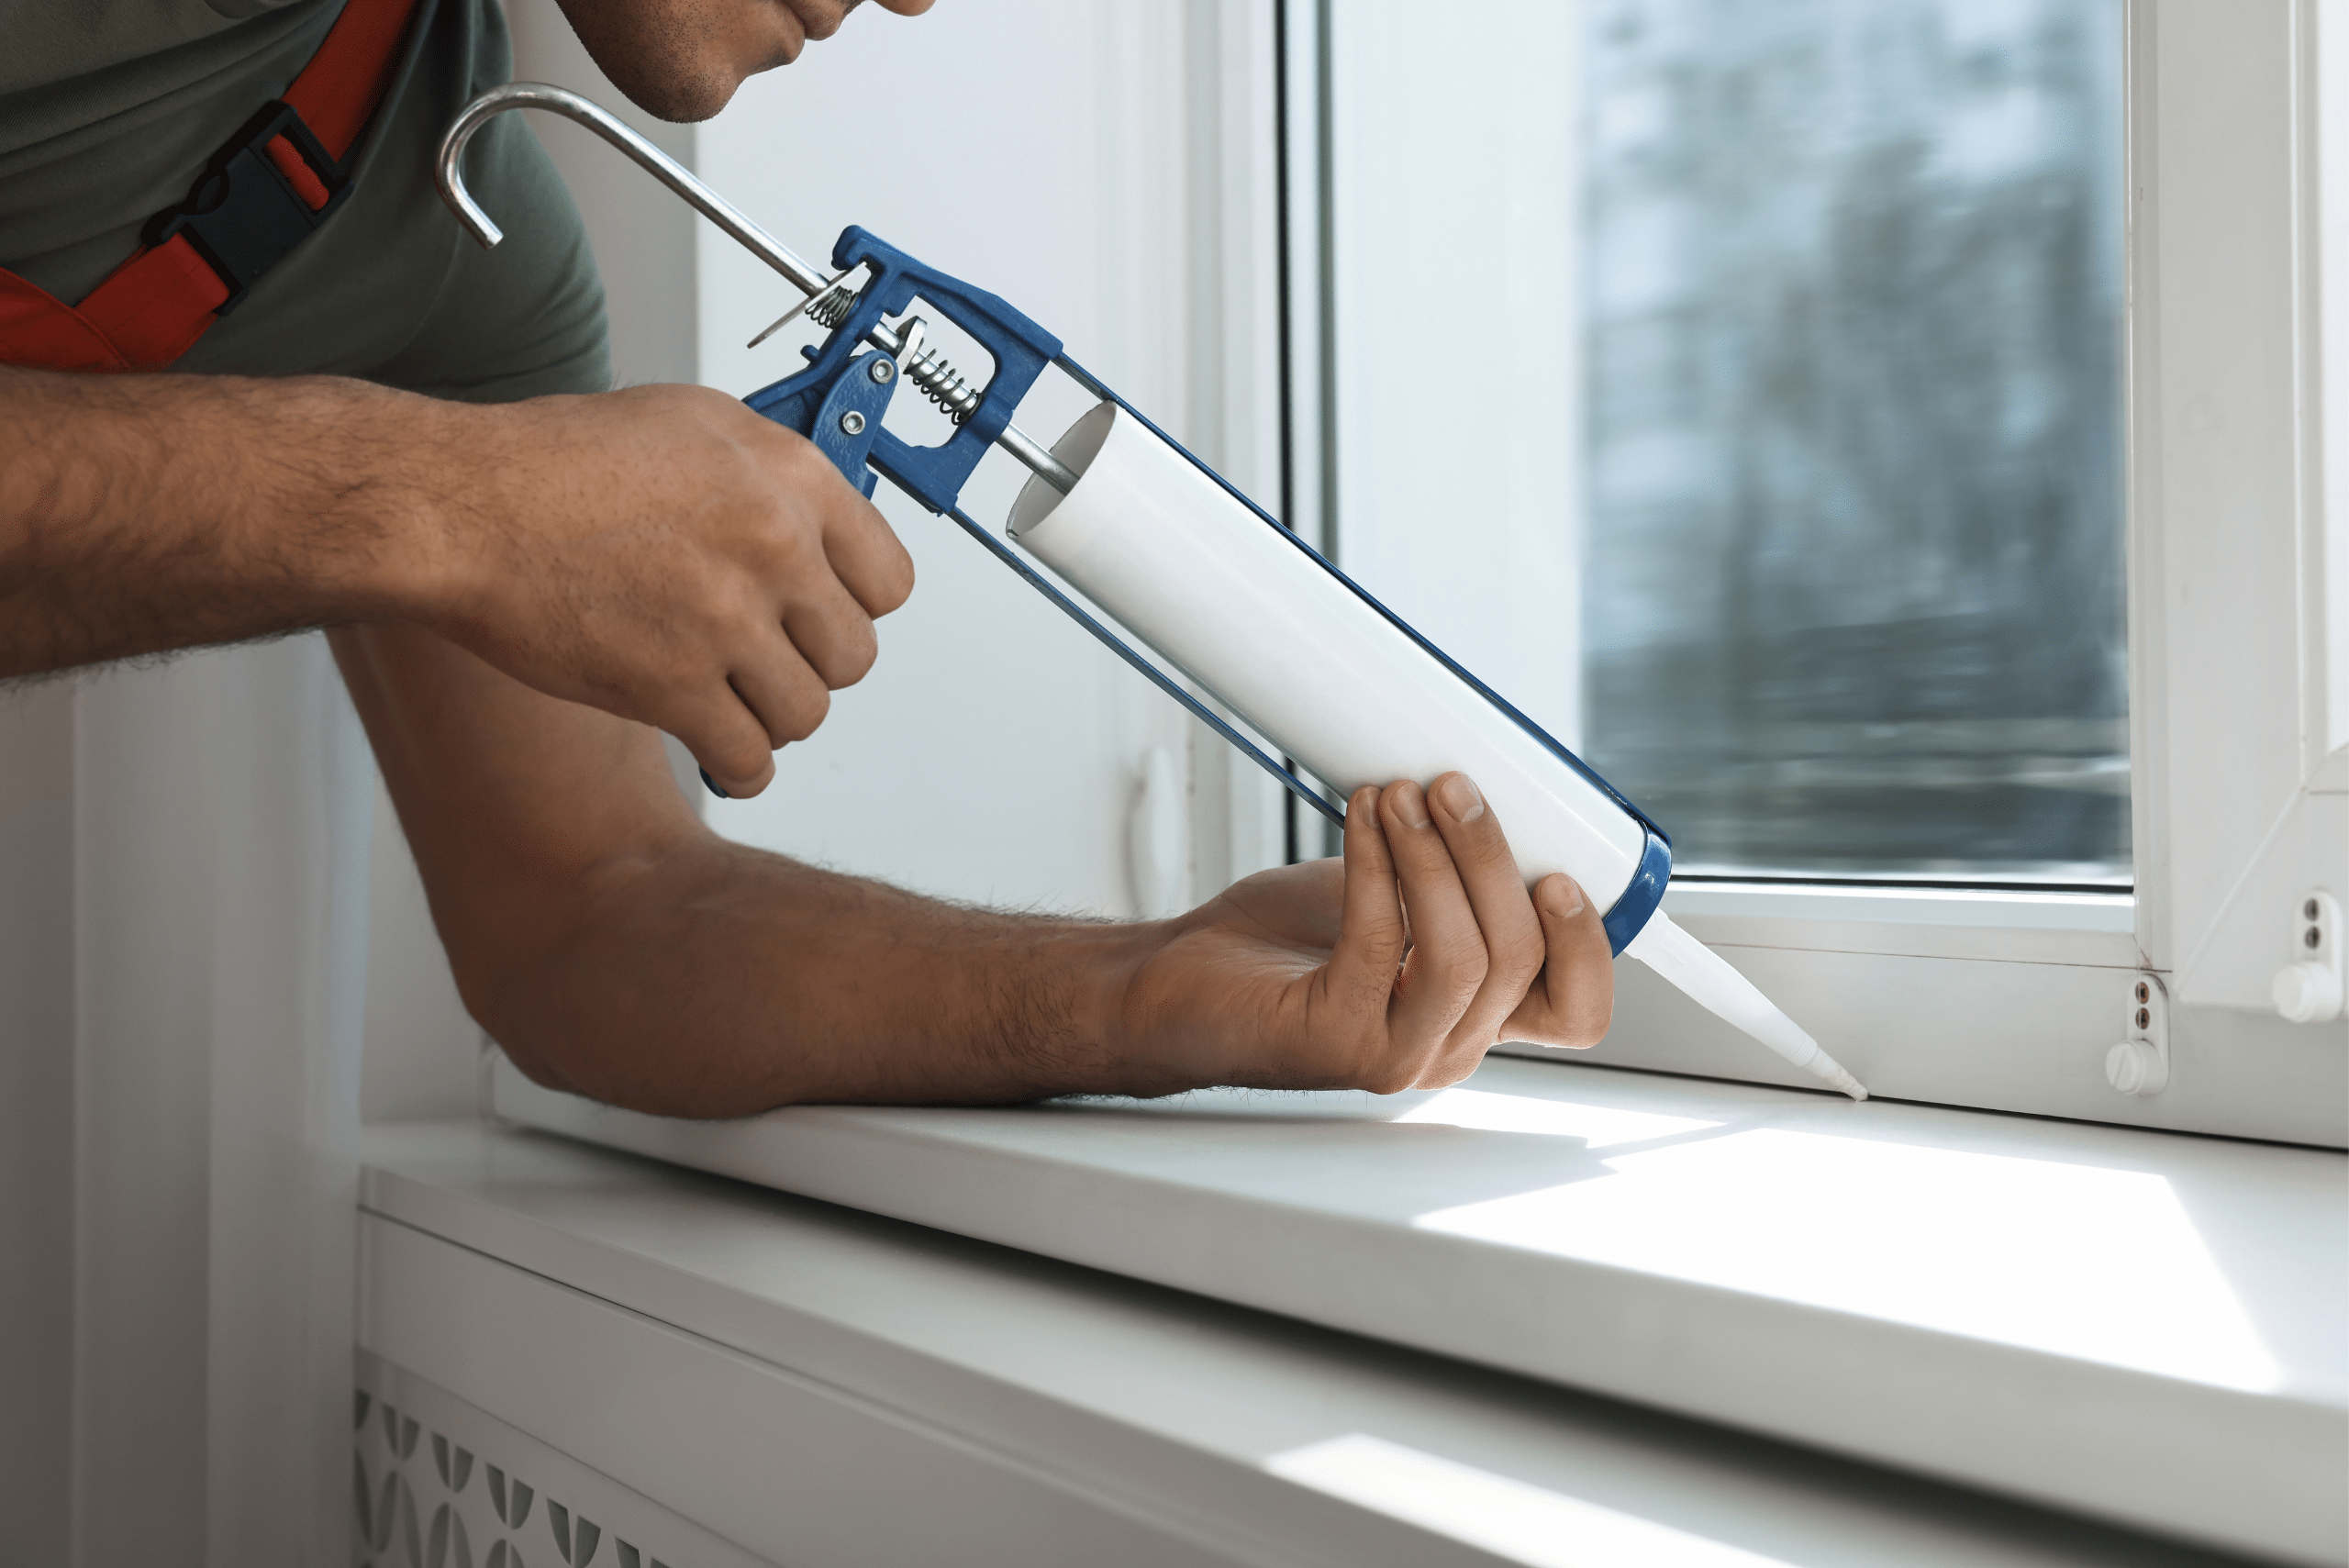
Achieving a professional finish is all about practice and patience. Don’t rush the process; take your time to smooth the caulk with a damp finger or a caulk finishing tool to press it into the gap and remove the excess for a clean, seamless look. If you’re working with silicone caulk, remember to use a smoothing agent like soapy water to prevent it from sticking to your tools or fingers. How to caulk is also about knowing when to stop—overworking the caulk can lead to an uneven finish. With these tips in mind and a little bit of practice, you’ll find that learning how to caulk like a pro is a skill well within your reach.
Related Articles:
- How to Remove Silicone Caulk
- Toilet Wax Seal Installation: A Step-by-Step Guide
- How to Paint Laminate Countertops
Sealing the deal with your new caulking skills is about ensuring a job well done that stands the test of time. Now that you’ve mastered how to caulk, you can take pride in the smooth, watertight seals that grace your windows, bathtubs, and sinks. It’s the finishing touches like these that not only protect your home from moisture and drafts but also give it a polished look. Remember, the key to a professional finish is patience and precision, so take your time to smooth out the caulk and clean up any excess. Your newly acquired caulking prowess will not only save you money on potential water damage repairs but also empower you to maintain and enhance your living space with your own two hands.
Ready to start your next project? Join our DIY community to receive tool tips, how-to guides, and exclusive creative insights. Subscribe to the ManMadeDIY newsletter now! Click here to unlock a world of hands-on inspiration.


