How to Clean Vinyl Flooring
Vinyl is the most favored form of resilient flooring because it’s low-maintenance, water-resistant, cost-effective, and an all-around easier option. It also has the ideal balance of firmness and “give,” meaning it springs a bit when you walk on it for a comfortable feel underfoot. And thanks to recent technological advances, today’s vinyl comes in a wide range of high-quality, beautiful finishes.
All that being said, the product is surely not indestructible. Fortunately, cleaning vinyl flooring is a relatively straightforward and affordable process, and with good care, it’s easy to maintain the high-end look of your vinyl flooring.
What is Vinyl Flooring?
Vinyl is a resilient type of flooring made from PVC and various other compounds. These components merge to create different designs and colors. They come as floor tiles or sheets and are applied to the subfloor with the help of a unique adhesive or mastic.
Initially created as a replacement for rubber floors, vinyl is more durable and unaffected by oxygen exposure or alkaline moisture.
Often used in commercial settings, vinyl floors are easy to clean and resistant to wear. It also comes in various price ranges, making it a possible choice for people on a budget.
Types of Vinyl Floors
There are multiple varieties of vinyl flooring, such as luxury and basic, but what are the main types?
Plank
The main intent of vinyl planks is to appear like hardwood or wooden floors — but without the cost. The planks can look very realistic, and because of the soft surface, they can also feel very similar to the real deal.
It’s also much easier to clean vinyl planks since you can use nearly any product. Plus, you don’t have to worry about water damage. You can easily use vinegar, water or dish soap for basic mopping.
Tiles
Vinyl tiles are cut into squares of various sizes. They often compare to natural stone flooring but are a more affordable version.
Besides, natural stone is highly porous and shouldn’t be cleaned with several products and methods. Vinyl tiles, on the other hand, are easily maintained.
If one tile were to break or become damaged, it’s straightforward to change without replacing whole sections of the floor.
You can easily keep vinyl tiles clean by sweeping or vacuuming to remove dust and dirt. Use a mixture of vinegar and water to mop and restore shine.
Sheet
This kind of vinyl is a single roll six to 12 feet wide. Because of the sheet style, there are fewer seams. This makes it excellent for high-moisture areas such as kitchens and bathrooms.
Sheet vinyl is effortless to maintain and keep clean. Due to the limited number of seams, there aren’t many hiding places for dust. You might only need to sweep it a couple of times a week and mop when it’s needed.
There are several ways to clean a vinyl floor. Here are some methods that we recommend:
Dry Clean
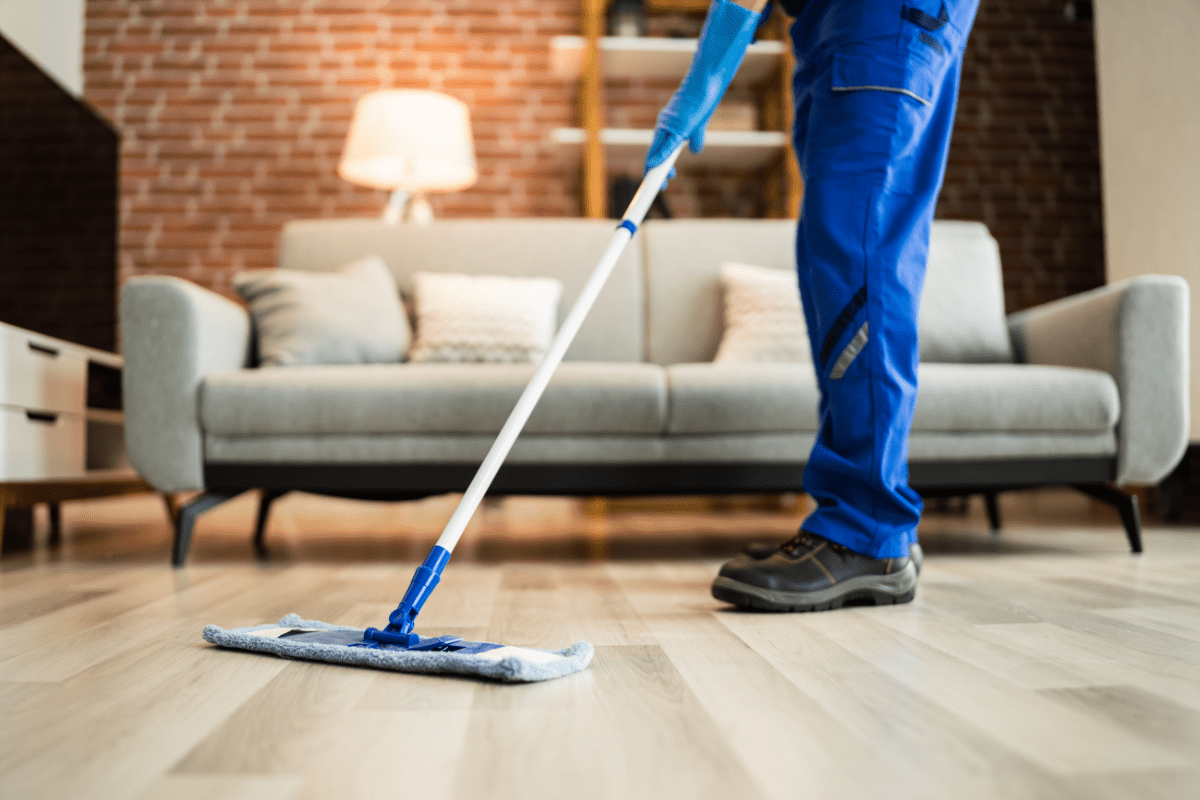
Start with a dry clean when you’re learning how to clean vinyl floors. This means using a mop and a vacuum. You will want to make sure you remove any debris before adding a wet cleaner.
Use a dust mop, dry mop, or flat mop to collect surface dirt. Gently and methodically clean the floors.
- Start in the corners and work your way to the center of the room.
- Make sure you also clean under furniture and along baseboards.
- Sweep the debris into a dustpan and dispose of it.
After mopping, ensure the floors are entirely clean by vacuuming.
- Use a vacuum that lets you turn off the beater bar or rotating brush. It may be labeled as a setting for hard floors. The extra moving parts you turned off could damage the vinyl.
- Vacuum the room. Follow the same path as you did with your mop.
- If you’re cleaning vinyl planks, make sure to vacuum the gaps or cracks between the pieces.
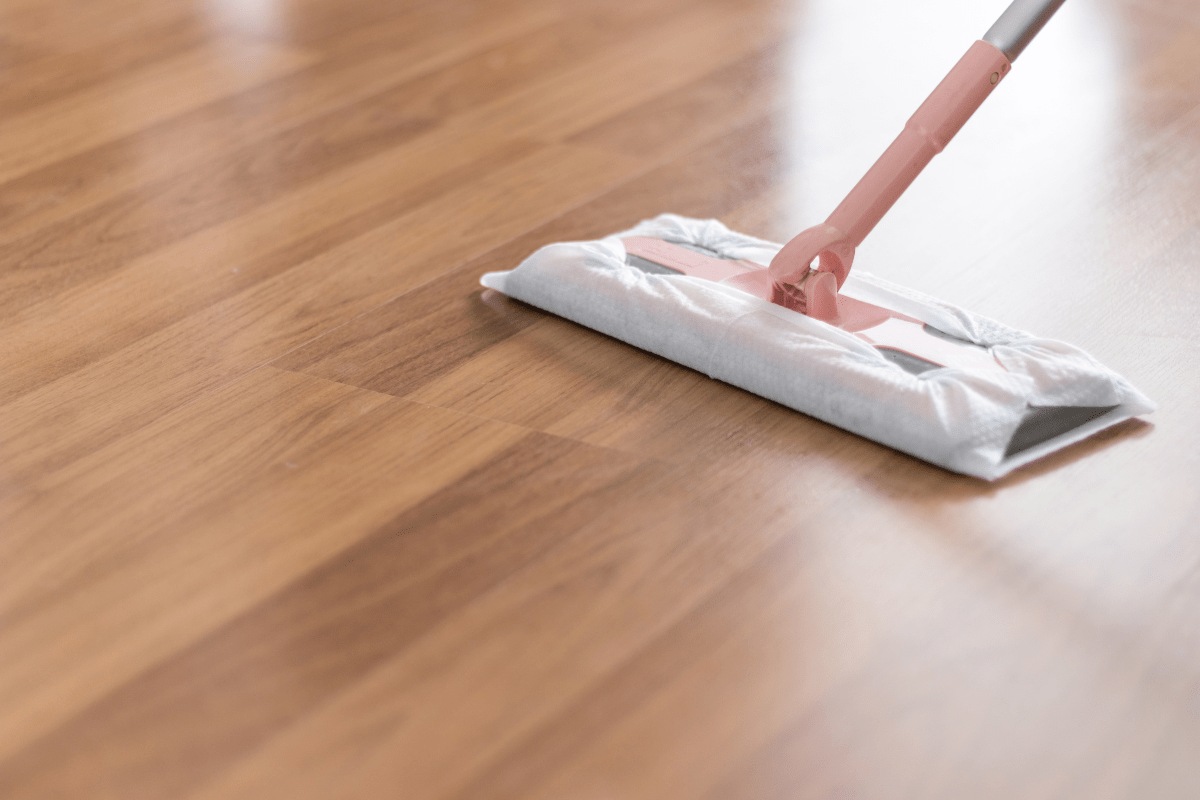
Sponge Mop
If you keep up with the general cleaning of your vinyl flooring, a sponge mop and water should do the trick most of the time. Plain tap water and a sponge mop are needed to give your vinyl floor a quick clean after your dry mop and revitalize and keep them looking new.
Commercial Cleaners
You can try a commercial cleaner on your vinyl flooring if you need something with a little more power and strength. Just ensure that you are using a safe vinyl flooring cleaner.
There are many commercial cleaners available on the market, and you will want to check the manufacturer’s instructions to ensure you are using the right solution when adding to water.
Natural Methods
Vinegar
Clean off general surface dirt with vinegar. White vinegar or apple cider vinegar cuts through grime. It’s an incredible option to clean your vinyl floor without chemicals. Vinegar is also great for terminating any floor stickiness.
How to Clean a Vinyl Floor with Vinegar:
- Mix 1 cup of vinegar into 1 gallon of very warm water.
- Dip your wet mop into this mixture.
- Wring out the mop, so it’s damp and not soaking wet.
- Mop your floor.
Add a drop or two of dish soap to the mix for an extra cleaning boost. Be sure to rinse well afterward — you don’t want your floors to be slippery.
Baking Soda
Occasionally you’ll find stains on your floor. To avoid damaging the finish, start with natural methods to lift it. You can use something more powerful afterward if need be.
How to Clean a Vinyl Floor with Baking Soda:
- Combine baking soda and water to create a paste.
- Apply the paste to the stain with a soft rag.
- Rub gently until the stain is completely lifted.
- Repeat this process if necessary.
- When you’re done, remove excess paste. Wipe the area with a clean, damp cloth.
- For more cleaning power, rinse with your vinegar and water mix. Any extra baking soda will react with the vinegar.
Scuffs and Stains
If you notice scuffs and stains on your hardwood floor, you may need a more thorough approach to cleaning your vinyl flooring. Small scuffs that don’t have scratches beneath them are easy to remove. Major scuffs, scratches, and nicks may require replacing the affected vinyl plank flooring or vinyl tile.
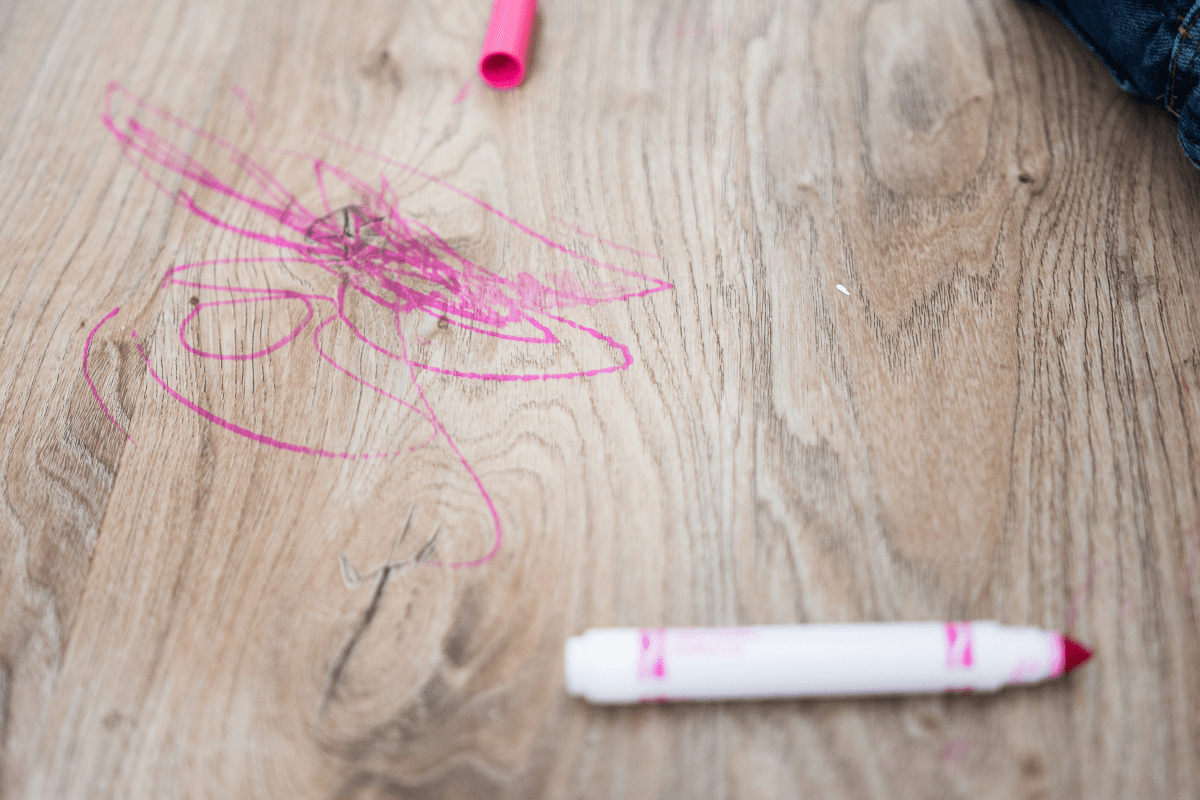
To remove minor scuffs or unattractive shoe scuffs, try one of these methods:
- Use a melamine pad/sponge. Merely buff out the scuff until it disappears. It removes small scuffs without damaging the finish.
- You can also try buffing the scuff with a dab of olive or jojoba oil.
- Use rubbing alcohol and a rag to buff scuffs away.
After removing scuffs, you want to make sure the floor is safe to walk on. Carefully wash away any oils with water and vinegar.
For stubborn scuffs, try putting some WD-40 lubricant or jojoba oil on a towel and rub the area until the scuffs disappear. Clean thoroughly with the vinegar and water solution to remove any traces of lubrication.
Prevention
The soundest way to ensure you have clean vinyl floors is to set up a good defense. Prevent stains on vinyl with a quick cleanup. Immediately wipe up any spills and rinse off the residue. The longer a spill sits, the more likely the vinyl can absorb it. Once the vinyl has absorbed the stain, it will be much more difficult to remove.
Removing Stains
If a quick cleanup didn’t happen or fix the vinyl stain, there’s still hope. Try cleaning up stubborn stains with these common household items. Do a spot check in a hidden corner to see if the vinyl discolors. If it doesn’t discolor, use your stain remover of choice.
Follow these tips when removing stains from vinyl:
- Make sure your ventilation is good if using chemicals.
- Use rubber gloves to protect your hands.
- Use a rag to apply the solution for stain removal methods involving soaking.
- If the stain is small, try a cotton ball or pad to soak it.
Use the method of vinyl stain removal that applies to your situation:
- Brightly colored food can readily stain. Some typical culprits are ketchup, curry, mustard, wine, sports drinks, and tomato sauce. Treat these stains with baking soda and water. See the baking soda section above for how to make this natural paste. If this doesn’t work, thoroughly rinse off the baking soda before trying another method.
- Beauty products are highly pigmented. Hair dye, lipstick, blush, and concealer are known for staining. Try cleaning these stains with rubbing alcohol and an old toothbrush.
- Hairspray doesn’t usually stain, but it may discolor. Unless you’ve got tinted hairspray, this will show as a dull film. Remove it with a drop of shampoo mixed with water.
- Nail polish spills can be tackled with nail polish remover. Try the stronger variety with acetone for the best results.
- Art supplies can leave markings where you don’t want them. Crayons, markers, and paint stains can be removed with mineral spirits.
- The ink from pens or art projects can be destroyed too. Try rubbing alcohol or hand sanitizer. Use an old toothbrush or scrub brush with soft nylon bristles to scrub away the stain. Clean the spot well afterward.
- Rust stains may crop up under an appliance. Use oxalic acid to get it out. It’s also known as wood bleach. Follow the directions on the bottle. Rinse thoroughly when you’re done.
Let’s say you’ve got a stubborn stain. It hasn’t budged so far. You have two more cleaning options before cutting out and replacing stained vinyl: detergent or bleach. Neither of these methods is mentioned higher up on the list because they can harm your floor. However, if your other option is replacing the vinyl, you have nothing to lose.
Follow these steps to treat stained vinyl with laundry detergent:
- Mix powdered laundry detergent with water to create a paste.
- Spread the paste onto the stain.
- Let it sit for a moment.
- Scrub with a nylon bristle brush or old toothbrush.
- Thoroughly wash off the paste with clean water when you’re done.
If truly nothing else works on a stain, think about using bleach. This is the last resort only. When you’re ready to replace the vinyl, give this a try. If you’re doubtful about how the floor will react, do a spot test first. Make sure your ventilation is good, and all previous cleaners have been removed.
Level up your stain removal by mixing one part bleach with two parts water:
- Wearing rubber gloves, dip a rag in the mixture.
- Wring out the rag, so it’s not dripping.
- Let the rag sit on the stain as long as it takes to remove it.
If nothing has removed the stain, the easiest option is to cover it with an accent rug or mat. This may not work in every situation. Otherwise, you or a professional can replace the stained vinyl.
Quick and Easy Tips for Prevention
Use a doormat – A doormat helps keep out your vinyl floor’s two greatest enemies: dirt and chemicals. Tracked-in dirt means extra broom time. Grit acts like sandpaper, removing the finish from your floor. And even though you can’t see them, chemicals from asphalt can stick first to your shoes and then to the floor, causing them to yellow.
Sweep frequently – The trick to keeping any floor in good condition is to keep it clean, and vinyl is no exception. Get the dirt off before it gets ground in, and your vinyl will last longer. It’s a good idea to get in the habit of quickly running a soft broom across the kitchen floor every evening before you go to bed.
Don’t oversoak – It’s crucial to remember that water isn’t always the best vinyl floor cleaner. Water from an overly wet mop will work its way into the cracks, seams, and edges. Once there, it can destroy the glue bond that holds down the vinyl, causing it to come loose or corners to curl.
Rinse well – Soap may work as a great vinyl floor cleaner, but soap scum leaves a film that actually collects dirt. Stick to damp mopping with water until your floor needs a serious cleaning. When you need to wash the floor, use two mops—one for washing and the second just for rinsing.
Maintenance
Now that your floor is super clean, you’ll want to keep it that way. Use these suggestions to protect your vinyl floor:
- Try a “no-wax” wax substitute for your vinyl floor. It’ll give it the shine of wax but without the dull buildup. Paste wax isn’t recommended for vinyl.
- A more affordable shine option is adding a drop or two of baby oil while mopping with vinegar. Just make sure not to overdo it. A slippery floor is never a good idea.
- Add flat nylon or felt floor protectors to the legs of your furniture. Avoid rollers or casters on vinyl floors. Be aware of heavy appliances, as they can dent vinyl flooring.
- Lay a rug, doormat, or rubber kitchen mat to accommodate heavy foot traffic. Protecting the vinyl helps cut down on wear and tear.
- Regularly sweep and dust the floors to remove any dirt. Ground-in or sharp debris can discolor or scuff the floor.
- If you need to move furniture, put down cardboard or smooth plywood first. Roll out furniture on a dolly to prevent tears in the vinyl flooring. Dragging anything heavy along a vinyl floor could scratch, nick, or mar the surface.
| PROS | CONS |
|
|
|
|
|
|
|
|
Frequently Asked Questions (FAQs)
How do I make my vinyl floors shine?
A vinyl floor polish can restore shine and gloss if vinegar isn’t cutting it. However, removing all dust and dirt from the floor is crucial before applying. Leaving dirt and dust can alter the end result.
Mop and remove stains, then choose a good polish and follow the instructions carefully. If you want to wax your vinyl floors, consider hiring a professional since using the wrong wax can cause problems.
How often should you mop a vinyl floor?
How often you should mop a vinyl floor depends on the level of foot traffic and whether you have pets or kids. Most experts recommend a deep clean at least once a month, but you could get away with mopping your vinyl floor with a cleaner twice a year.
How do you clean vinyl flooring without leaving streaks?
The best way to clean vinyl floors without streaks is to dry mop first to remove dirt. Next, mix white vinegar and water in a bucket and wet mop the floor. Use WD-40 to remove grease stains. Lastly, buff the floor with a dry cloth to remove excess water.
Can you use Pine Sol on vinyl flooring?
Pine Sol is safe to use on vinyl floors and other hardwood surfaces. It doesn’t contain carcinogenic ingredients, making it a safe option for several floor types.

