How to Clean Toilet Tank For a Sparkling Restroom
When it comes to household cleaning, the toilet tank is often overlooked, hidden by its ceramic shell. Yet, it’s an essential part of your bathroom that requires regular attention to prevent mold, mildew, and mineral buildup. A clean toilet tank not only contributes to a healthier home but also ensures that your toilet operates efficiently. Don’t sweat it if you haven’t cleaned yours before, as we’ll walk you through the steps to achieve a clean and fresh toilet tank with ease.
Why Keeping Your Toilet Tank Clean is Essential for Home Hygiene
Maintaining a sparkling clean home is a task that we all prioritize, and while some areas receive daily attention, there are hidden corners that can be breeding grounds for bacteria and grime. The toilet tank, often overlooked during routine bathroom cleanings, is one such place. Despite being out of sight, it should never be out of mind, as the cleanliness of your tank directly impacts the sanitation of your toilet and, consequently, your bathroom.
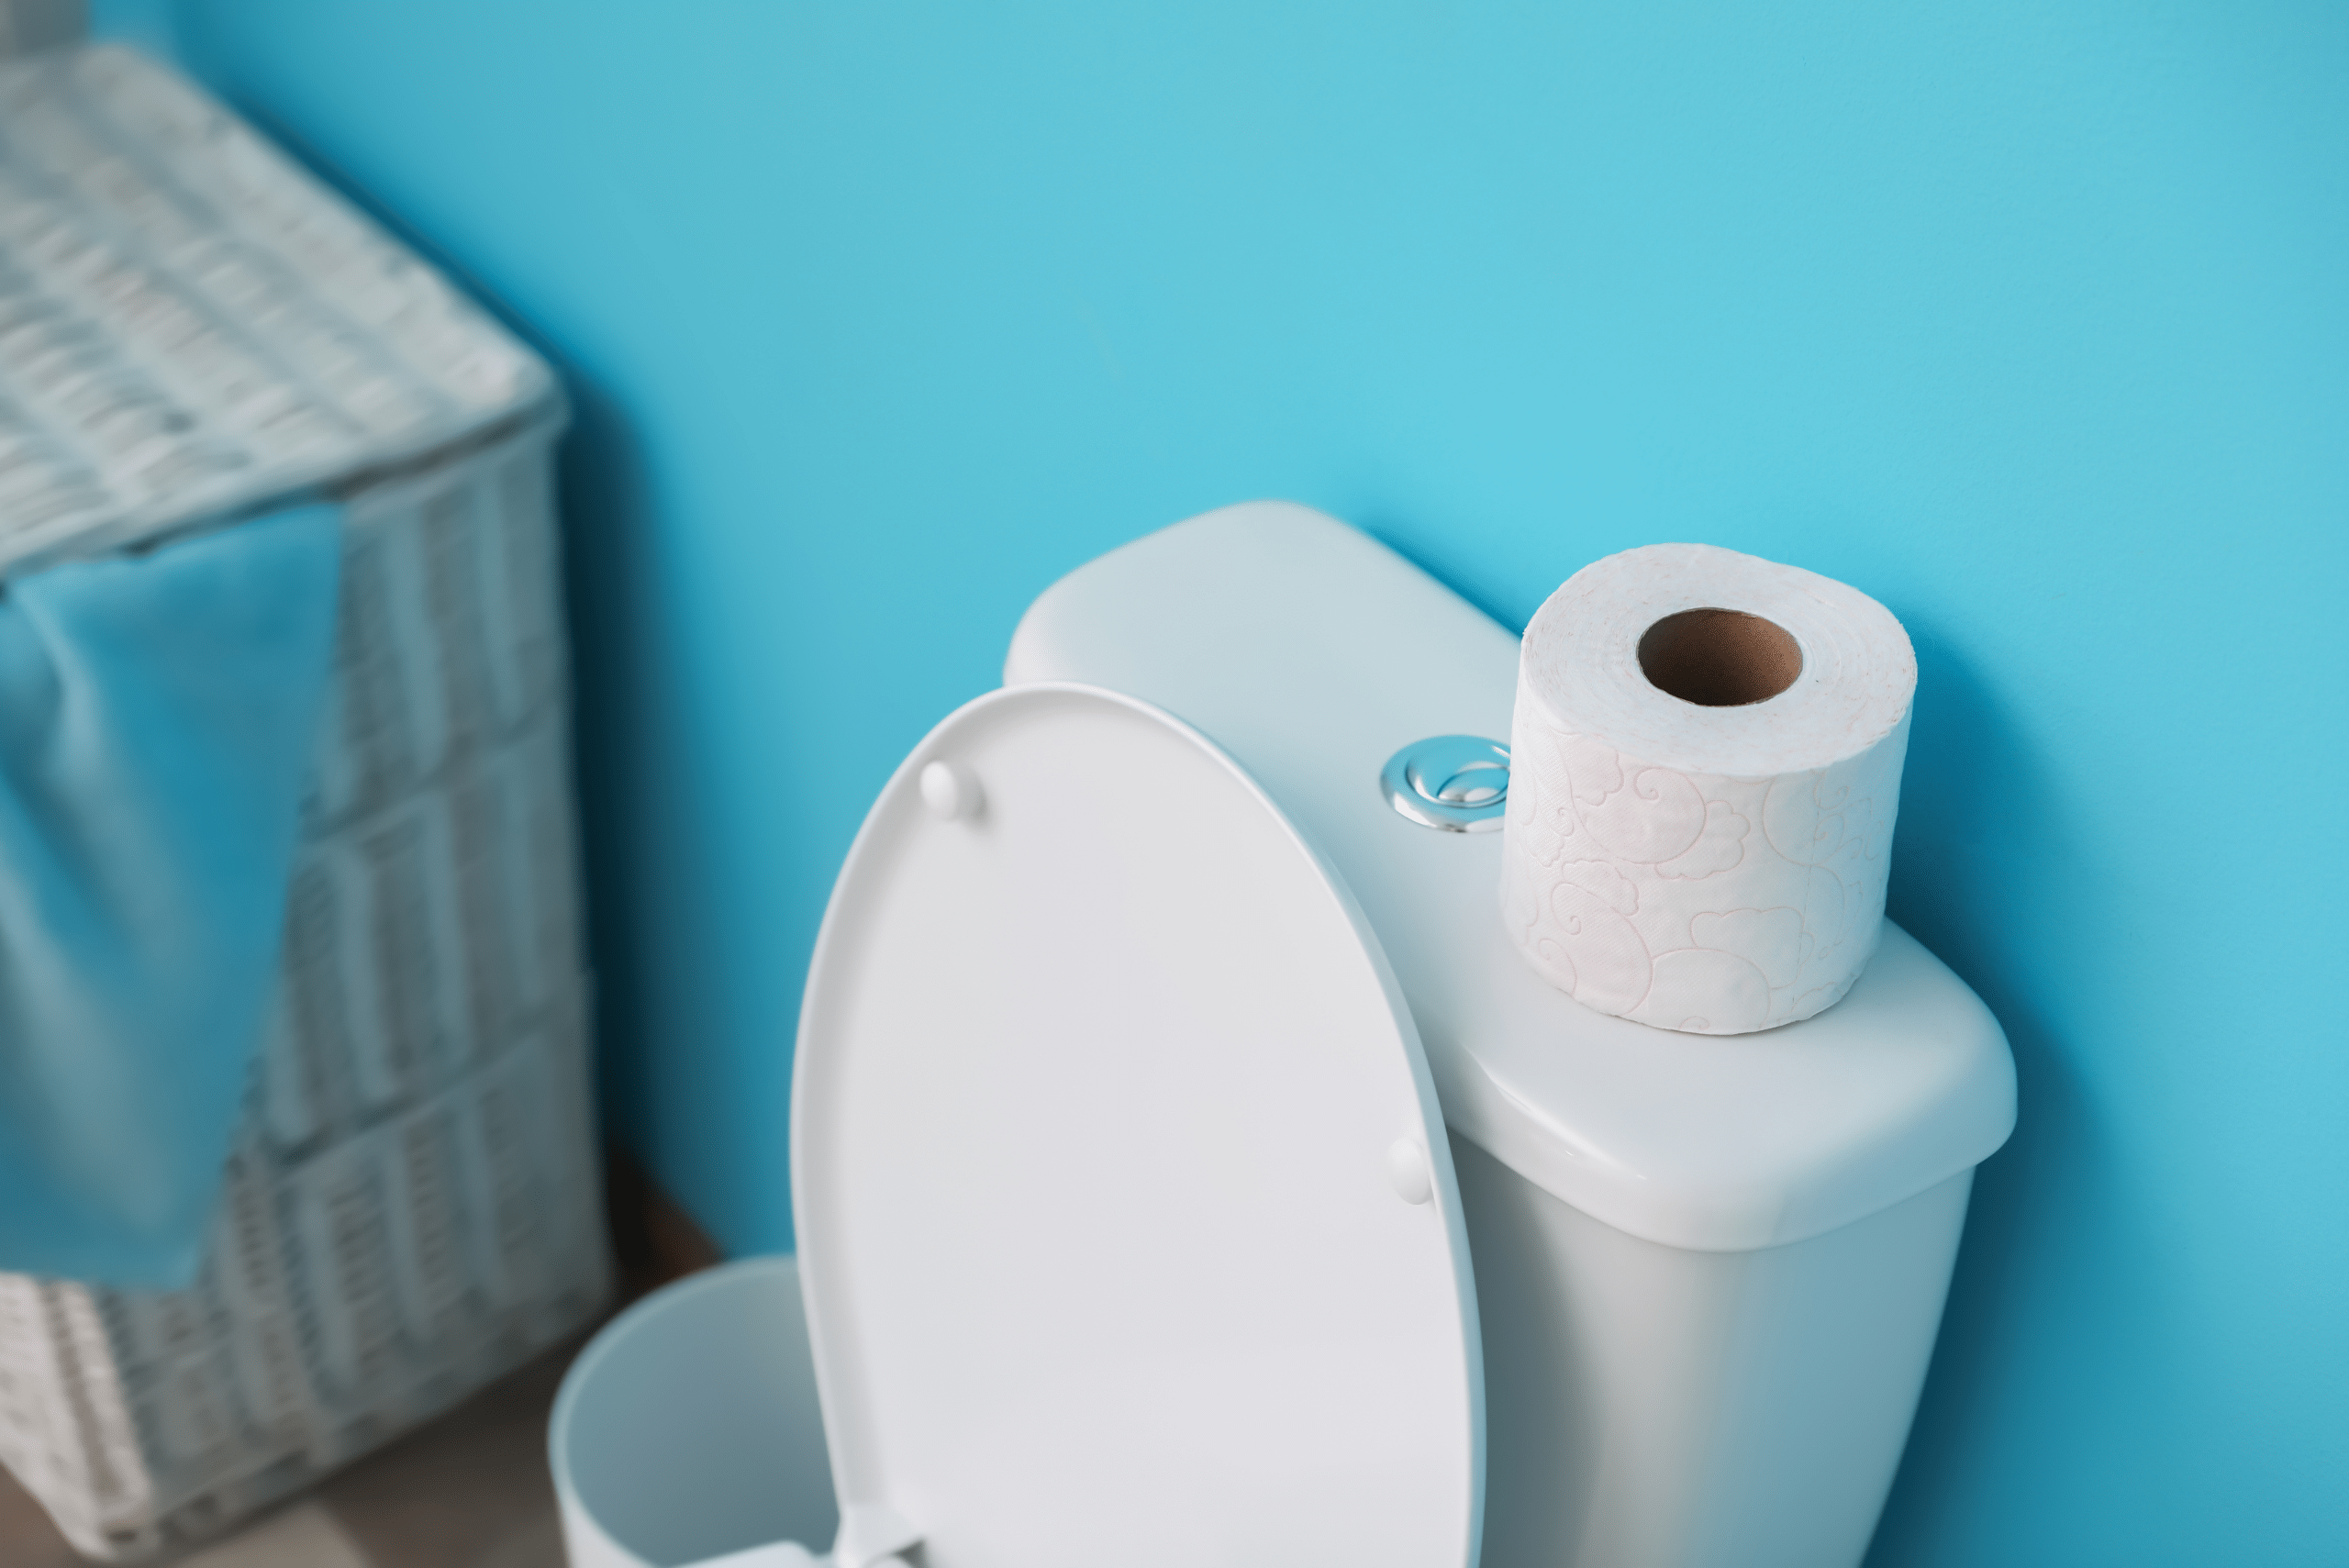
The tank holds the water that flushes through the toilet, and if it’s dirty, that dirt can find its way onto your toilet bowl and into your home. A buildup of minerals and bacteria not only causes unpleasant odors but can also affect the efficiency of your toilet. By keeping the tank clean, you can avoid costly repairs down the line and ensure that every flush is a clean sweep.
Identifying the Signs that Your Toilet Tank Needs a Thorough Cleaning
You might not think to check your toilet tank regularly, but there are telltale signs that it’s time to clean it. Discoloration of the water in your toilet bowl can often be traced back to a dirty tank. Likewise, if you’re catching whiffs of a foul smell coming from the vicinity of your toilet, it’s likely emanating from the tank.
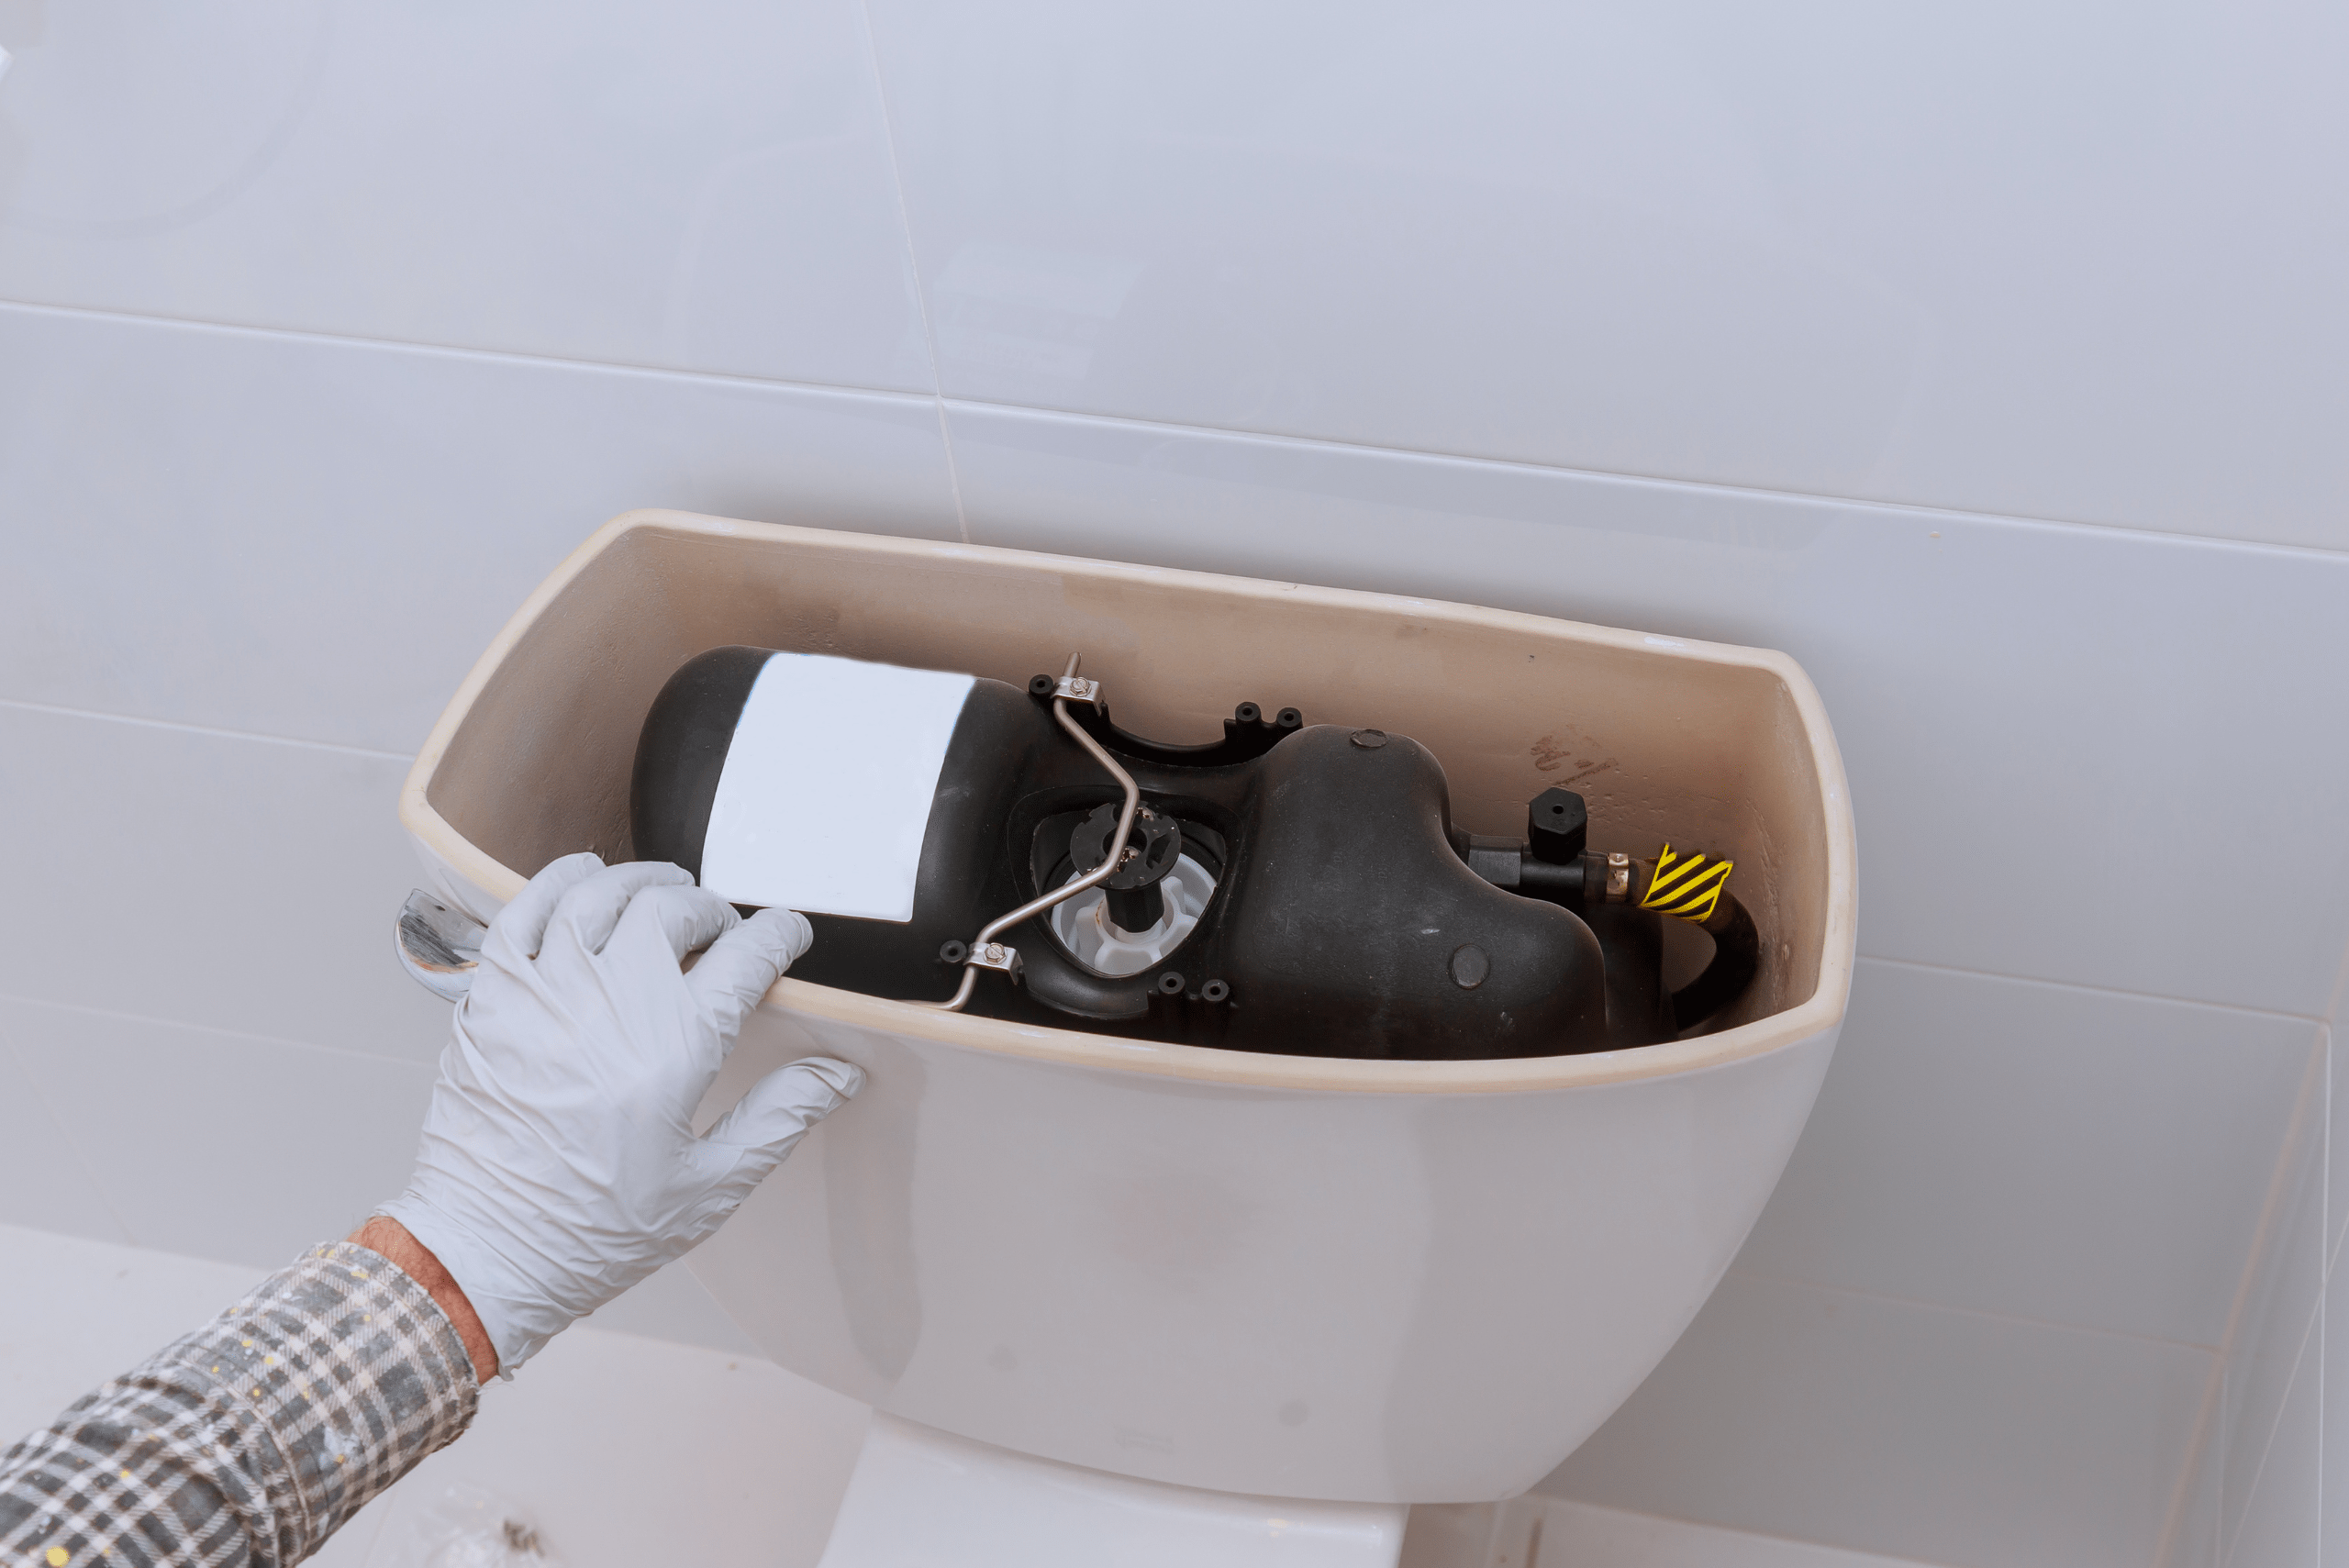
Visible signs are the easiest to spot – mineral deposits that look like white or rust-colored streaks, or black spots indicative of mildew or mold growth. These are clear indicators that your toilet tank is due for a cleaning. Ignoring these signs can lead to a build-up that becomes increasingly difficult to remove and may cause damage to the toilet components over time.
Selecting the Right Cleaning Agents and Tools for an Effective Toilet Tank Clean
The cleaning agents you choose are pivotal in the battle against toilet tank grime. Harsh chemicals can corrode the metal parts inside the tank, so it’s wise to opt for natural cleaners like white vinegar, which is excellent for dissolving mineral deposits, and baking soda, which neutralizes odors and scrubs away stains without scratching surfaces. For more stubborn stains, diluted bleach can be used sparingly, but it’s important to ensure the room is well-ventilated and to never mix bleach with other cleaners, especially vinegar, since it can potentially create lethal chlorine gas.
As for tools, a sturdy scrub brush is a must-have to tackle the walls of the tank and its components. An old toothbrush is perfect for cleaning hard-to-reach areas and getting under the rim. Don’t forget a pair of rubber gloves to protect your hands from both germs and cleaners.
Step-by-Step Guide to Cleaning Your Toilet Tank Like a Pro
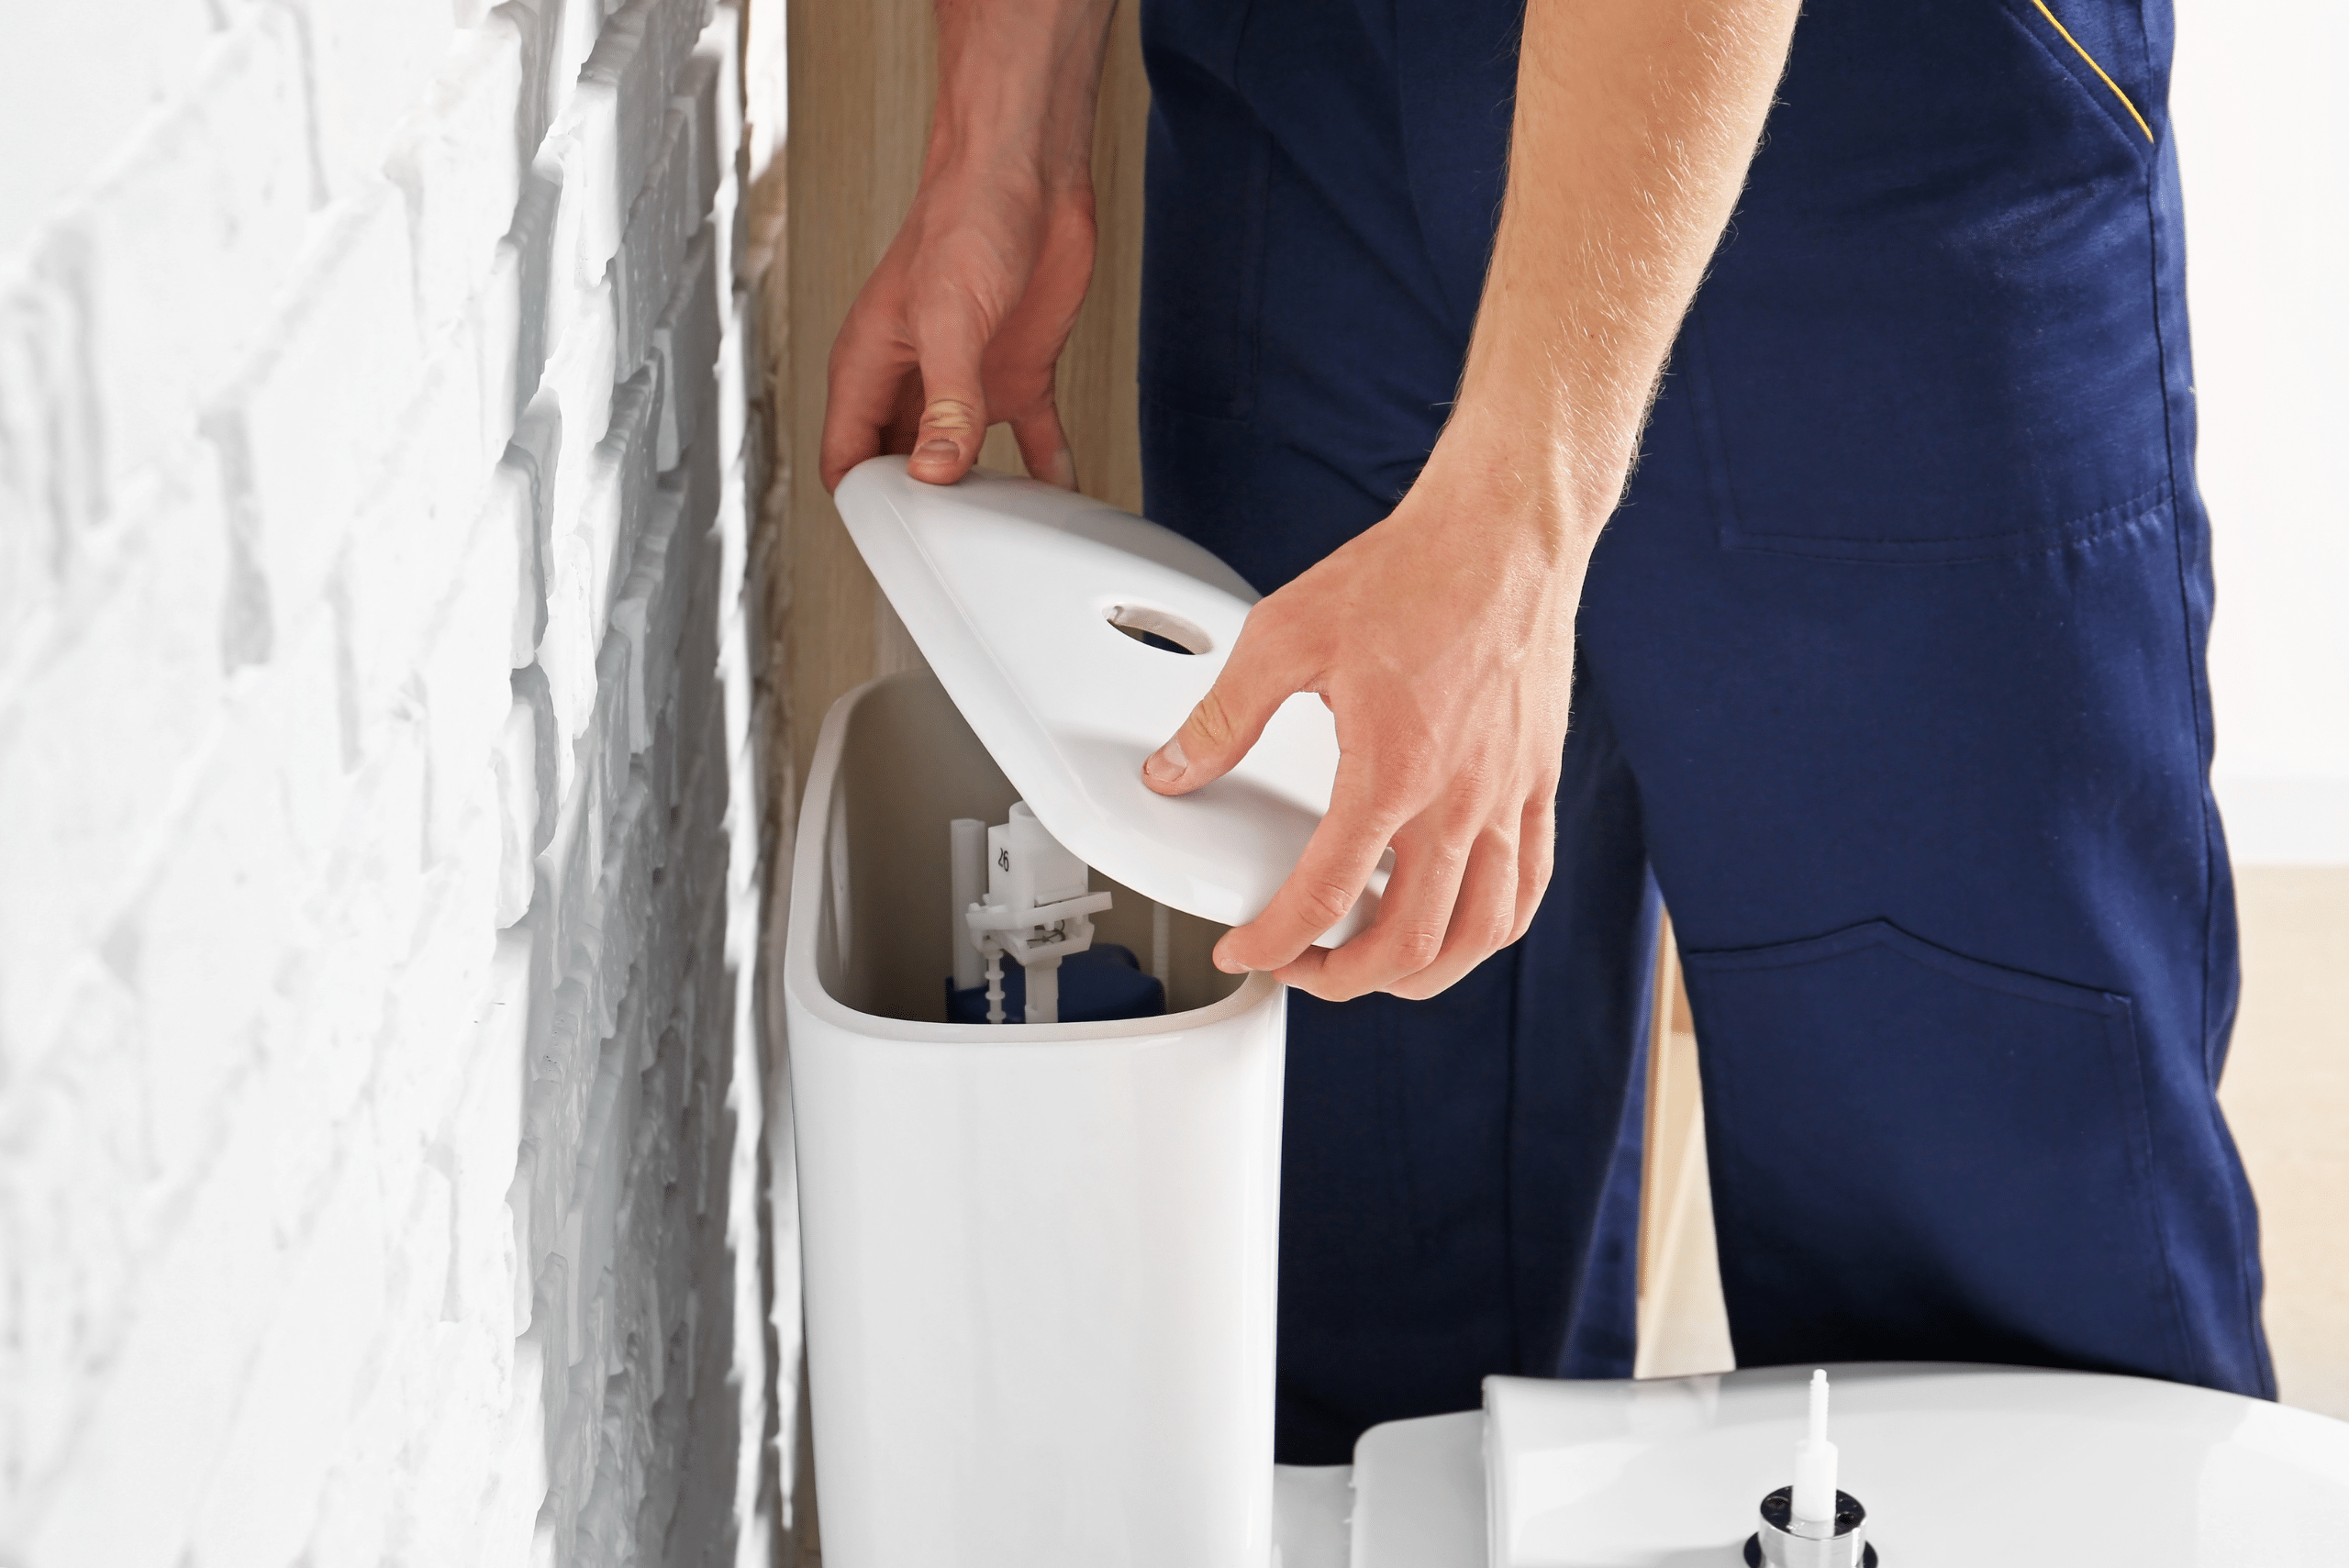
The actual cleaning process is straightforward. Start by shutting off the water valve, usually located behind the toilet, then flush to drain the water from the tank. Sprinkle baking soda inside the tank and add vinegar, allowing the mixture to fizz and work its magic for a few minutes. For a deeper clean, make sure to flush the vinegar out completely, then apply a bleach solution and let it sit, but remember to never mix bleach with other cleaning agents.
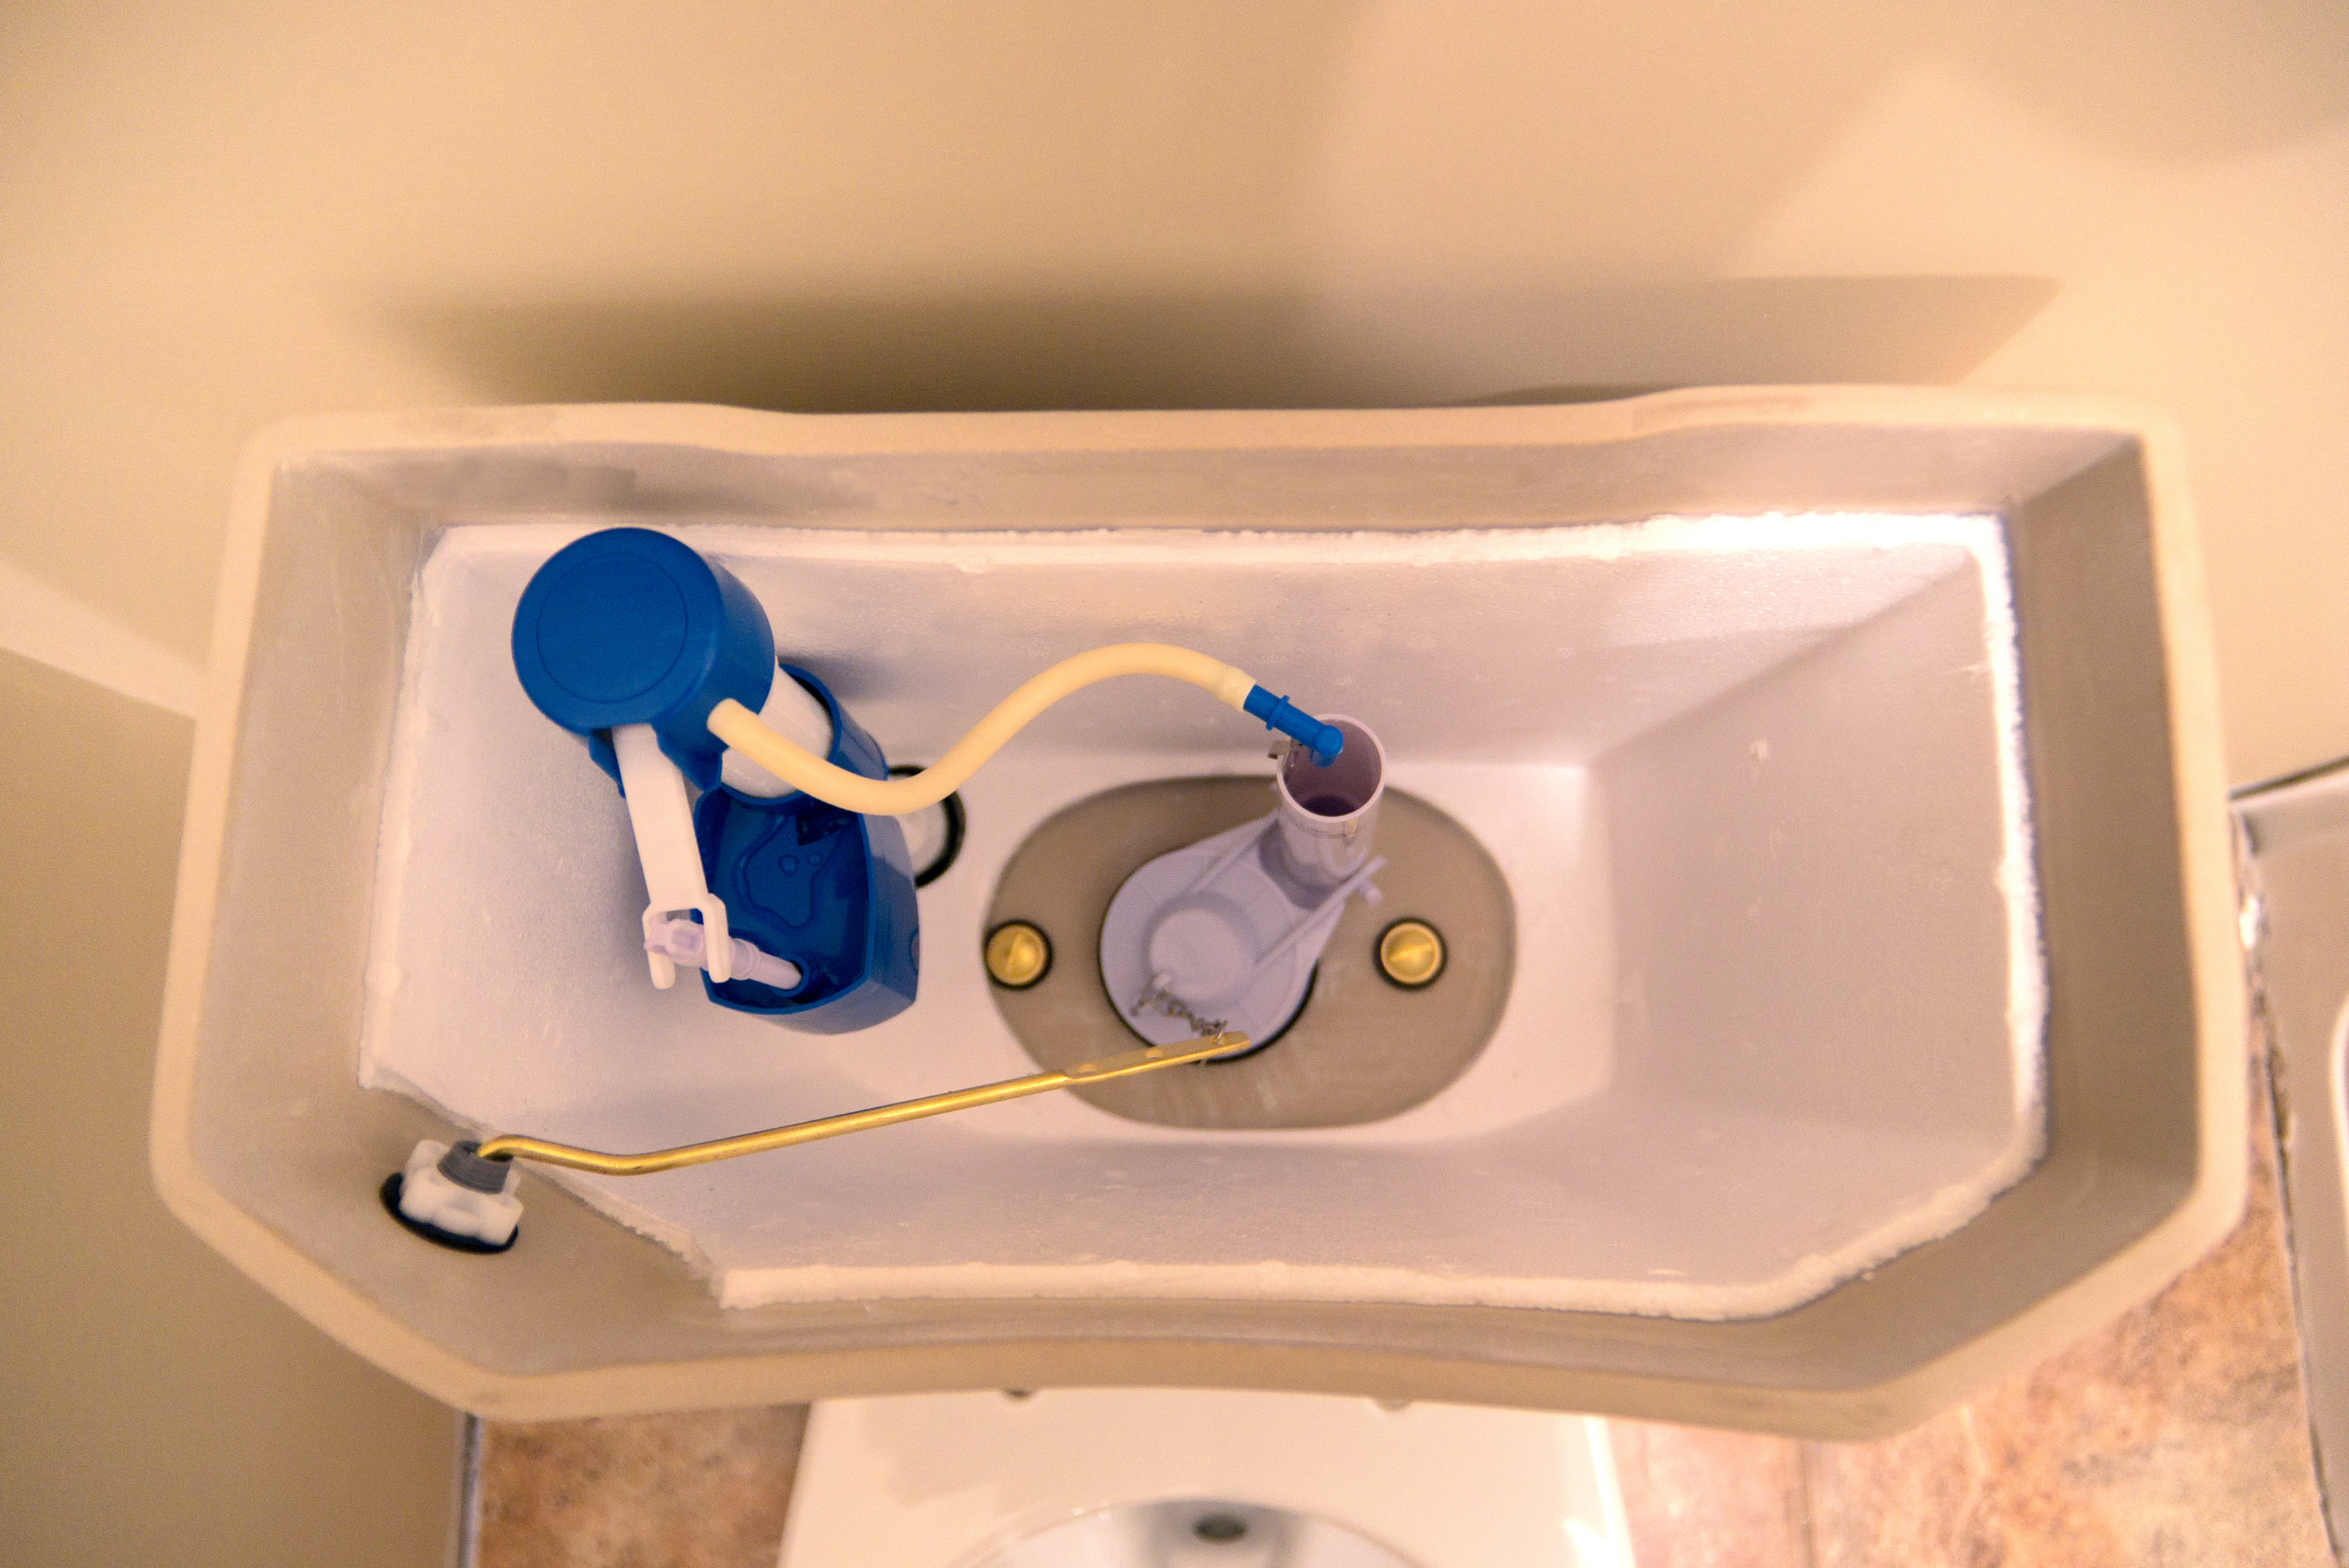
Use the scrub brush to clean the inside of the tank thoroughly, paying special attention to any components that are covered in grime. The old toothbrush can be used for nooks and crannies. Once you’re satisfied with your scrubbing, turn the water supply back on, let the tank refill, and flush a few times to rinse away all the cleaning agents. Note: You might have to flush the tank multiple times if you are switching from any cleaning agents to bleach.
Related Articles:
- Toilet Wax Seal Installation: A Step-by-Step Guide
- Complete Guide: How to Remove a Bathtub Drain Easily
- What Not to Do During a Bathroom Reno
Regular toilet tank cleanings are an integral part of bathroom maintenance. By committing to this task every few months, you prevent the build-up of harmful bacteria and minerals that can compromise your toilet’s functionality. Moreover, a clean tank contributes to a fresher-smelling bathroom and a more sanitary home environment.
Taking the time to clean your toilet tank also provides an opportunity to inspect its inner workings, ensuring everything is in good order and functioning correctly. By doing so, you can spot potential issues before they turn into expensive problems. In the end, the effort you put into keeping your toilet tank clean pays off with a cleaner, healthier home and the peace of mind that comes with proper household maintenance.
Ready to start your next project? Join our DIY community to receive tool tips, how-to guides, and exclusive creative insights. Subscribe to the ManMadeDIY newsletter now! Click here to unlock a world of hands-on inspiration.


![How To Clean Patio Pavers [Without a Pressure Washer!]](https://www.manmadediy.com/wp-content/uploads/sites/52/2024/06/broom-15377-238x170.png)


