Complete Guide: How to Remove a Bathtub Drain Easily
The bathtub drain is an essential component of your bathroom plumbing, and over time, it may become clogged or damaged, requiring removal and replacement. Learning how to remove a bathtub drain can save you time and money on professional plumbing services. In this comprehensive guide, we’ll walk you through the step-by-step process of removing a bathtub drain, providing you with the knowledge and confidence to tackle this DIY project.
What You Need to Know About the Bathtub Drain
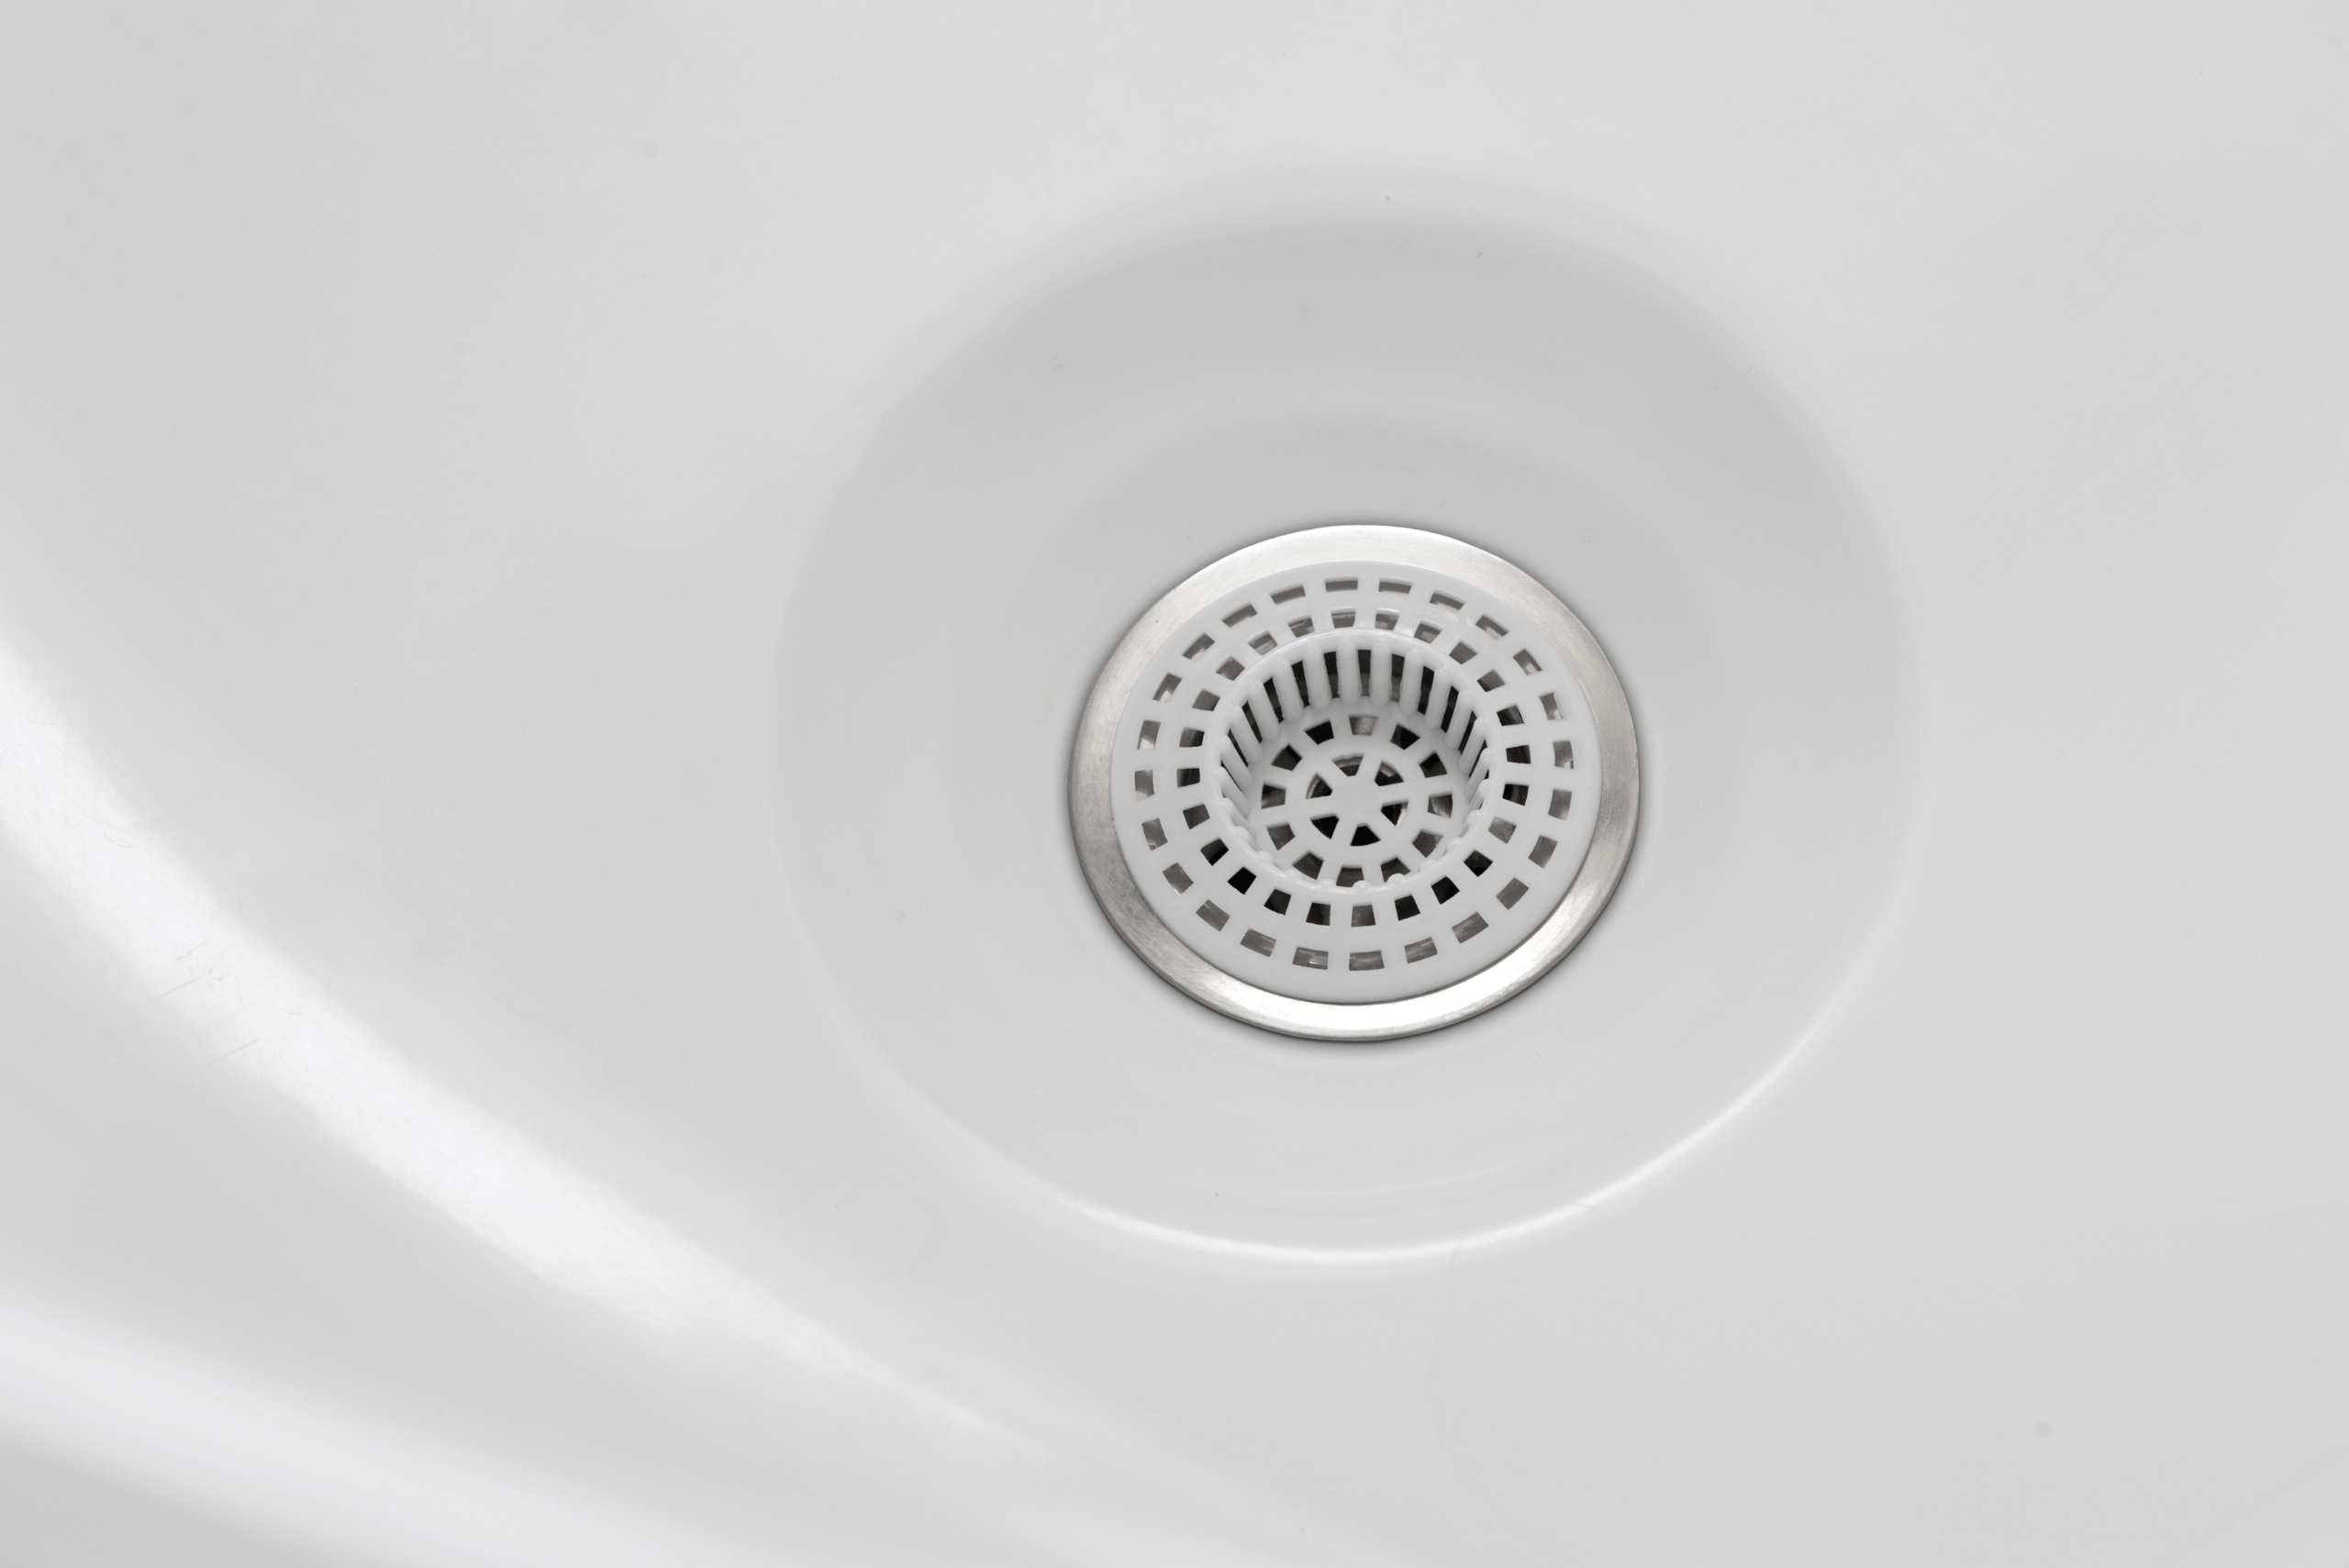
Before starting on the removal process, it’s crucial to understand the anatomy of a bathtub drain. The drain typically consists of a drain flange, a crossbar, and a stopper mechanism. Familiarizing yourself with these components will help you identify the specific parts you need to work with during the removal process.
Assessing the Drain Condition
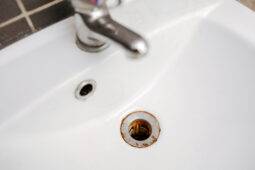
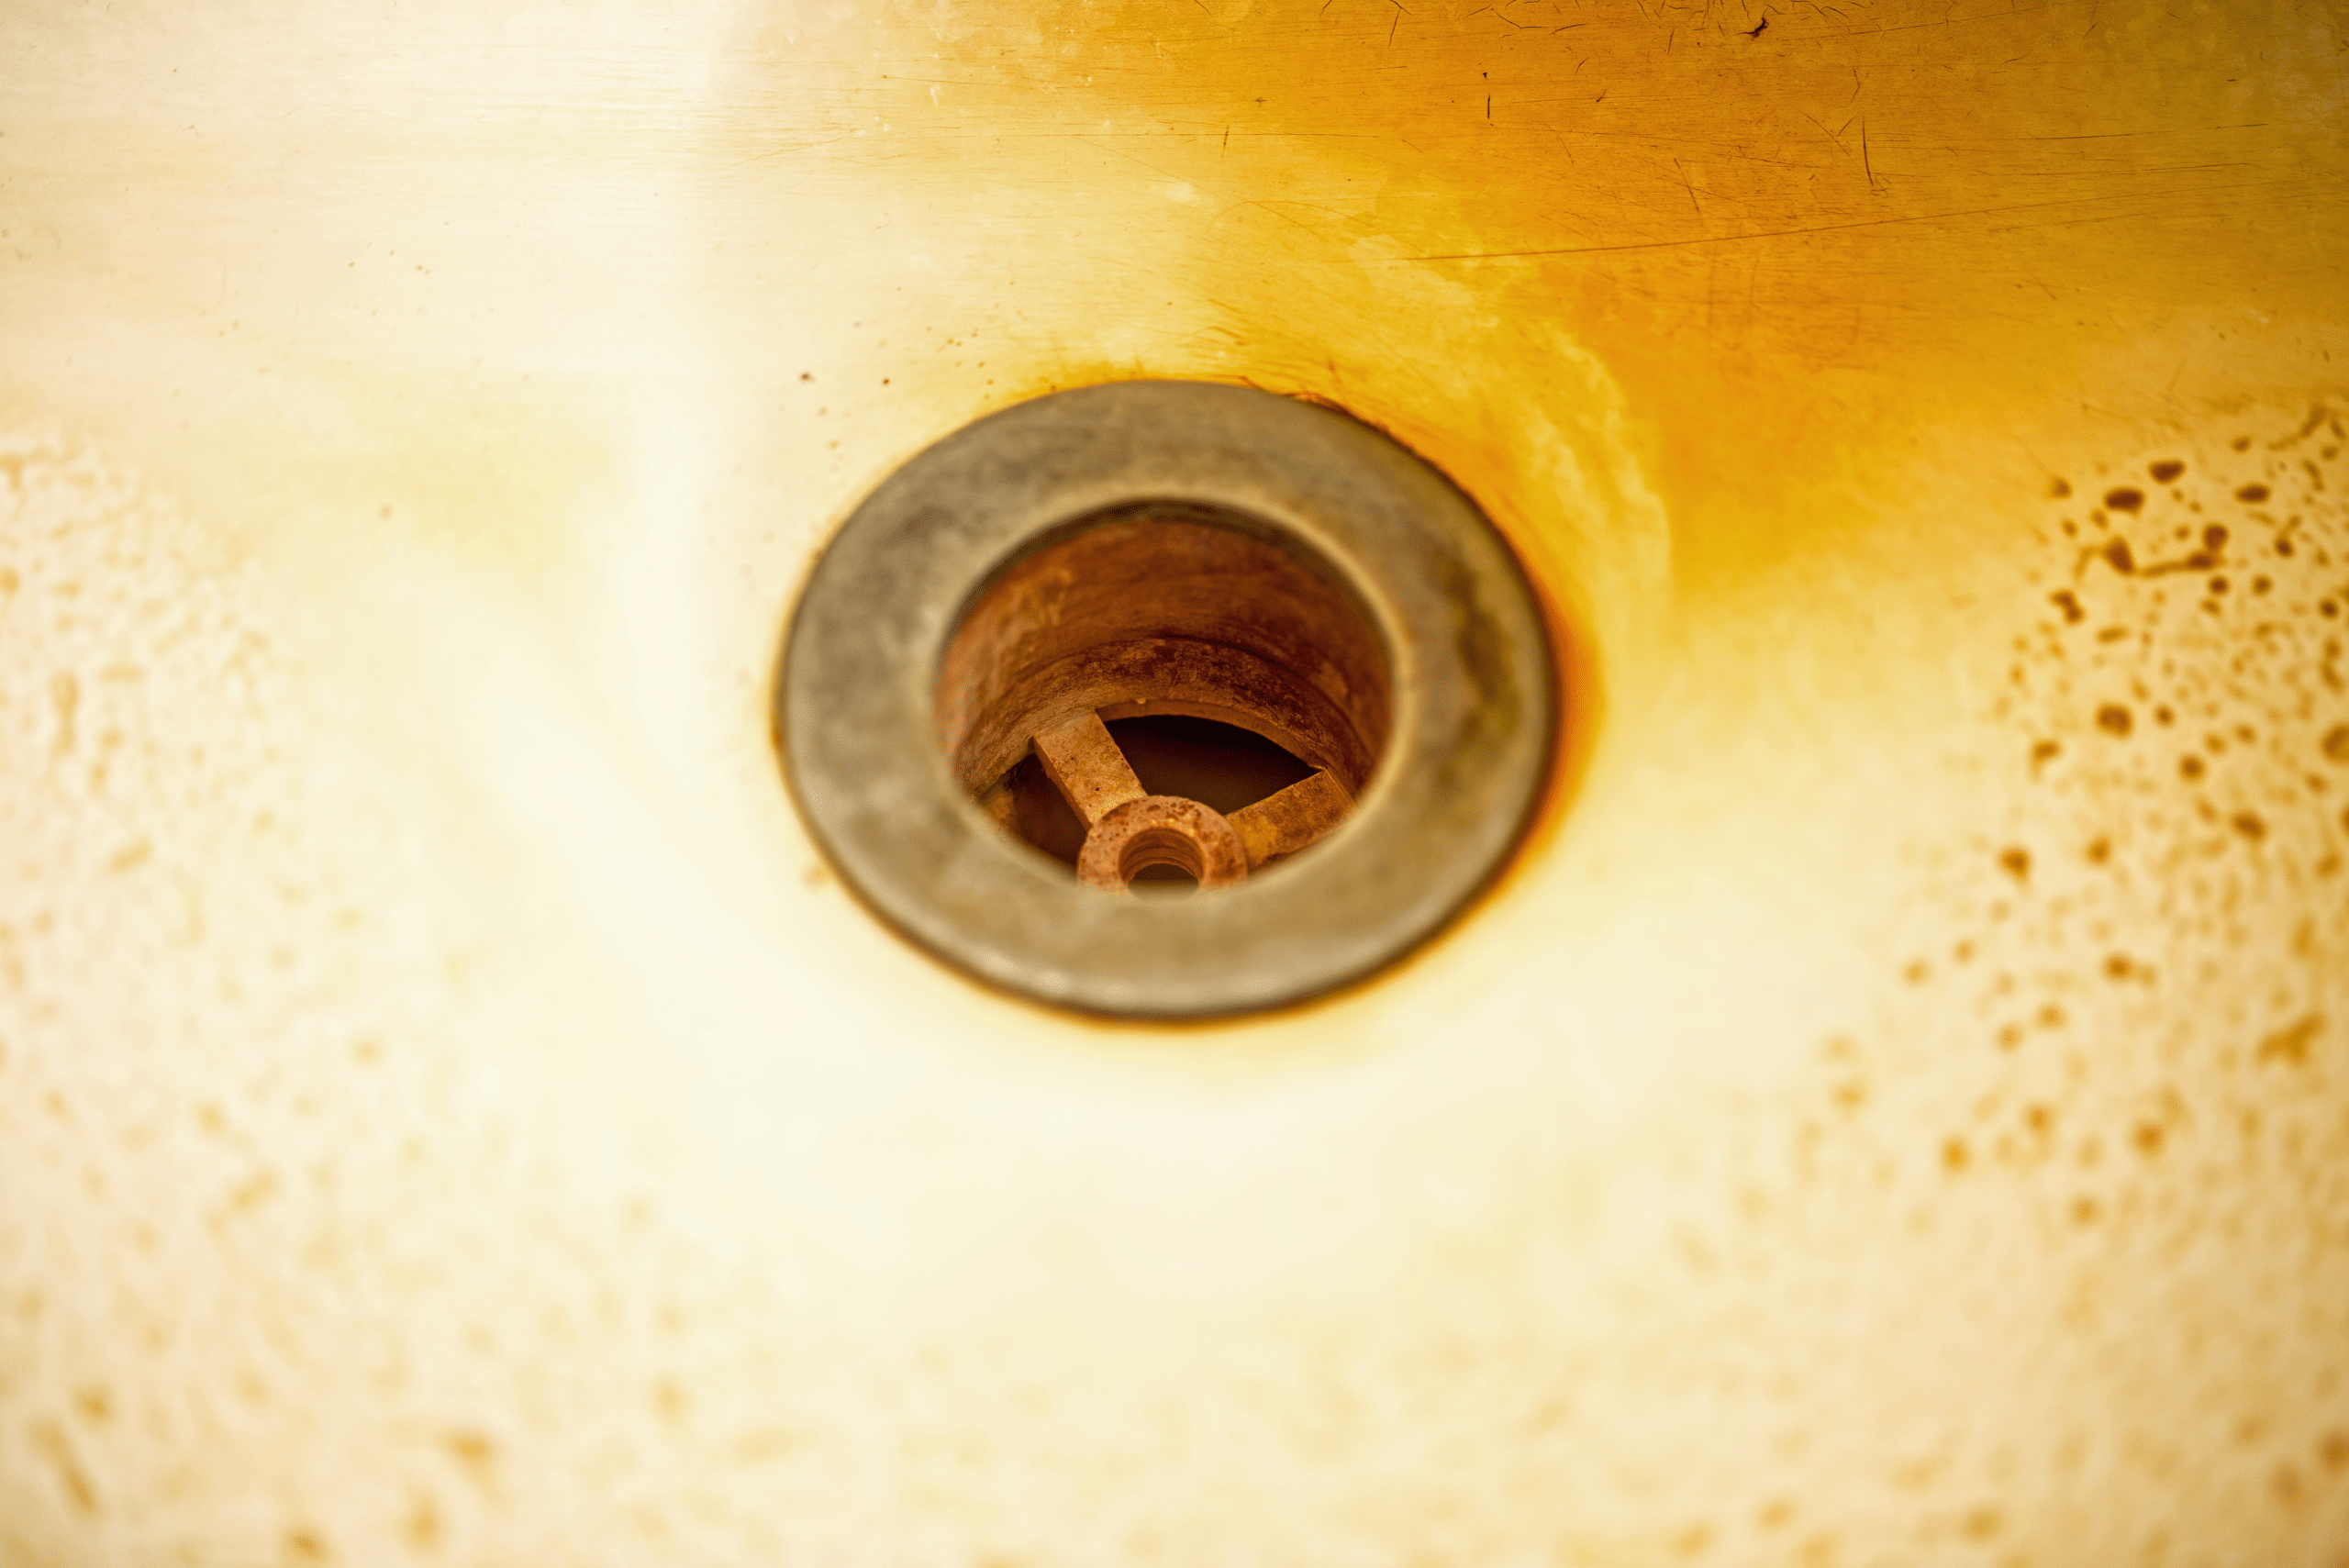
Before diving into the removal process, inspect the condition of your bathtub drain. Look for signs of rust, corrosion, or visible damage that may affect the removal procedure. It’s also essential to determine the type of drain you have, as different designs may require varying removal techniques. If your bathroom drain is in terrible condition, you might want to leave it to a plumber to avoid damaging it and making the repair more expensive.
Gathering the Necessary Tools and Materials
To effectively remove a bathtub drain, you’ll need a set of specific tools and materials. These may include a drain key, pliers, a screwdriver, penetrating oil, and a silicone sealant. Ensuring you have all the required items at hand will streamline the removal process.
Preparing the Work Area
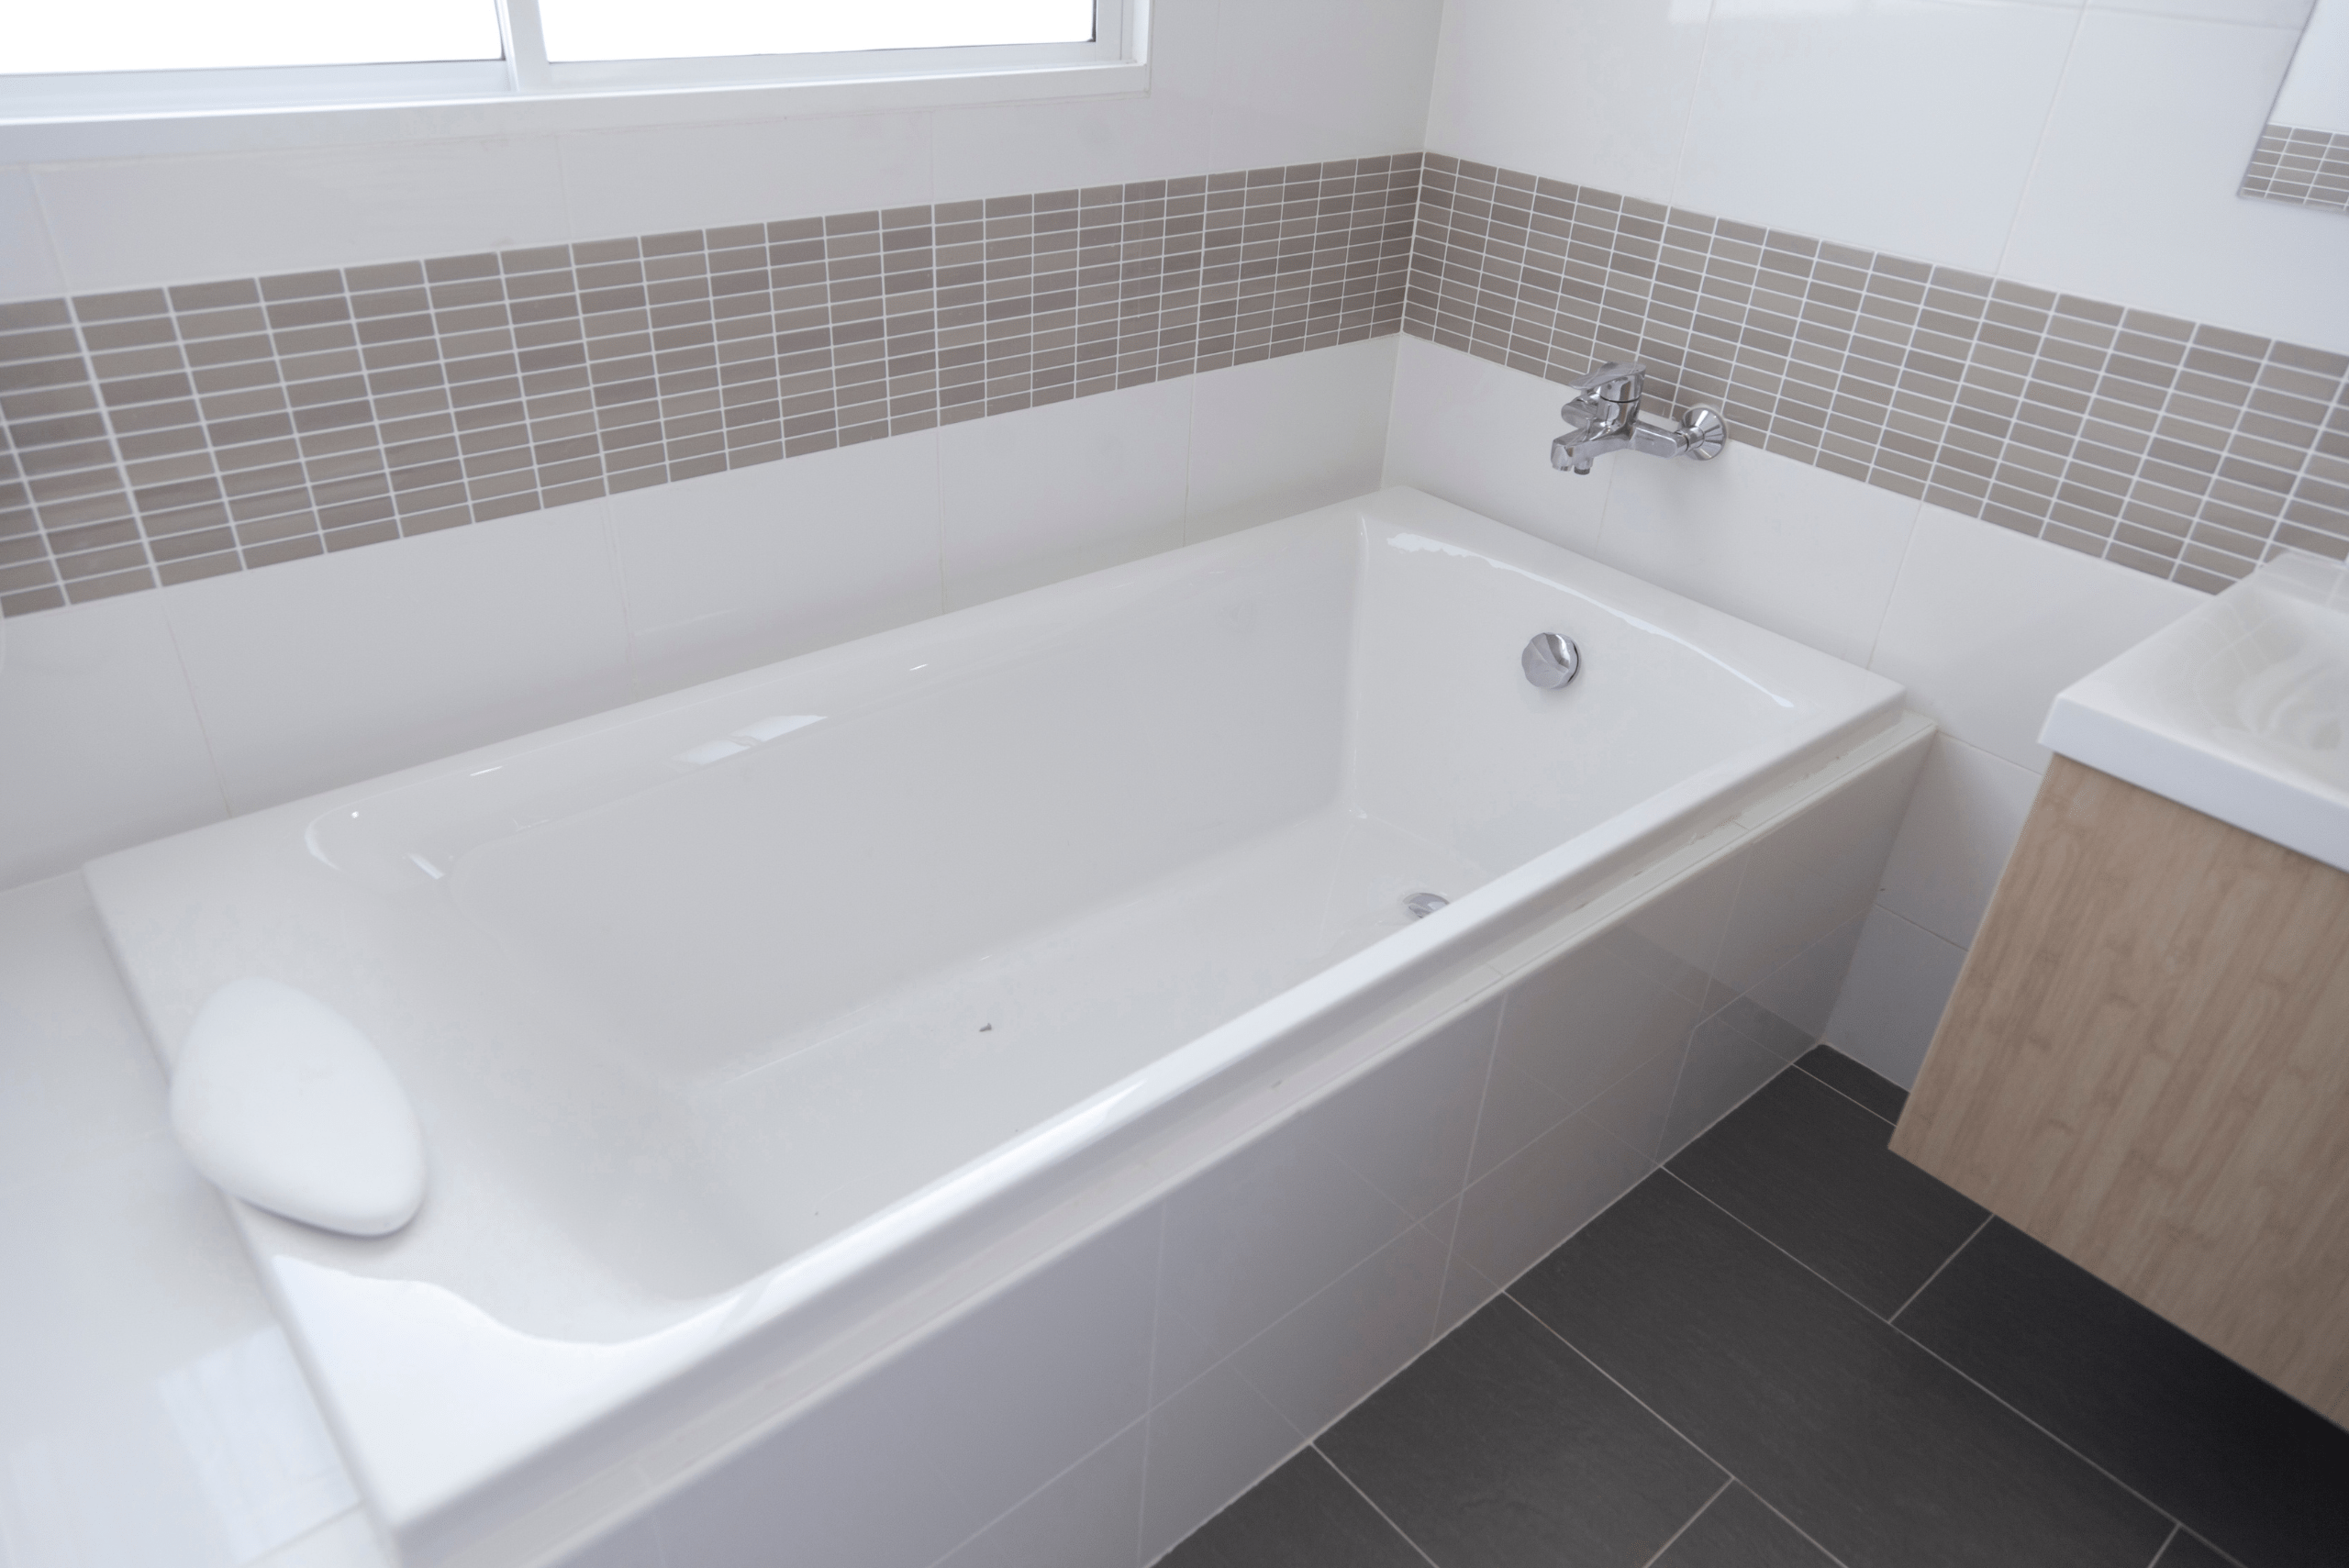
Before starting the removal process, prepare the work area by clearing any clutter around the bathtub. Lay down a protective covering to prevent damage to the tub surface and ensure proper lighting for a clear view of the drain area.
Step-by-Step Removal Process
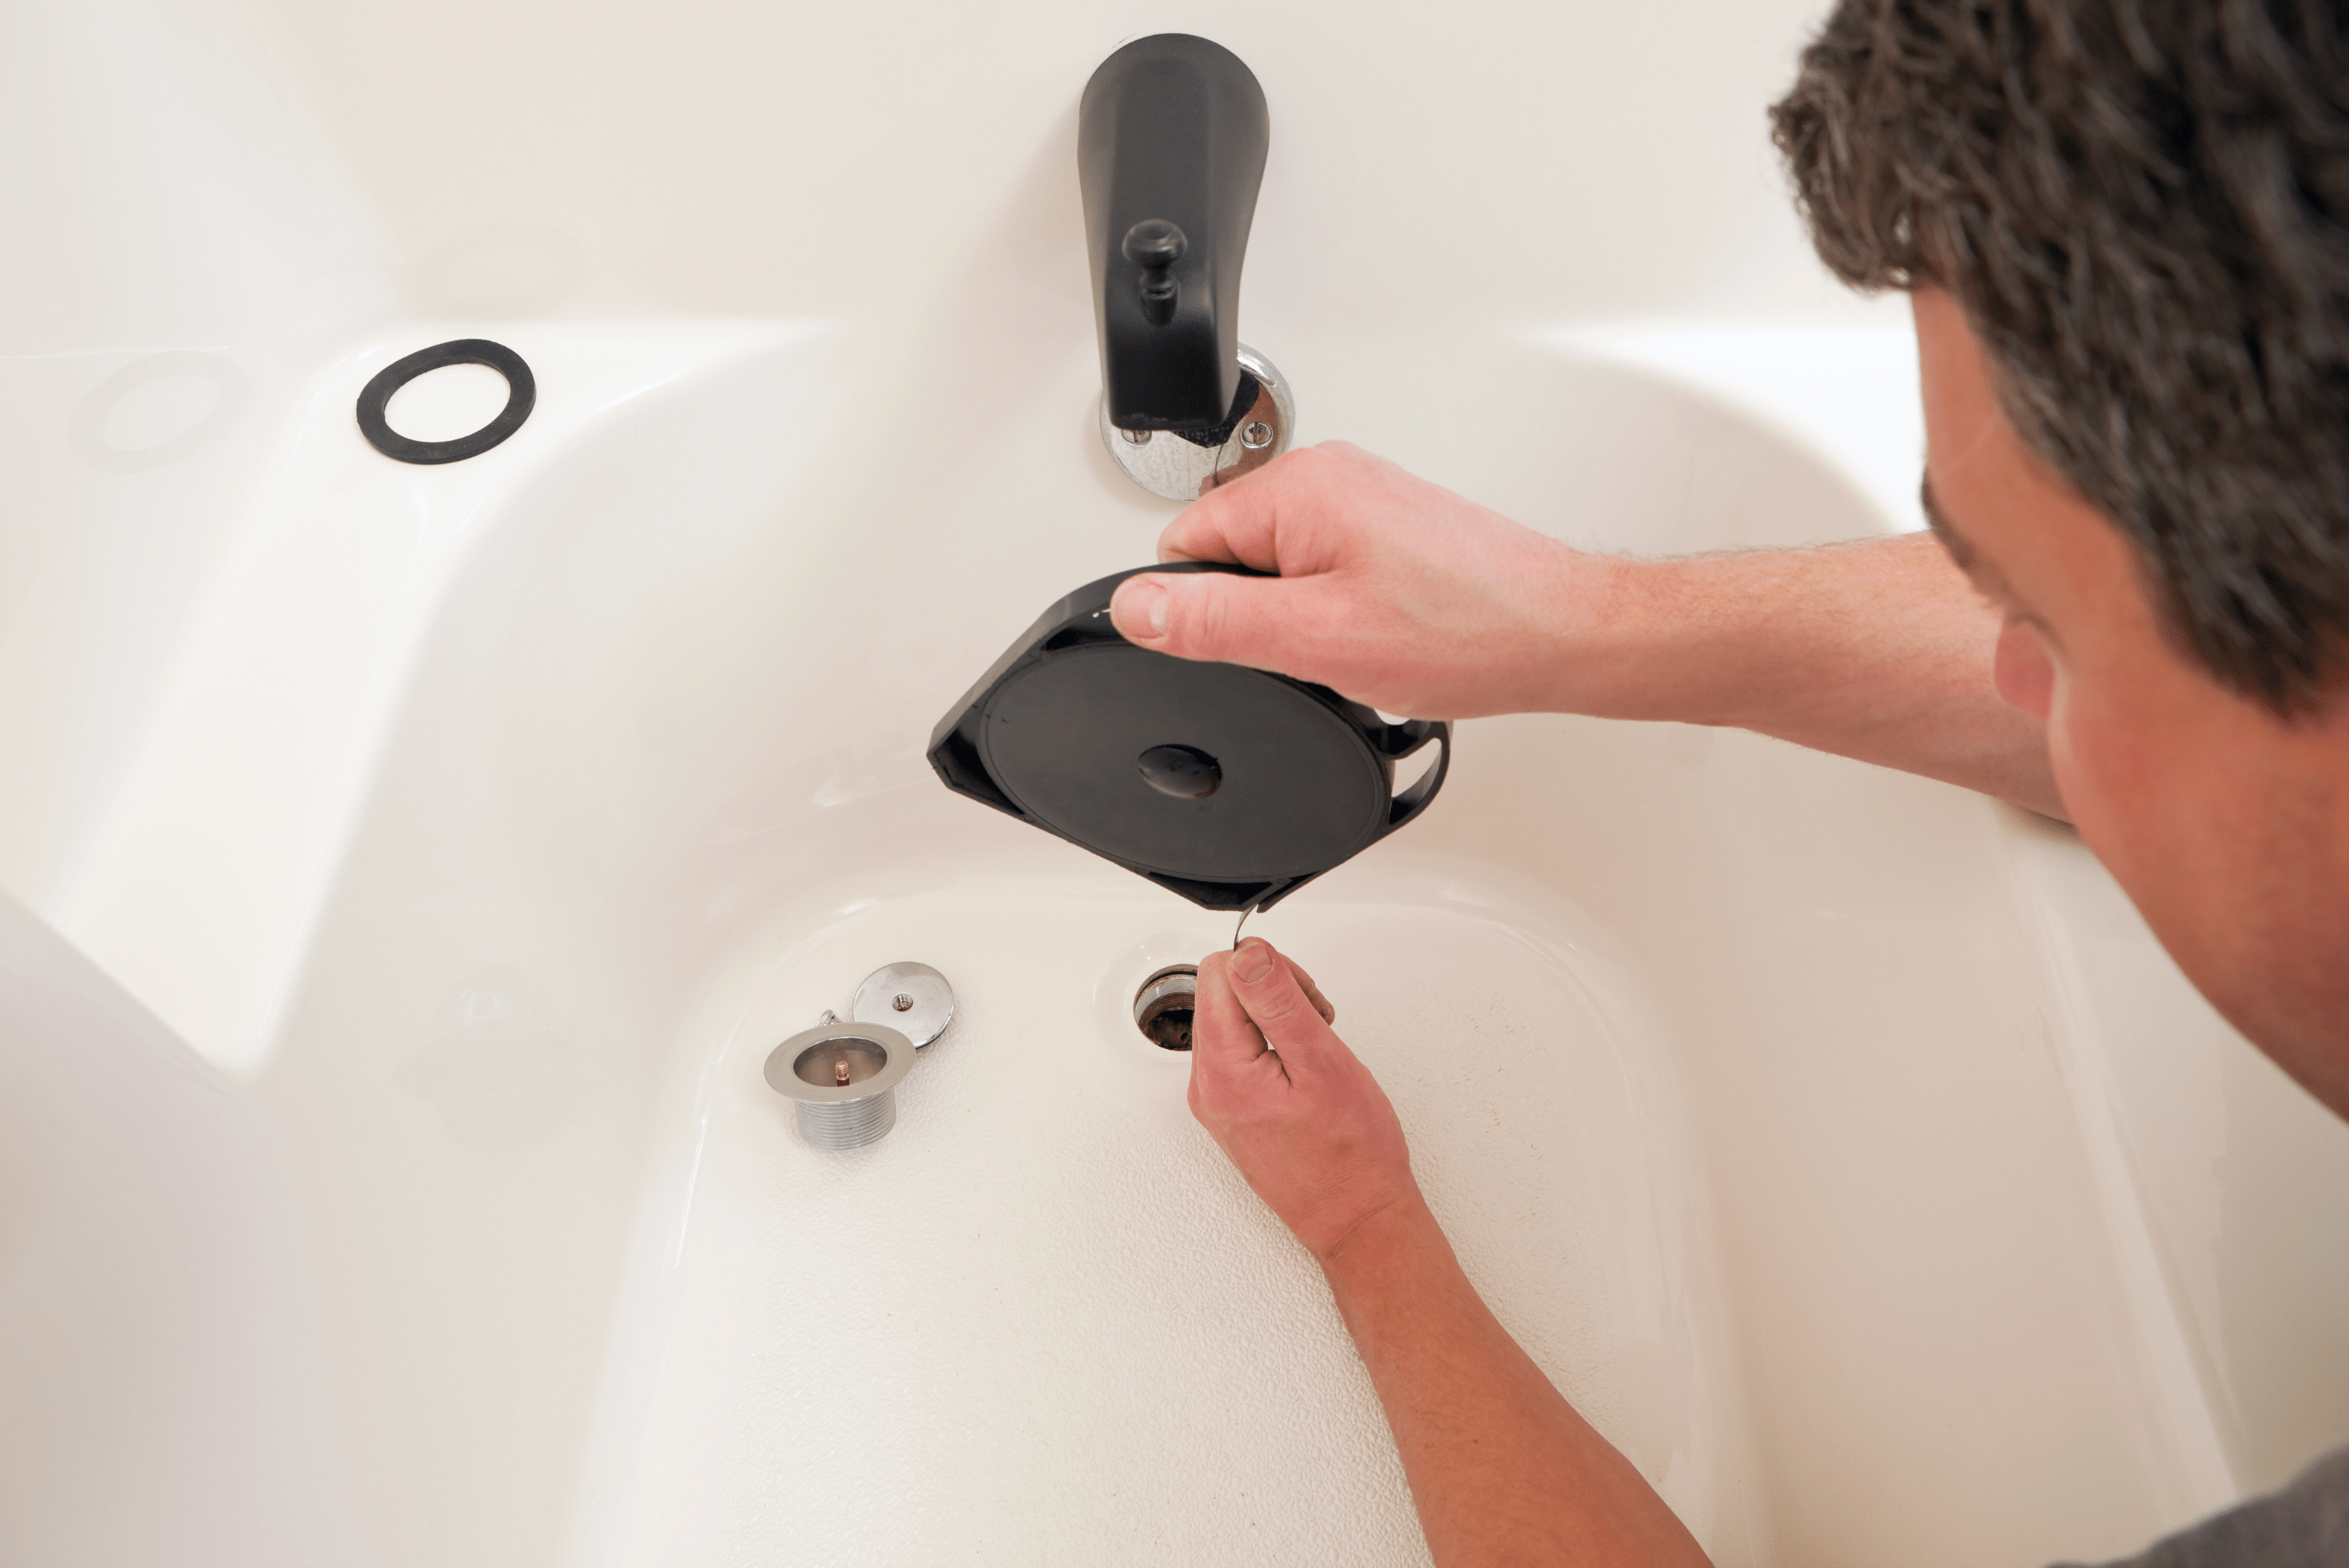
A. Removing the Drain Stopper: Begin by unscrewing or releasing the stopper mechanism using a screwdriver or pliers. This will expose the drain flange, allowing access to the crossbar.
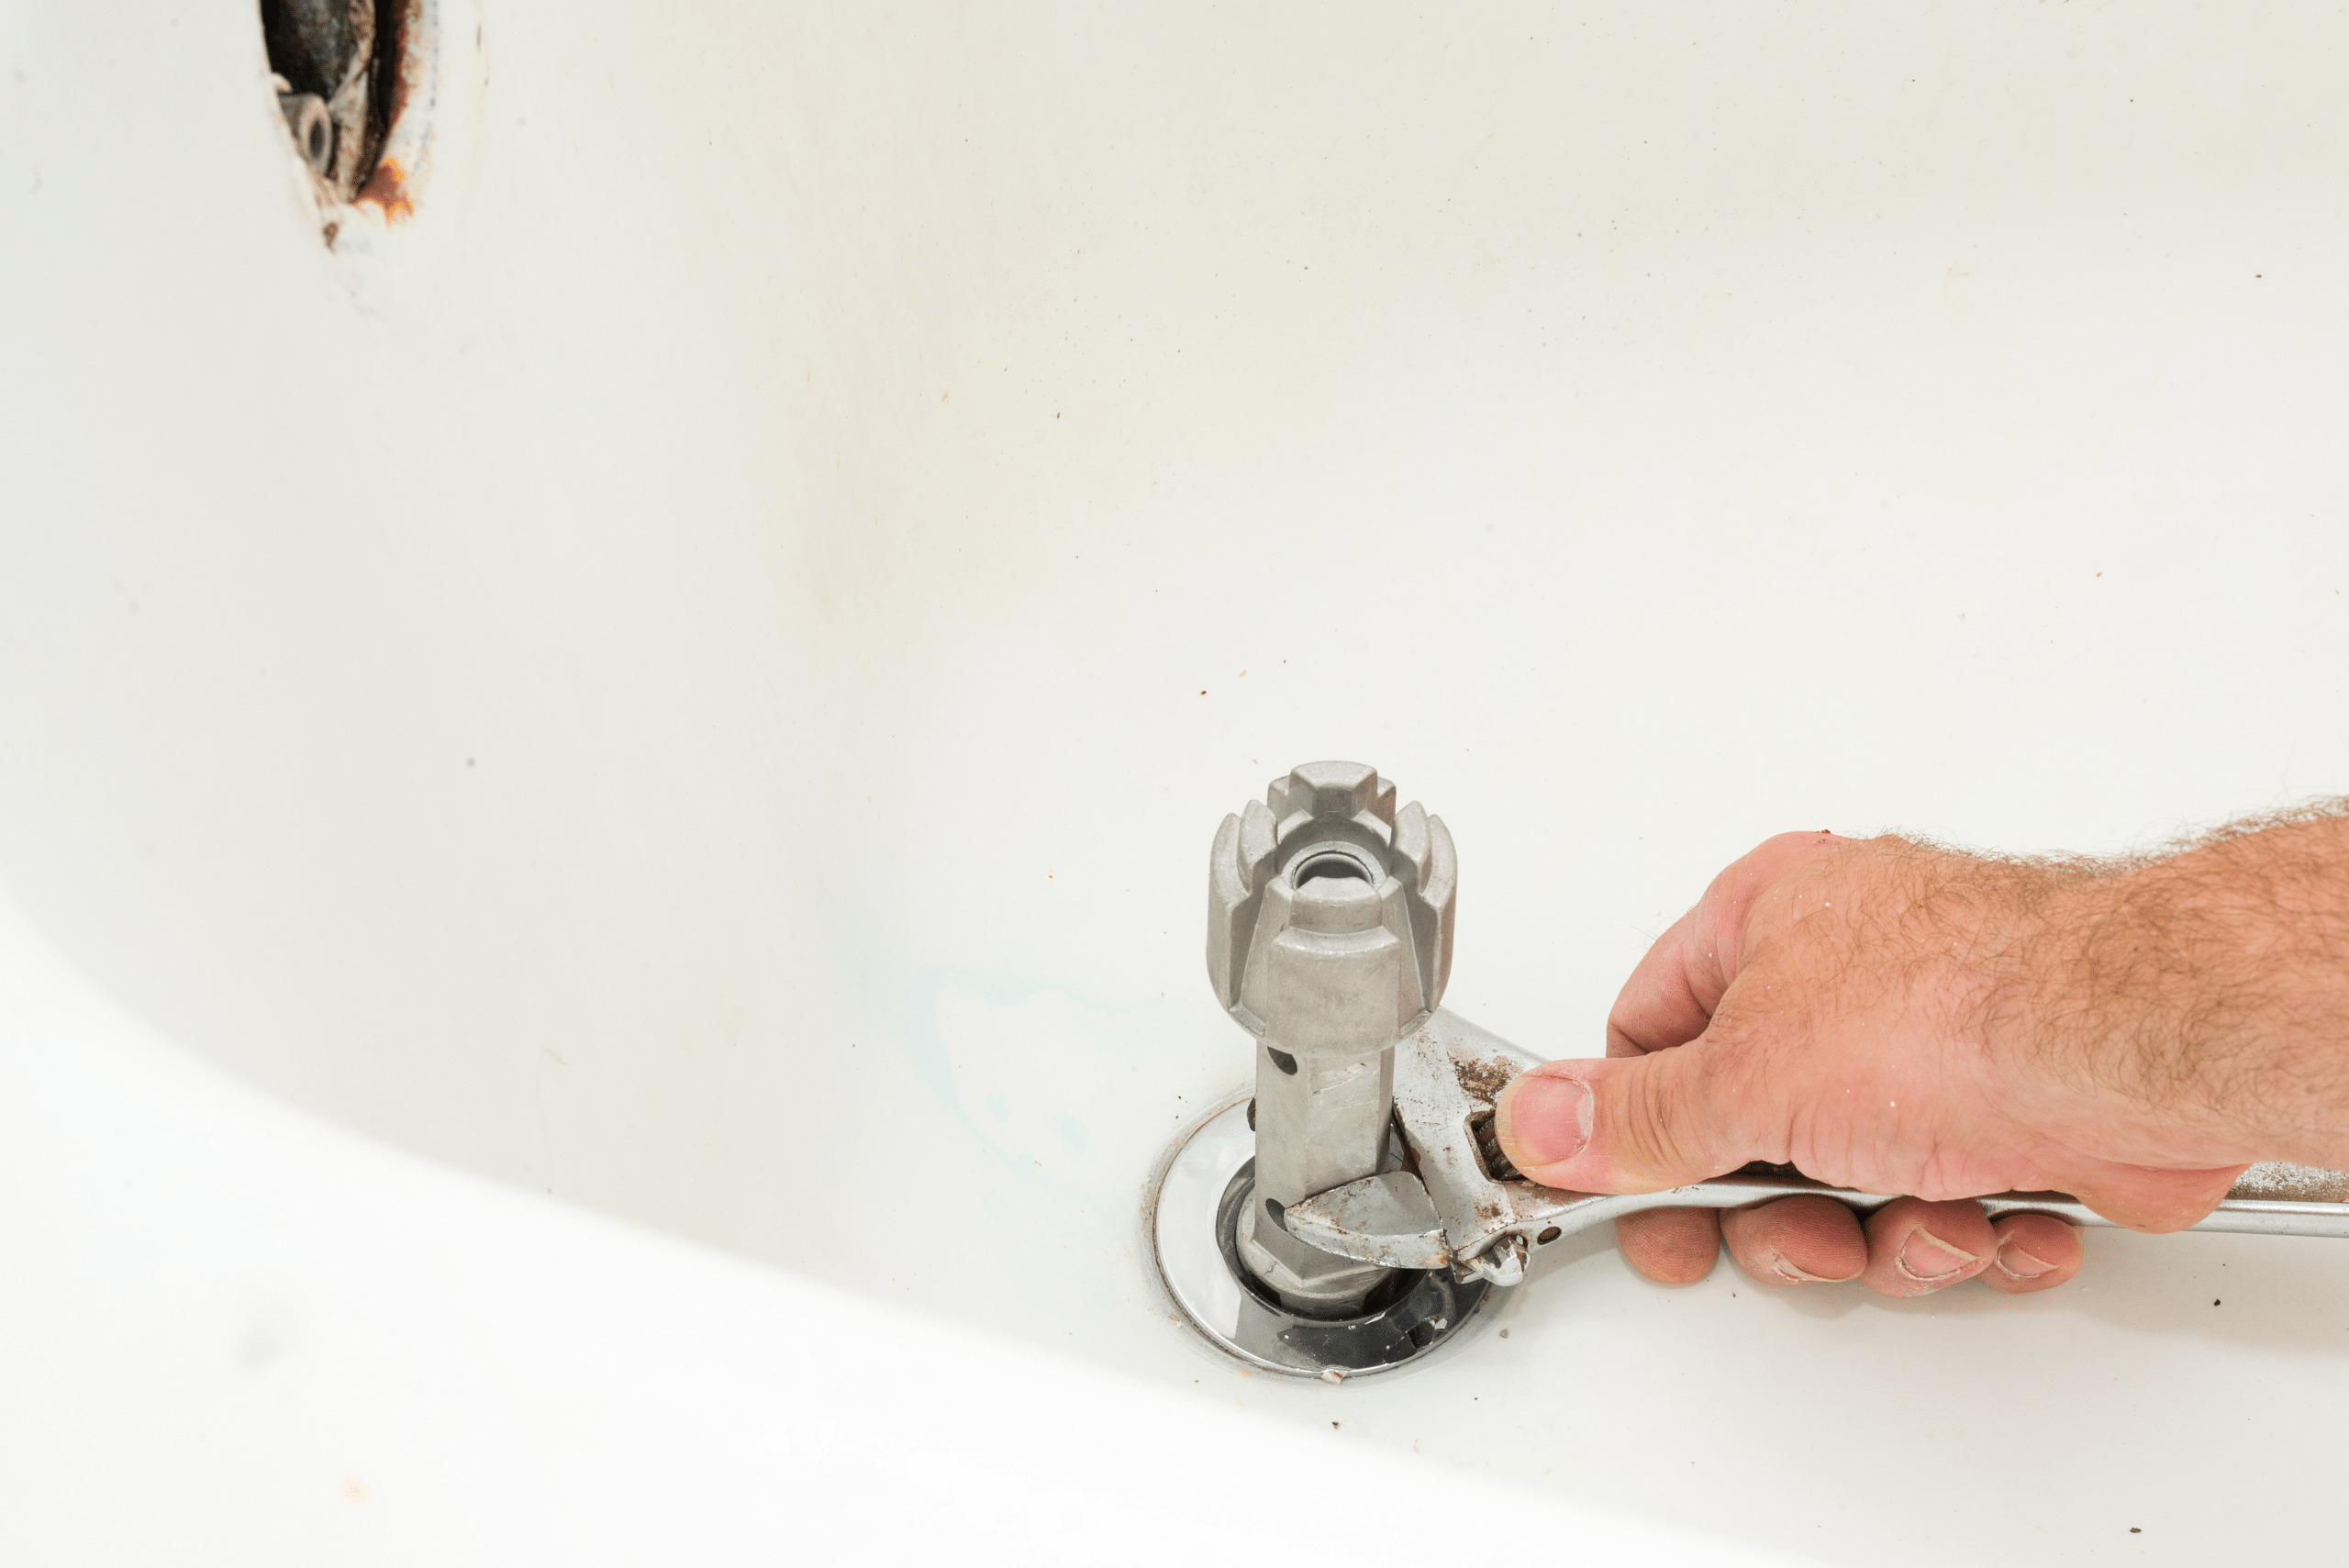
B. Loosening the Drain Flange: Utilize a drain key or pliers to loosen the drain flange by turning it counterclockwise. Apply penetrating oil if the flange is stubborn or corroded.
C. Extracting the Drain Flange: Once loosened, carefully lift the drain flange out of the drain hole using the appropriate tool. Take care not to damage the surrounding tub surface during this step.
D. Cleaning and Inspecting the Drain: With the drain flange removed, inspect the drain for any debris, hair, or buildup. Clean the area thoroughly before proceeding with any further maintenance or replacement.
Replacing the Bathtub Drain
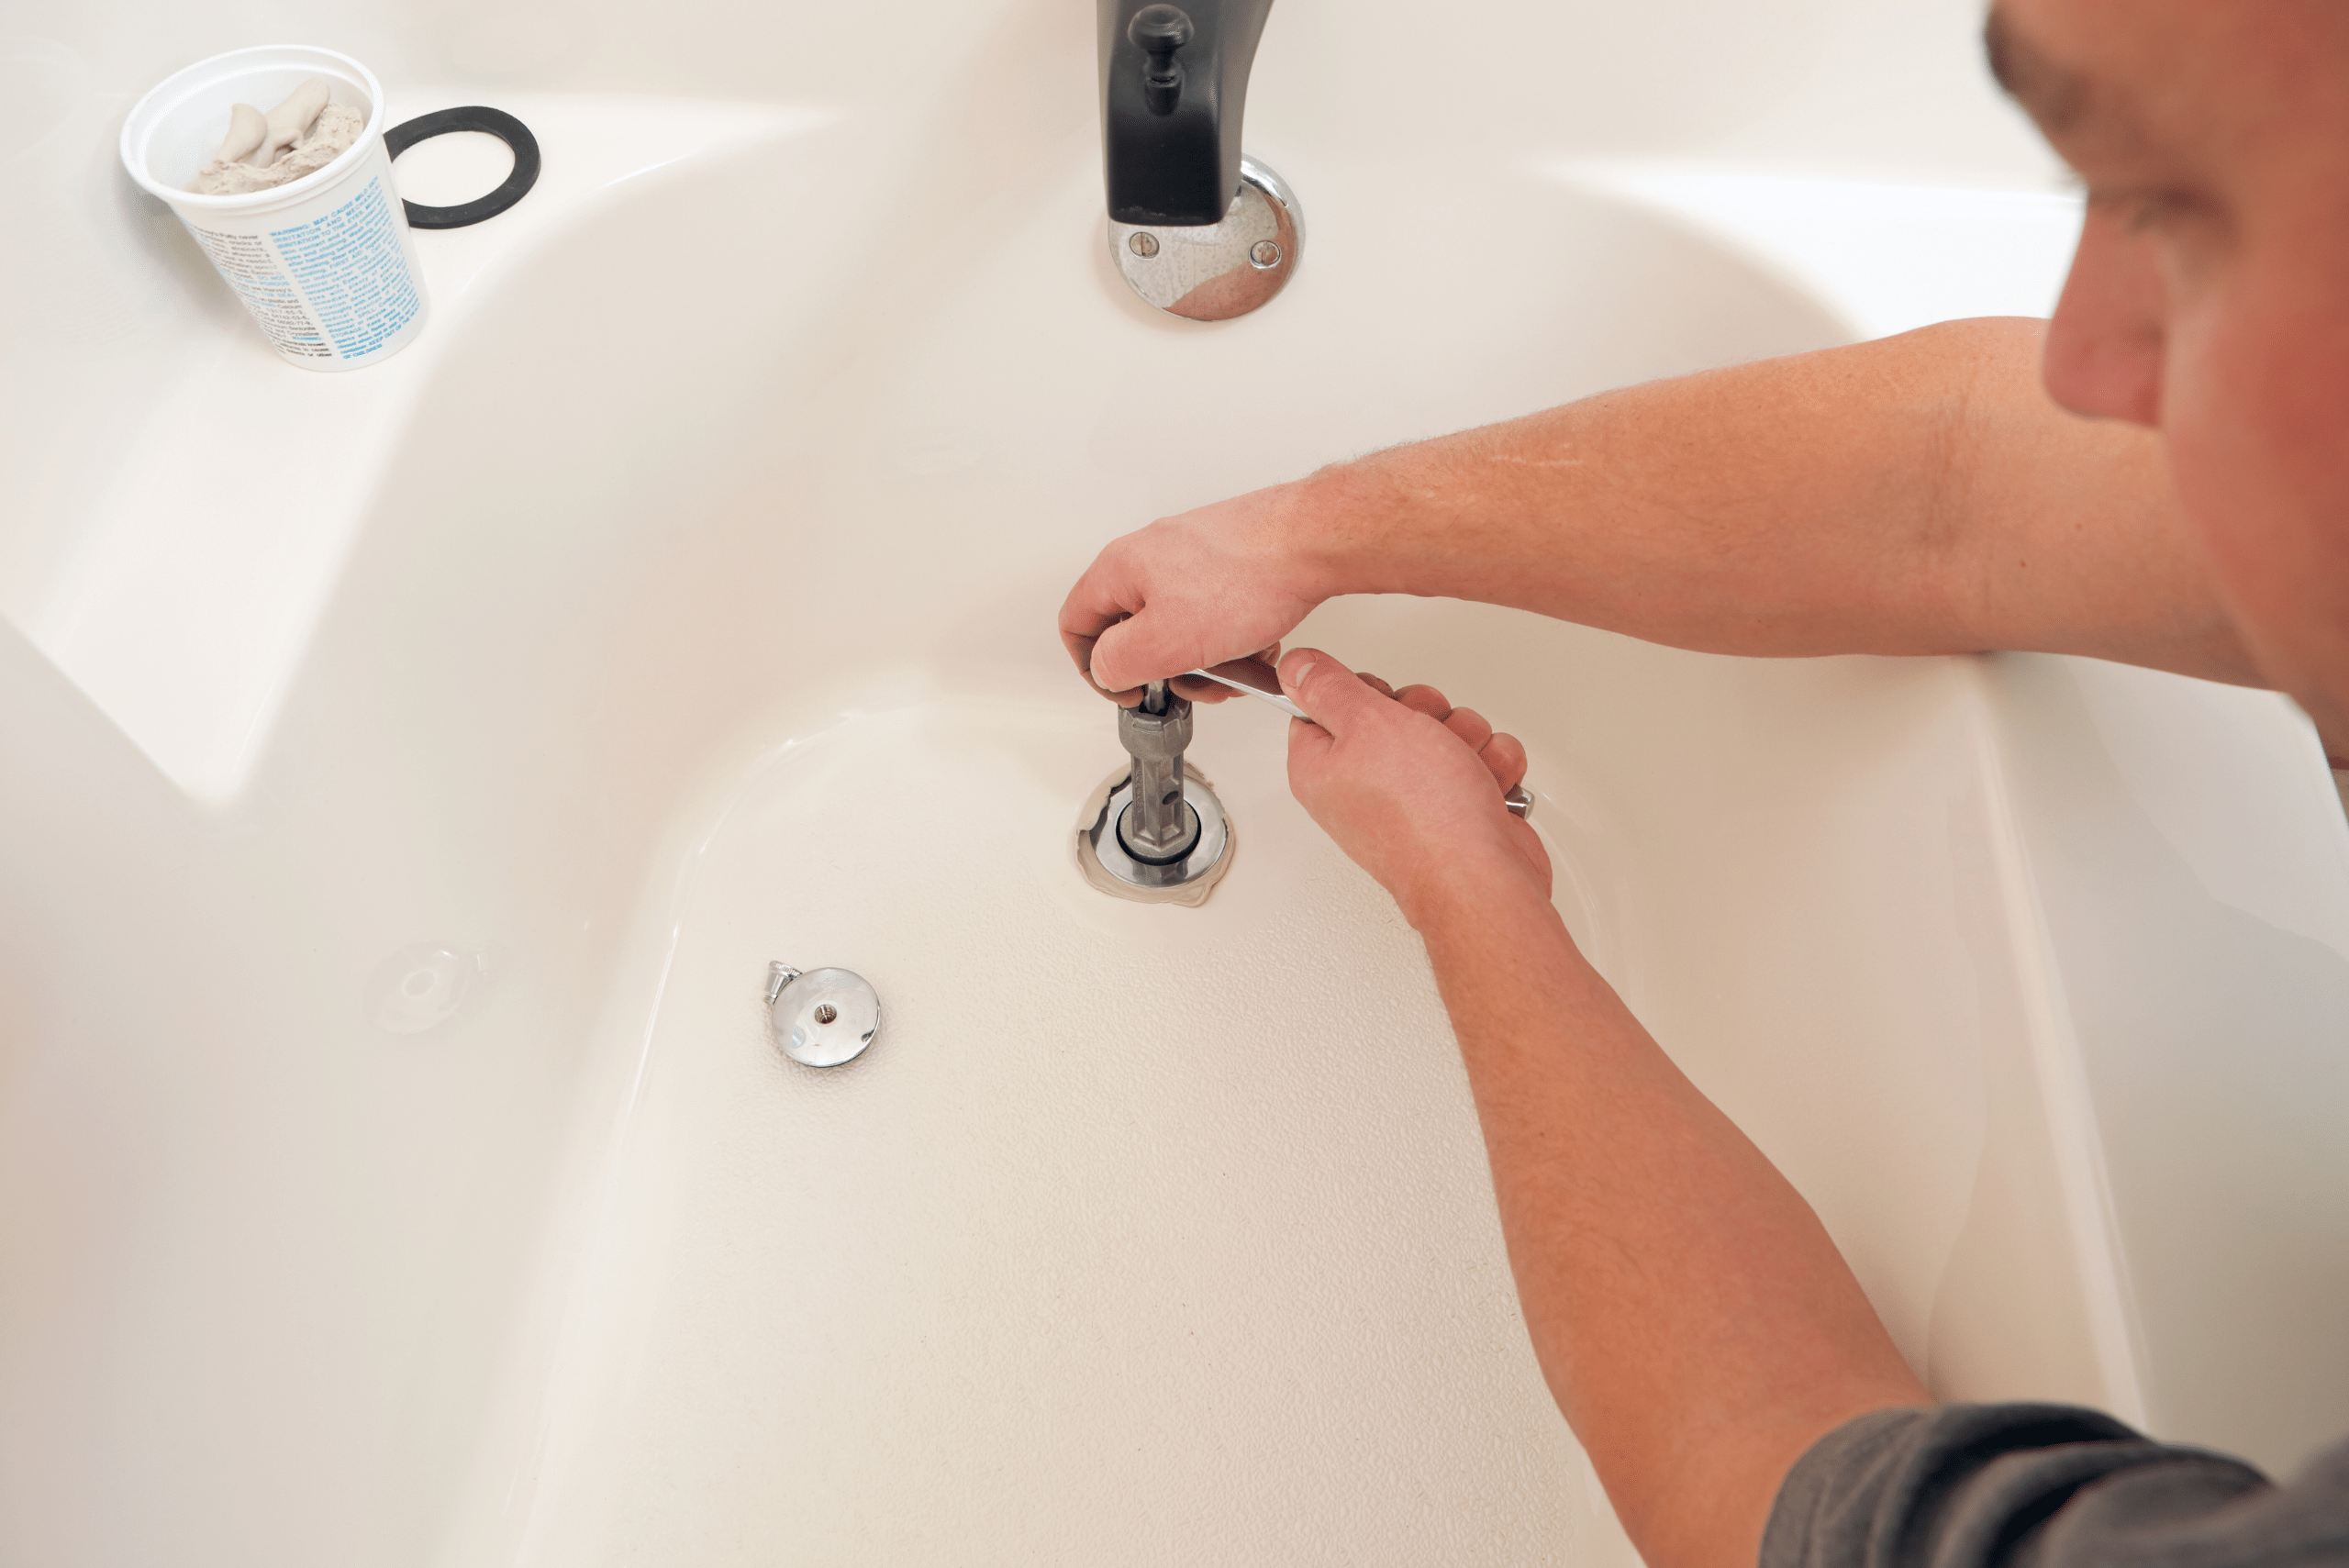
After successfully removing the old drain, you may choose to install a new drain to upgrade the functionality and aesthetics of your bathtub. This section will guide you through the replacement process, including selecting a suitable replacement drain and ensuring a proper, secure installation.
Troubleshooting and Tips
During the removal process, you may encounter challenges such as stubborn drain flanges, corroded components, or stuck crossbars. A few things you can try to loosen a stubborn bathtub drain include the following:
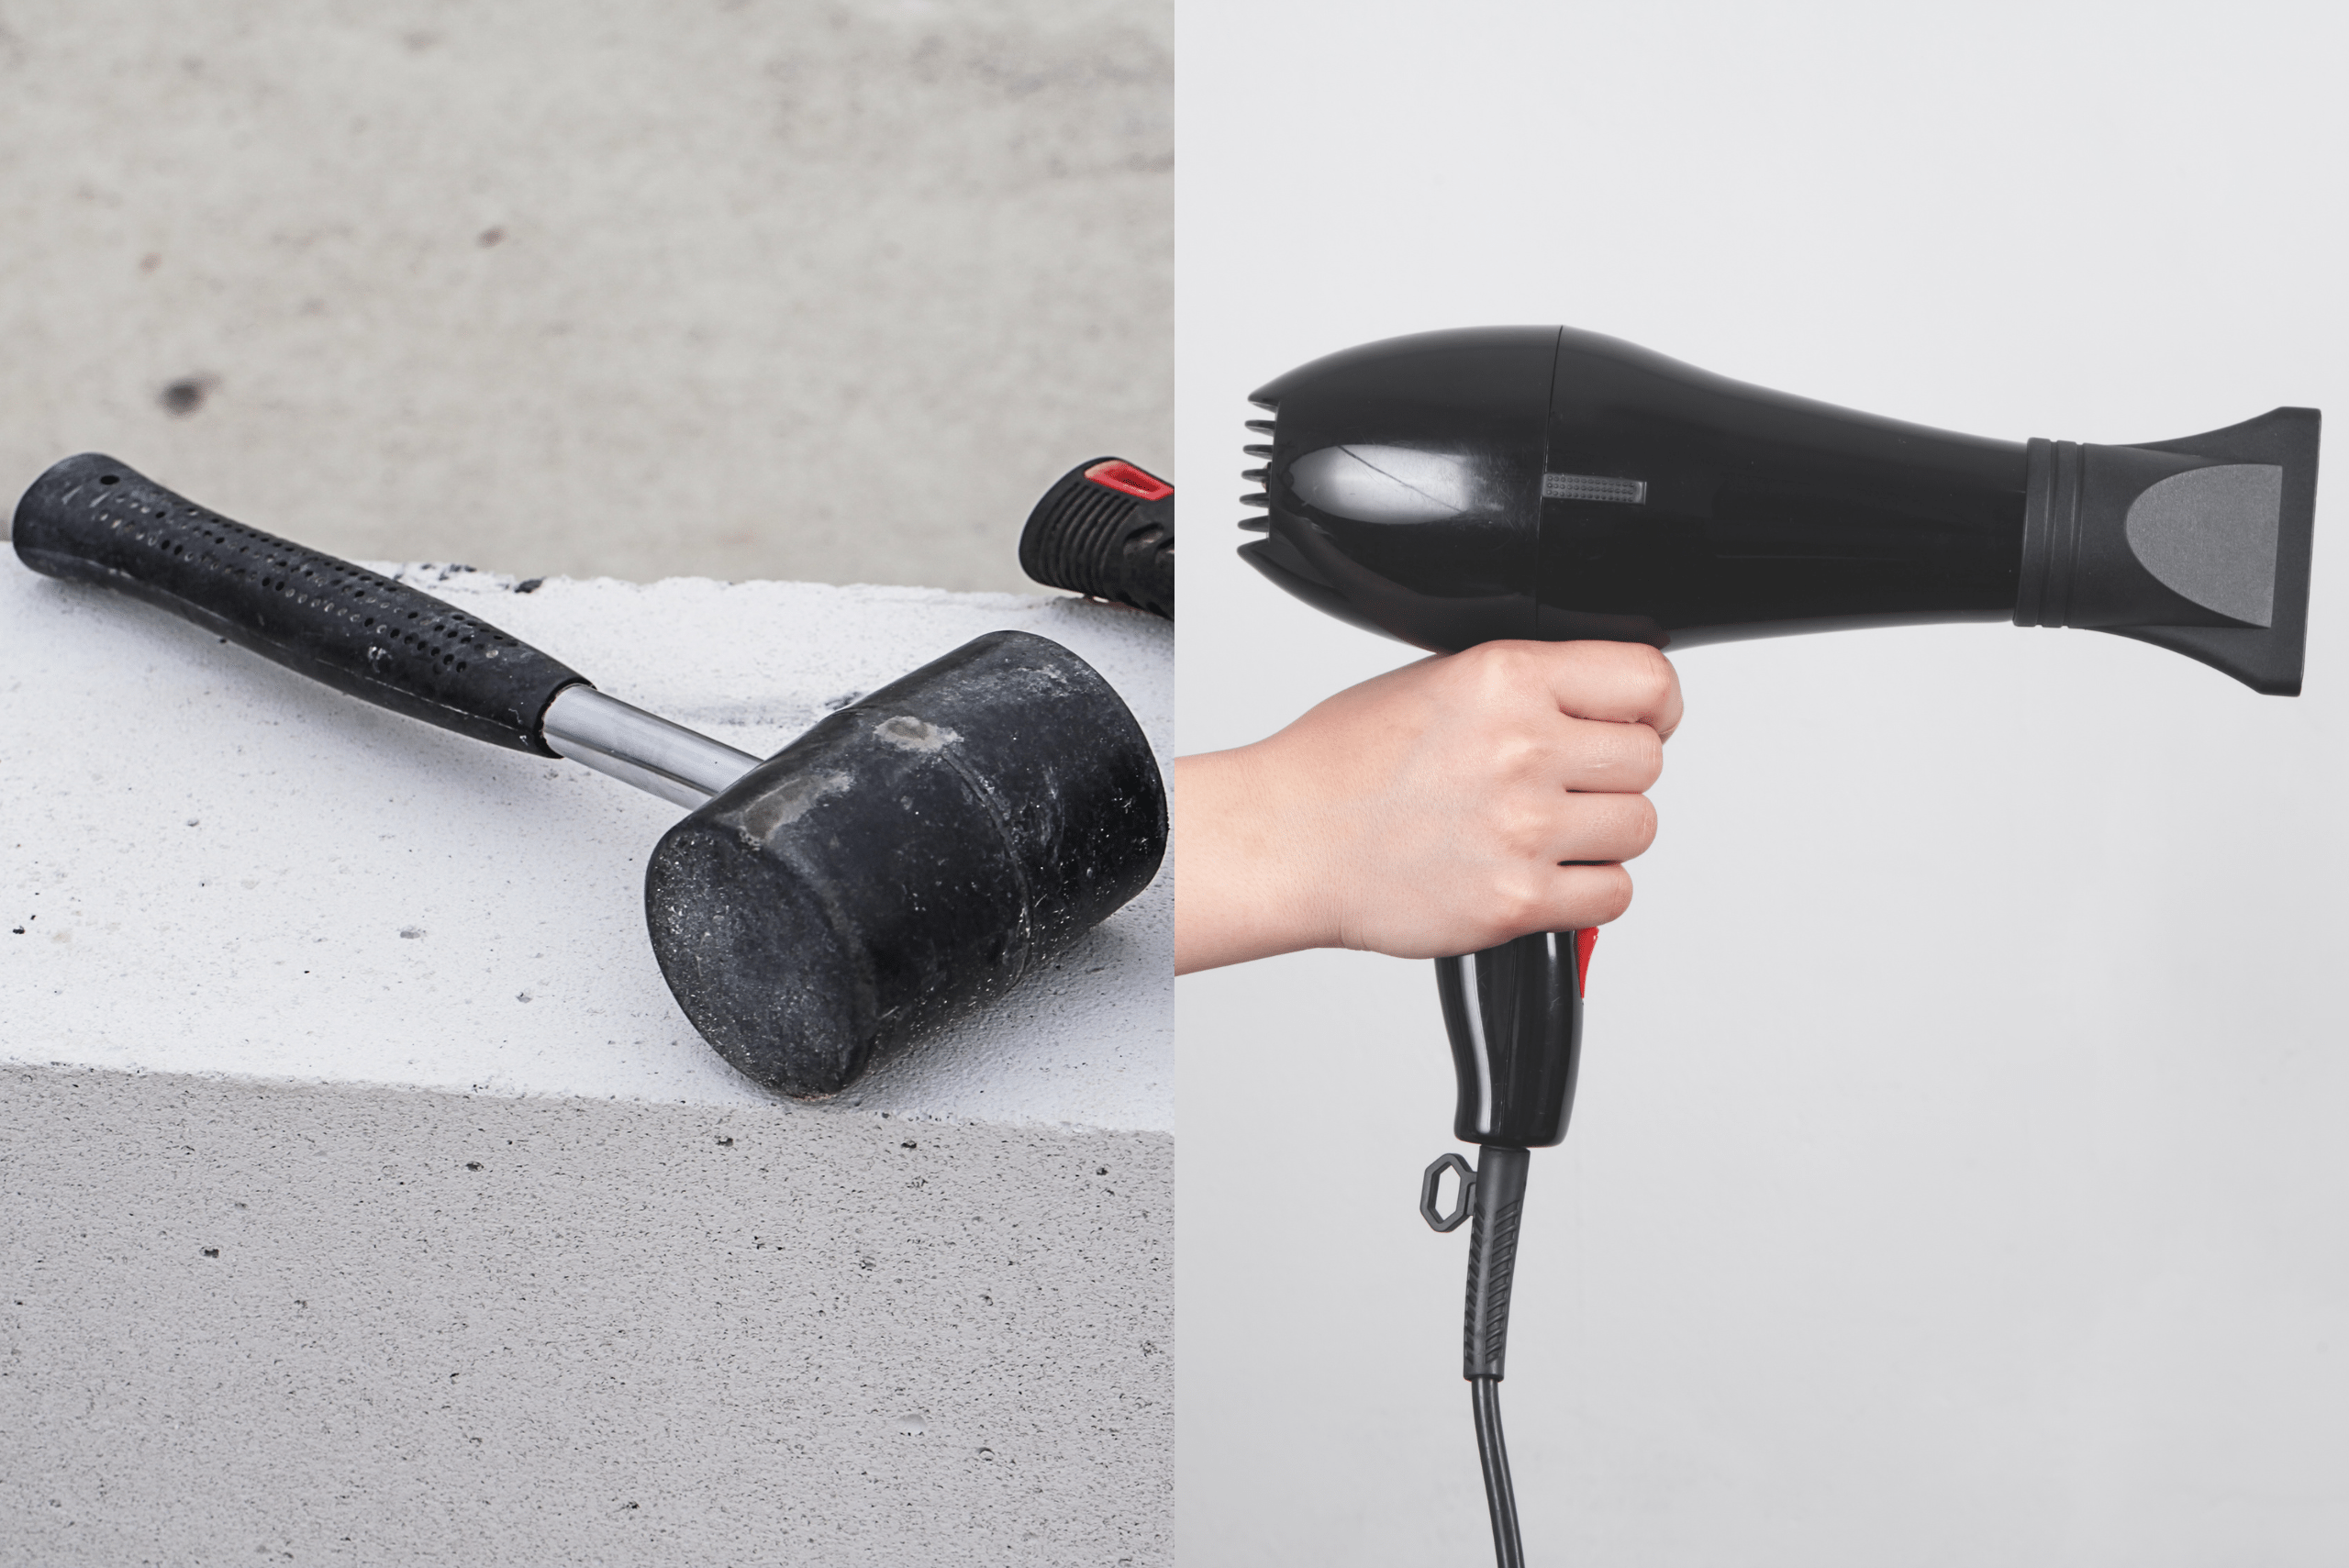
Heat the Drain: Use a hairdryer or heat gun to apply heat to the drain. Warmth can help expand the metal and make it easier to turn. Be cautious not to overheat the area, especially if there are any plastic components.
Expand and Contract: Alternately heat and cool the drain. After applying heat, use a cold pack or ice to cool the area quickly. This expansion and contraction may help break the grip of rust or corrosion.
Tap Gently: Tap the drain lightly with a rubber mallet or hammer. Be careful not to damage the tub surface. The tapping may help loosen any corrosion.
Use a Drain Extractor: If the drain is still stuck, consider using a drain extractor. These tools are designed to grip the inside of the drain and provide additional leverage for turning.
Apply Force Gradually: When using tools, apply force gradually and consistently. Avoid using excessive force, as this can damage the drain or the tub.
Maintenance and Care Tips
Once the bathtub drain has been removed and replaced, it’s crucial to implement maintenance and care practices to prolong the lifespan of the new drain. Here are some tips to help you keep your bathtub drain in good condition:
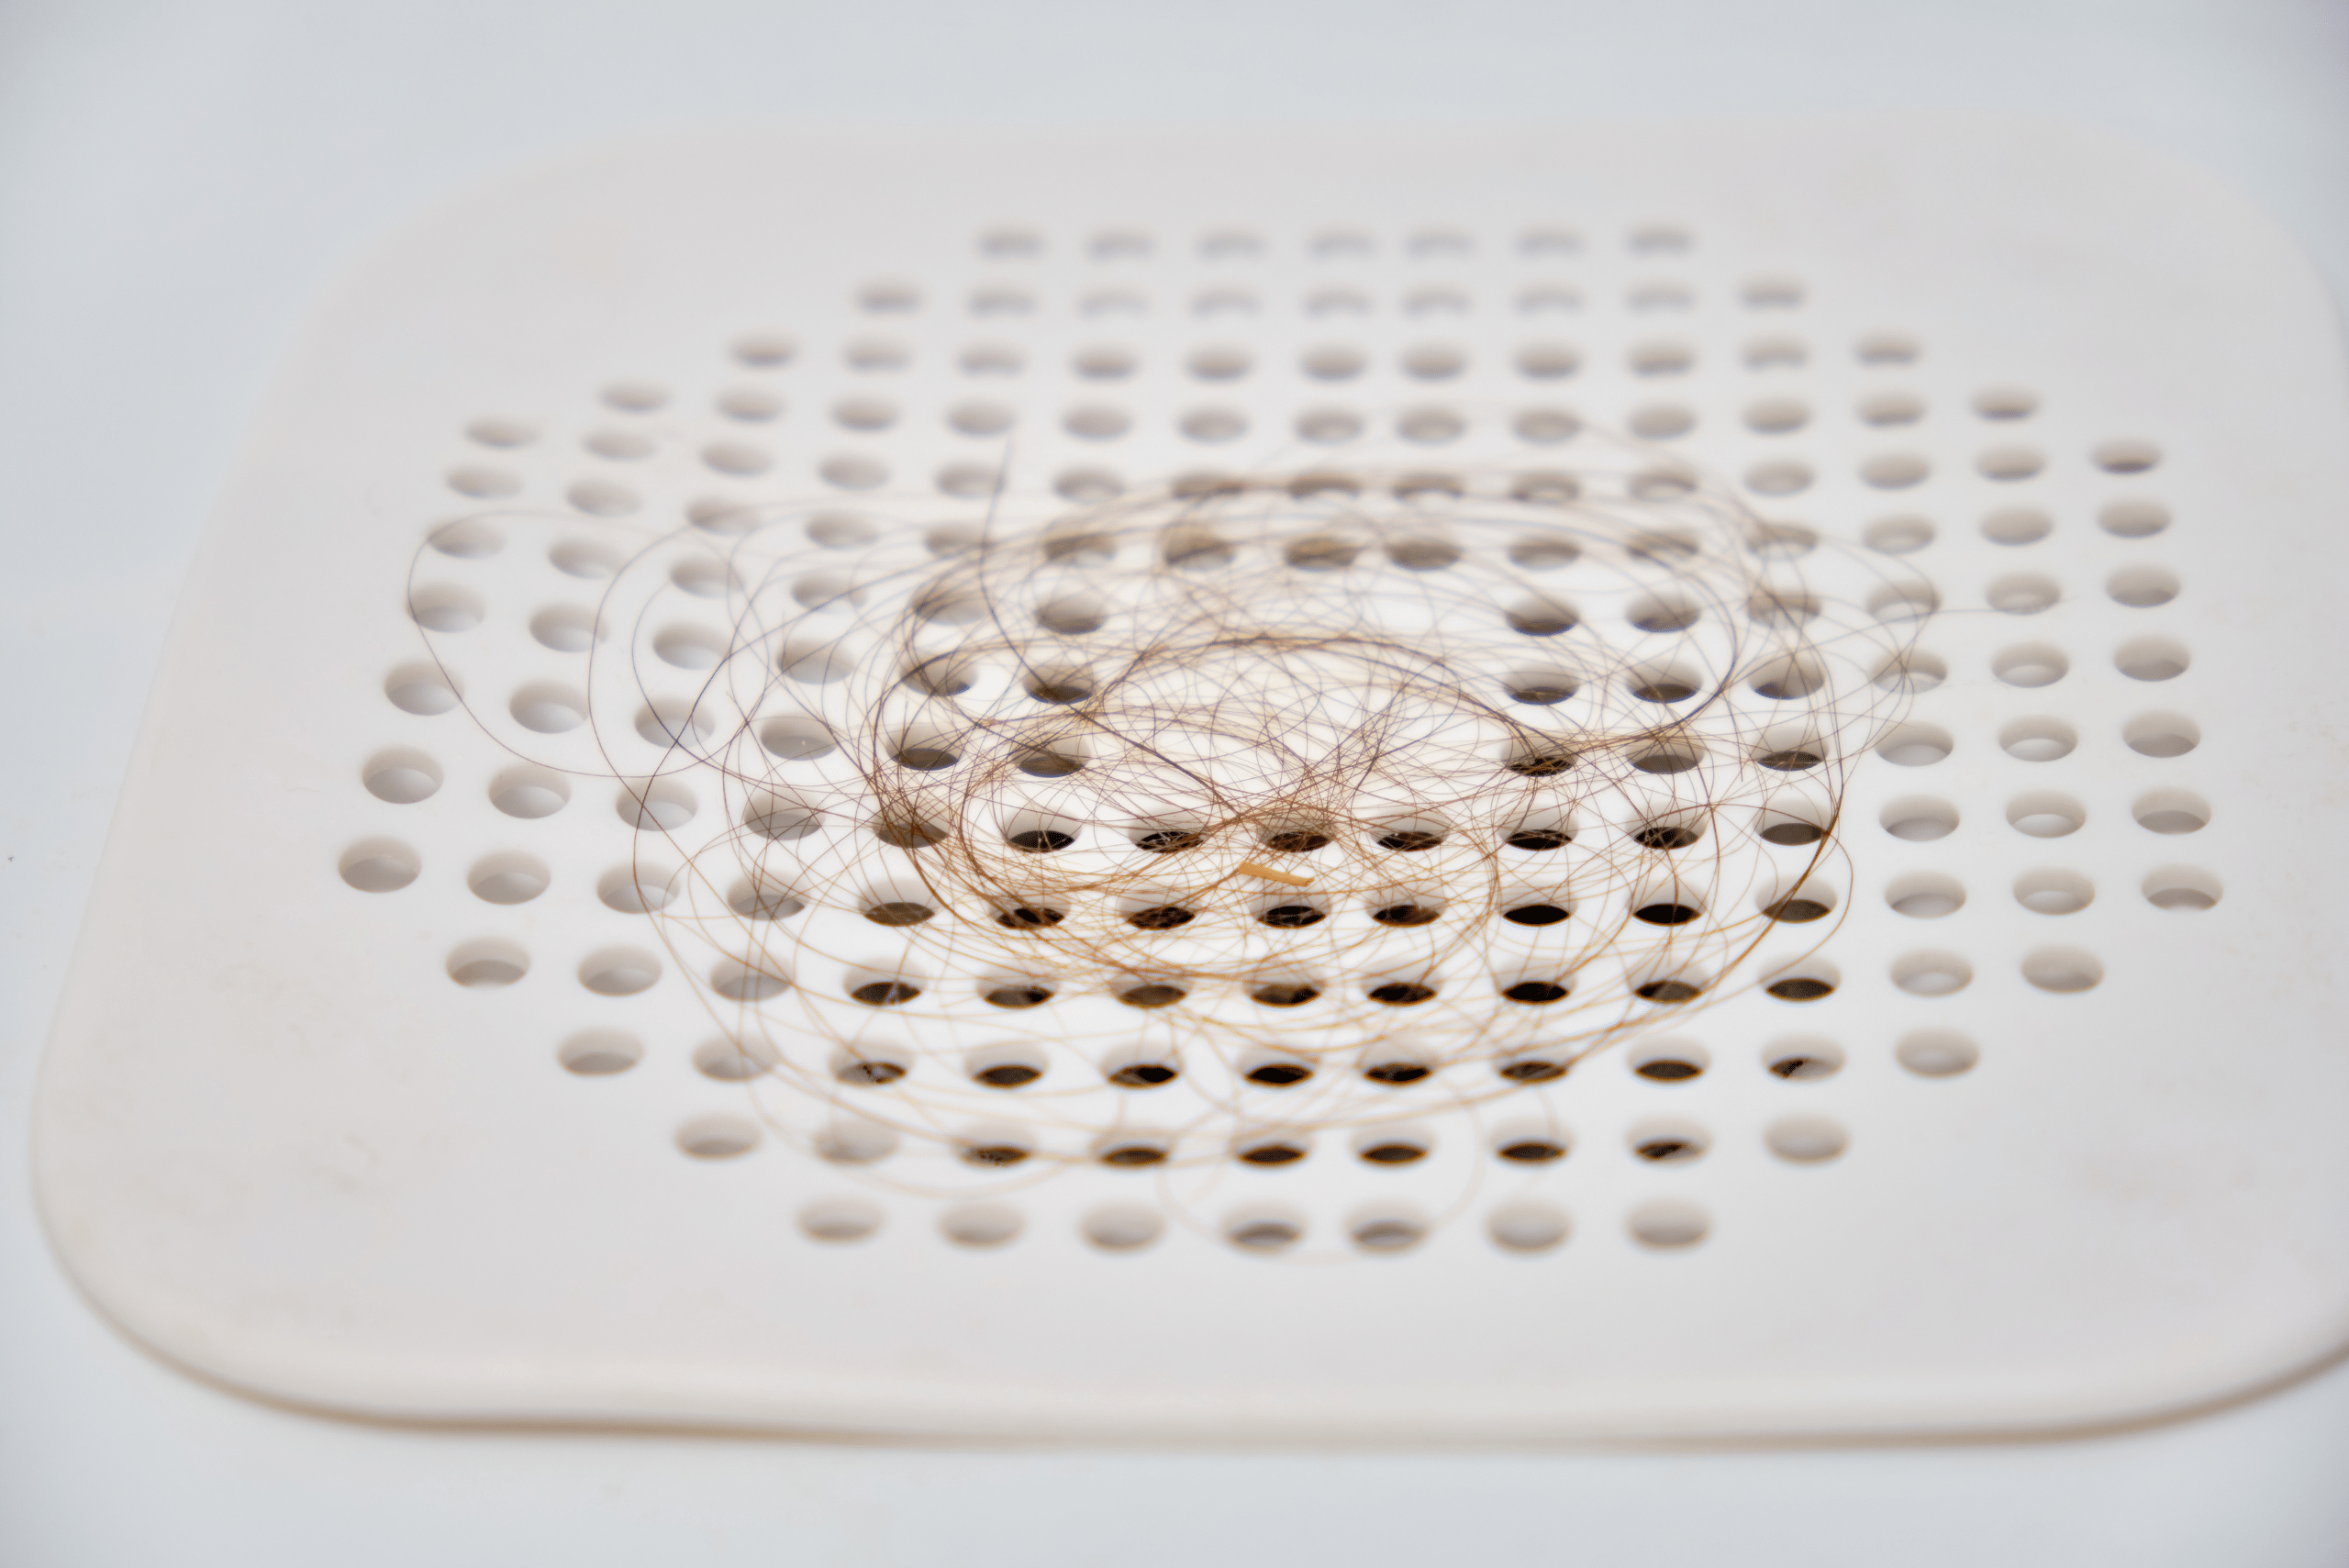
Regular Cleaning: Clean the drain regularly to prevent the buildup of soap scum, hair, and other debris. Use a mild cleaner or a mixture of baking soda and vinegar to break down and remove any clogs.
Hair Catcher: Install a hair catcher or drain strainer to prevent hair and large debris from entering the drain. This simple device can significantly reduce the chances of clogs.
Avoid Harsh Chemicals: Refrain from using harsh chemical drain cleaners, as they can damage the pipes and drain components. Opt for natural cleaning solutions or enzymatic cleaners, which are gentler on your plumbing.
Flush with Hot Water: Once a week, flush the drain with hot water to help remove any accumulated grease or soap residue. Hot water can help prevent clogs and keep the drain running smoothly.
Related Articles:
- Step-by-Step Guide for Fixing a Leaky Bathtub Faucet
- Toilet Wax Seal Installation: A Step-by-Step Guide
- How To Drain a Washing Machine (Front & Top-Loading)
Learning how to remove a bathtub drain empowers homeowners to take on essential plumbing maintenance tasks with confidence and skill. By following the step-by-step guide and incorporating safety measures and maintenance tips, you can effectively remove and replace a bathtub drain, ensuring the optimal functionality of your bathroom plumbing. With the knowledge gained from this guide, you’ll be equipped to tackle this DIY project and enhance the overall condition of your bathtub.

