How To: Building A Custom Cornhole Board
Cornhole is a rising sport with a history, an incomplete history, a history with dozens of purported starting points. Napoleon once said, “Victory has a thousand fathers, defeat is an orphan.”
No one is sure if the little Corsican corporal would have been a championship cornhole player, but one thing is for sure, it’s a very popular sport with an ever-increasing following.
Claims are that it came from 17th century Germany, others claim as far back as 7th century Denmark. The only factual evidence of the game comes from the early 1800s when settlers played the game with members of the Blackhawk Tribe in Illinois. The Blackhawk used slick hides stretched tight as game boards with other softer hides filled with corn as bags. The name “cornhole” comes from getting those corn filled bags into that round hole.
Cornhole boards are available online, at local sporting goods stores, and popular items at flea markets. If you’re good with tools, you might want to build your own. The process isn’t difficult and the result will be something uniquely your own.
Materials
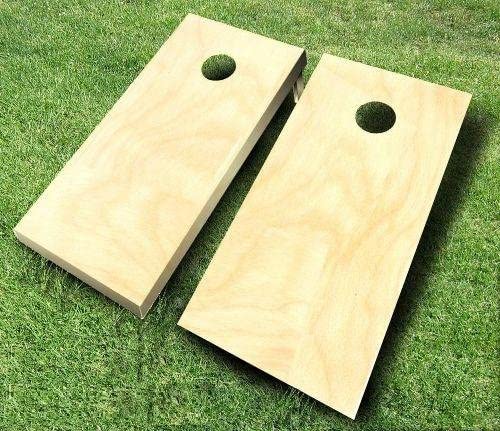
A cornhole board has to be slick, but not slick to the point that bags will slide off of the angled surface. Many home builders use MDF, or plexiglass as a board surface, but you don’t have to spend that much money. A half sheet of ½ inch AC plywood works just fine for the surface.
The standard dimensions for a cornhole board are 24 x 48 inches. A half-sheet of plywood, cut minus a narrow kerf saw yields a 48 by 23 7/8ths board, close enough for home use. The hole must be exactly six inches in diameter, centered in the middle of the board left to right and centered nine inches from the top of the board.
Cutting
After cutting the plywood in half, make two marks down nine inches from the top on each edge. Take a carpenter’s square, lay it on the two marks, and draw a line in the middle extending three inches in each direction from the 12-inch center mark.
Take a compass set at three inches width and scribe a circle from the center point you marked a nine and 12.
Drill four holes just on the inside of the scribed circle at 3, 6, 9, and 12 as if a clock were on your circle. Using a jigsaw carefully follow the circle to cut out the hole. Sand the inside of the circle smooth, so no rough edges catch the beanbags when they’re tossed. Use your first playing surface as a template to mark the second one. Cut the second piece of plywood in the same fashion.
Frame
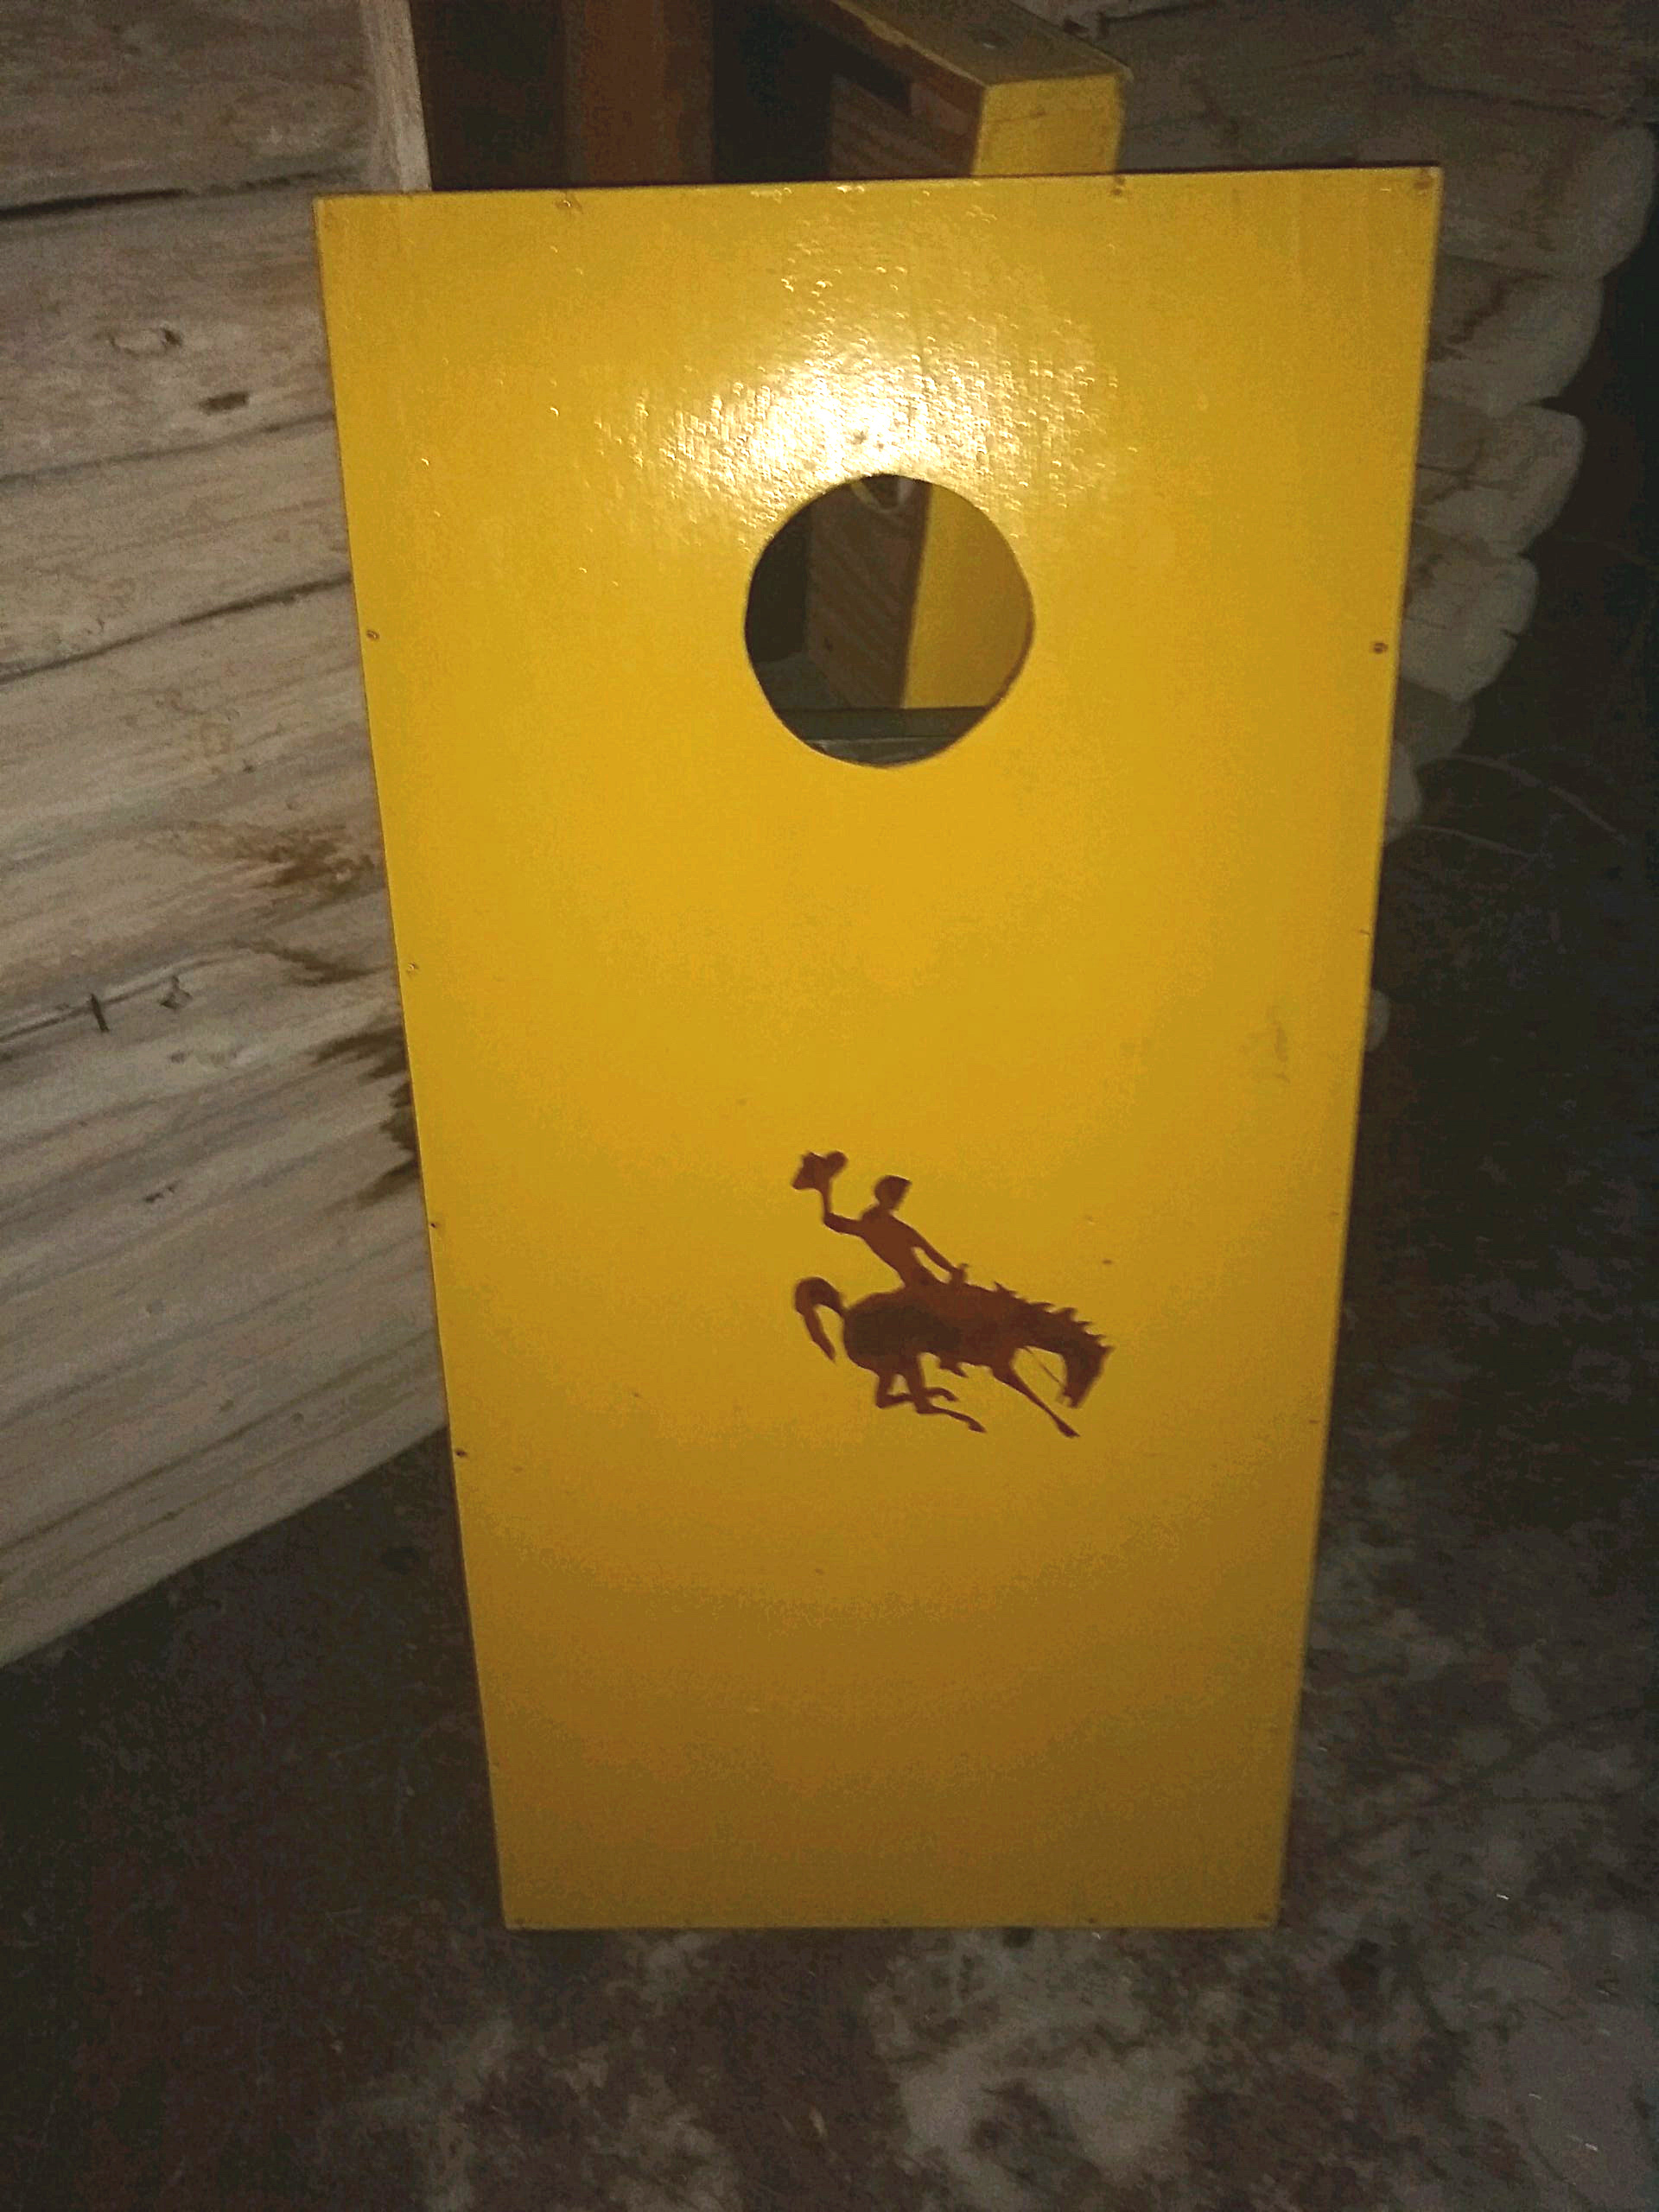
Number two grade 1×4’s work well for a frame. You’ll need two 48” pieces and two 22 3/8th pieces. The ¾ inch thickness of the two 1x4s added to the 22 3/8th end boards will equal the 23 7/8th of your ripped plywood.
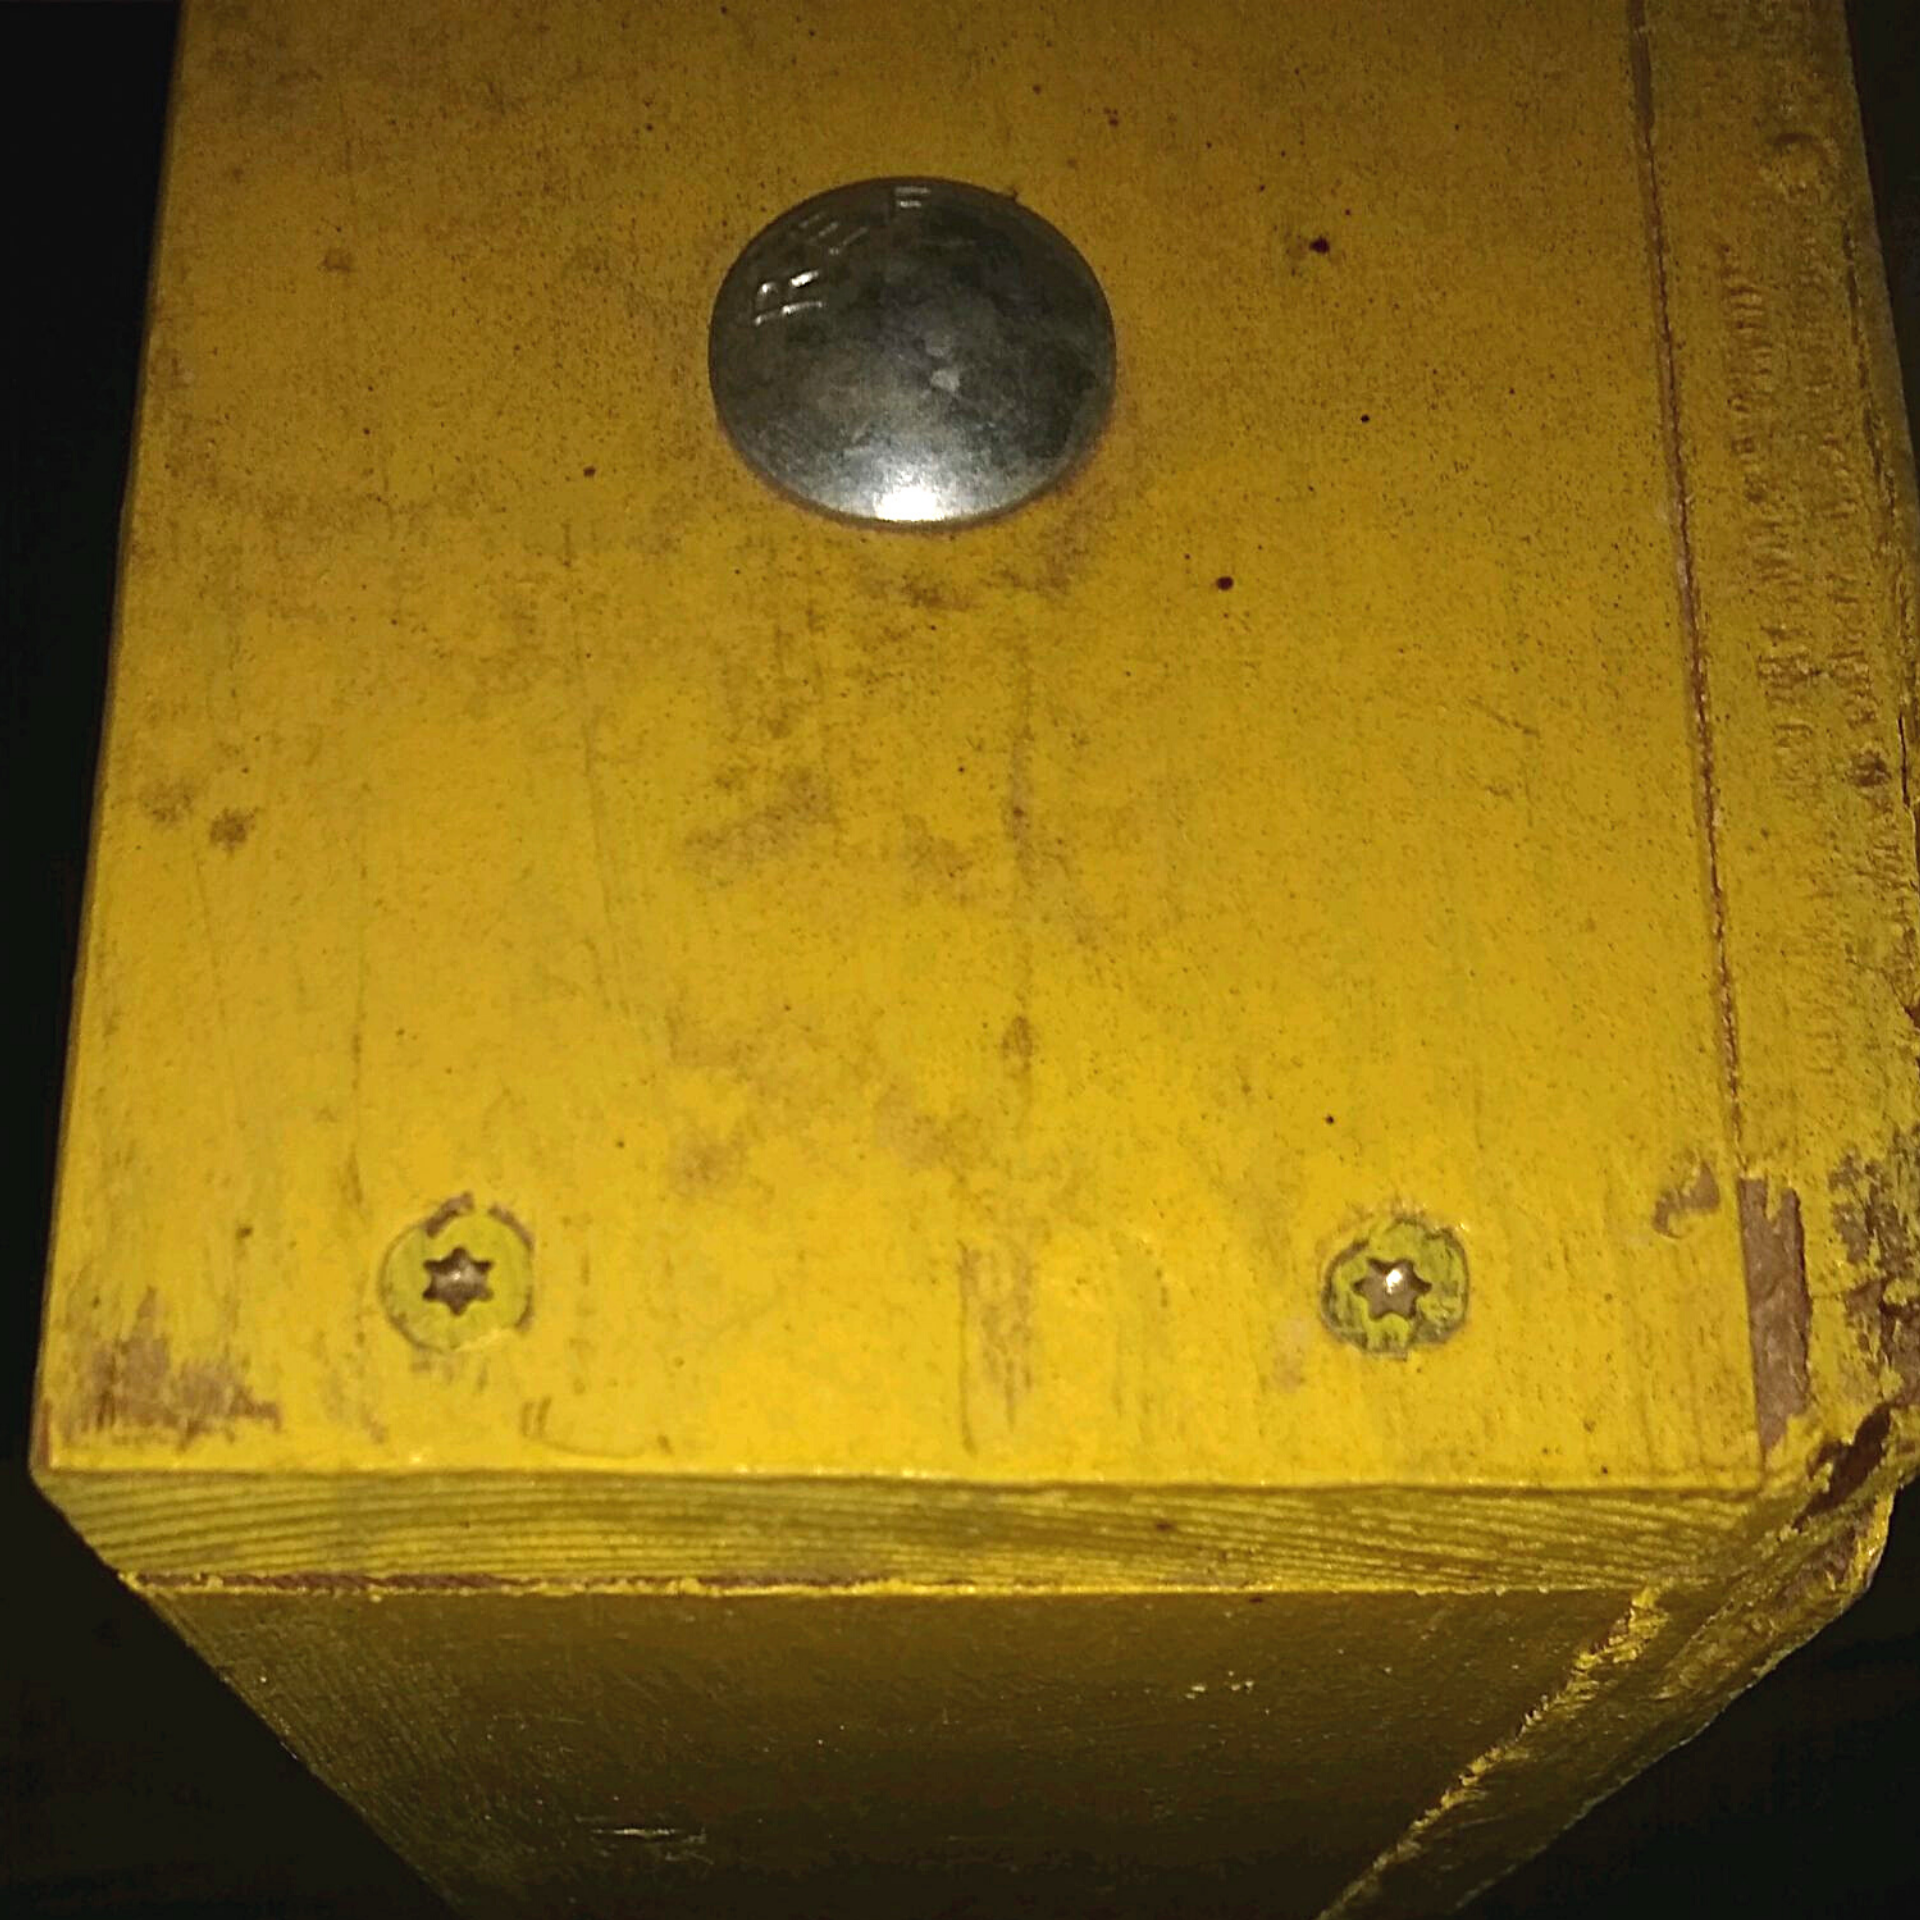
Secure the 1x4s to the surface of the board with 1 ½ inch deck screws. Make sure the heads of the screws are just below the surface of the plywood. Use two of those same 1 ½ inch screws to secure the 48-inch sides to the end pieces.
Legs
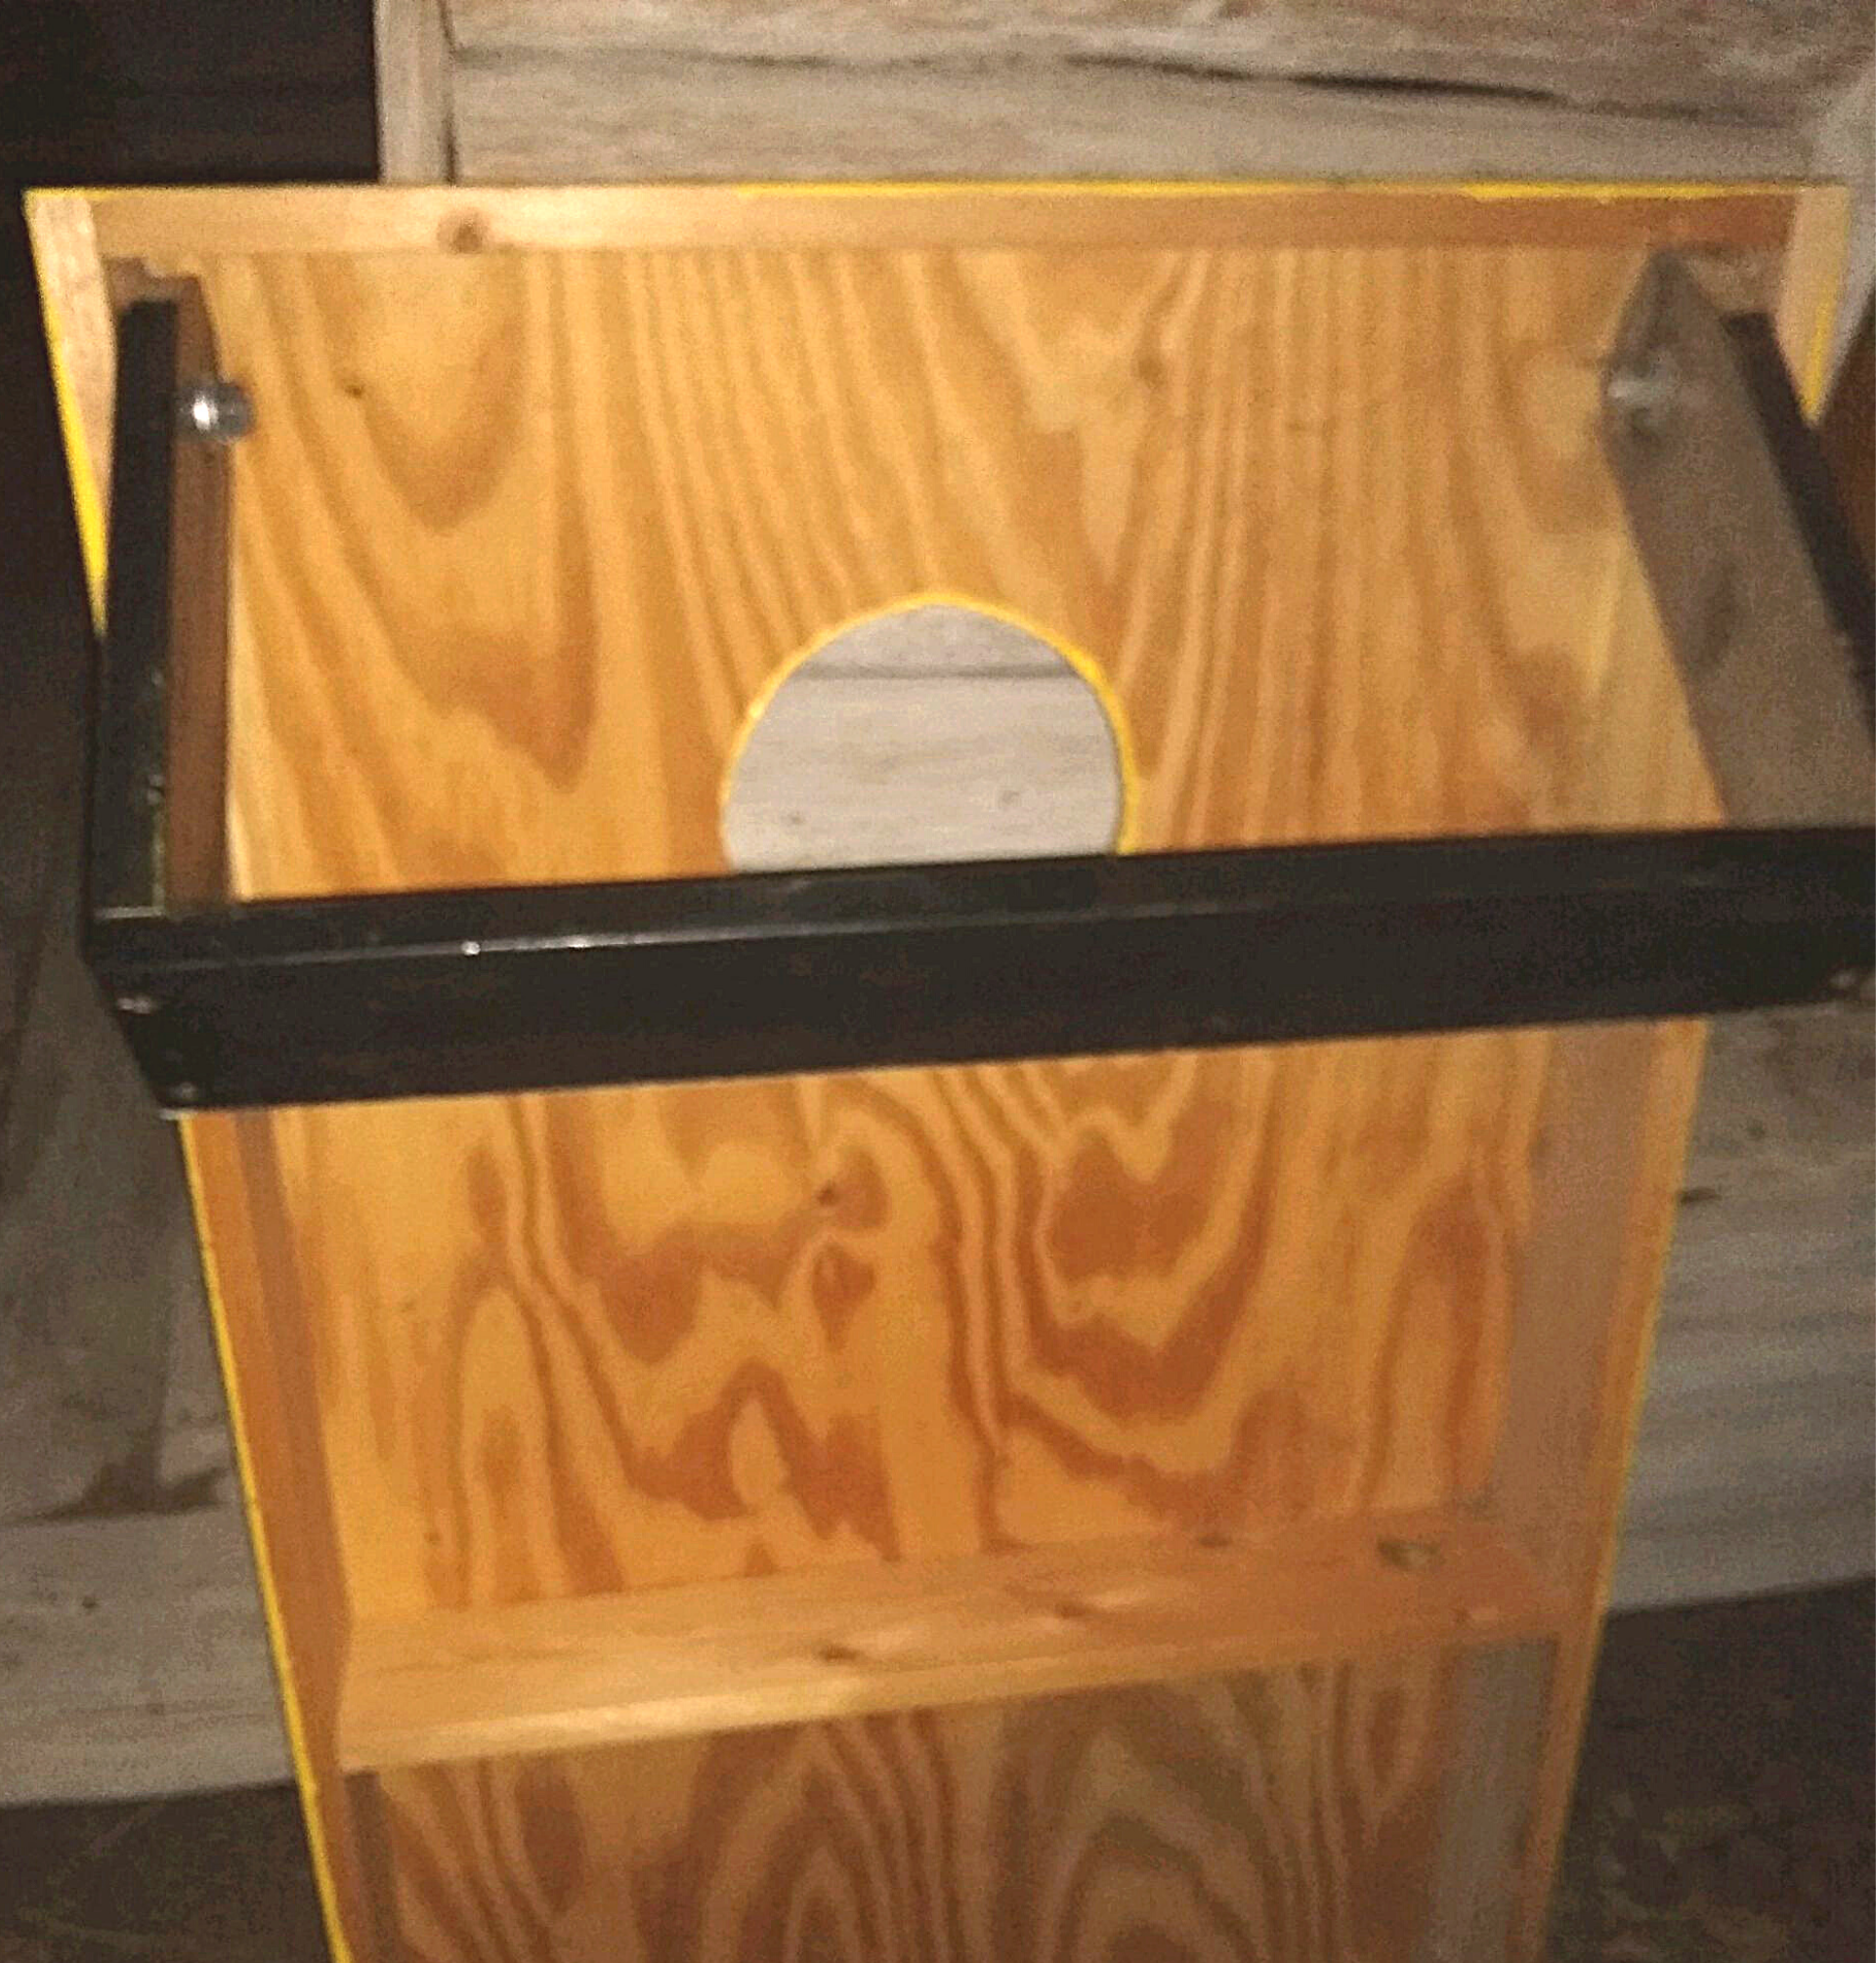
Legs are easy to construct but must raise the board surface to 12 inches on the back, or uphill side. The lower portion can rest on the ground since the 3 ½ inch 1×4 with half-inch plywood on top equals the requisites four-inch height.
Use the same 1×4 material for the legs. Cut two 11 inch 1×4’s, cut the edge of one end into a semi-circle, hold the leg and the board so the surface is exactly 12” off the ground, and drill a hole through the leg and the side of the board. Attach the legs to the board with a 3/8” carriage bolt.
Connect the two legs with another 1×4 and using deck screws to attach them creates a stronger support structure.
Finish
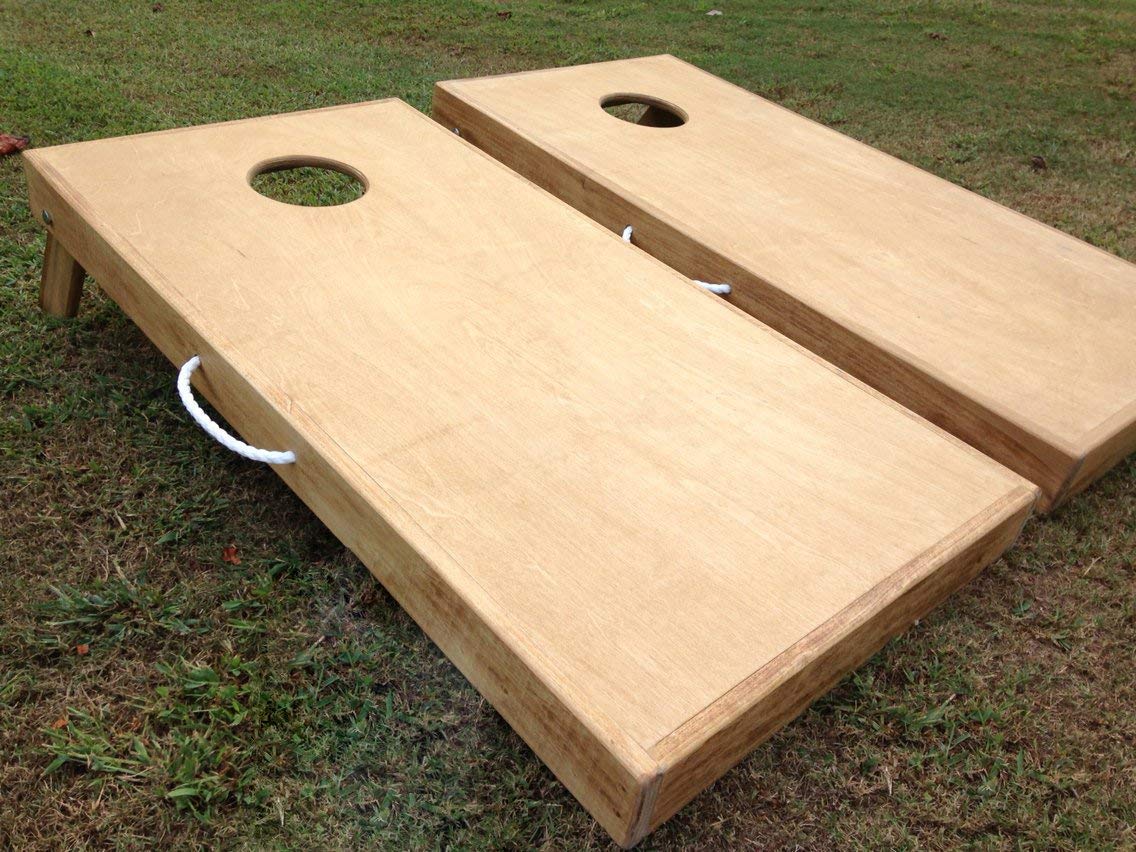
When your board is complete sand it in progression with 100, 220, and 400 grit sandpaper. You can now paint it, add a decal, leave the wood bare or apply a unique design. Whatever you do, the final surface is now ready for a polyurethane finish.
Five coats of quality polyurethane, with sanding on the second, fourth, and fifth coat sets the surface with just enough slickness to be a competitive board. A final rub down with steel wool finishes off the project.


![How To Clean Patio Pavers [Without a Pressure Washer!]](https://www.manmadediy.com/wp-content/uploads/sites/52/2024/06/broom-15377-238x170.png)
