Build a Dog House: A Cozy Retreat for Your Canine
As pet owners, we all strive to ensure our furry friends feel secure and content, especially when they spend time outdoors. A well-built dog house not only offers a cozy sanctuary but also shields your pup from inclement weather.
In this comprehensive guide, we will take you through the process of constructing a dog house that caters to your four-legged companion’s needs while also adding a touch of elegance to your outdoor space.
Assessing Your Dog’s Needs: Tailoring the Perfect Dog Haven
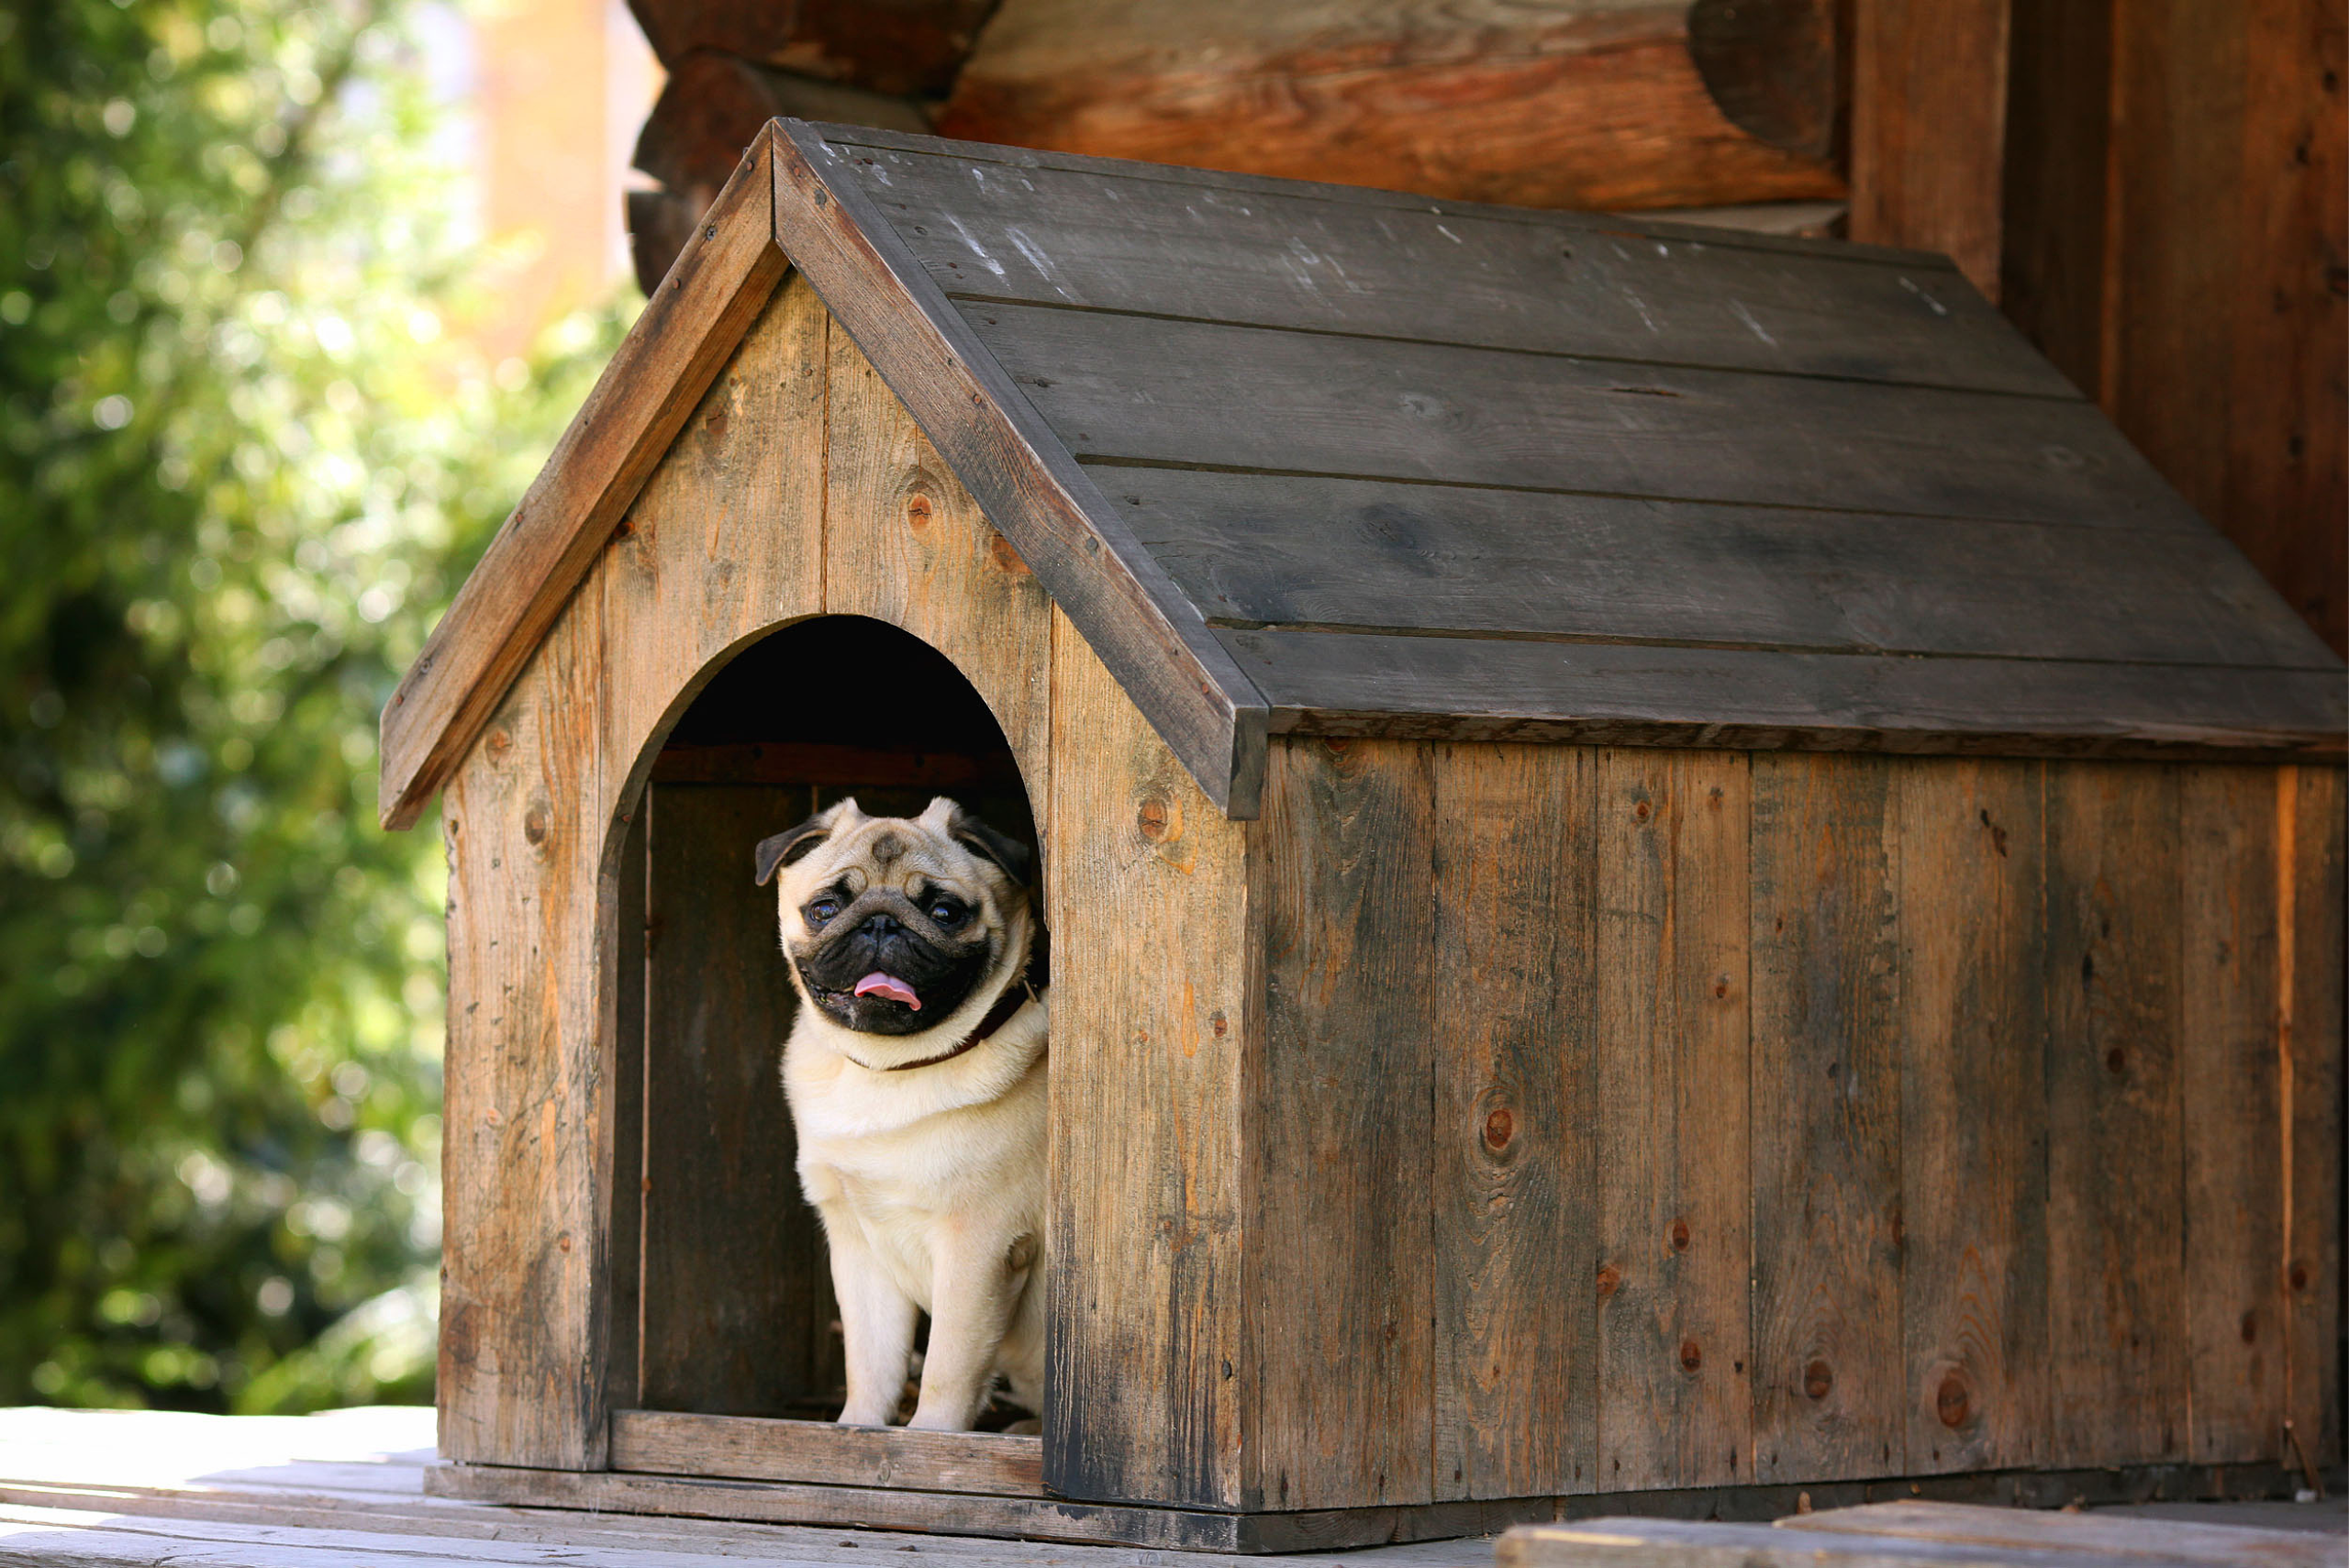
Embarking on the journey of building a dog house requires more than just a blueprint and materials. It necessitates a thoughtful consideration of your furry friend’s individual needs. By assessing your dog’s size, breed, age, and specific preferences, you can create a dog house that becomes their cozy haven.
- Size Matters:
- Consider the Dog’s Size: The first step is to take precise measurements of your dog. A comfortable dog house should provide ample space for them to stand, turn around, and stretch comfortably.
- Account for Growth: If you have a puppy, consider their potential growth. Building a slightly larger house to accommodate future size changes ensures a longer useful lifespan for the dog house.
- Breed-Specific Considerations:
- Small Breeds vs. Large Breeds: Different dog breeds have varying needs. While small breeds may prefer a snug, enclosed space, larger breeds may require a more spacious environment. Research your dog’s breed characteristics to tailor the dog house accordingly.
- Age-Appropriate Design:
- Puppies vs. Senior Dogs: Puppies may enjoy a dog house with low entry points, allowing them to easily access their new space. For senior dogs, a design that considers potential mobility issues, such as ramps or easy access points, ensures their comfort.
- Climate Considerations:
- Insulation Needs: Assess your local climate and consider insulation options for the dog house. In colder climates, proper insulation ensures your dog stays warm, while in warmer regions, ventilation becomes crucial to prevent overheating.
- Raised Flooring: If your area experiences heavy rainfall, consider elevating the dog house slightly to prevent water infiltration and provide a dry, comfortable space for your dog.
- Location, Location, Location:
- Sun and Shade: Choose a location in your yard that offers a balance of sunlight and shade. Dogs appreciate a spot where they can bask in the sun during colder days and seek shade in warmer weather. Be mindful of the changing sun patterns throughout the day.
- Protection from the Elements: Avoid placing the dog house in areas prone to flooding or strong winds. Providing a sheltered location shields your dog from the harshest weather conditions.
By thoughtfully assessing your dog’s needs, you lay the foundation for a dog house that goes beyond mere functionality—it becomes a personalized retreat tailored to your canine companion. Taking the time to understand your dog’s unique requirements ensures their comfort, safety, and overall well-being within their new home.
Selecting the Perfect Design
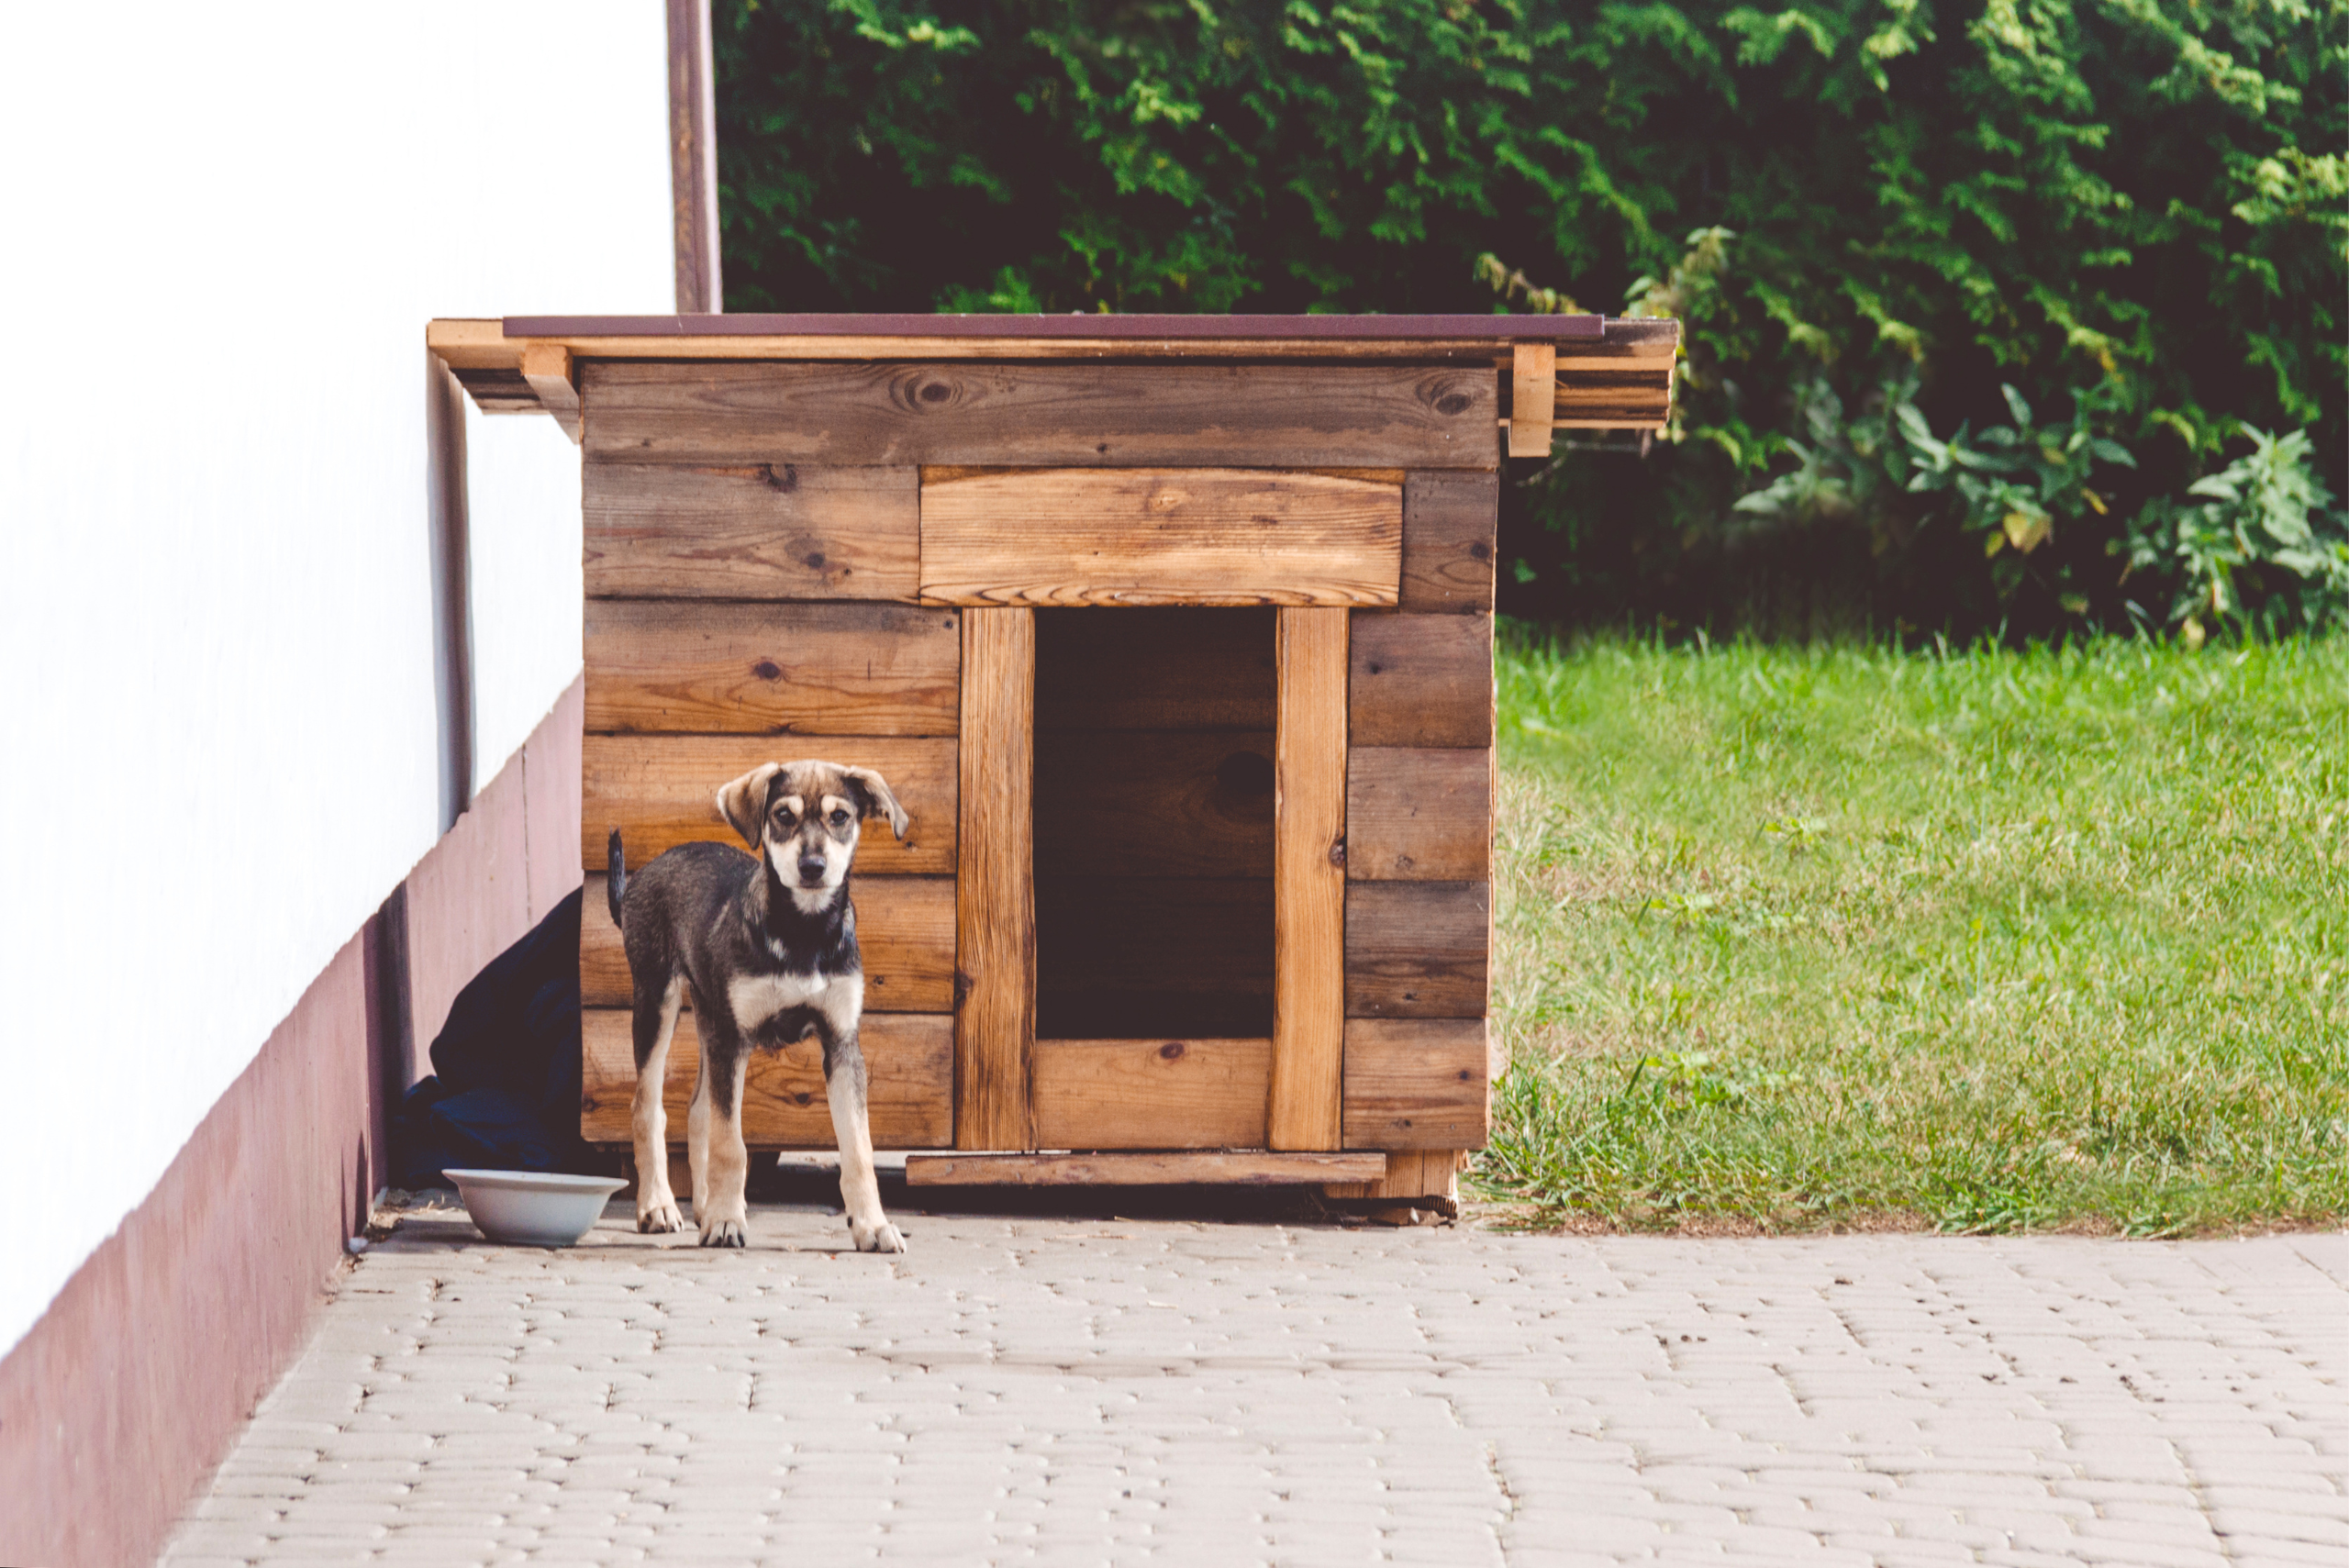
When it comes to dog house designs, the options are plentiful. Take into consideration factors such as insulation, ventilation, and ease of cleaning. Popular styles range from traditional pitched-roof houses to contemporary designs with flat roofs and even multi-level dwellings tailored for larger breeds.
A few worthy inspirations to explore include the following:
Gathering the Required Materials and Tools
Embarking on the journey to build a comfortable haven for your furry friend involves meticulous planning and preparation. Before you dive into the construction process, ensure you have all the necessary materials and tools at your disposal to make the project a seamless and successful endeavor.
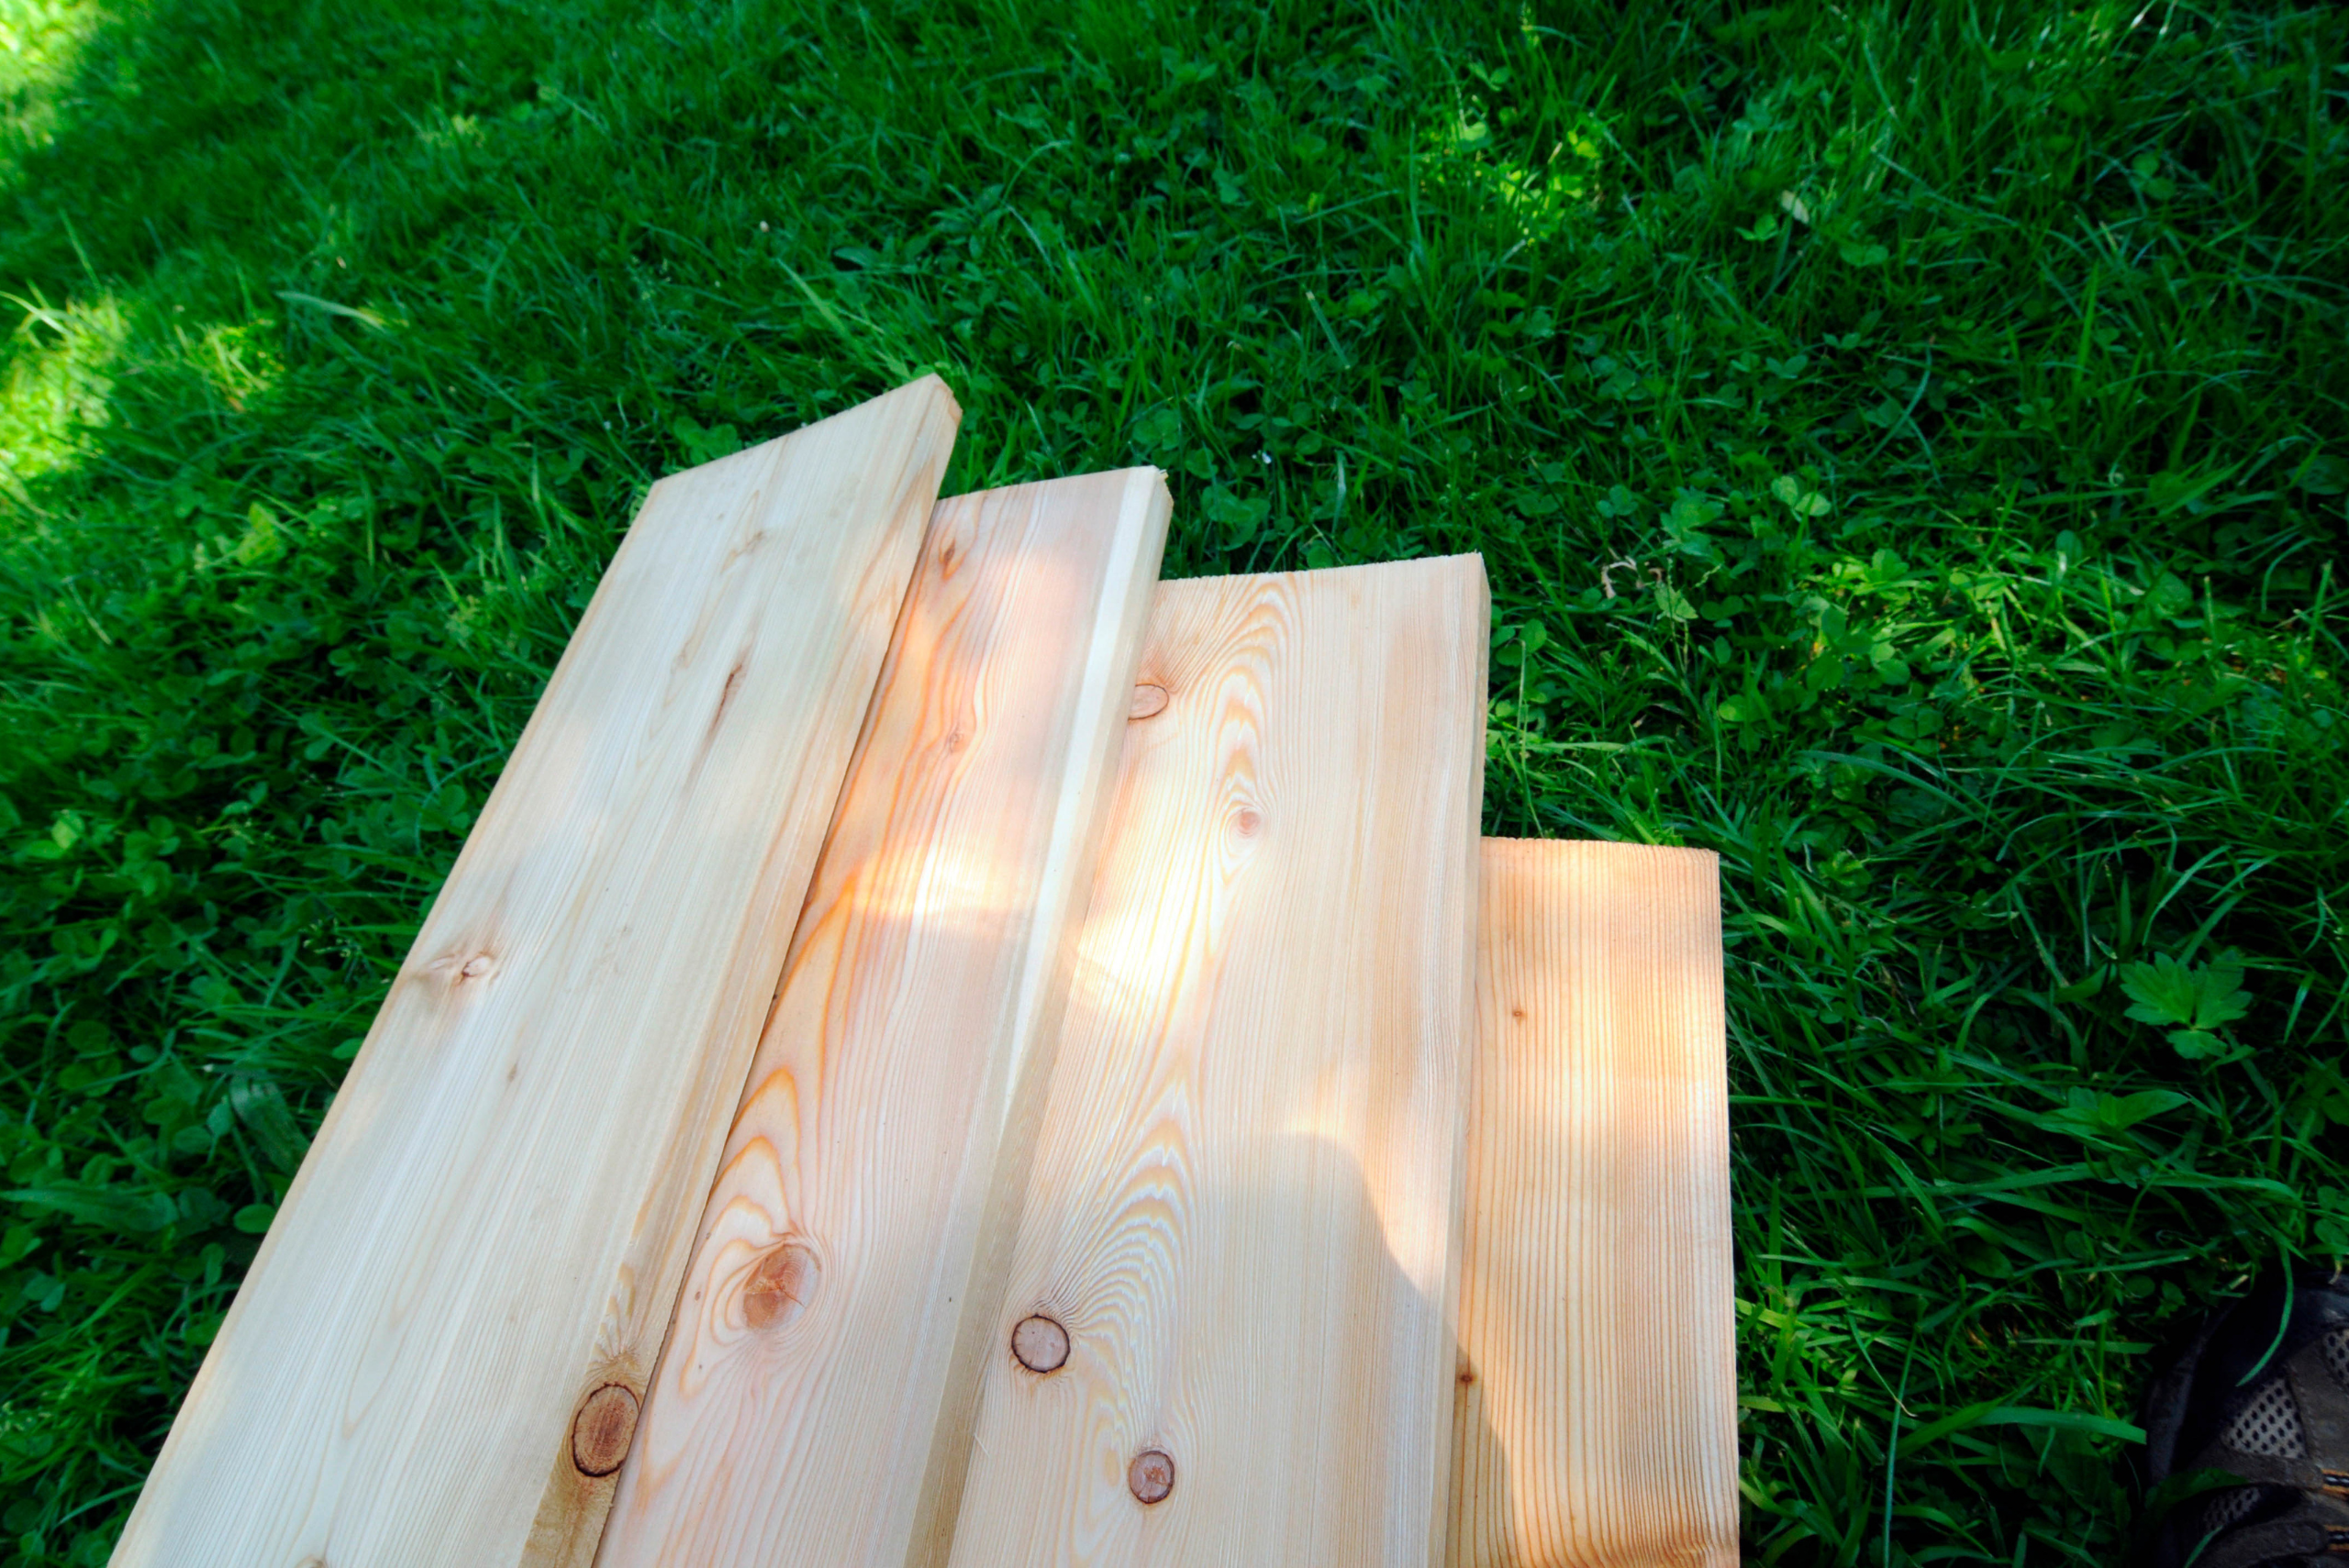
Materials:
- Plywood: Choose sturdy plywood for the main structure of the dog house, ensuring durability and stability.
- Nails: Opt for weather-resistant nails to secure the components firmly and withstand outdoor conditions.
- Roofing Shingles or Metal Sheets: Select roofing materials that offer protection from the elements, keeping your dog dry and comfortable.
- Insulation: Consider the climate in your area and choose insulation materials accordingly to regulate the temperature inside the dog house.
- Paint or Stain: Enhance the aesthetic appeal and longevity of the dog house with weather-resistant paint or stain. Ensure it is safe for pets.
- Optional: Flooring Material, Weather Stripping: Depending on your design, consider flooring materials for added comfort and weather stripping for insulation.

Tools:
- Saw: A reliable saw is essential for cutting plywood and other materials accurately to your specifications.
- Hammer: Ensure a sturdy hammer for securely fastening the components together.
- Measuring Tape: Accurate measurements are crucial for a well-fitted and comfortable dog house. A measuring tape is indispensable.
- Drill: A power drill facilitates efficient assembly and ensures a secure fit of nails and screws.
By gathering these materials and tools in advance, you set the stage for a smooth construction process. Having everything on hand allows you to focus on the creative aspects of building a personalized dog house, ensuring your pet’s comfort and happiness.
Building a Solid Foundation: Crafting Stability and Insulation
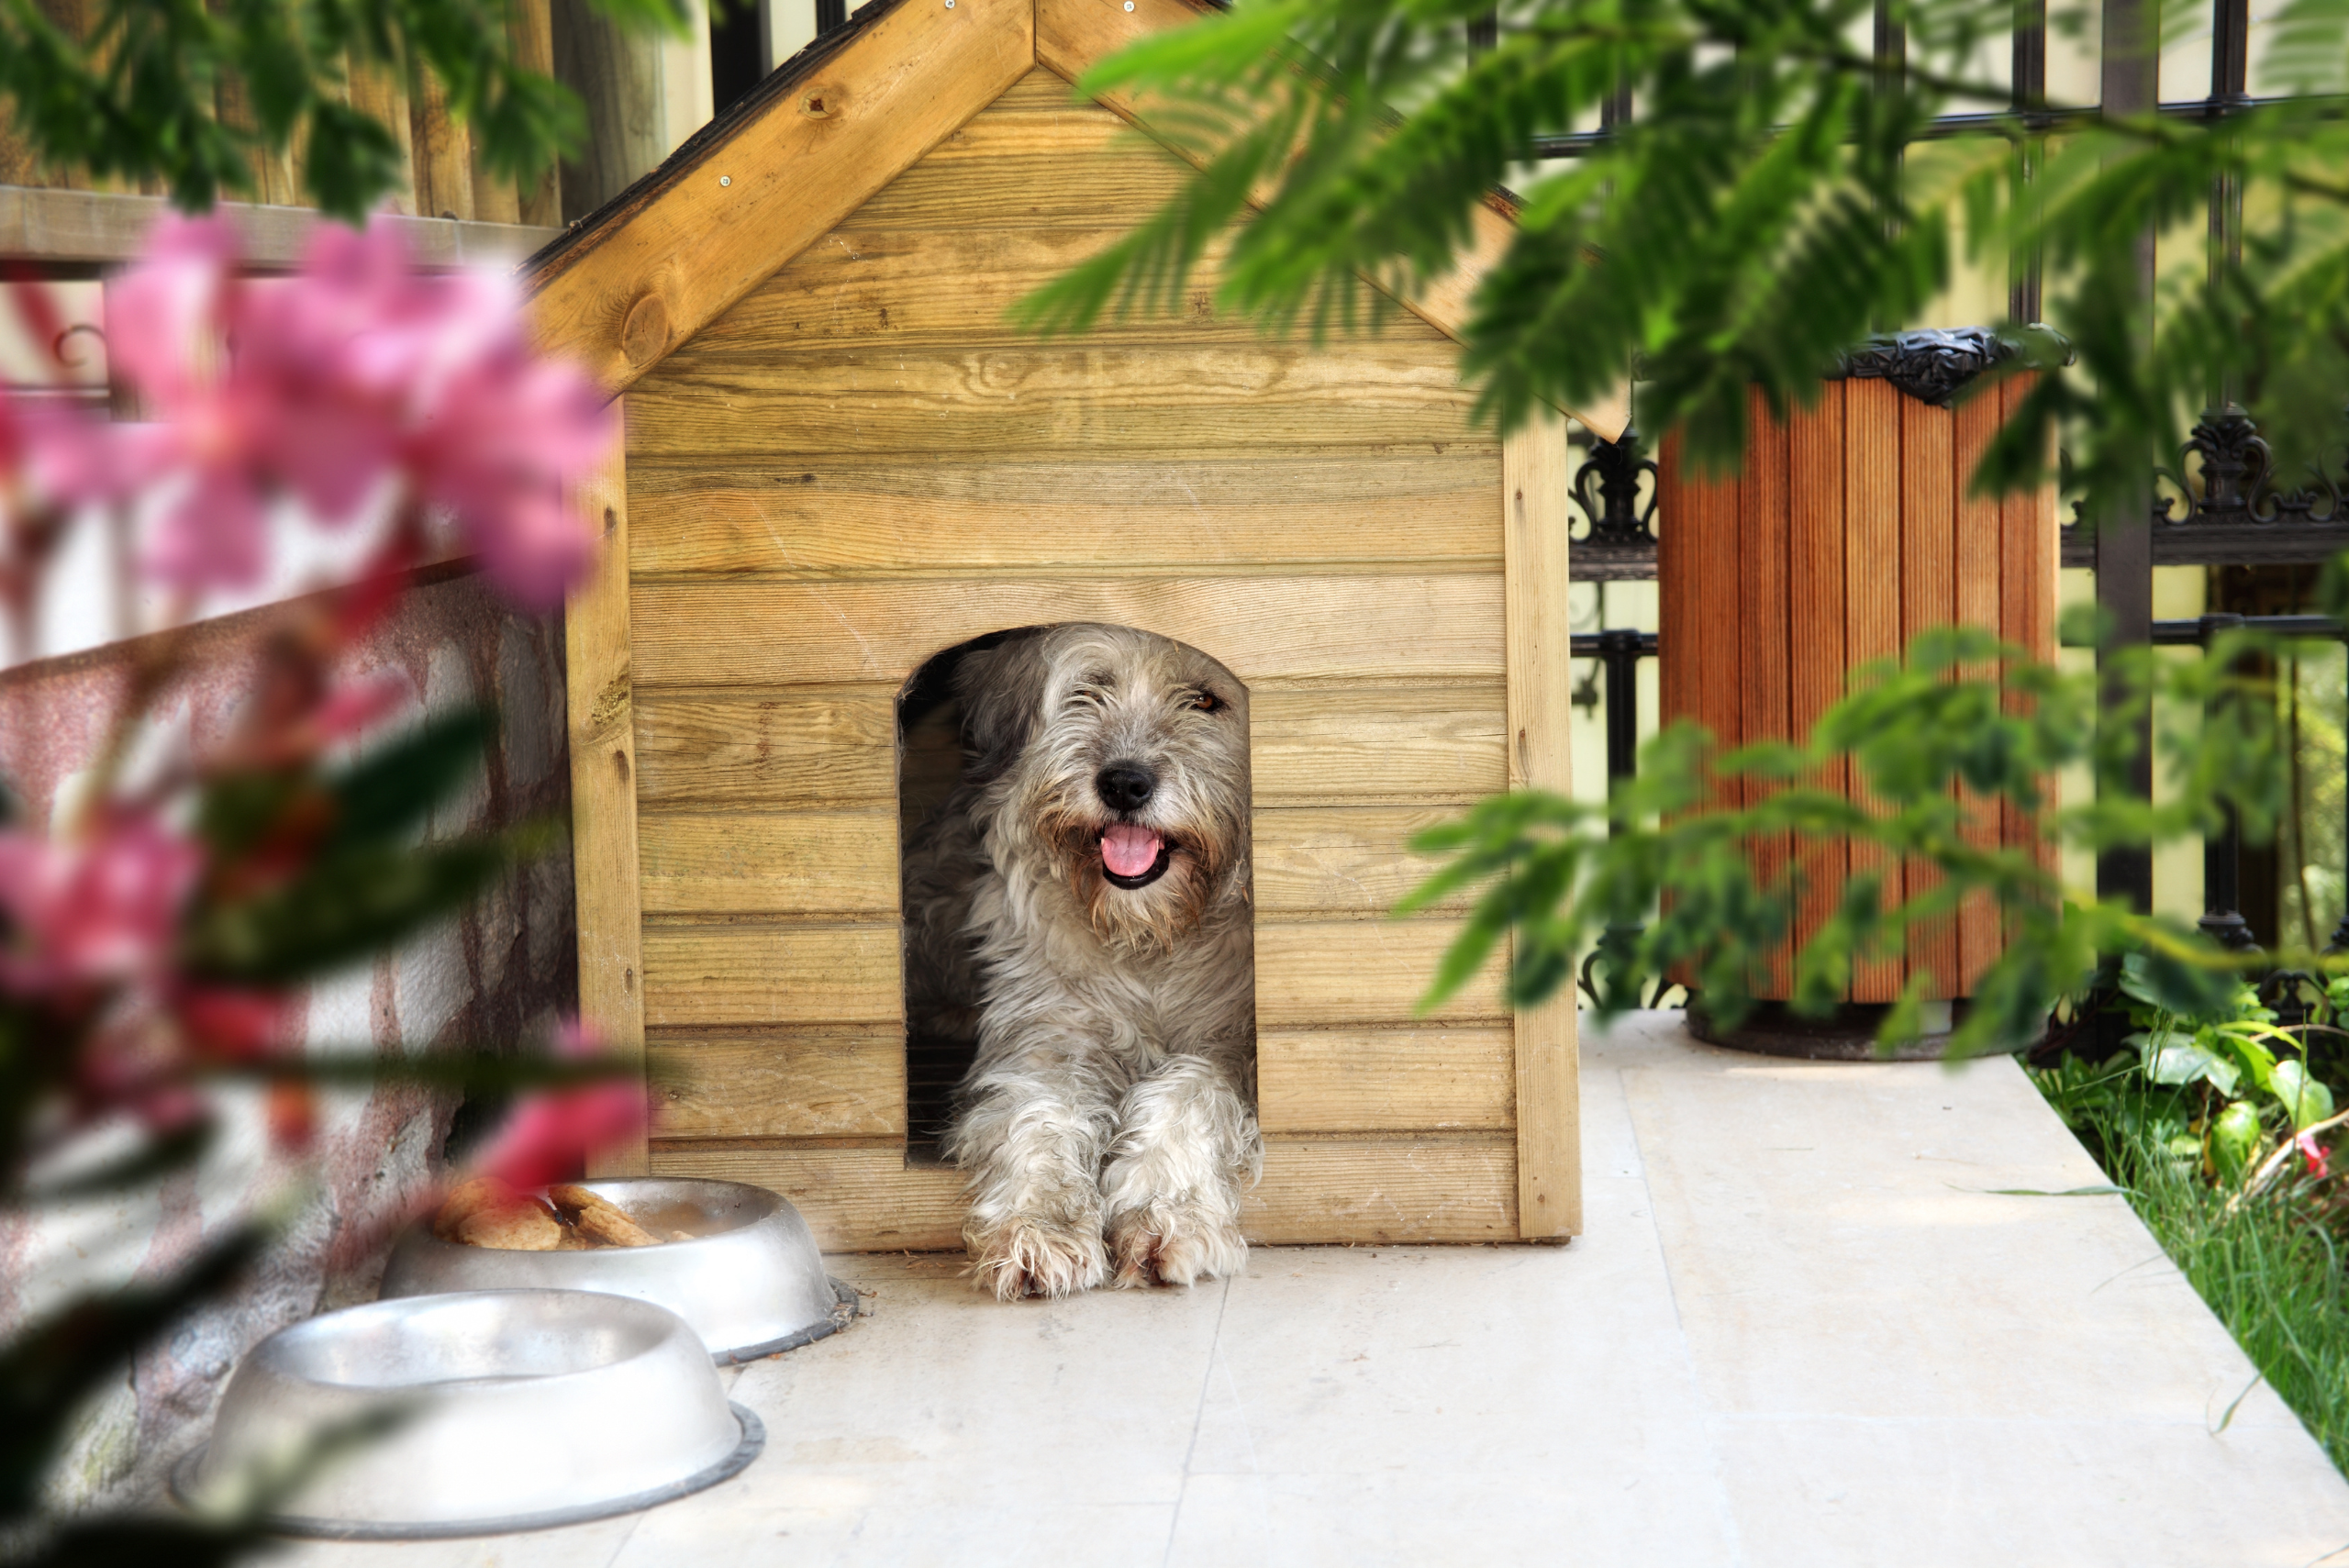
Before commencing construction, it is crucial to prepare the site where the dog house will be situated. Clear away any debris or obstructions and ensure the ground is level. Additionally, consider implementing proper drainage to prevent waterlogging and guarantee adequate ventilation to keep your pup cool during warmer months.
- Material Selection:
- Pressure-Treated Lumber or Concrete Blocks: Begin by choosing either pressure-treated lumber or concrete blocks as your foundation materials. These options provide stability and durability, which are crucial for the long-lasting structure of the dog house.
- Foundation Layout:
- Measure and Mark: Measure and mark the desired dimensions for the dog house in the chosen location. This ensures accurate placement and helps in aligning the foundation materials.
- Constructing the Base:
- Assembling Lumber or Blocks: If using pressure-treated lumber, assemble the pieces to create a rectangular or square base. If opting for concrete blocks, arrange them strategically to form a solid base. This elevated platform prevents moisture and cold from affecting the dog house.
- Insulation Considerations:
- Adding Insulation Layer: Enhance the foundation’s insulation by adding a layer of insulating material, such as foam board. Secure it to the base, providing an additional barrier against cold temperatures.
Constructing the Walls and Roof: Building the Shelter Structure
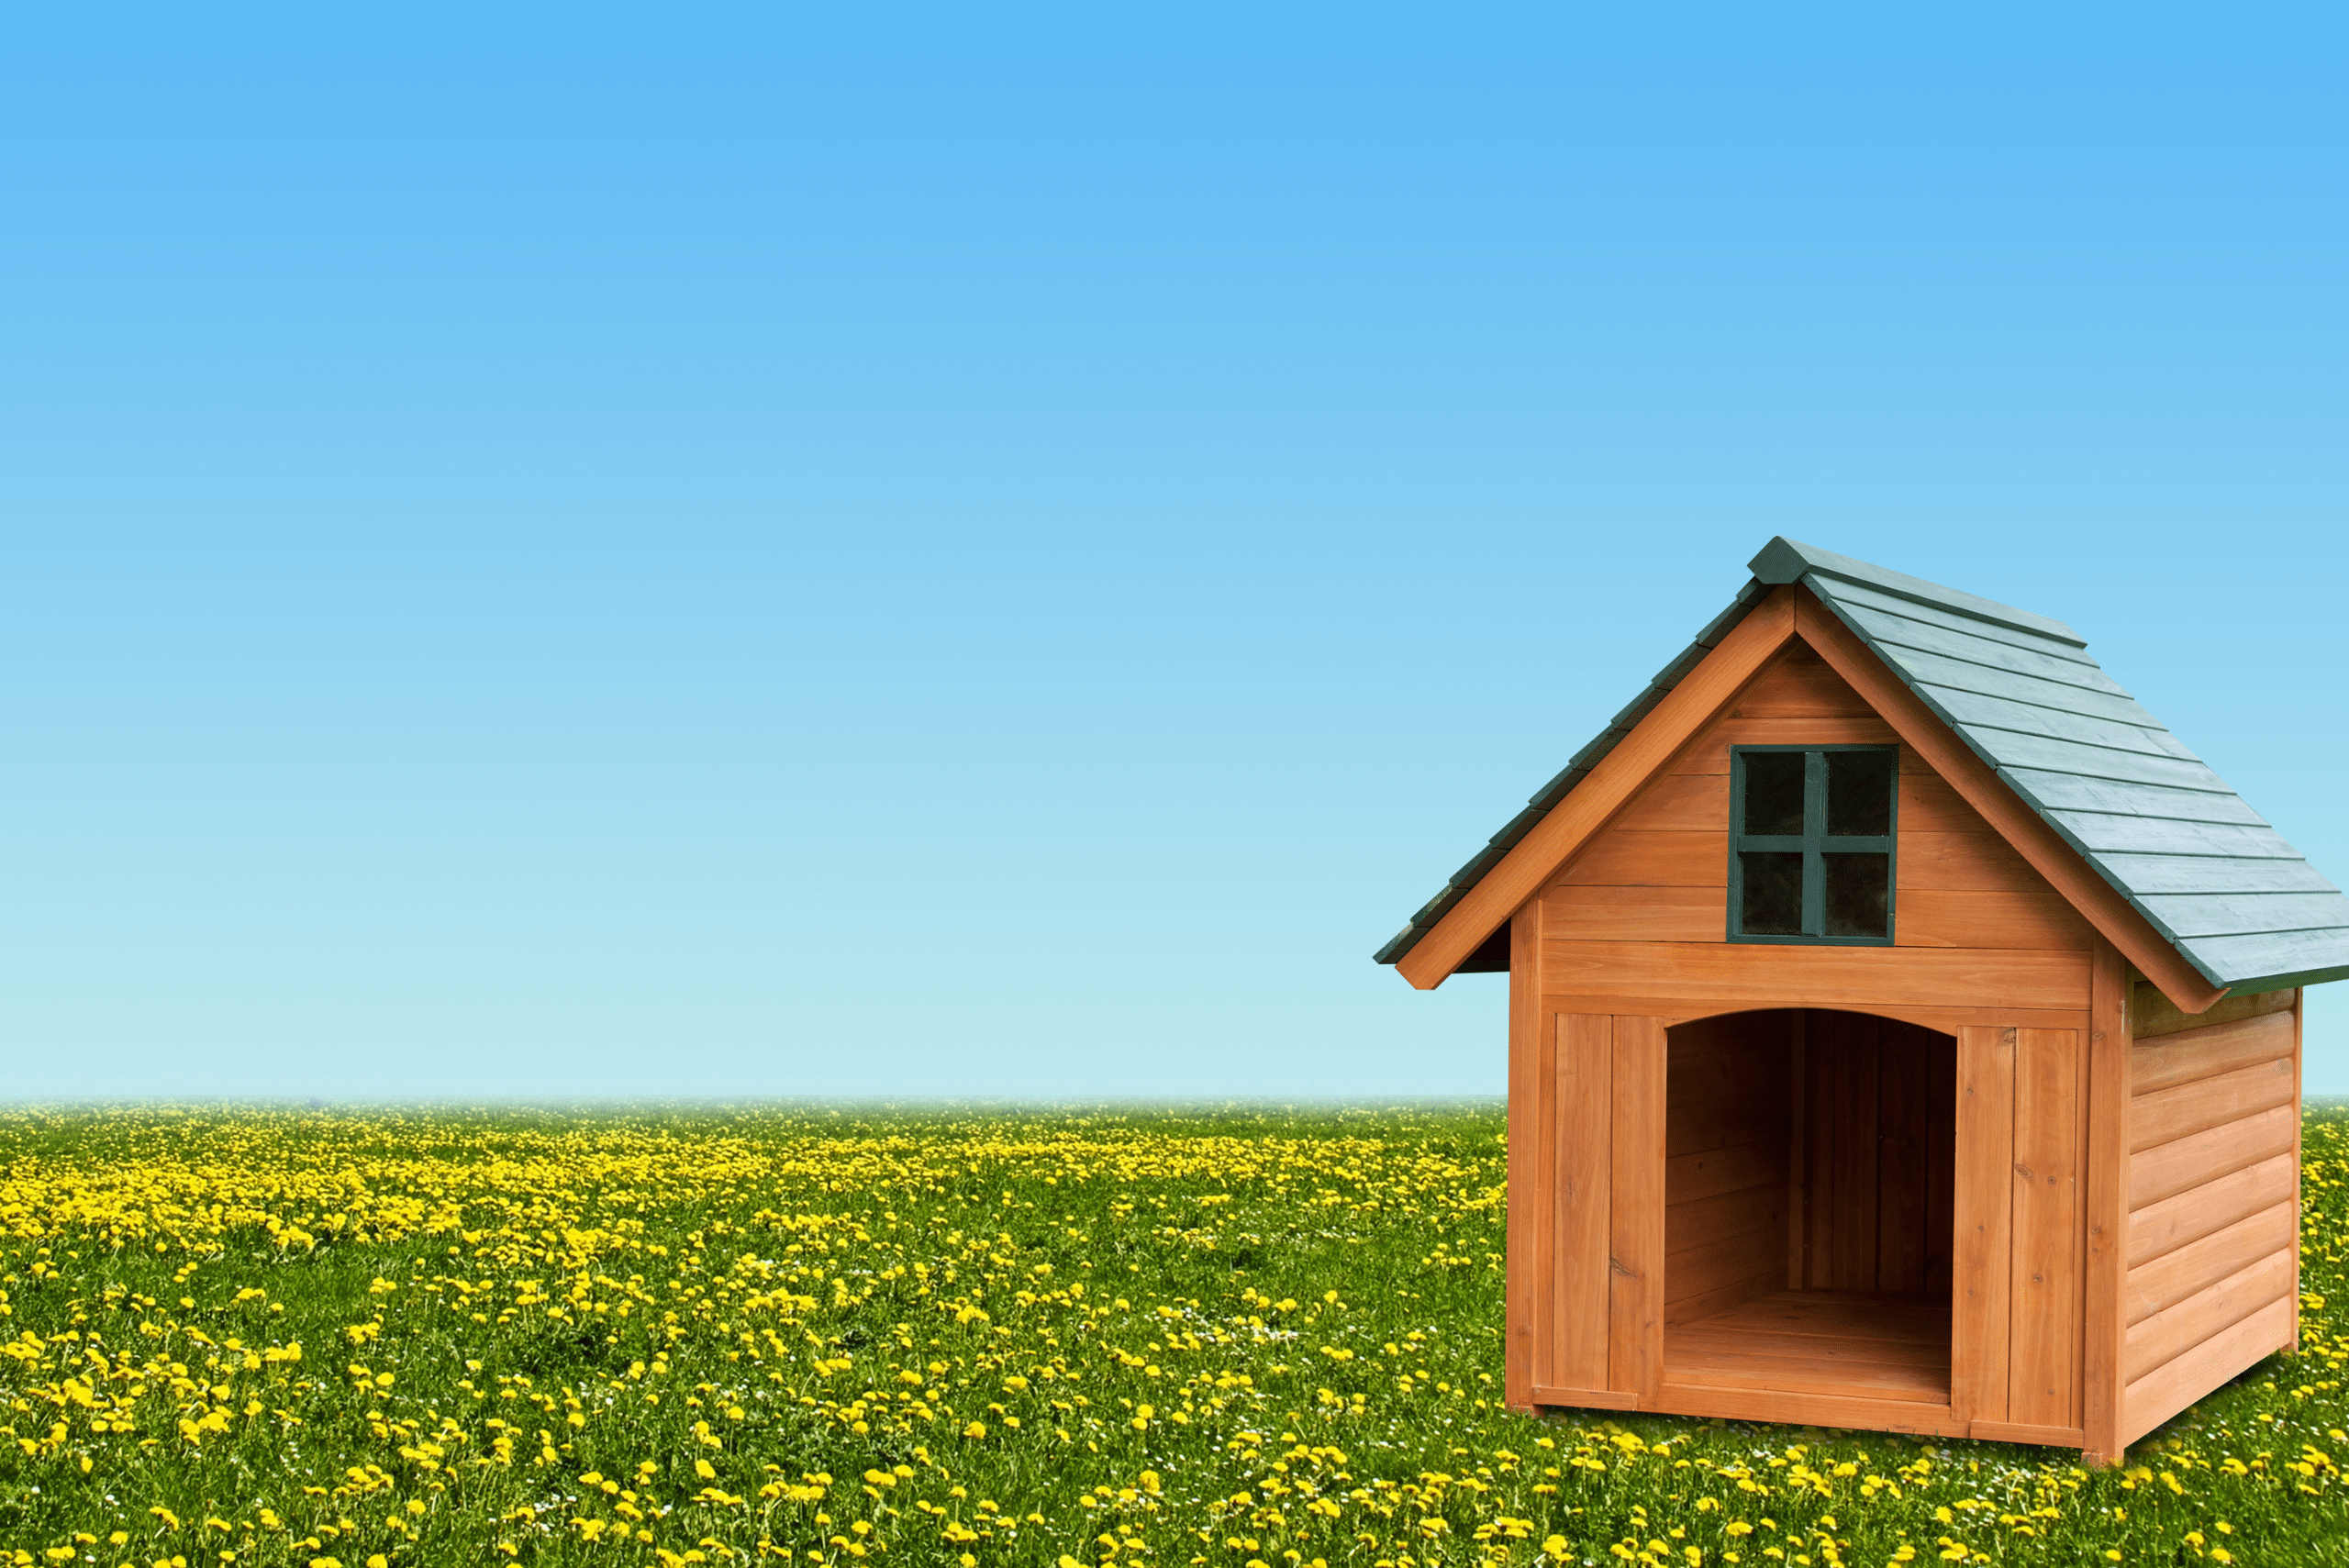
- Material Selection:
- Choosing Dog-Friendly Materials: Select appropriate materials for the walls and roof, considering factors like climate and your dog’s comfort. Plywood, cedar, or plastic are common choices.
- Wall Construction:
- Cutting and Assembling Plywood Panels: Measure and cut plywood panels to the desired dimensions for the walls. Assemble these panels, ensuring they form a secure and enclosed structure. Use weather-resistant screws or nails for added durability.
- Insulating the Walls:
- Installing Insulation: Prioritize insulation within the walls by fitting foam board or insulation material between the plywood panels. This step regulates the internal temperature, keeping your dog warm during colder weather.
- Roof Framework:
- Creating Roof Support: Construct a framework for the roof using additional pieces of pressure-treated lumber. This ensures the roof is well-supported and can withstand various weather conditions.
- Roofing Material Application:
- Adding Plywood or Shingles: Apply plywood or roofing shingles to the framework, depending on your chosen roofing material. This protective layer shields the interior from rain or snow.
- Ventilation and Accessibility:
- Cutting Openings for Windows and Doors: Strategically cut openings for windows or vents to facilitate proper ventilation. Additionally, cut openings for doors, ensuring easy access for your dog.
- Weather-Resistant Finish:
- Applying Protective Coating: Complete the construction by applying a weather-resistant finish to the exterior surfaces. This coating protects the dog house from the elements, ensuring longevity.
Adding Personal Touches and Maximize Practaility
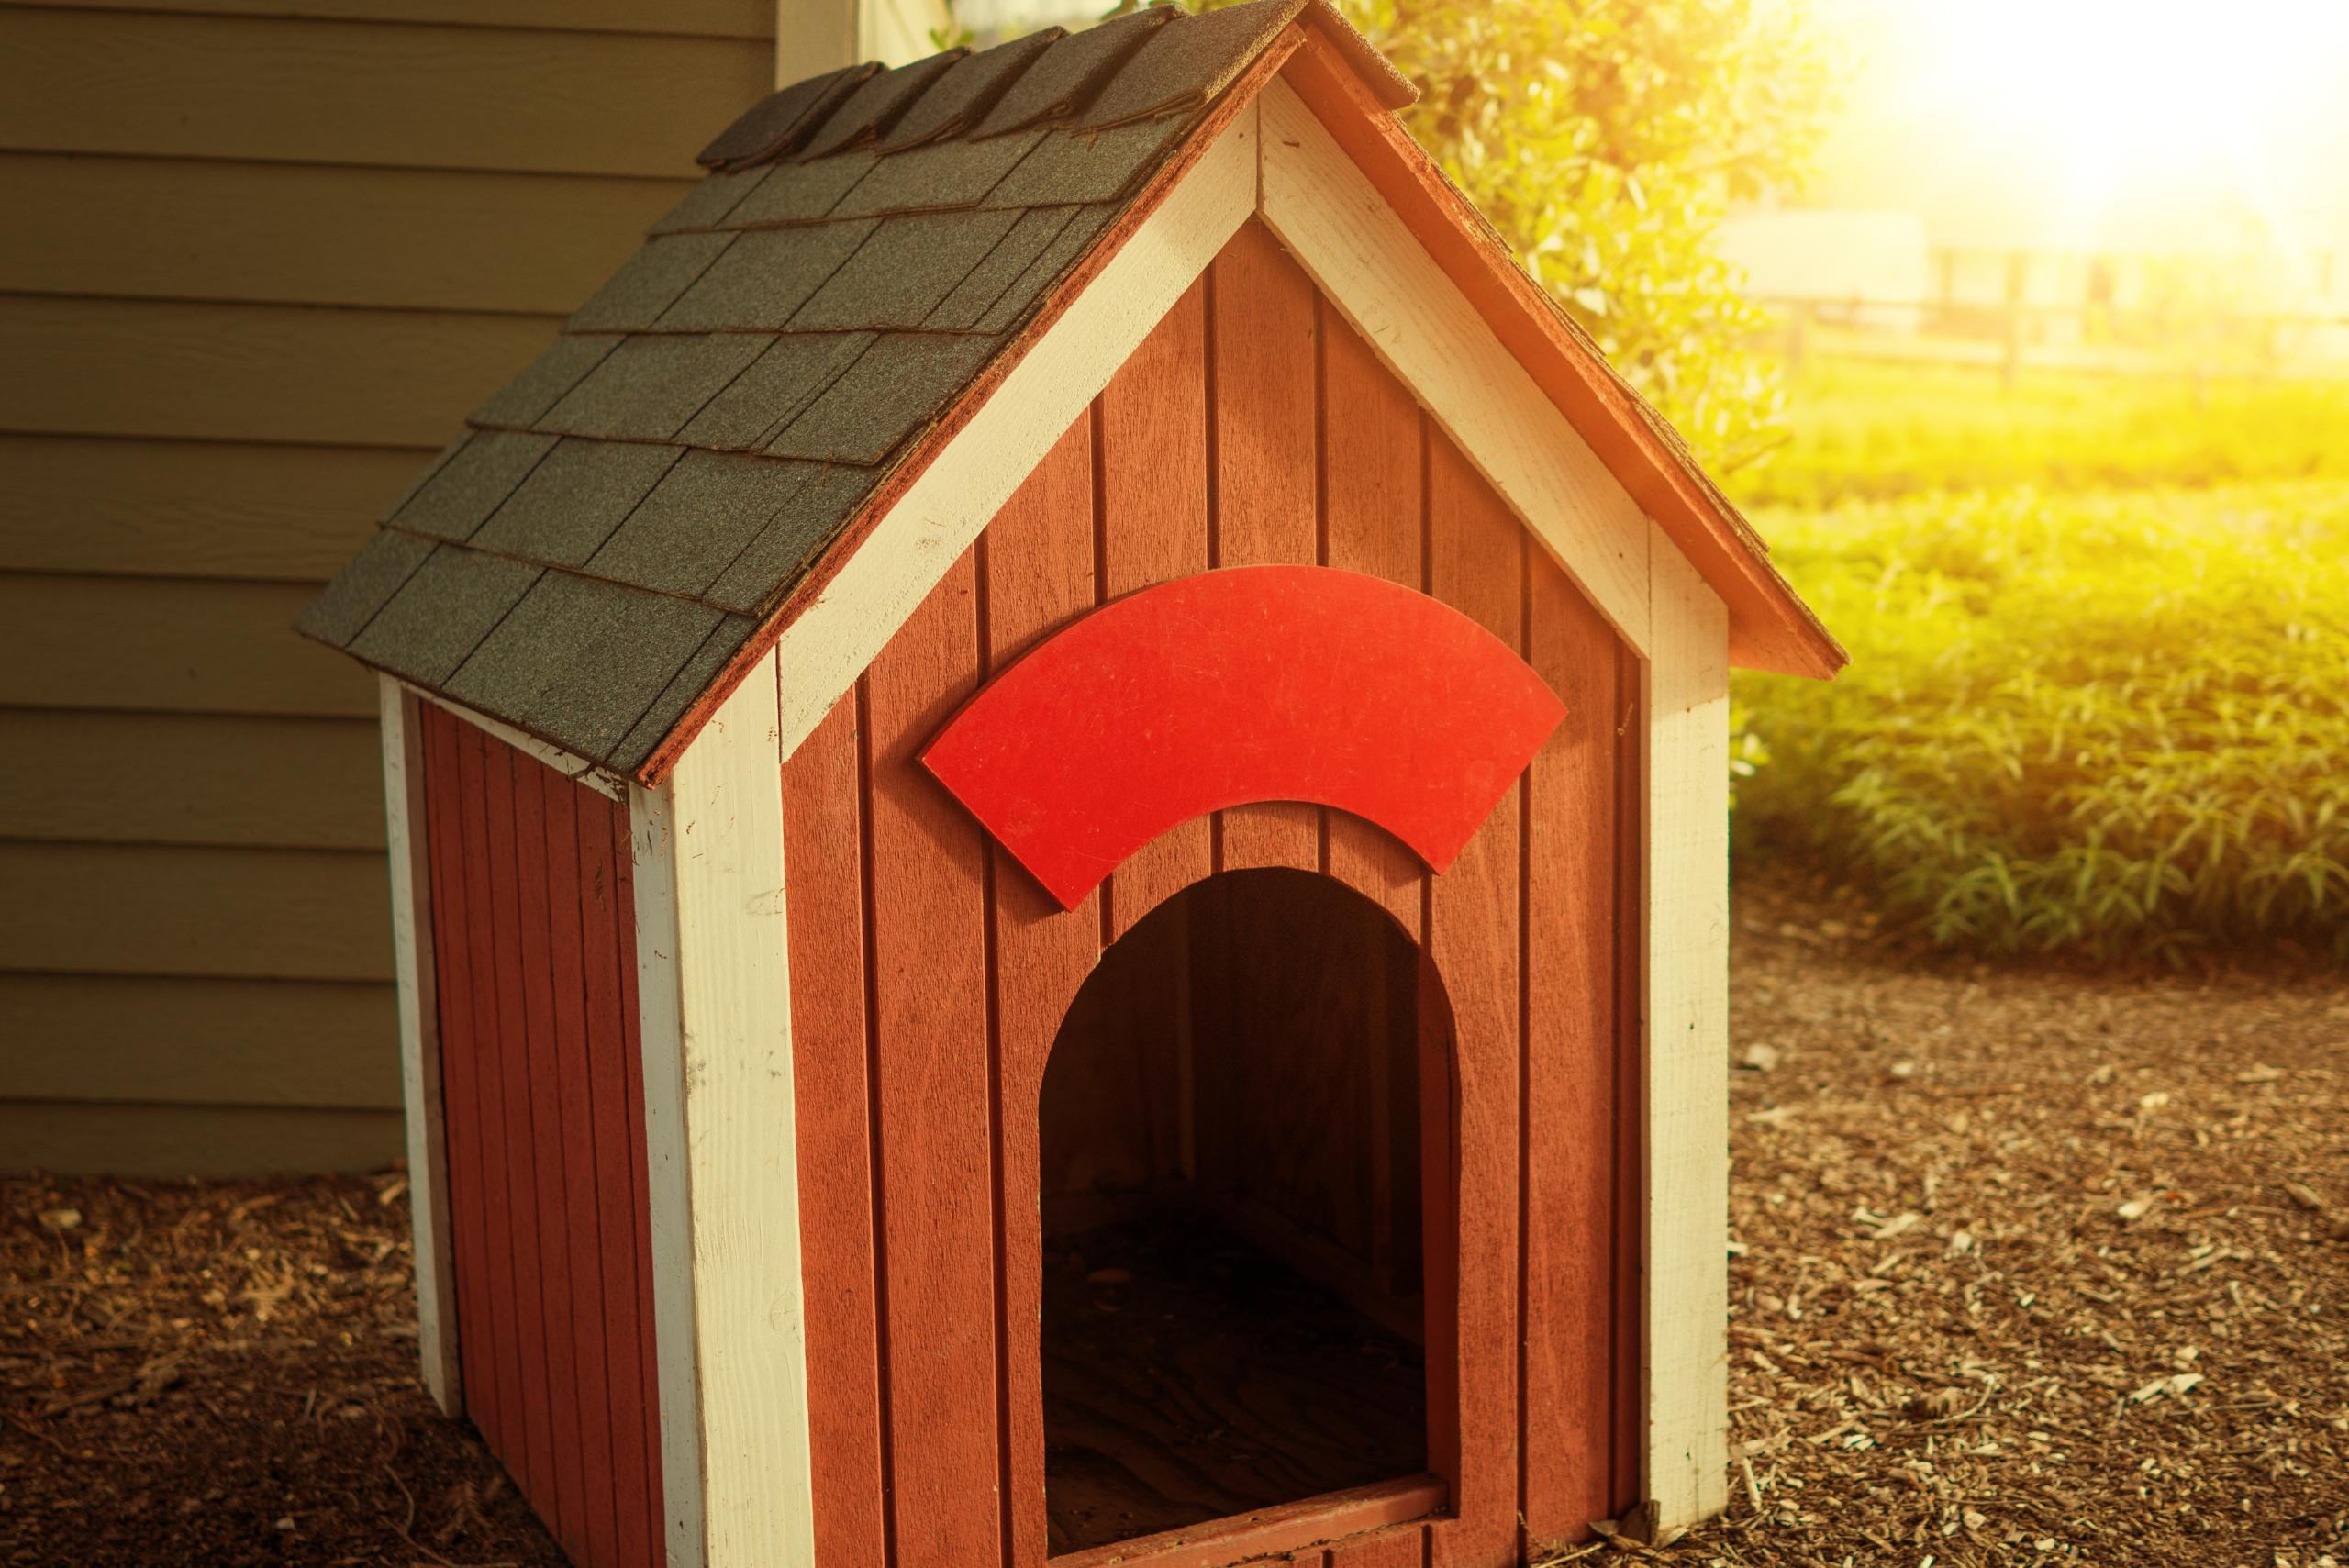
To enhance the visual appeal of your dog house, consider incorporating paint or stain in colors that complement your outdoor space. Get creative by including extra features like a porch or a deck, providing your pup with a cozy spot to relax and relish the surroundings.
To optimize your dog’s comfort, furnish the interior of the dog house with suitable bedding and insulation. This will provide warmth during colder seasons. Additionally, ensure the dog house is safe by eliminating any sharp edges or protruding nails that could potentially harm your furry friend.
Cost and Time Estimates: Crafting an Affordable Canine Haven

Embarking on the journey to build a dog house opens avenues for cost-effectiveness, especially when taking the do-it-yourself approach. By estimating both the budget and the time required for the project, you can strategically plan your construction process. Here, we offer insights on saving money, including tips on repurposing materials and selecting budget-friendly alternatives that do not compromise the quality of the final product.
- Budgeting Basics:
- Estimate Material Costs: Begin by calculating the estimated costs of materials required for the dog house. This includes plywood, roofing materials, insulation, and finishing items like paint or stain.
- DIY Savings Strategies:
- Repurposing Materials: Explore the possibility of repurposing materials from previous projects or unused items. This not only reduces costs but also adds a touch of sustainability to your construction.
- Opt for Cost-Effective Alternatives: While maintaining quality, consider more budget-friendly alternatives for certain materials. For instance, plywood with a lower price point can serve well without compromising structural integrity.
- Time Management:
- Plan Construction Phases: Break down the construction process into manageable phases to gauge the time commitment required. This ensures realistic expectations and prevents potential delays.
- Efficiency Tips:
- Streamline Construction Techniques: Opt for construction methods that enhance efficiency without sacrificing quality. This might include pre-cutting materials or using assembly techniques that save time.
- DIY Community Support:
- –Seek Advice and Ideas: Tap into DIY communities, online forums, or local workshops for cost-saving ideas and efficient construction techniques. Learning from others’ experiences can streamline your own project.
- Quality Focus:
- – Balancing Cost and Quality: While aiming to save costs, maintain a balance by prioritizing the quality of essential materials. Investing in sturdy and durable items ensures the longevity of the dog house.
By aligning your budget and time estimates with these strategic tips, you set the stage for a cost-effective yet high-quality dog house project. The combination of financial prudence and efficient construction practices ensures that your furry friend receives a comfortable haven without breaking the bank.
Maintenance and Upkeep
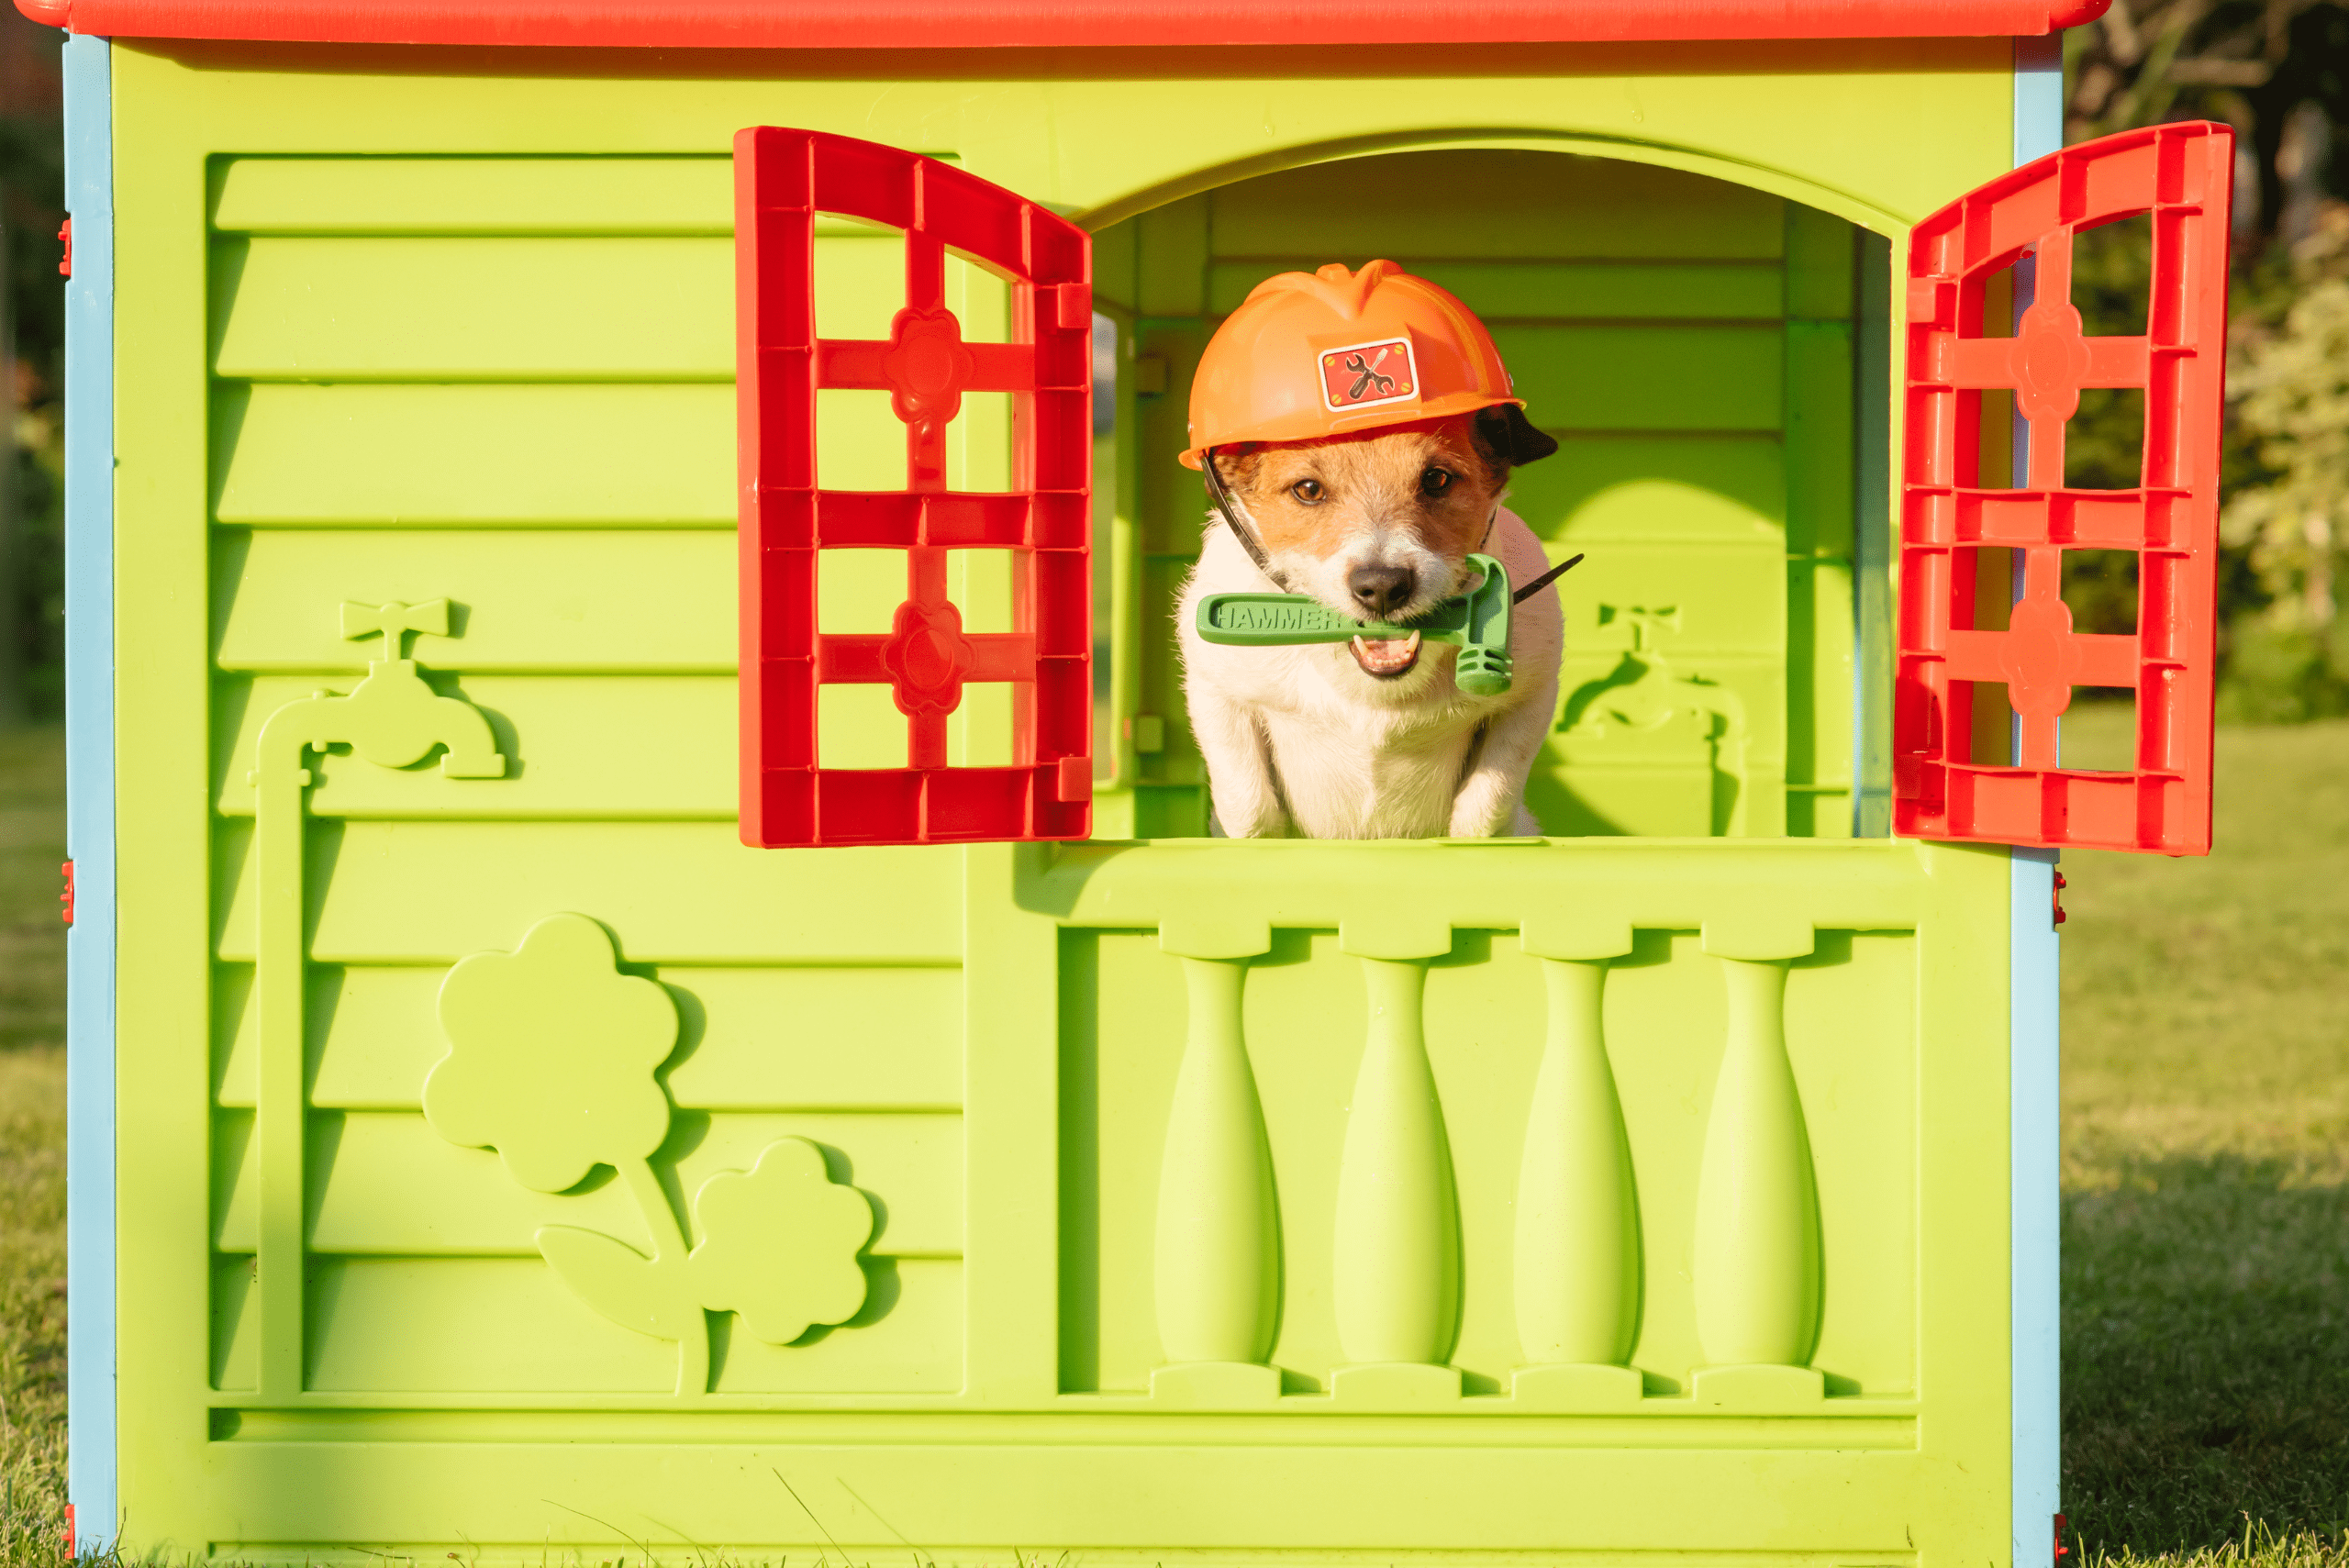
Regular maintenance is key to preserving the longevity of your dog house. Clean the interior on a consistent basis and thoroughly inspect for any signs of damage or wear. Consider applying a sealant or protective coating to shield the dog house from weather damage and extend its lifespan.
Other articles you might enjoy:
- How to: Make a Really, Really Durable Dog Toy
- For the Love of Dogs
- Best Types of Wood for Beginner Woodworking
Constructing a dog house is a gratifying endeavor that offers your furry friend a comfortable and secure outdoor haven. By taking into account your dog’s needs, selecting the appropriate design, and following the step-by-step guide provided, you will create a cozy canine retreat that both you and your pup will adore. So, without delay, embark on constructing and present your dog with a cozy haven to call their own. Be sure to capture delightful moments and share both your final project and the charming anecdotes of how your furry friend relishes their newfound abode!

