Easy DIY Closet Shelves – Make More Room With Ease
If your closet feels more like a game of Tetris than a helpful storage space every time you open the door, it’s not working for you. Most of us are working with builder-grade rods and one sad shelf, which doesn’t do much for keeping things tidy and organized. But, the good news is you can fix that in a single weekend. This DIY shelf project is simple, affordable, and makes your space more useful immediately. Let’s build a practical shelf tower to organize folded clothes, shoes, or whatever else you’re keeping in your closet.
Start by Measuring Your Closet
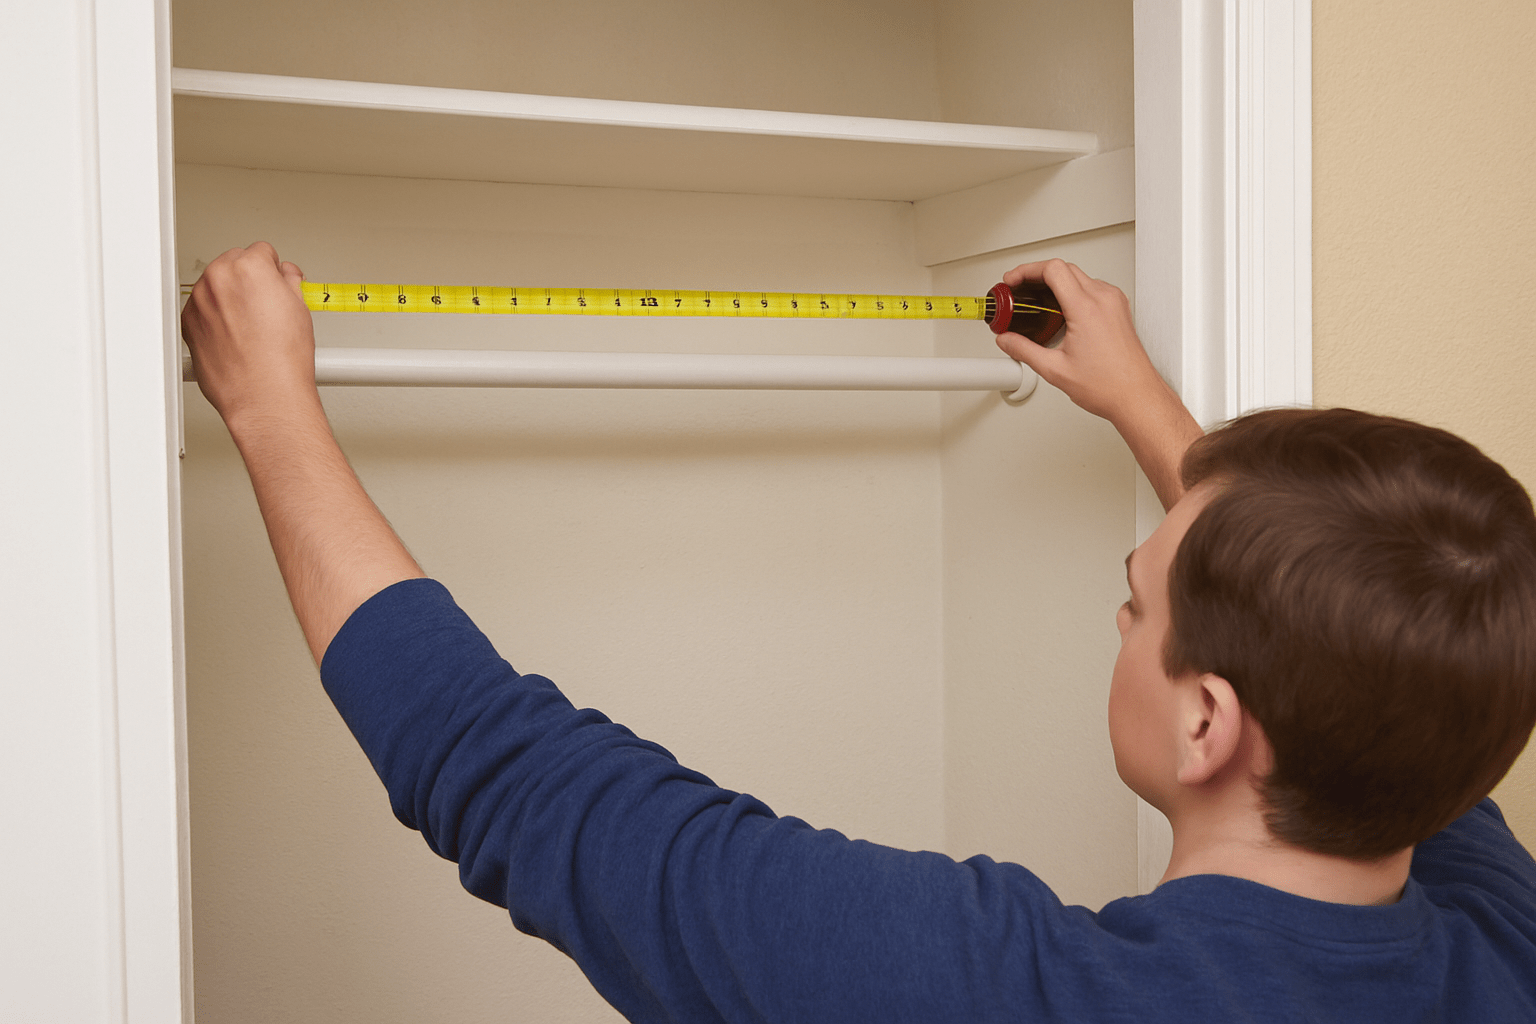
Every closet is a little different, so you’ll want to make shelves that work with the space you’ve got. Use a tape measure to get the width, depth, and height of the inside of your closet. Think about how many shelves you want and how far apart they should be. If you’re storing bins or shoes, you might want more space in between shelves and more space between the top shelf and the ceiling. Sketch your shelves out on paper. It doesn’t have to be pretty, but it’s helpful to see the end goal before you get started.
Gather Your Tools and Materials
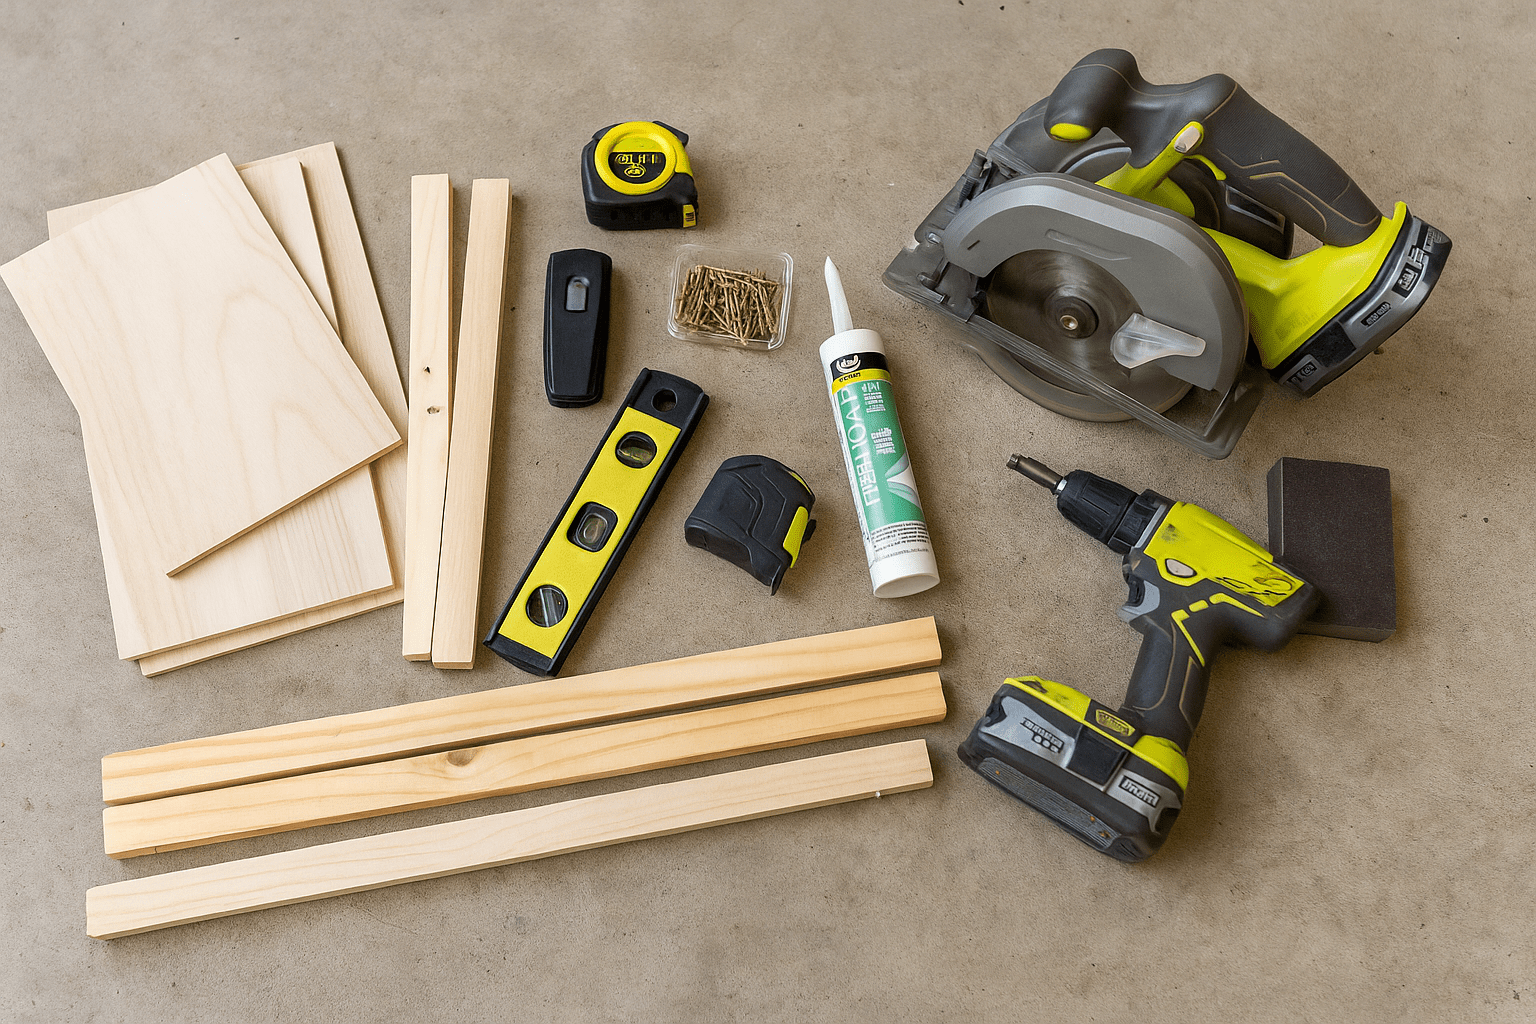
You don’t need much to get started. For materials, grab a few sheets of 3/4-inch plywood (or MDF if you prefer), some 1×2 wood strips for supports, wood screws, and wood filler or caulk if you want a cleaner finish. For tools, all you need is a circular saw or handsaw, drill, level, stud finder, tape measure, and a sander or sandpaper. If you want to paint your shelves, pick up some primer and paint too.
Cut the Wood to Fit Your Space
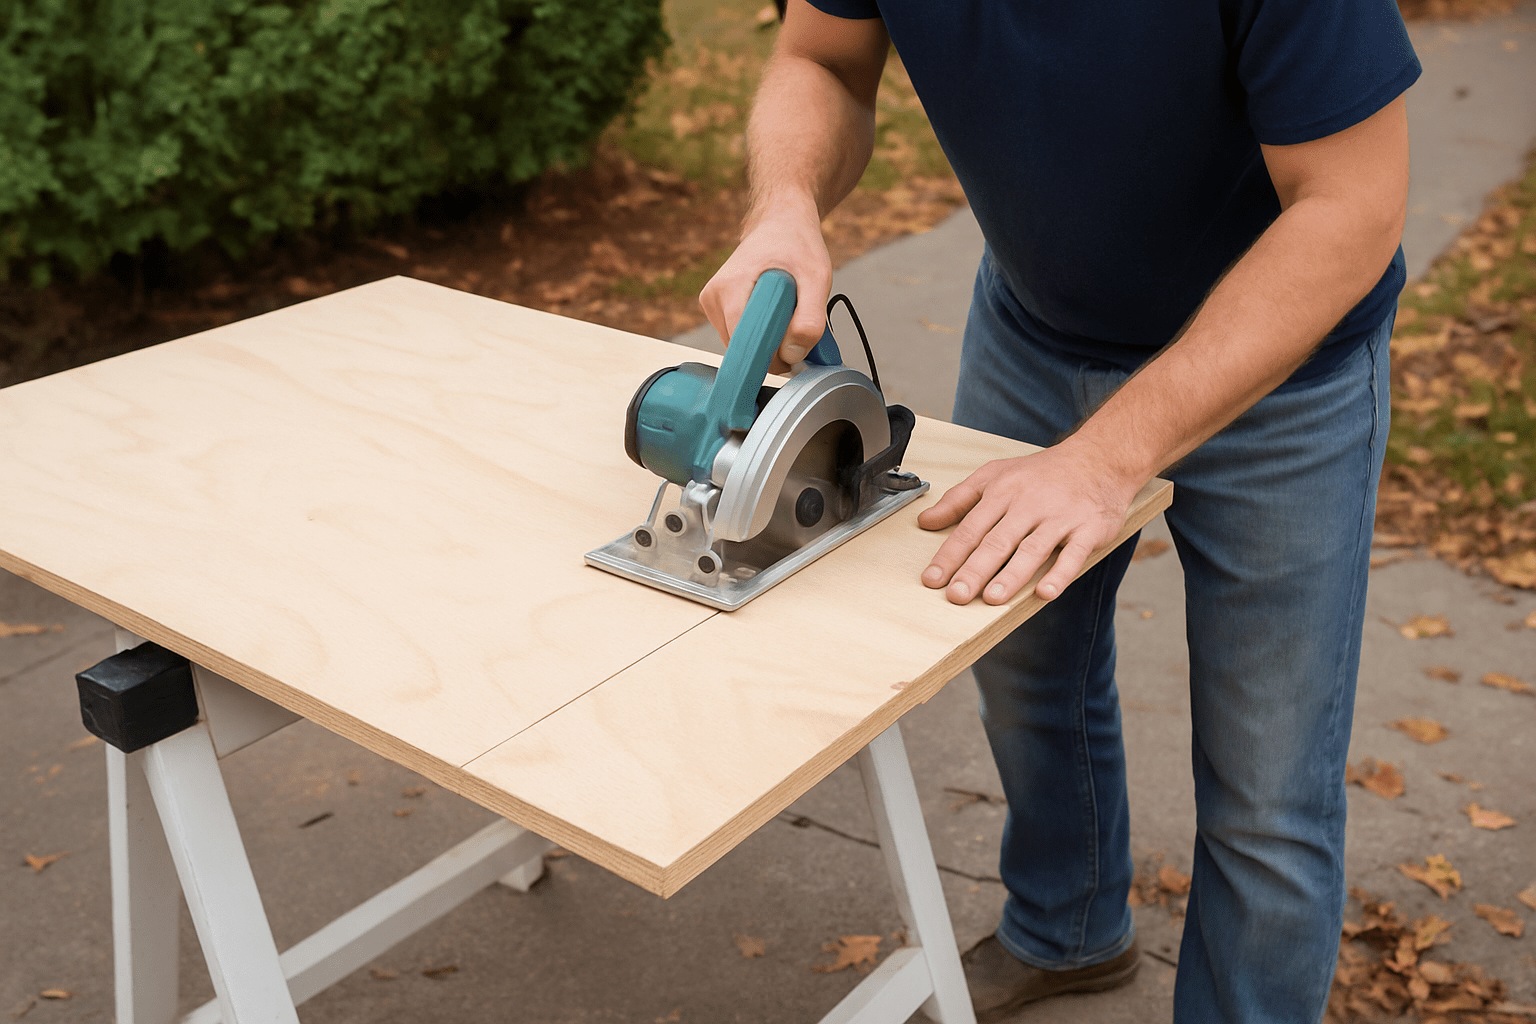
Using your measurements, cut your shelf boards to the size of your closet. A circular saw makes this easy, but if you don’t have a saw, most hardware stores will cut wood for you. Cut the shelf supports from your 1×2 boards as well, you’ll use them to hold the shelves up on the side and back walls. Remember: cut once, measure twice. It’s much easier to double check the size of your closet now than it is to fix a gap later.
Install Shelf Supports First
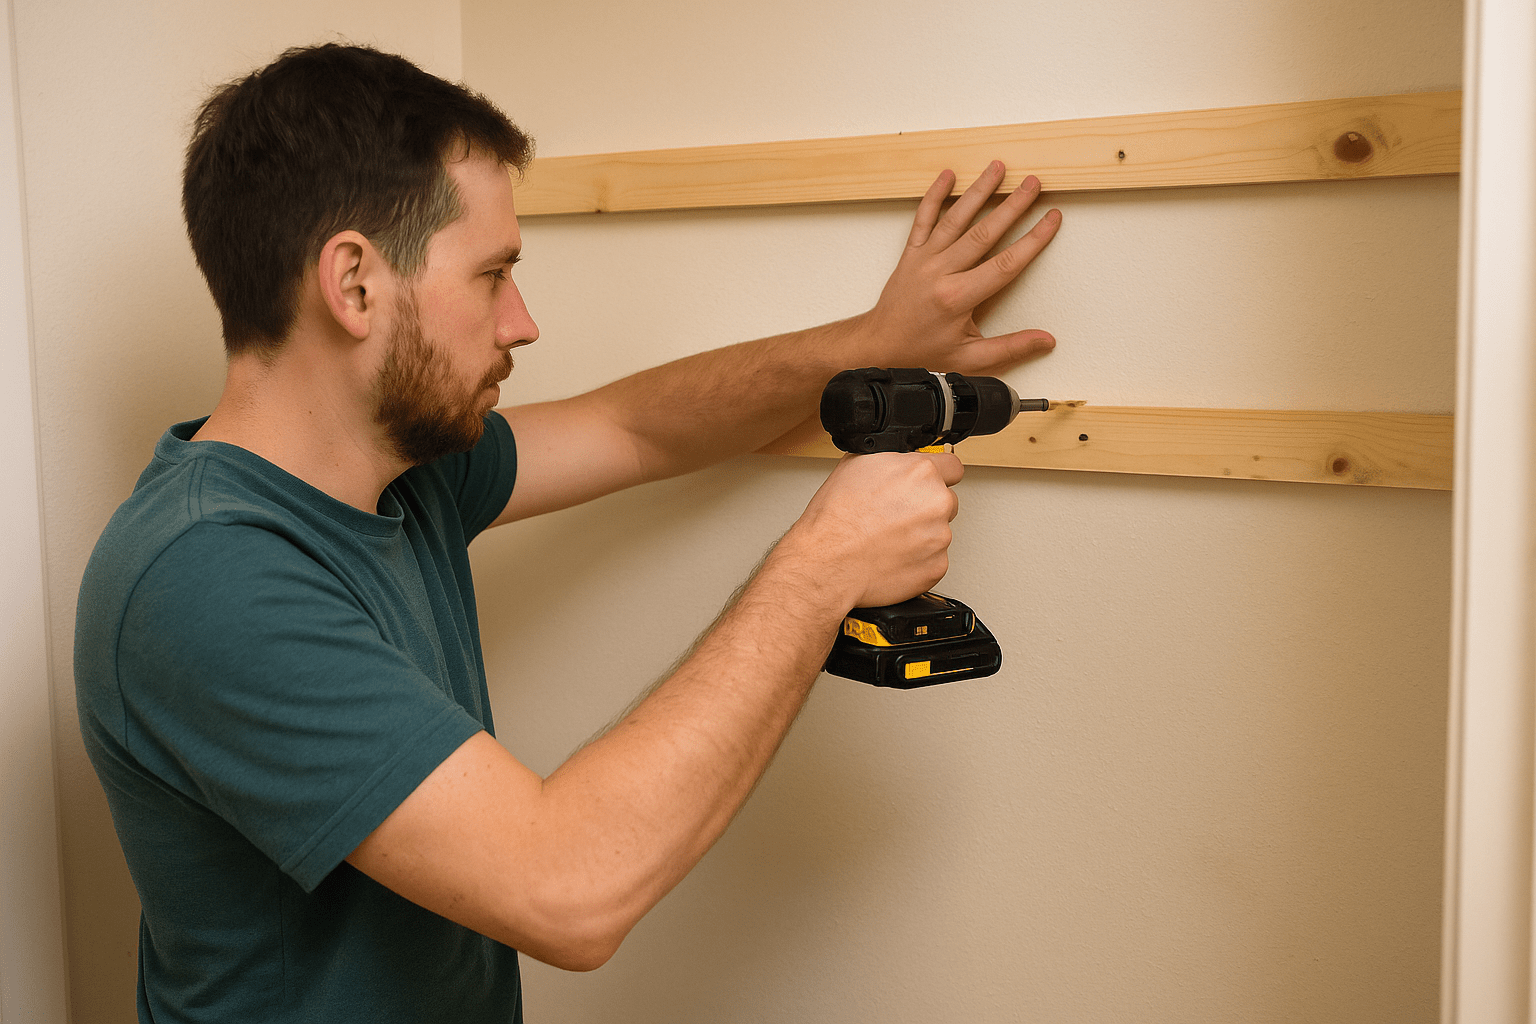
Using your level, mark where each shelf will go on the side walls. Attach your 1×2 support strips to the wall at each level using screws. If possible, screw the support strips into studs for extra strength. If that’s not possible, use drywall anchors. You’ll also want a back support piece for each shelf to sit on in addition to the side pieces. This step is what gives the shelves a sturdy base to sit on without wobbling or sagging.
Add the Shelves
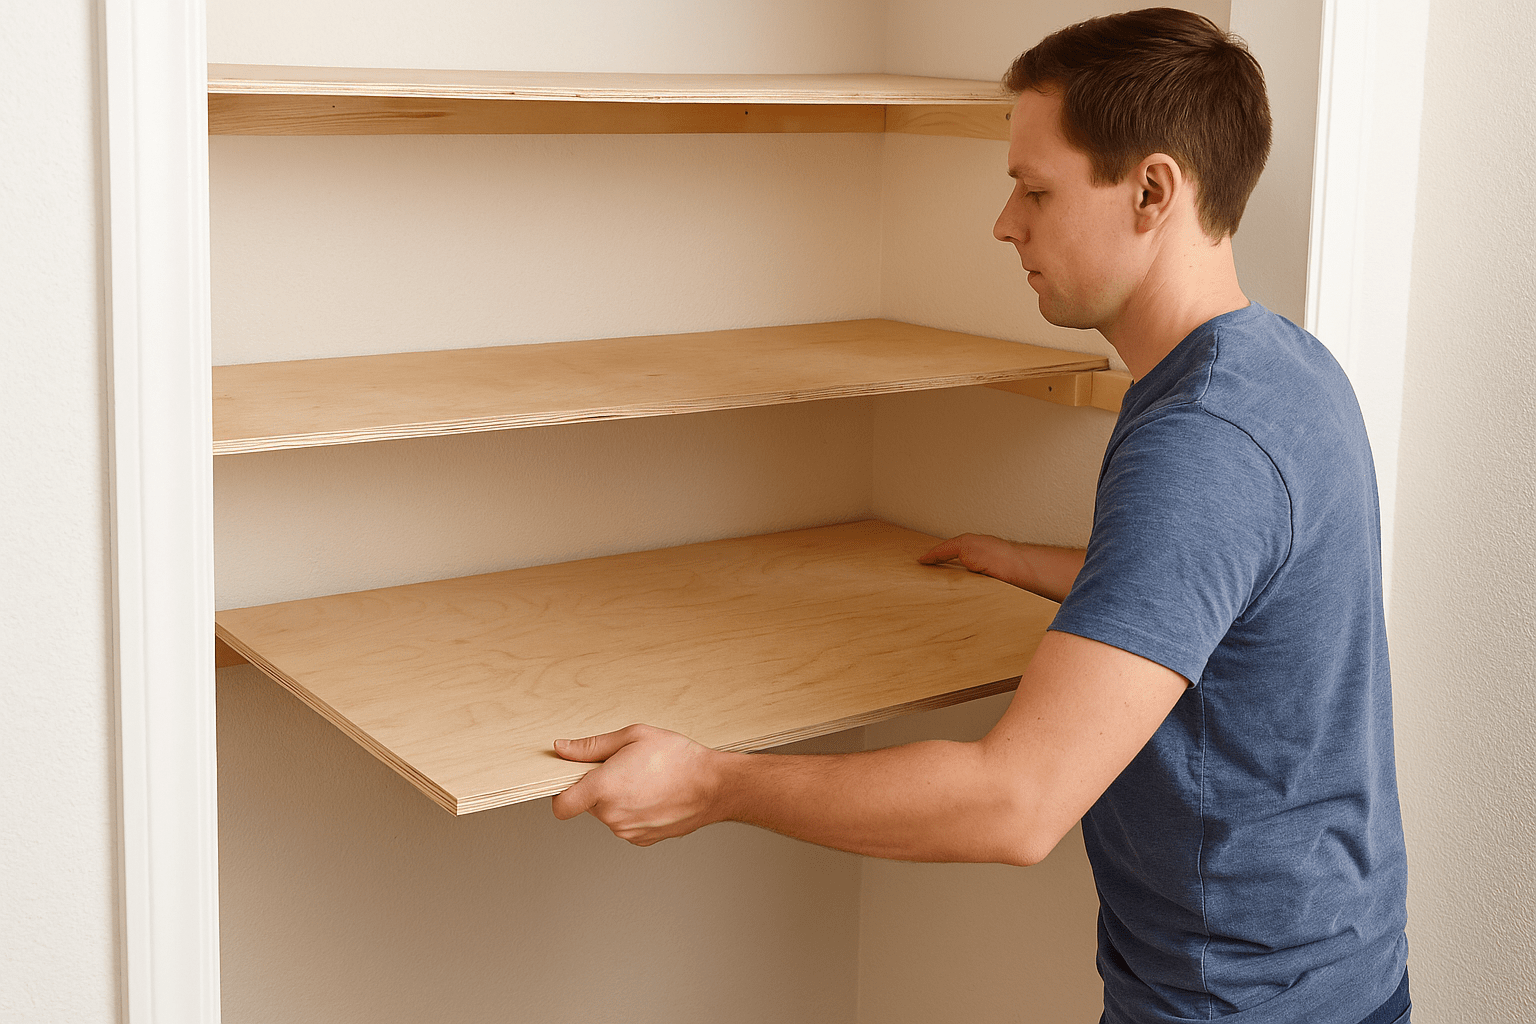
Once your supports are in, it’s time to place the cut shelves on top. Set each one in place and screw it down into the support strips from above. If your boards don’t fit perfectly snug, that’s okay. You can caulk any small gaps later or even trim the boards if they’re slightly too big with a sander for a better fit. You’ll already be able to see your closet looking more useful and organized!
Sand, Paint, and Finish
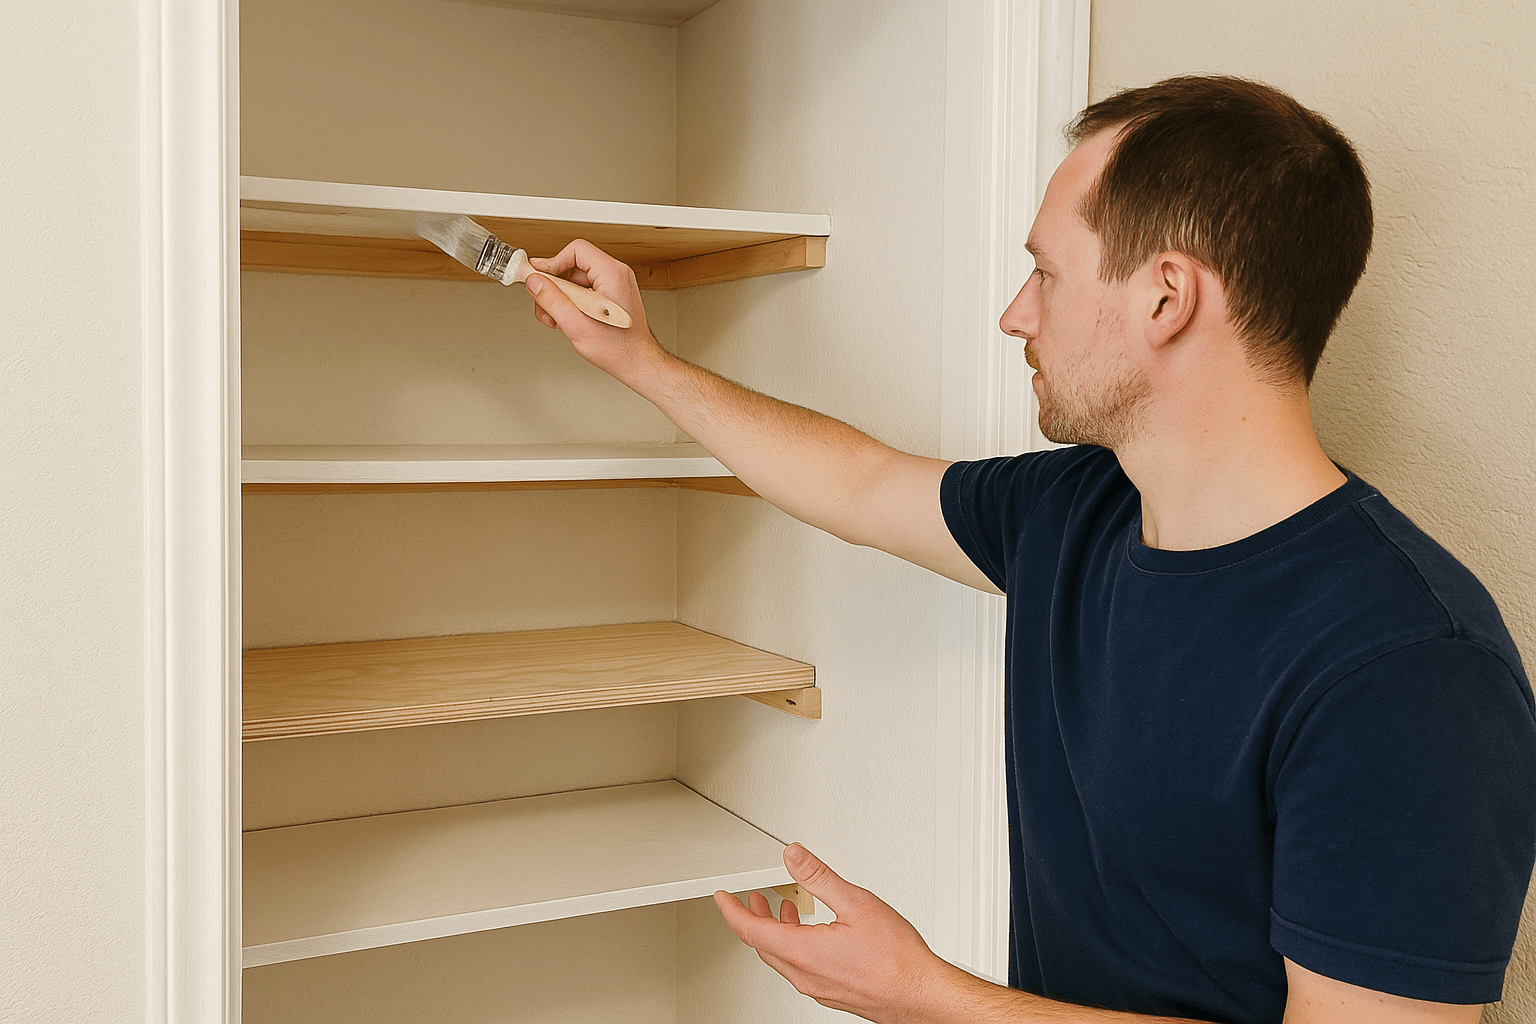
You can stop here if all you want is some shelves to put stuff on, but for a more polished look, give everything a good sanding. Then paint or stain the shelves and supports however you like. White paint keeps things bright and clean, but feel free to match your trim or add a fun pop of color. Caulk along the wall edges to fill in any gaps and fill any screw holes to finish things off neatly. Let everything dry fully before you put anything on your shelves.
Customize It to Fit Your Stuff
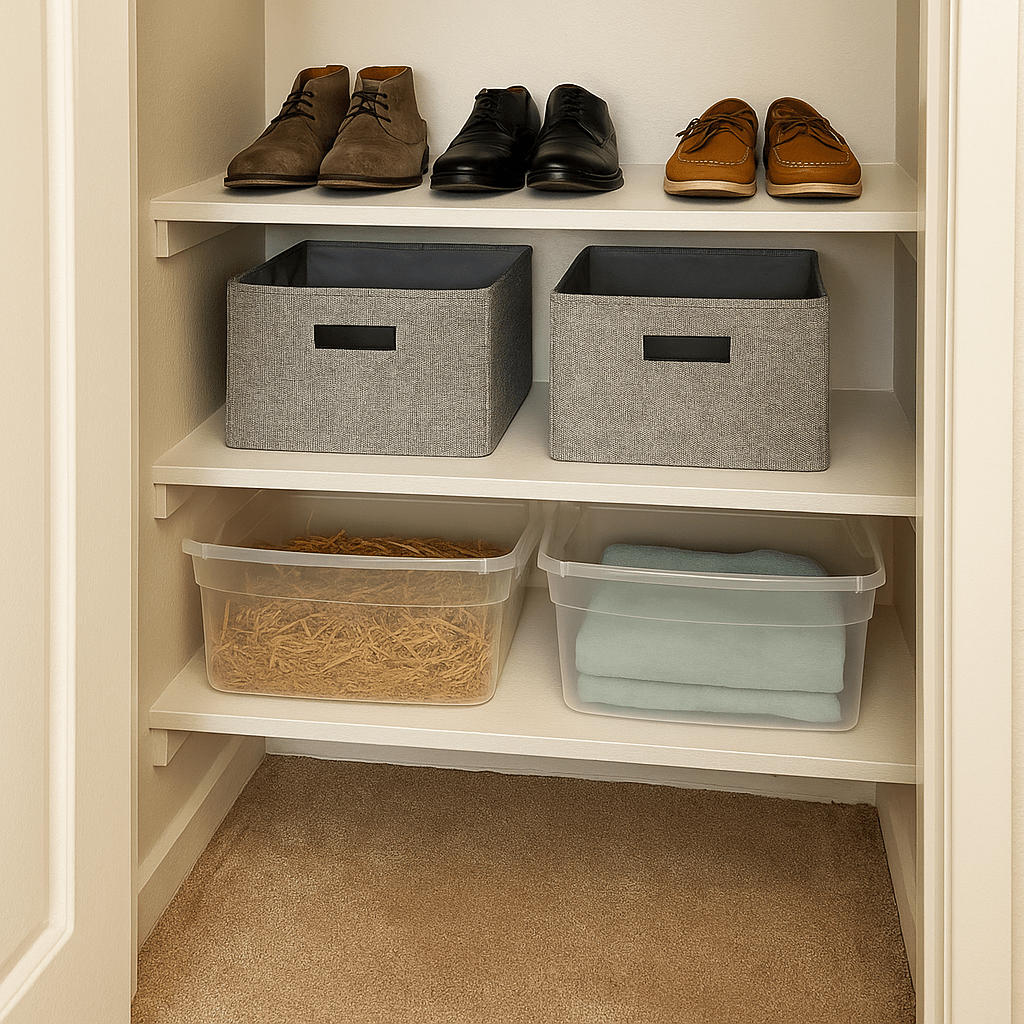
The beauty of this closet shelf system is how flexible it is. Need more room for shoes? Add a narrower shelf closer to the ground. Want taller shelves for storage bins? Space them out for more space between the top shelf and the ceiling. You can build just one side of the closet or go all the way across. Once you’ve done one, you might find yourself adding built-in shelves to every closet in the house.
Related Articles
- How To Install Tile Floors— It’s Easier Than You Think!
- How to Build a Floating Shelf for Less Than $10
- Make This: Simple Countertop Bookshelf
A messy closet has a way of making everything feel chaotic. But when it’s organized with shelves that actually make sense for your stuff, life just feels so much easier. This DIY project doesn’t take much time or money, but the payoff is huge. No more digging through piles. No more wasted space. Just a closet that finally works for you.


